A Closer Look: Exterior
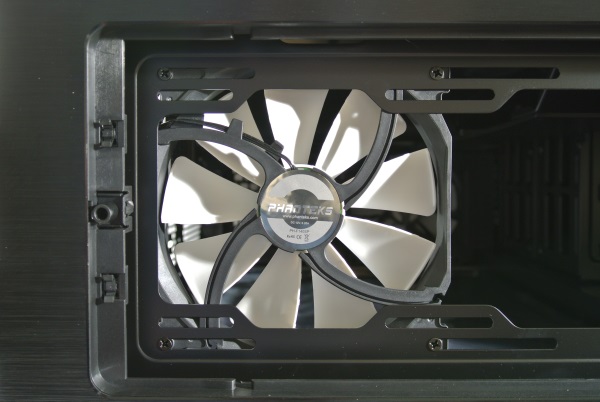
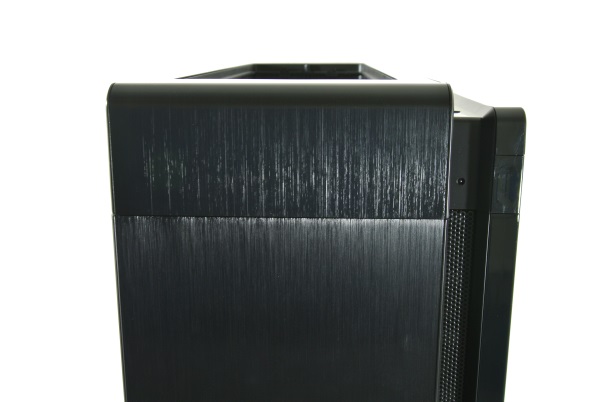
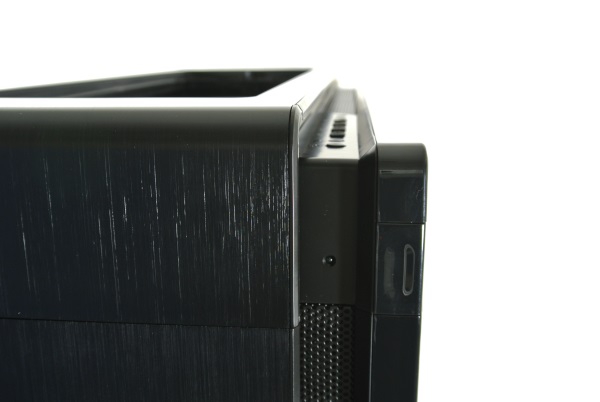
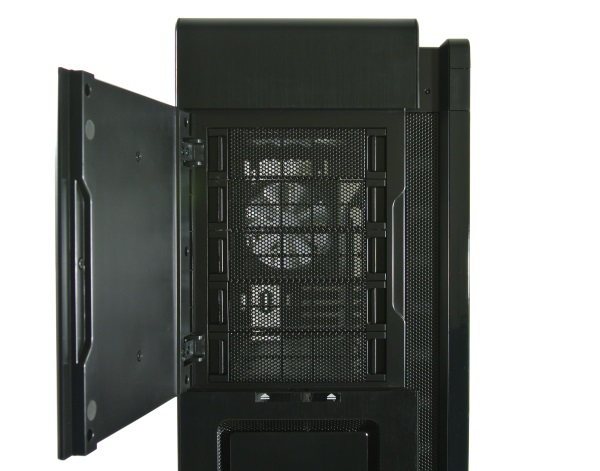
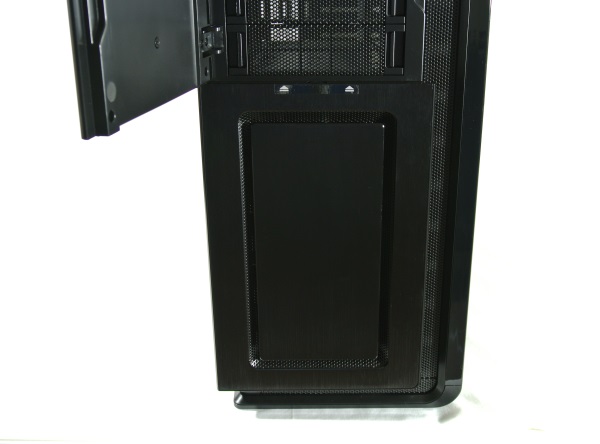
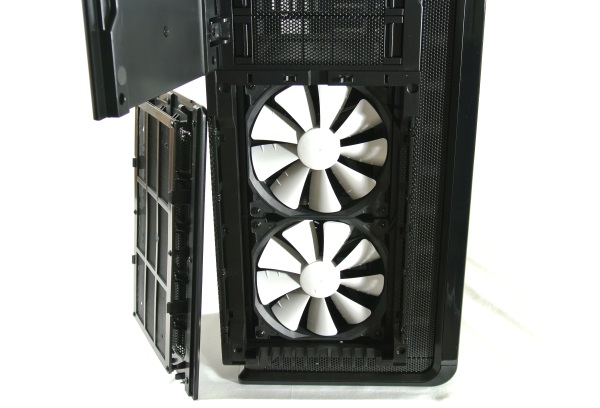
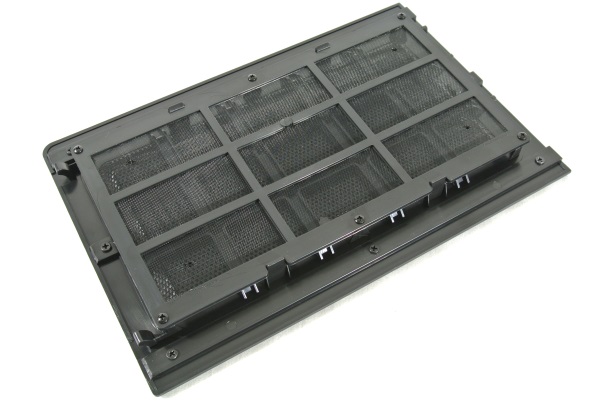
The front faceplate of the chassis sports a brushed aluminum finish and features a door to access the optical drives. The lower half of the front panel is filtered and removable allowing direct access to the front 140mm intake fans. The front panel overall has a sleek look that is complimented by rounded corners and edges. The right edge of the chassis has a strip of plastic where an LED strip resides, as we will see later, that has a black mirror finish. This really adds a nice contrast and enhances the aesthetics of the chassis. The door is simple enough to operate and has magnets embedded to help the door stay shut. While some may argue that the door opens the “wrong way” I beg to differ as this would only be a slight issue if the case was situated up against a wall. That said, flipping the door may have been more ideal for some users. Phanteks has placed a removable sticker with two “eject” symbols on the lower half of the faceplate in to alert the user how to remove this portion of the faceplate. There are two plastic latch mechanisms on the chassis that help snap the fan cover into place. While the idea is great, the implementation could have been executed better. The plastic mechanisms feel cheap and are a stark contrast to the rest of the chassis. Perhaps the use of small magnets would help out here. After the fan plate is removed, the front fans are accessible as well as the front filter for cleaning. Also noted here are the near invisible power button, a single LED for HDD activity, and vent holes for airflow.

As we would expect, the window side of the Enthoo Primo is shipped with protective plastic covering the window panels to prevent scratches or other blemishes during shipping and handling. The chassis features a split window design that gives a full view of the installed hardware. Both window panels have a smoked tint to them which is also a nice touch. The smaller window is basically just an accent that shows the Phanteks logo plate installed inside. All of the material used here feels durable and is of quality construction.

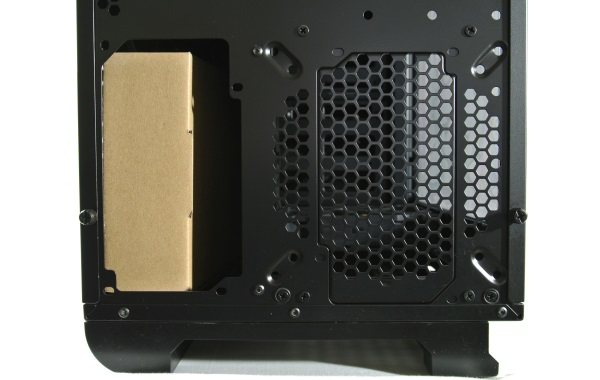
The right side of the chassis is simple in design with two vent holes for optional fan or radiator installation as well as a vent for the power supply airflow intake.

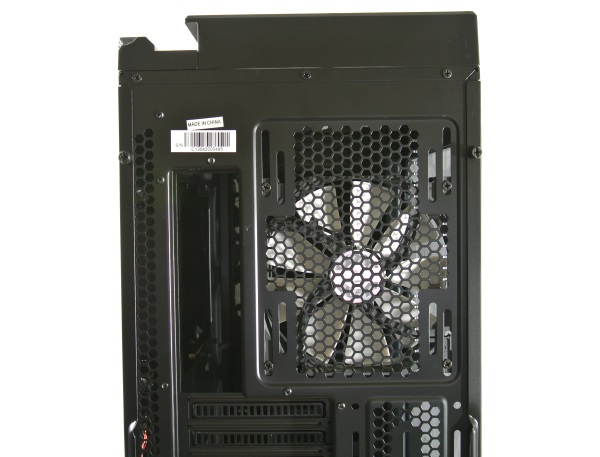
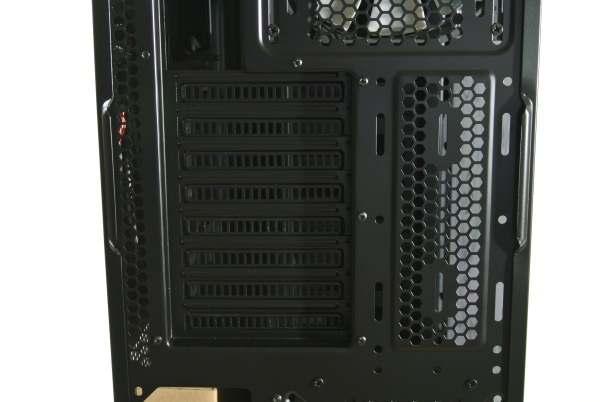
The rear of the chassis is pretty standard aside from the option to install a power supply either in front of or behind the motherboard tray. There are vent holes scattered all over to aid in airflow. We also get a sneak preview of a few of the additional liquid cooling installation options regarding the various mounting holes and locations. There is one 140mm rear exhaust fan installed here by default.

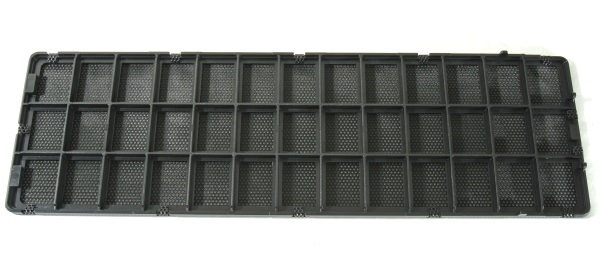
The bottom of the chassis has several rubber feet as well as two very large filtered sections that are removable for ease of cleaning.

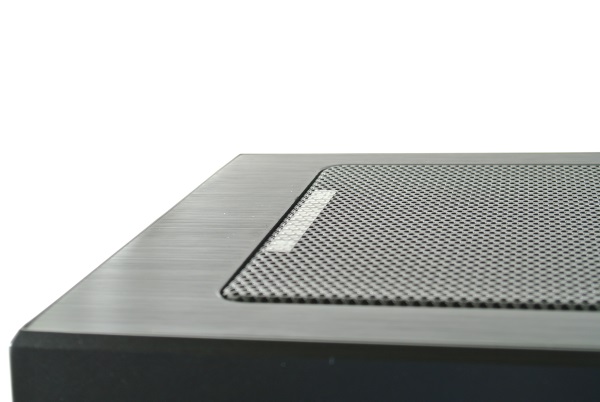
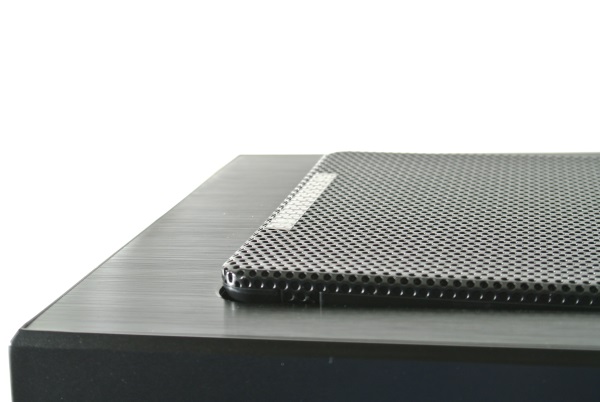
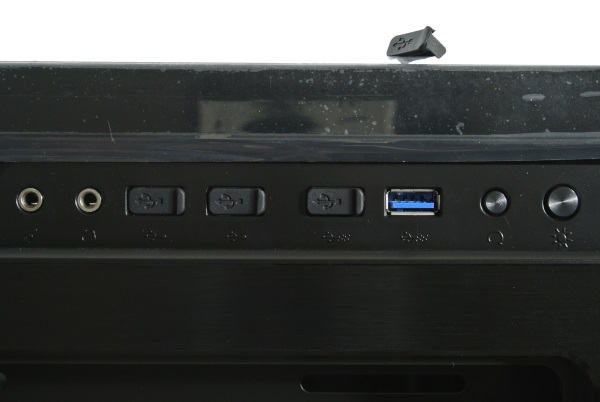
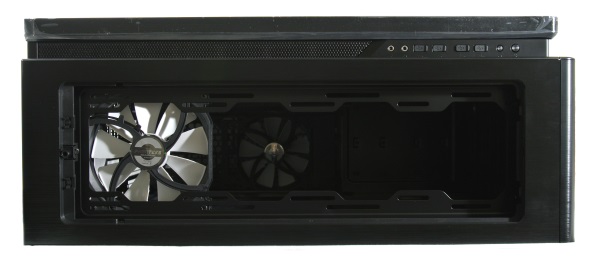
The top of the chassis houses a large removable vent plate as well as the USB 2.0, USB 3.0, microphone, and headphone ports. The inclusion of the rubber USB port covers are simply a nice and thoughtful touch, like icing on a cake! Also found on the top of the chassis are the reset button and LED on/off switch. The top vent plate uses the same plastic latching mechanisms that the front panel does, however their use here feels more appropriate since the vent cover is lighter in weight. Once removed, we can see just how much room is available for extra fans or a large radiator (up to 480!) for liquid cooling. There is one 140mm fan installed in the top of the chassis by default.