


It’s been a fantastic 2018 and what better to celebrate than to build our final project build of the year … The Beast Ripper! First a big thanks to all our sponsors which include ASRock, Corsair, Thermaltake and Cooler Master.
The project will be split into two parts … Part 1 will include much of the build, but using a Noctua air cooler, while in part 2 we will be fitting and installing a full 360mm AIO CPU cooler from Corsair, suitable for the TR4 socket.

Components
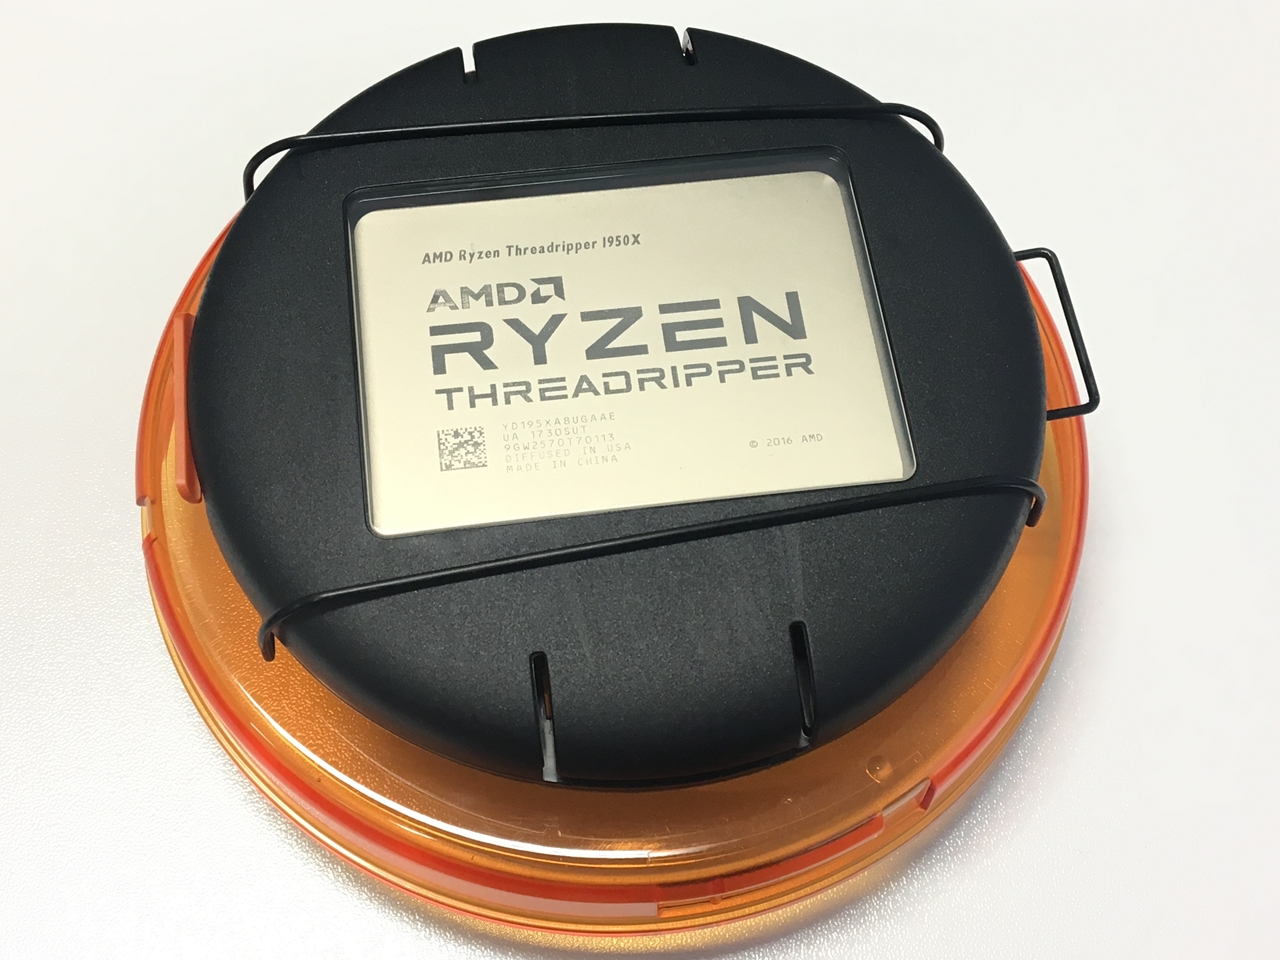
- AMD Ryzen Threadripper 1950X processor
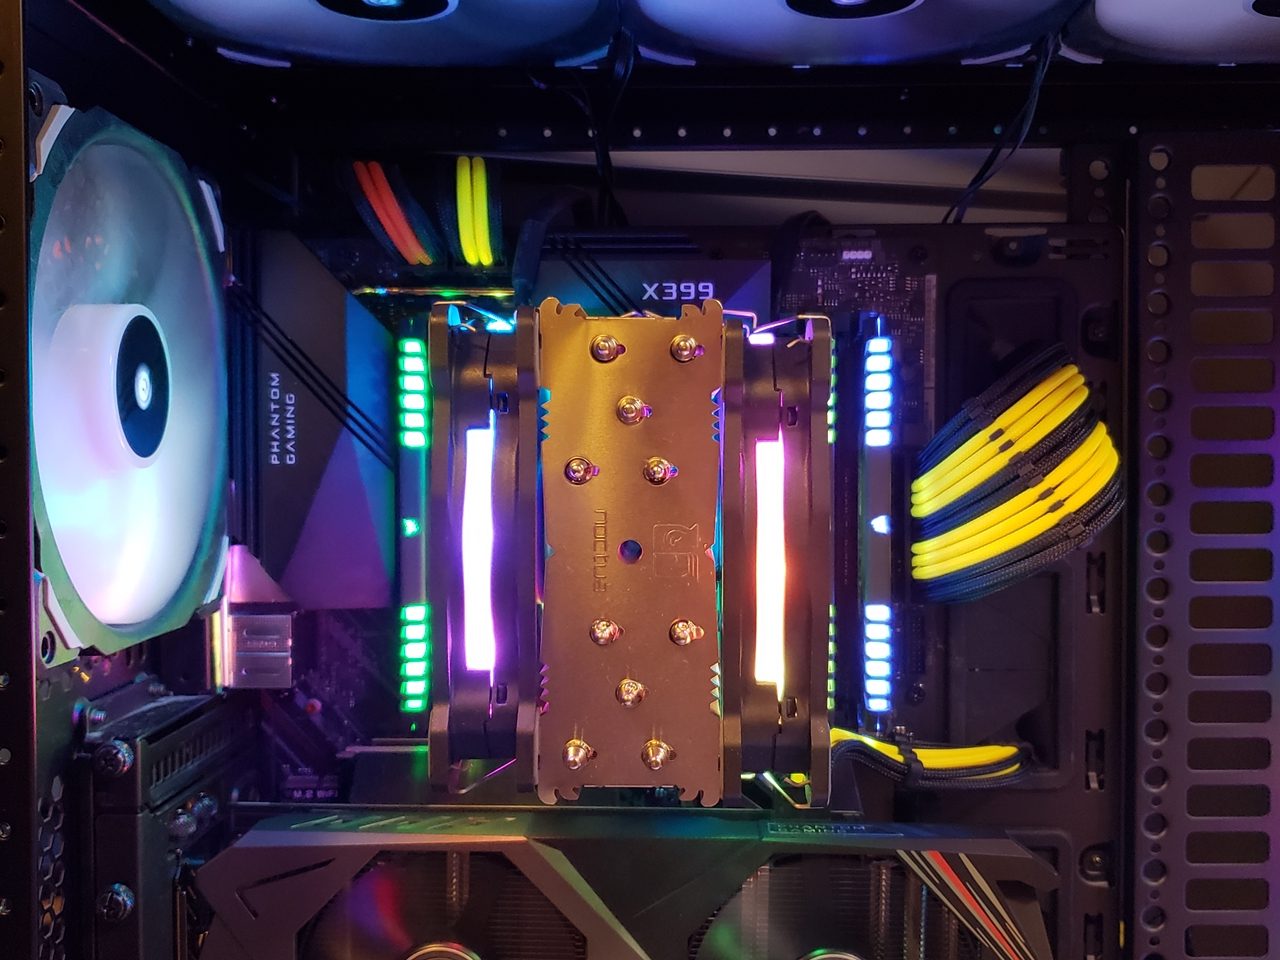
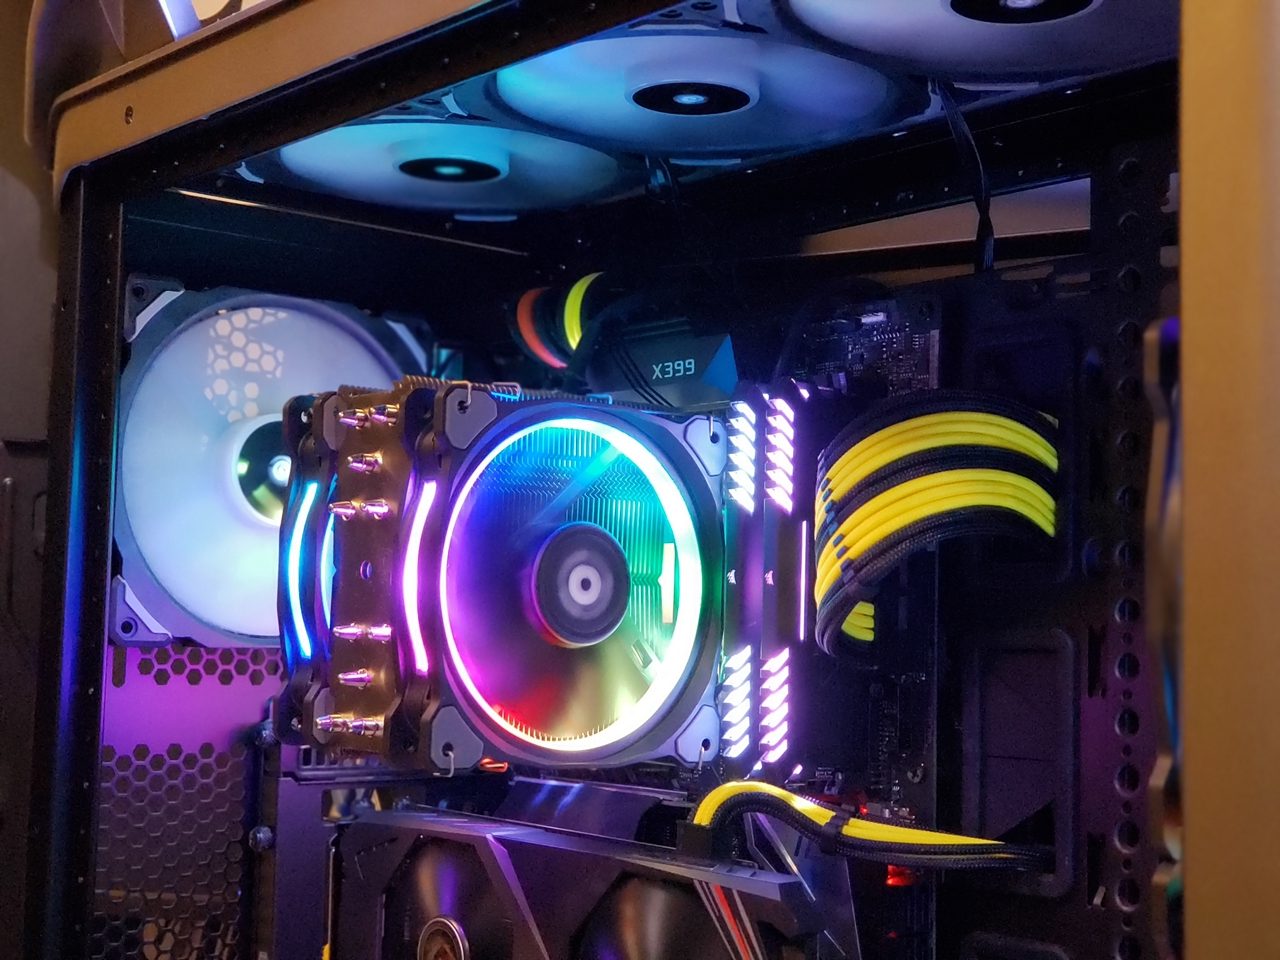
- Noctua NH-U12S TR4 cooler
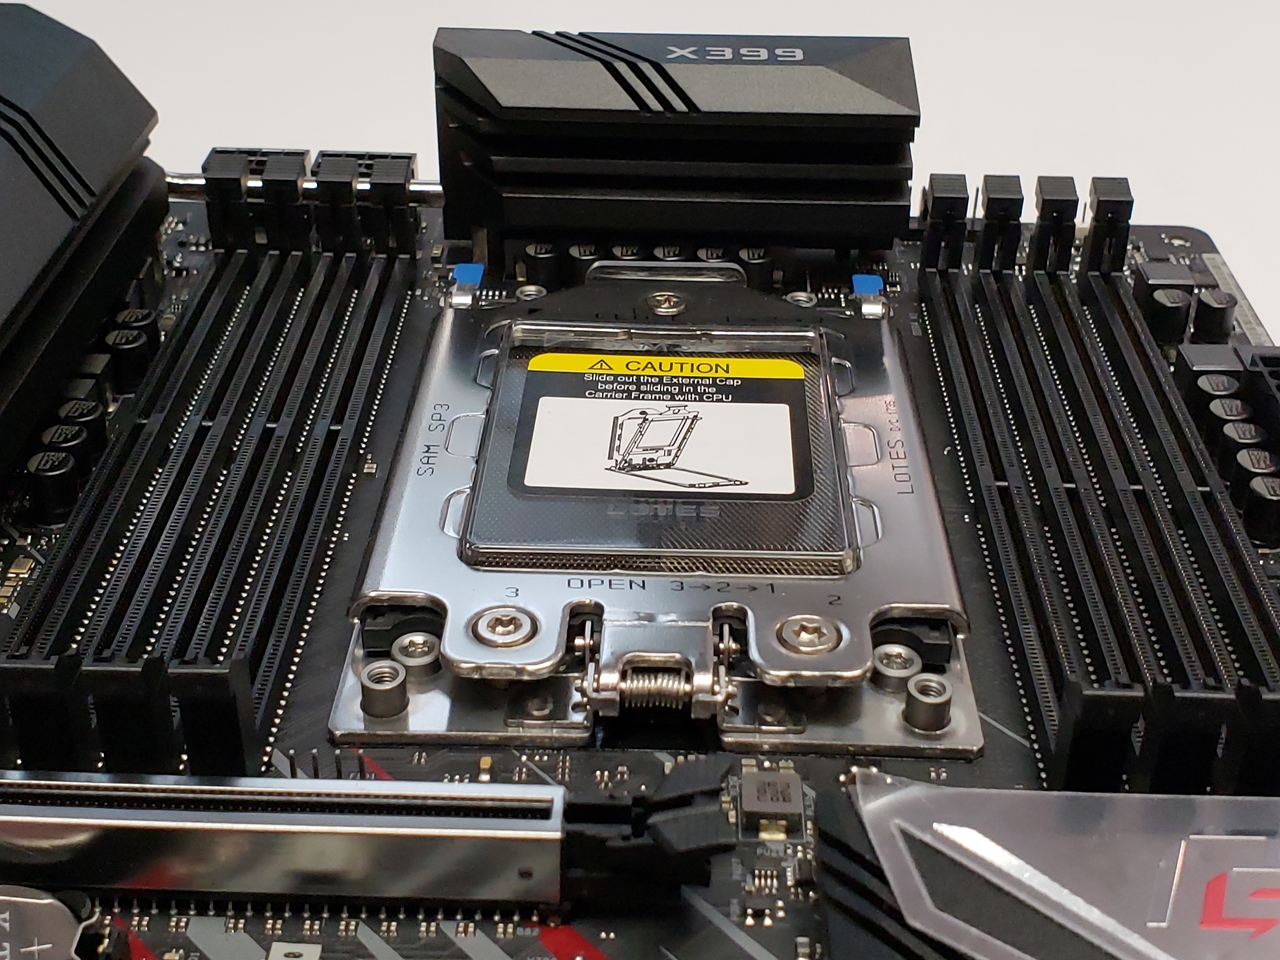
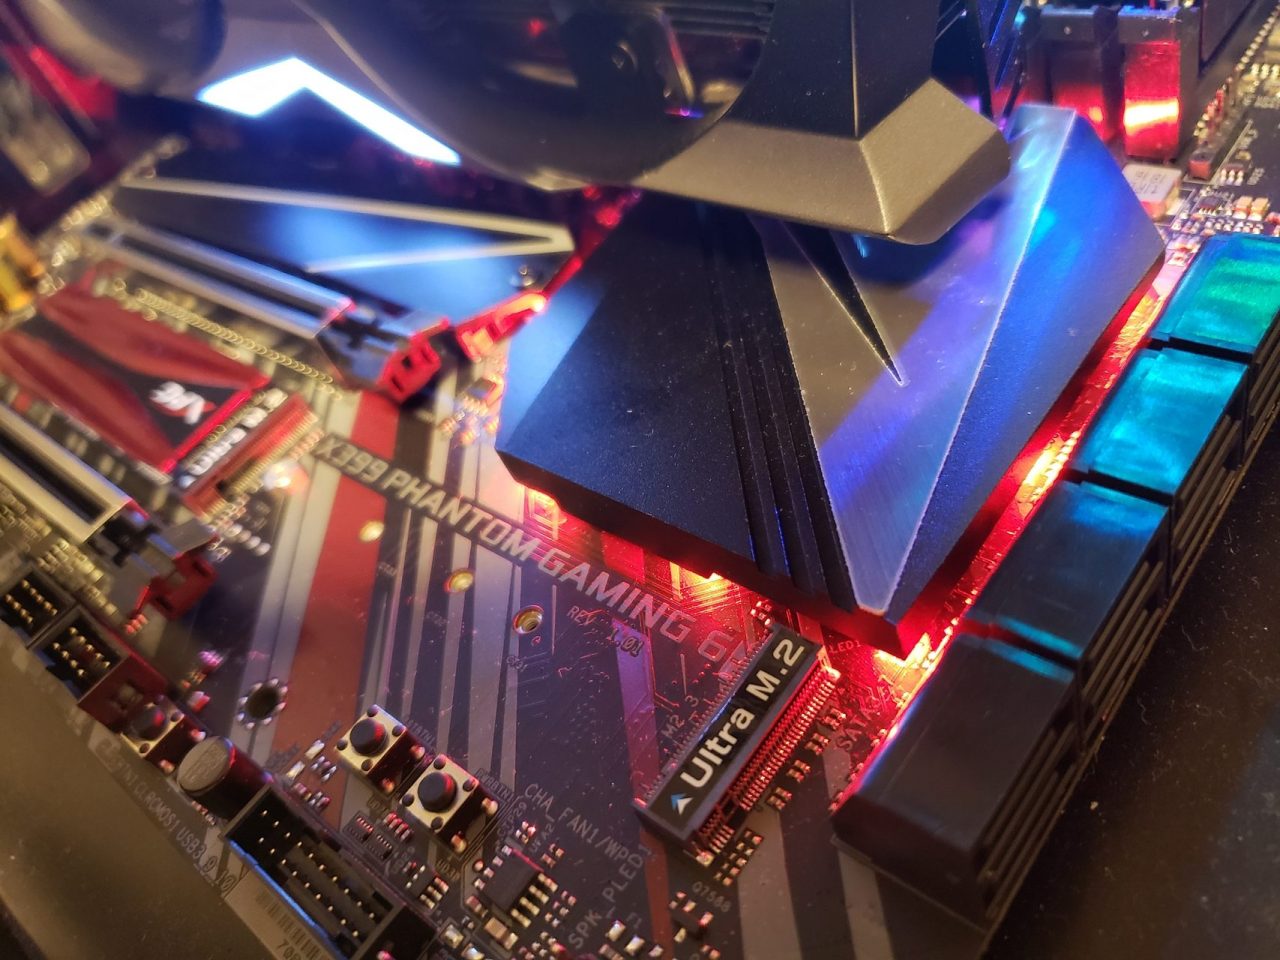
- ASRock X399 Phantom Gaming 6 motherboard
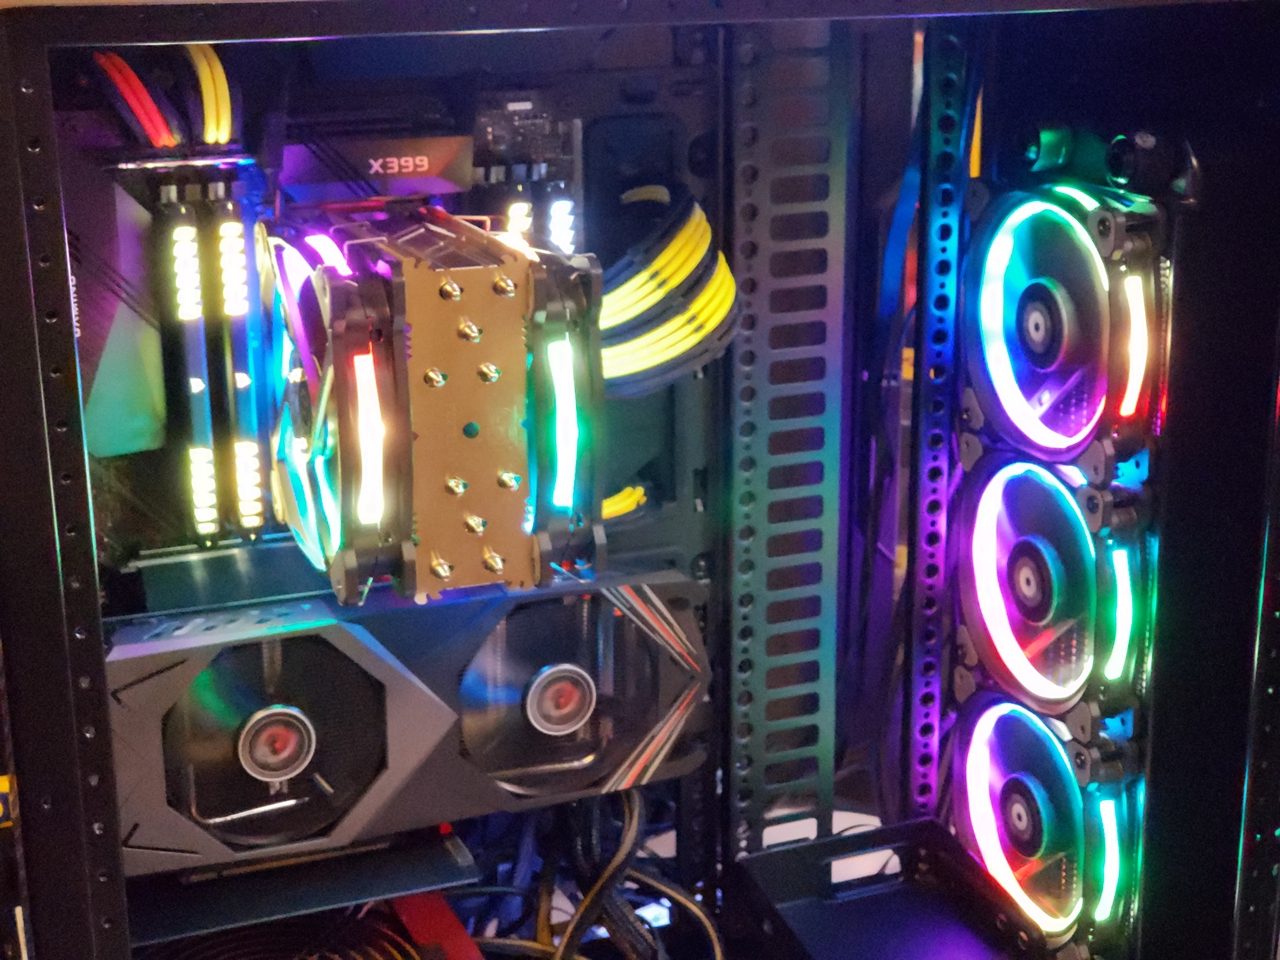
- ASRock Radeon RX 590 8G OC graphics card
- 32GB Corsair Vengeance RGB DDR4-3000 memory
- 240GB ADATA SX8200 PCIe Gen 3×4 M.2 SSD
- 4 x Corsair ML140 RGB fans
- 5 x Thermaltake Riimg Plus 12 fans
- Cooler Master 1200W Silent Pro 80Plus Gold
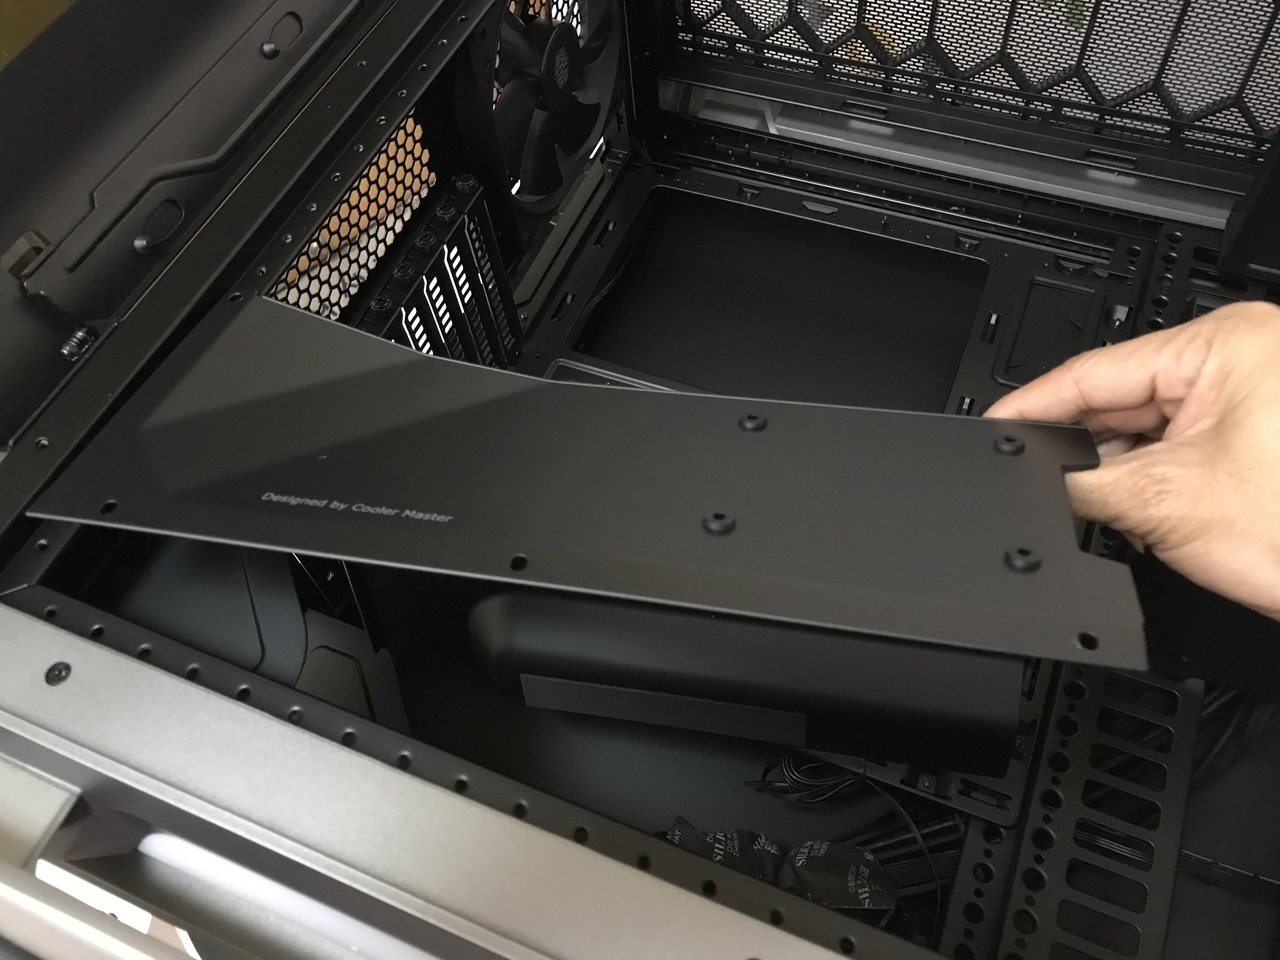
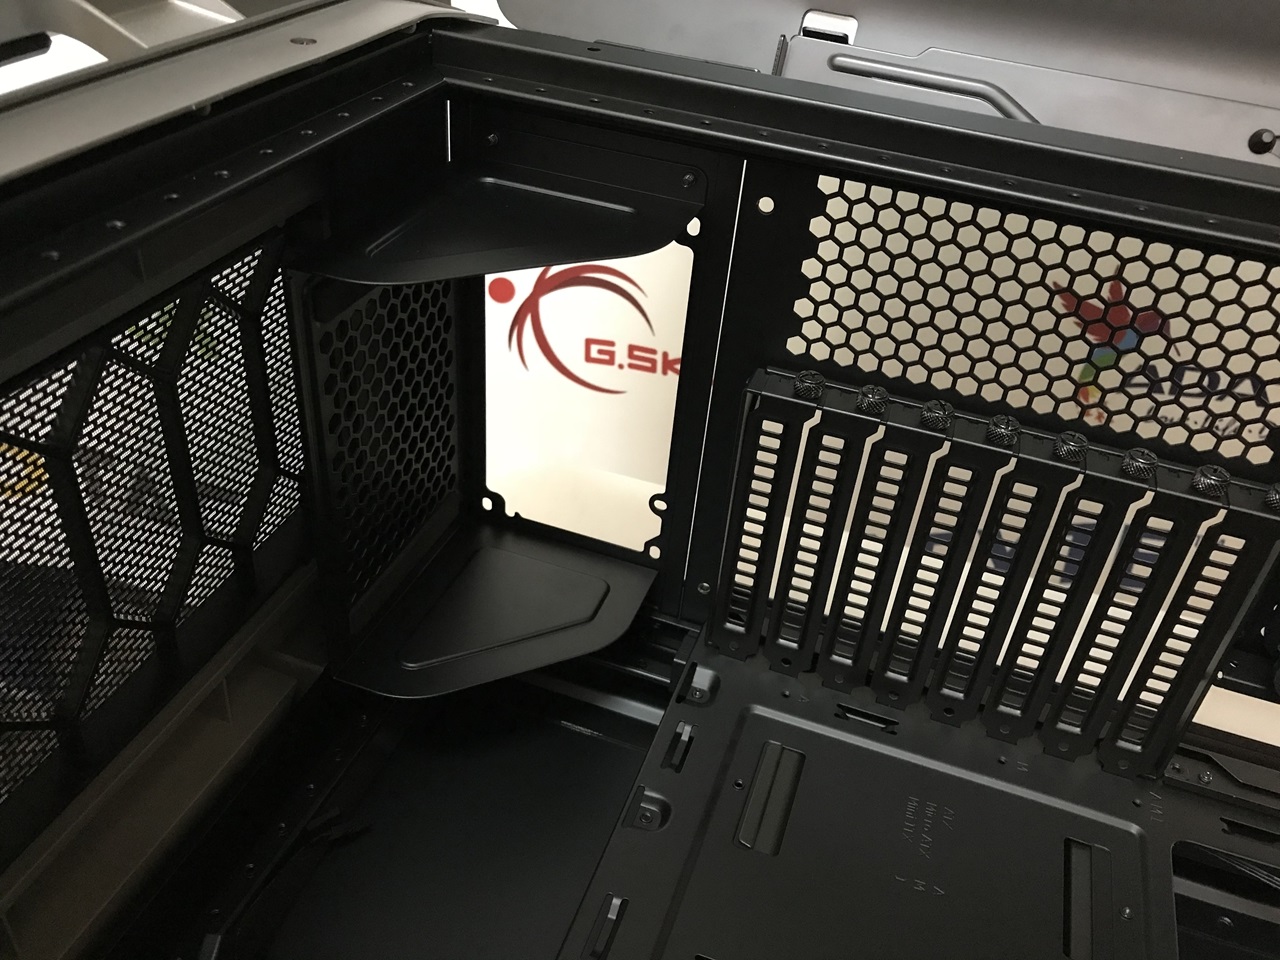
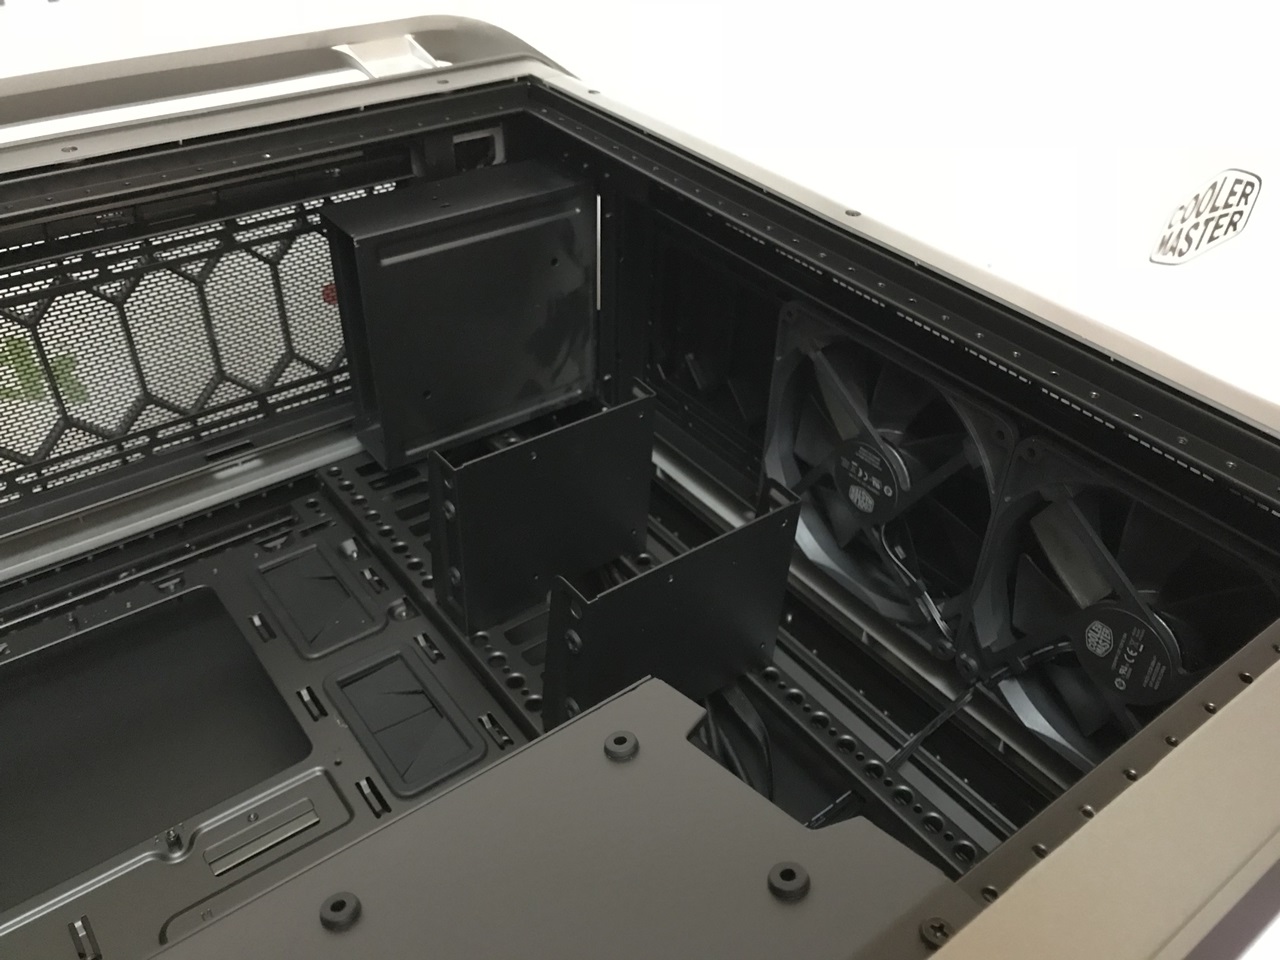
- Cooler Master C700P chassis
Check out the summary and prices of all the components used … next.
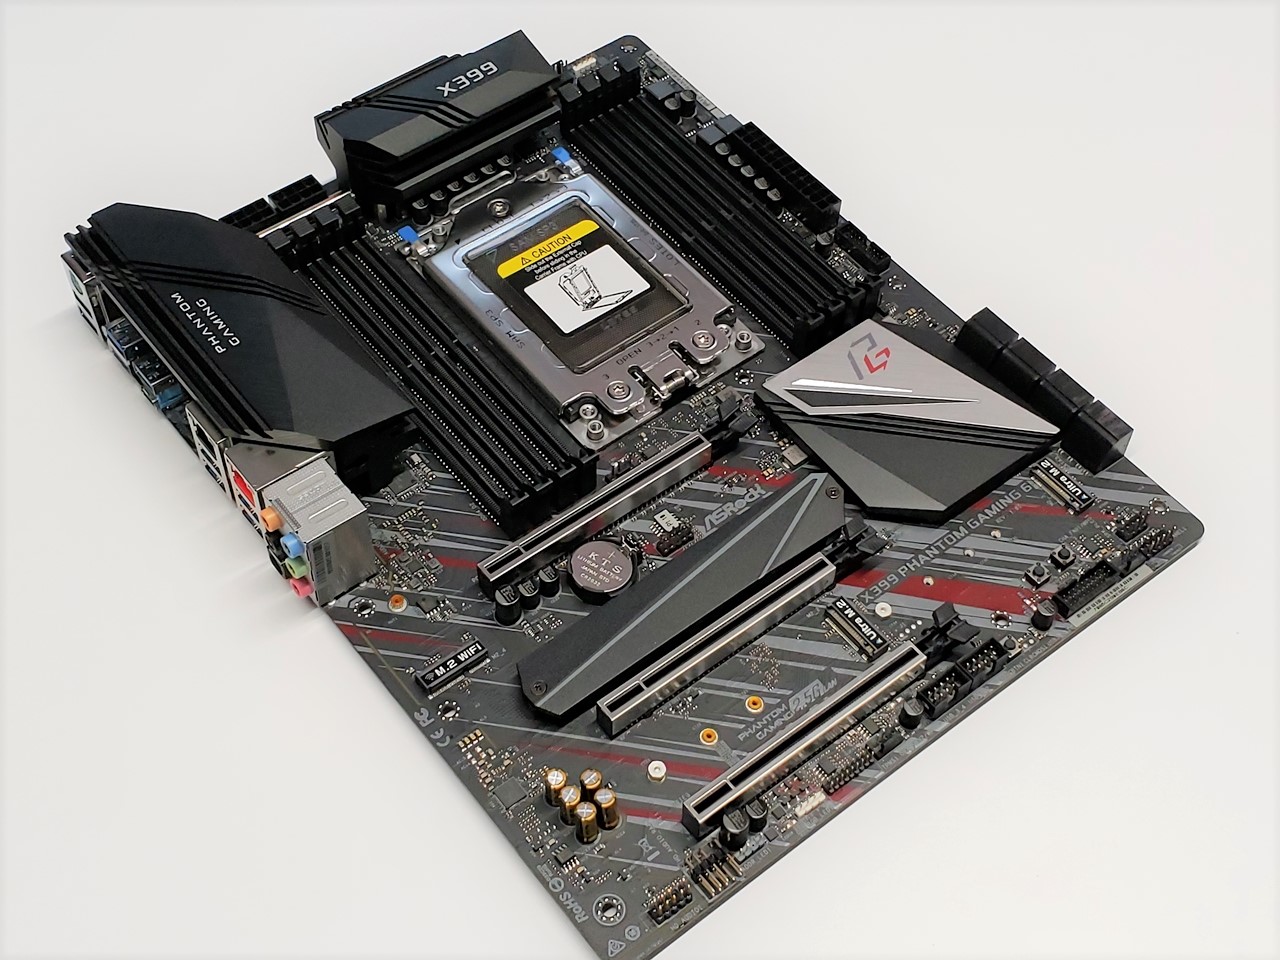
ASRock X399 Phantom Gaming 6 Motherboard
If you’re planning to build a Ryzen Threadripper based system, then check out the ASRock X399 Phantom Gaming 6 Motherboard. It’s a feature-packed motherboard and great all-rounder, that offers decent performance with good overclocking ability.
Read the full review coming soon. You can buy something similar … the ASRock X399


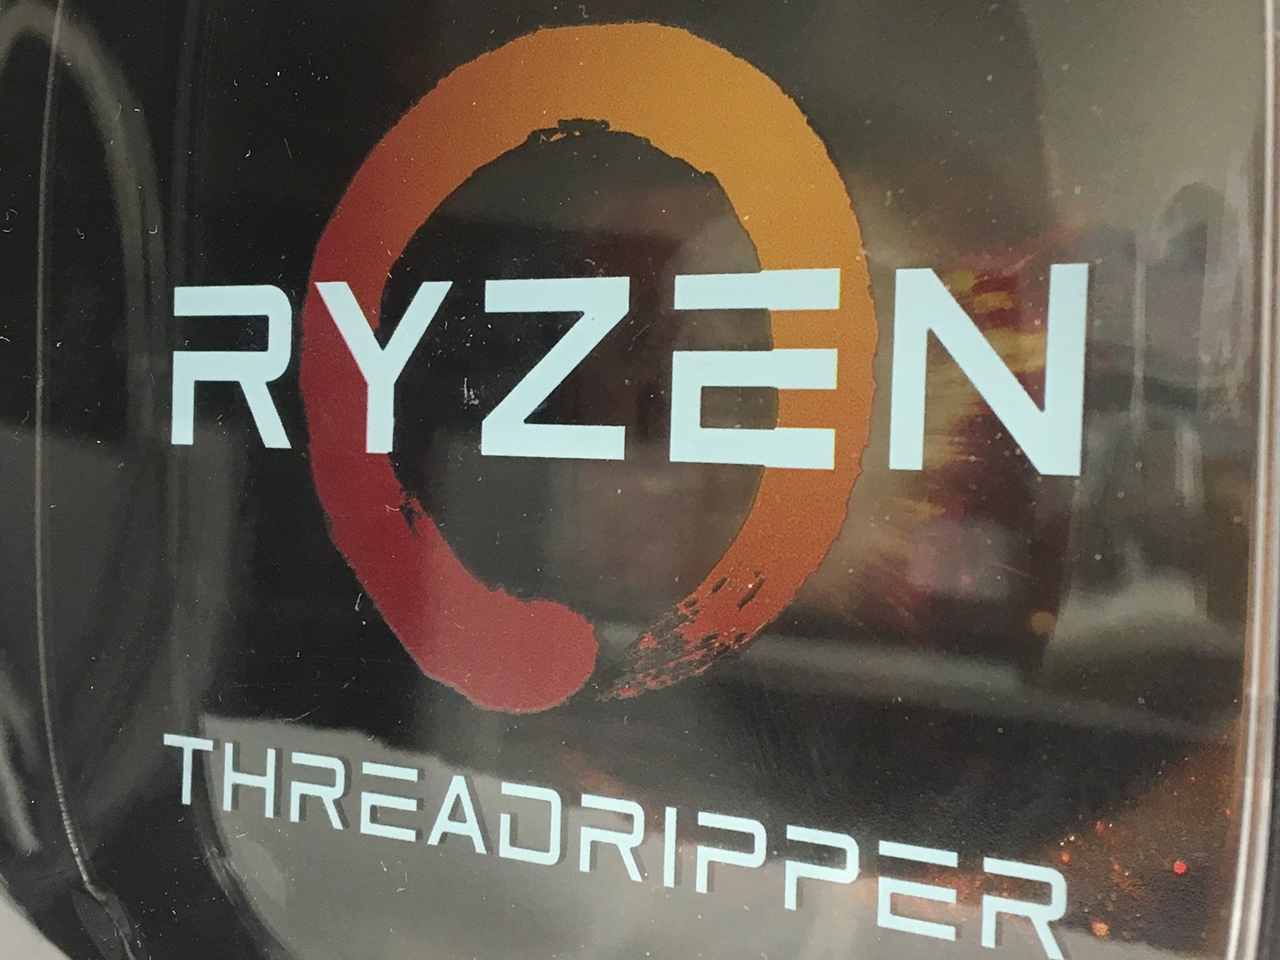
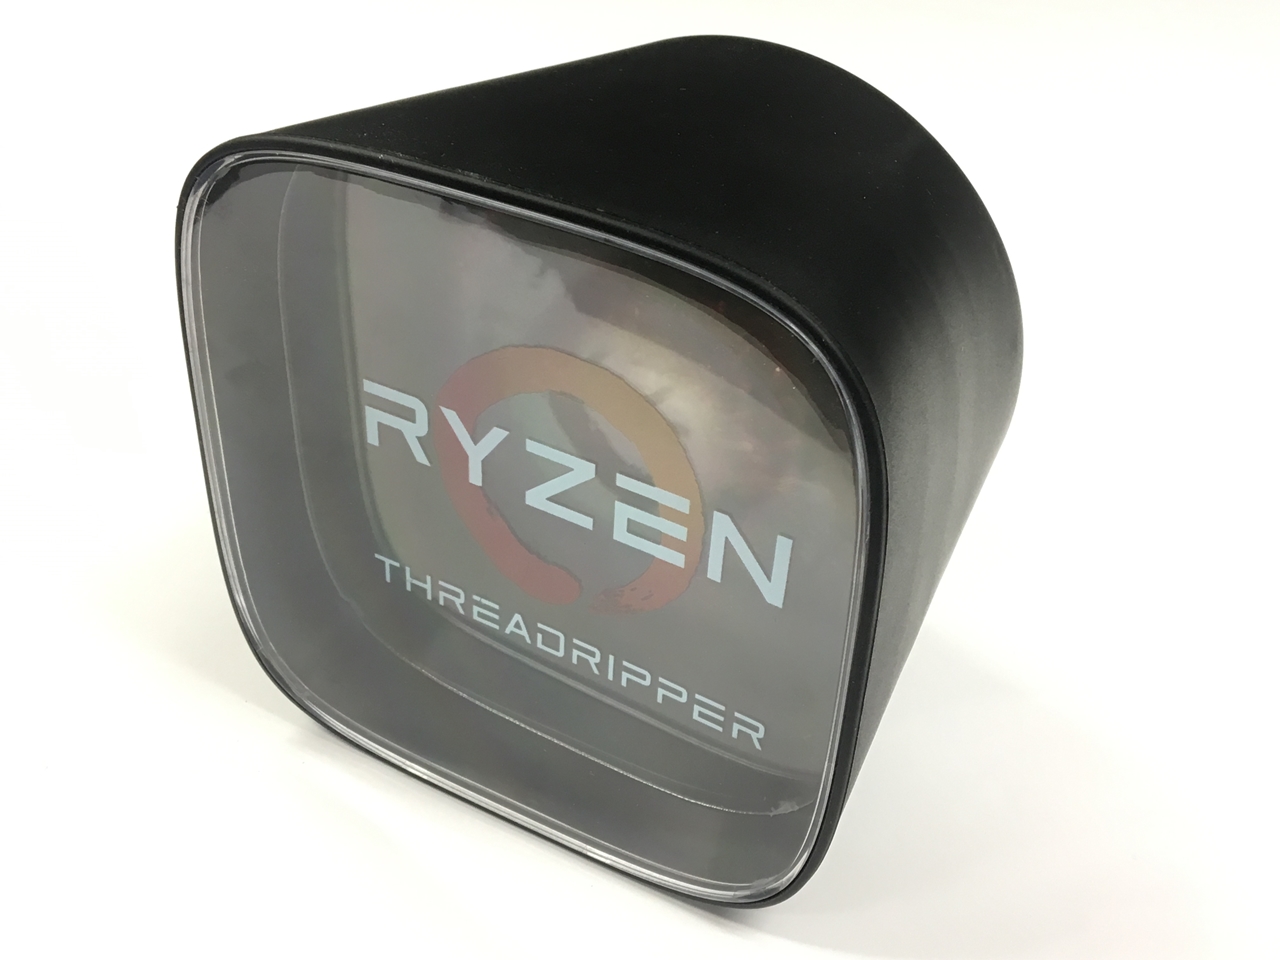
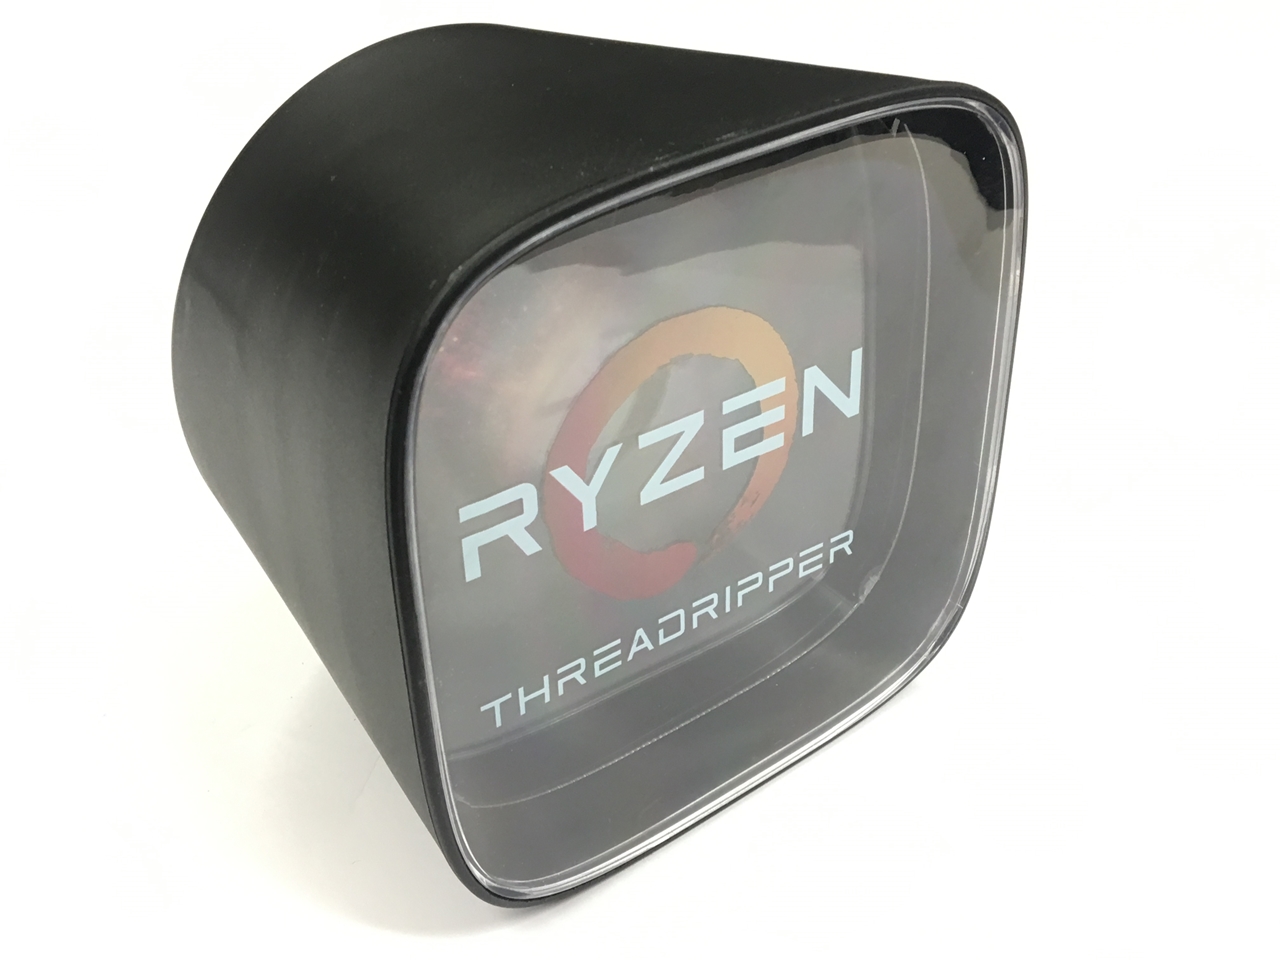
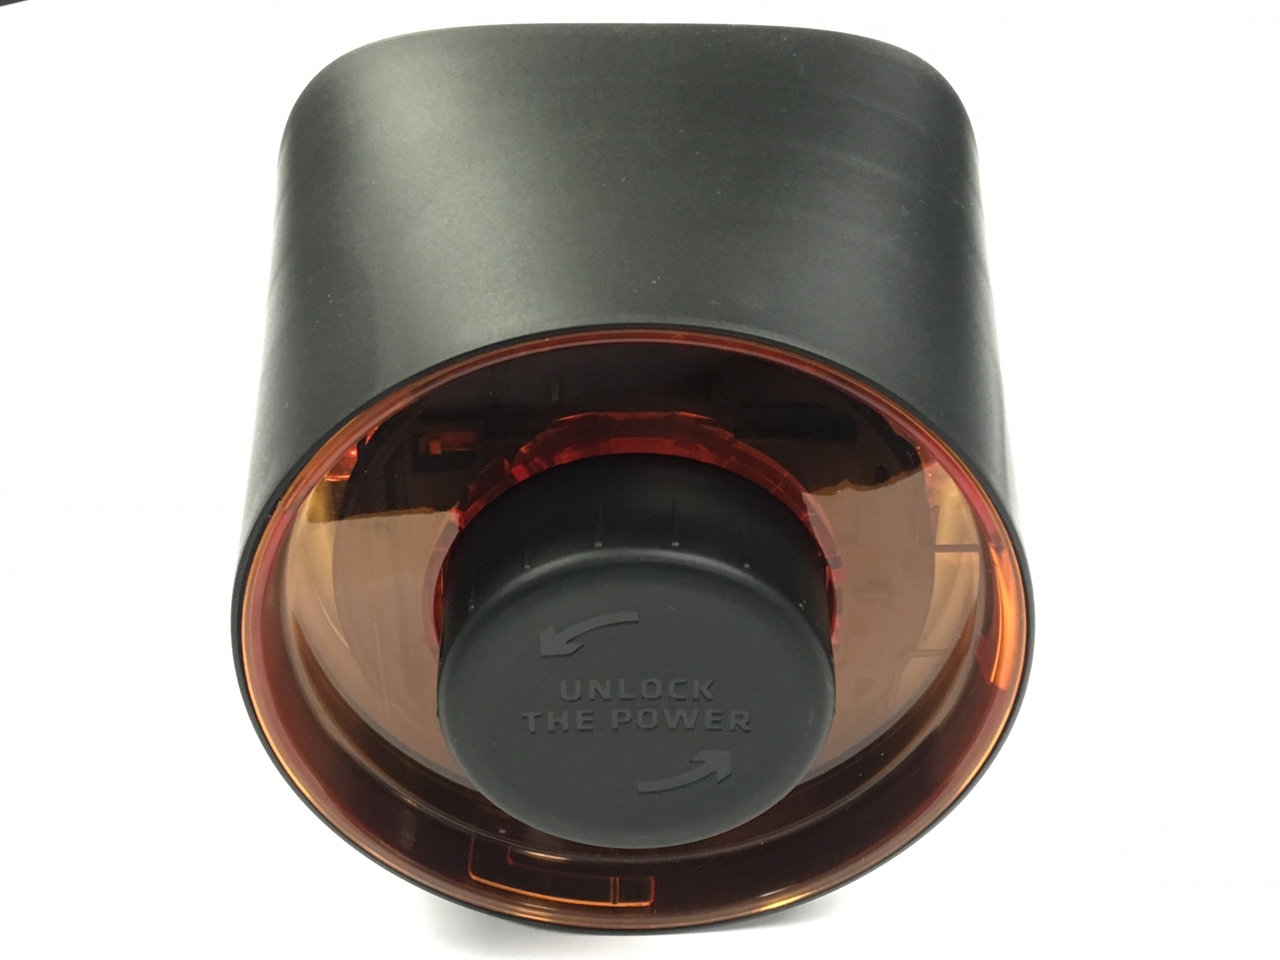
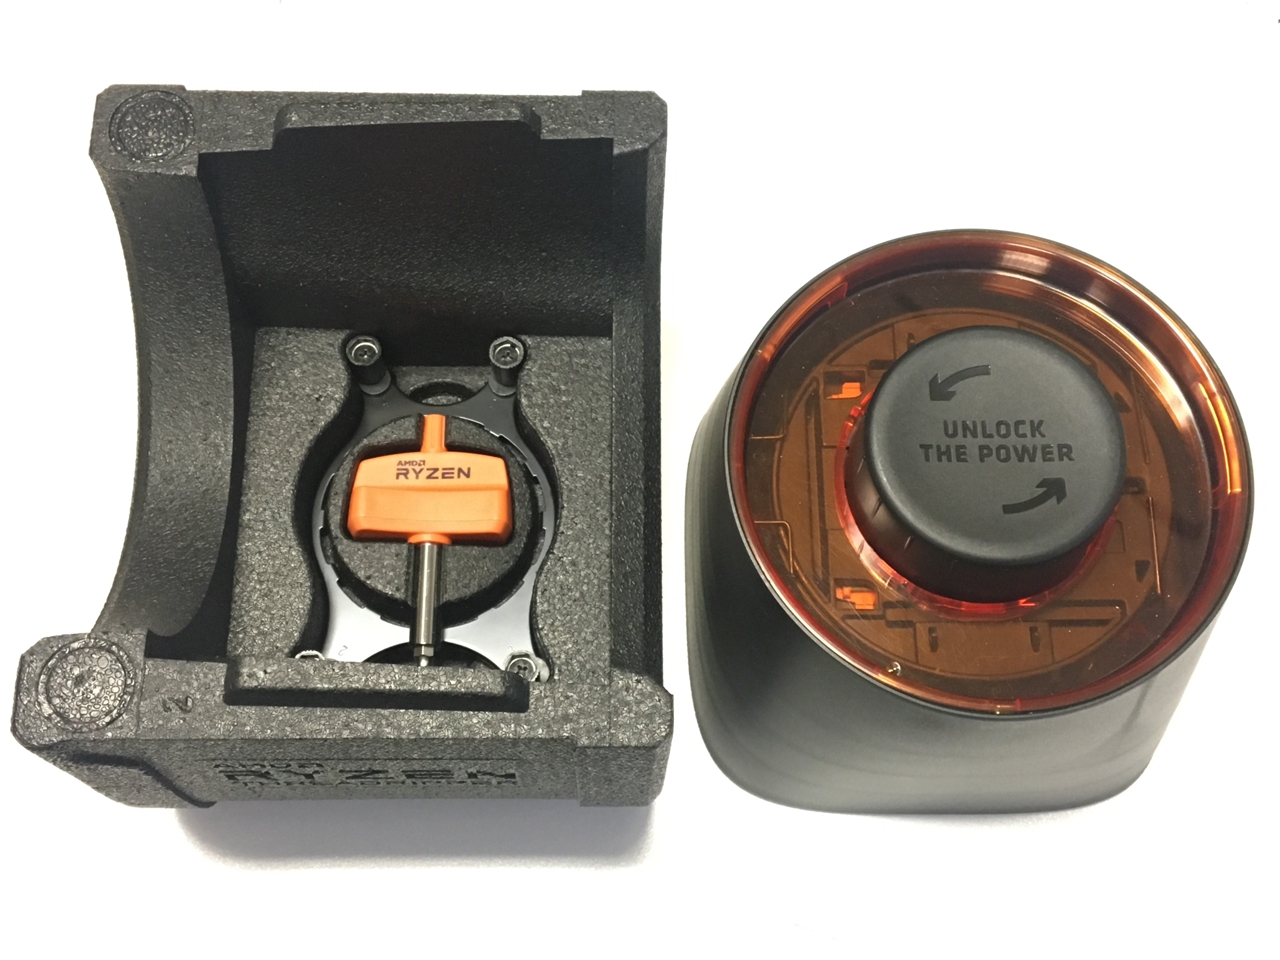
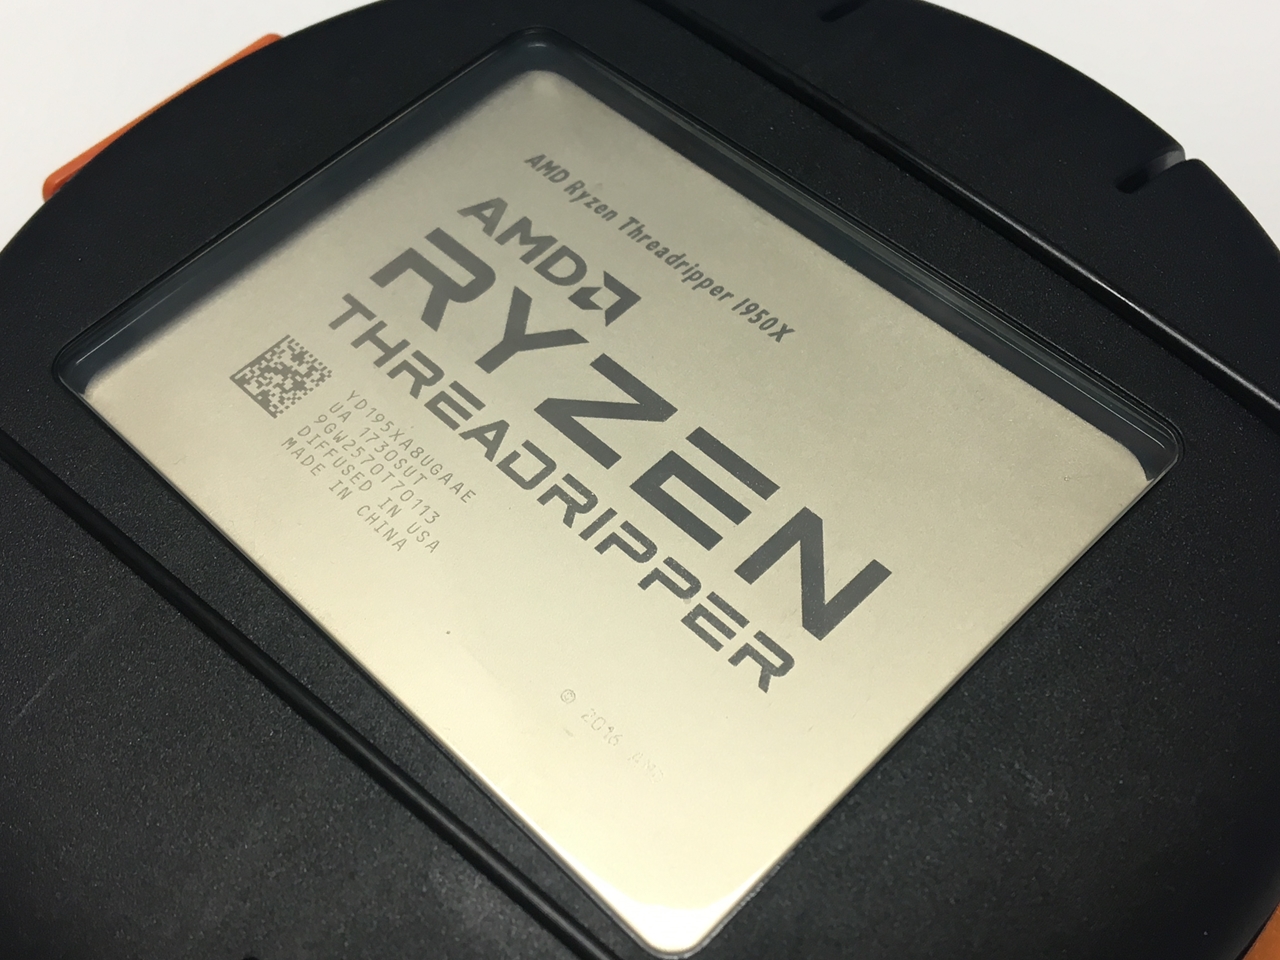
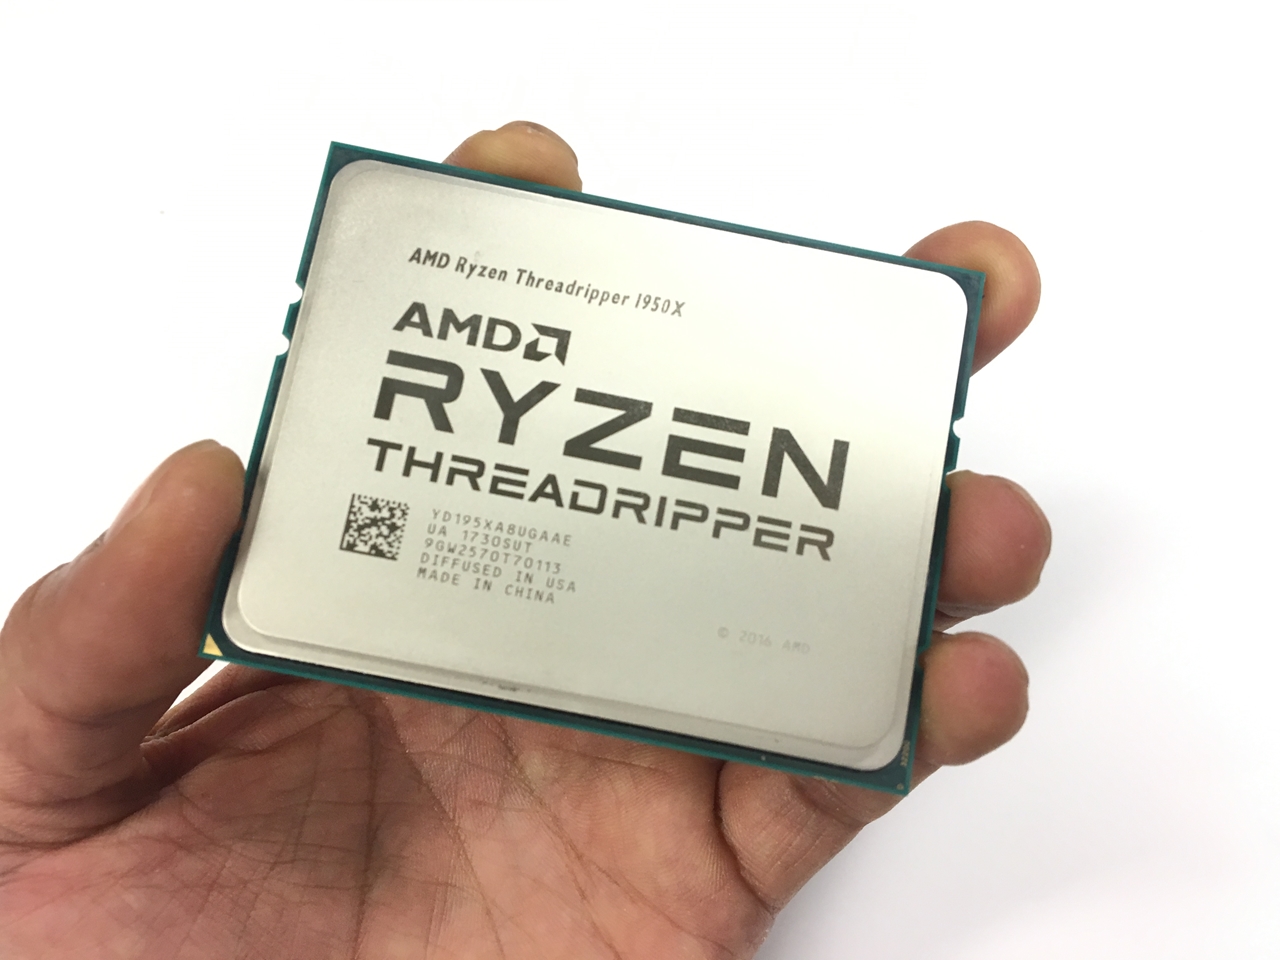
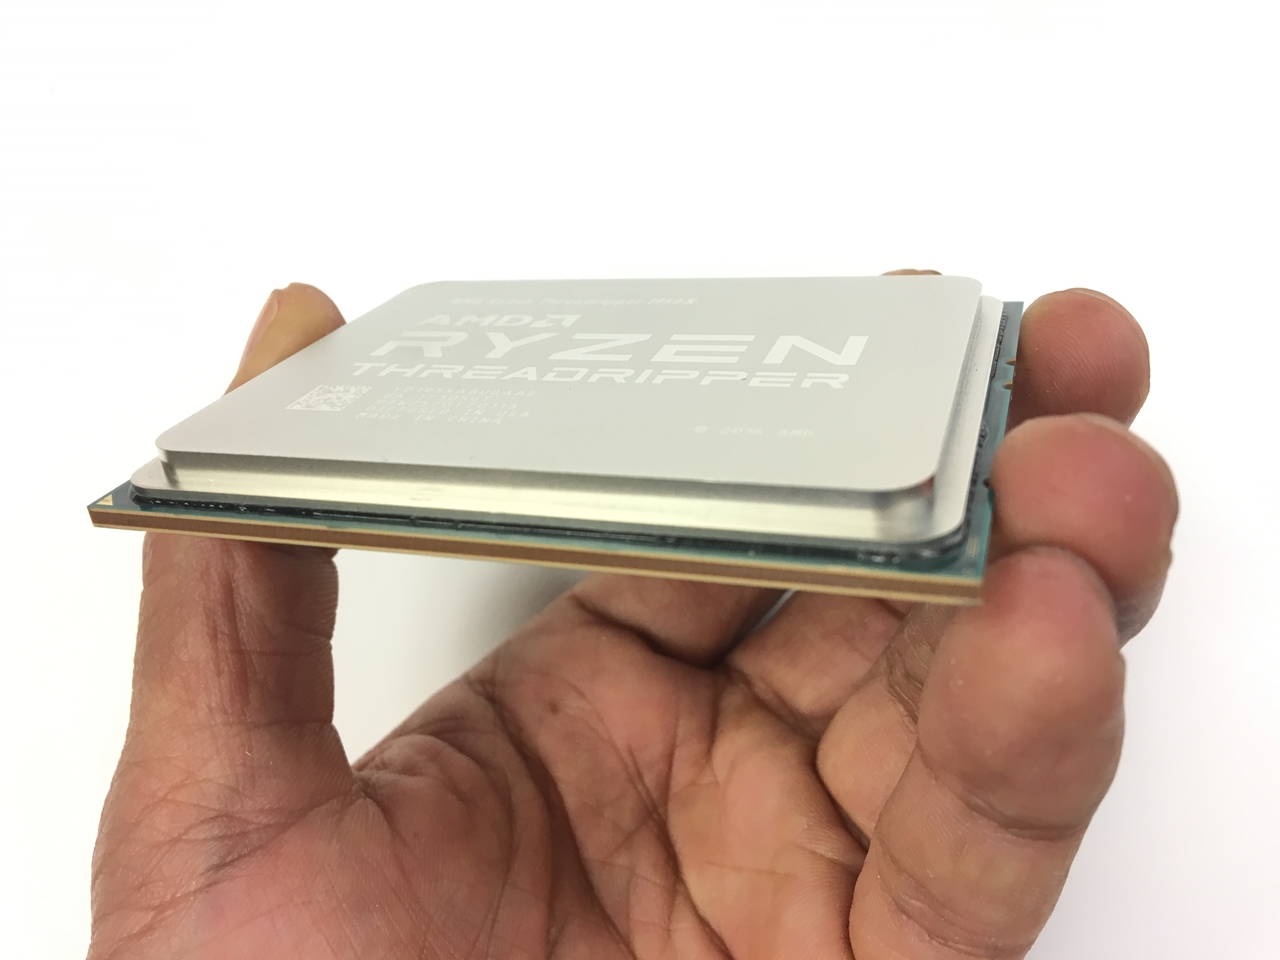
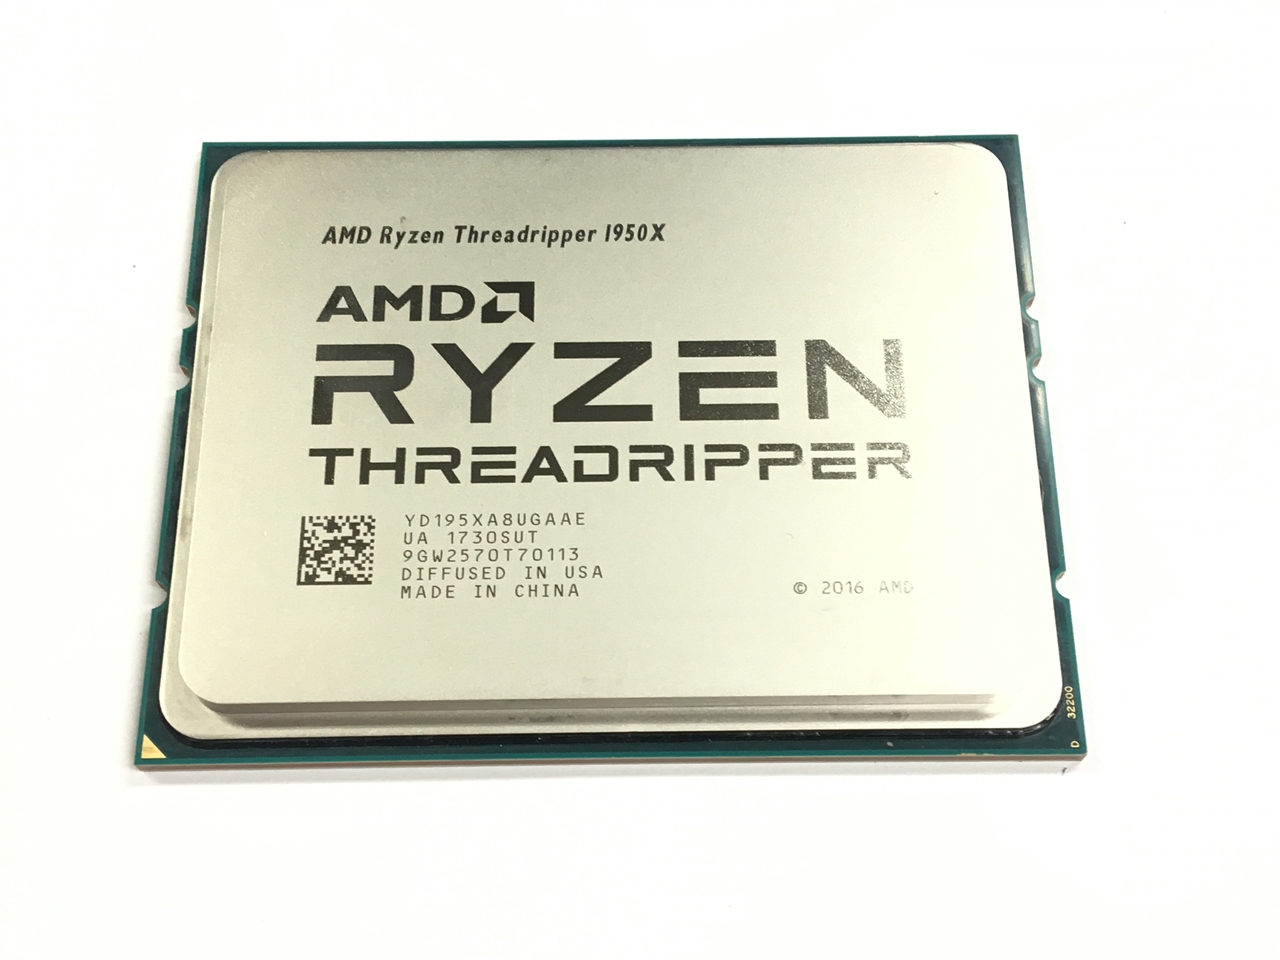
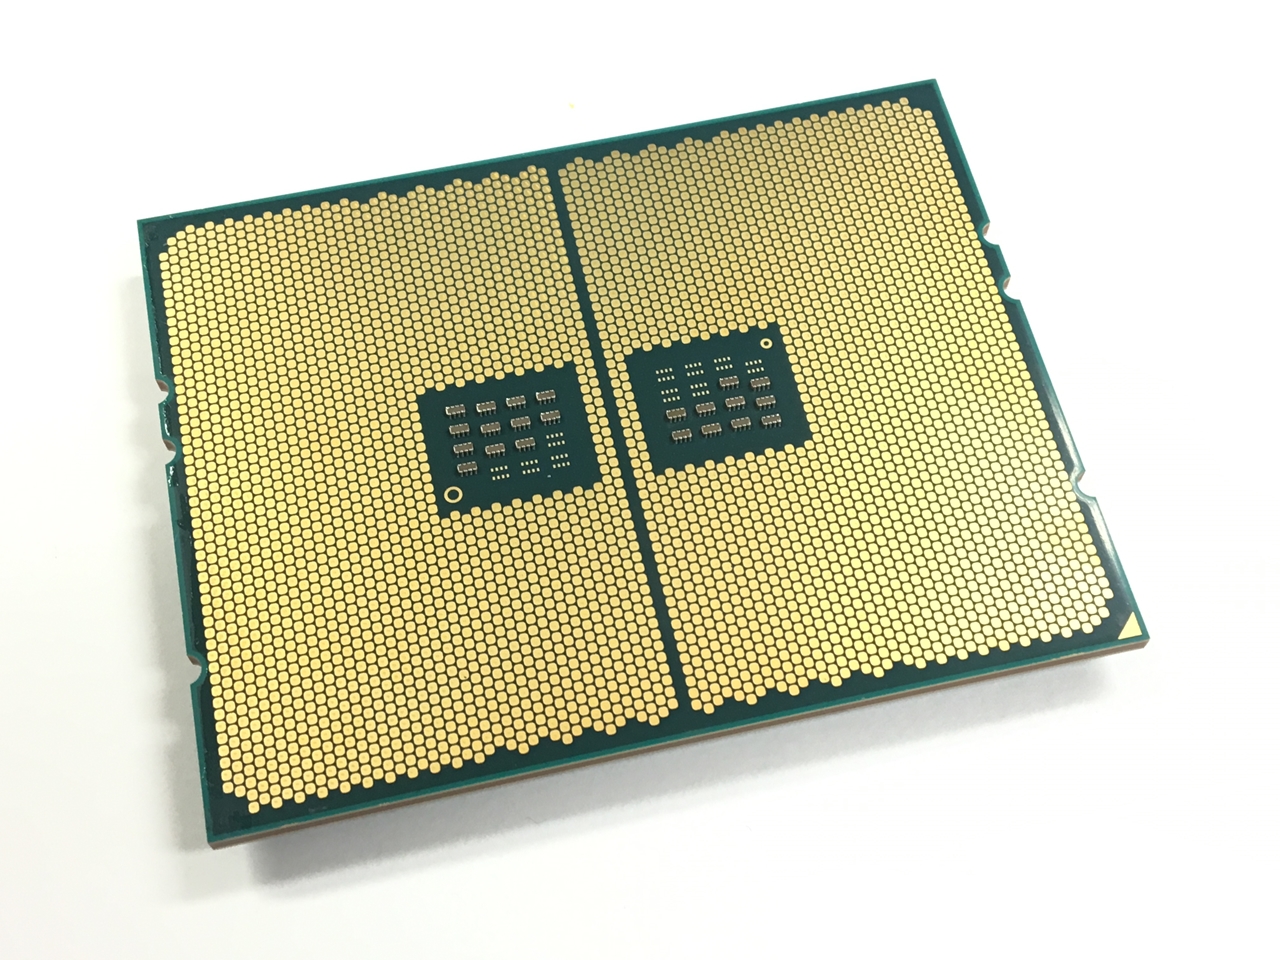
The Ryzen Threadripper 1950X
And here’s the photos of the AMD Ryzen Threadripper 1950X in all its glory. Buy the Ryzen Threadripper 1950X


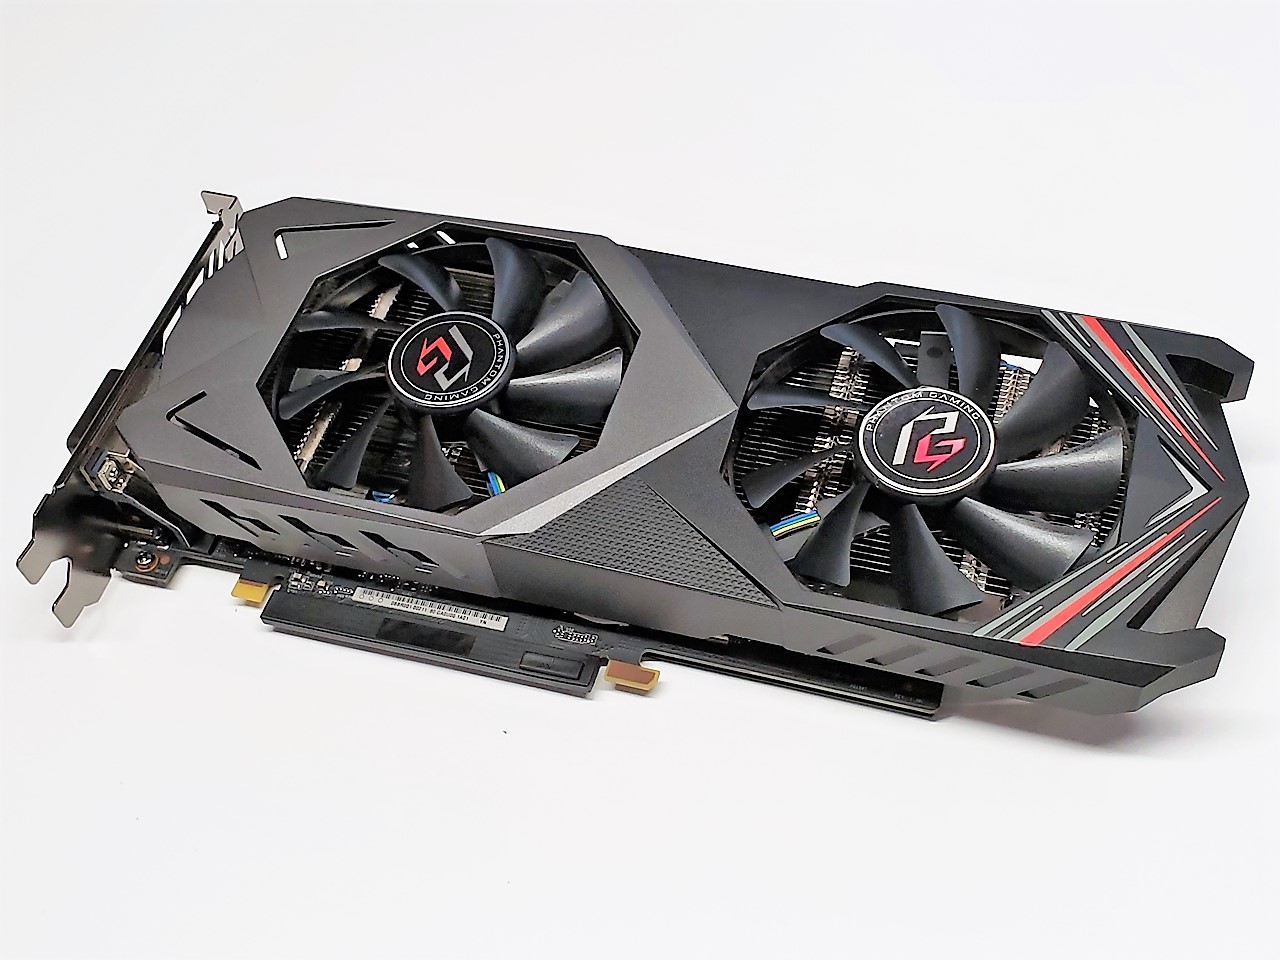
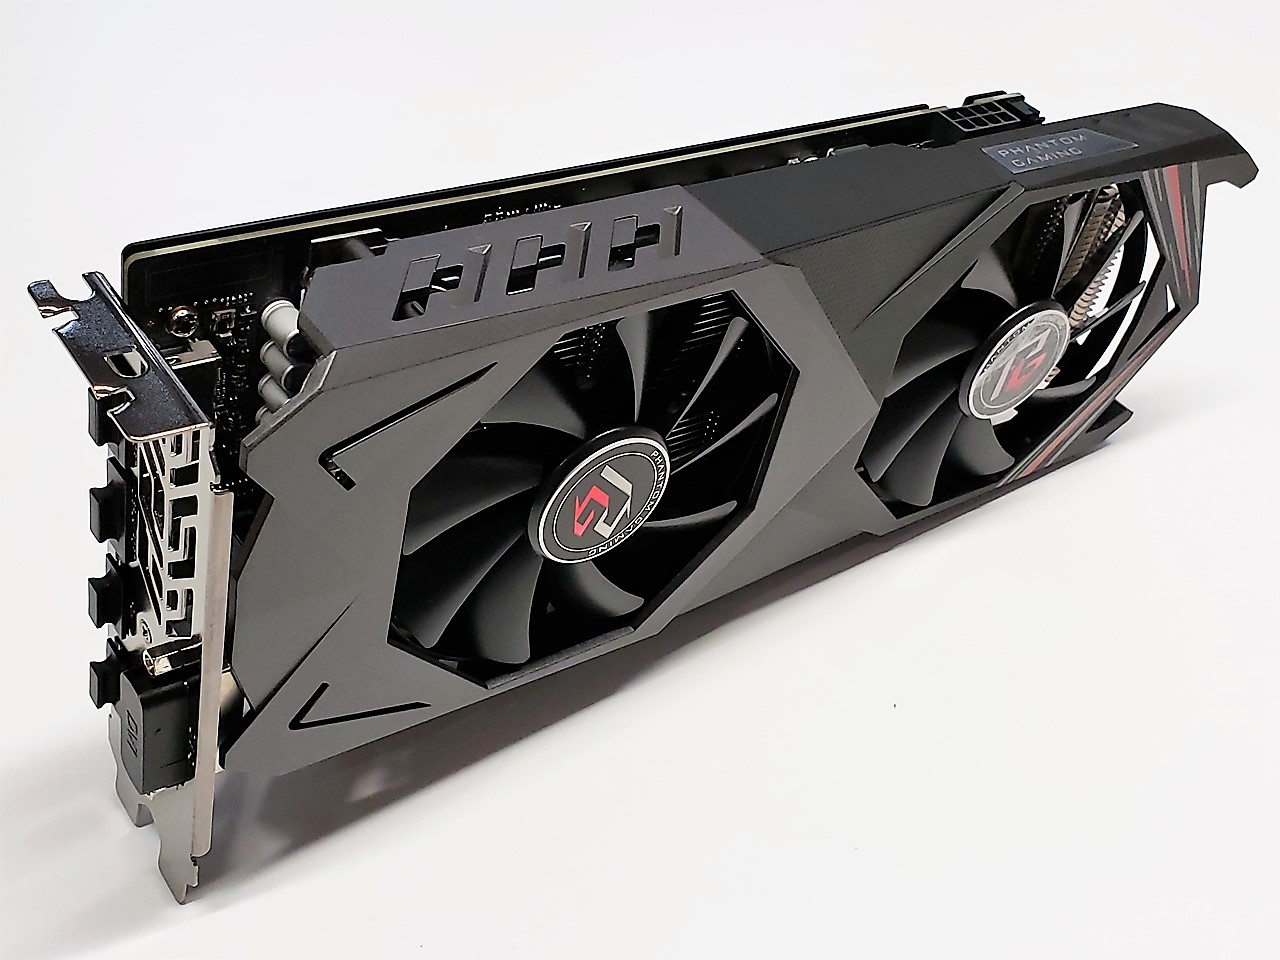
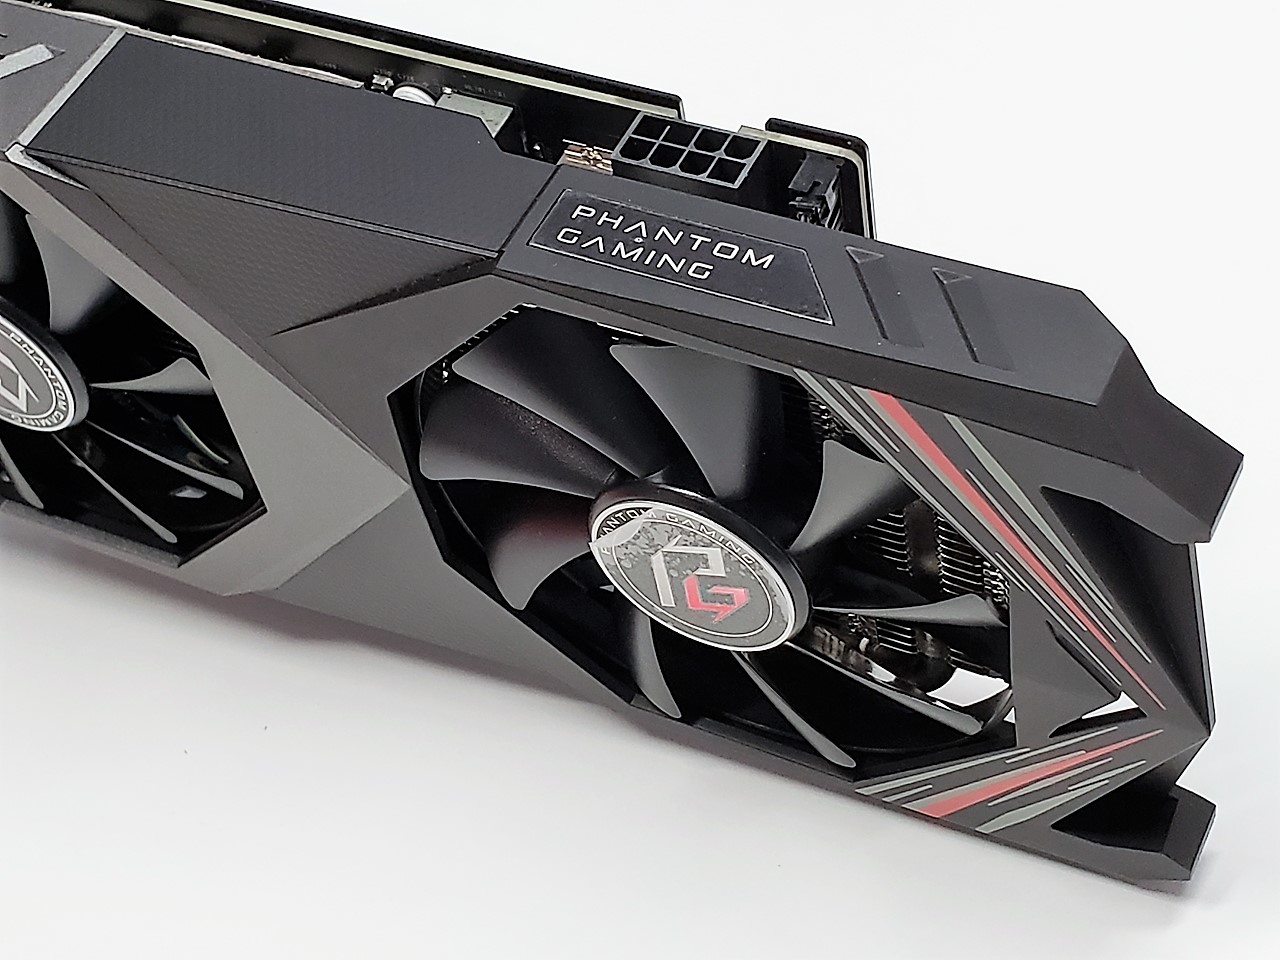
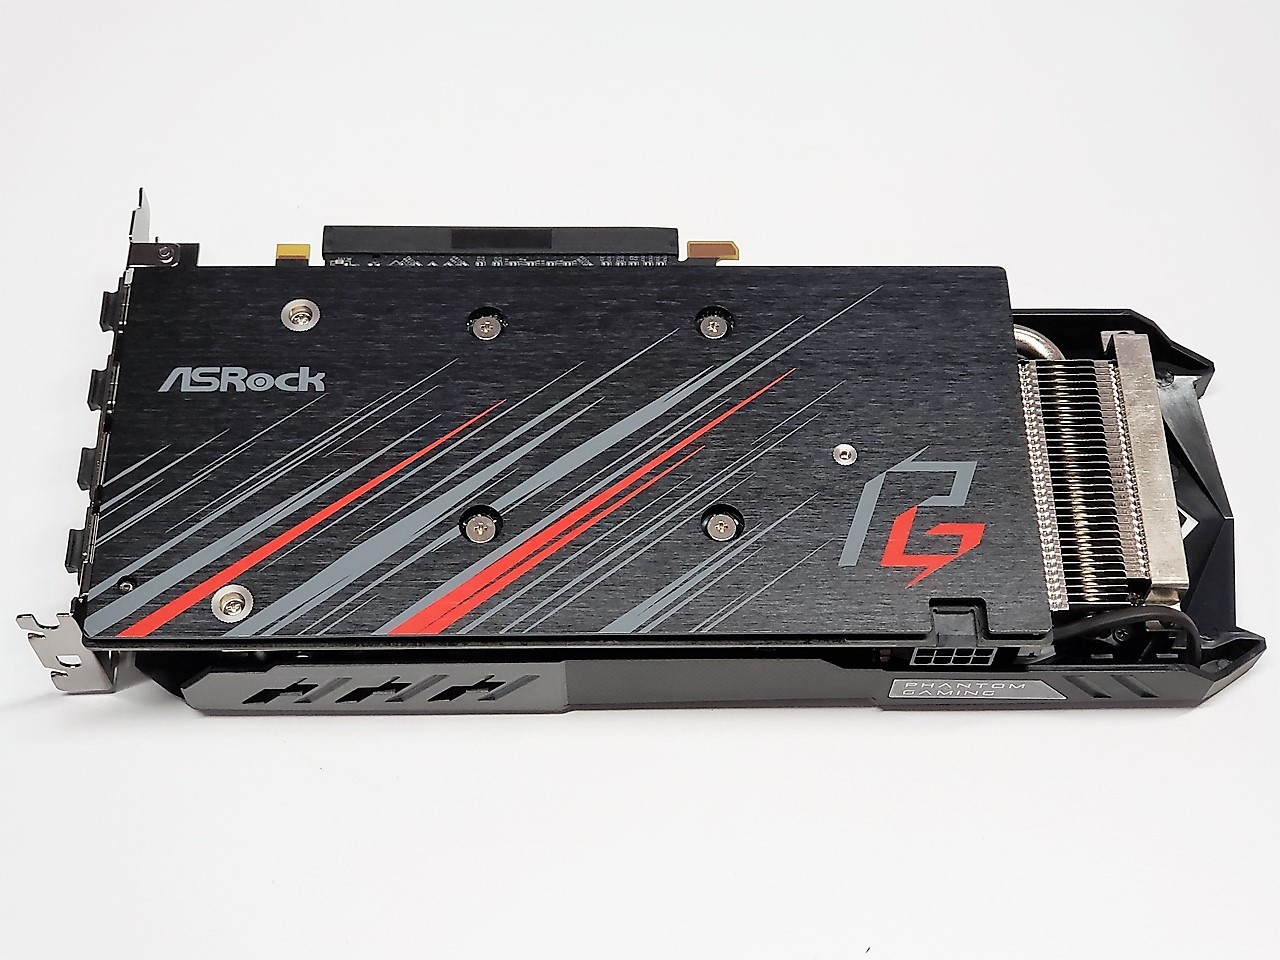
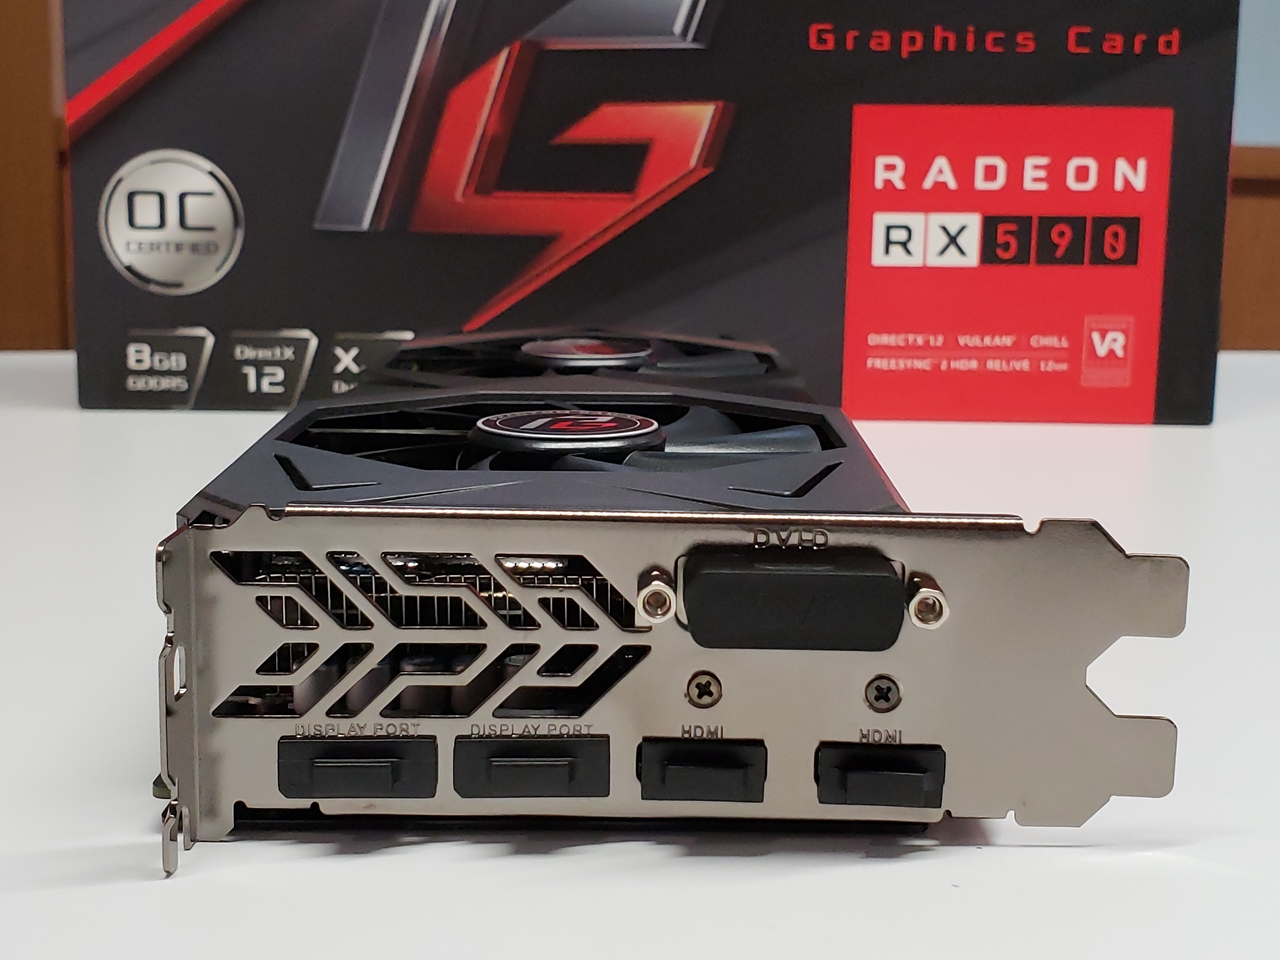
ASRock Radeon RX 590 8G OC Graphics Card
If you want a decent graphics card that’s designed for gaming, affordable, and offers very good performance with the option of CrossfireX multi-GPU configuration… then look no further. The ASRock Phantom Gaming Radeon RX 590 8G OC is here!
Read the rest of the review here. You can buy the ASRock Radeon RX 590 Graphics Card (8GB GDDR5) from various online retailers for around USD $280-$299.


32GB Corsair Vengeance RGB DDR4-3000 memory
If you’re not a fan of RGB, then look away. The Corsair Vengeance RGB 32GB DDR4-3000 Memory Kit are made for RGB fans (I mean the enthusiast type). The performance you’ll get is phenomenal, with the added bonus of wire-free RGB lighting.
Check out the full review here. You can buy these 32GB Corsair Vengeance RGB DDR4-3000

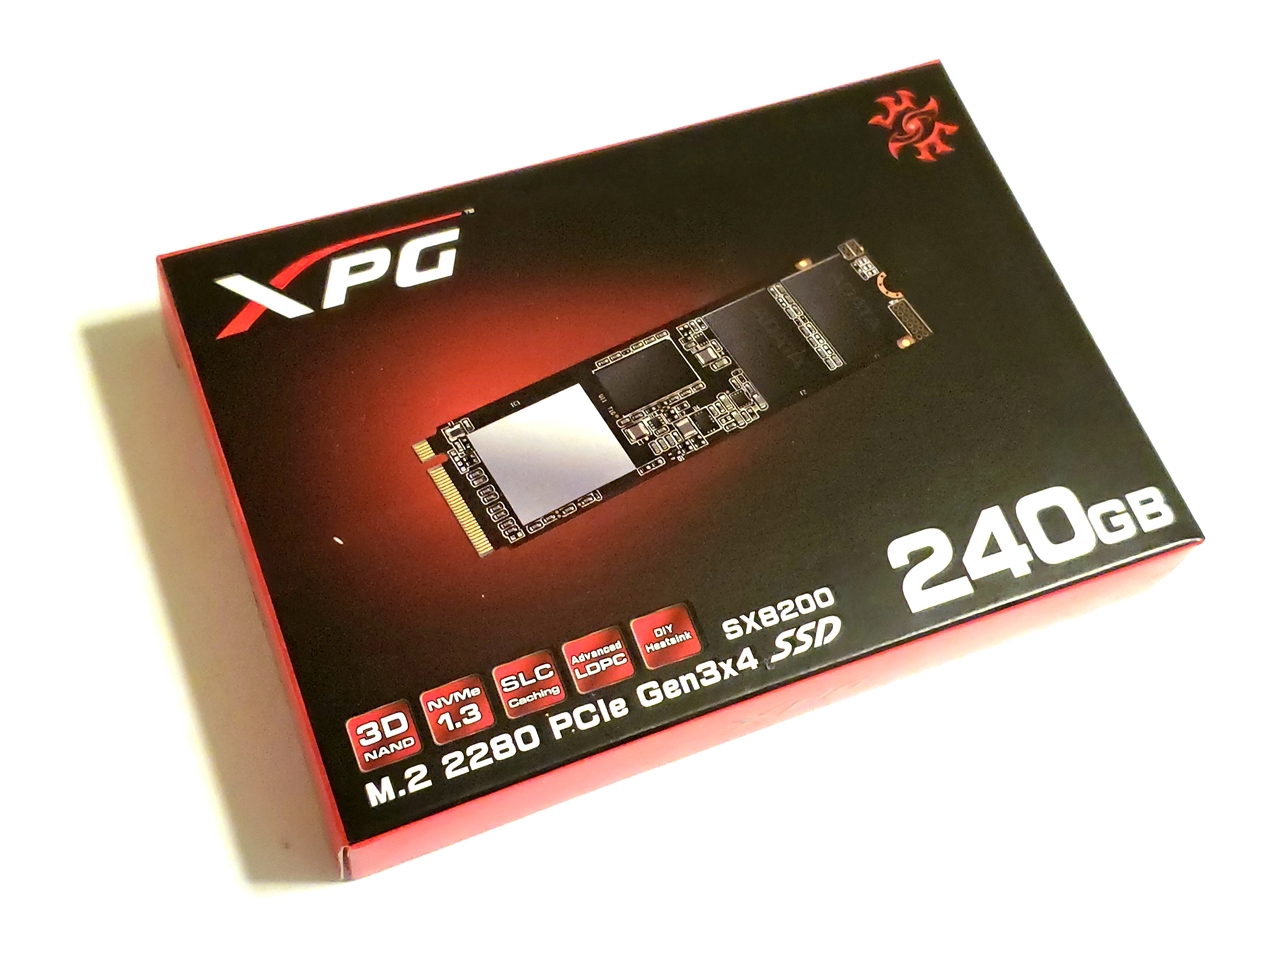
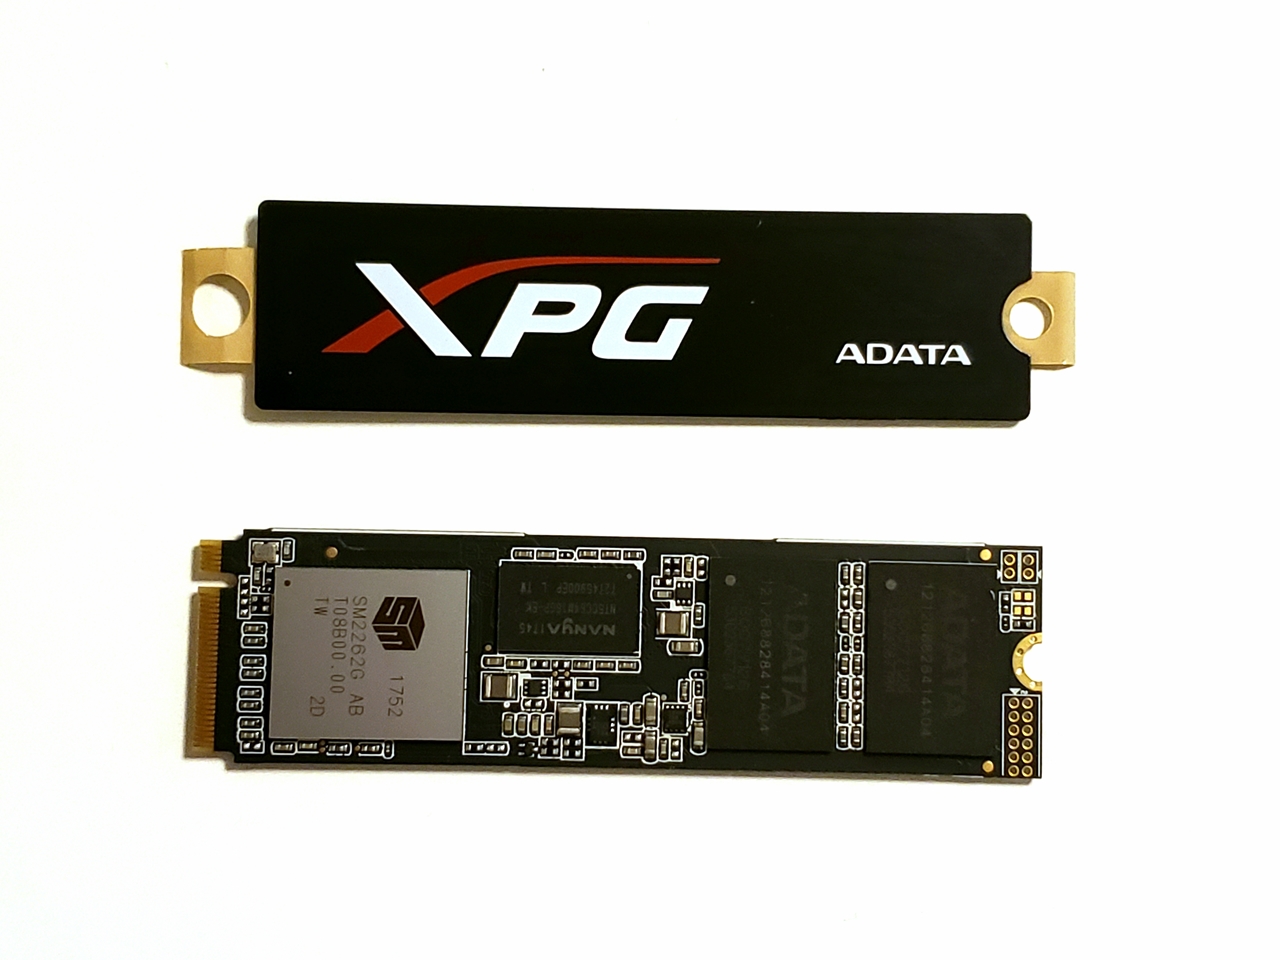
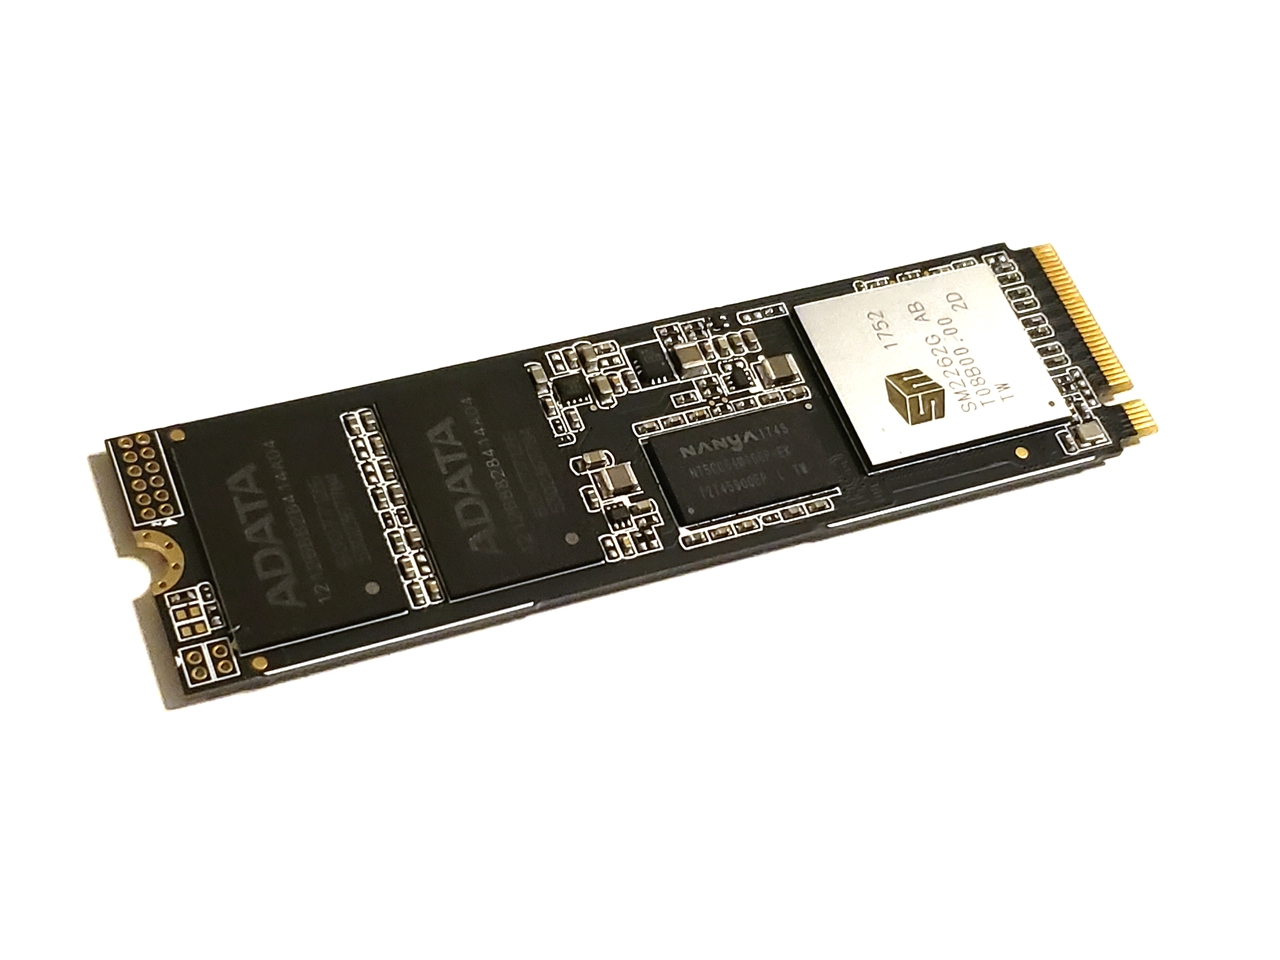
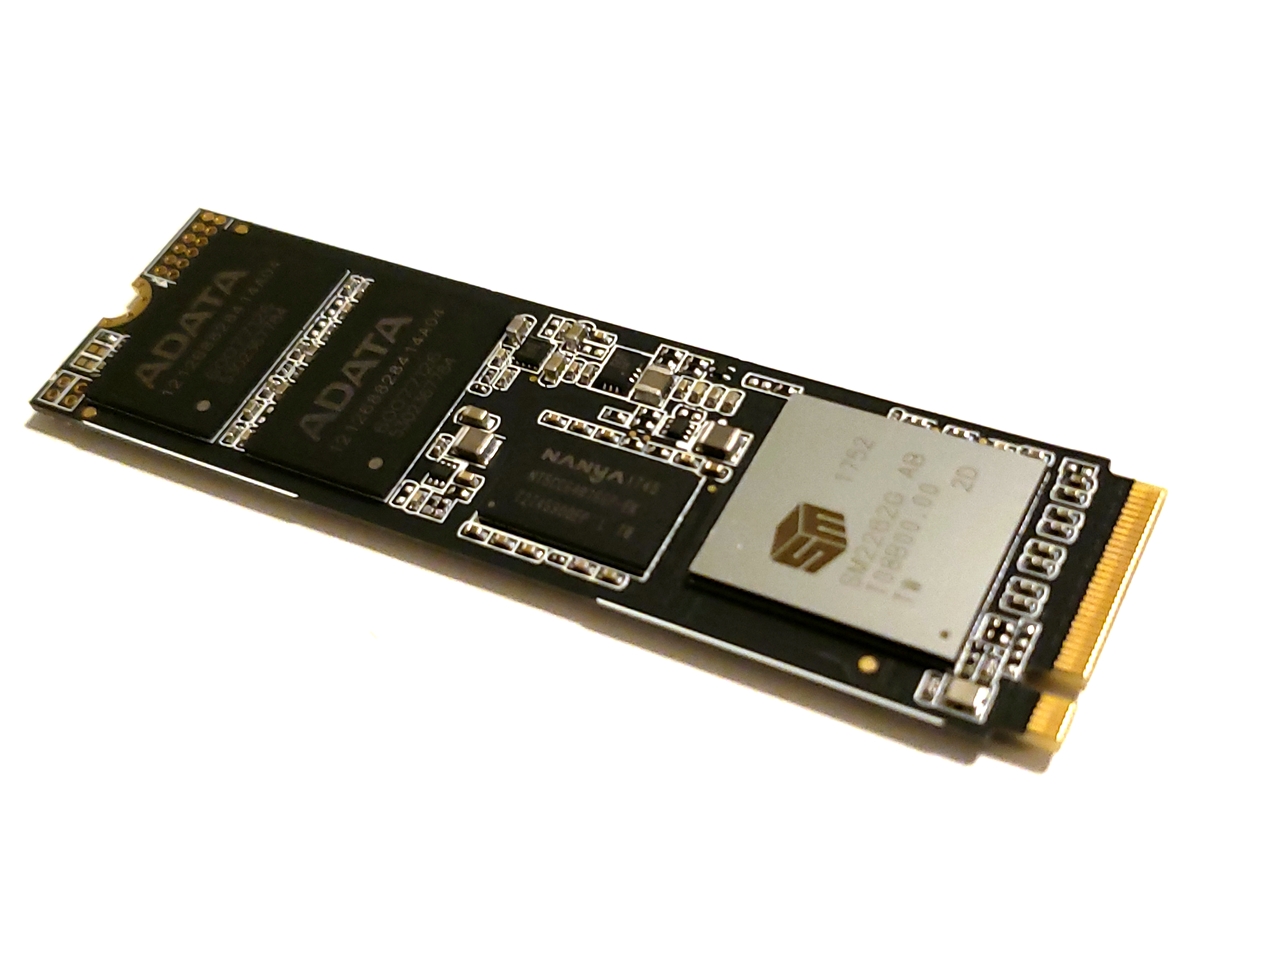
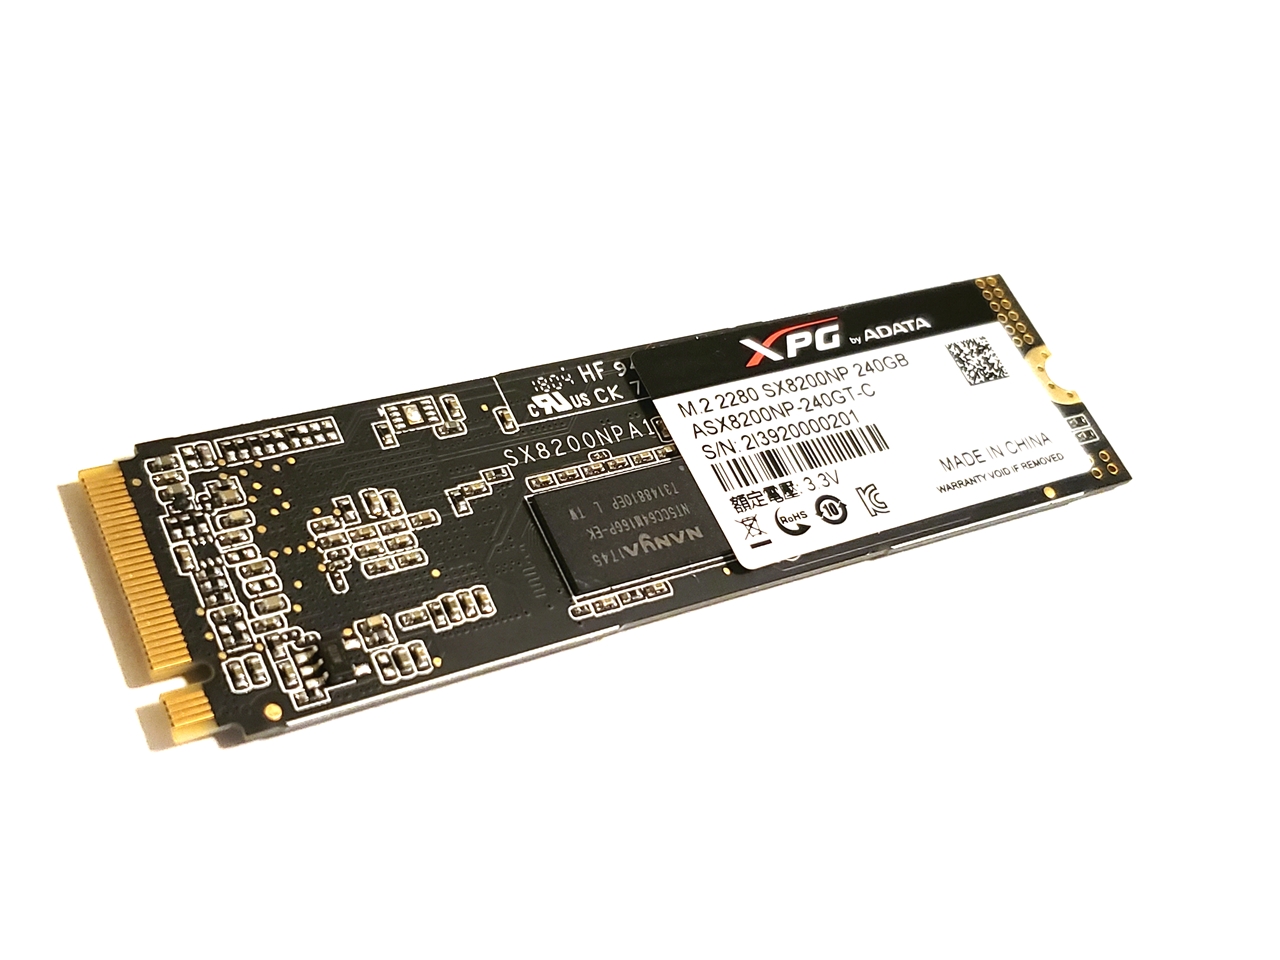
240GB ADATA SX8200 PCIe Gen 3×4 M.2 SSD
If you want a super fast boot drive at an amazingly affordable price, then take a serious look at the ADATA XPG SX8200 SSD. You won’t find anything that will beat it … especially under $80!
Read the review here. You can buy the ADATA XPG SX8200 SSD for around USD $78 at Amazon – https://amzn.to/2EyFrr8

Cooler Master 1200W Silent Pro 80Plus Gold
The Cooler Master 1200W Silent Pro power supply, will satisfy the energy cravings of any system. With a power efficiency rating of 90%, the Silent Pro Gold line meets the 80Plus Gold Standard.
Discontinued. But you can still buy the Cooler Master Silent Pro 1200W

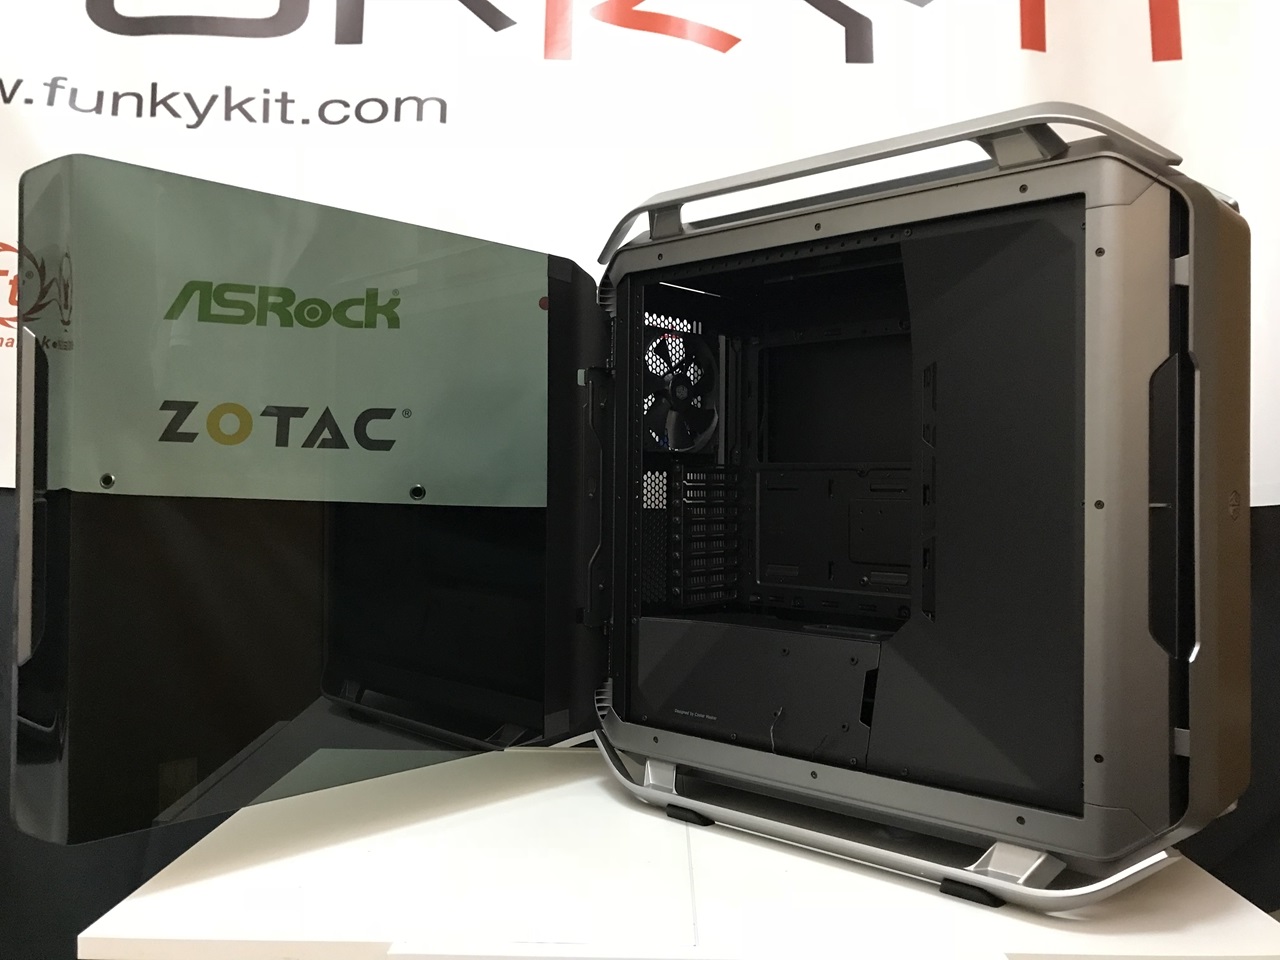
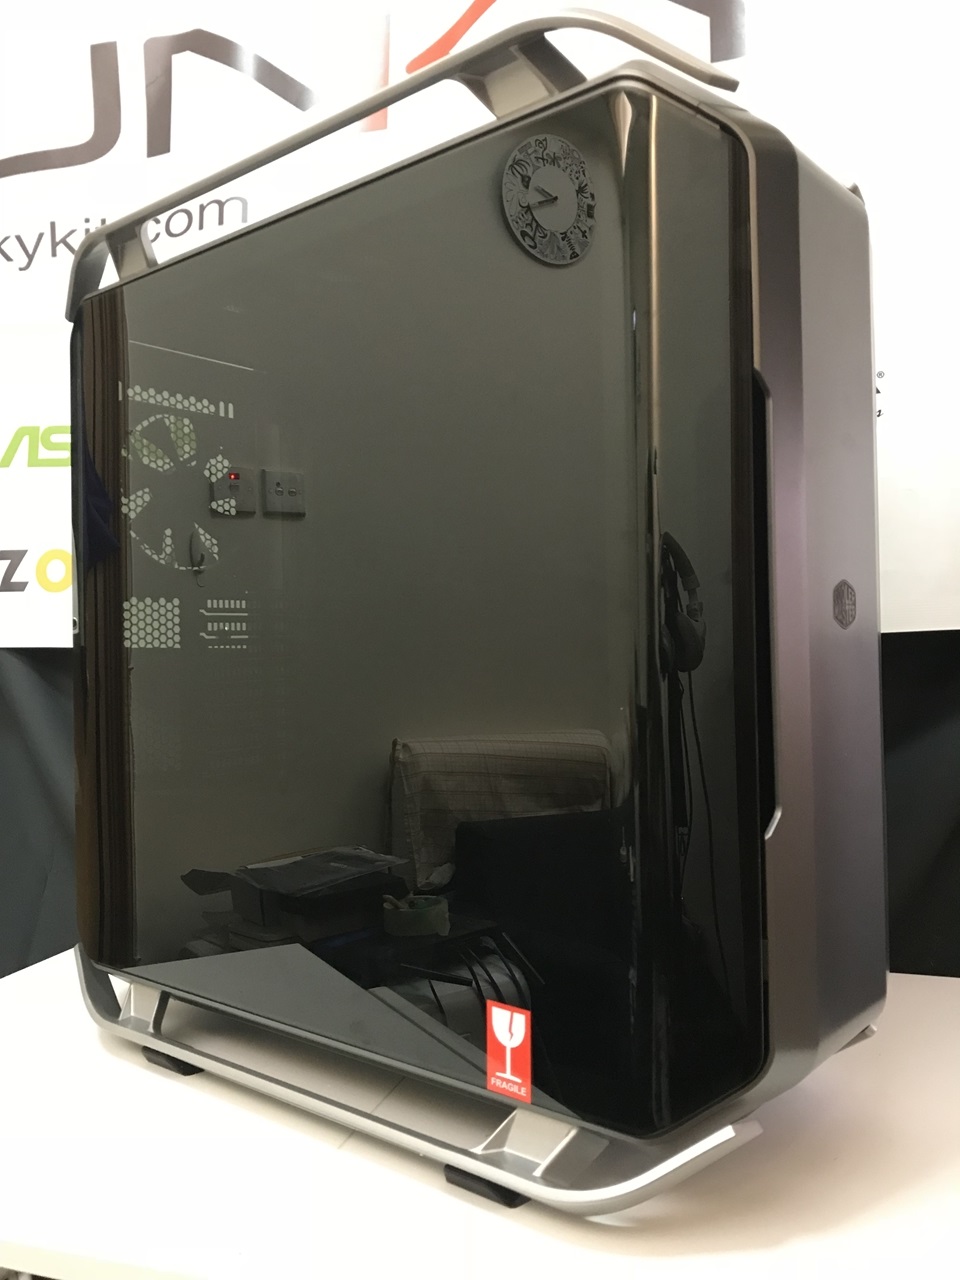
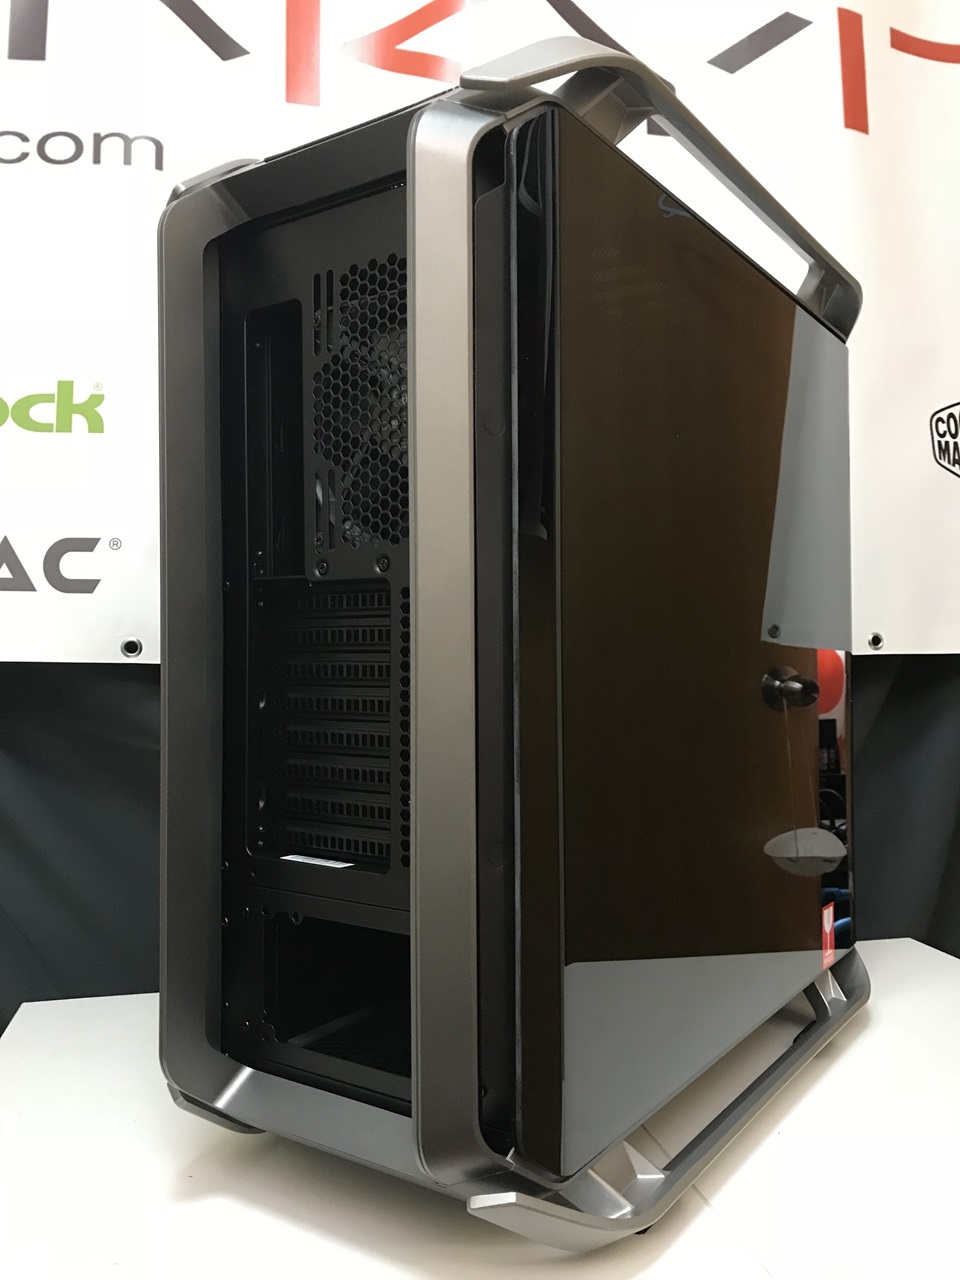
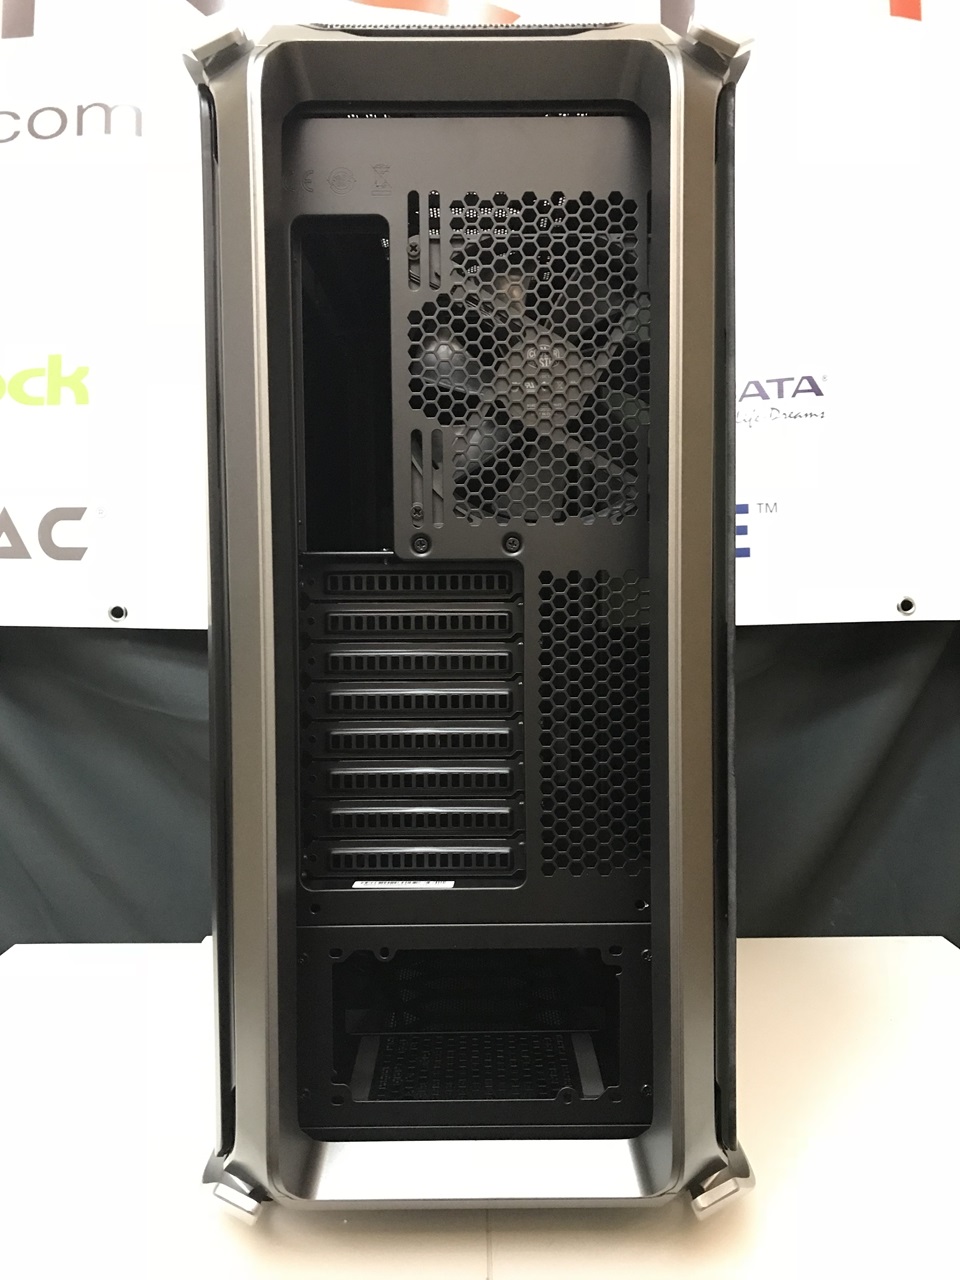
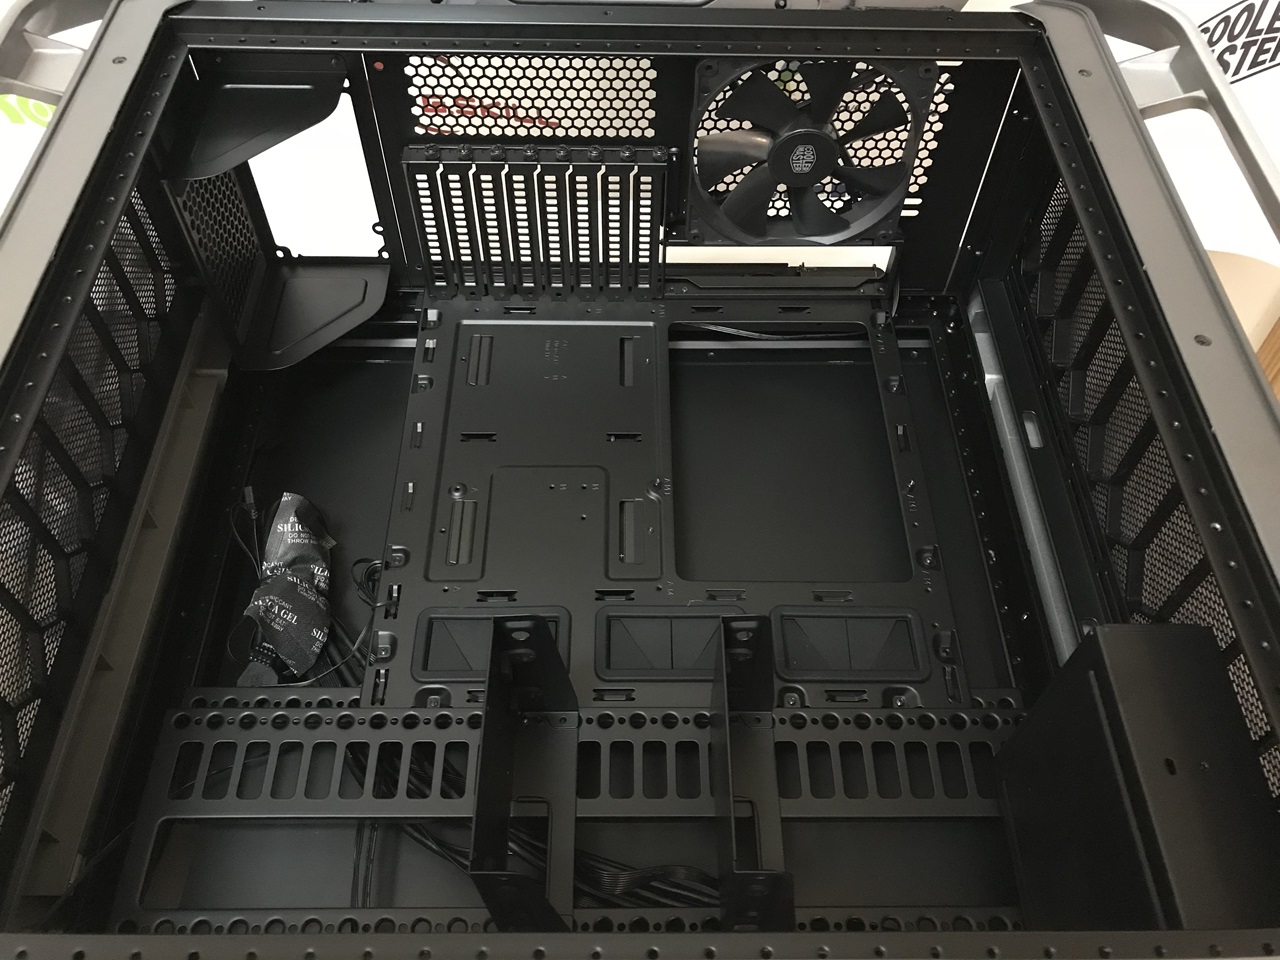
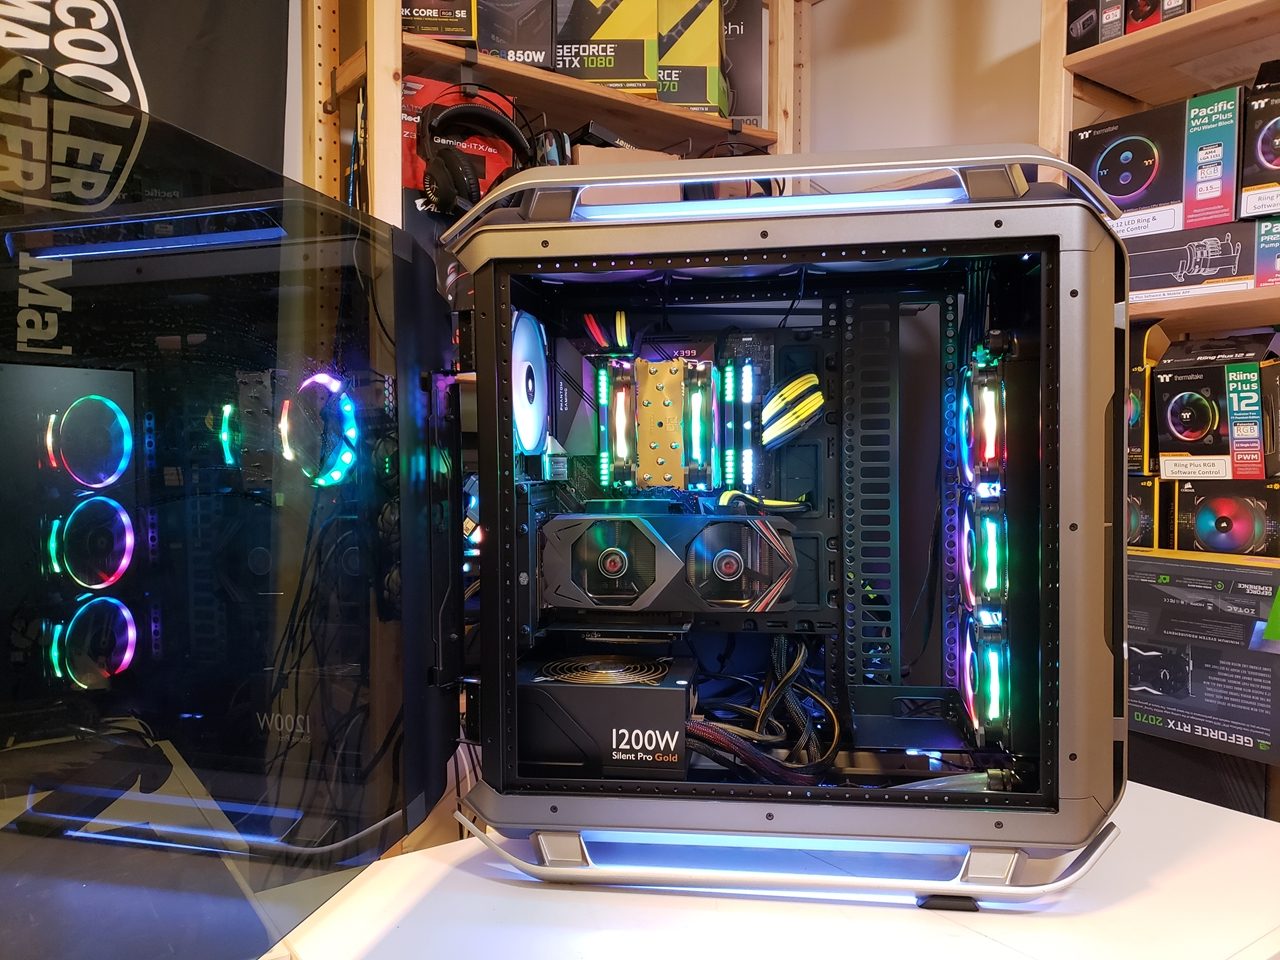
Cooler Master Cosmos C700P chassis
Cooler Master has continued its tradition of producing the highest quality chassis, for their flagship Cosmos series. If you’re an enthusiast and want the best looking chassis that offers solid construction, great looks, RGB and tons of cooling options … then the Cooler Master Cosmos C700P is the chassis you want!
Check out the review here. Buy the Cooler Master Cosmos C700P


Installation
This part 1 of the project. During our installation, we didn’t have time to install a AIO liquid cooler, instead we used the Noctua NH-U12S TR4 SP3 Cooler, and replaced the existing fan with 2 Thermaltake Riing 12 fans.
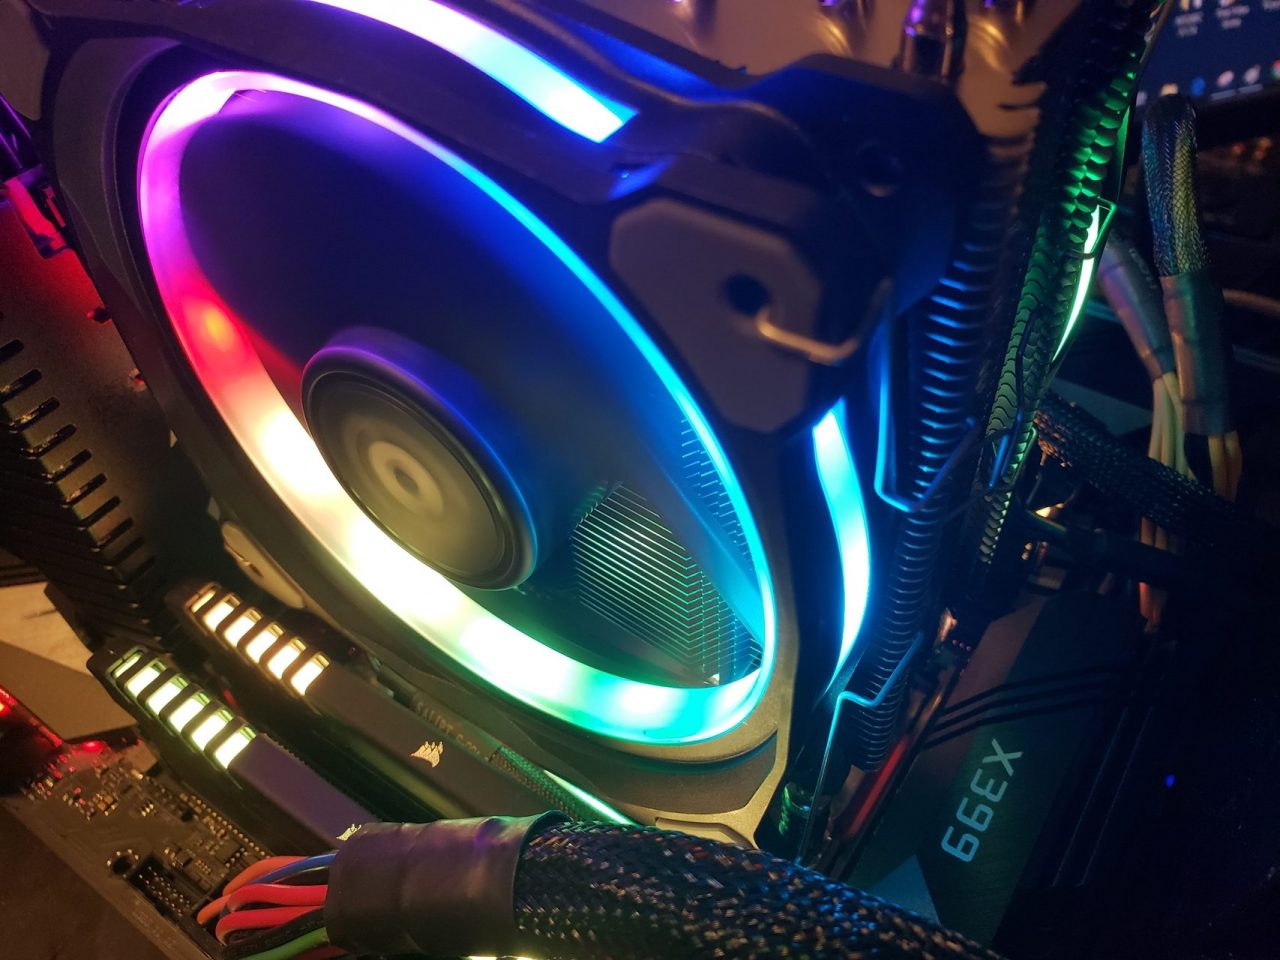
The Noctua NH-U12S TR4 SP3 Cooler was a little tricky to mount, but in the end it did look pretty good with the Thermaltake Riing fans. The cooling performance wasn’t too bad either. It handled our Threadripper 1950X pretty well … even at an overclocked speed of 4.1GHz!
Once all the components are fitted, installed and mounted, and the moment when you power the system … I must say, it is a truly a breath-taking experience!


In part 2 we will be fitting and installing a full custom loop with watercooling components from Thermaltake. Watch out for another epic video build log in the coming weeks.
Once again, a BIG thanks to our title sponsor ASRock for making the final year-end PC project build possible … and of course special thanks also go to Corsair, Thermaltake and Cooler Master.
Related articles
- ASRock Radeon RX 590 8G OC Graphics Card (8GB GDDR5) Review
- ASRock Z390 Phantom Gaming-ITX/ac Motherboard Review
- ASRock Z390 Taichi Motherboard Review
- ASRock B450M Pro4 Motherboard Review
- ASRock Fatal1ty B450 Gaming-ITX/ac Motherboard Review
- ASRock Fatal1ty B450 Gaming K4 Motherboard Review
- ASRock X470 Taichi AMD Ryzen Motherboard Review
- ASRock X399M Taichi – AMD Threadripper Motherboard Review
- ASRock X399 Taichi (Ryzen Threadripper) Motherboard Review

