


Assembly
Assembling the Explore S Gaming Chair


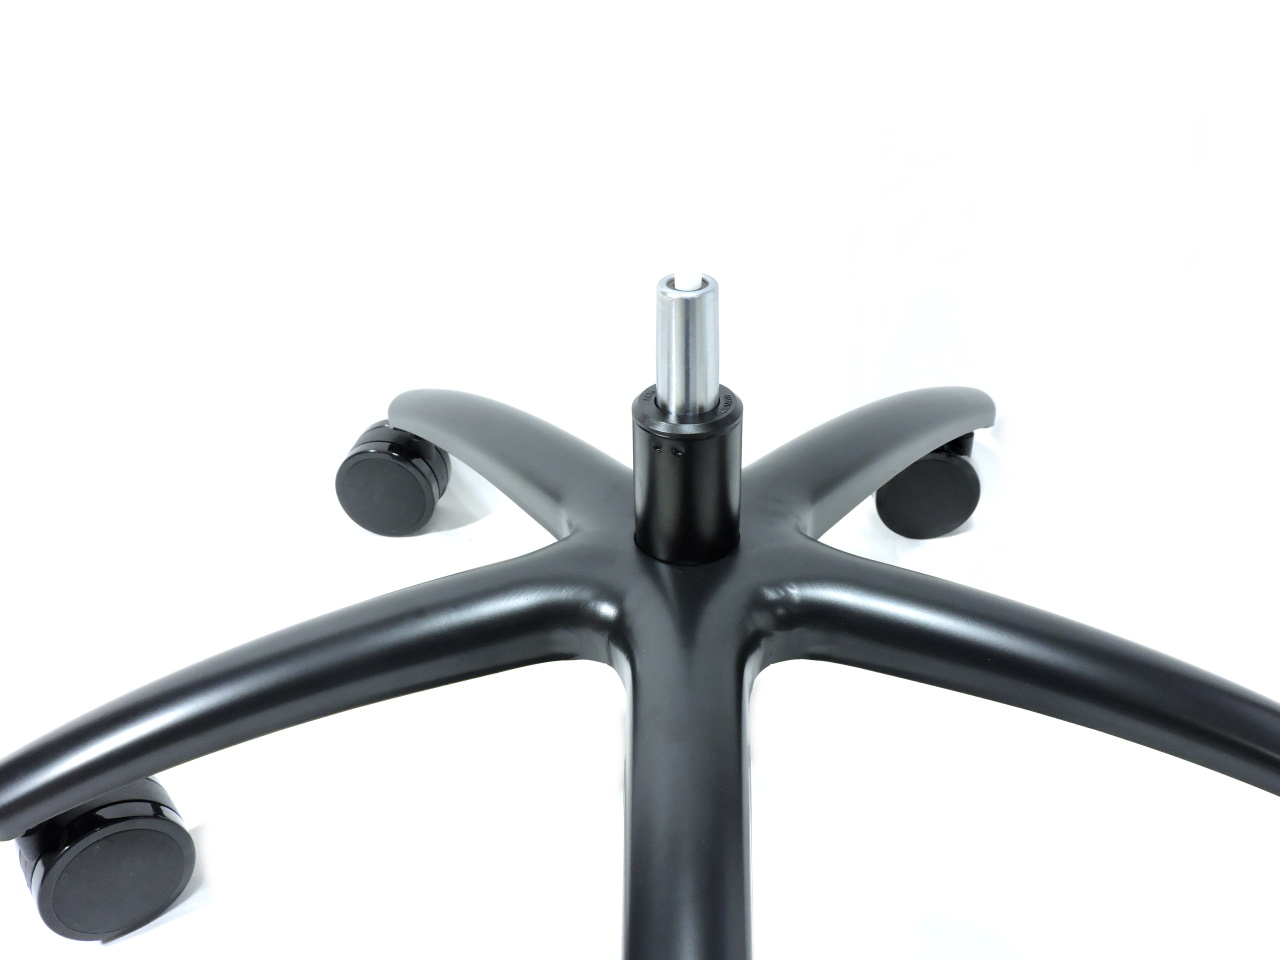
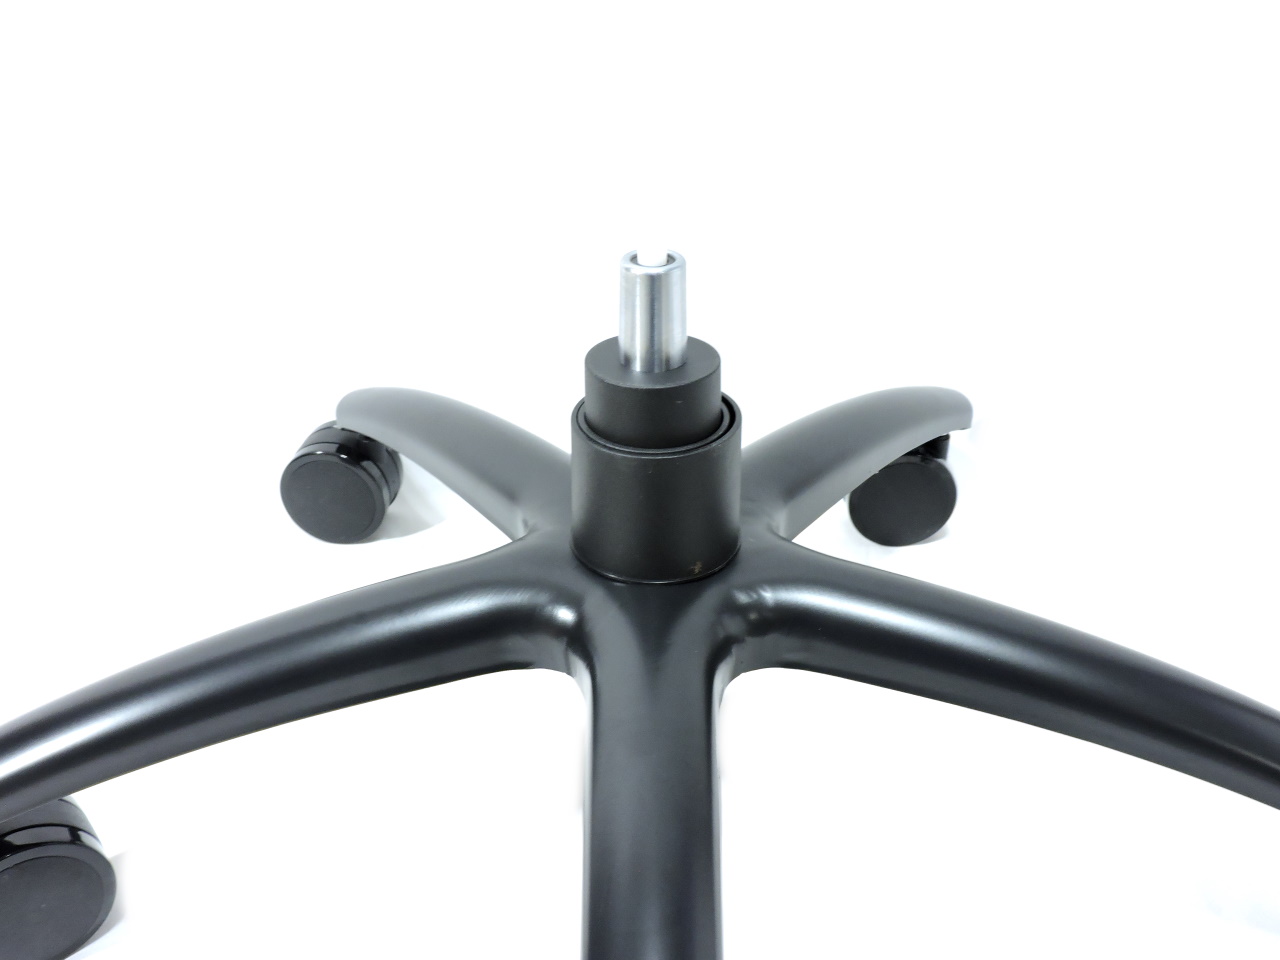
Step 1: In this step will insert the hydraulic shock into the 5 spoke base and also insert the wheels. The wheels require a little effort to lock into place but the shock doesn’t require a whole lot of pressure to seated into the correct position. Don’t forget to place the plastic cover over the shock and you are done with this step.

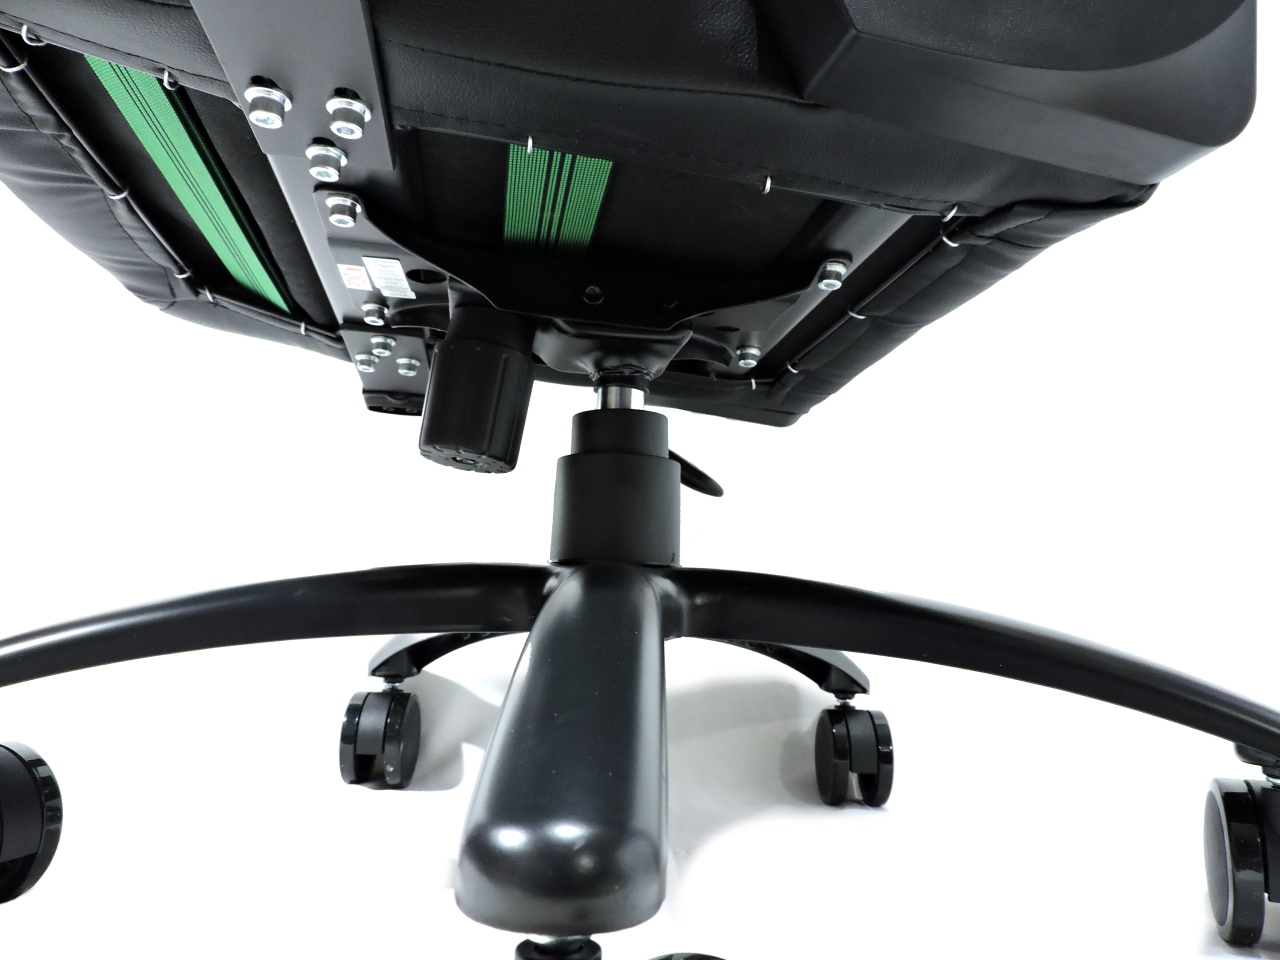
Step 2: Step 2 requires the bottom mount to be placed and secured to the bottom of the chair. You will find the bolts for the base in the plastic holder. Just make sure all the holes are lined up and the base has has the sticker showing front, towards the front of bottom base (as if you were sitting in the chair). Tighten the bolts firmly and you are done with this step. One thing to note is this is the step where you would usually mount the arms. This process has already been done from the factory!
Step 3: In this step we simply lift the chair and place the hydraulic shock on the bottom base of the chair. It wasn’t difficult to lift the chair for me, but if you have and extra set of and hands and eyes, that would help you a lot with lining up the shock and the hole on the base of the chair. There is really no need to slam the chair into place. Just make sure the shock is stable in the hole and all I did was sit in the chair and kind of bounced in it and that should seat the two together perfectly. Although use caution and make sure you have the two together good because if not you might wish this chair did come equipped with seatbelts!!!
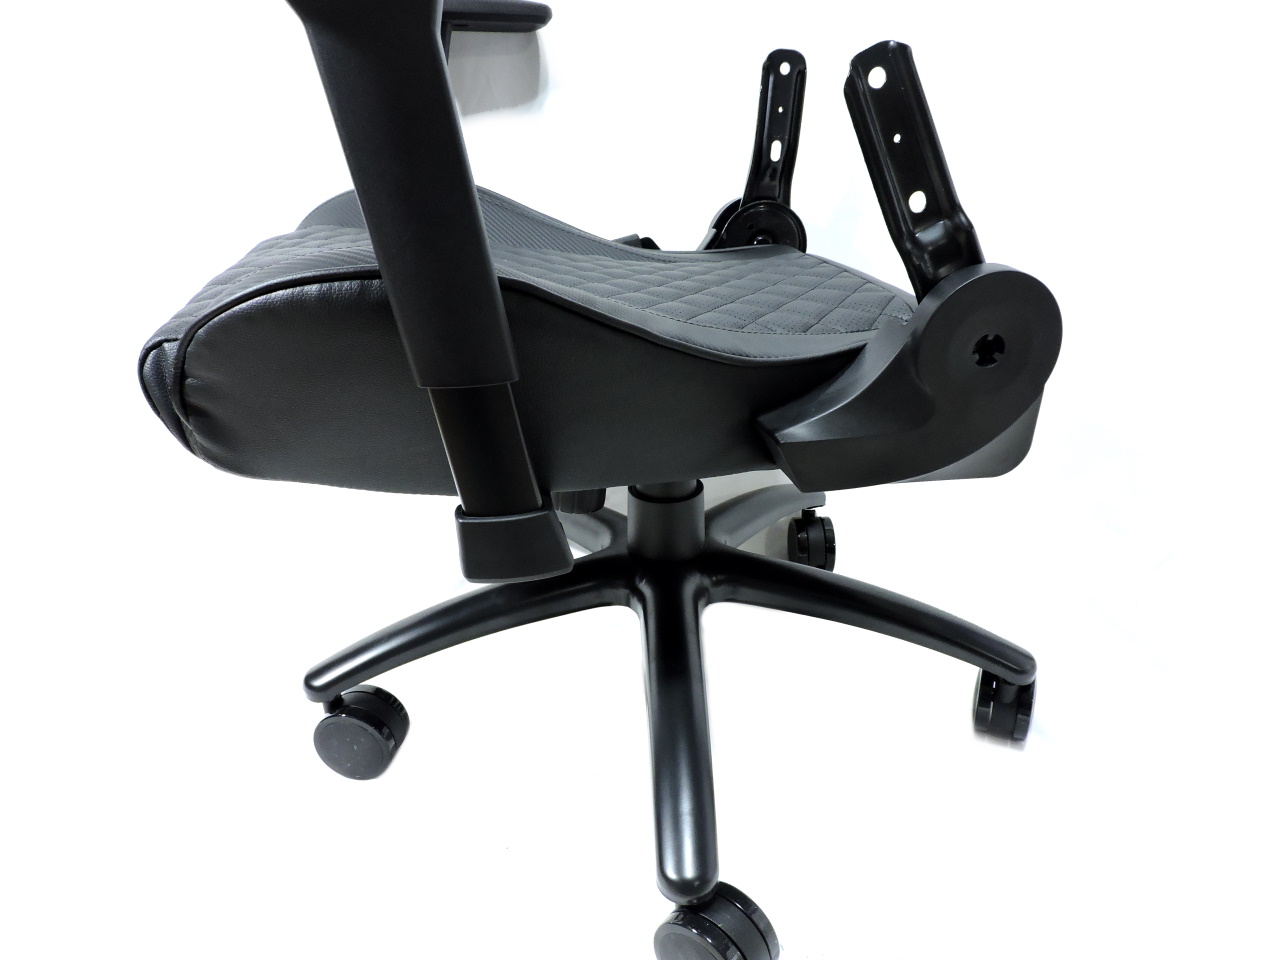
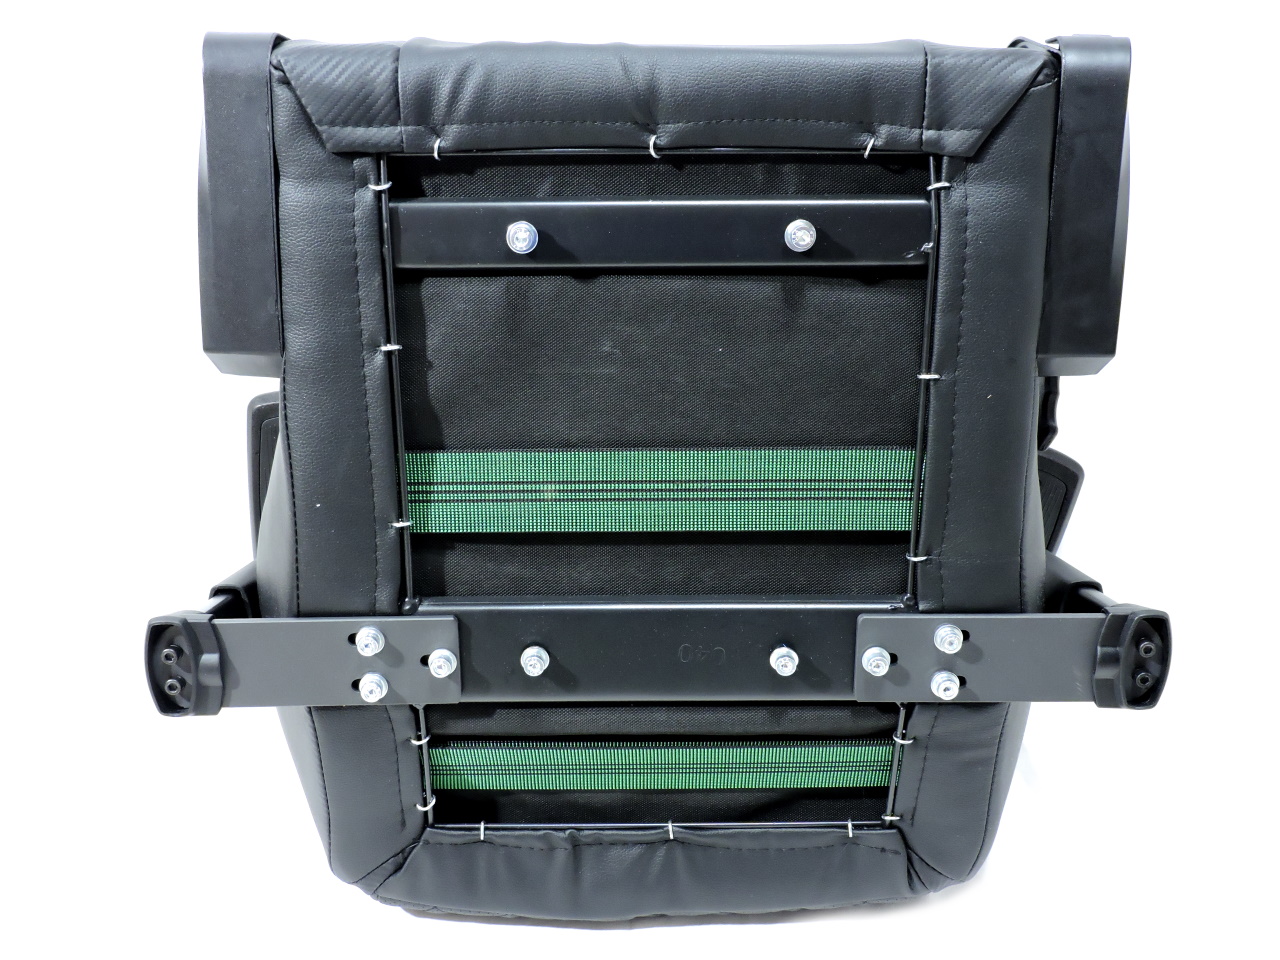
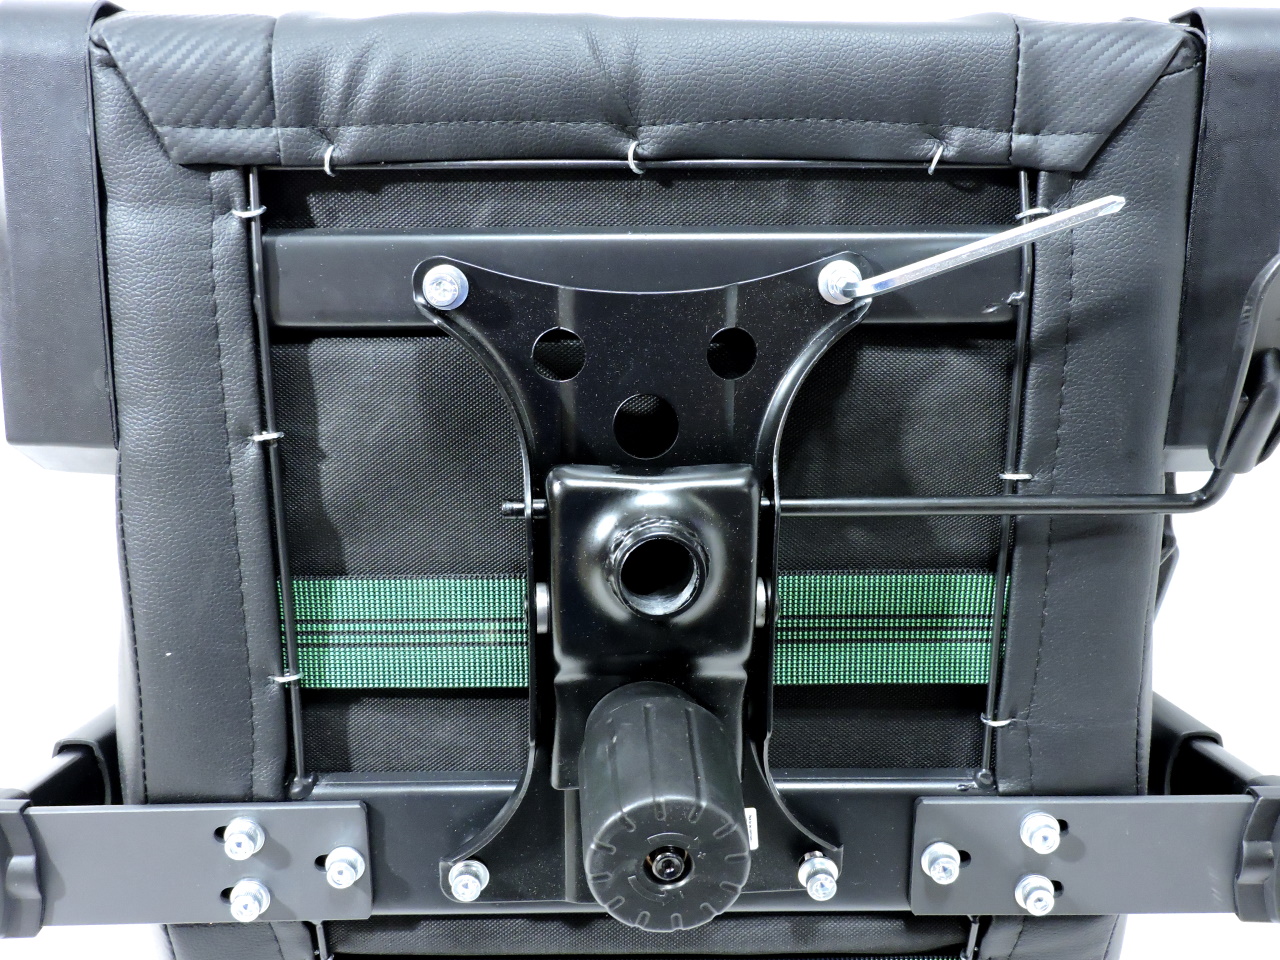
Step 4: Pretty simple step. All you need to do is place the back rest in between the braces on the bottom piece of the chair. Place the bolts into the corresponding holes tighten firmly.
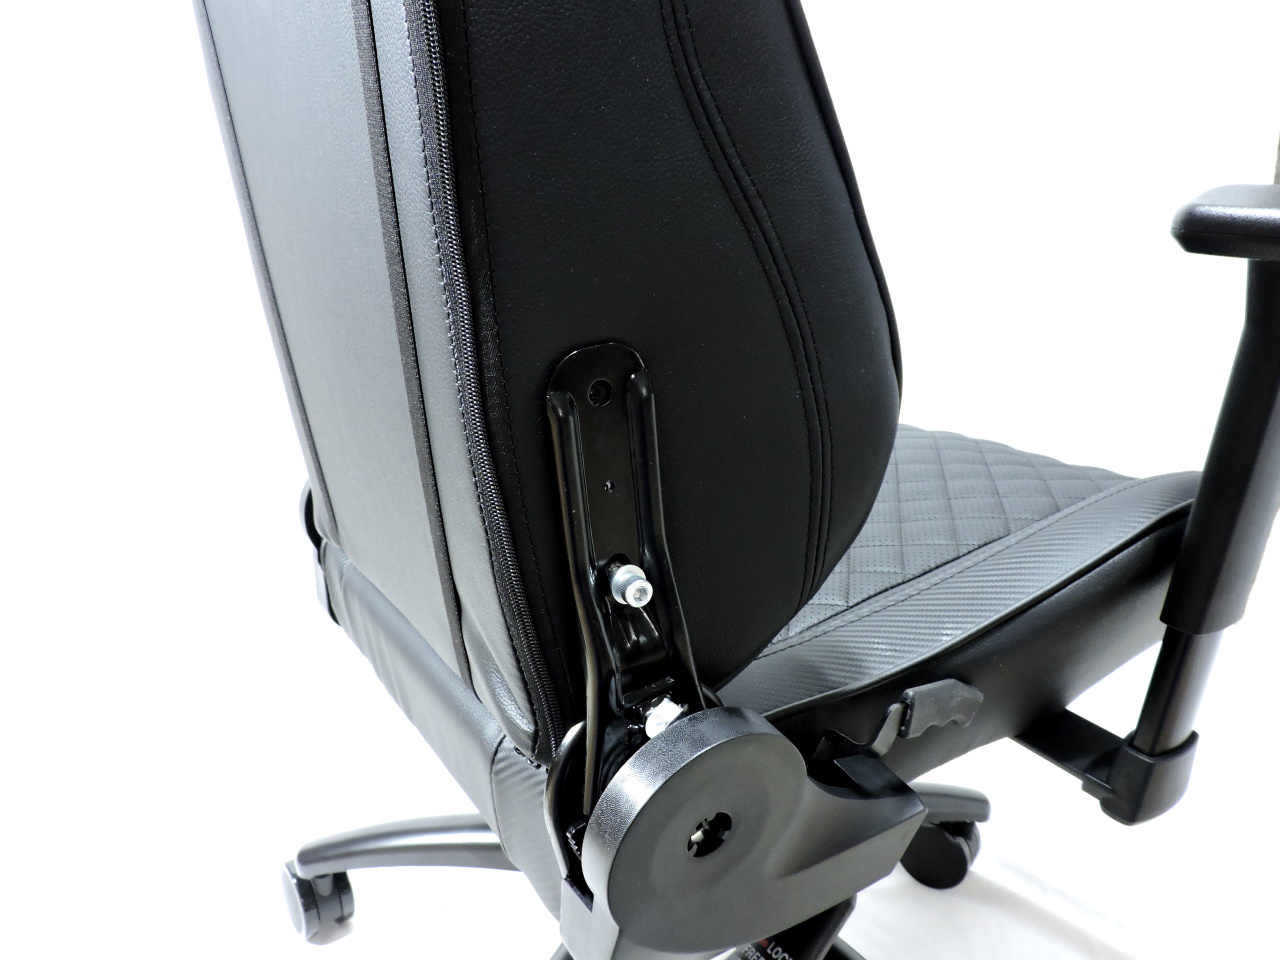
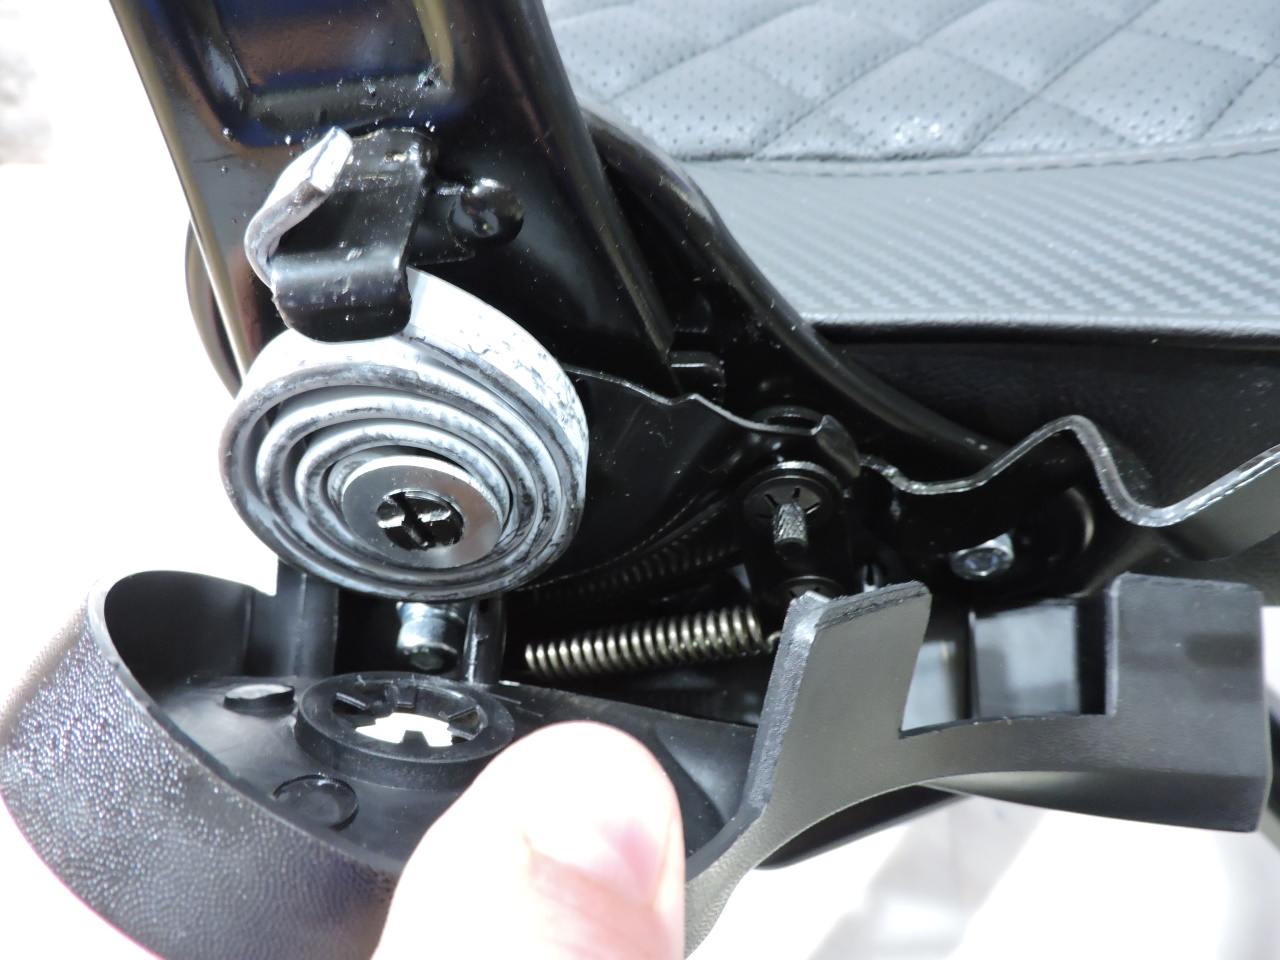
Step 5: All this step requires is placing the plastic covers over the braces you just tightened that connects the back and bottom of the chair. You can find the screw and plastic screw covers in the parts bag. One screw for each side, pop the cover in the hole and you are done with this step.

The weight of each component has a solid feel to it, from the base, heavy-duty caster wheels, and all the way to the seat and back rest. There are literally 16 screws you have to deal with. Not to bad in my opinion. The pillows are pre-placed for your convenience. As you can see in the instruction manual there are 6 steps and the guide is easy to follow. The last step is putting the support pillows into place.
All done! lets move on to the Conclusion and Verdict of the Explore S Gaming Chair!

