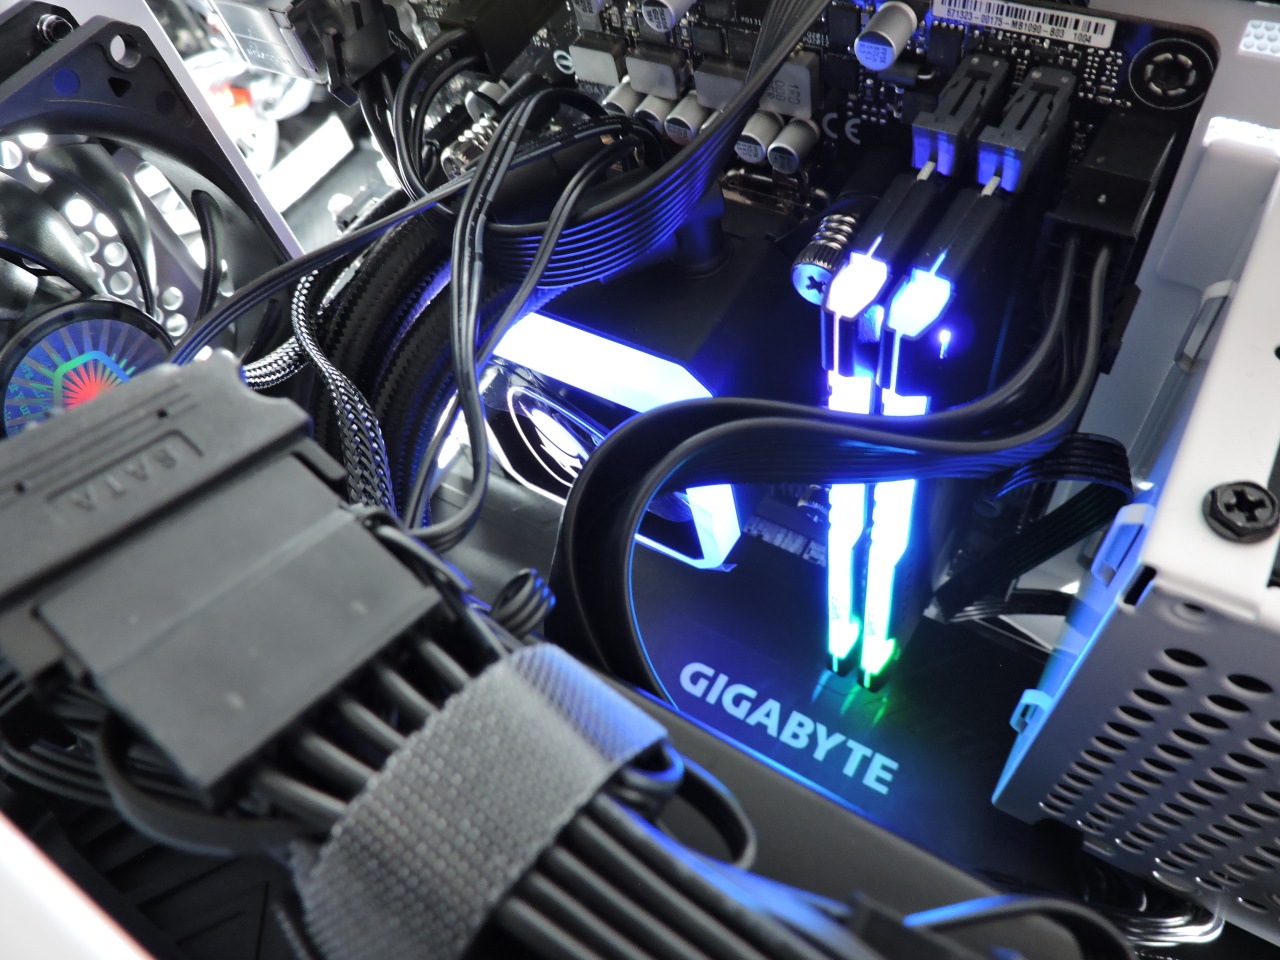
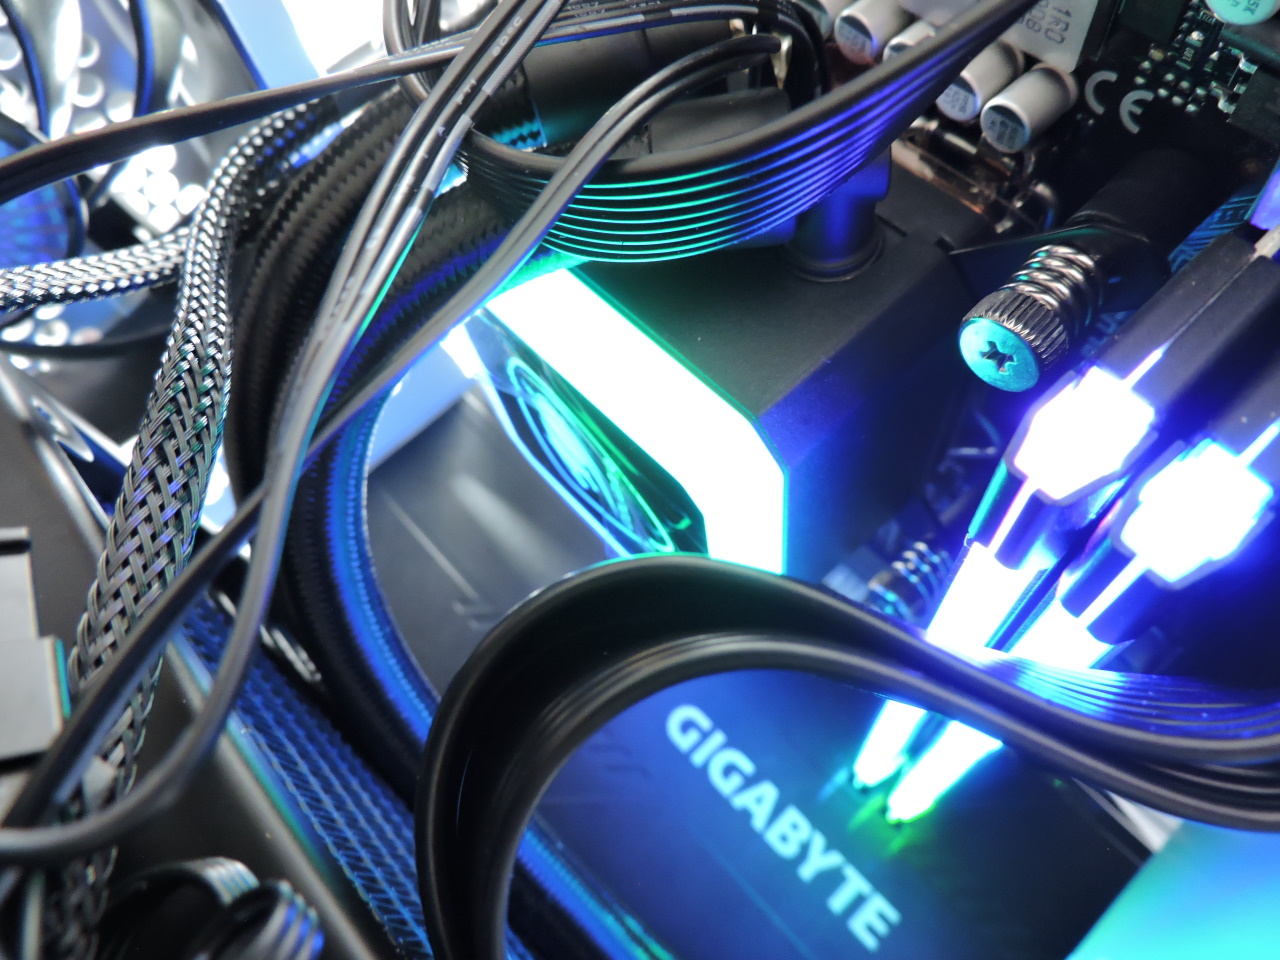
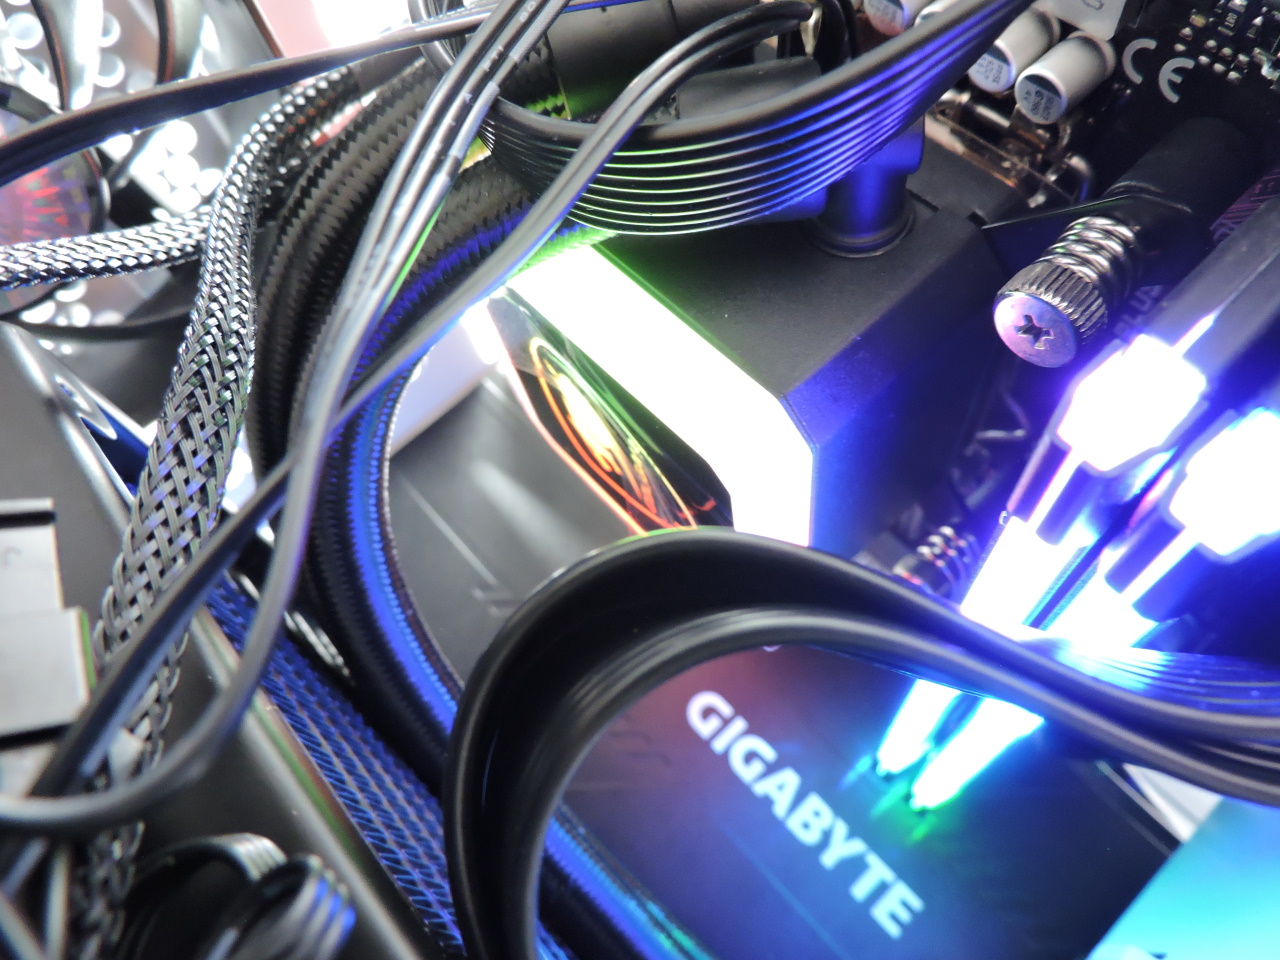
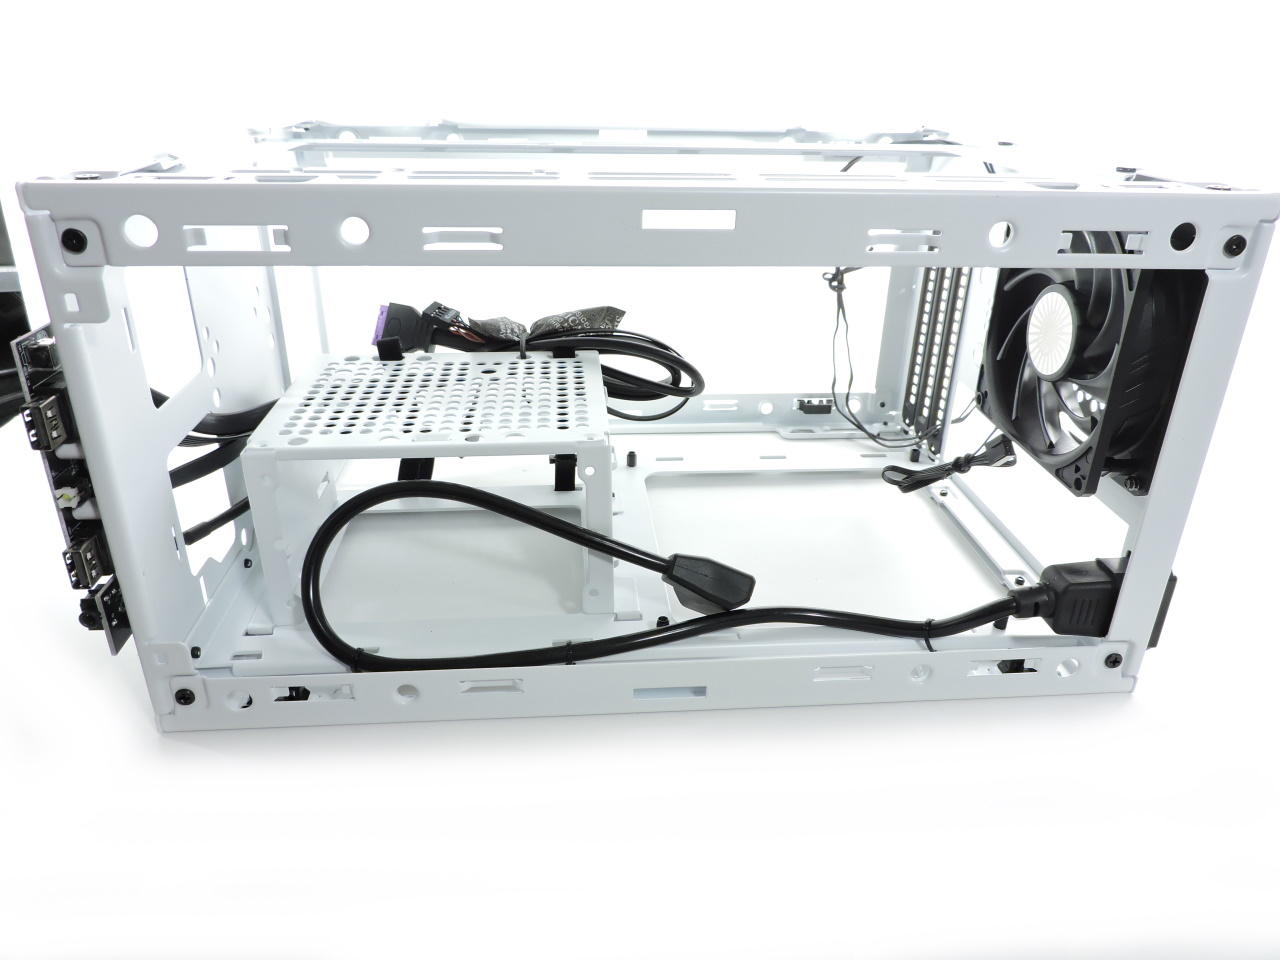
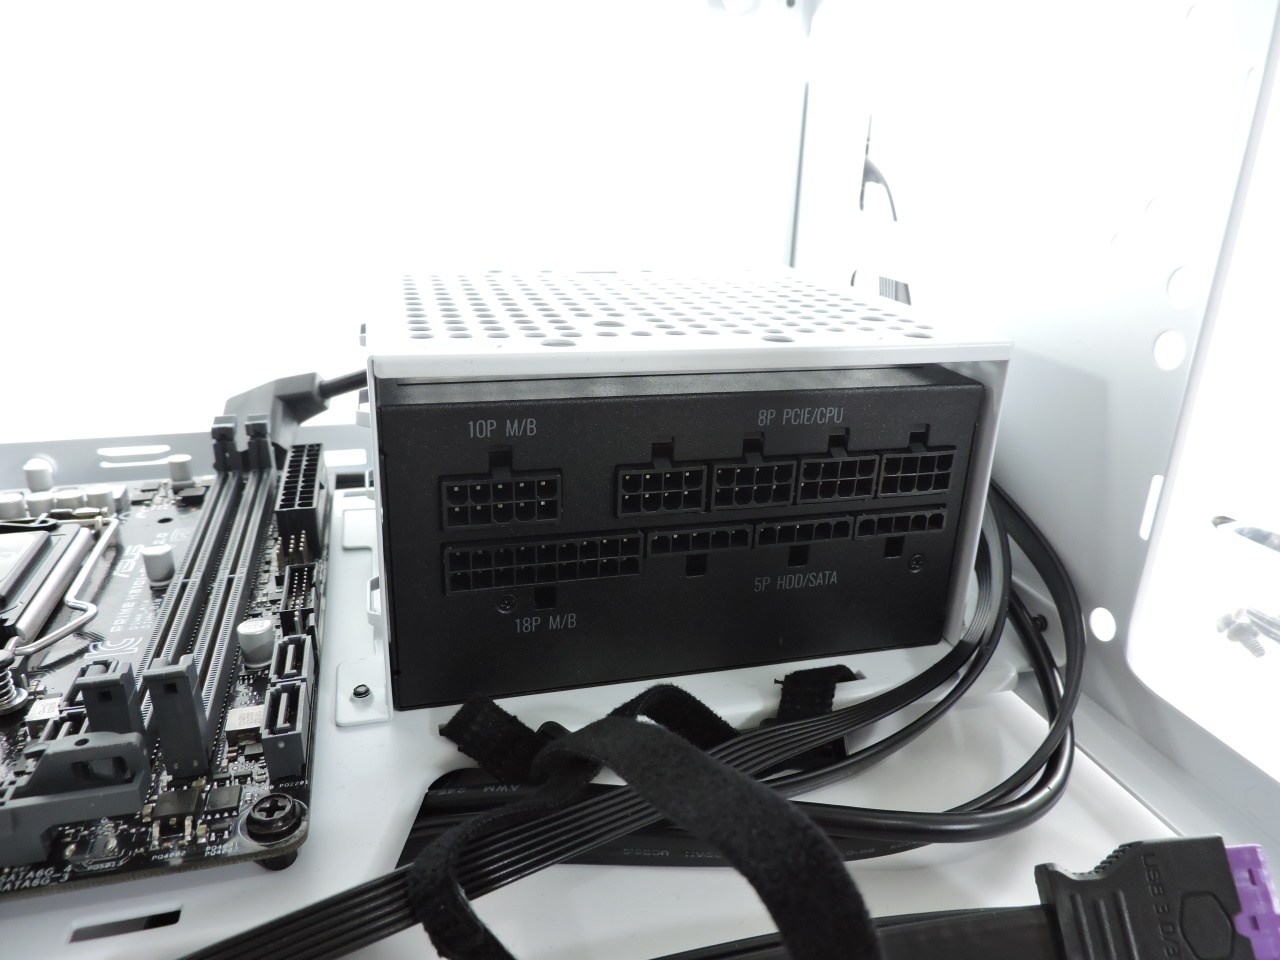
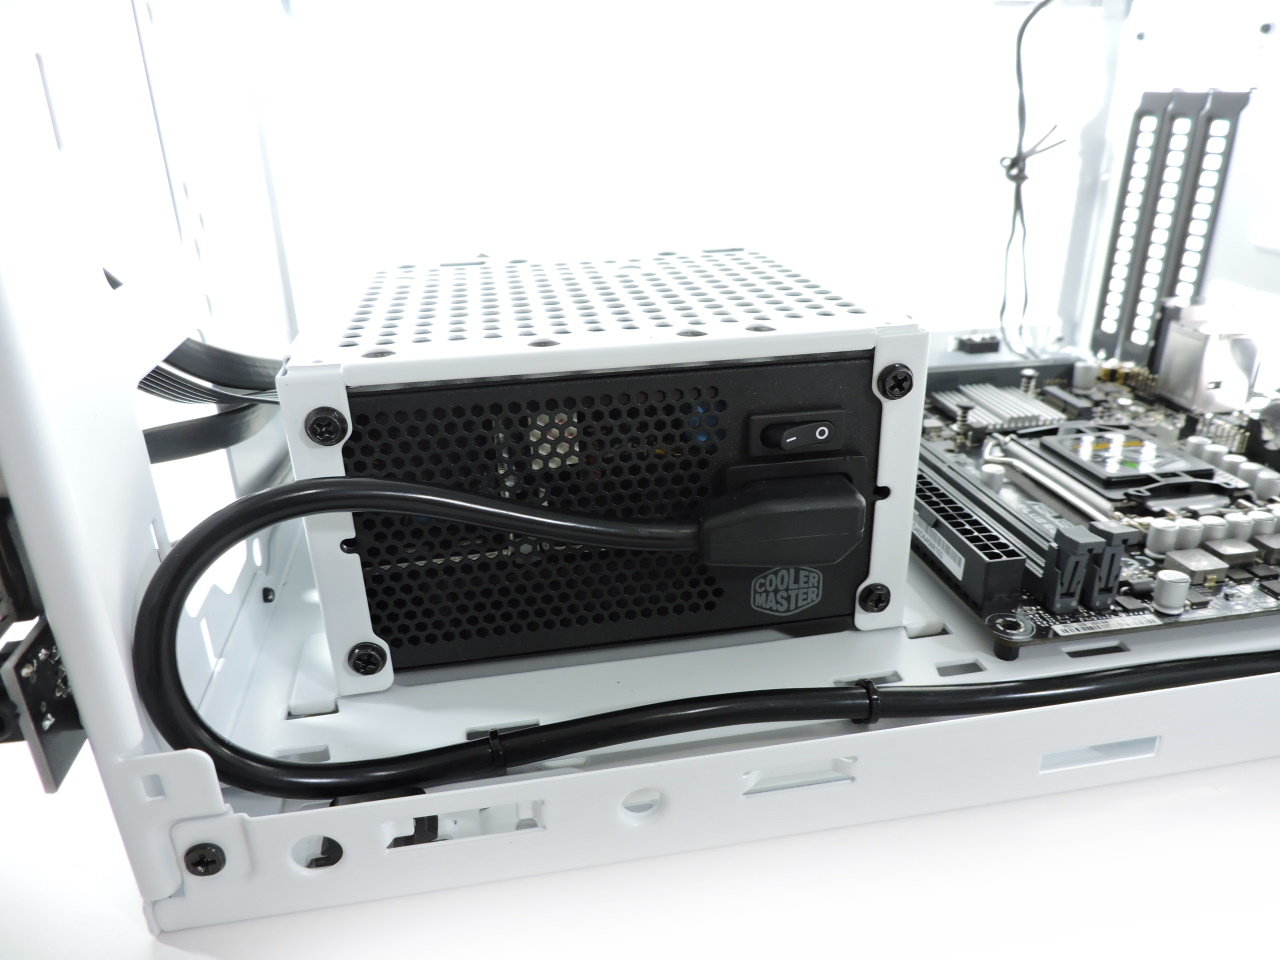
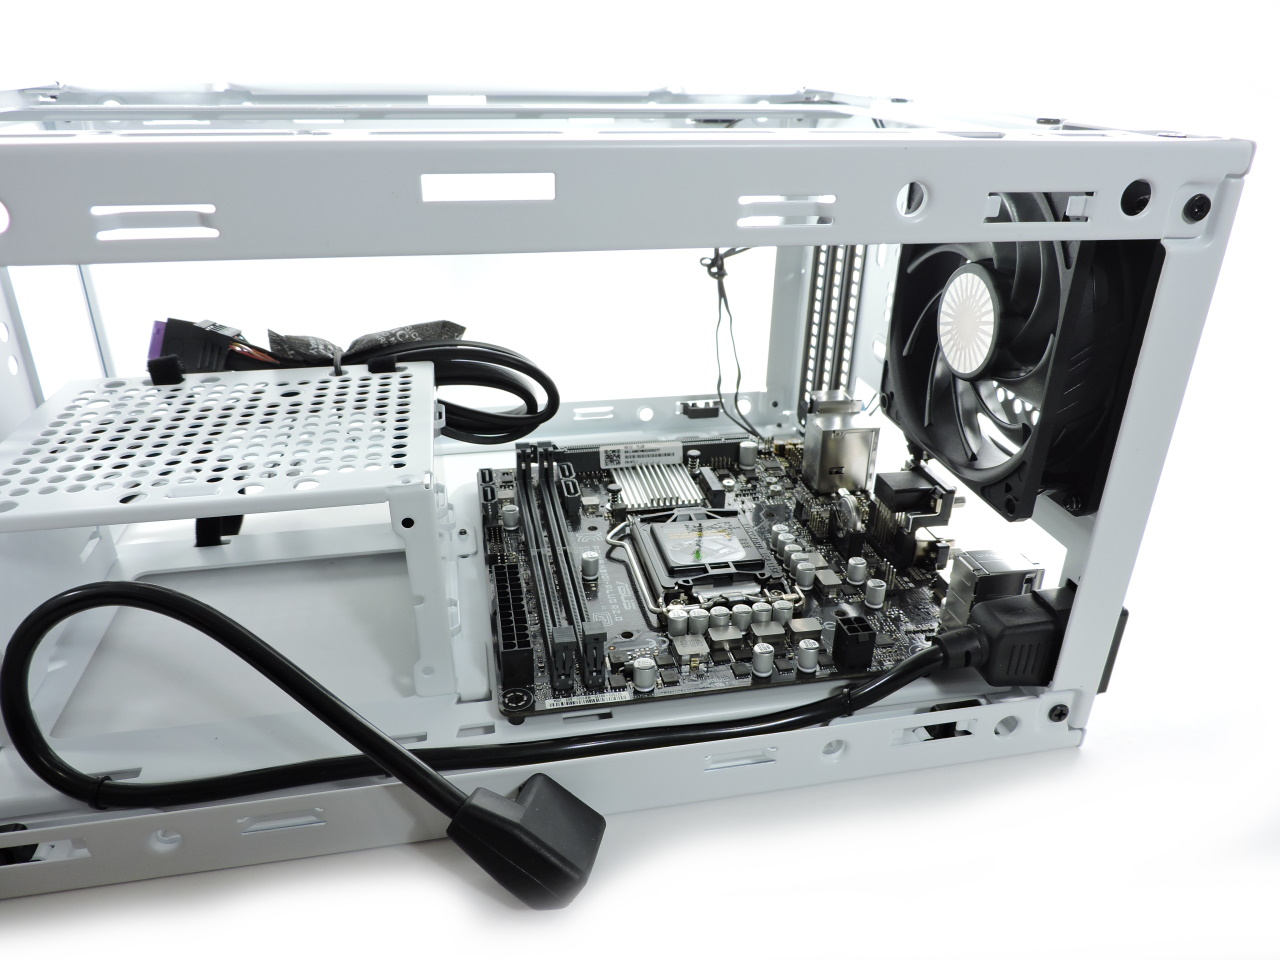
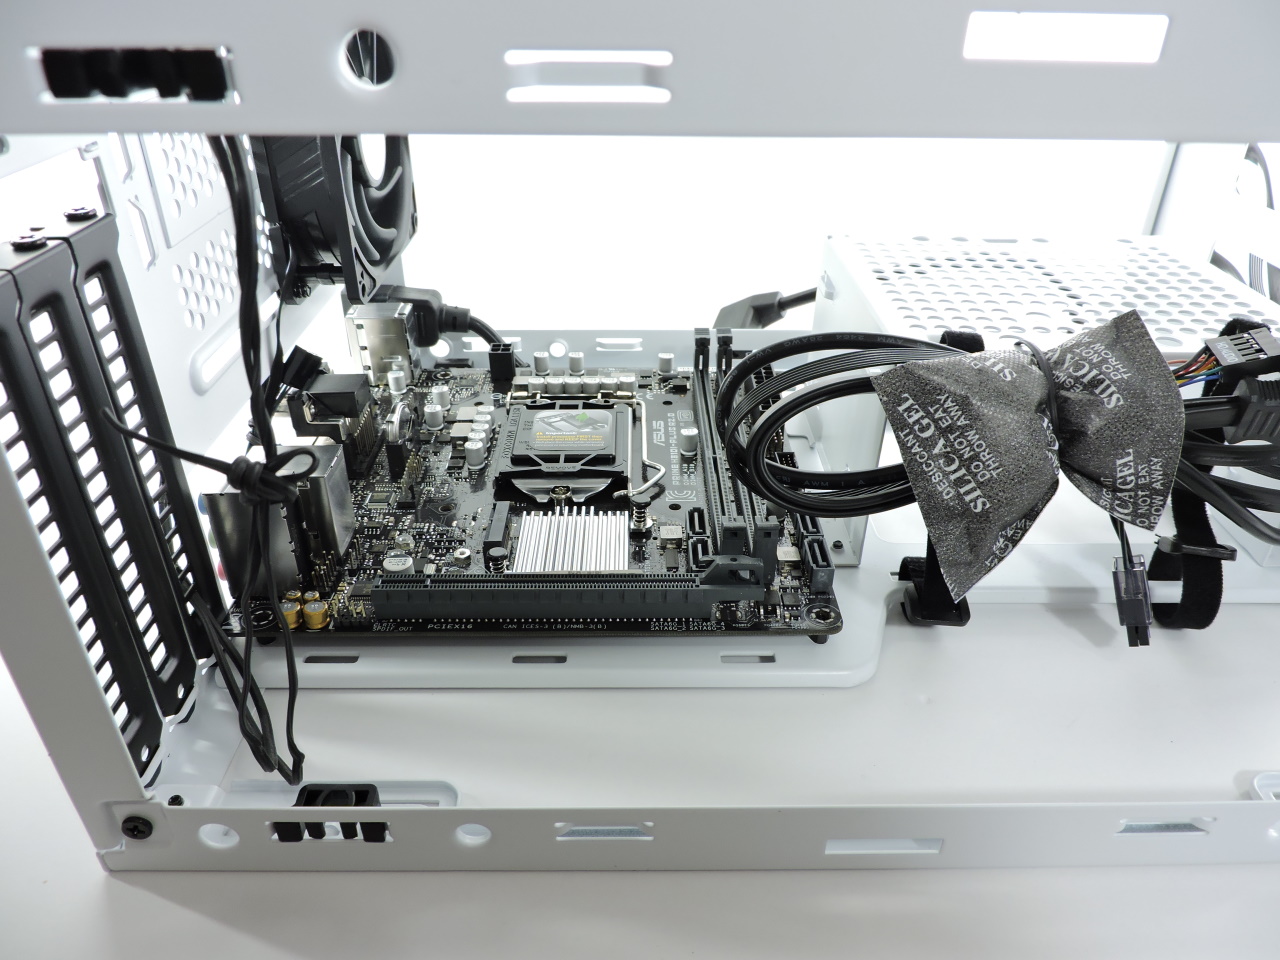
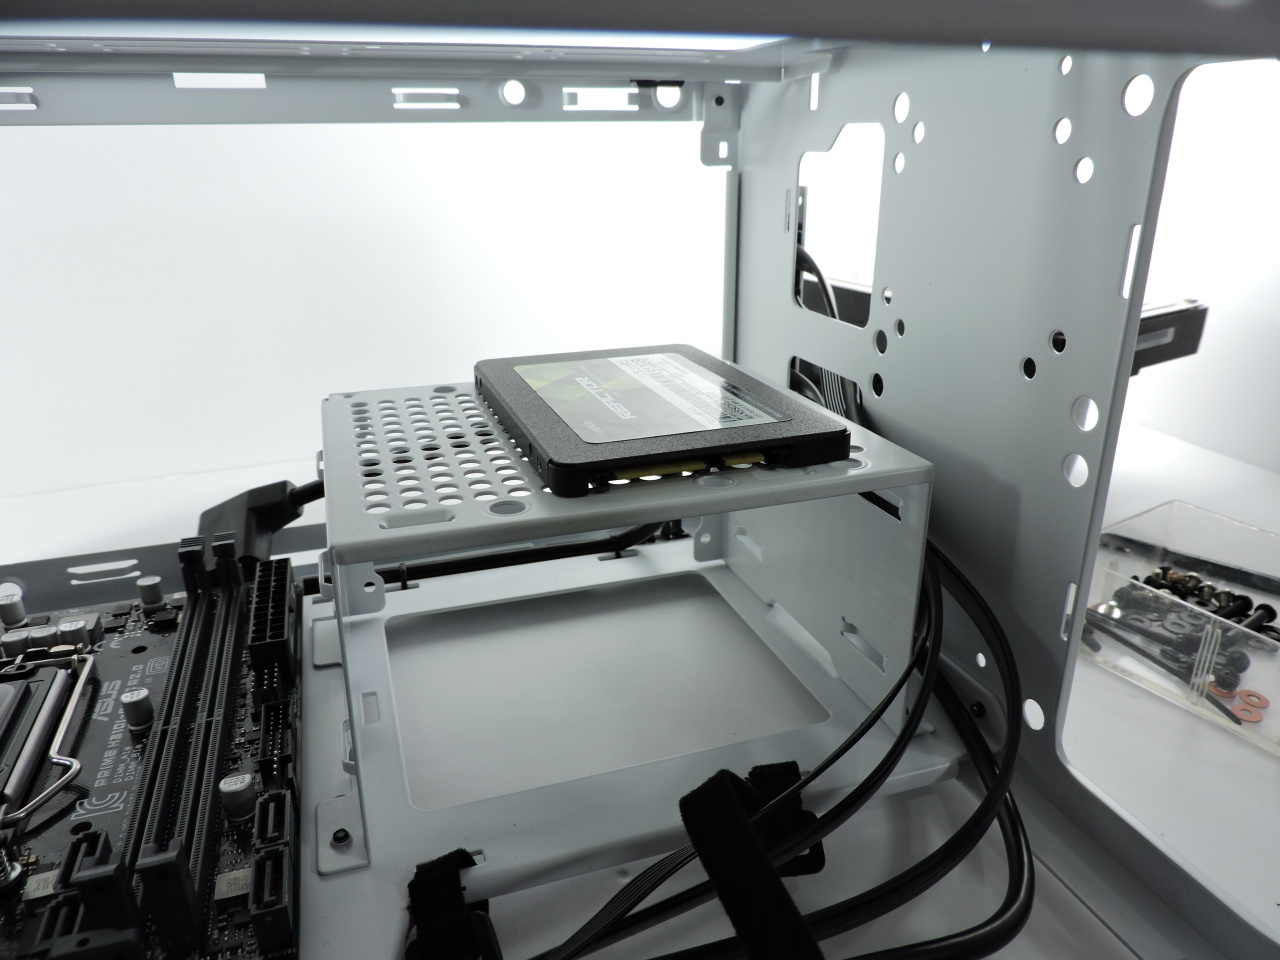
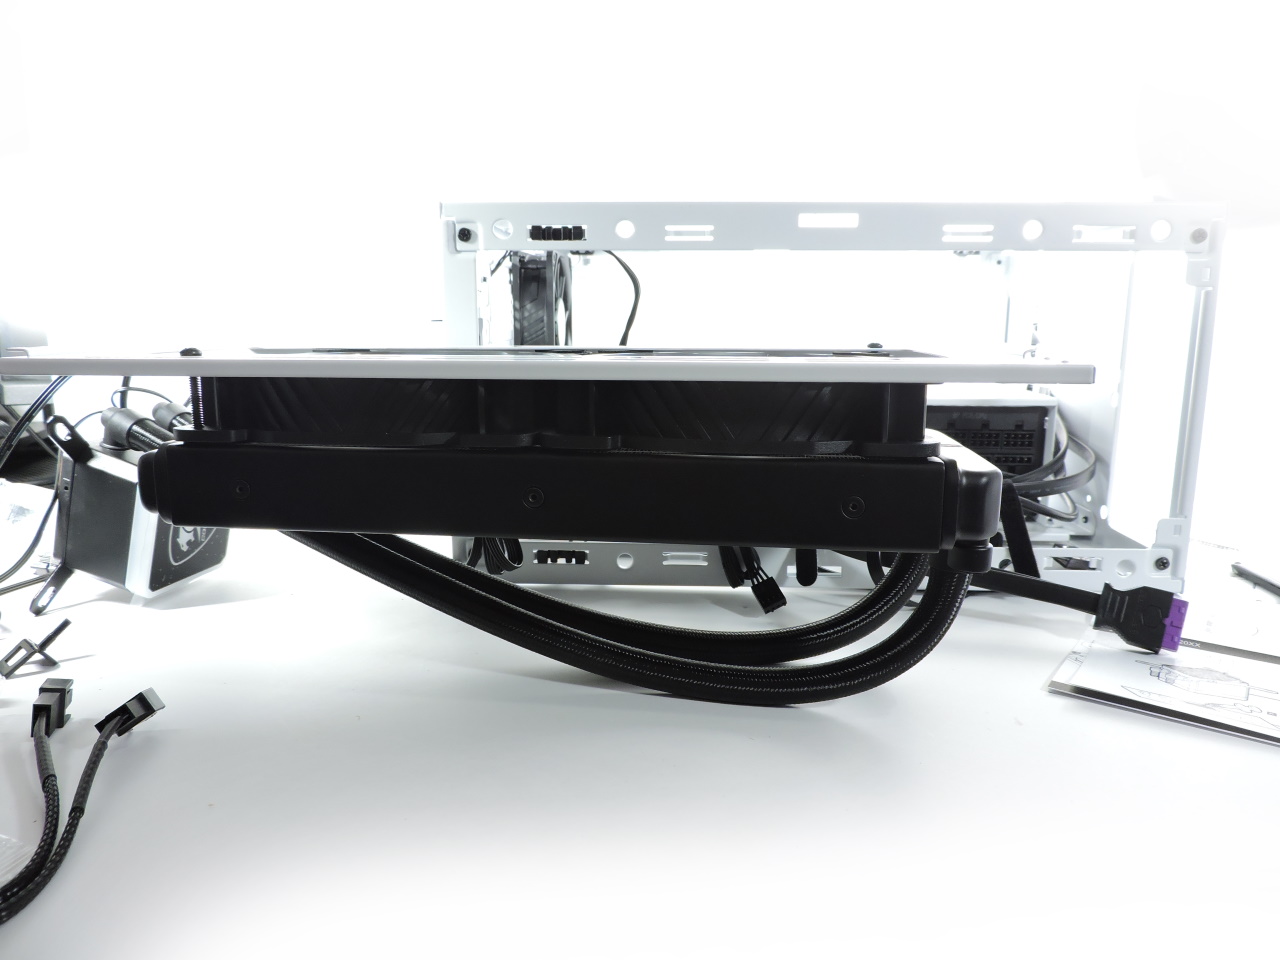
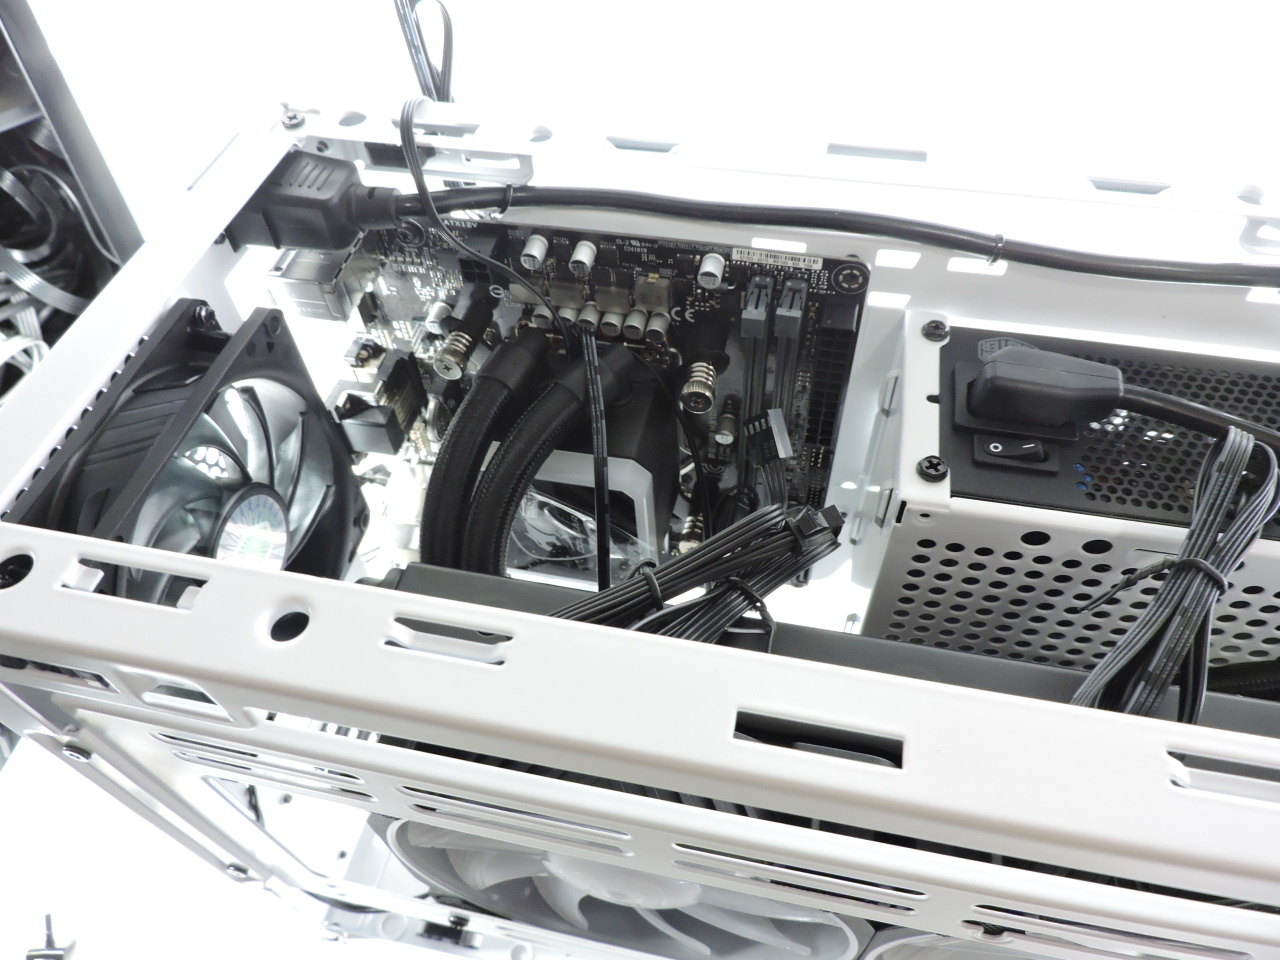
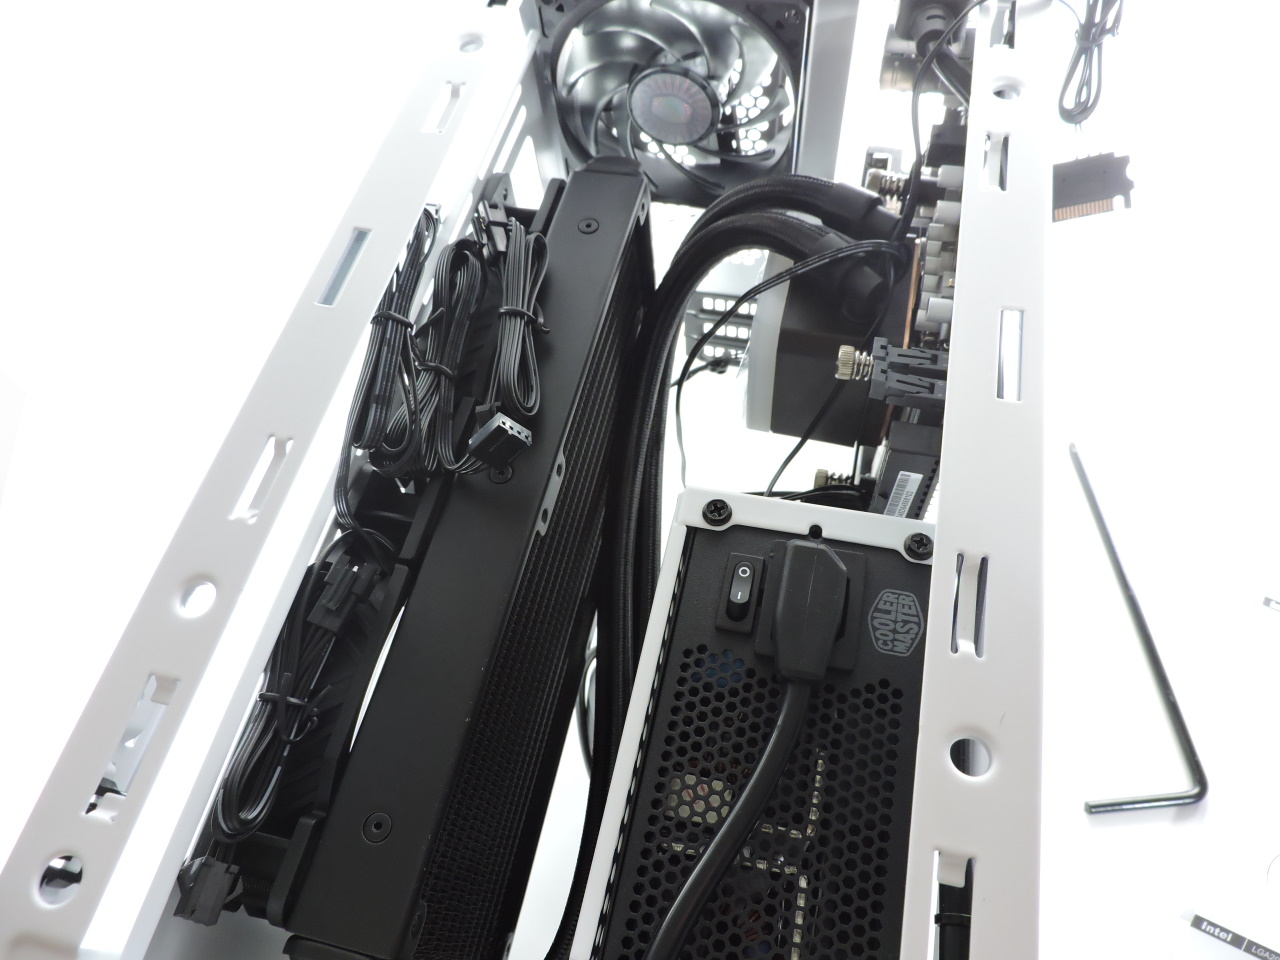
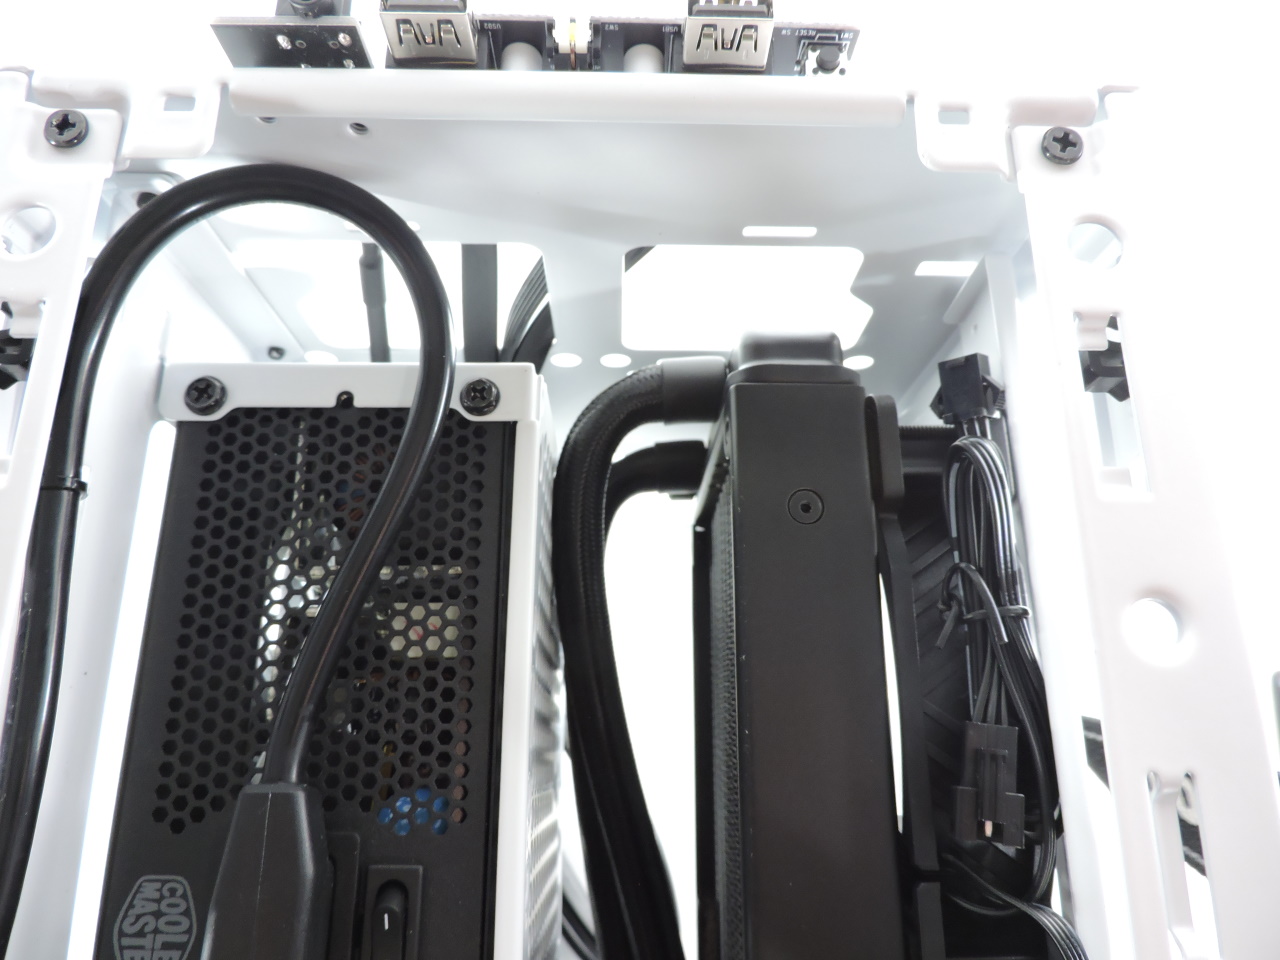
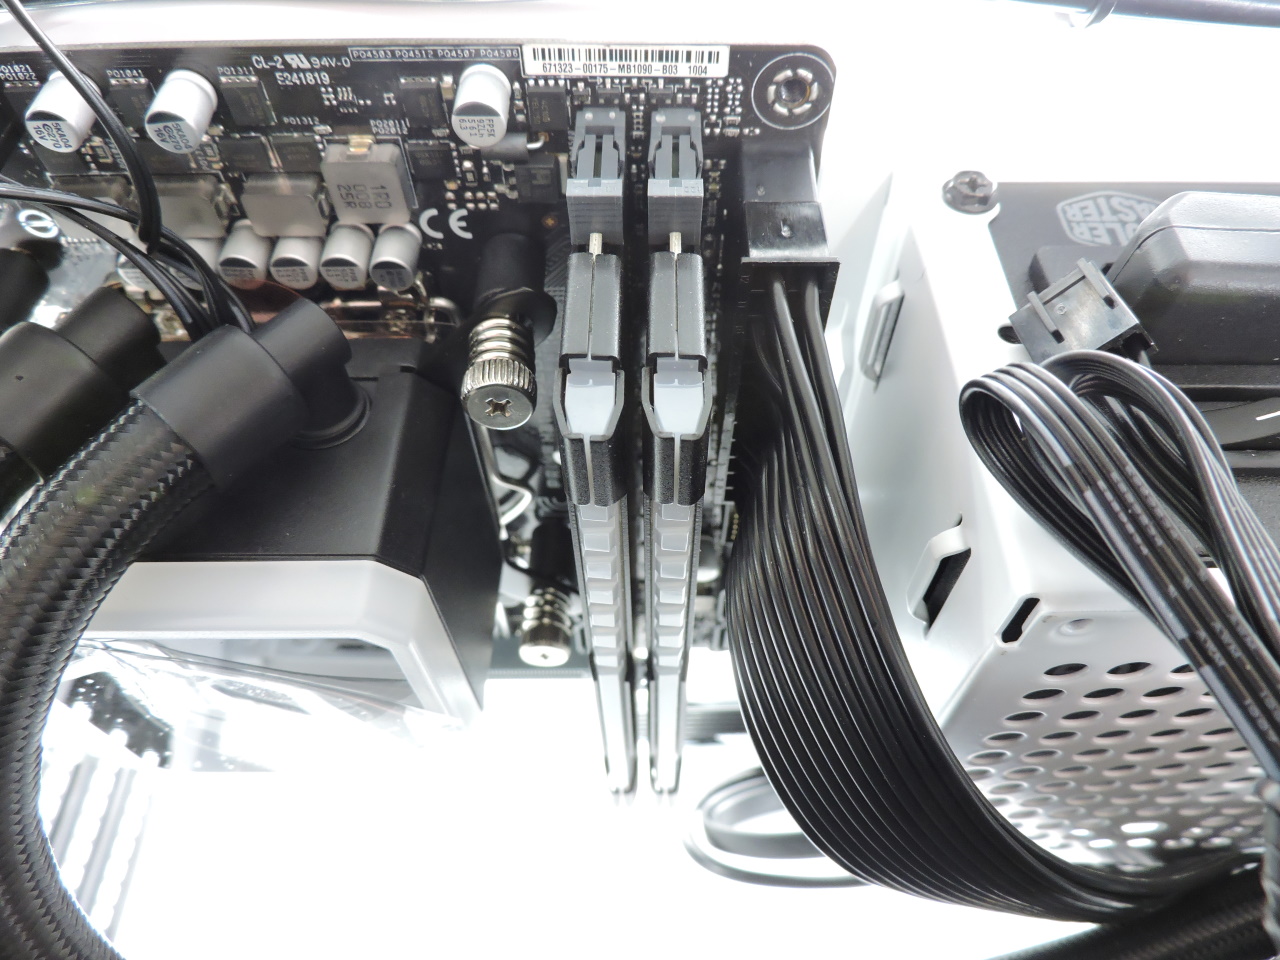
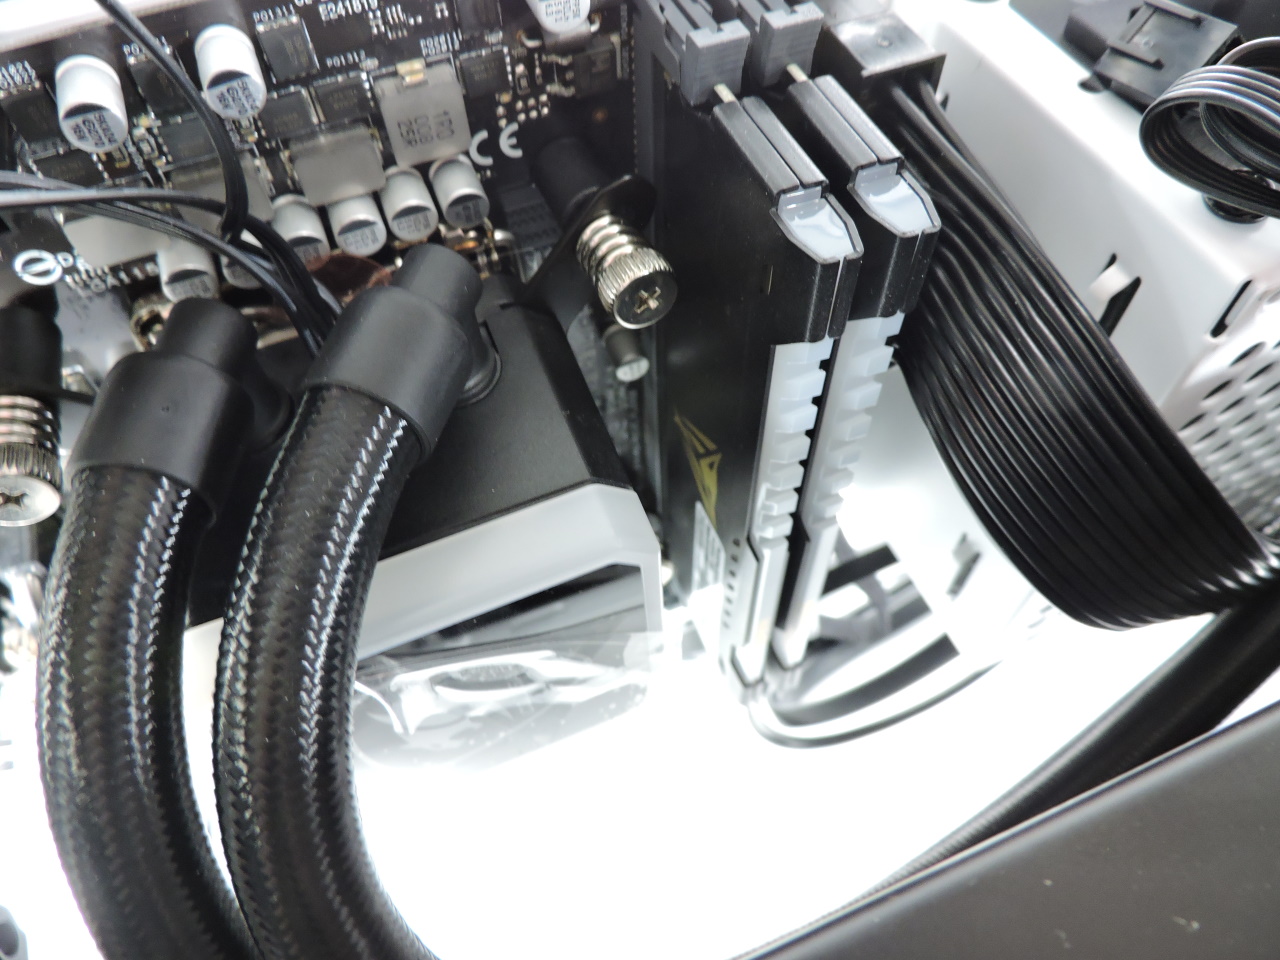
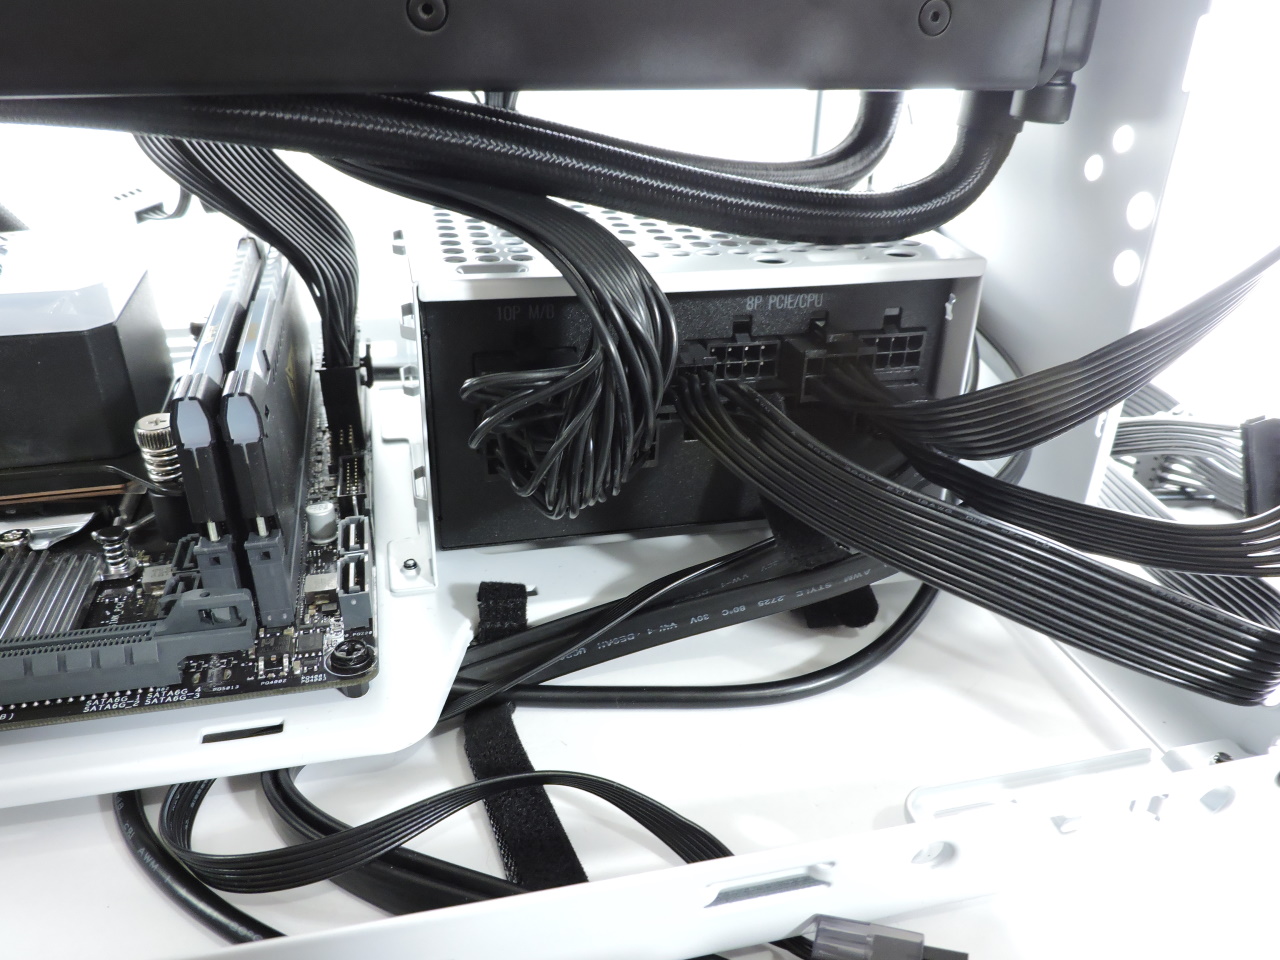
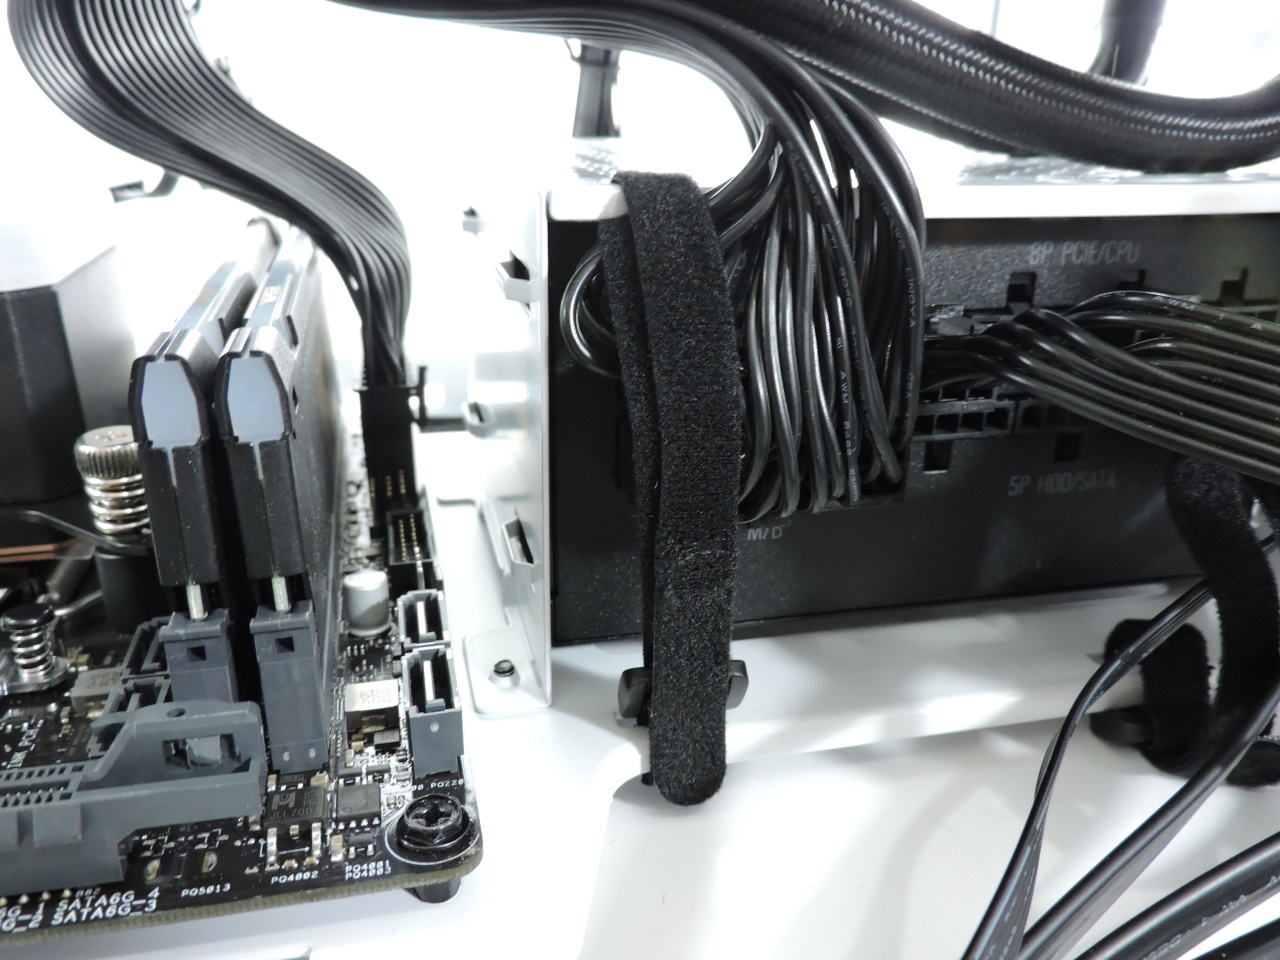
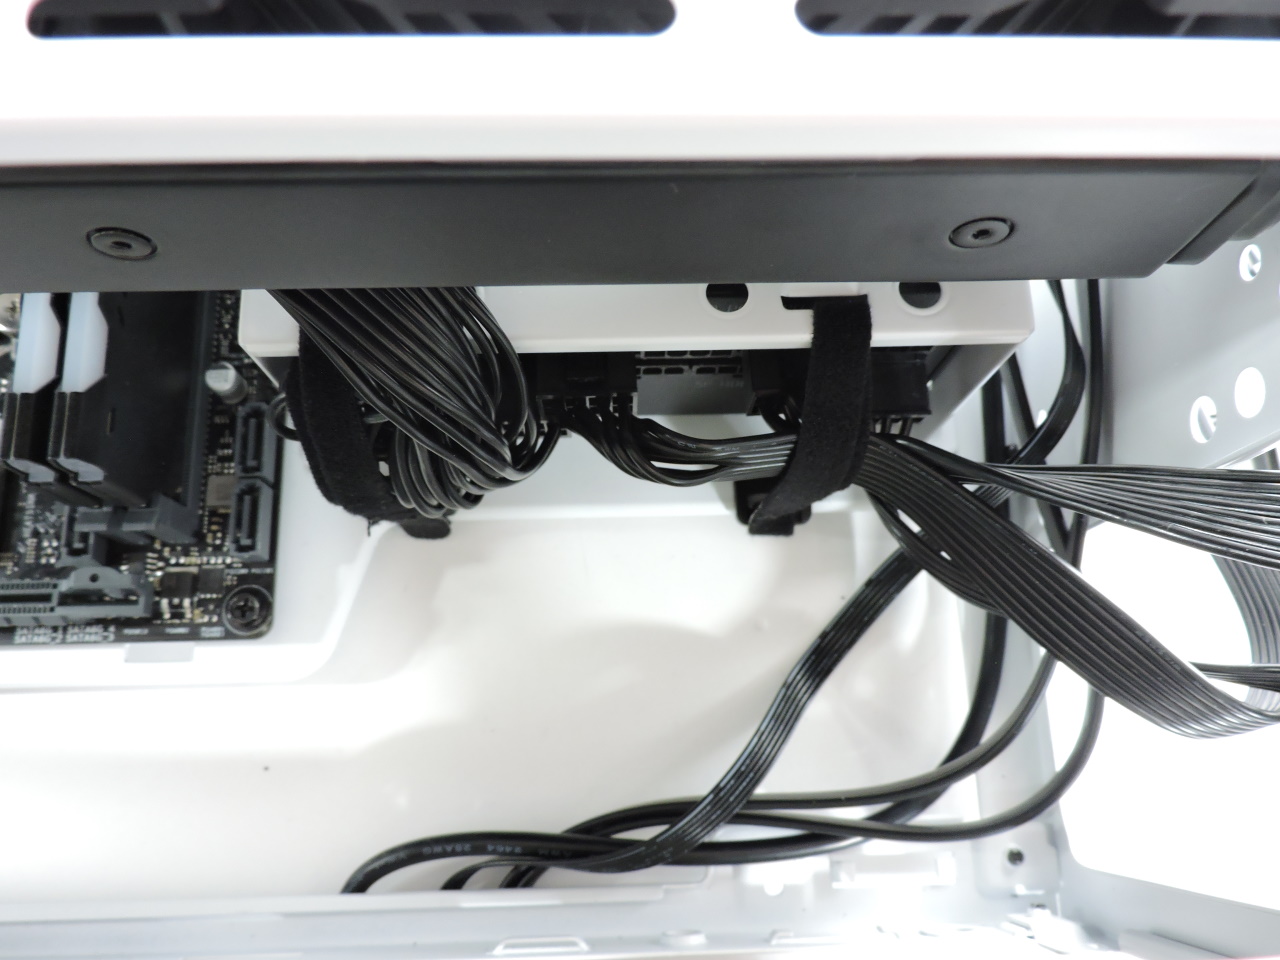
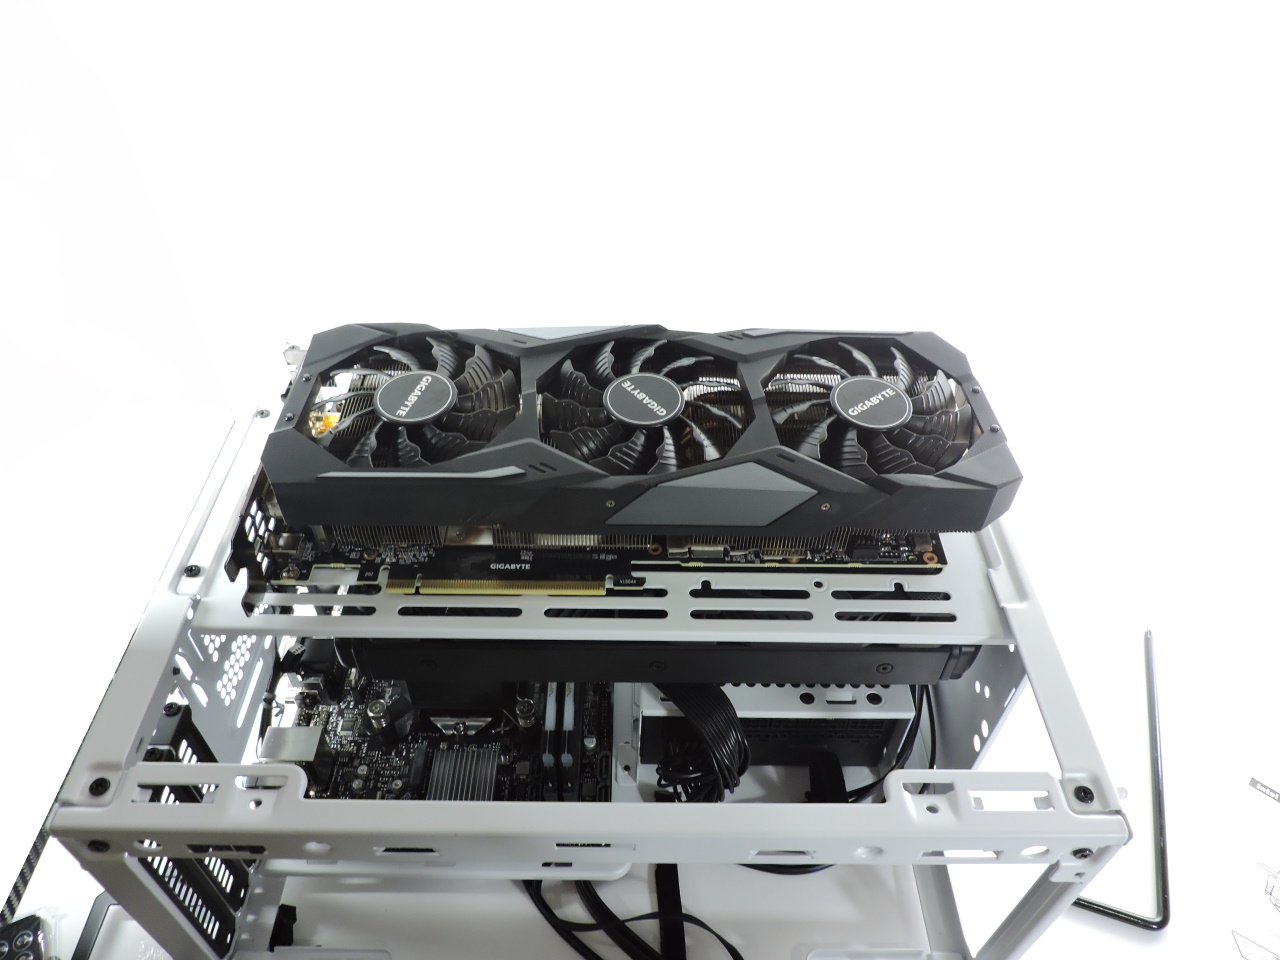
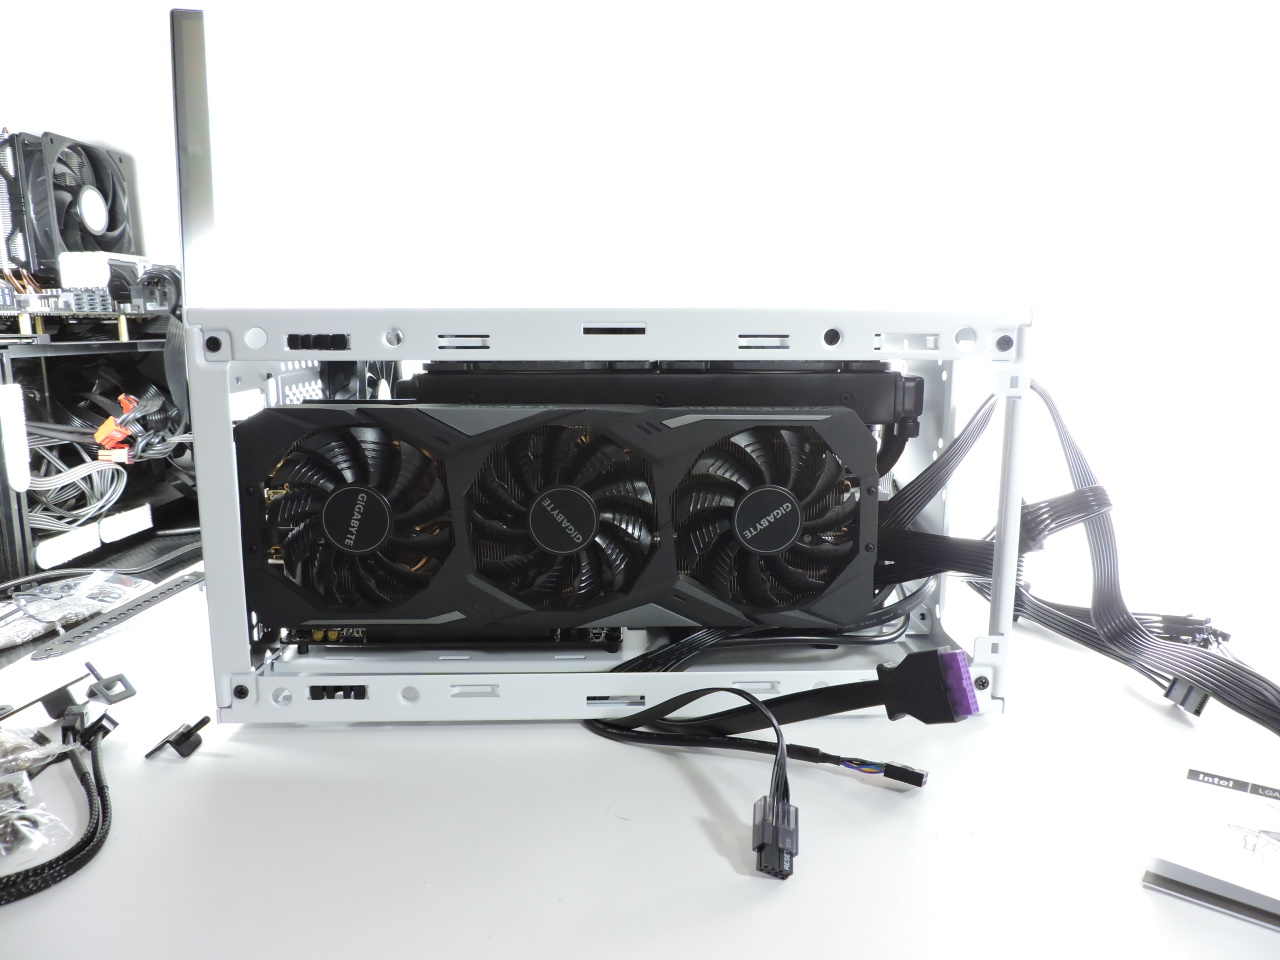
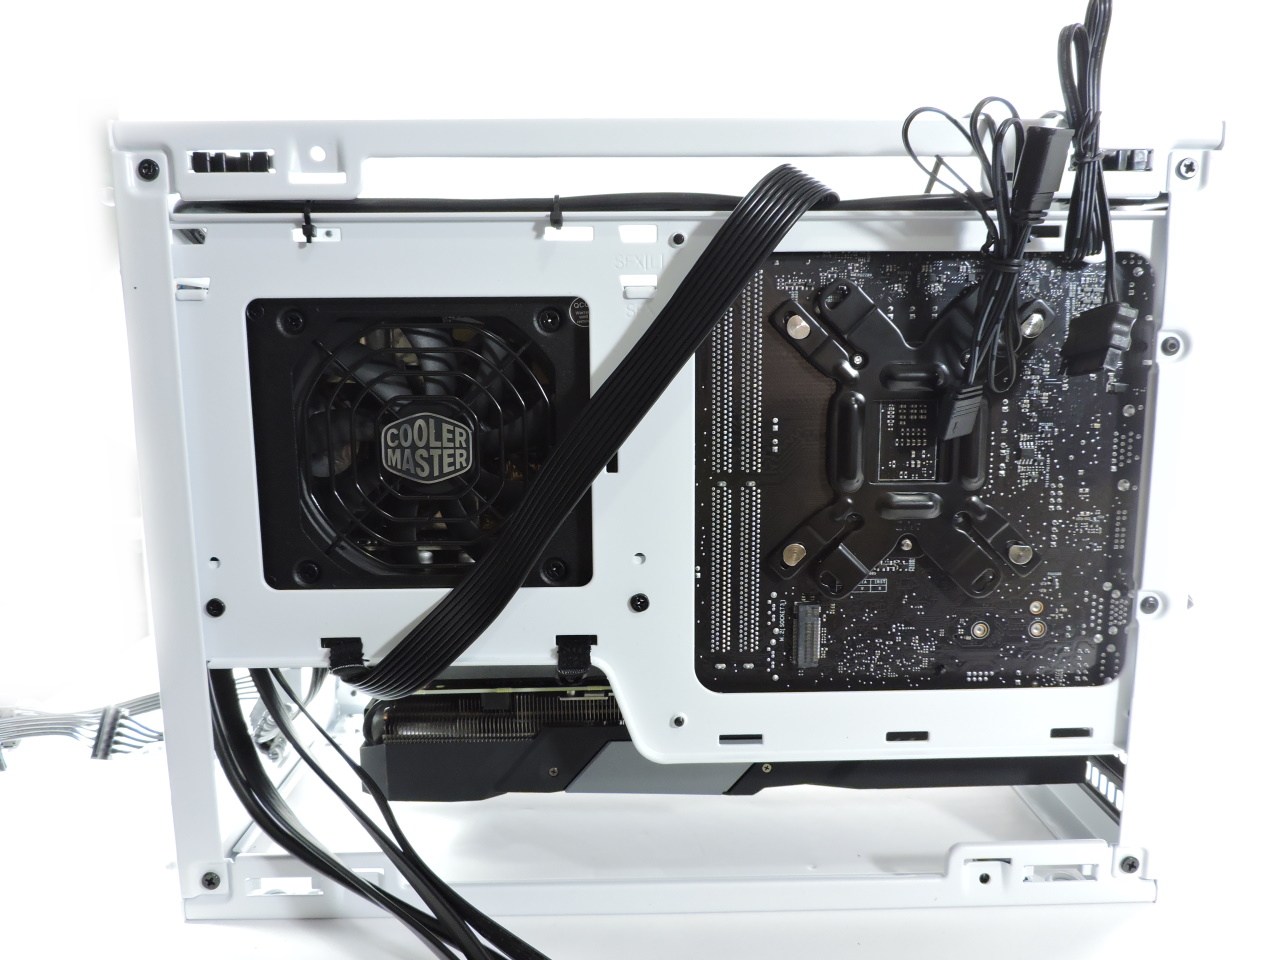
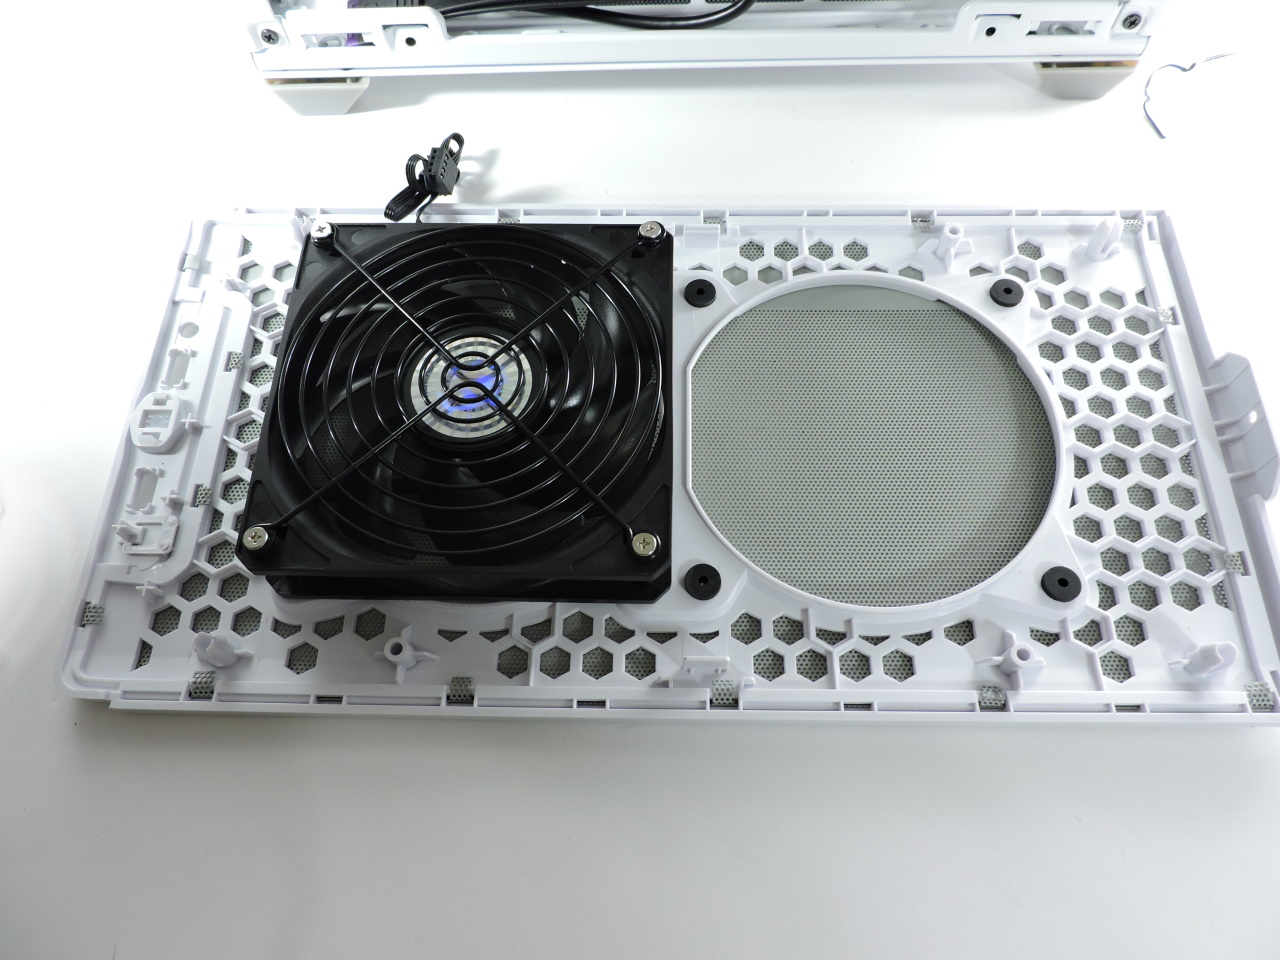
ChassisReviews

Cooler Master Masterbox NR200 Chassis Review

Installation

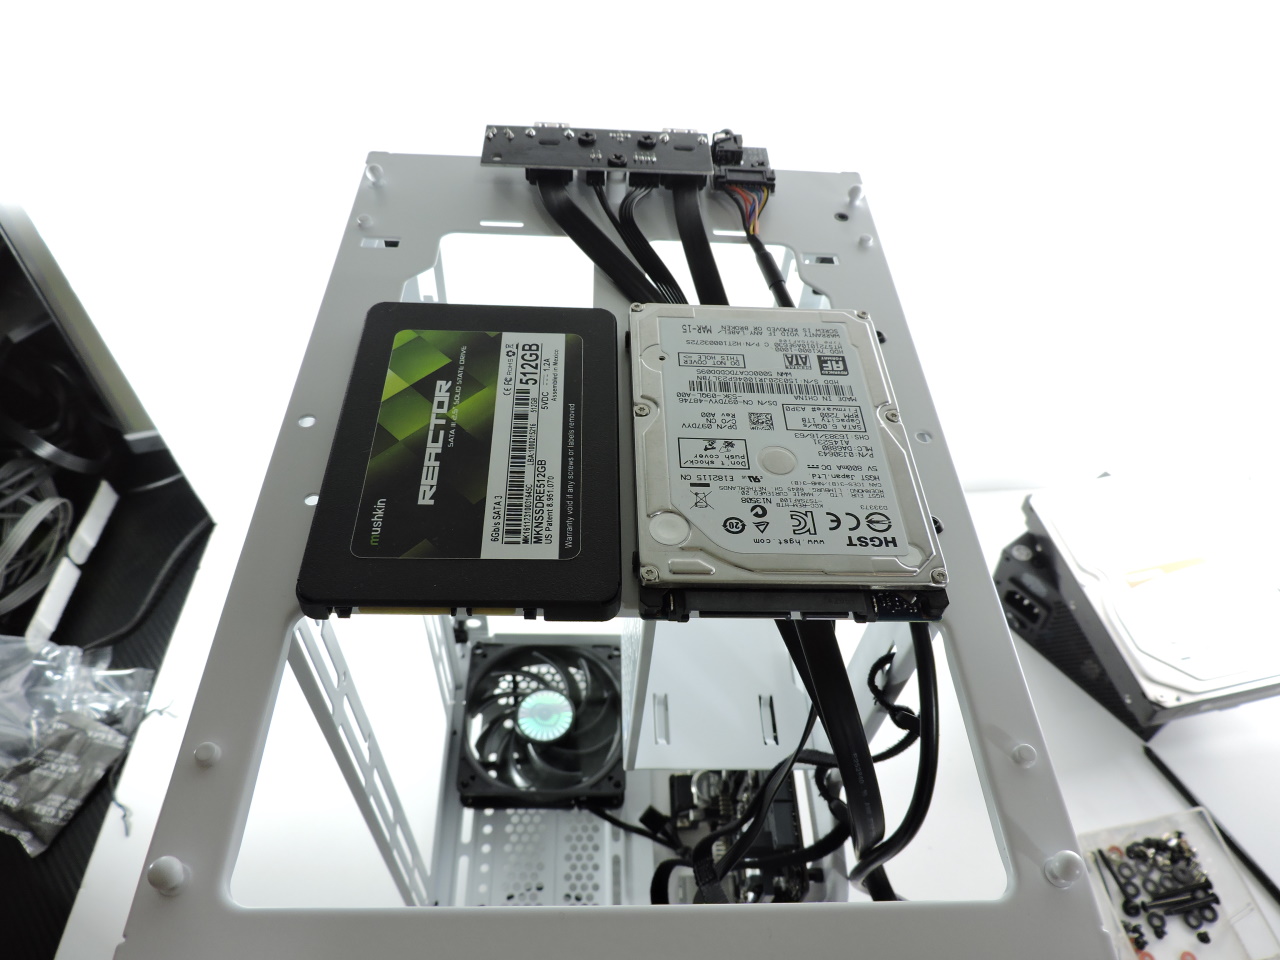
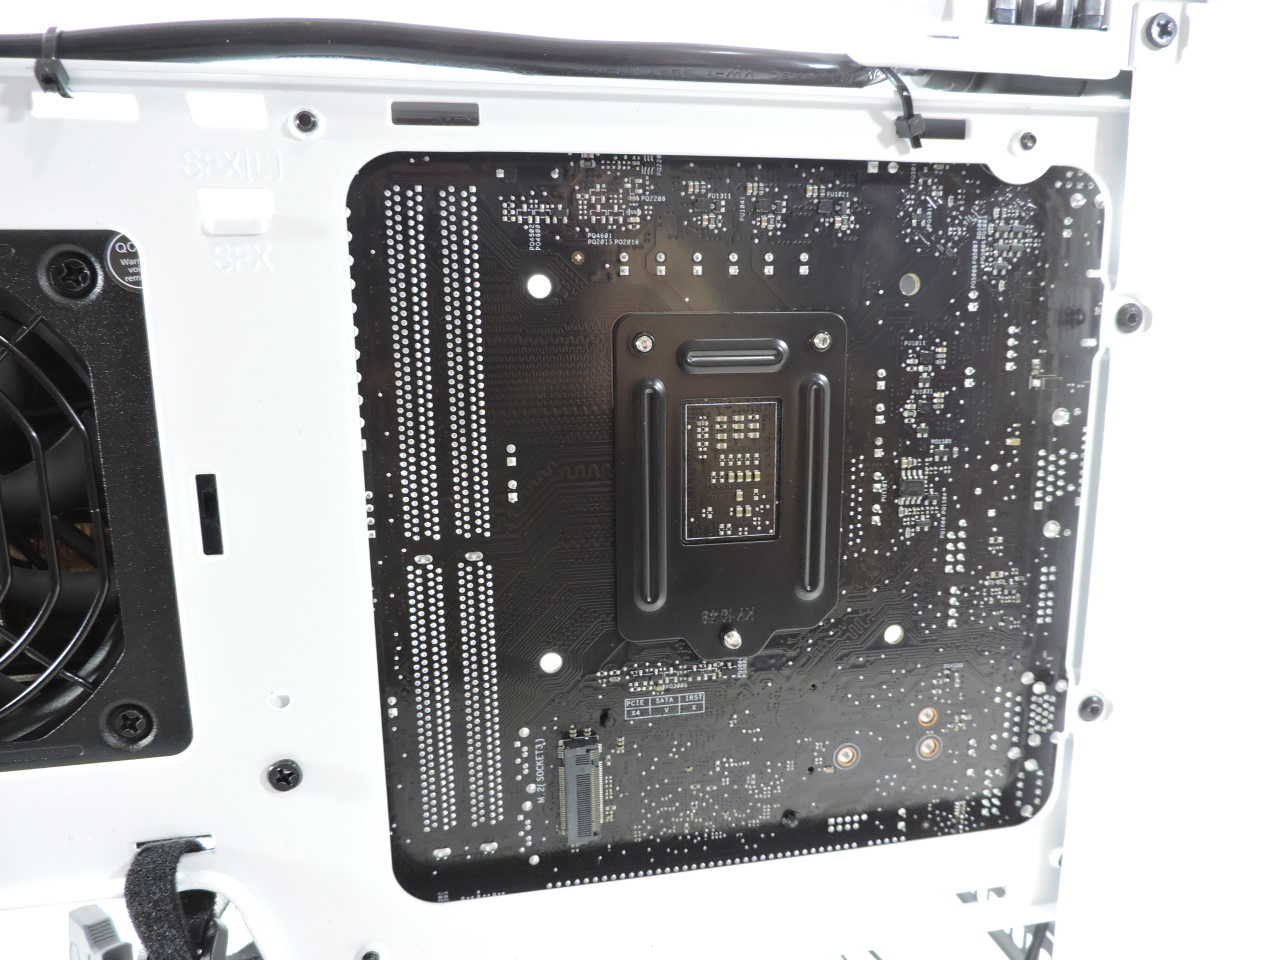
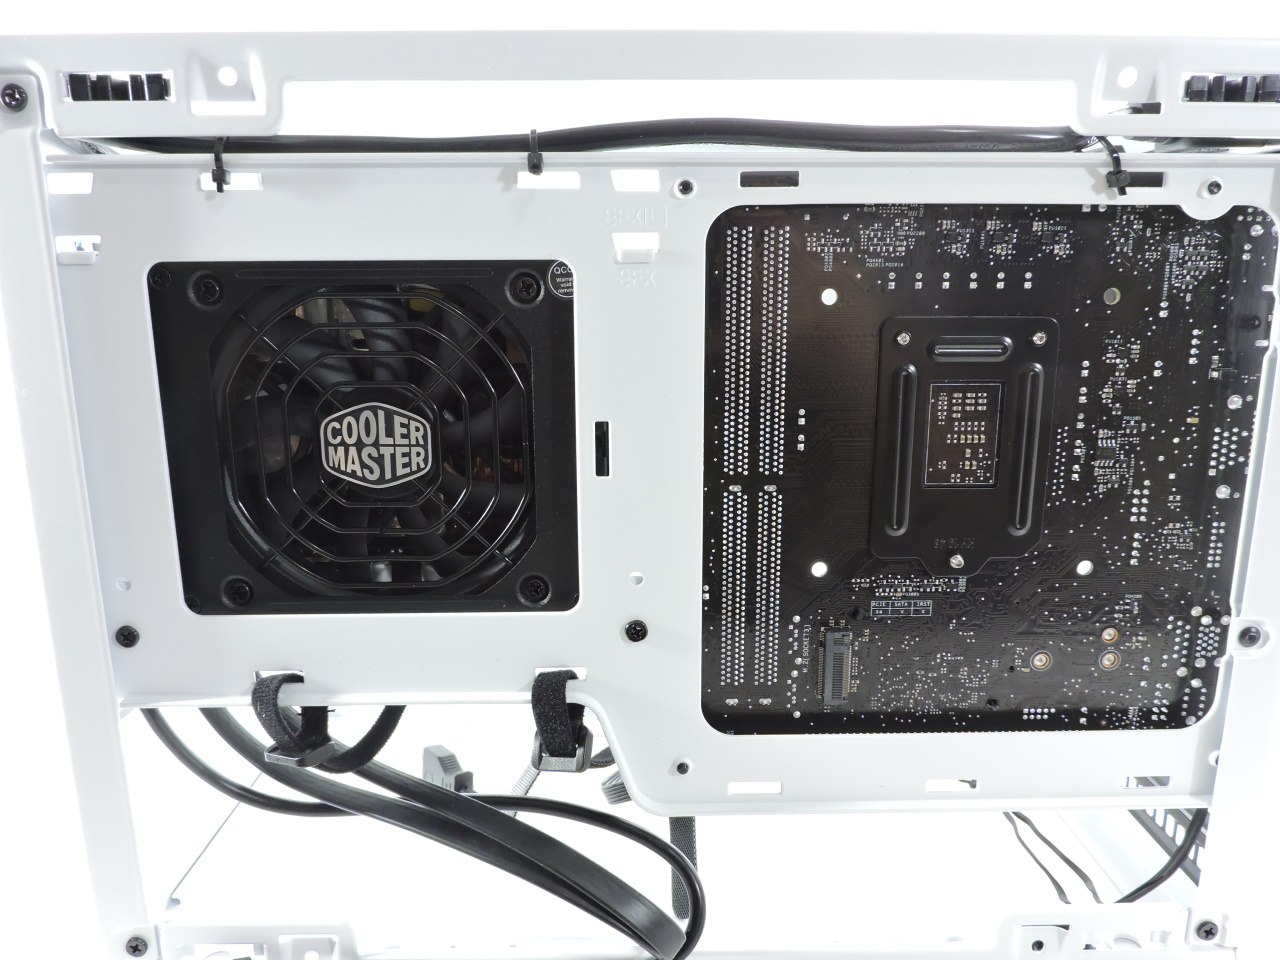
As you can see in the picture above, any concern about being able to easily access all the parts of the case were eased. You can take every single panel off and what even better the process is tool less. The easily snap into place and are very secure when in place. You can strip this thing down to bare bones and start putting parts in!
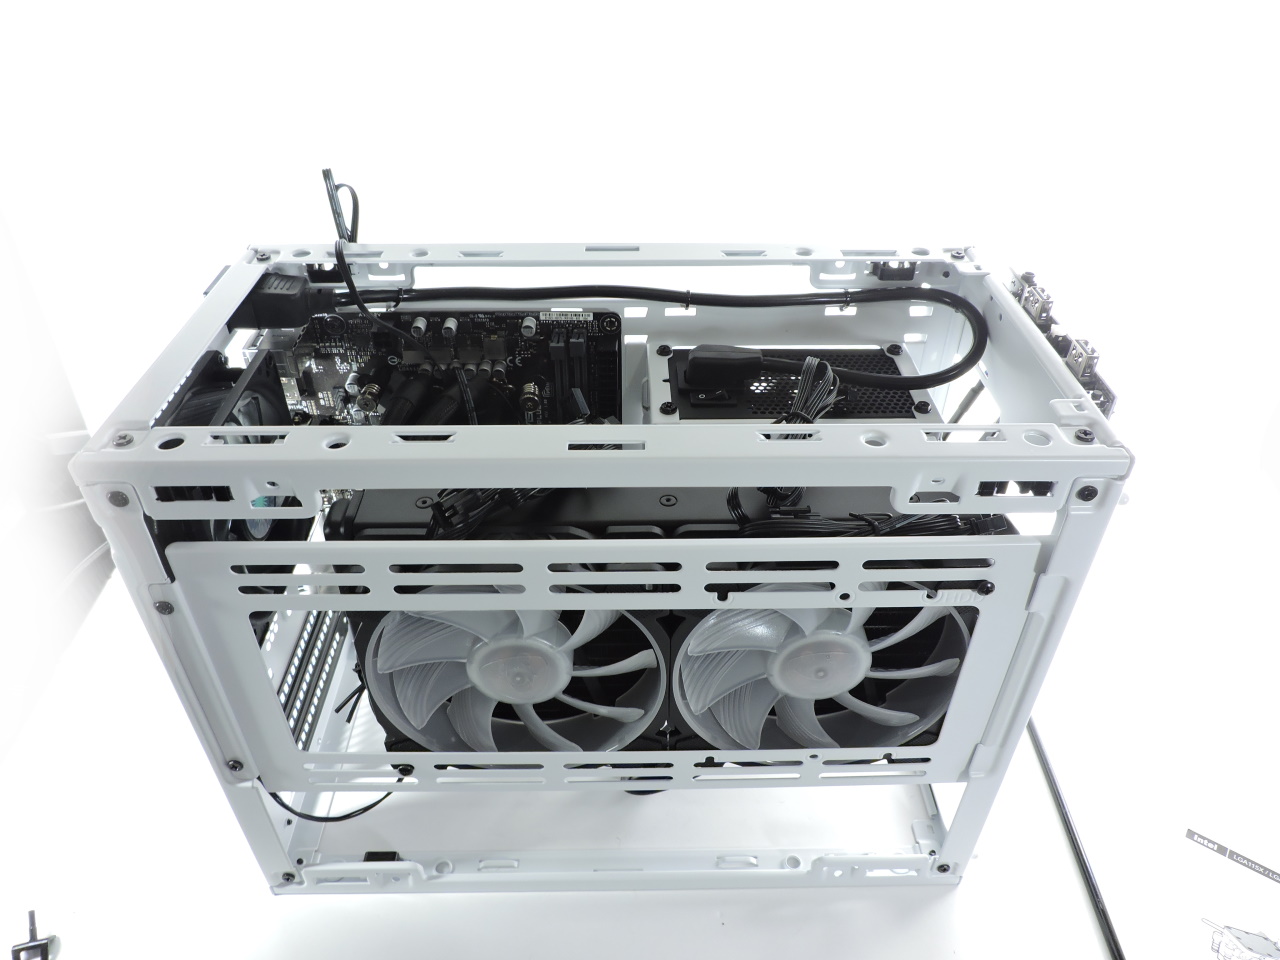
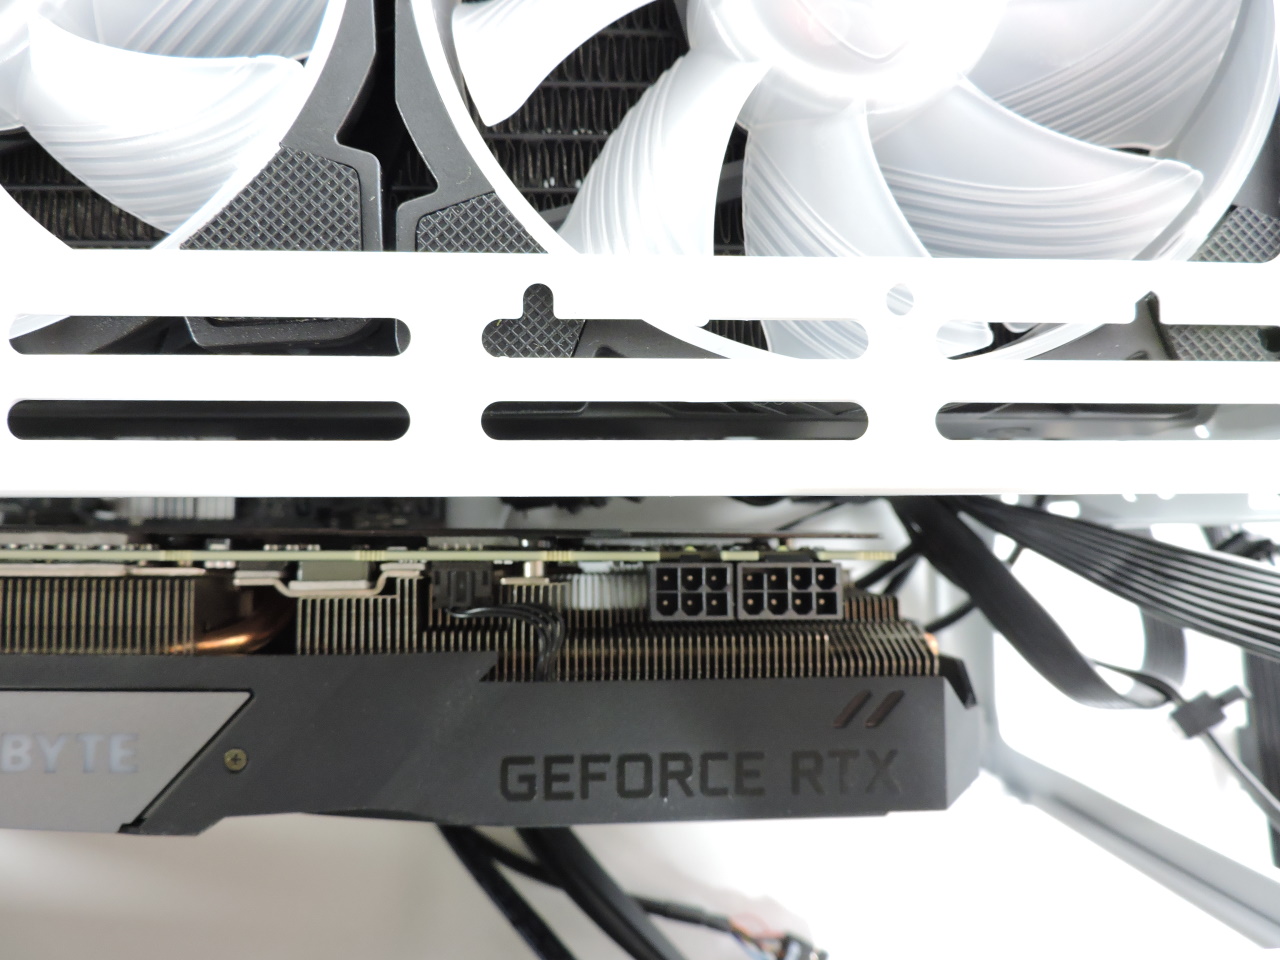
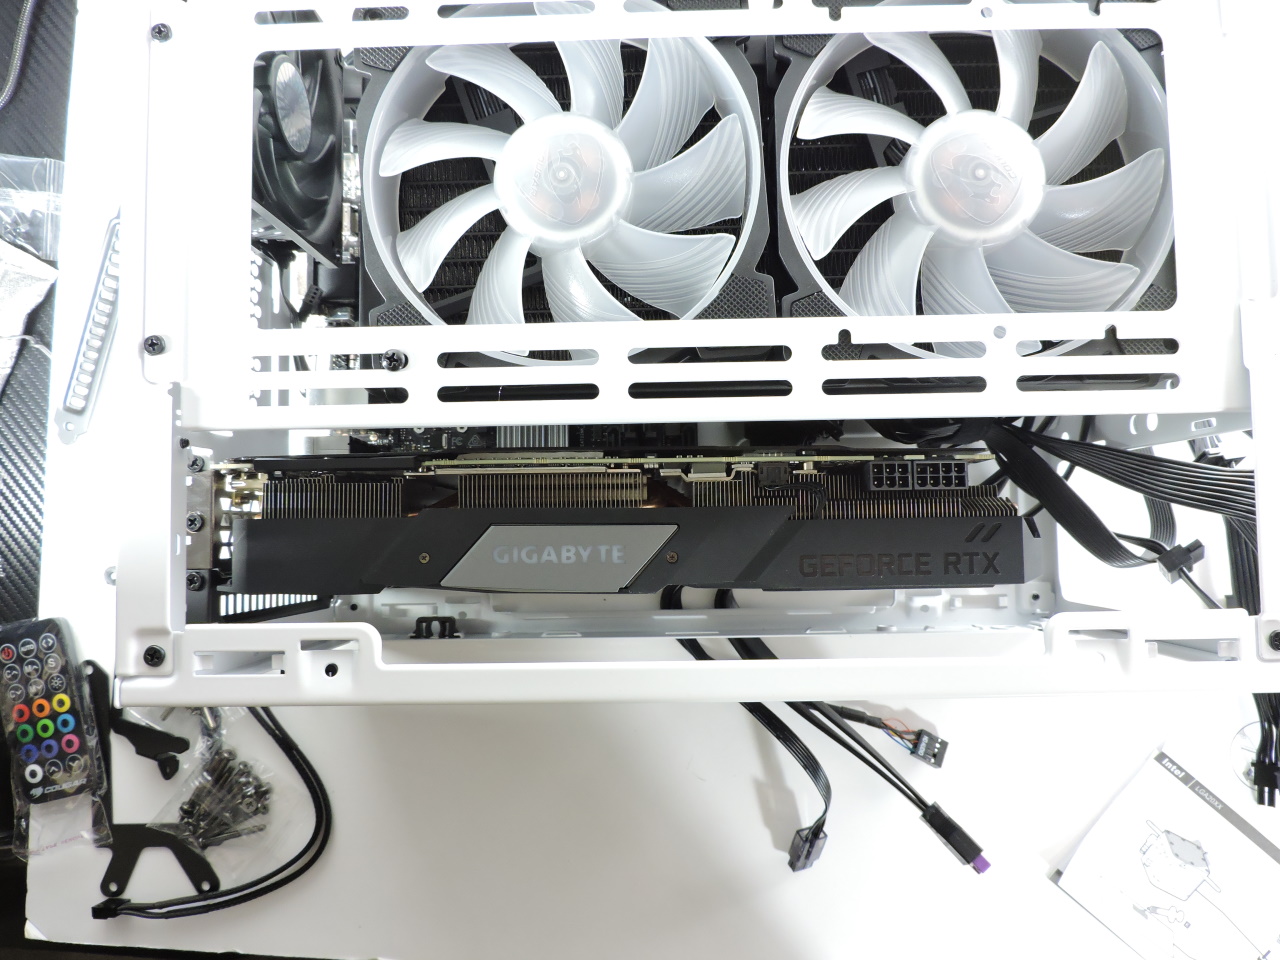
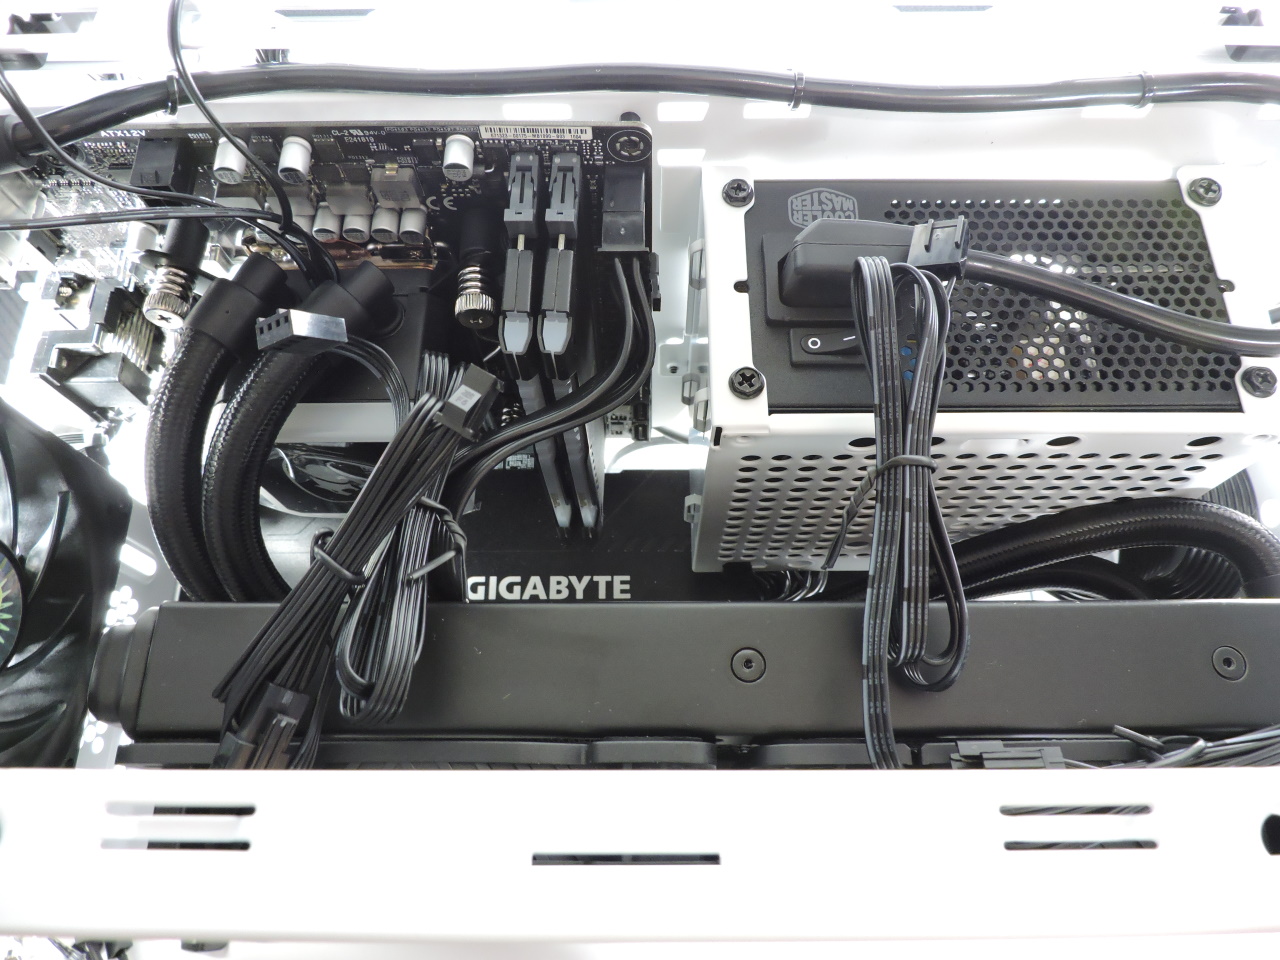
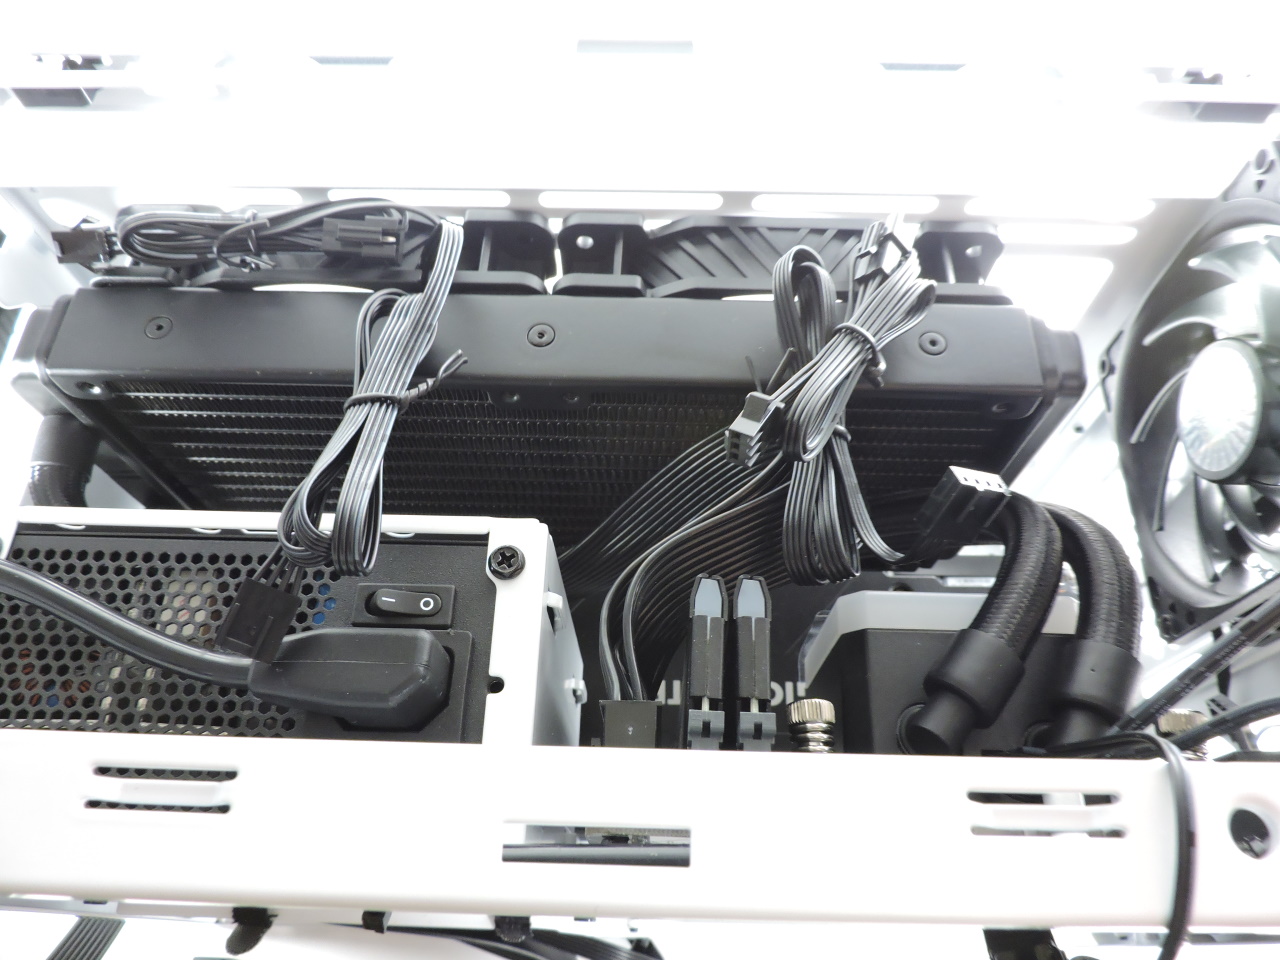
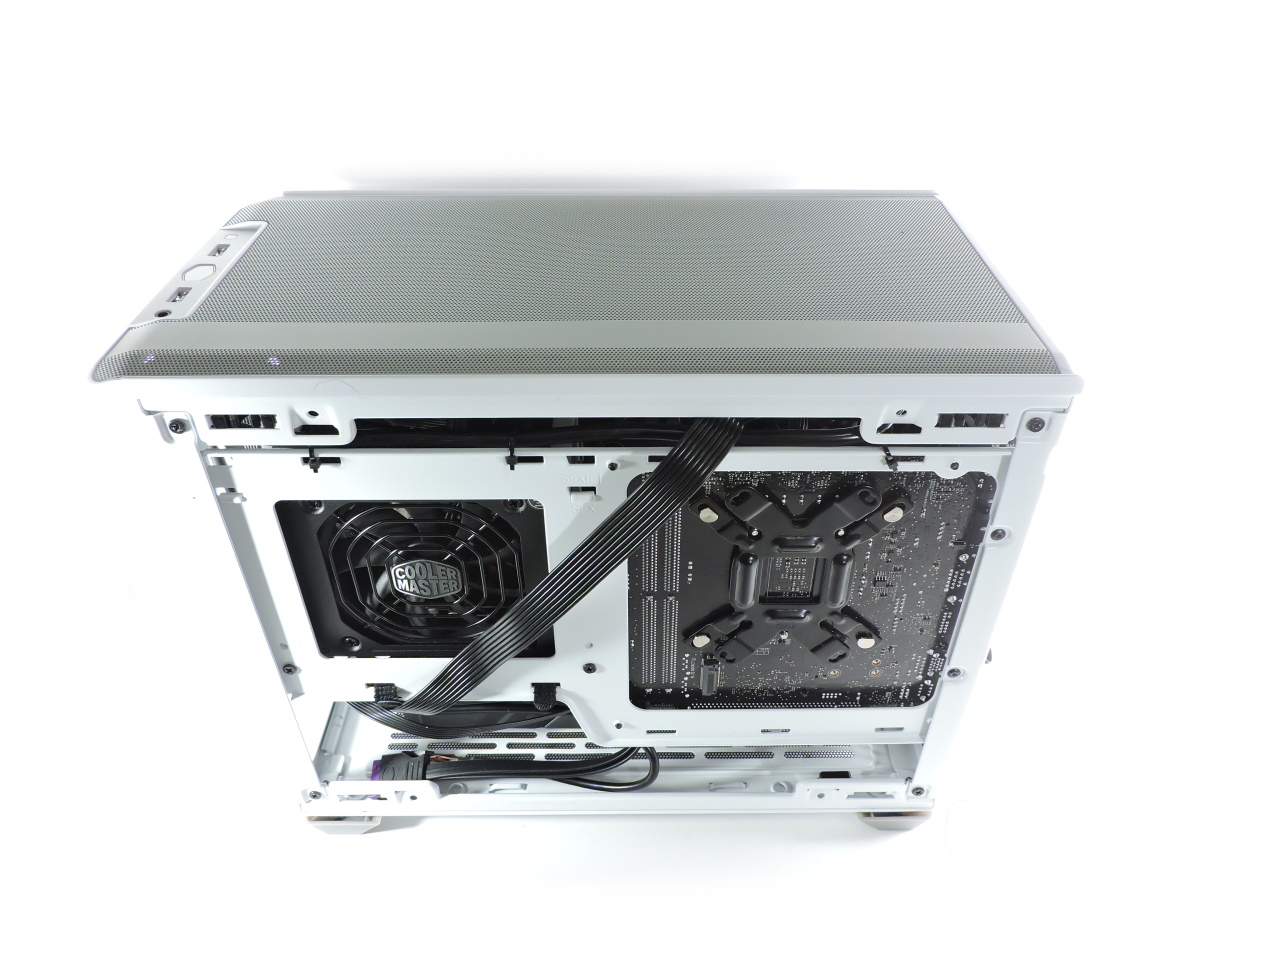
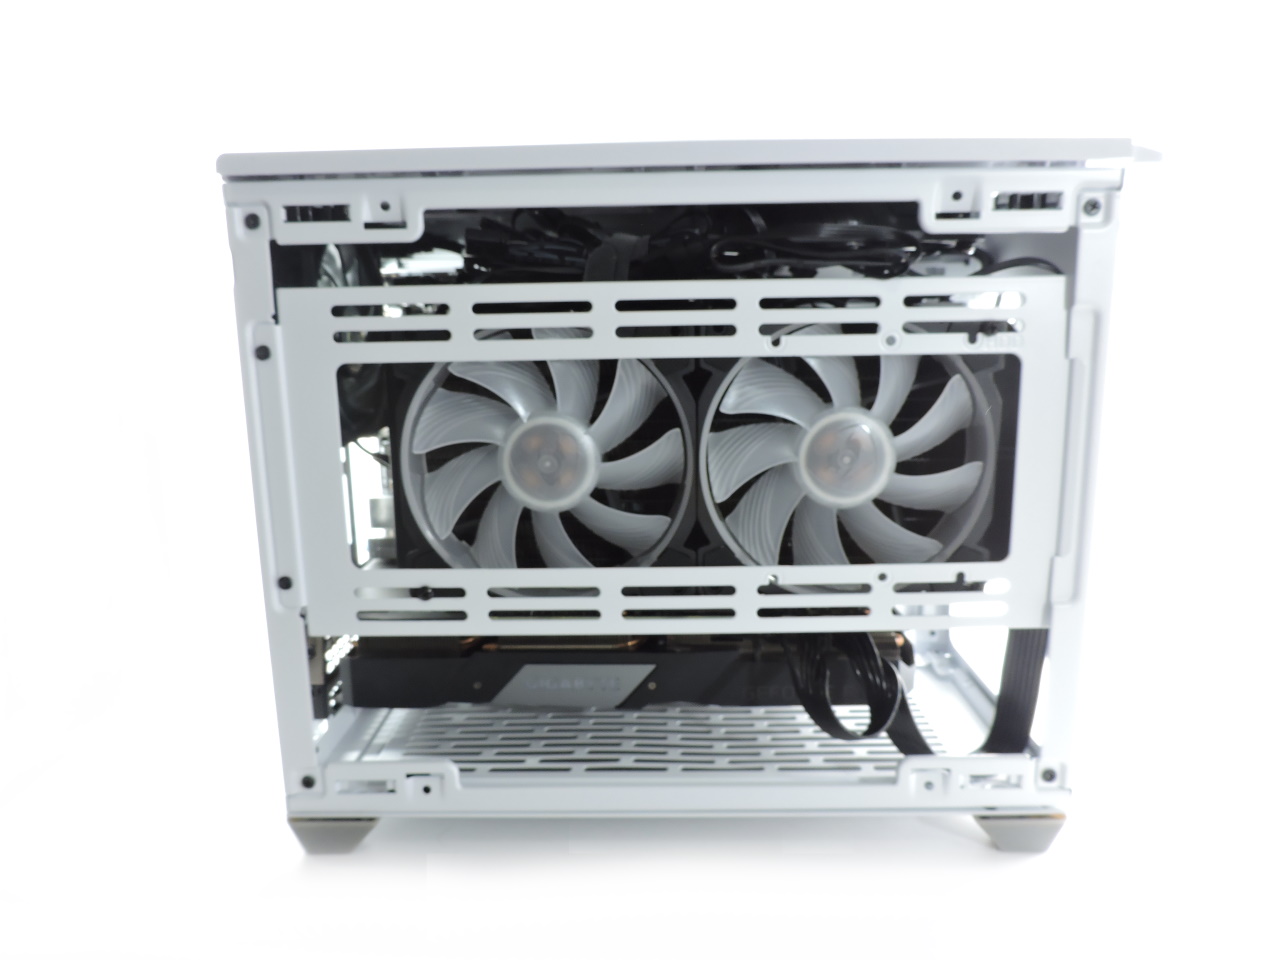
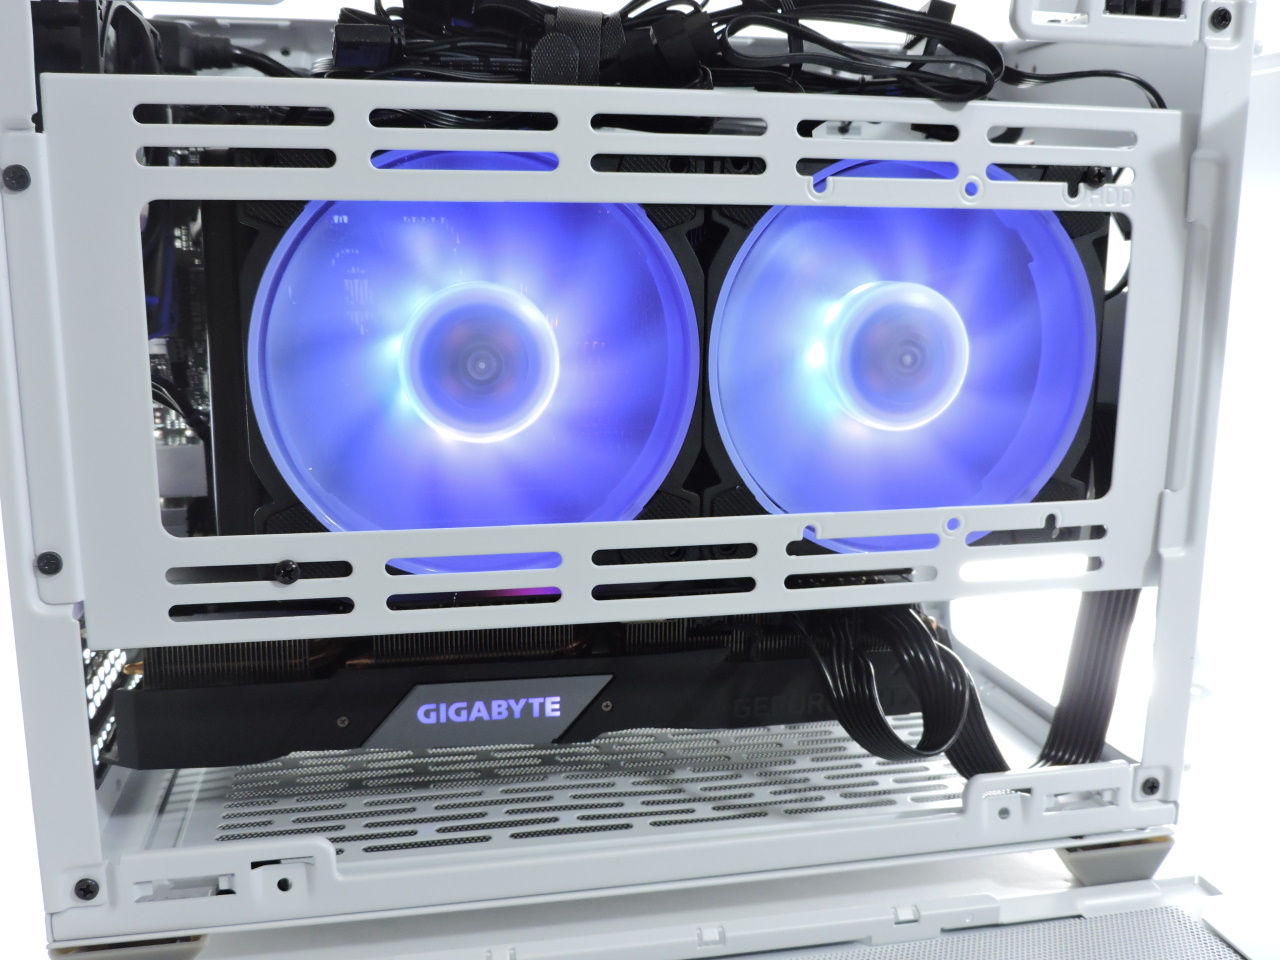
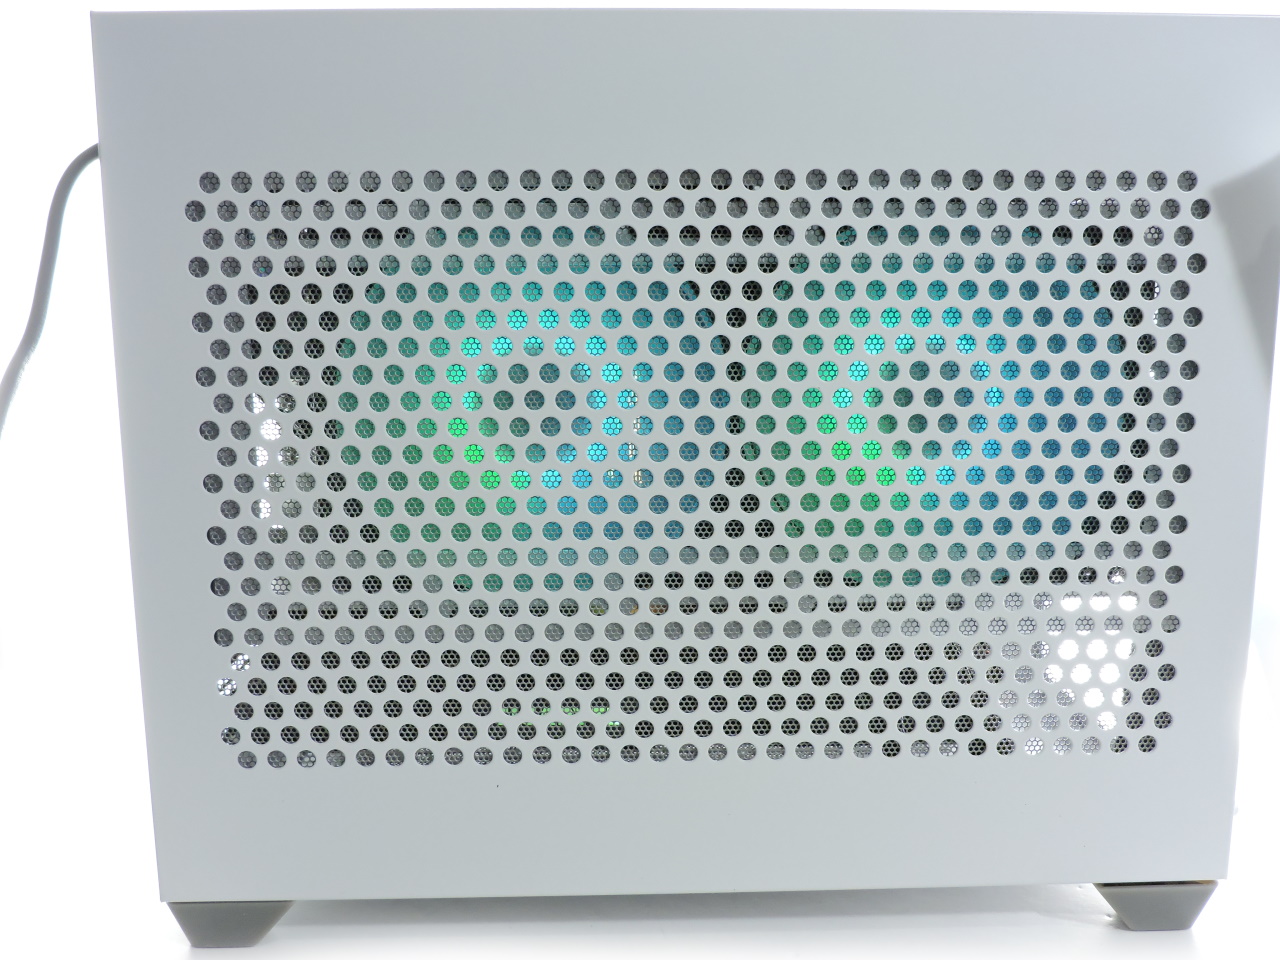
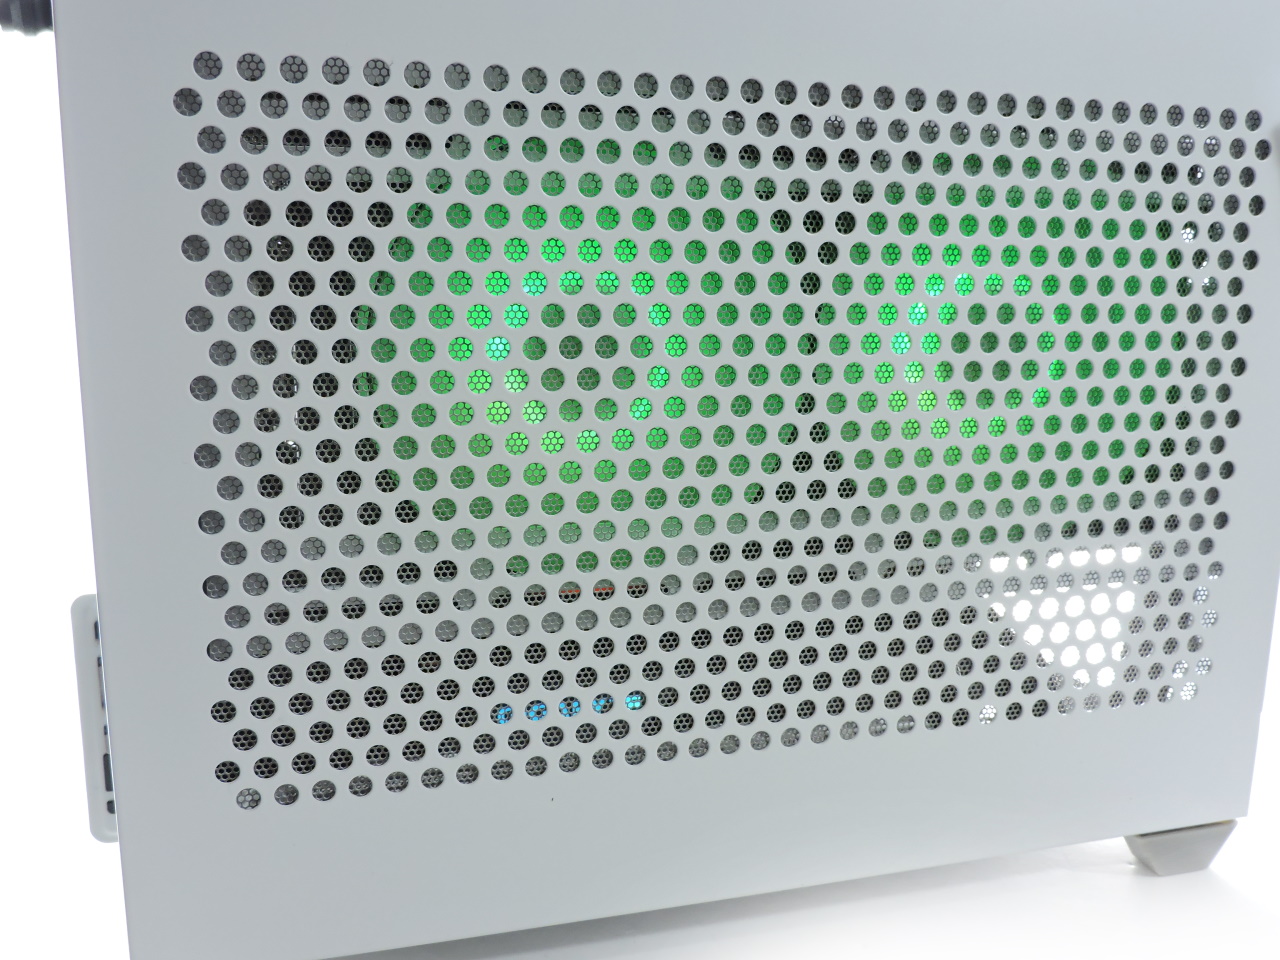
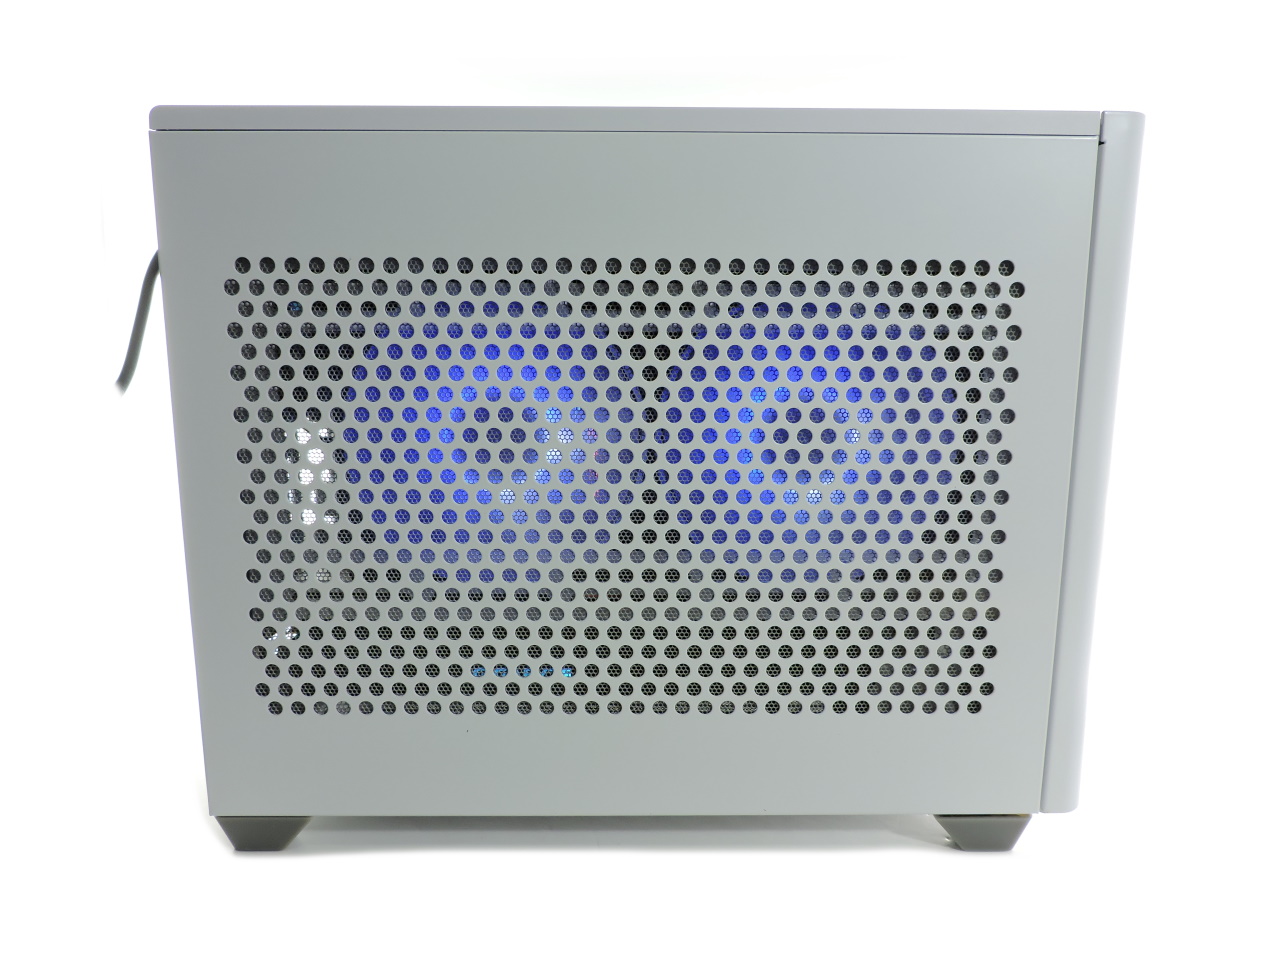
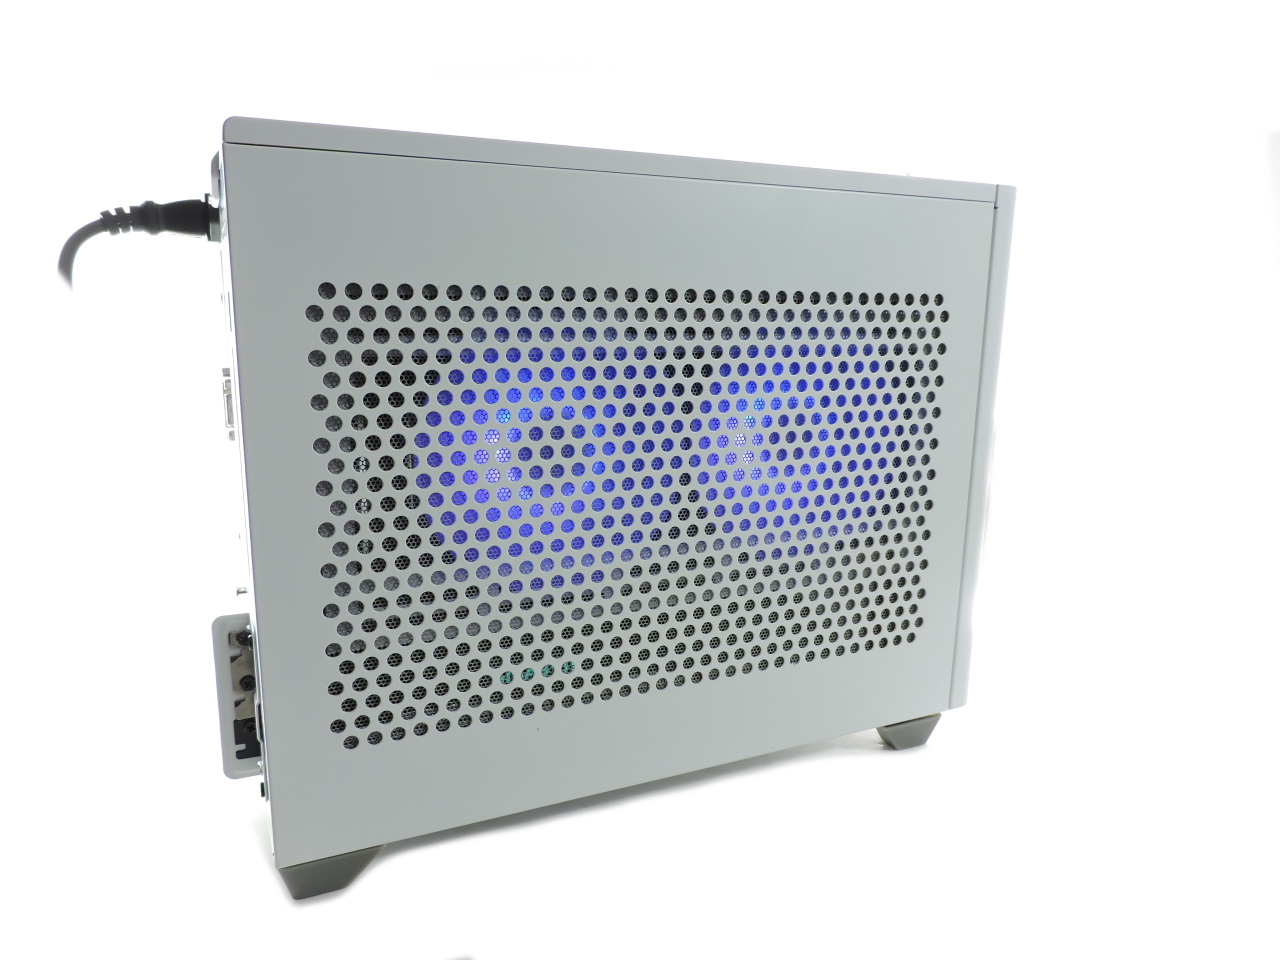
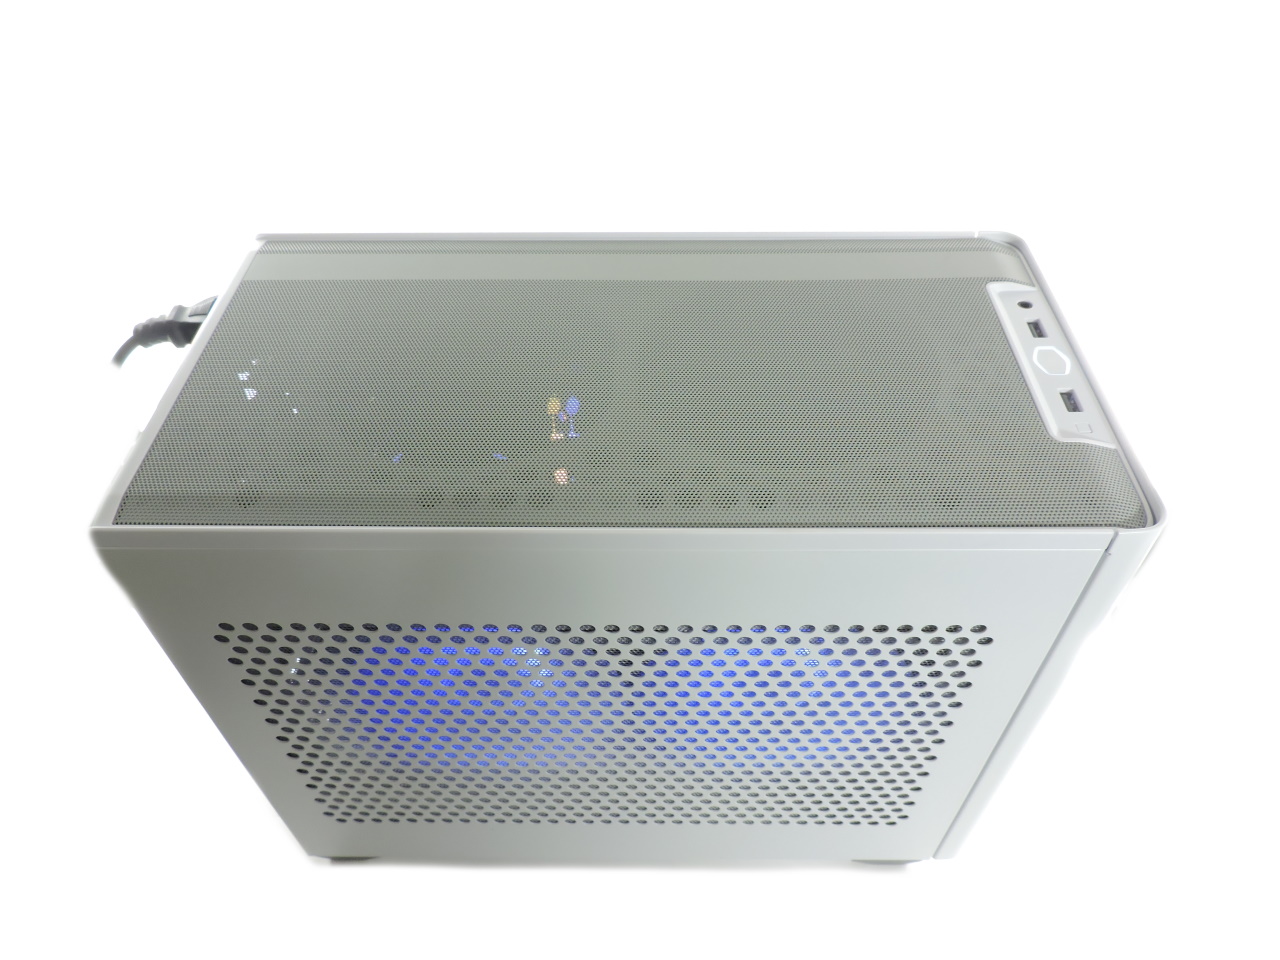
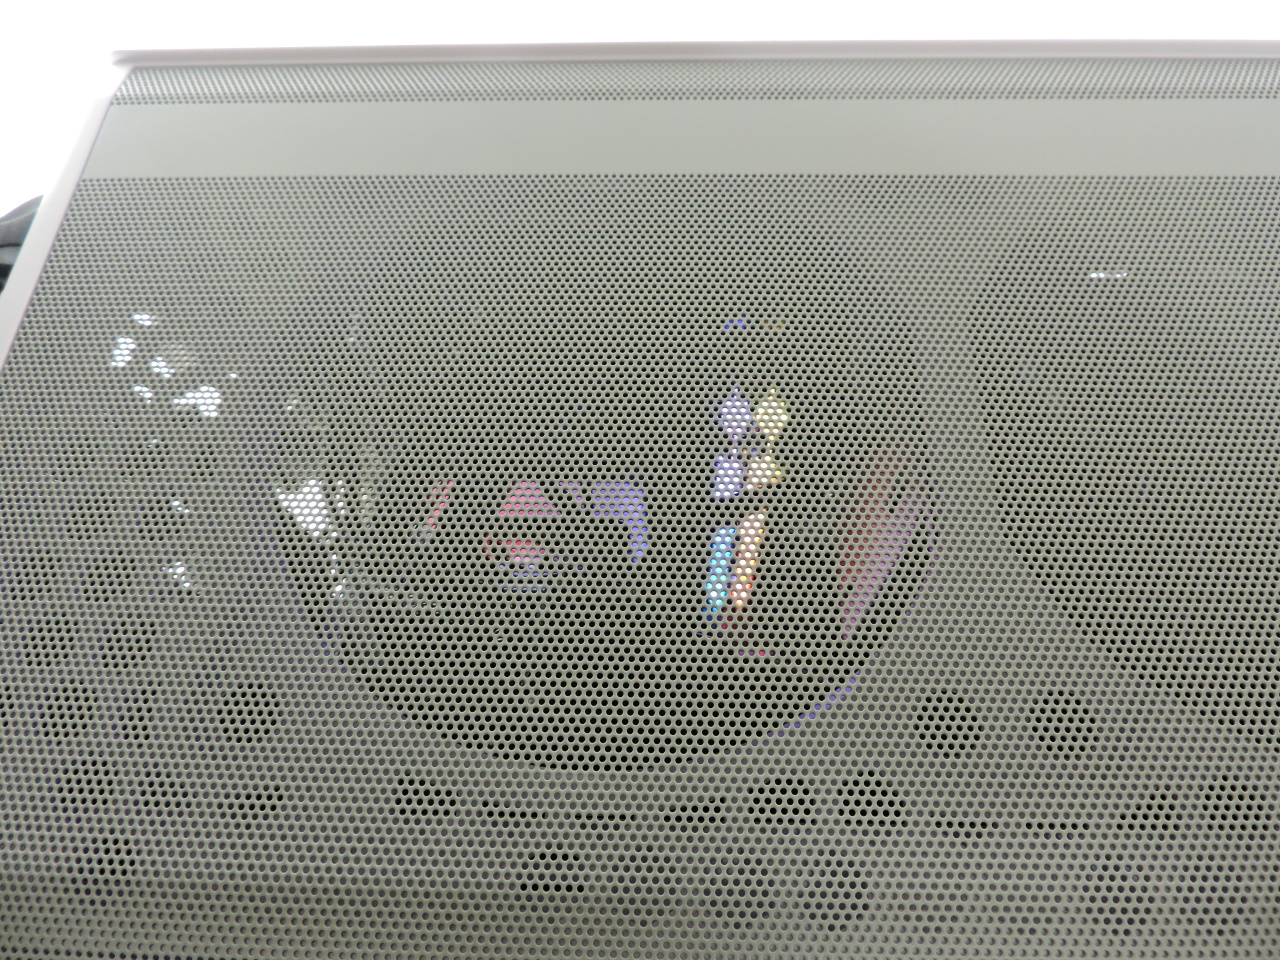
Power Supply and Motherboard area.SFX power supply has plenty of room.Power cable extender conveniently placed. Plenty of room to slide your motherboard into place.Reverse view of motherboard area.Optional HDD Mounting location.Optional SSD mounting location.Optional SSD mounting Location.Large cutout for placing the backplate.Large cutout not restricting any airflow to the PSU.I installed the AIO on the side bracket.Side view of the bracket.AIO placed successfully.Plenty of breathing room.The AIO tubes are a little cramped.You will have to apply a little force to get them into place.Tight but shouldn't hurt the hoses.Ram installed.No interference from other parts.Plug in the PSU cables before the GPU.Utilize the velcro ties to move the cables out of the way of the GPU.The cables will interfere with the GPU if you don't bend them out of the way.Lets hope the graphics card fits!Ahh...perfect fit!PSU cables not touching.Plenty of breathing room for the GPU.Small size but has plenty of space.Decent routes for cable management.I went with the backside route for the CPU power plug.I had to mount the fan towards the front of the case.Almost done!Not bad after it's all together!

Finished Looks

Related posts

Leave a Comment

* By using this form you agree with the storage and handling of your data by this website.

This site uses Akismet to reduce spam. Learn how your comment data is processed.

This website uses cookies to improve your experience. We'll assume you're ok with this, but you can opt-out if you wish. Accept Read More