


Installation

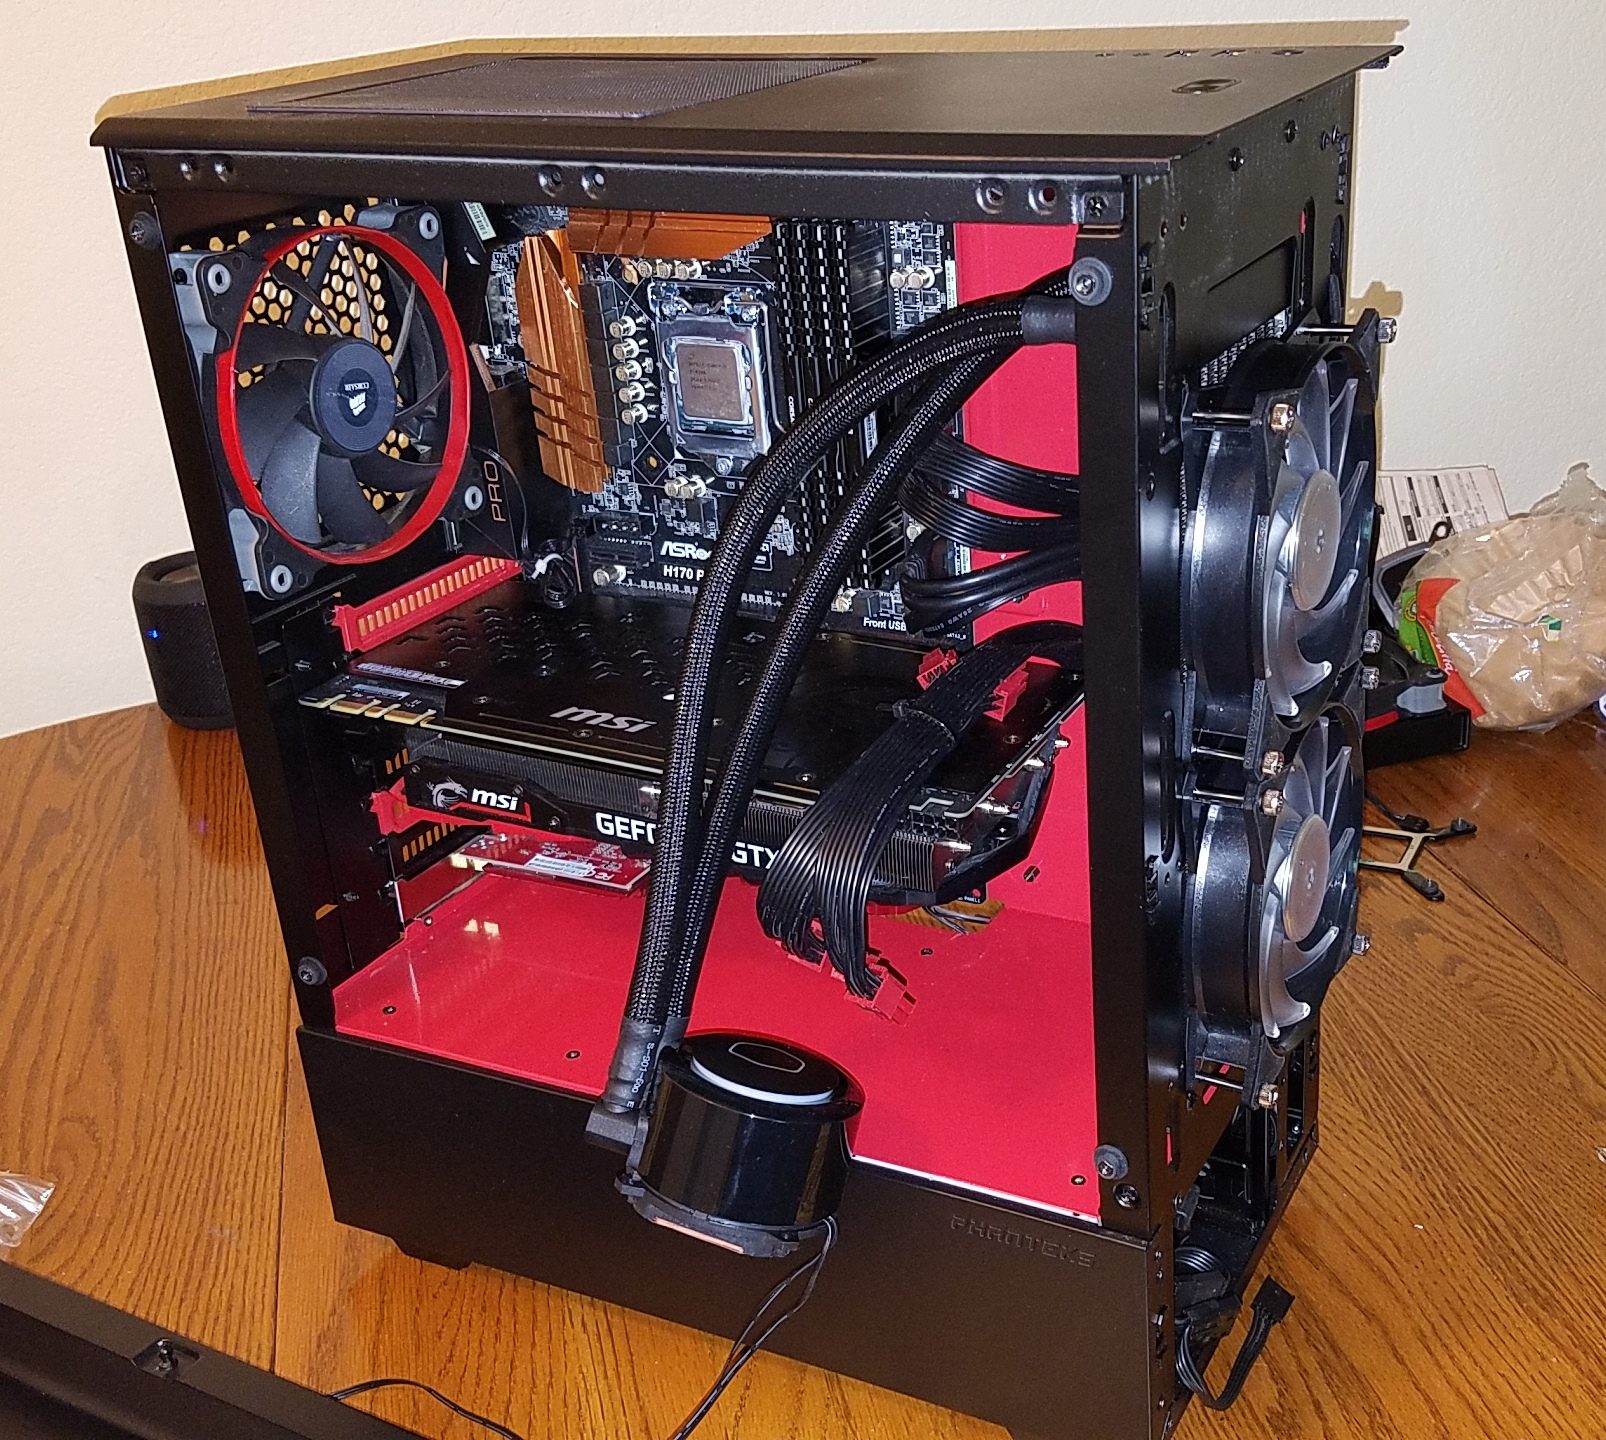
Mounting the fans and radiator was extremely straightforward, you hold the radiator up on one side of the case and the fan on the other and screw the long included screws through the fan into the radiator until they stop. If you’ve ever installed an AIO before this will be nothing new.

The next step is to prepare the back plate for installation, all you have to do here is put the 4 metal pins into the holes on the back plate and slide the plastic clip onto the slot that corresponds to your CPU socket type.

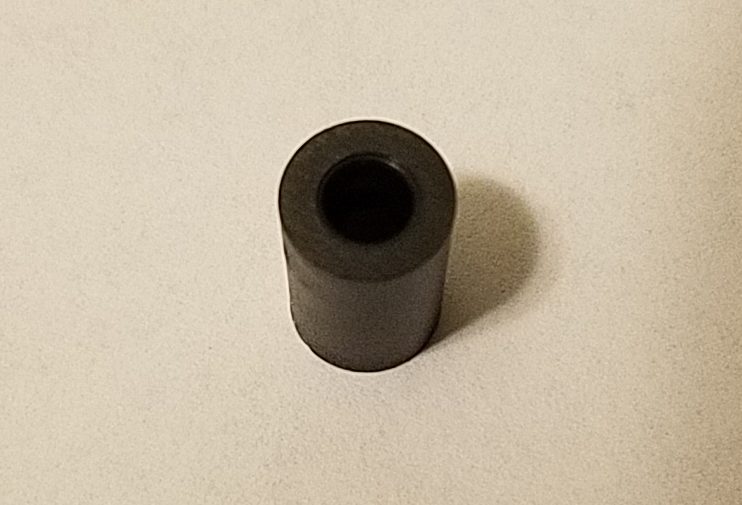
Next, you put the back plate through the back of the motherboard and secure it with these plastic washers. I love that Cooler Master fixed one of my main complaints with some of their other AIO coolers by adding something to keep the back plate from falling out before you can mount the pump.

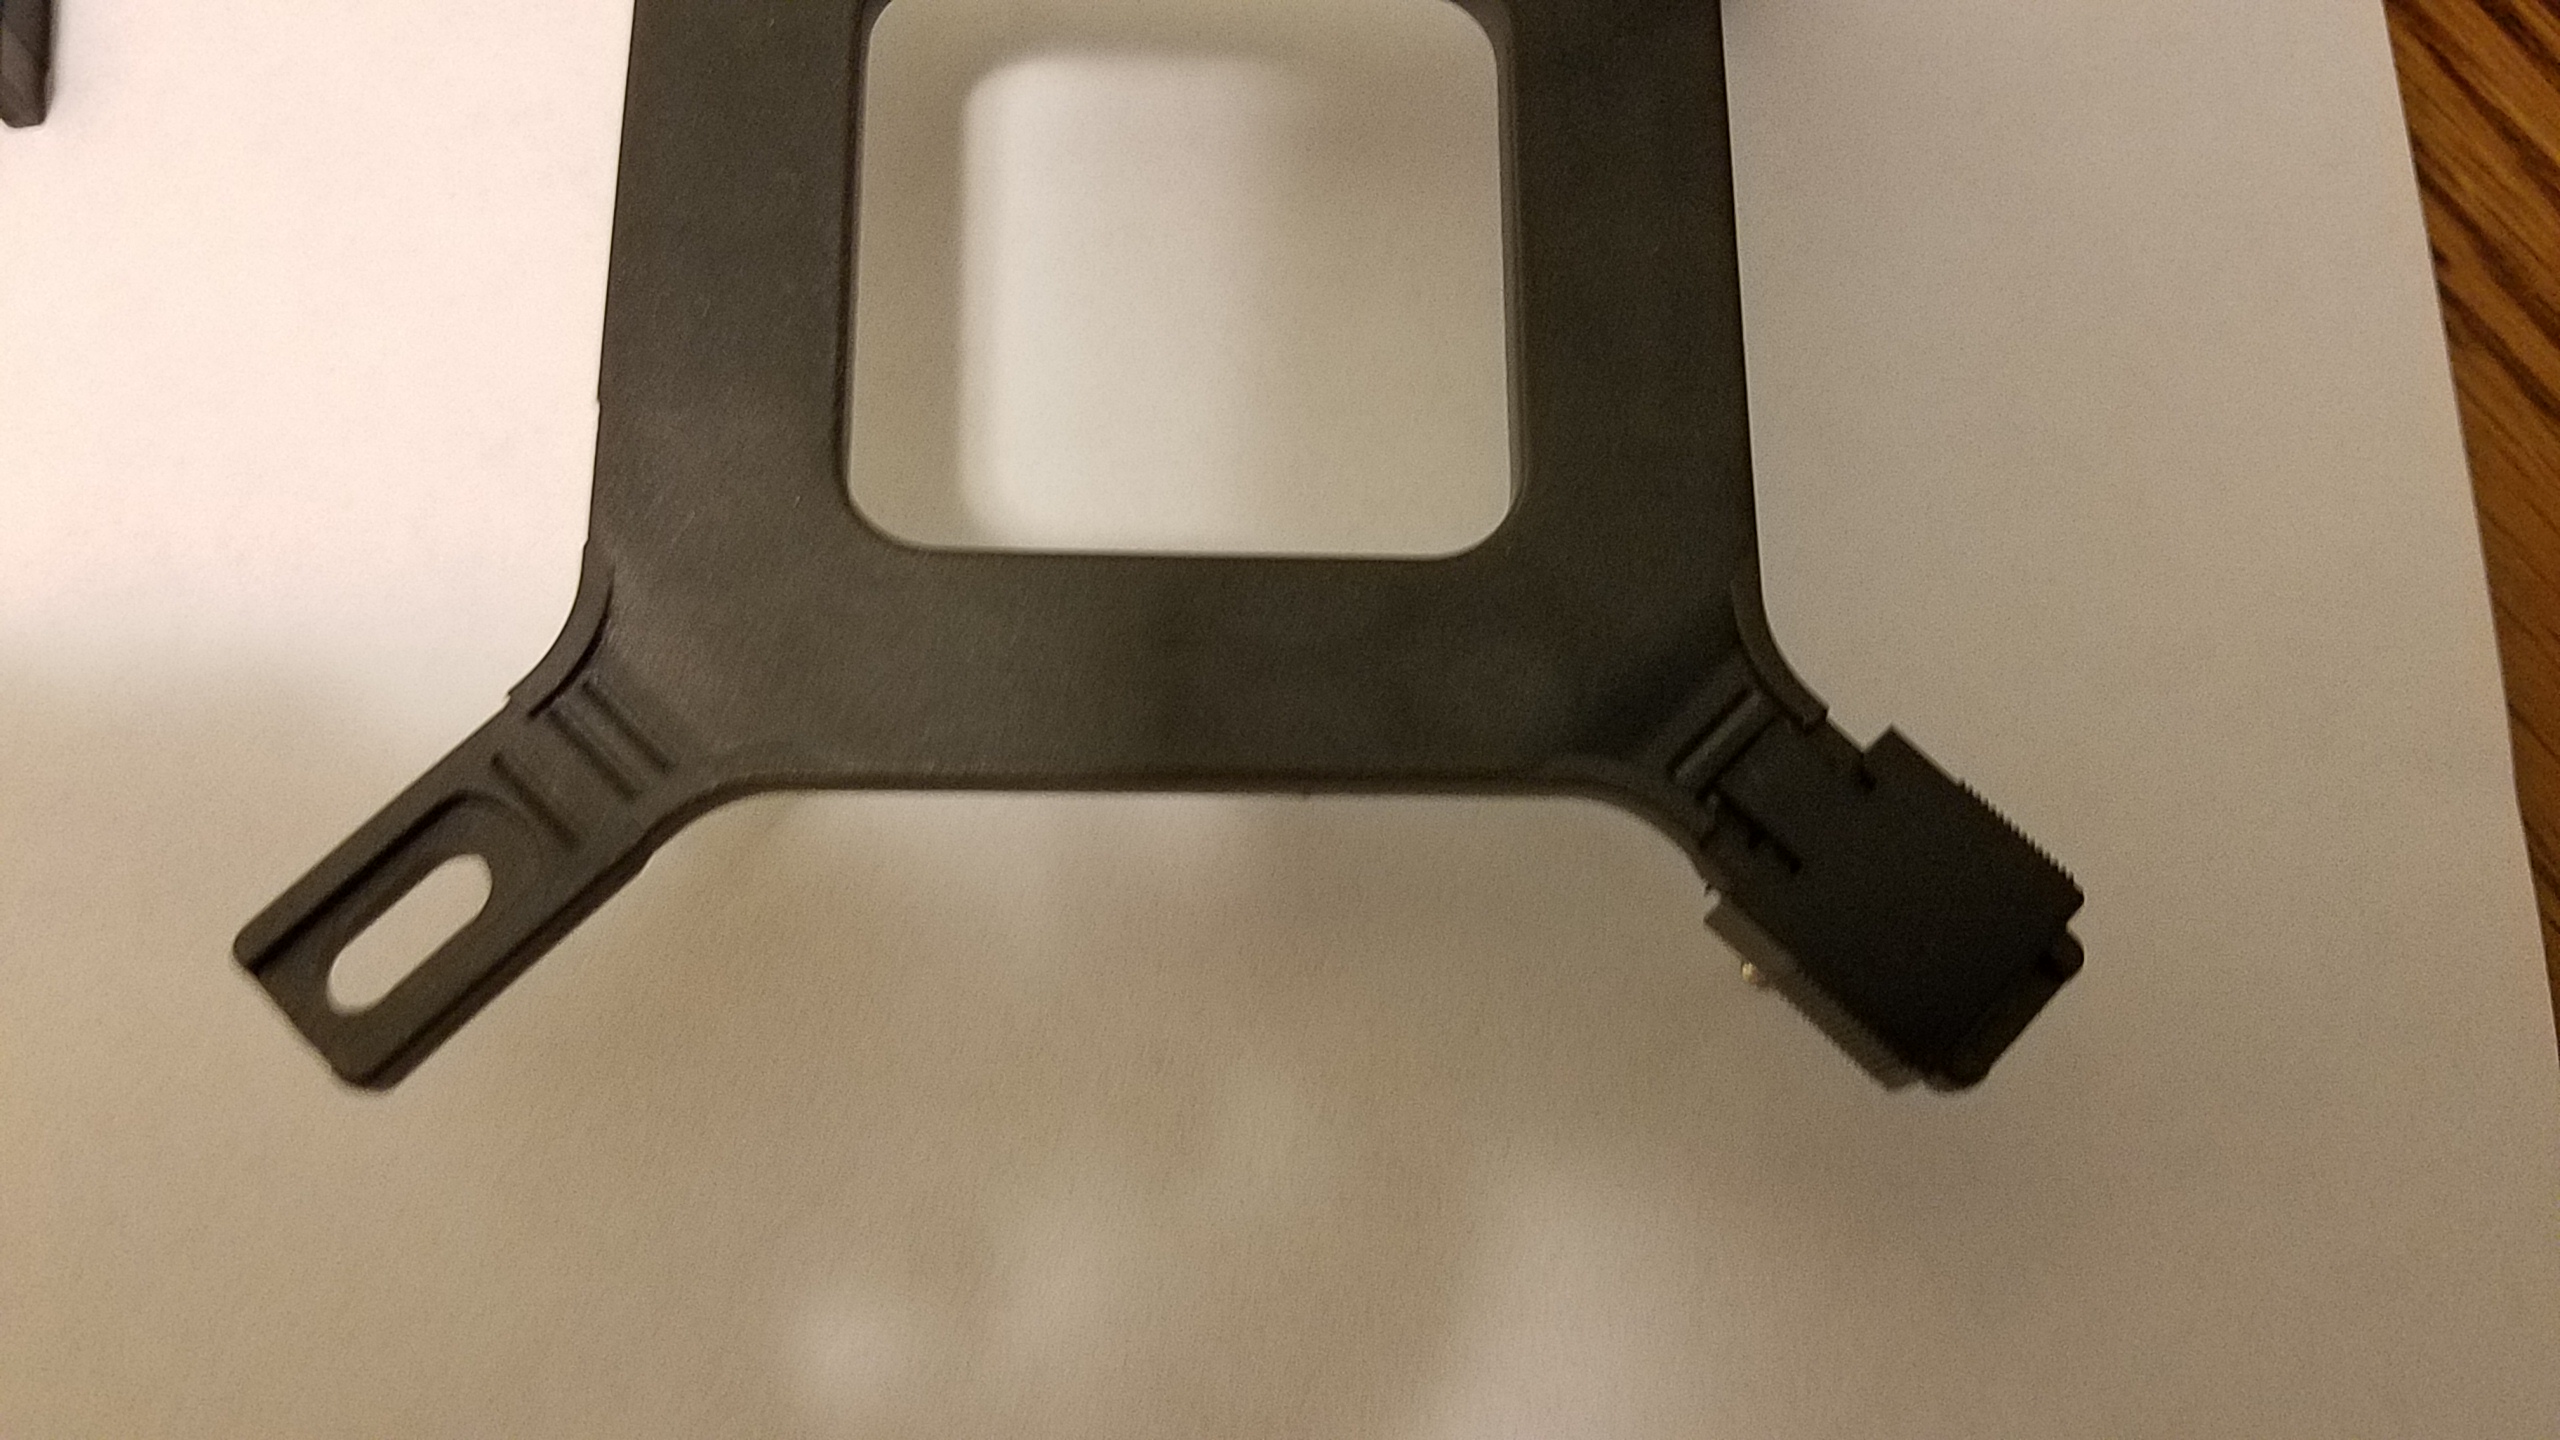
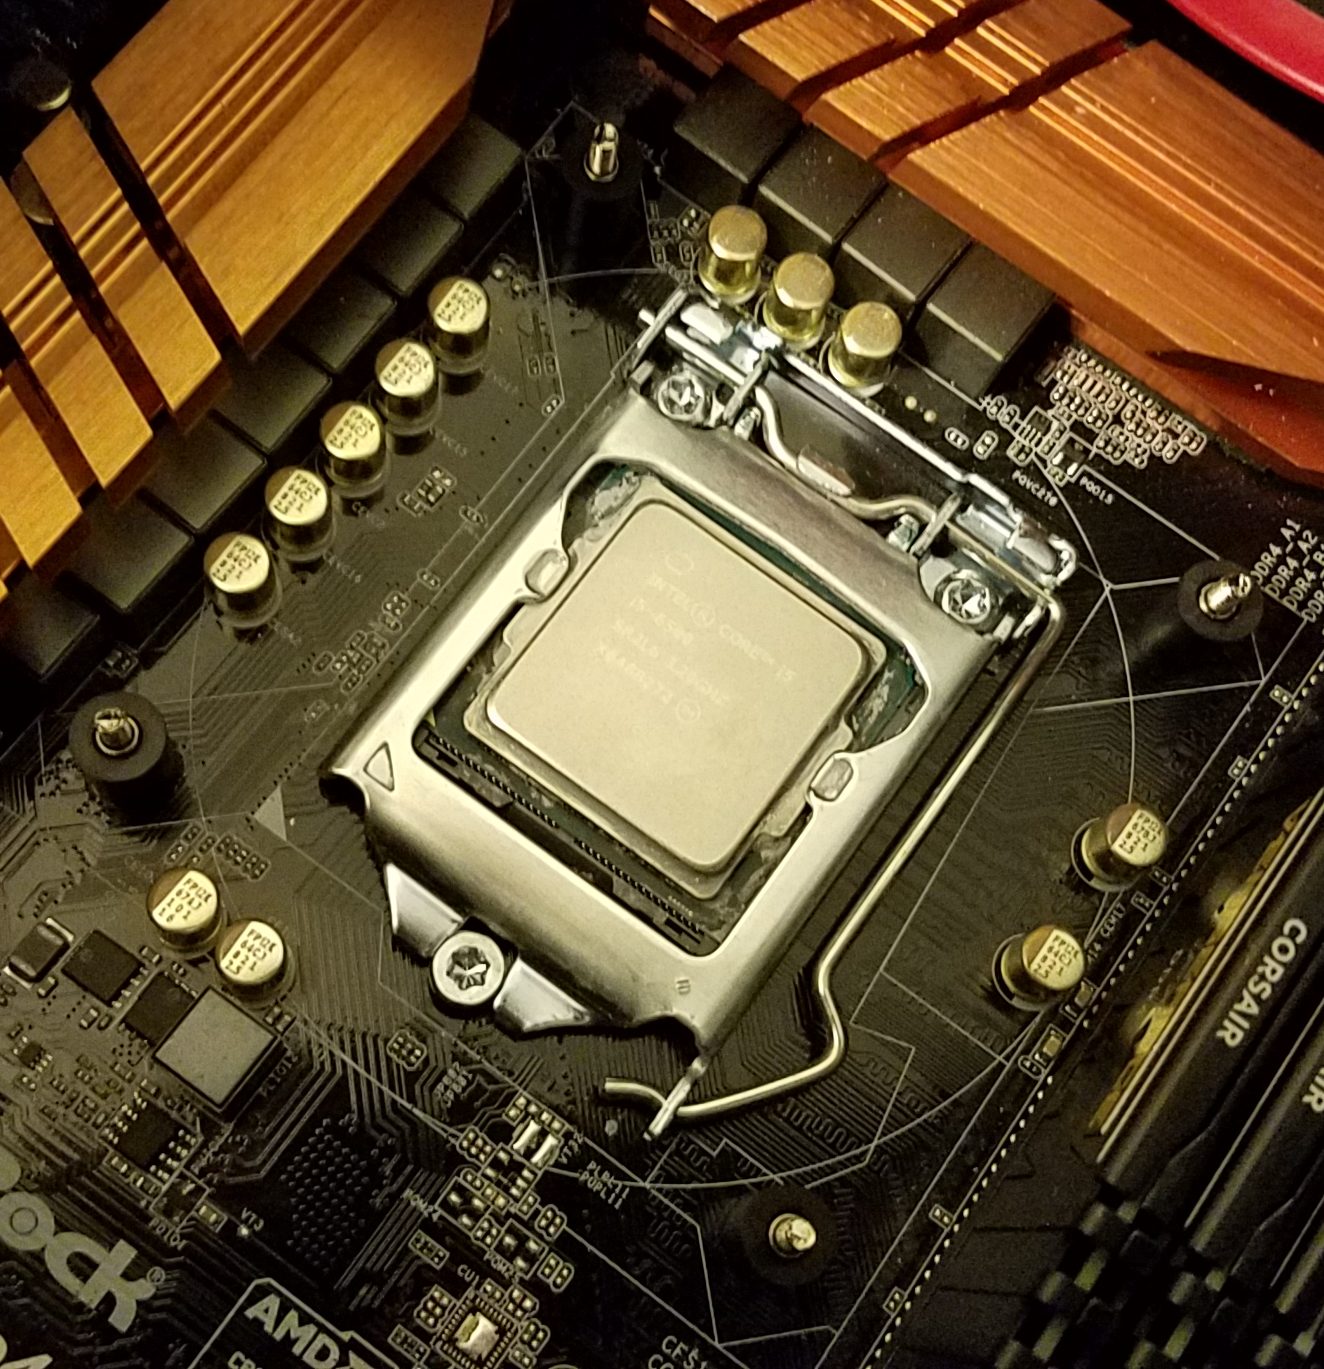
Next, you prepare the pump for mounting by screwing these metal brackets onto the pump. The brackets used will be different depending on what socket you’re using but this bracket will work for the LGA 1150X series of sockets.

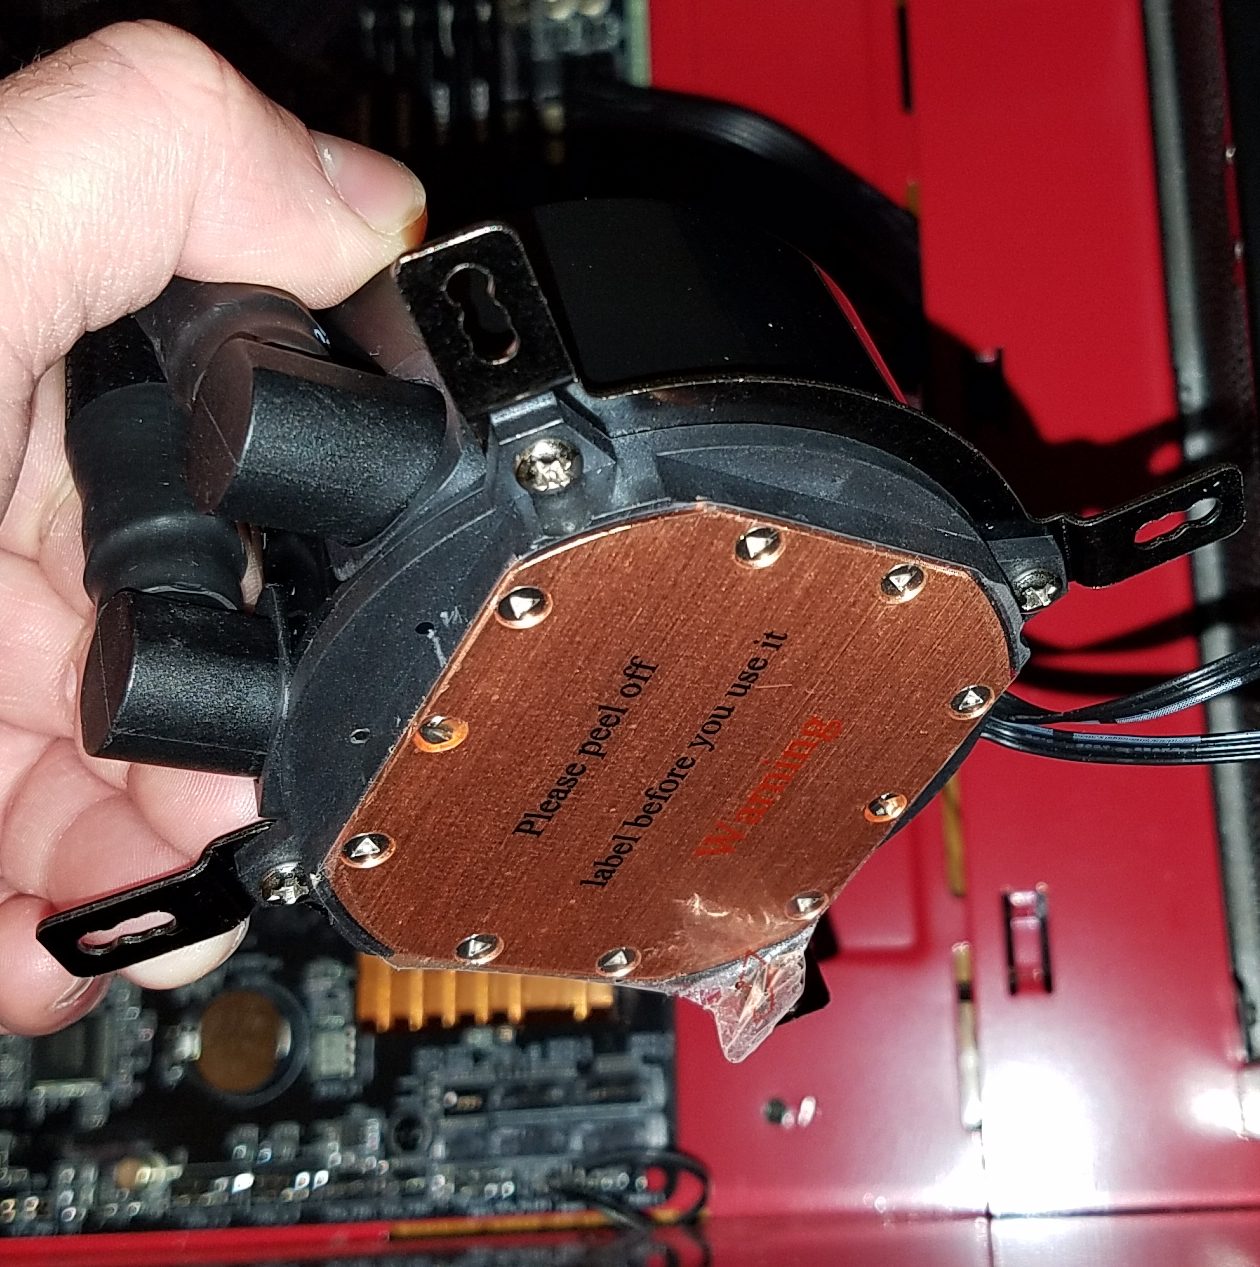
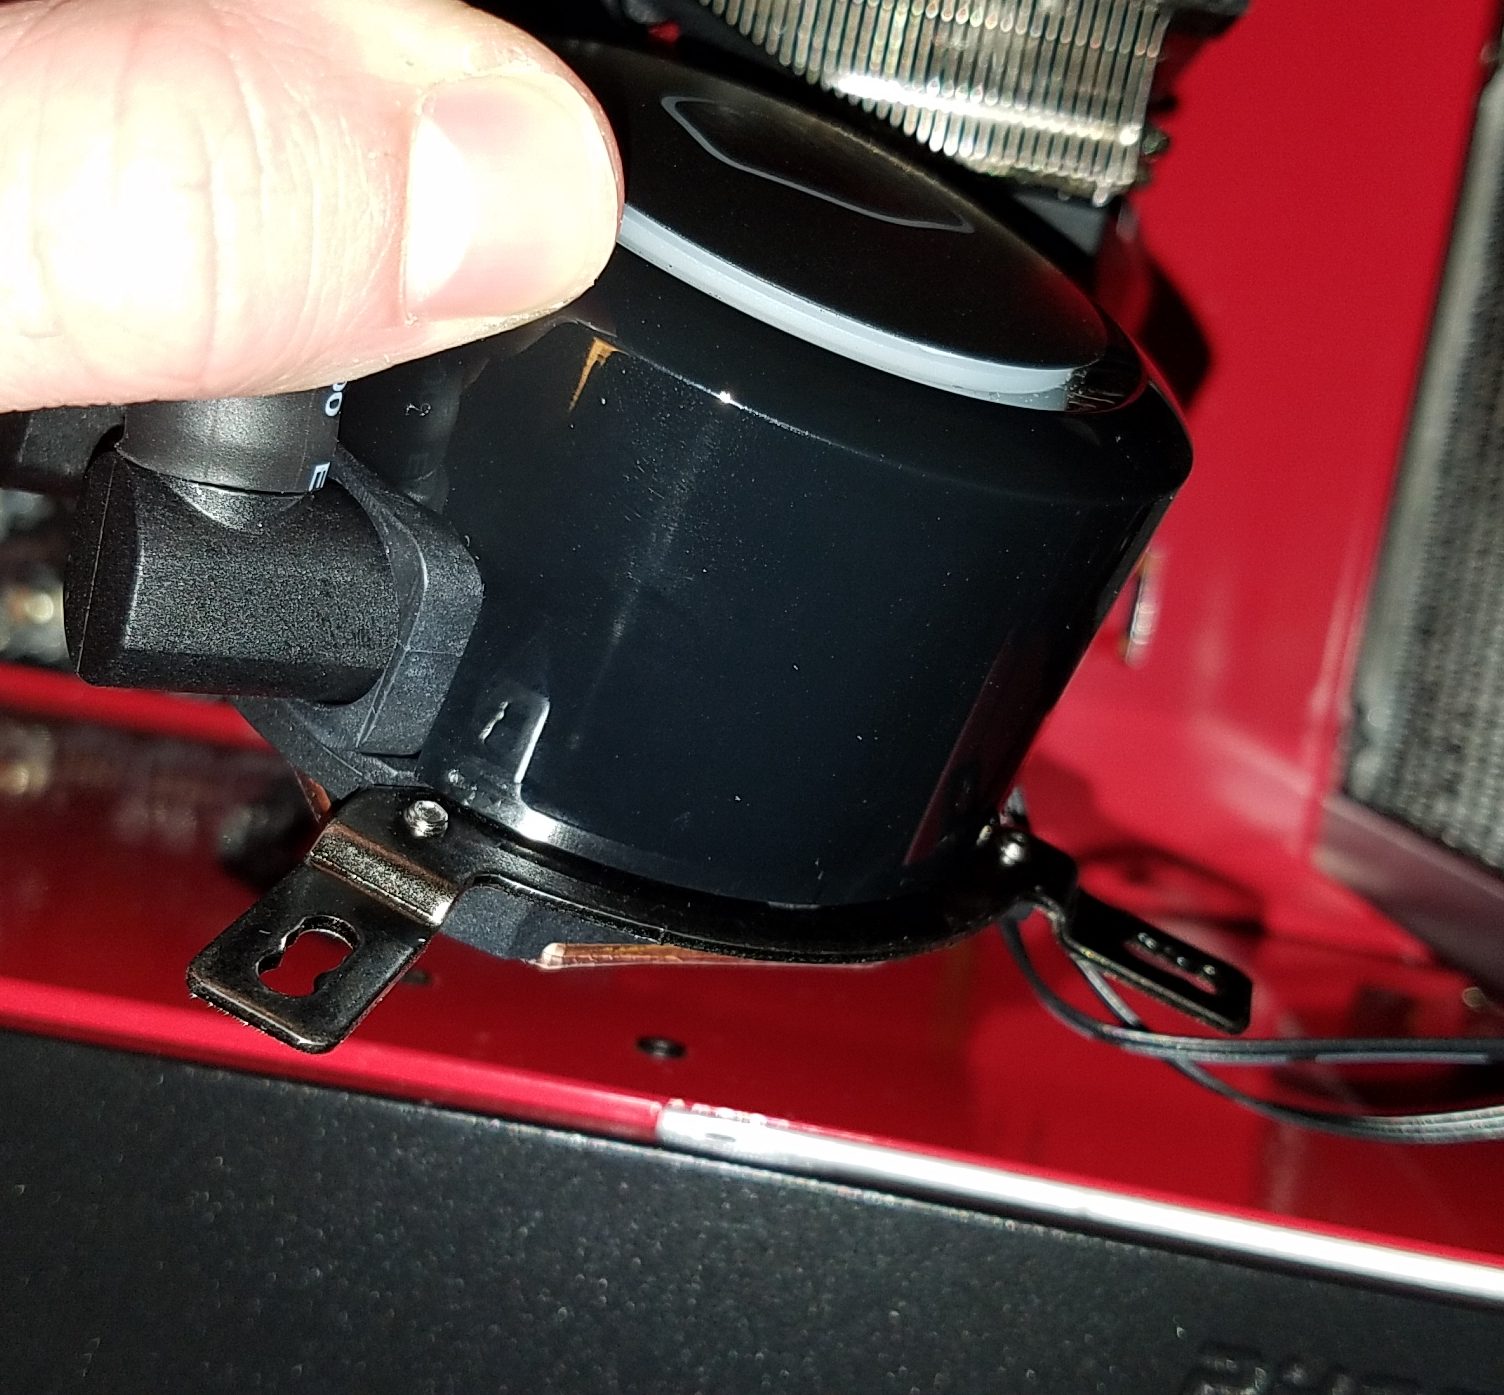
And last but not least you mount the pump. For this step, all you do is place the pump onto the CPU and screw the included end cap screws down over the long backplate screws in a star pattern to help spread the thermal paste evenly.
Overall installing the radiator and pump was super easy and straightforward. It took about 10-15 minutes in total to get everything put together and mounted. I’m also glad Cooler Master fixed the issue with the back plates falling out by including the plastic washers.
I rate the pump, fans, and radiator installation portion 5/5 since It’s super easy and anyone who’s installed an AIO before will be able to do this no problem.
But the same can’t be said about plugging up everything for the lighting…
The main issue with installing the cables for the lighting is that the included instructions don’t do a very good job of explaining how to hook everything up and what everything does so during installation I was trying to figure out some things on my own.

To start out these are all of the cables you’ll need to hook up the pump and the two fans into the included controller. Also, I didn’t realize until after everything was installed that I didn’t take enough photos of each piece so for this portion I’ll be using cropped photos of the photo above to show what each cable is.

The first step I did was plugging the included MOBO USB to USB-A cable, this cable plugs into your motherboards internal USB pins and changes it into a normal USB port. I believe this is used to either help power the lights or provide software control but nothing in the instruction book will tell you.

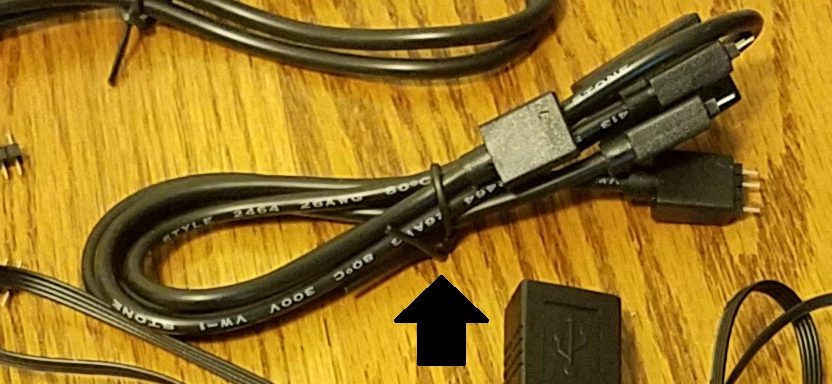
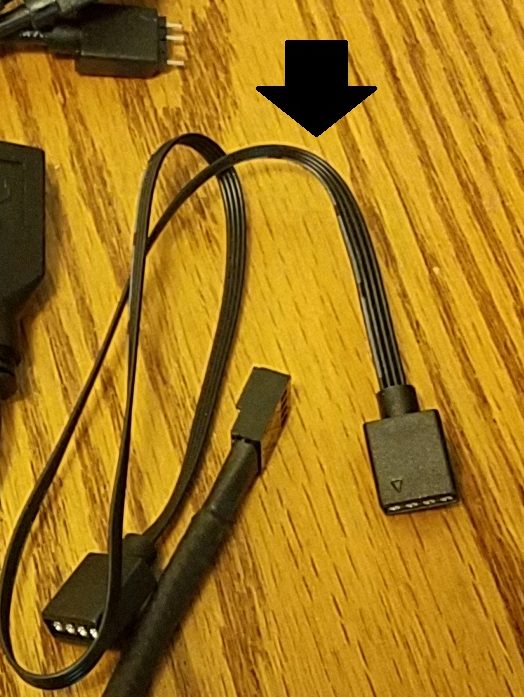
Next, I used the included 3 pin connectors to connect the 3-way splitter and extension cable into the control hub and then I plugged the other ends of the cables into the fans and pump.
One issue is the RGB cable connections are extremely loose once the cables are plugged in, this is an issue that I’ve had on other brands RGB cables but I wish Cooler Master did something to help this issue.
I fixed the issue myself by using electrical tape to hold the connections in place but it’s still worth mentioning.

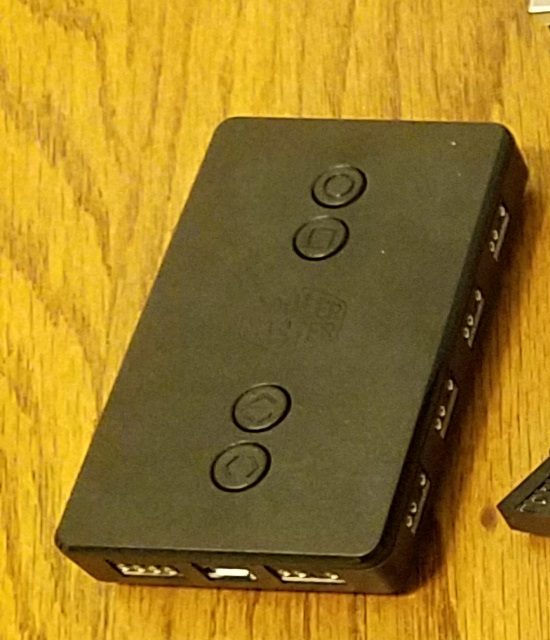
After everything is hooked up you’ll have something that looks like this, I have one extra cable plugged in due to having 4 total RGB fans in my case but everything else connected came with the ML240R. One thing I really like is the ARGB control hub is magnetic so you can mount it pretty much anywhere inside your case without added tools also the magnet is strong enough that it stays attached with cables pulling on it slightly.
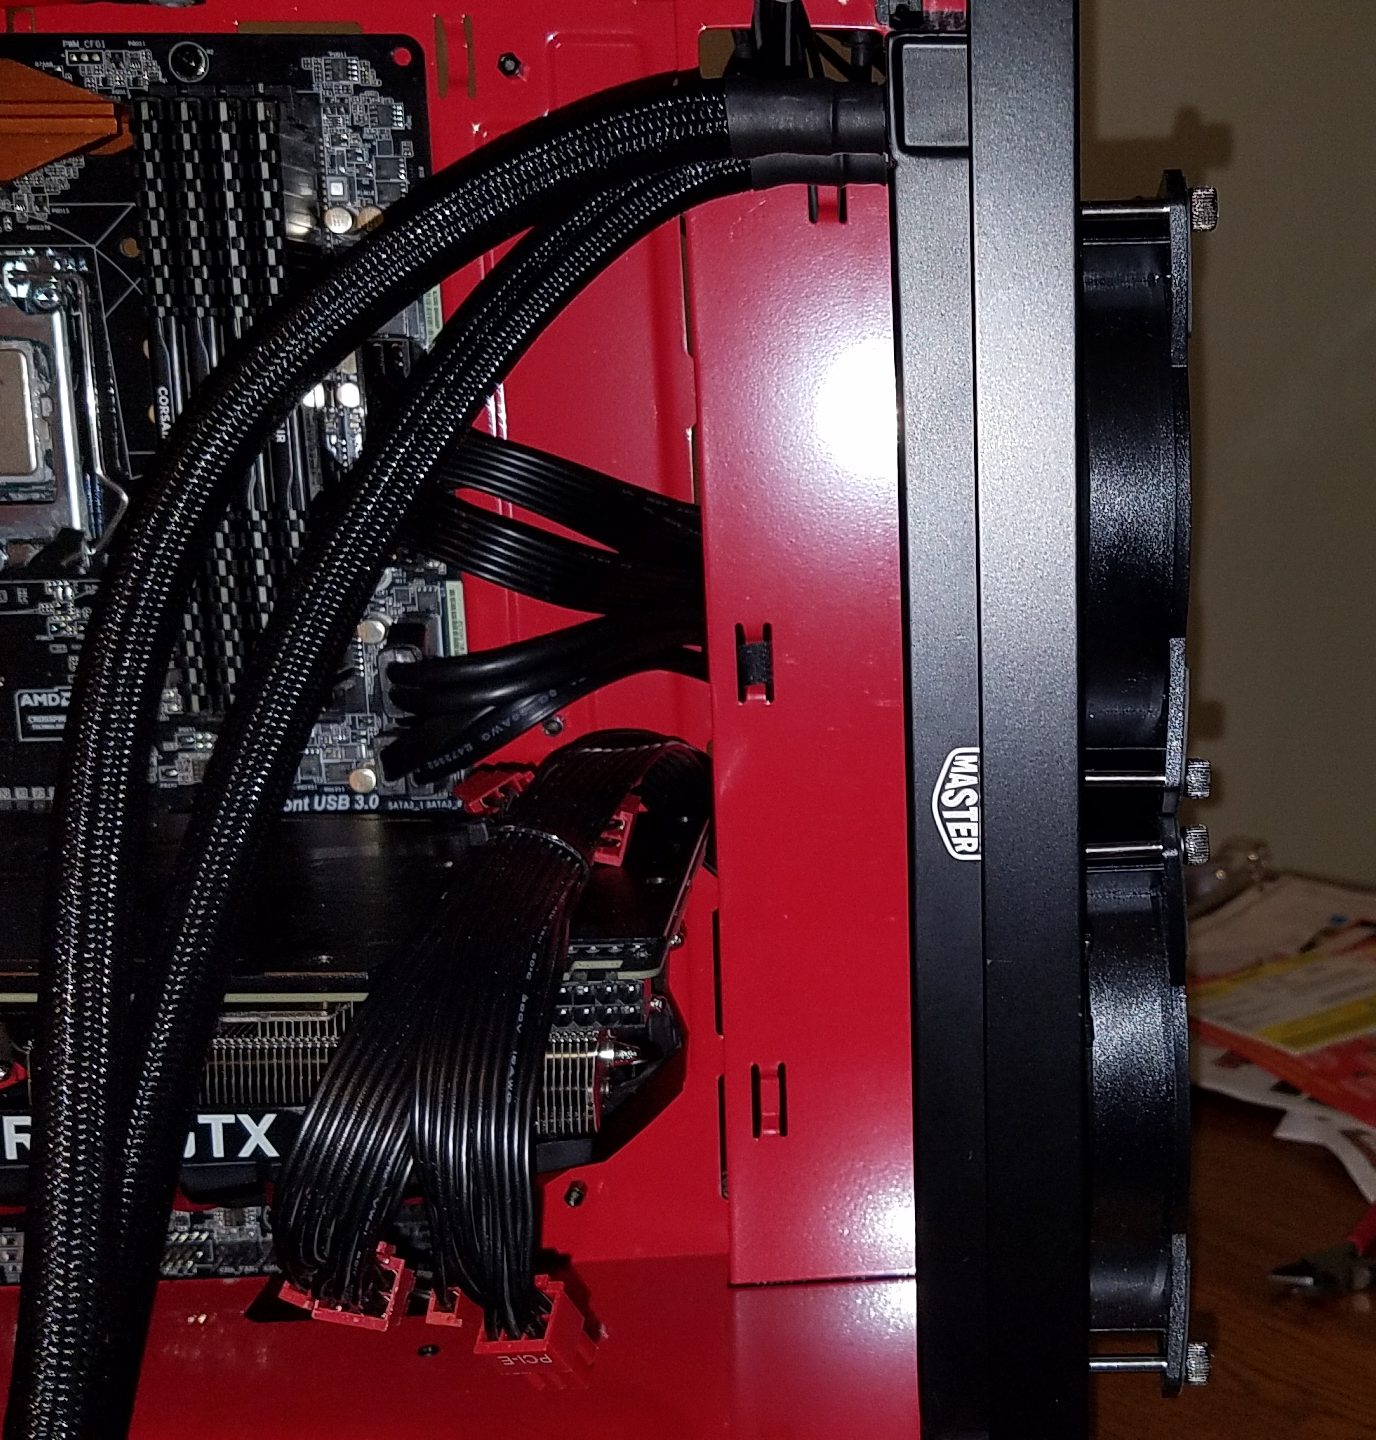
Hopefully, you have plenty of room for cables inside your case because the cables necessary to light everything adds a lot of cables.

I pulled all of the cables related to the ML240R out of my case to show about what you’ll be dealing with when it comes to cable management.
Overall installing all of the cables needed for the ARGB controller is the only part of this cooler that I had any issues with, I know a ton of cables is a necessary evil when you’re working with RGB components but I feel like the process needs to be explained better in the instructions and possibly streamlined if possible. I would highly recommend watching the video below from Cooler Master and downloading the ARGB controller PDF from the official product page if you buy this cooler since it will help clear some but not all of the confusion.
I rate the lighting installation portion 4/5 since most of the complexity is unavoidable with current technologies but I do wish Cooler Master could explain the process a little better.
Now let’s move onto Lighting effects, Lighting, and Looks
If you like the review then feel free to pick up the featured product here on Amazon.com for $119.99

