


Installation
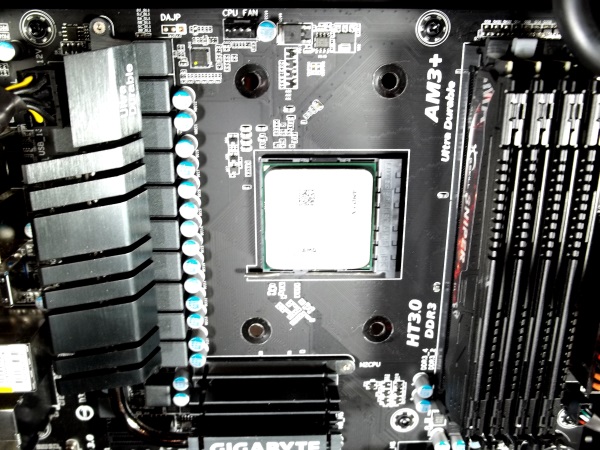
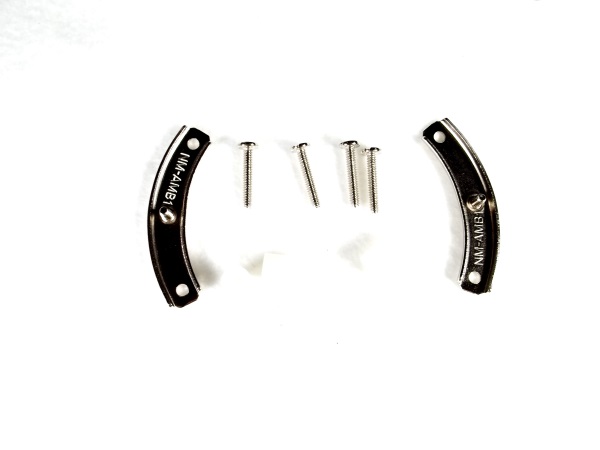
Installation of any cooler can be a daunting task. Noctua kindly included a highly detailed set of instructions. To install the NH-L9x65 we will use the provided hardware supplied. I will be using the AMD mounting hardware. With AMD we use the stock back plate for most applications as they are usually not provided, as in this case. The process usually requires you to take your entire rig apart pull out the motherboard and proceed from there. Depending what case you may have, the possibilities of avoiding having to take everything apart greatly increase just by the small size of the NH-L9x65.
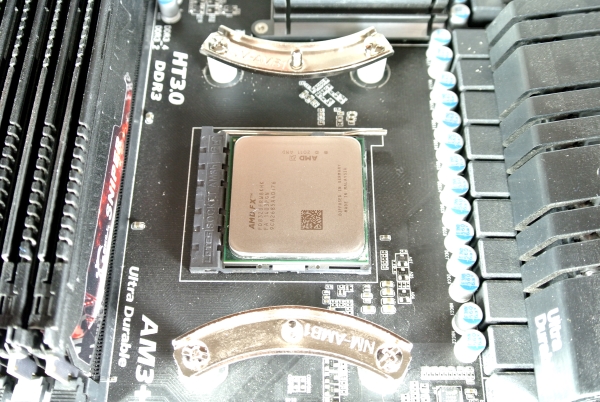
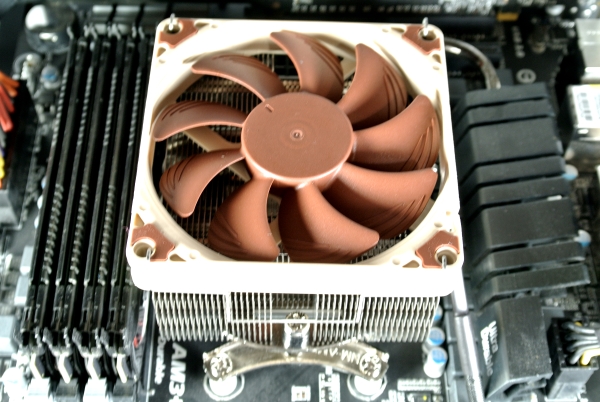
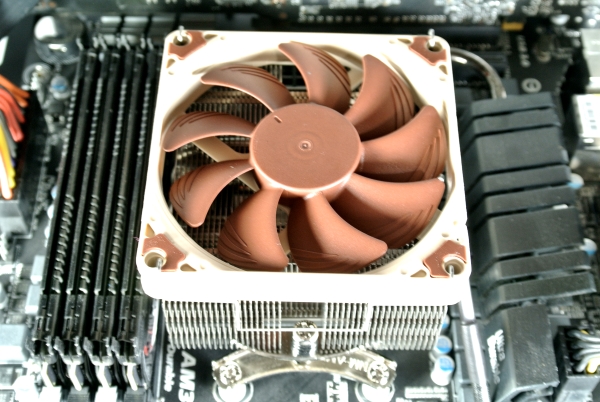
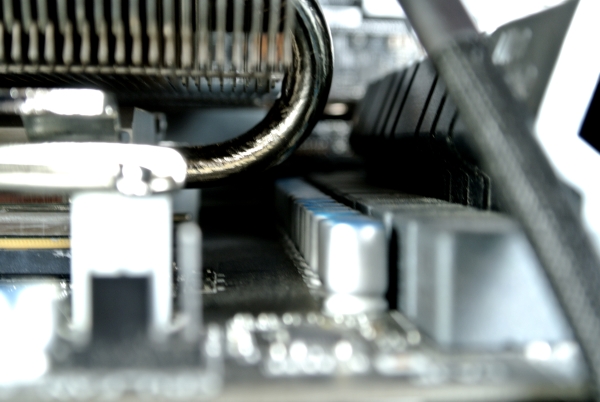
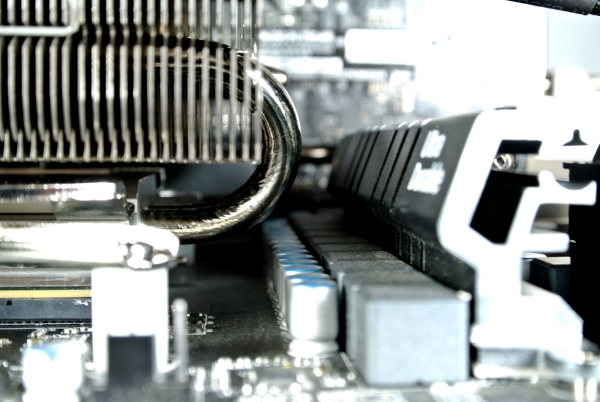
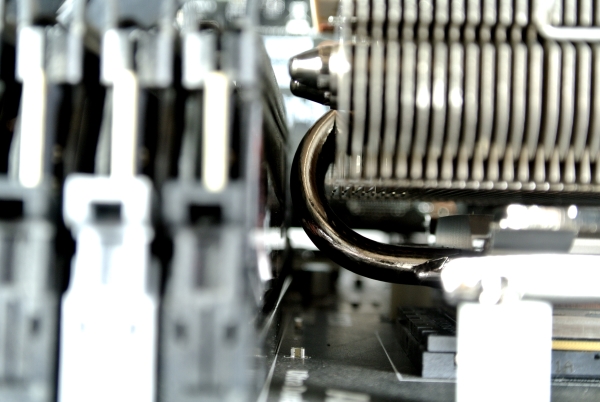
The small size should make for a more manageable install. The size alone should make things easier and the heatsink screws easier to work around. I am going to attempt to install the NH-L9x65 without removing the motherboard and I am also going to leave in place the water cooling system I have installed. The clearance on the water cooler makes life easy with a huge case but that will also give you an idea of the 95×95 footprint of the NH-L9x65.

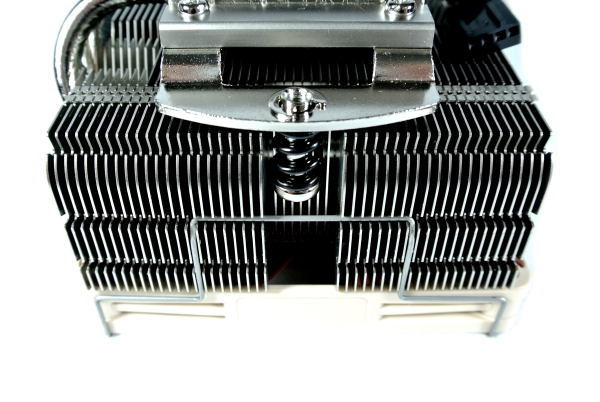
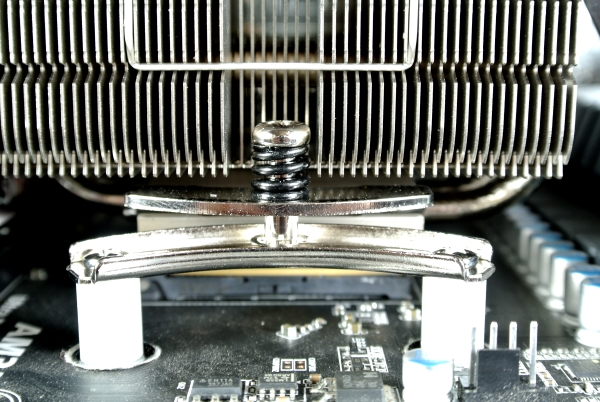
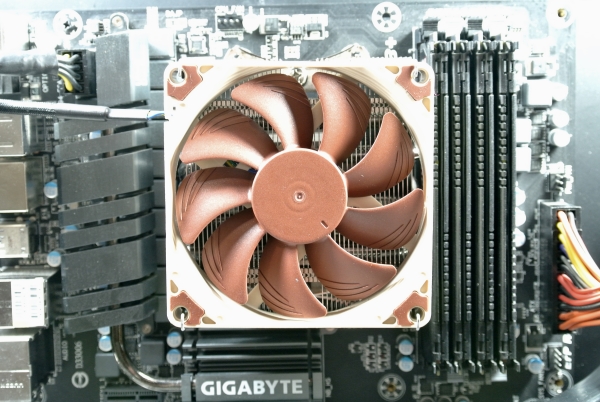
Once the fan is removed we can move on and secure the heatsink to the CPU. The NH-L9x65 cannot be installed incorrectly as it is symmetrical. Now set the heatsink on the CPU and line up the mounting spring loaded screws and tighten them down. I did not even have to remove my ram during this entire process. Once the NH-L9x65 is securely mounted reattach the fan.
Finished Looks


Now that we covered the installation of the L9x65, let us see the results from testing!

