


Assembly
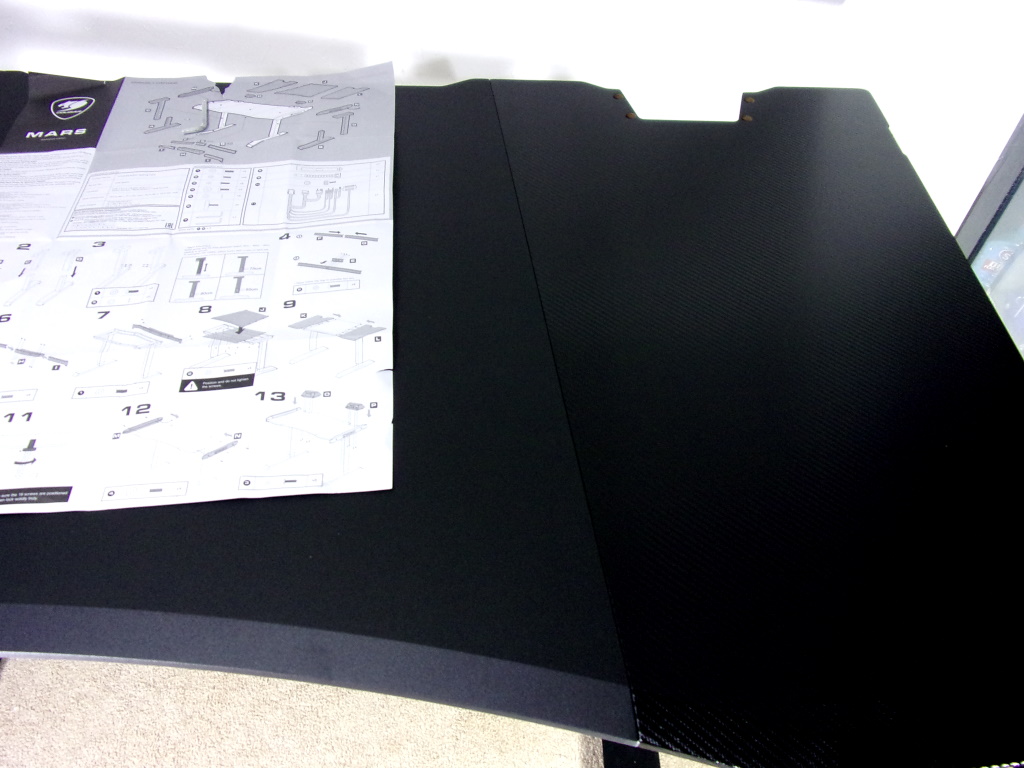
Now for the fun part….Assembly. Pros: detailed step by step guide, easy to follow and understand. Cons: takes a while to put together, a lot of heavy pieces. The entire thing took me roughly 2 hours to put together. I was taking pictures and documenting anything out of the ordinary so your your mileage may vary. But plan on it taking awhile to put this thing together. All-in-all the process isn’t terrible and the guide is very detailed and has you putting the desk together in a very workable order.

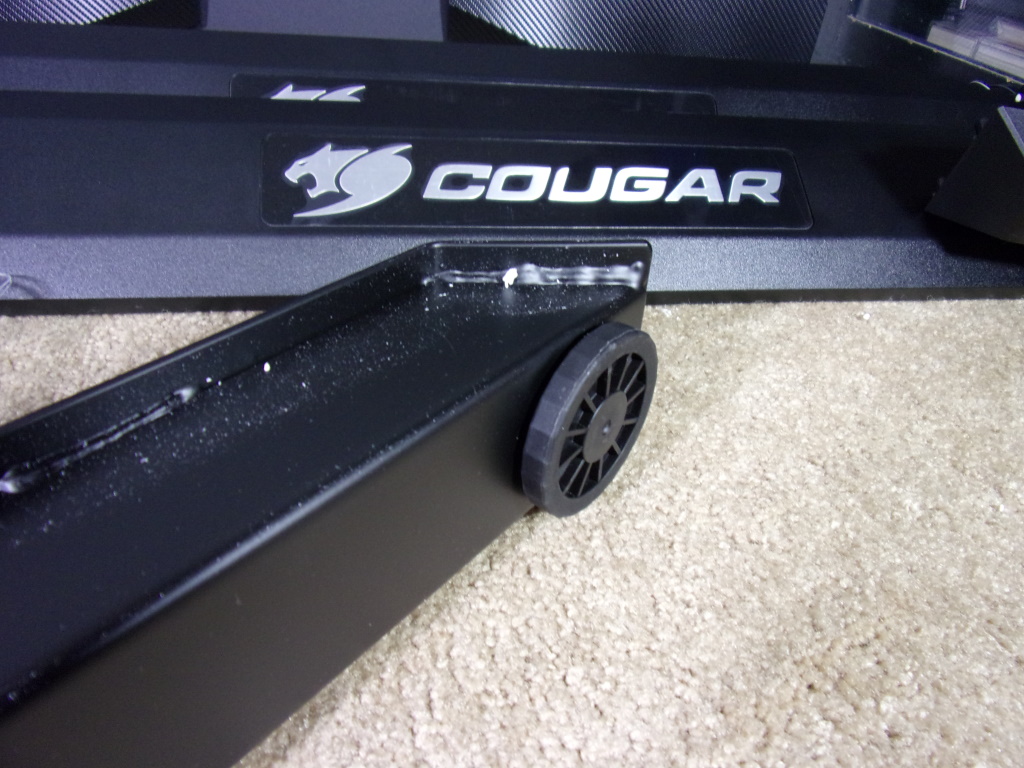
Step 1: Find the two legs and simply screw in the plastic feet. Four in total.

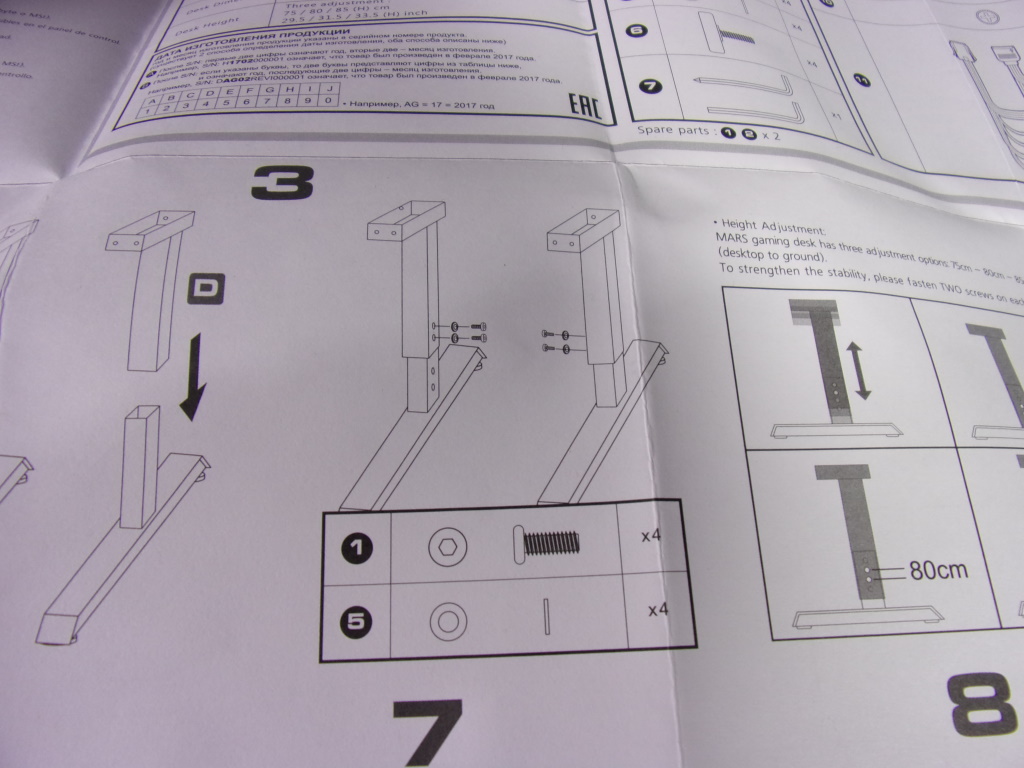
Step 2: Grab pieces C and D and simply slide them over the pieces you just put the plastic feet on. Don’t worry about any screws or height adjustments. That will be covered in the next step.


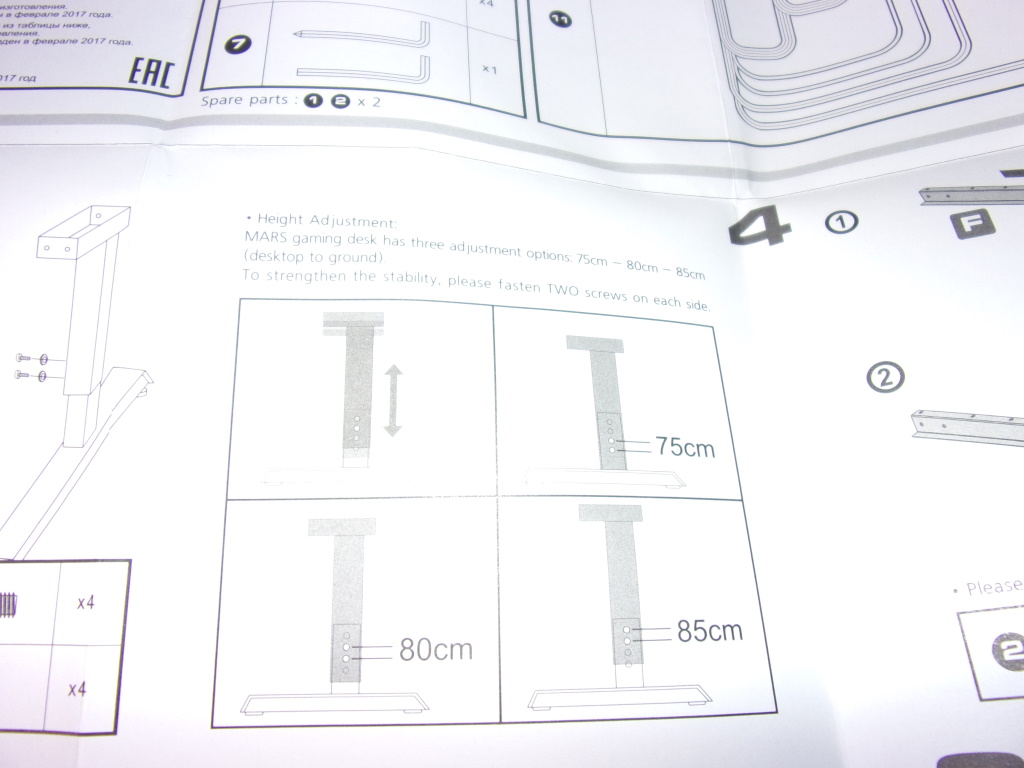
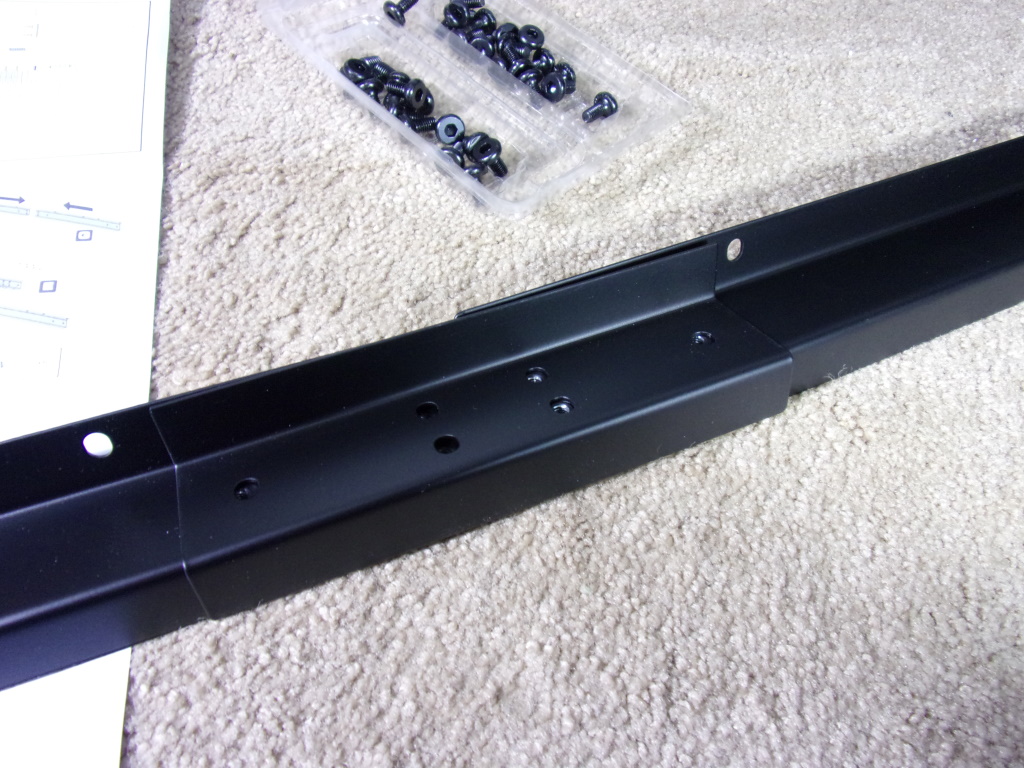
Step 3: In this step you will line up the holes with the corresponding height you want to set your desk at. Make sure you do some planning ahead because once you have the desk together, readjusting the height would be quite the chore. Tighten the screws firmly.

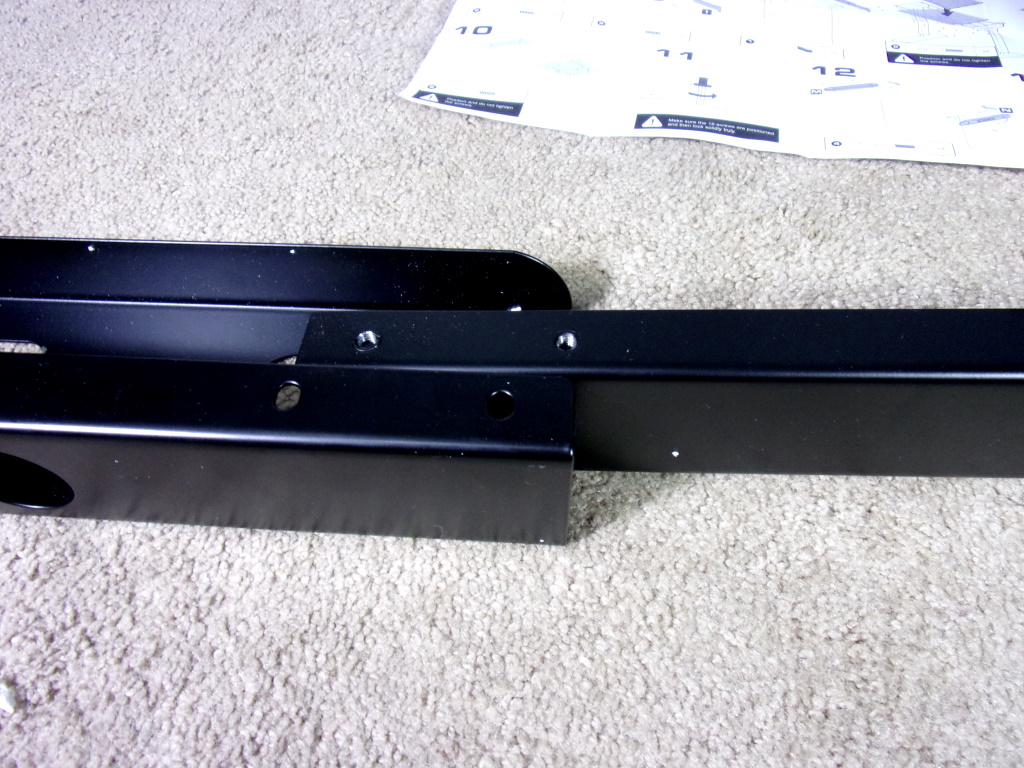
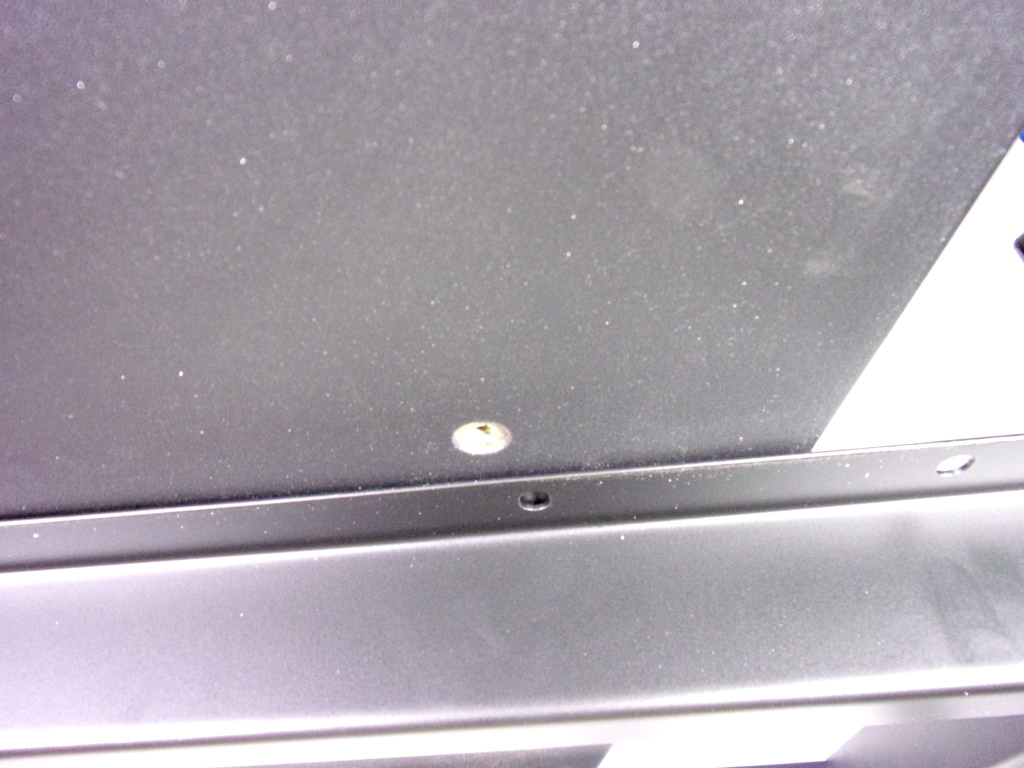
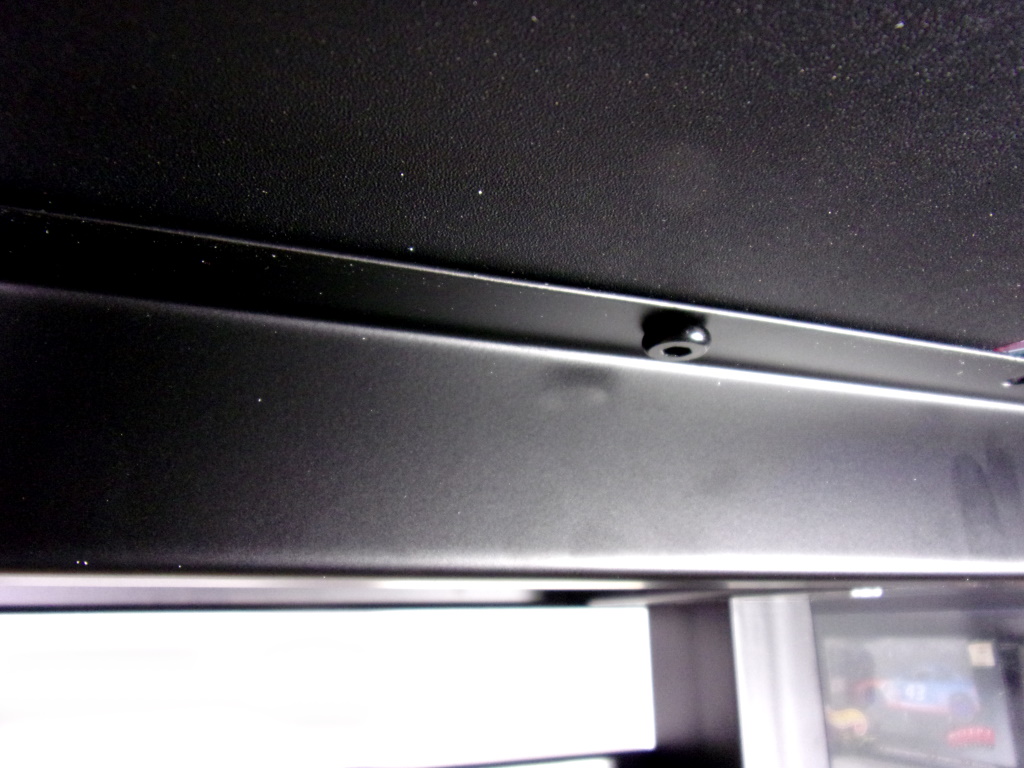
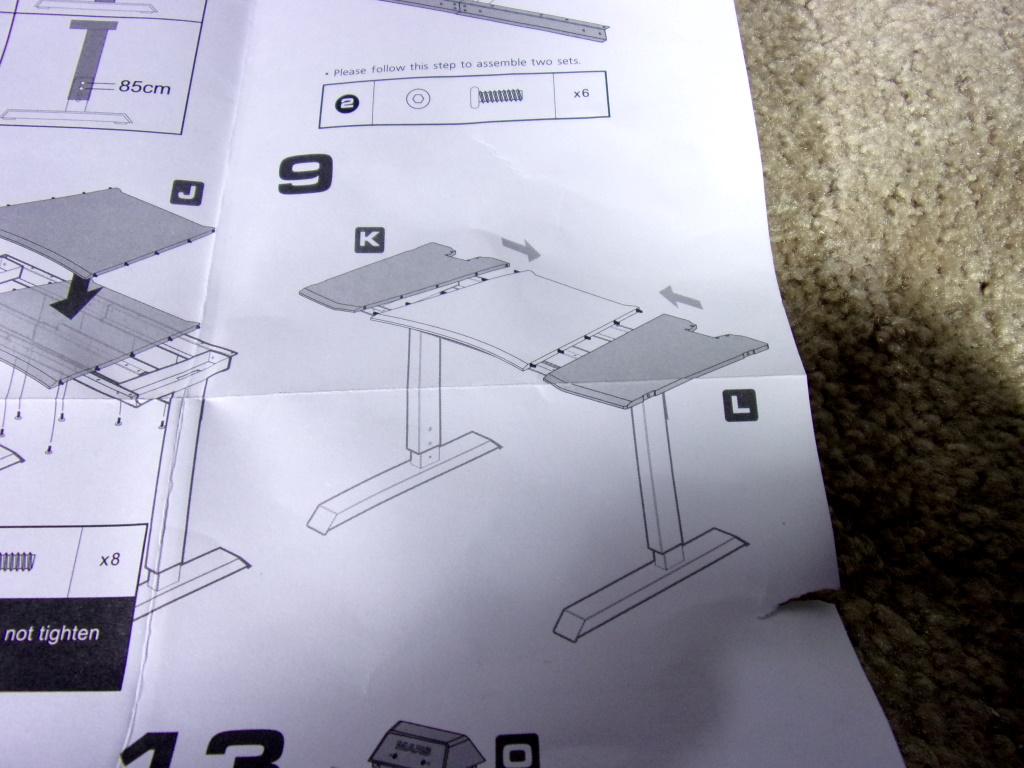
Step 4: The step has you putting the top braces together. You will have 12 screws in total ( 6 for each). Make sure you follow the picture and place the connecting piece the correct way.

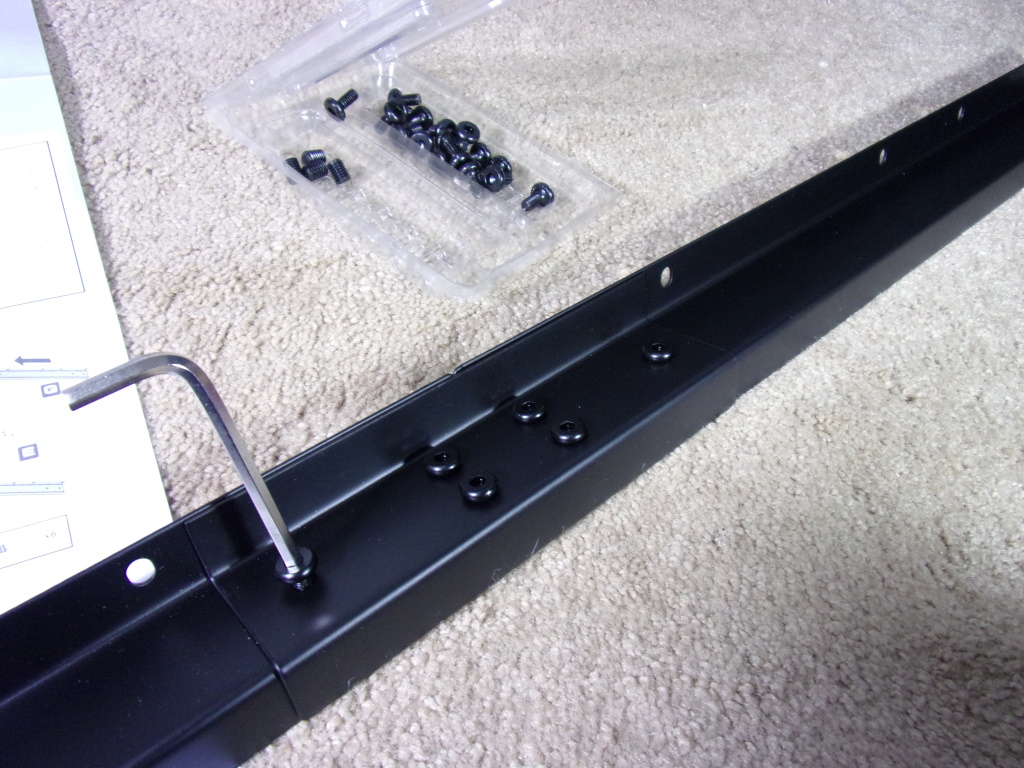
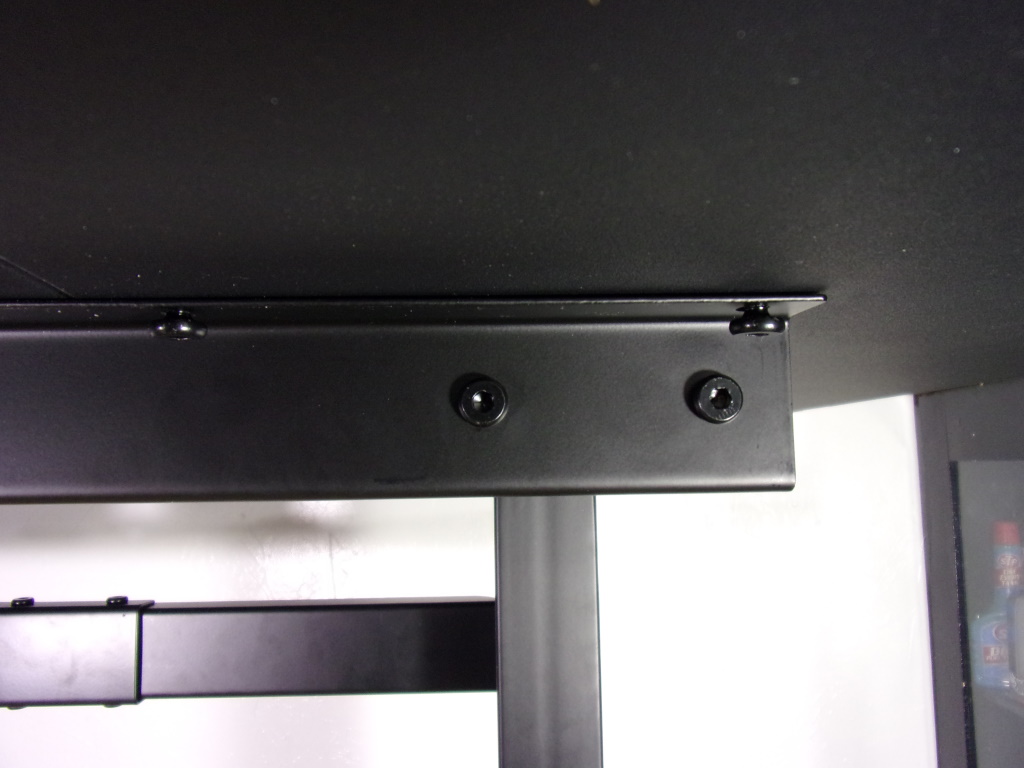
Step 5: In this step we will be attaching the top braces to the legs. Once again jsut look closely at the pictures and match the inside and outside and you will be fine. Also make sure the hole are on the top side or you will starting this step over very soon.

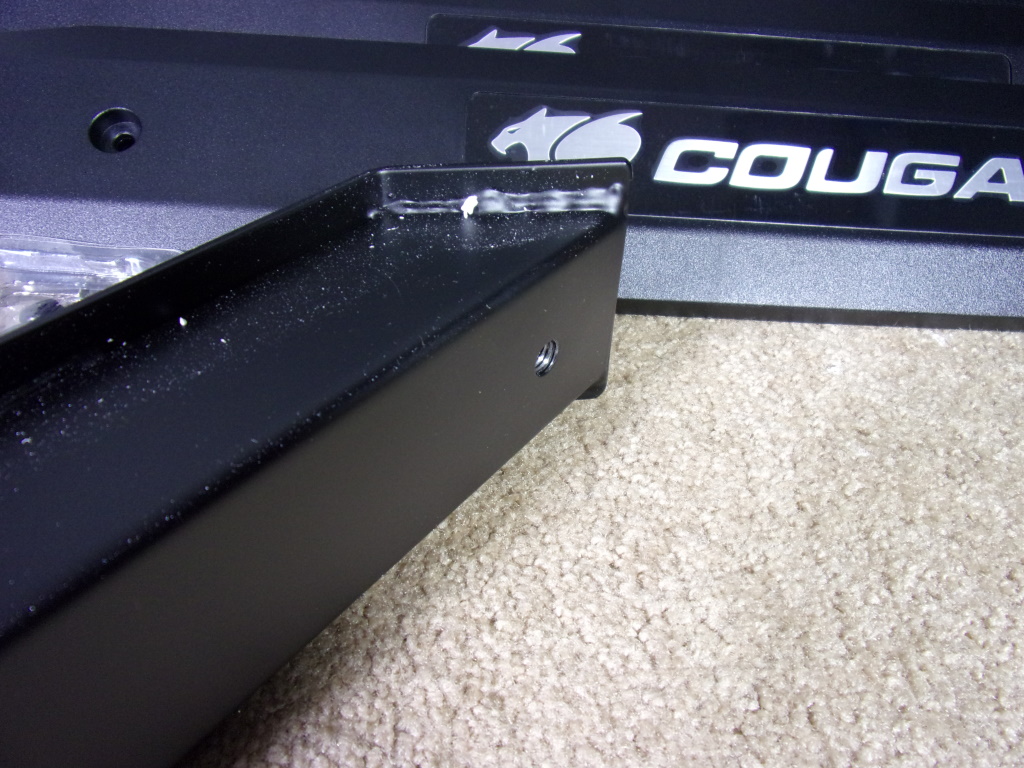
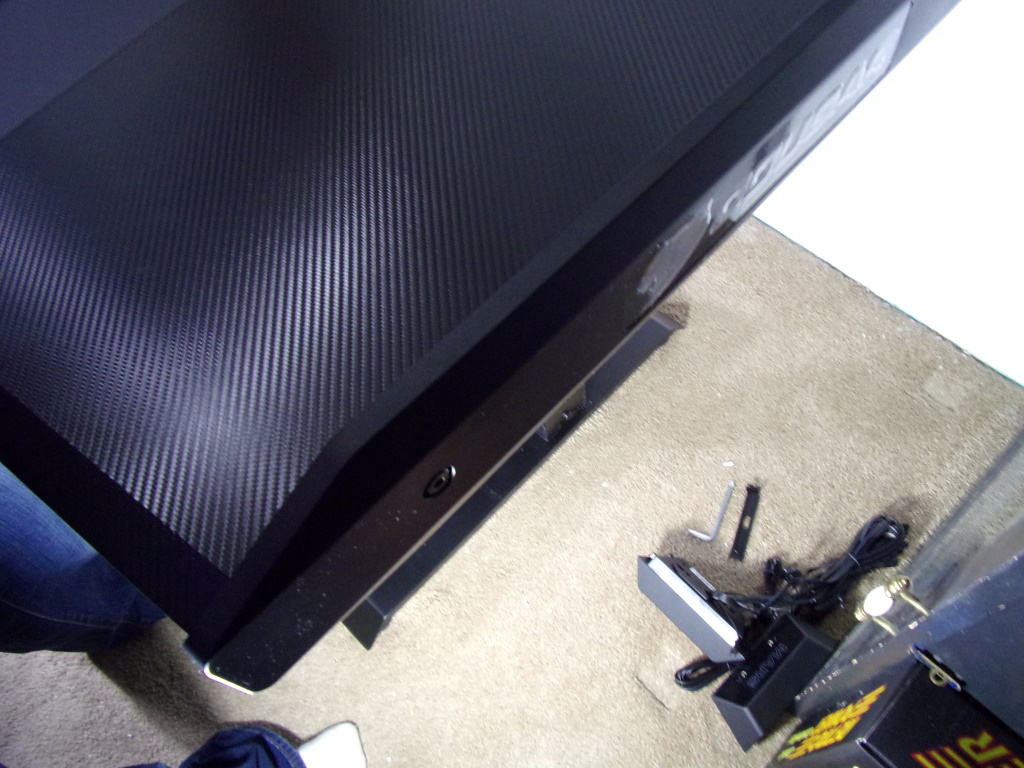
Step 6: This step has you building the back wire tray and support bar. Make sure you have the flat side toward the right side so will be able to mount to the legs with no issue. The pictures are very detailed and easy to match up with the real parts.

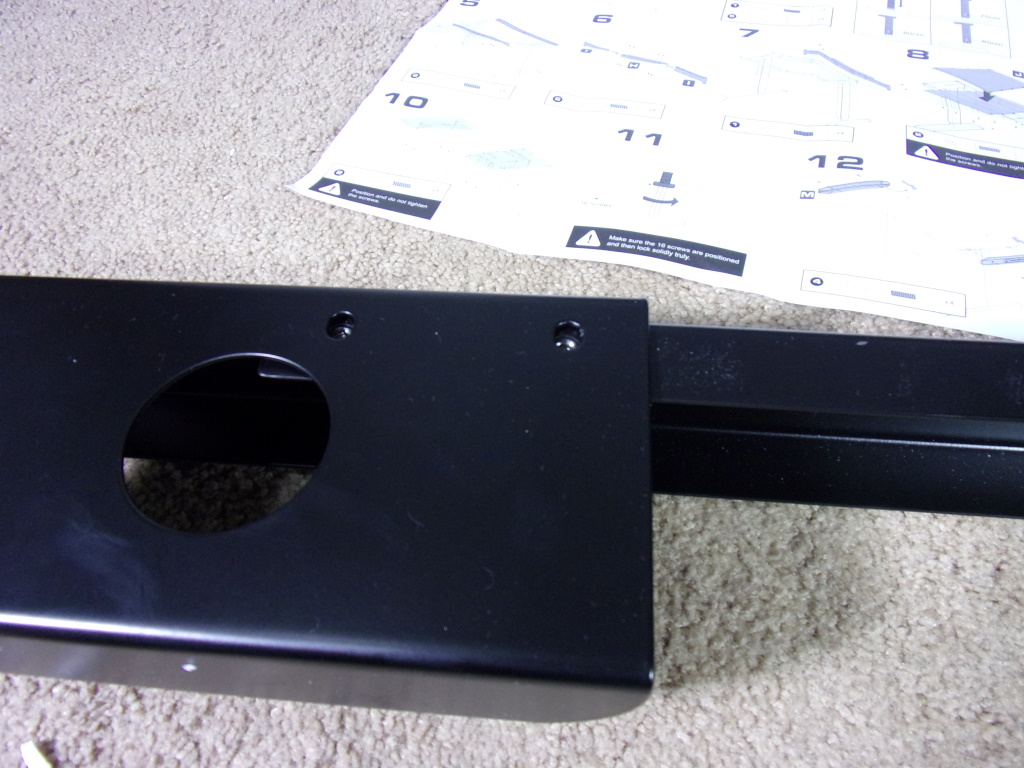
Step 7: We will now take the wire tray/back brace and secure it to the legs. Easy enough and its starting to take shape!

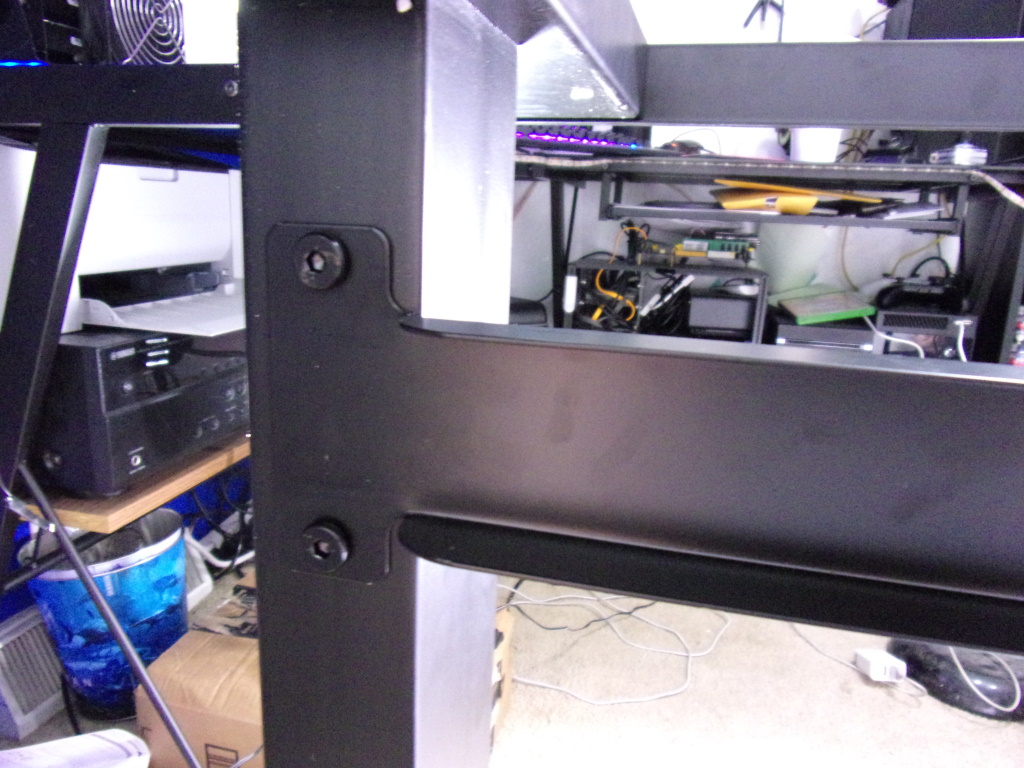
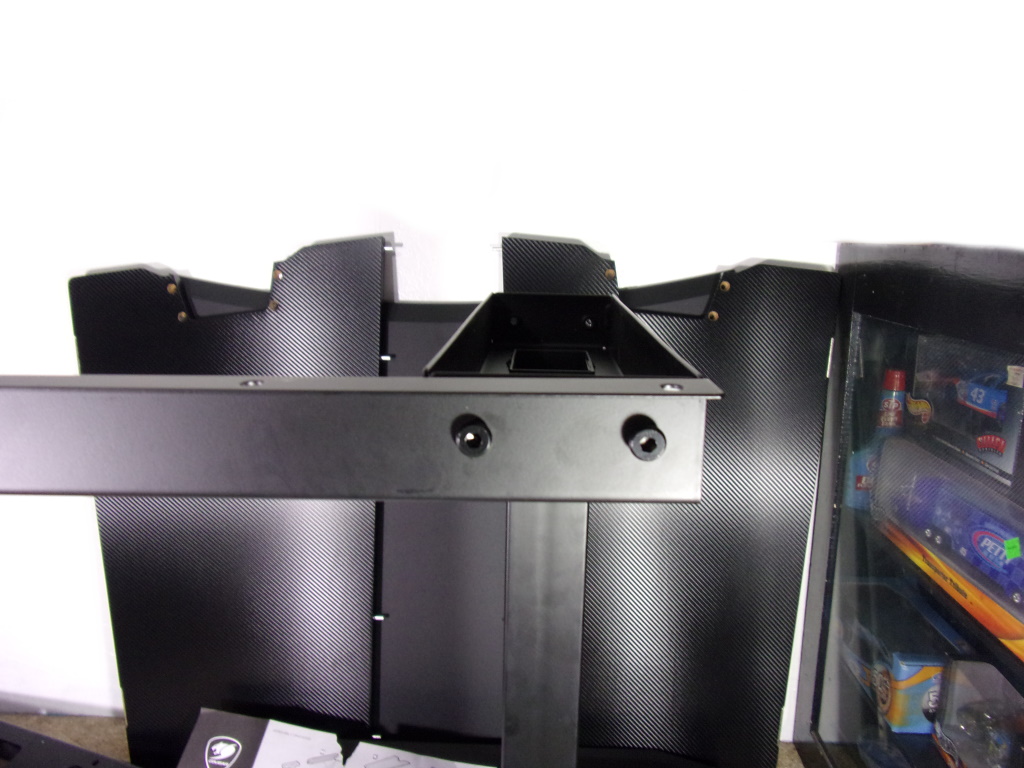
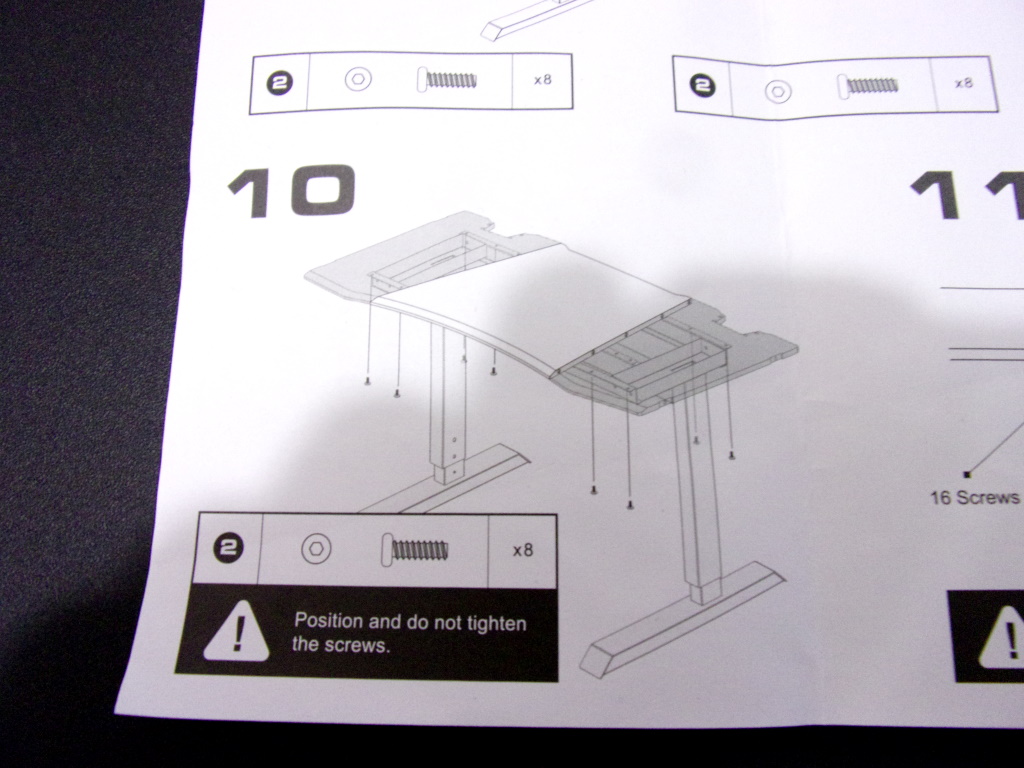
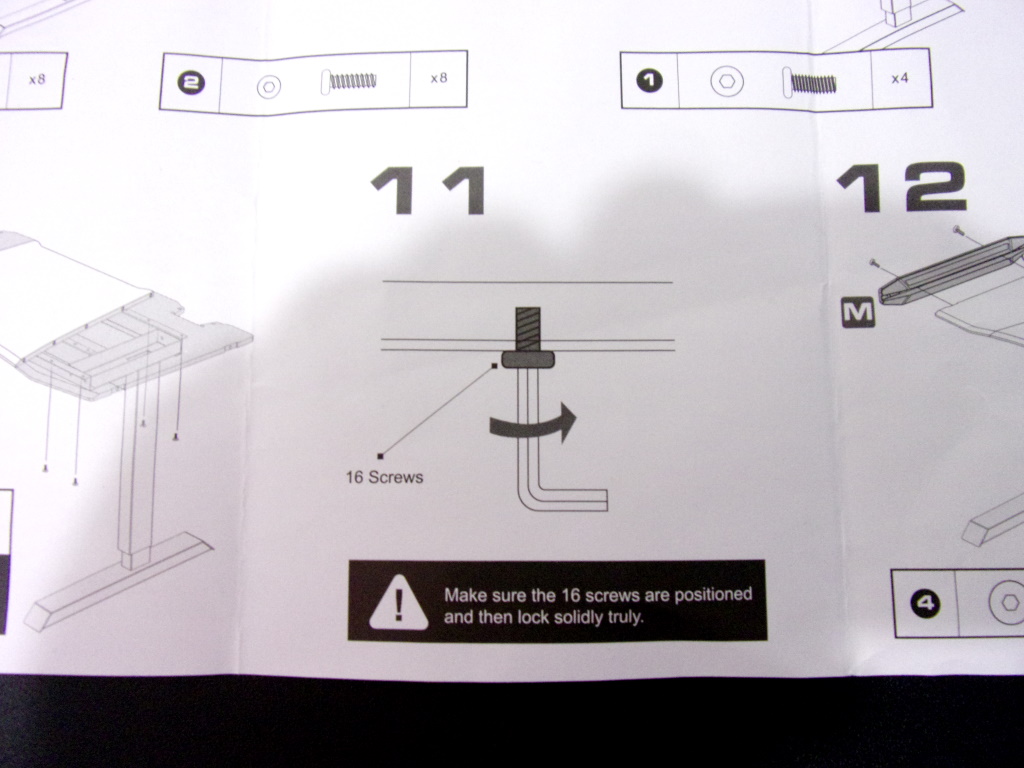
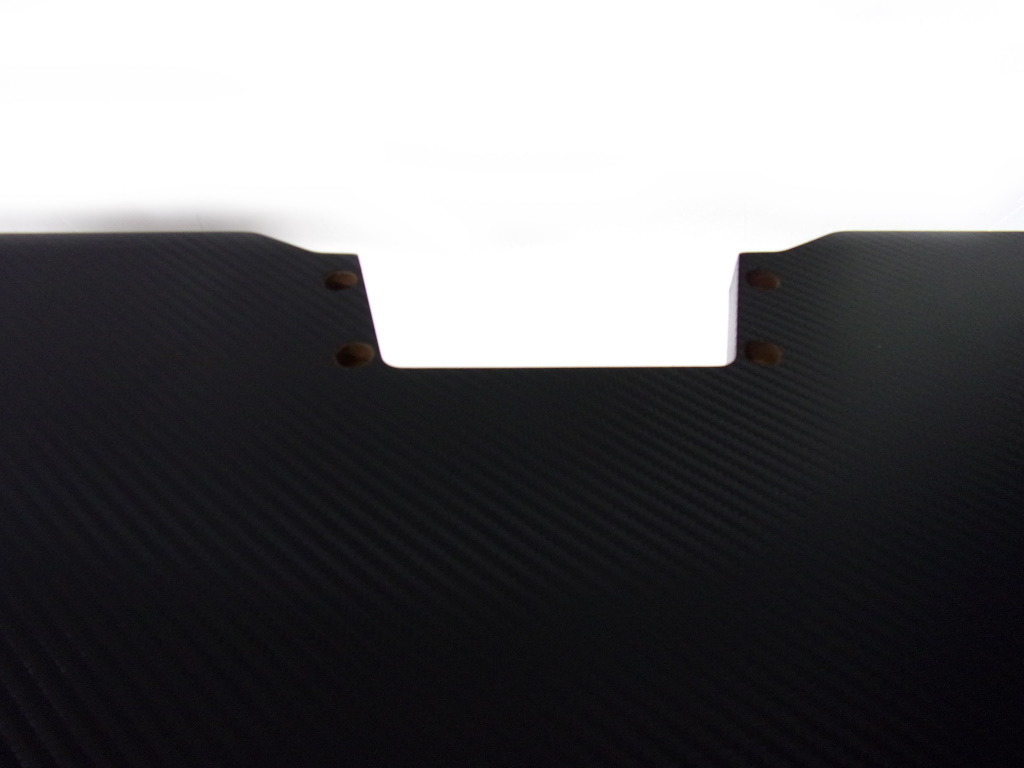
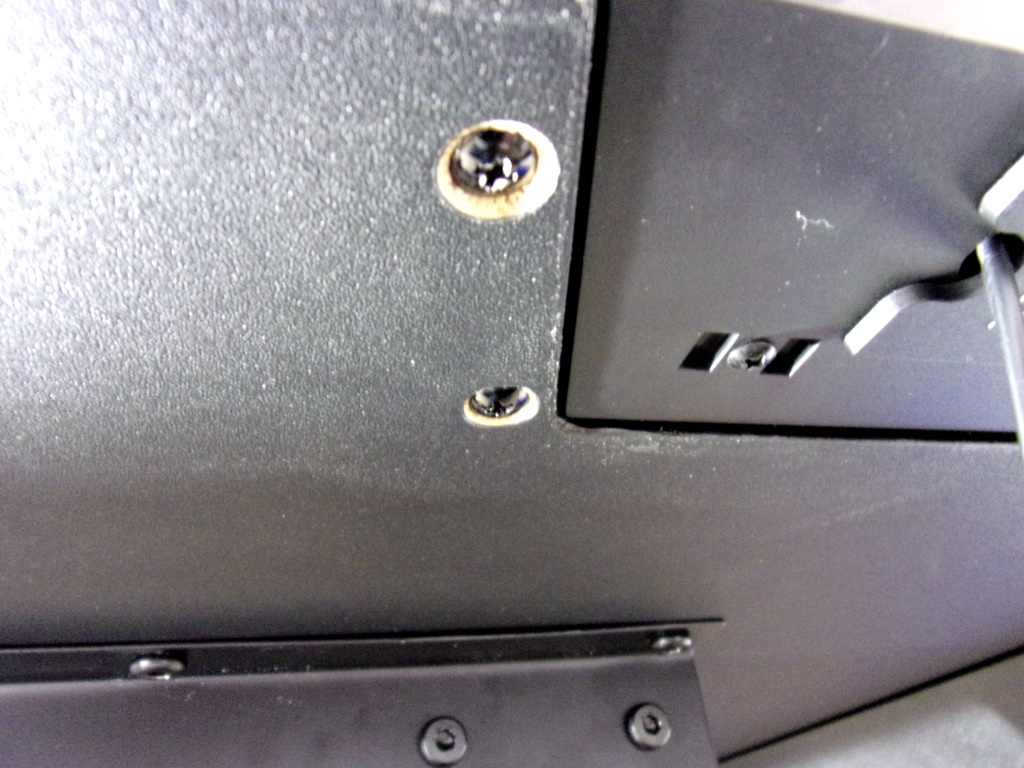
Step 8, 9, 10, 11: All these step consist of putting top on the frame. Grab the middle piece and line up the holes and start the screws. Just be sure no to tighten completely because you may have to wiggle the top 3 pieces to get a tight fit. Next grab the outside pieces and put them into place and start the screws. Once you have everything lined up and in place, now you can tighten all those bolts.
*For me I was able to get everything started no problems but noticed a few were a little difficult in the process. I figured the bolts are meant to be tight so you get a seamless fit between the three pieces.

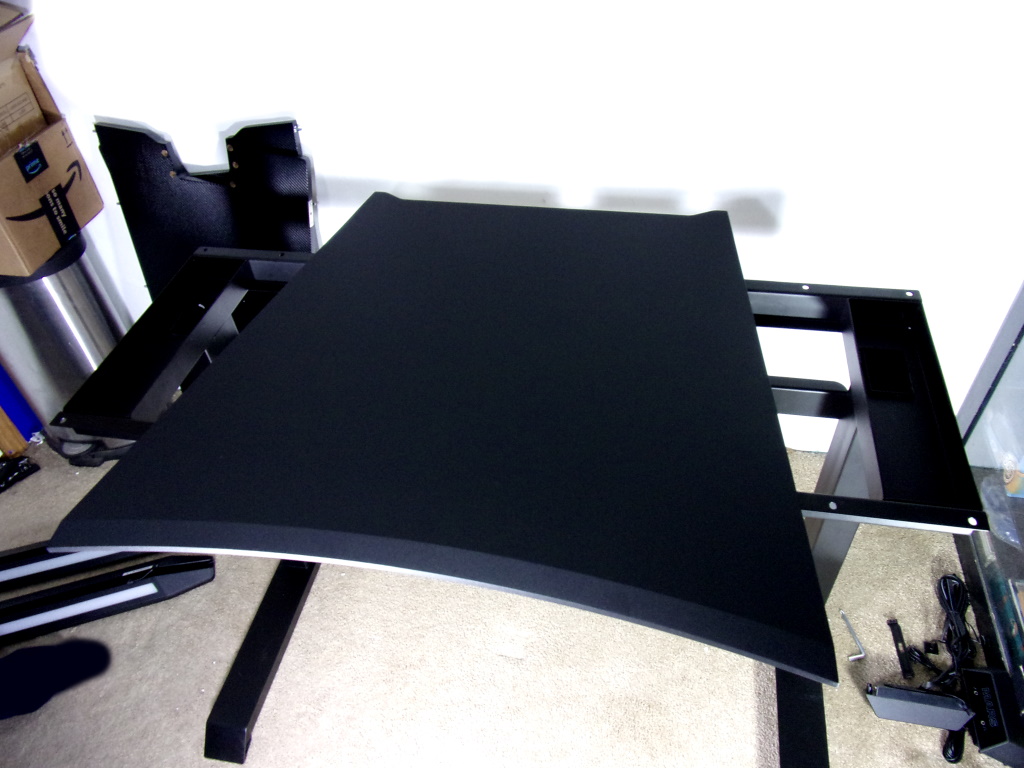
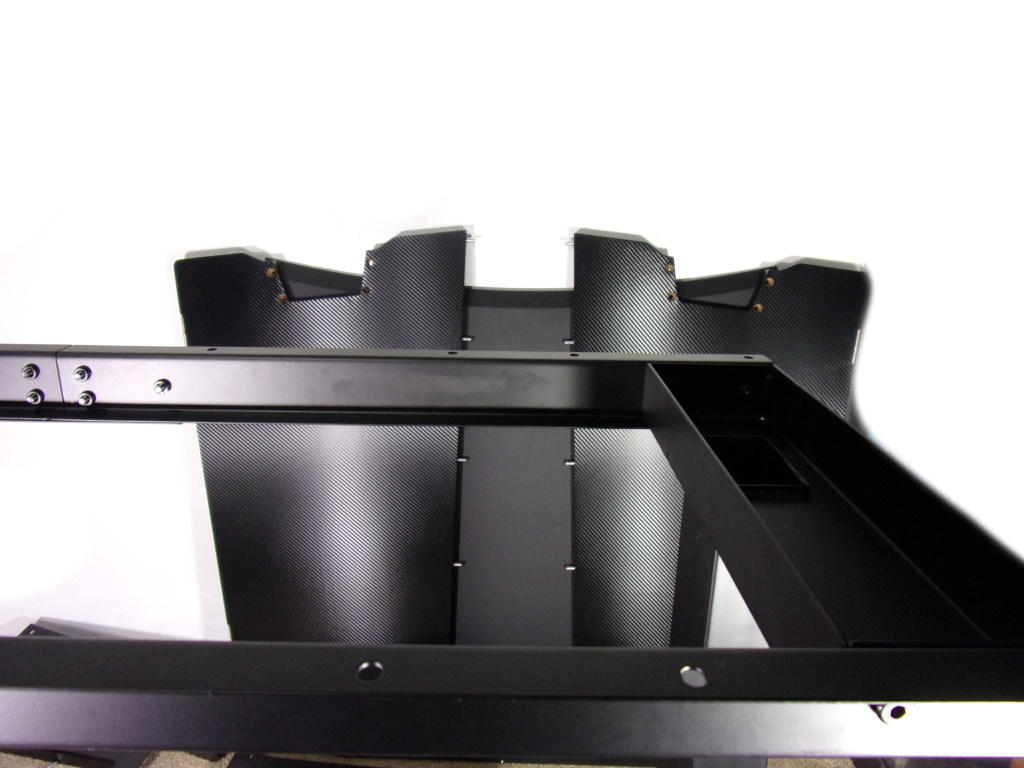
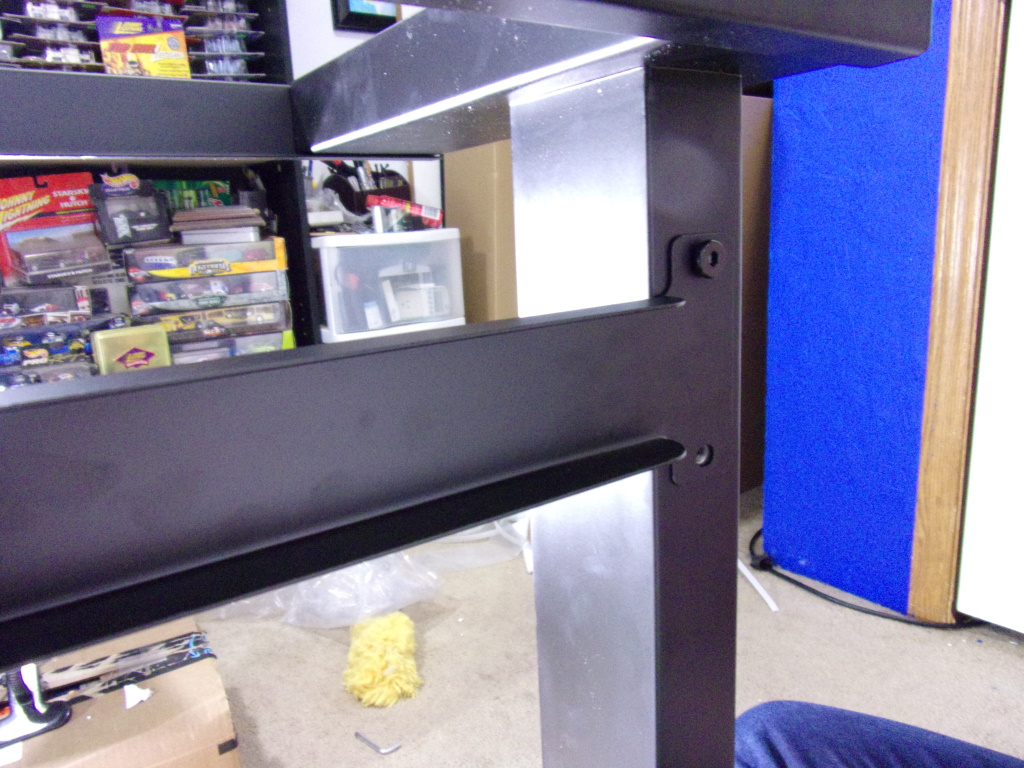
Step 12: Grab the 2 side pieces. Make sure the wires are on the back side of the desk and you good to go. Put in the screws and tighten away.

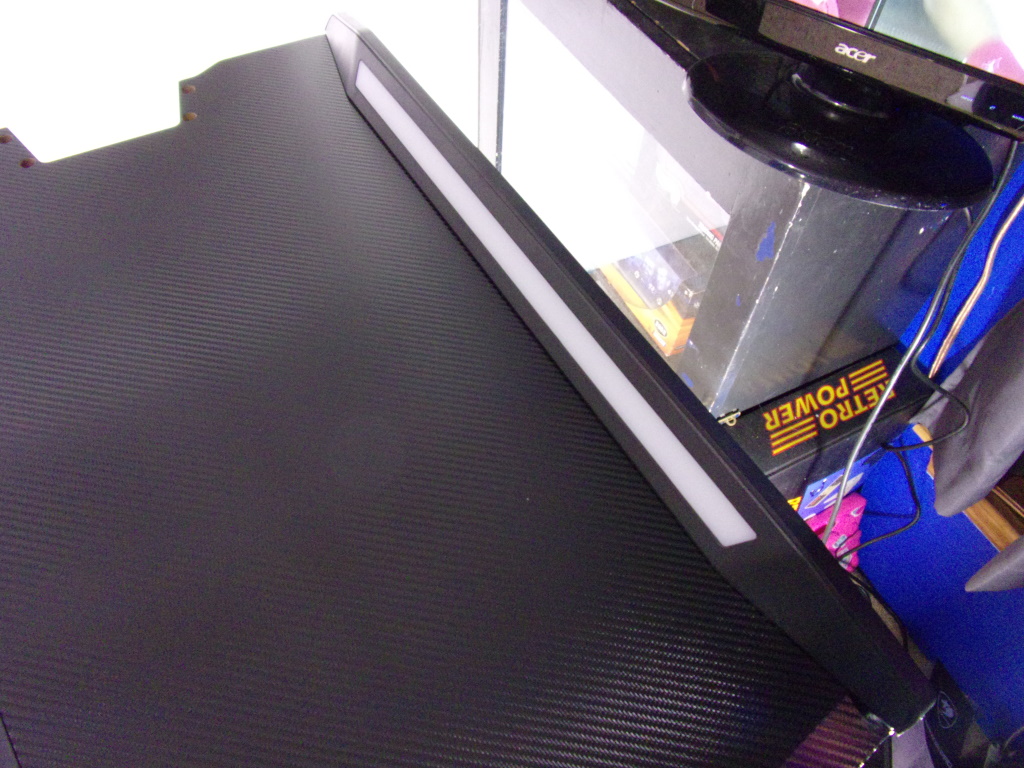
Step 13: Don’t give up now you are so close!! Lastly get the two header units and follow the guide on which one goes on which side. Insert the screws and tighten them when you have them lined up properly.

Now after all this you will have a guide on the back that show multiple way of connecting the desk tou you computer. For testing I just applied the sata power connector and away it went. Lit up like Christmas lights!


Lastly lets move on to the Conclusion and Verdict of the Cougar Mars Gaming Desk!

