


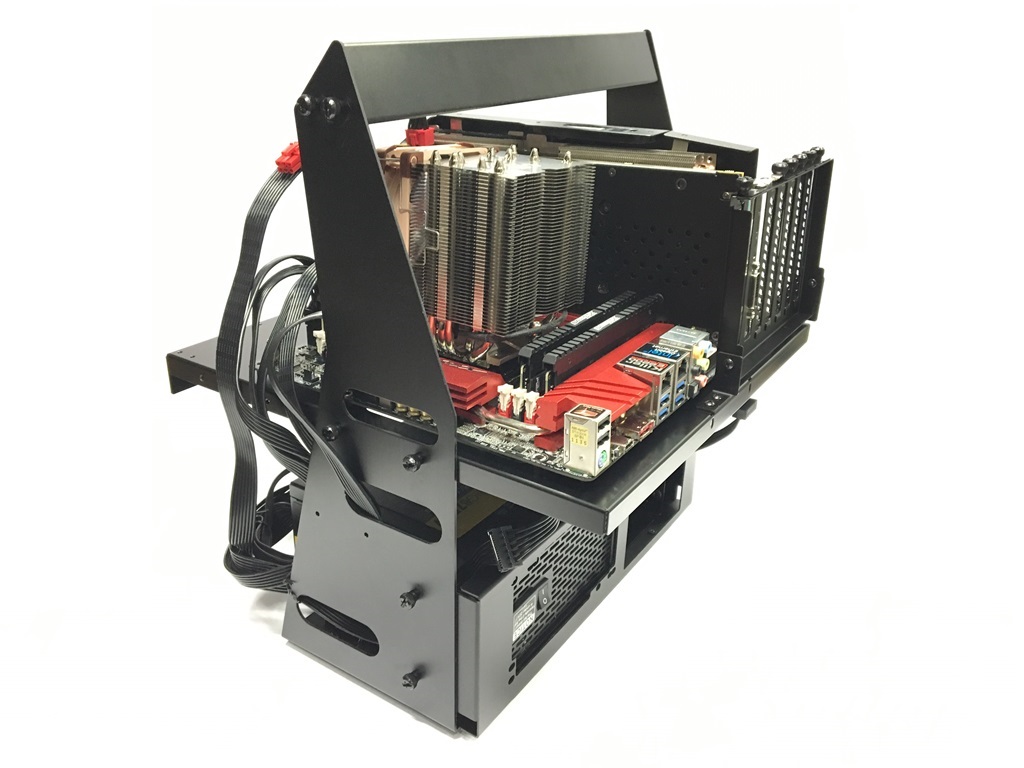
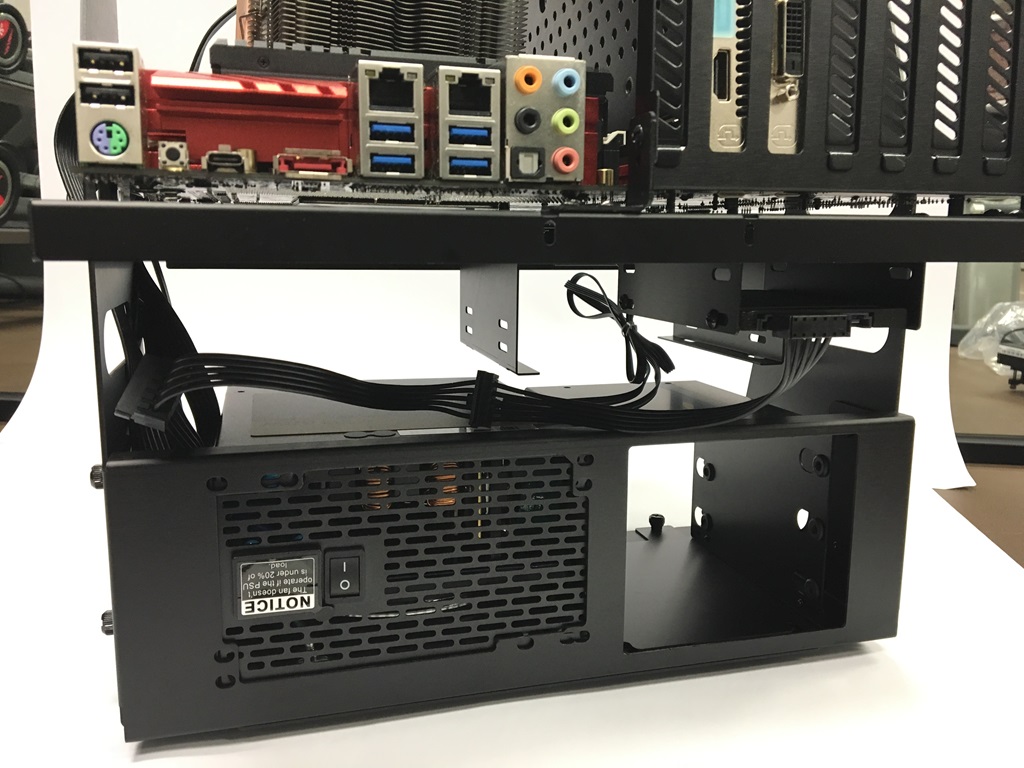
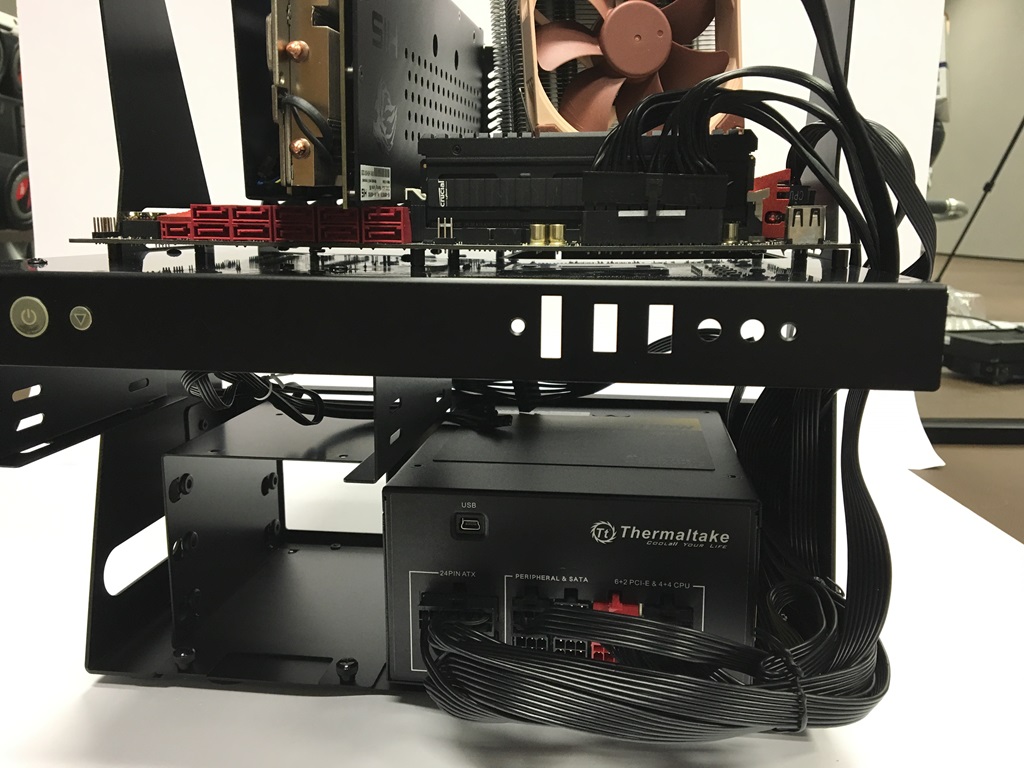
Installation of components
This part was pretty easy. I had no problems with installing the hard drive, PSU or hard drive. Once all the components are installed and fitted on the main structure/chassis … you’re ready to install the motherboard.
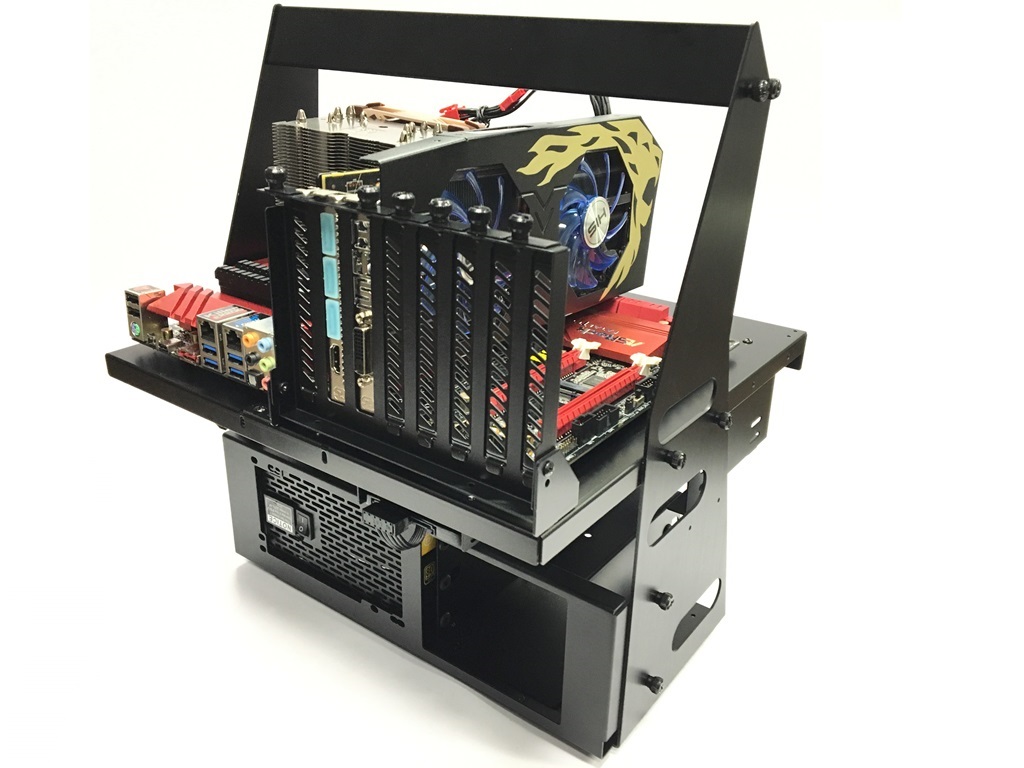
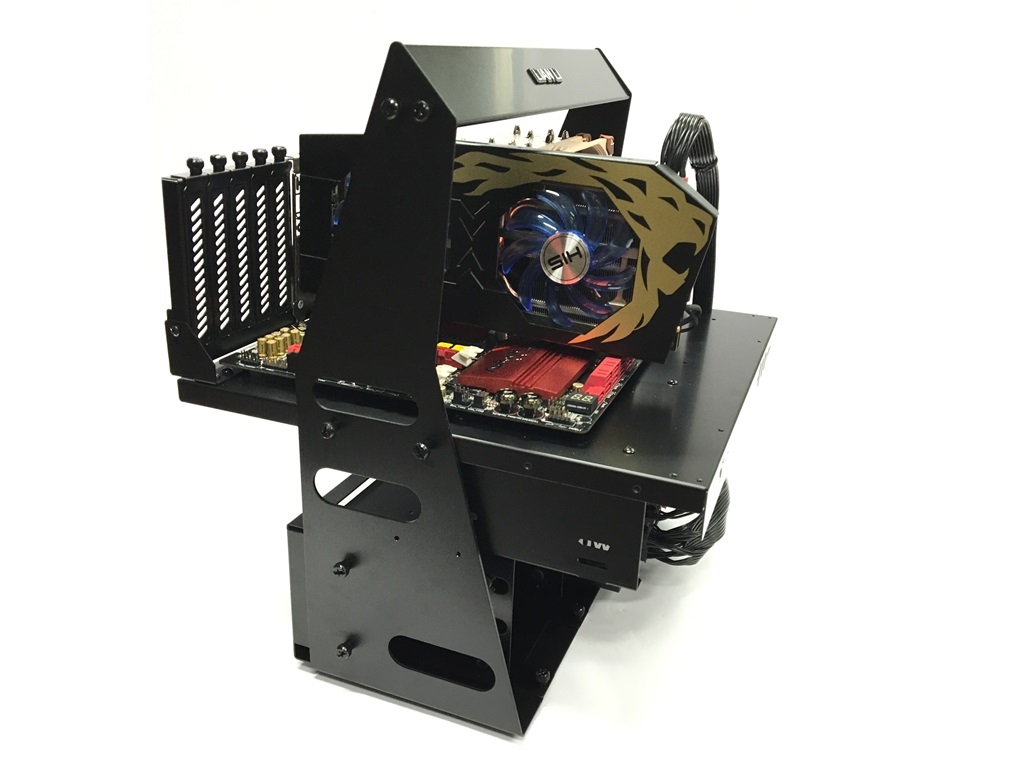
The Completed Test Bench
The completed Lian-Li Pitstop T60 test bench is extremely portable and light-weight. The only thing that makes it heavy are the components you use. What makes this test bench extremely attractive and irresistible is fact that it’s constructed using high quality, brushed Aluminum. Now, where are you going to find such a high quality test bench?

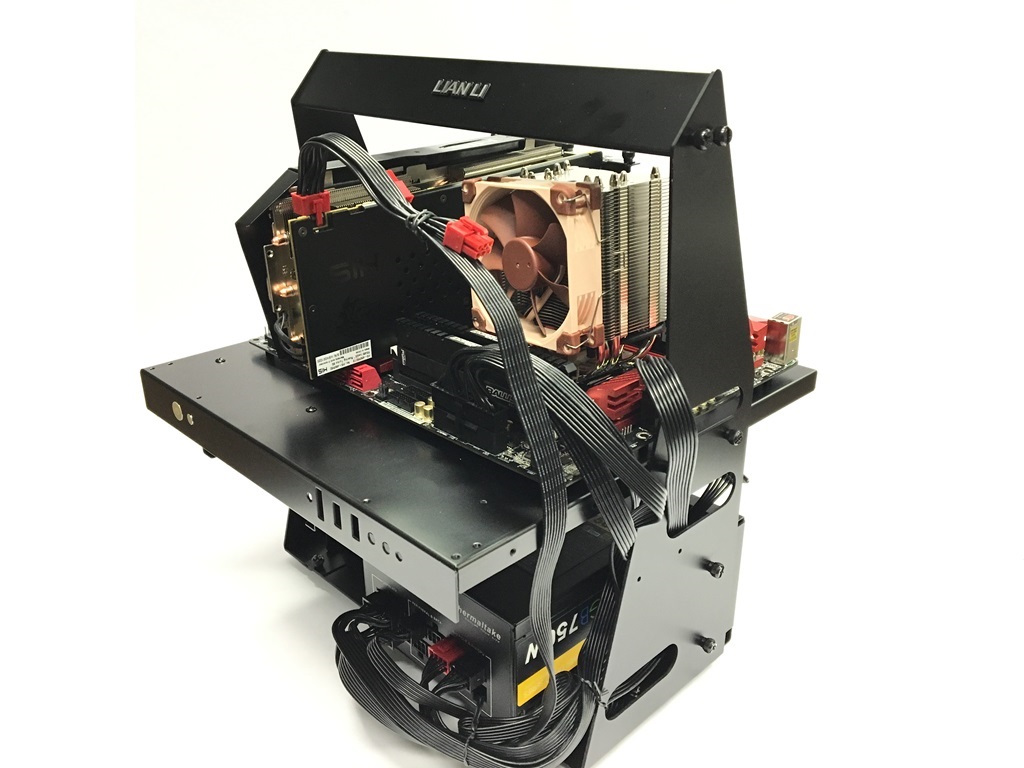
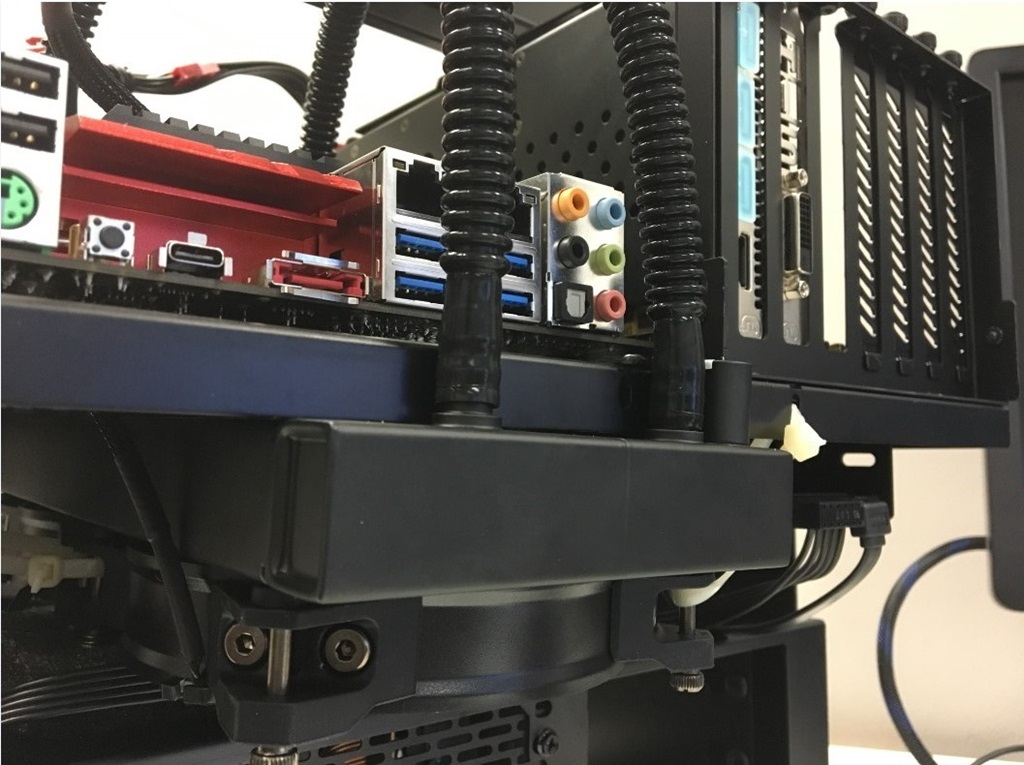
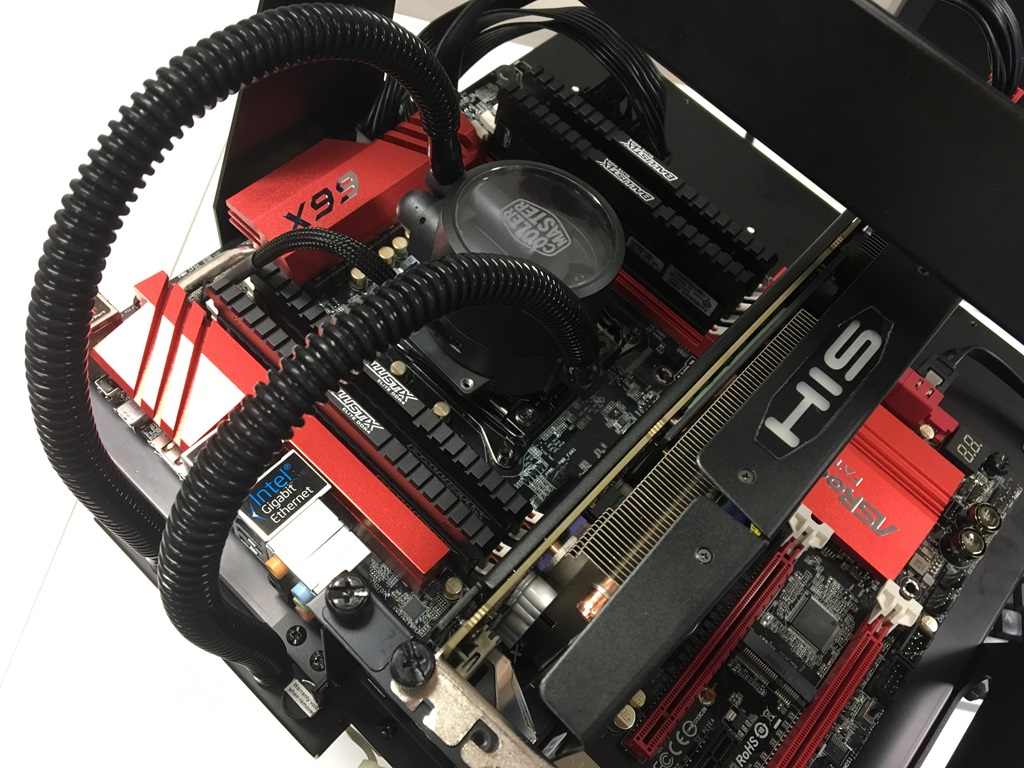
Adding a AIO Water Cooler
At the time of release (back 5 years ago), watercooling wasn’t as big as it is now. So there’s no mounting brackets for a radiator on the Pitstop T60. However, like all DIYers, you always find a way 😛
After carefully positioning, I was able to mount a Cooler Master MasterLiquid Pro 240 AIO Cooler underneath the motherboard plate, just above the Thermaltake Tough Power RGB 750W PSU. There are no screw holes or mounts for this … so I had to use strong cable ties.

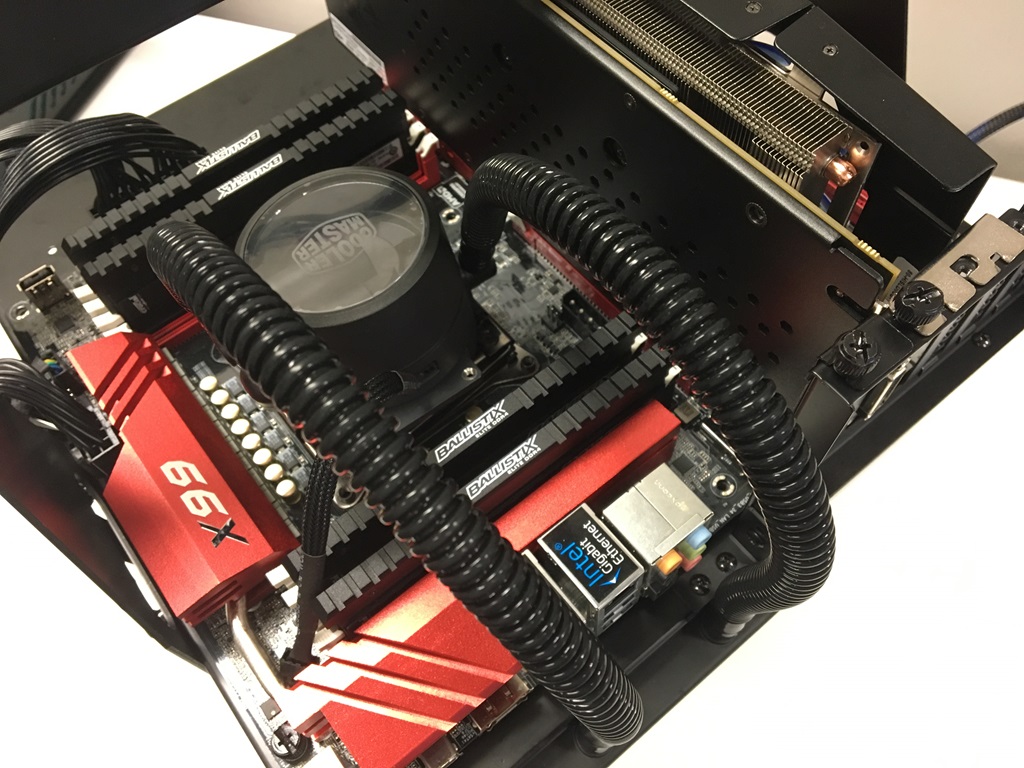
With all the components installed and mounted, the whole begins to weight pretty heavy. Still, the Pitstop T60 is robust and strong enough for me to carry the complete test bench (with components installed) with just one arm.

