


Installation
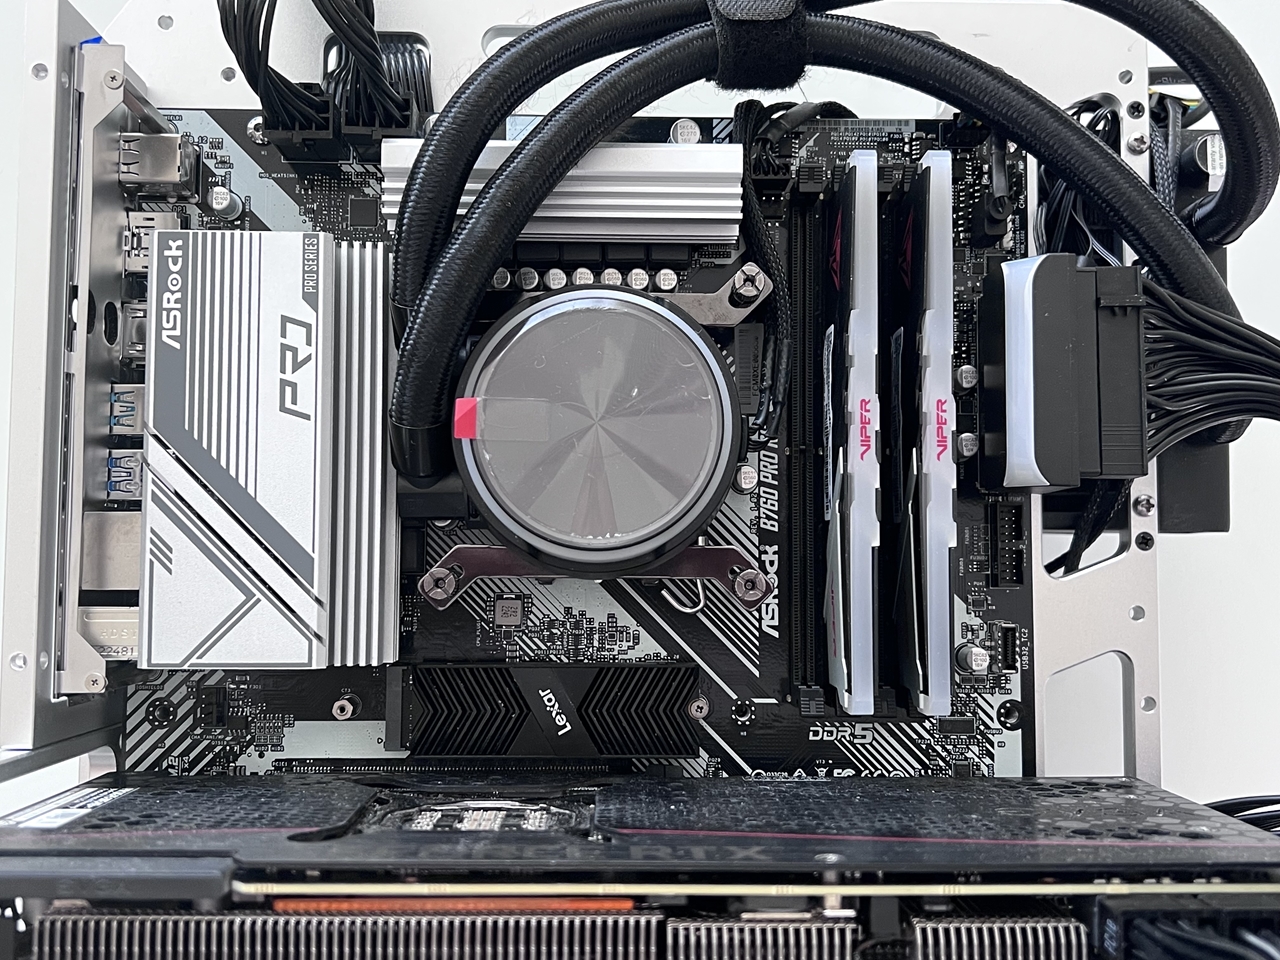
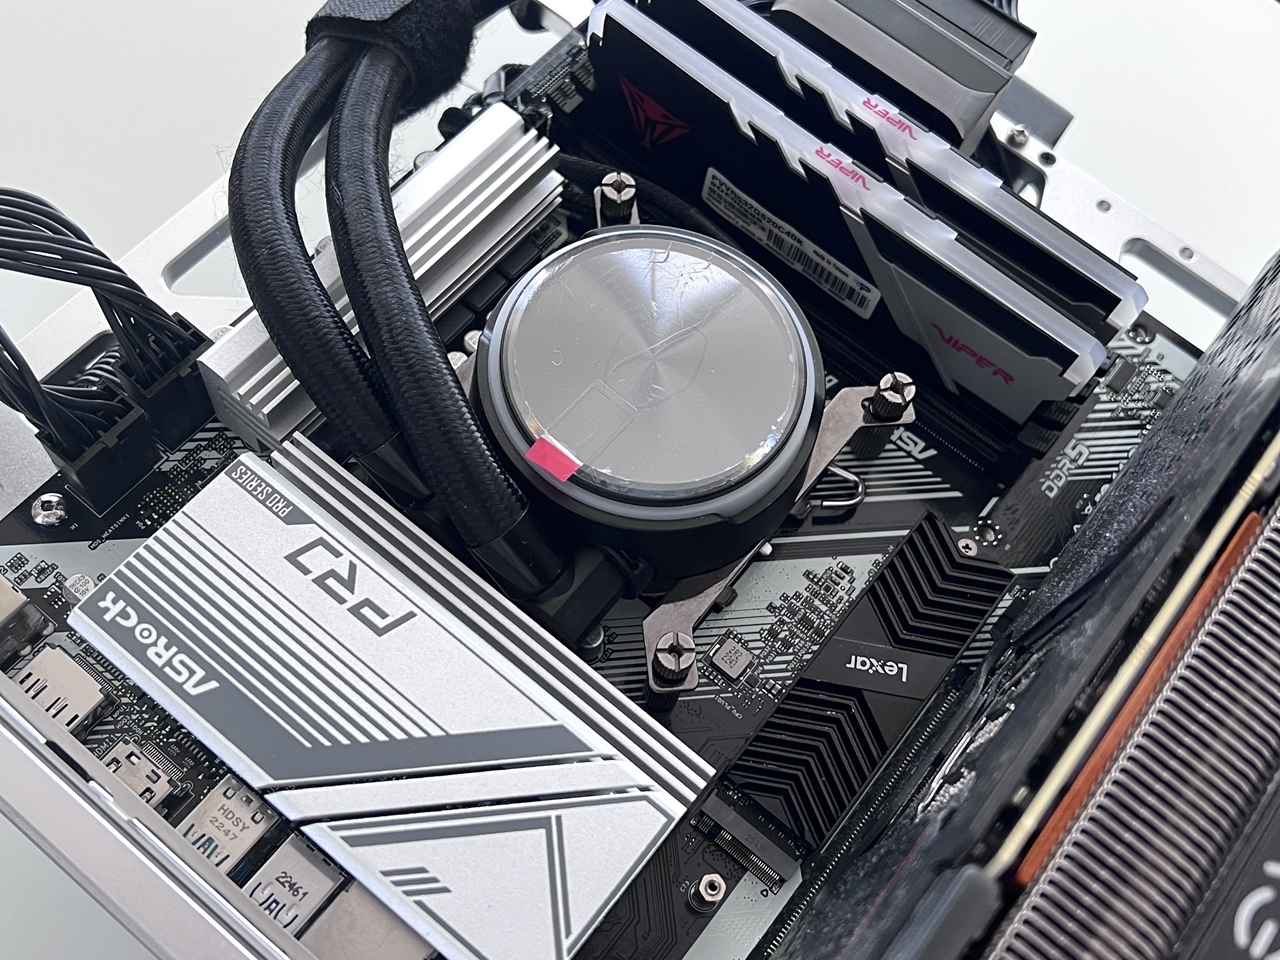
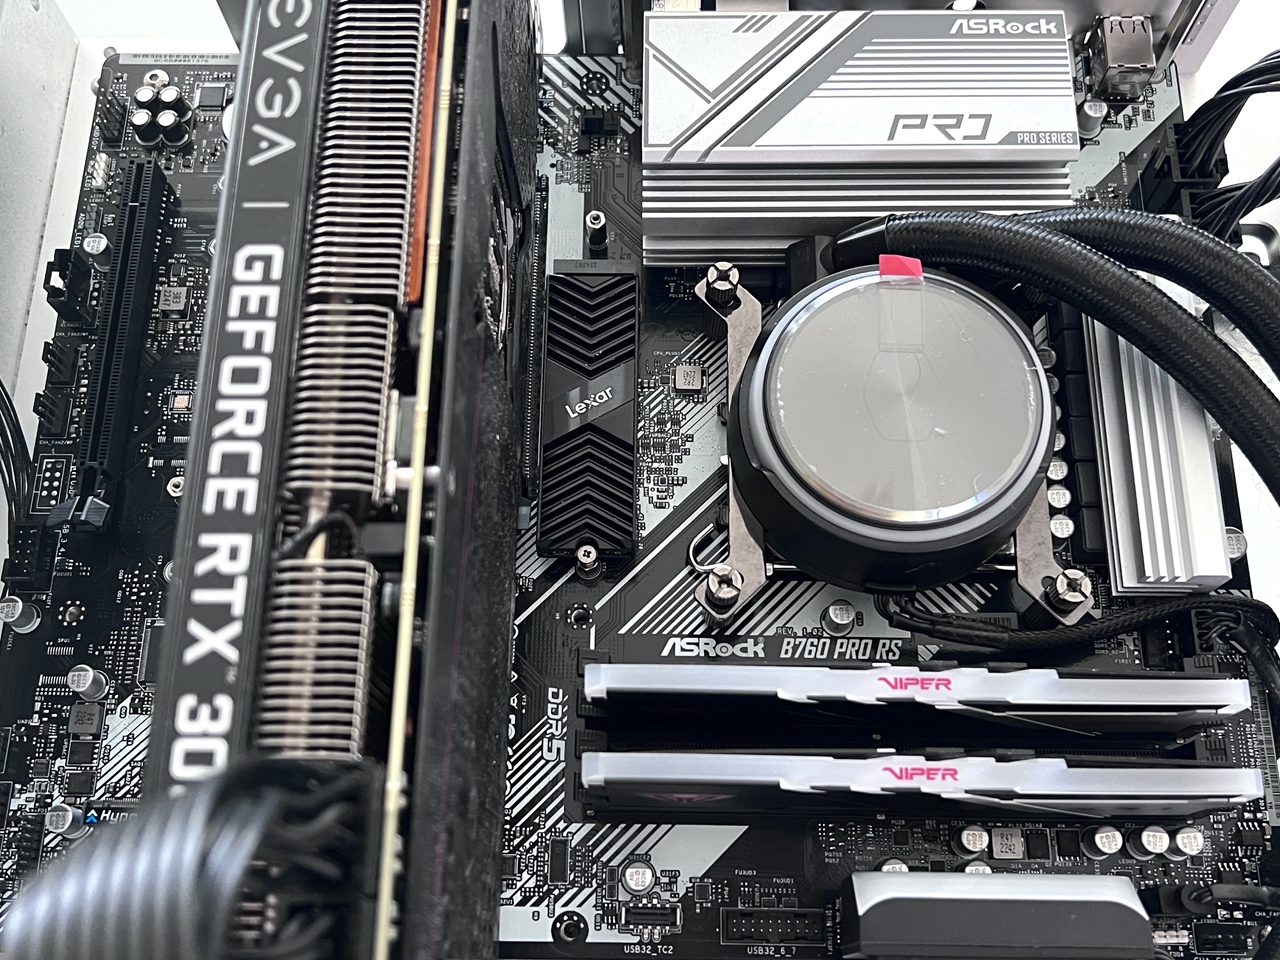
We used our vetical open chassis vertical during our installation, along with an Intel Core i9-13900K processor which was cooled by a Cooler Master MasterLiquid PL 240 AIO cooler. There seems to be plenty of room in acround the processor socket, so I’m happy with that.


BIOS
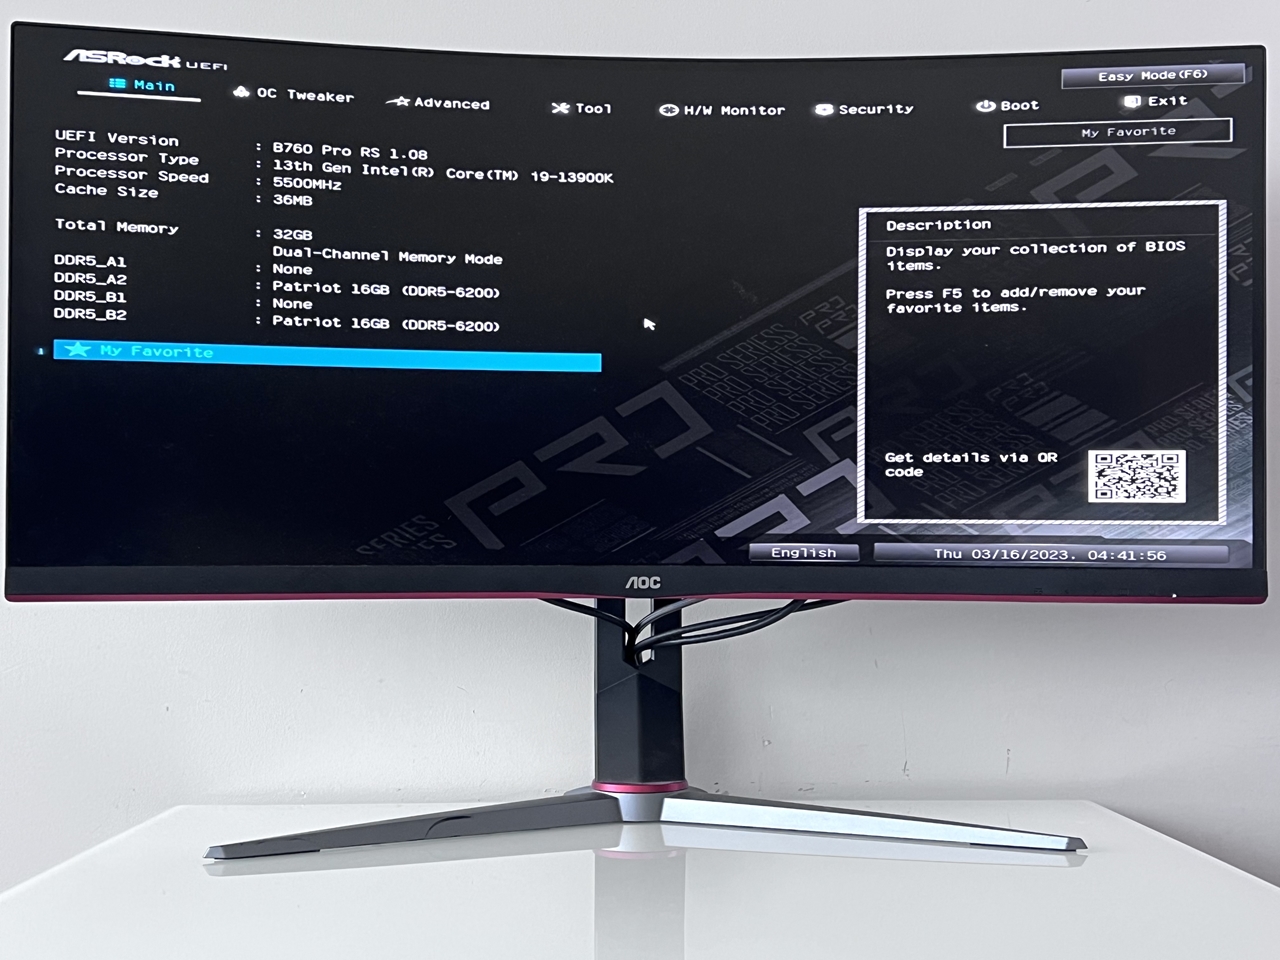
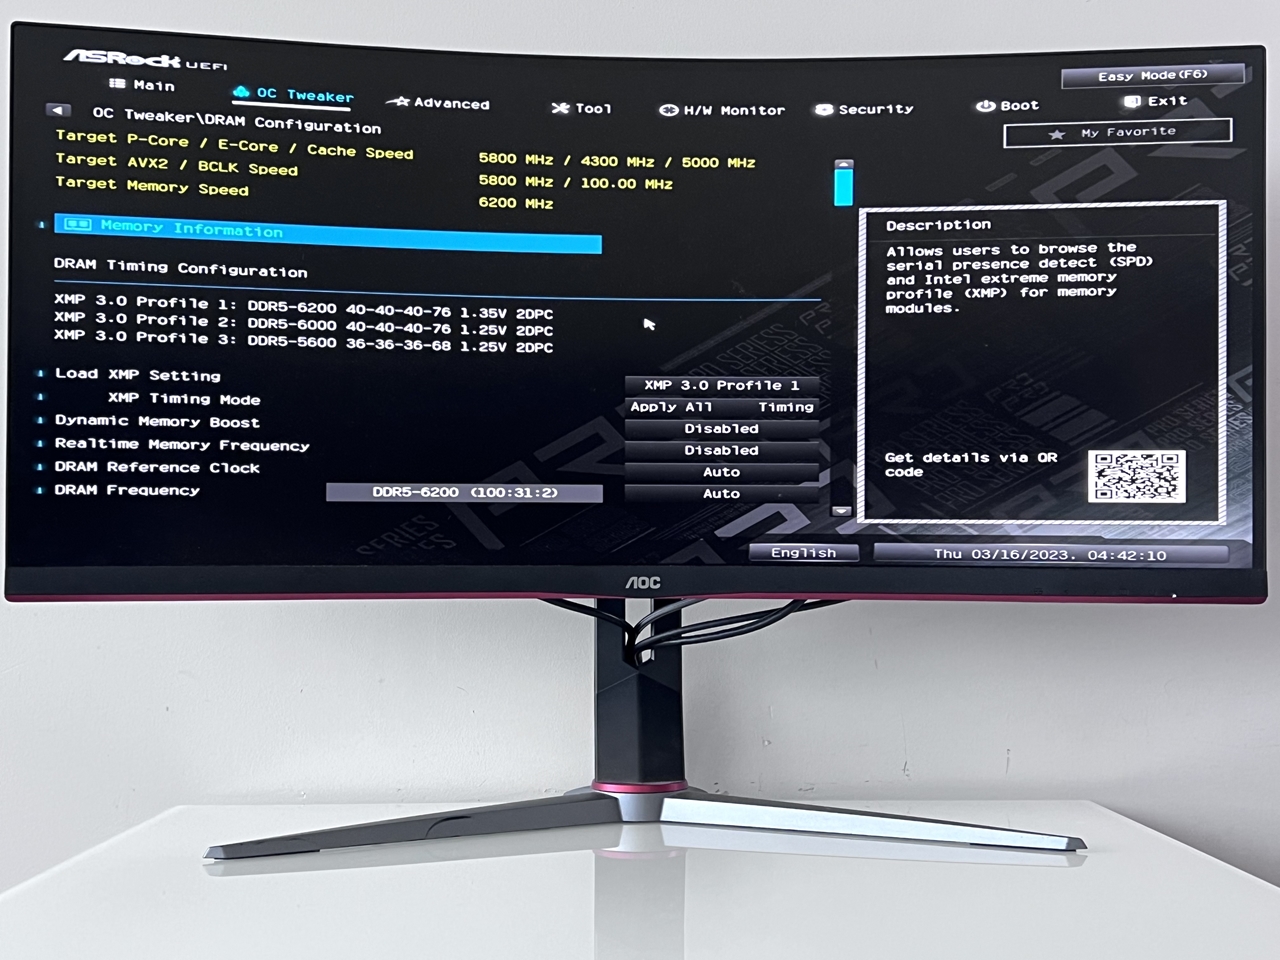
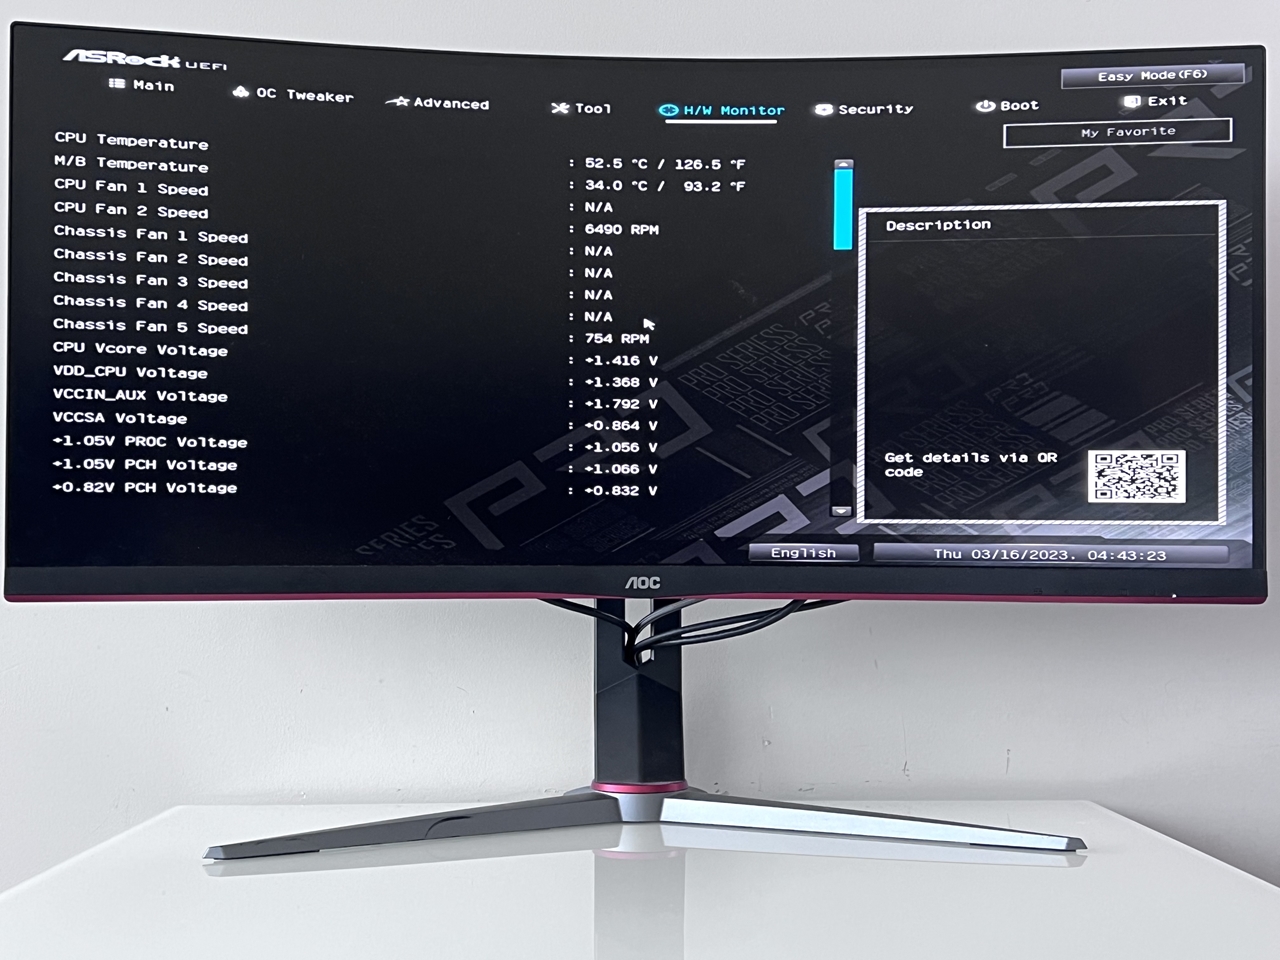
As soon as you enter the BIOS,you’ll see the default “Easy Mode” where you can monitor all the system status on this page. Since our DDR5 ram is XMP 3.0 ready, we selected Profile 1 and ran the memory at DDR5-6200 speeds. All other BIOS settings were left on AUTO/Default.

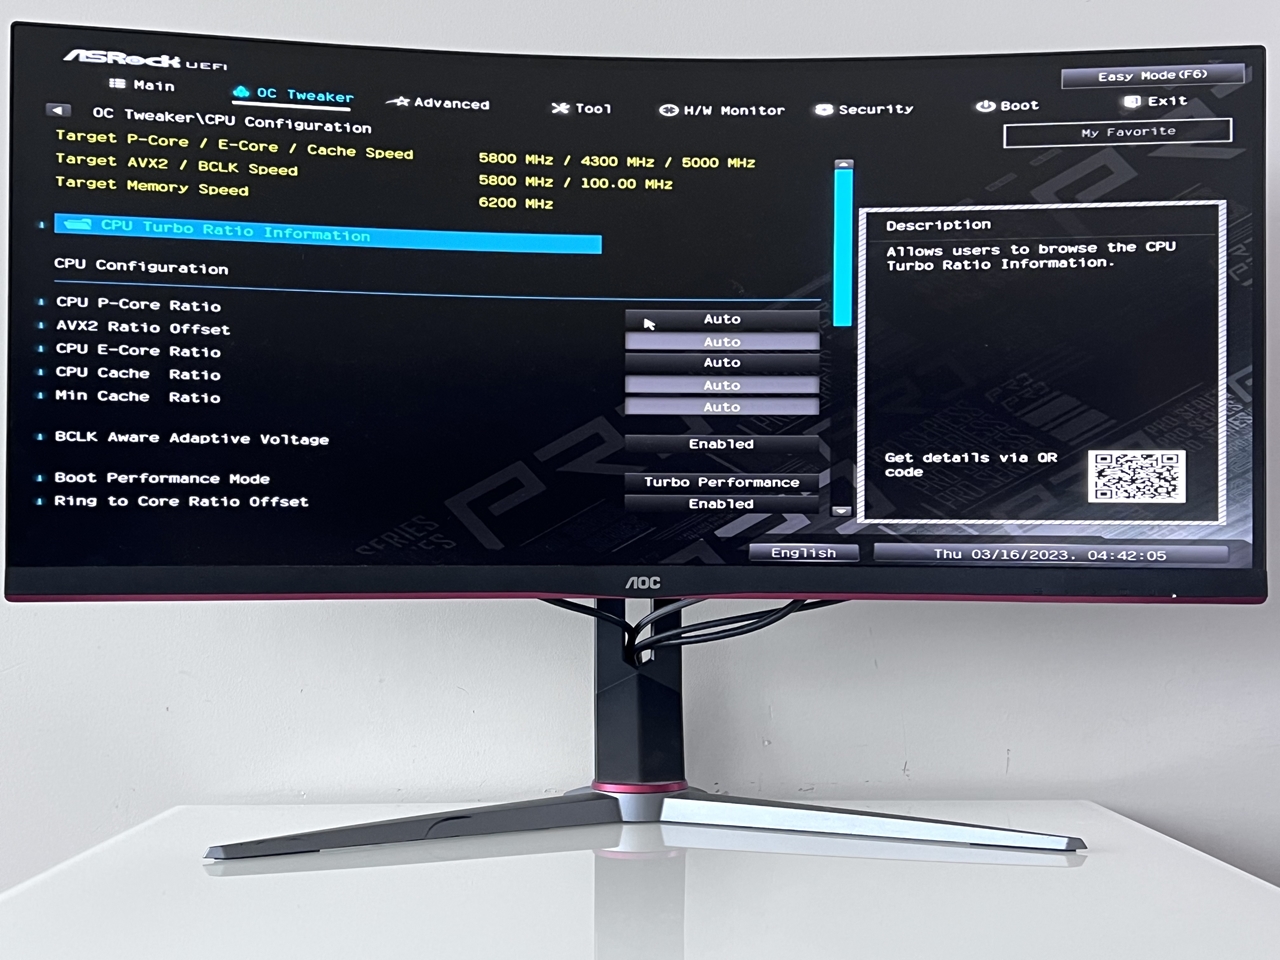
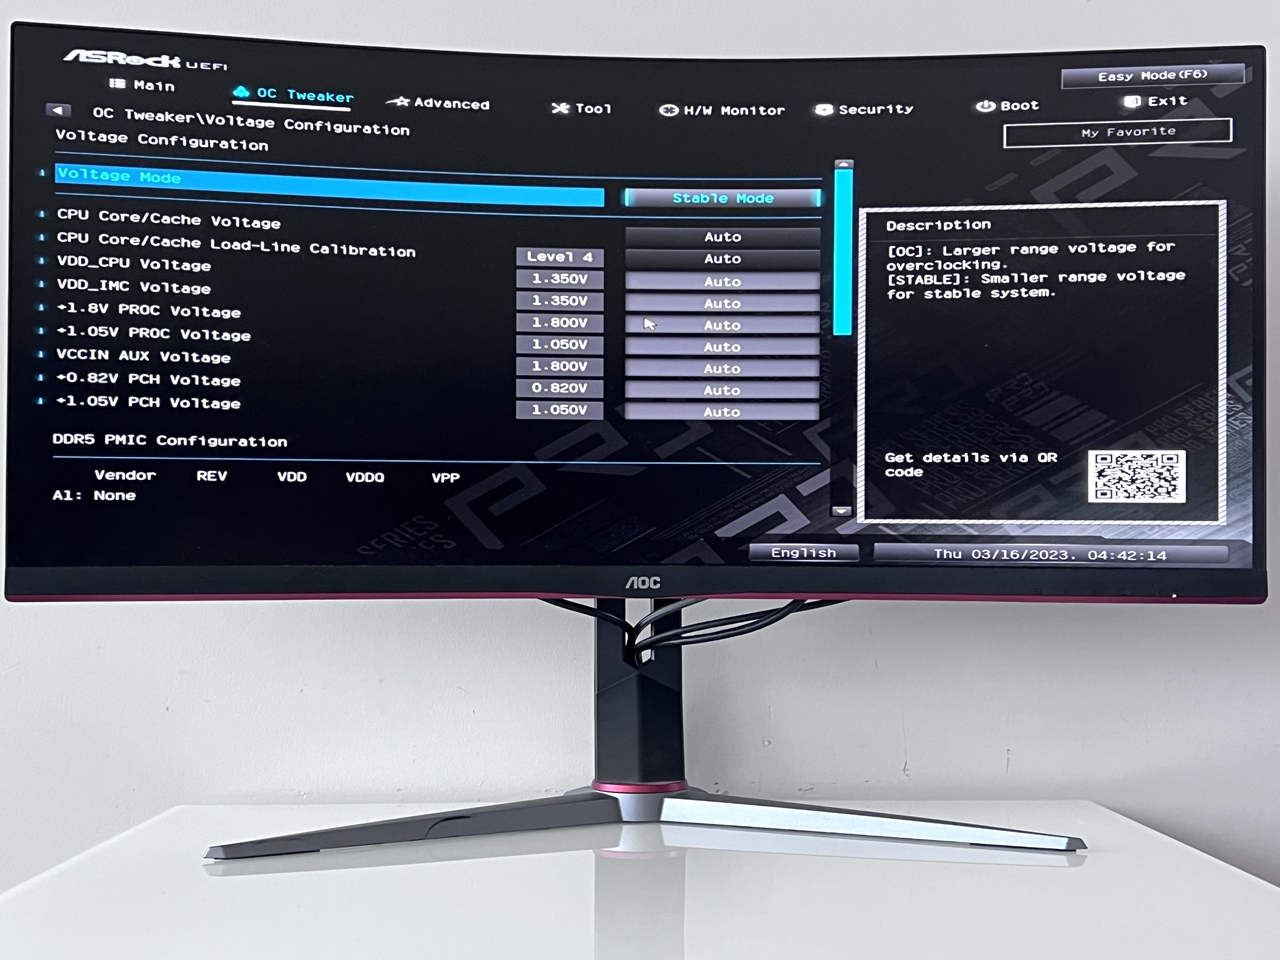
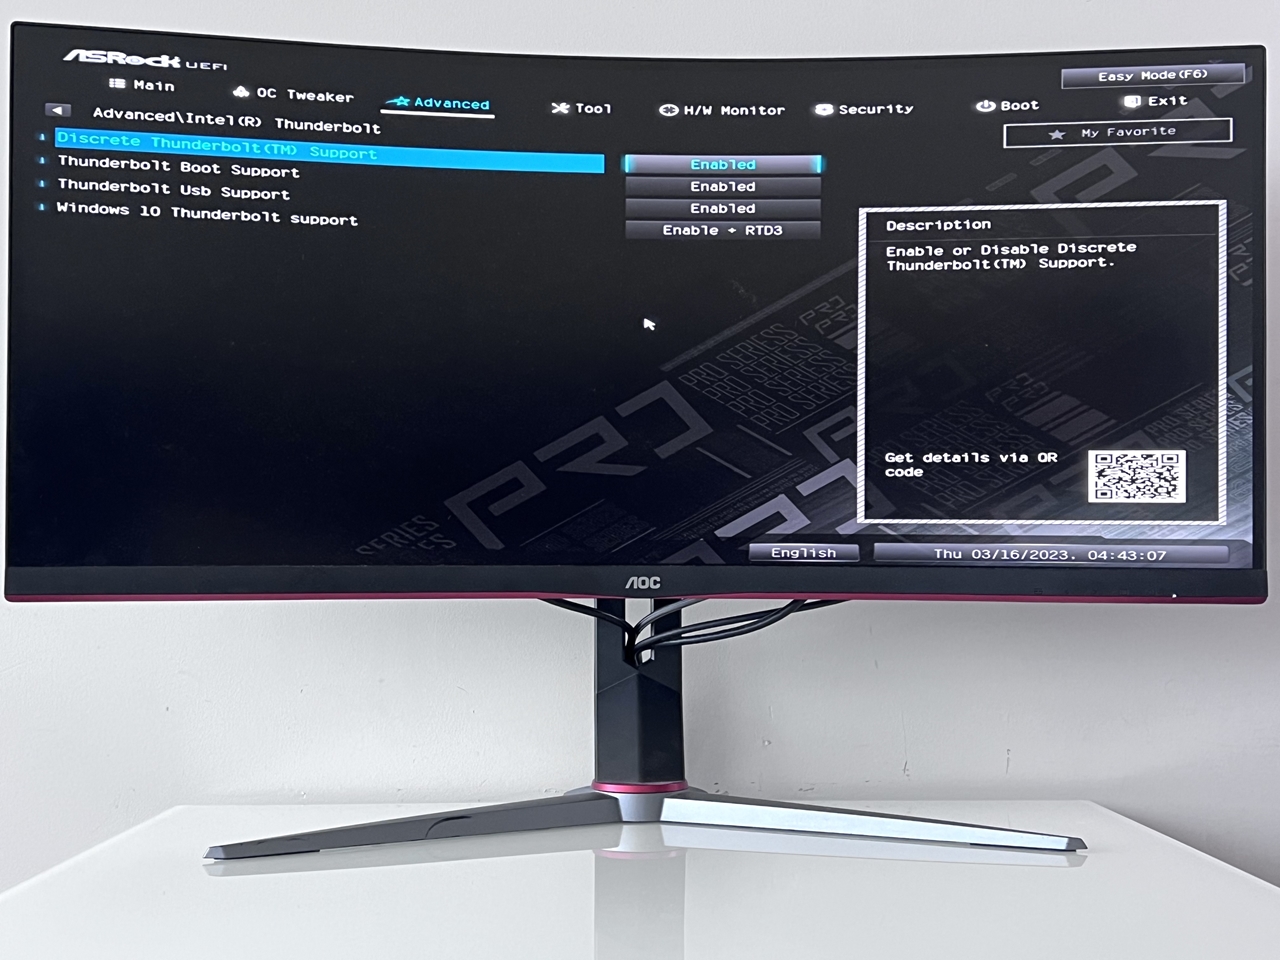
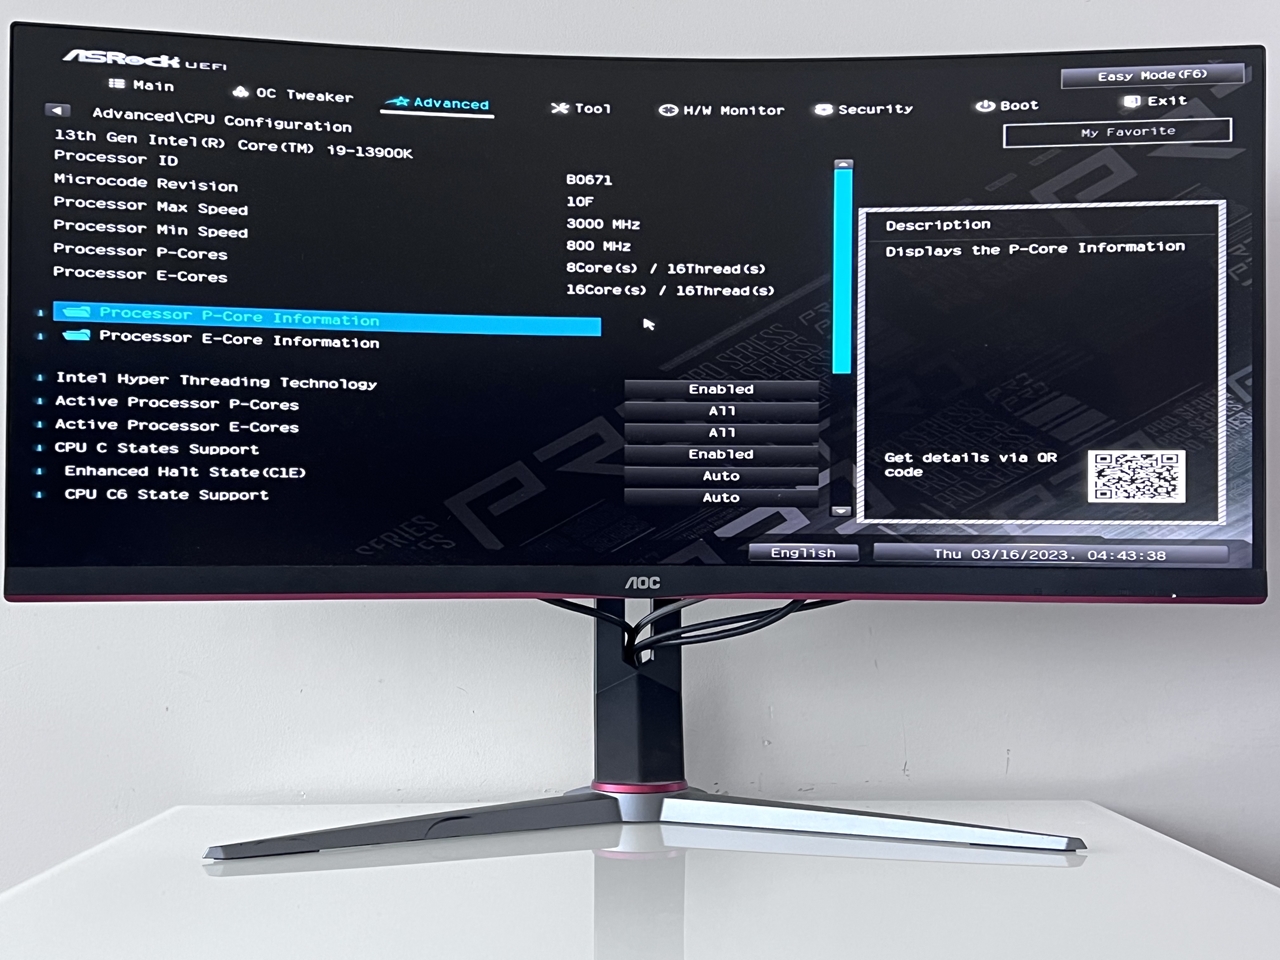
If you enable “Advanced Mode”, you’ll then see all the other options available for tweaking your processor, memory and more. Voltages for memory and processor can also be adjusted here . For overclockers, the BIOS allows CPU and memory overclocking, and you can also set the CPU frequency and voltages too.
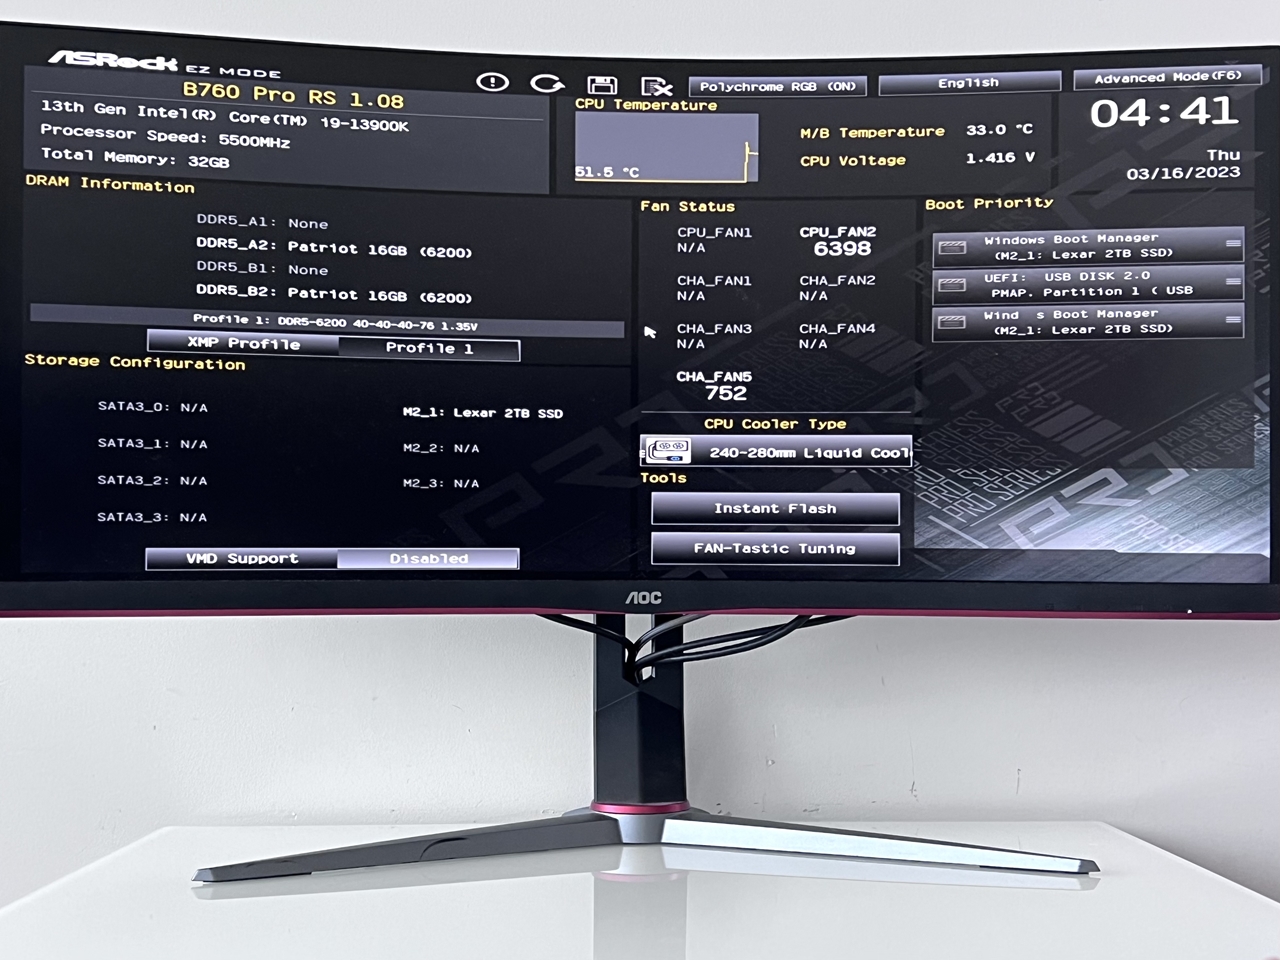

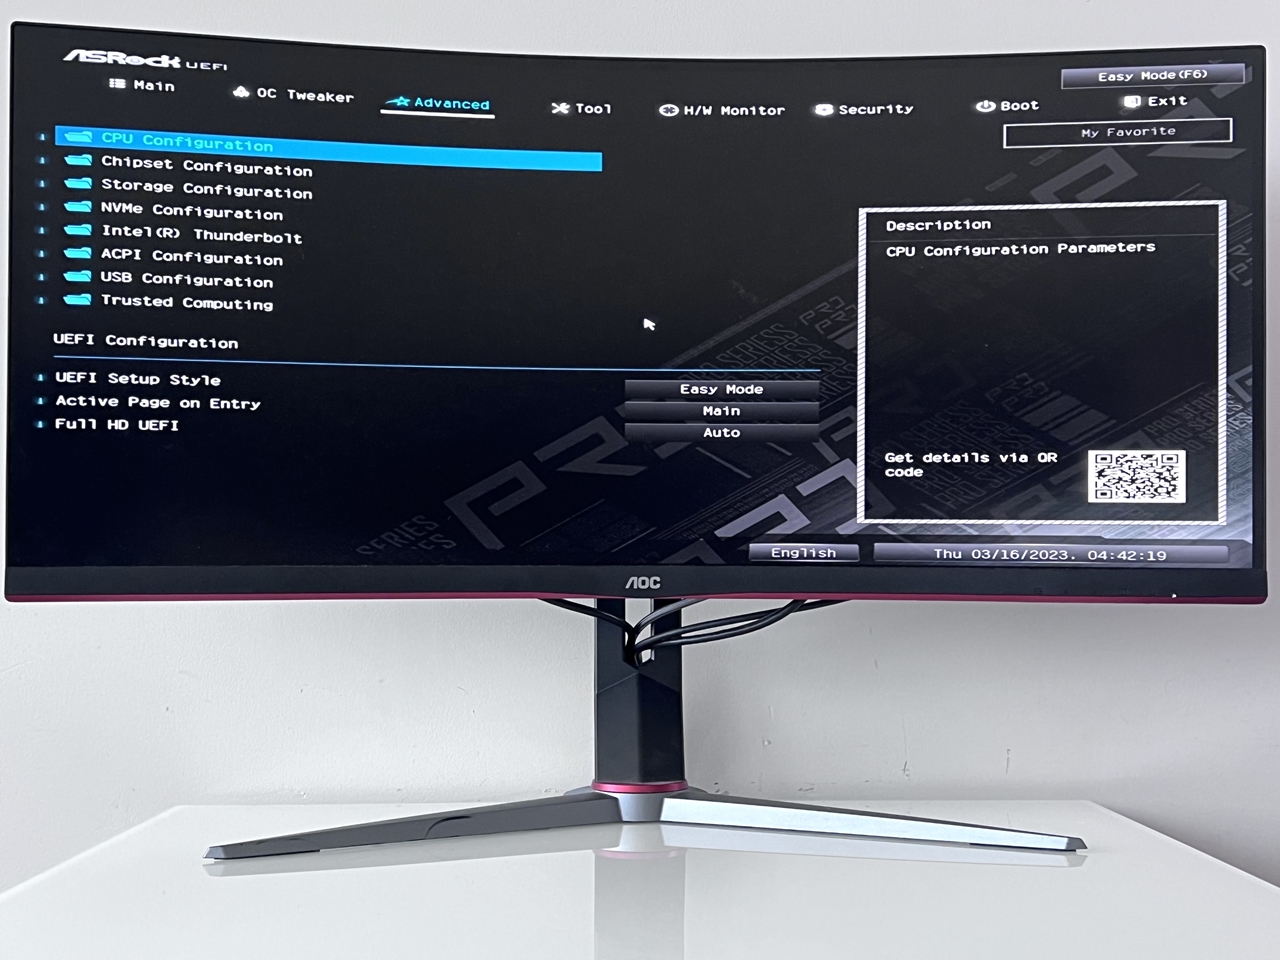
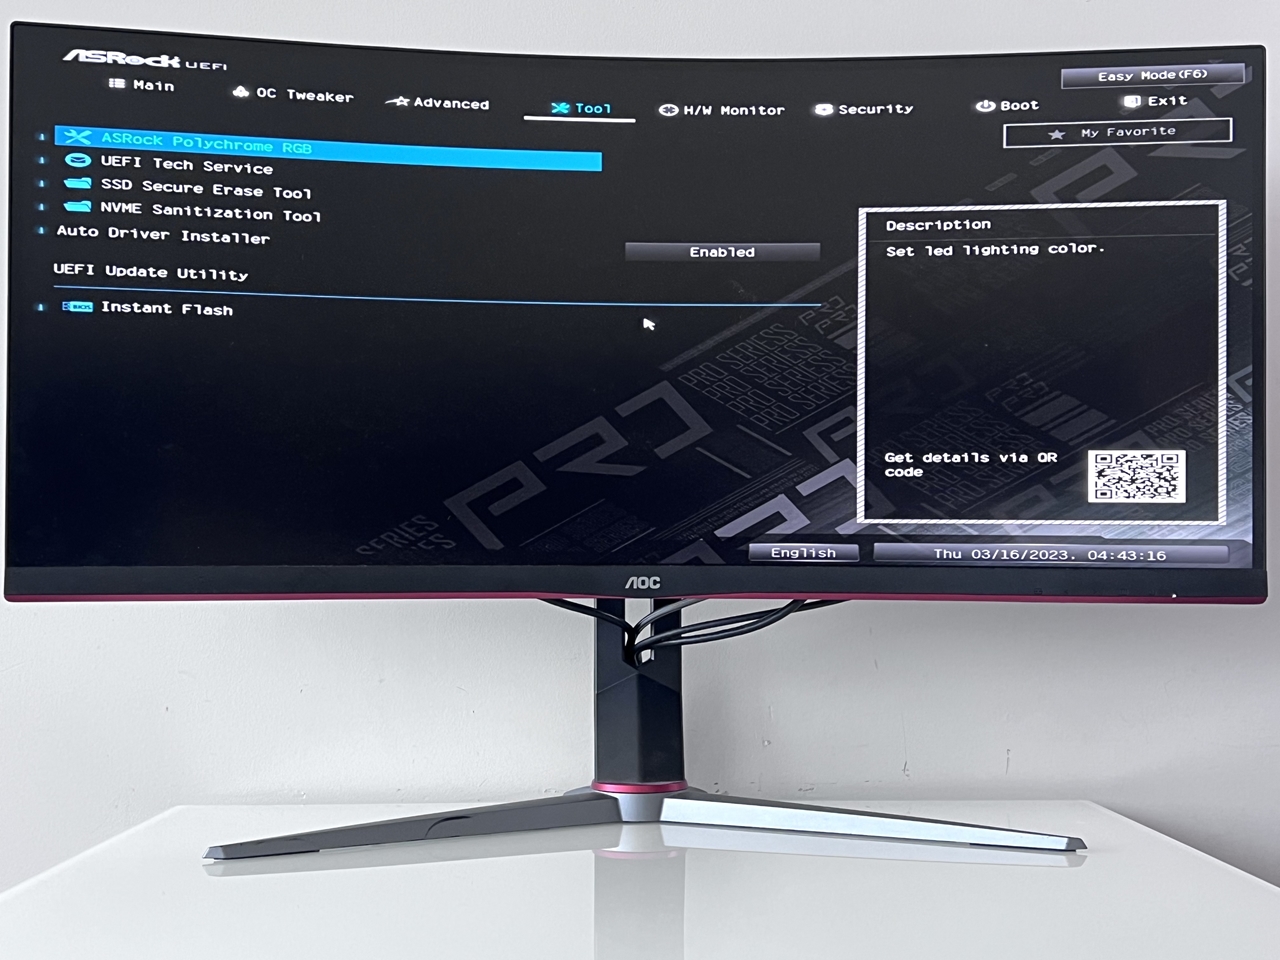
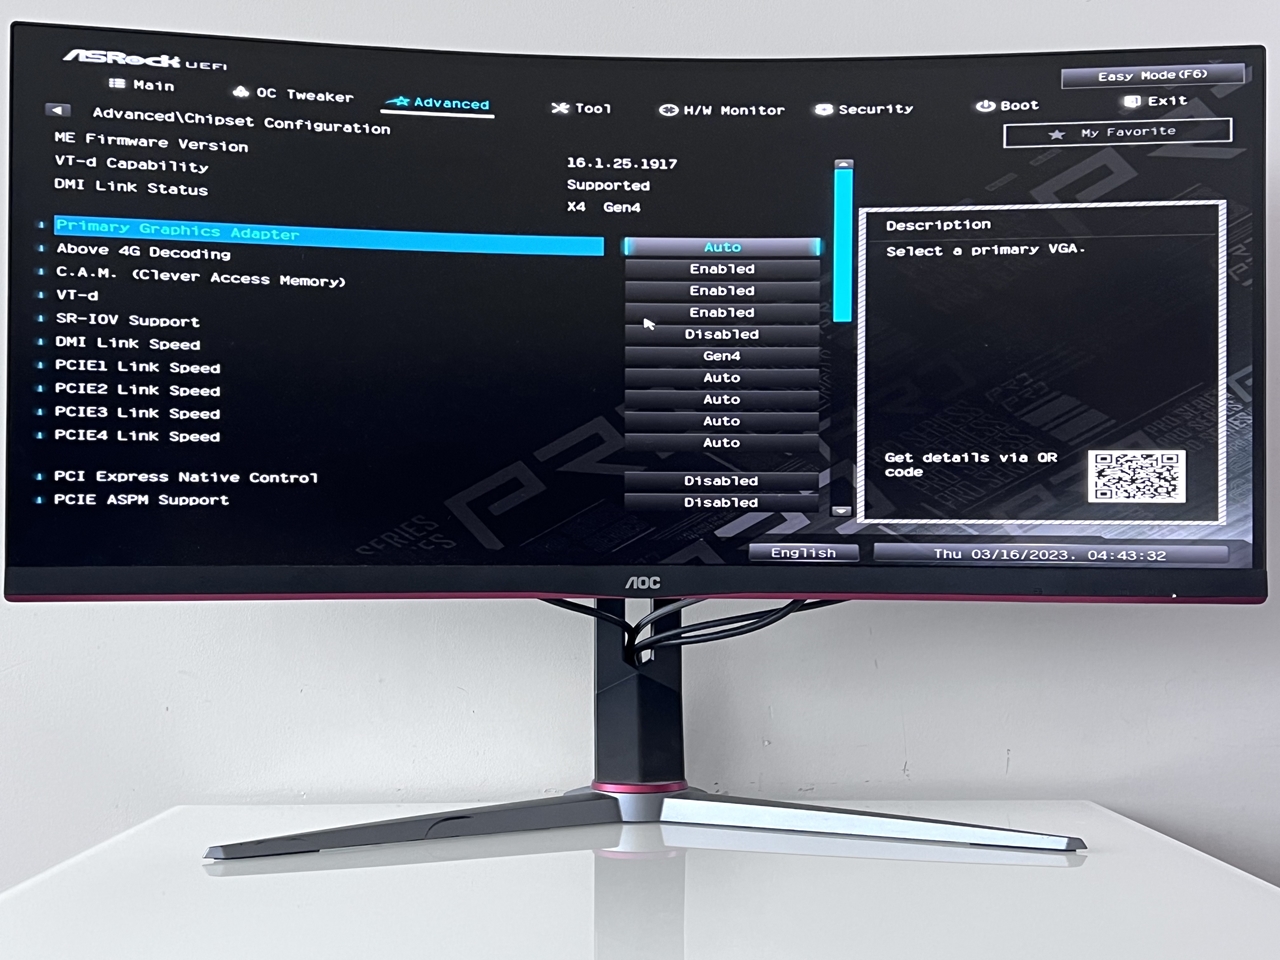
Other options in the advanced tab allows users to configure settings for the chipset, storage and NVMe, LEDs, as well as onboard devices such as LAN, audio, and Bluetooth.
For memory compatibility and QVL (qualified vendors list), I recommend you check ASRock’s QVL page here.

