


BIOS/UEFI
Presented BIOS/UEFI settings were taken from P1.50 version which is the latest at the moment of writing this review.
EZ Mode
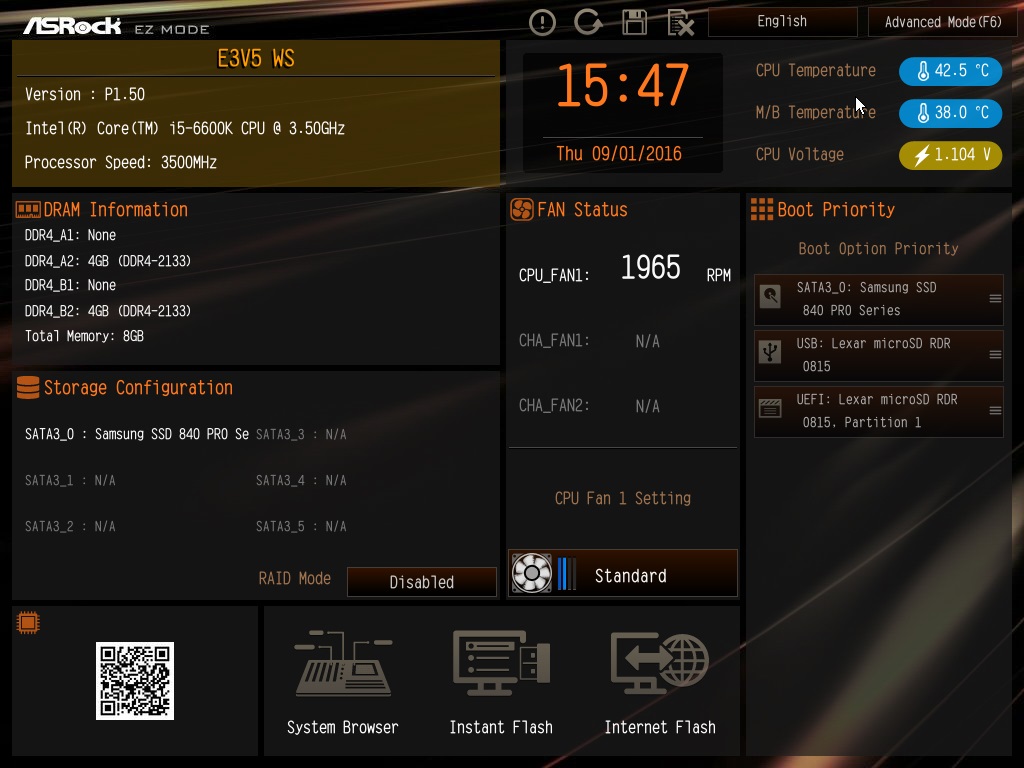
EZ mode is quite obvious. Not many options but all what most users need is on the main page with easy to access shortcuts.
You can also see that for tests has been used i5 6600K processor. With this processor ECC memory mode won’t work. ECC is working only with Celeron, Pentium, i3 and Xeon processors. Some users may ask why Celeron, Pentium and i3 is supporting ECC while i5 and i7 not. These lower series processors are used in low cost servers where supposed to work ECC so I guess that’s why Intel’s specification looks like this.
System Browser is showing what is installed on the motherboard without opening the PC case.
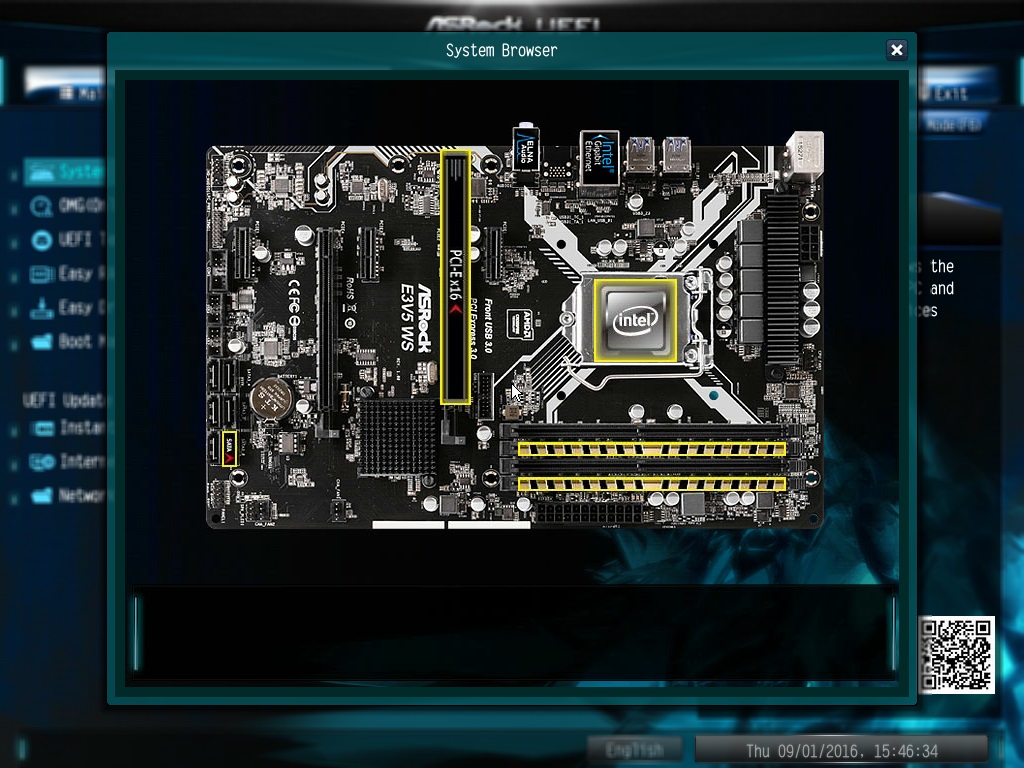
In this case is single graphics card in PCIE x16 mode, single SSD and two memory modules.
Main tab
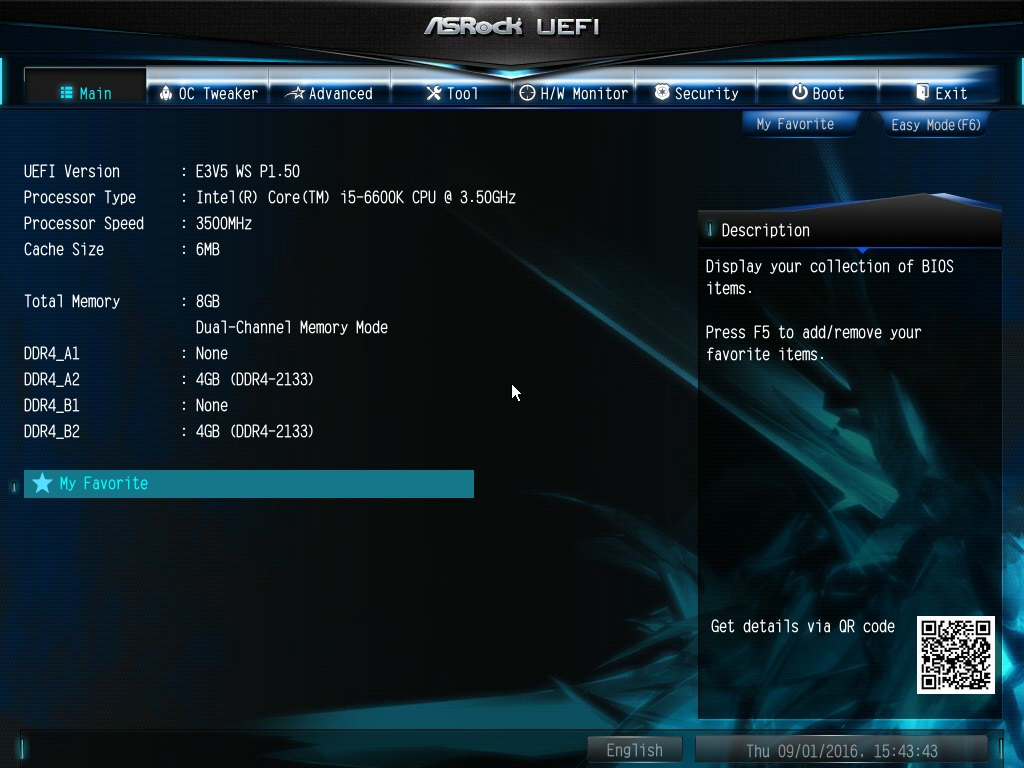
Main tab includes basic info about specification like processor and memory type, memory capacity and used UEFI version. In this case it’s the latest P1.50 UEFI but as you could see on the photos, motherboard was delivered with first official and stable P1.00 version. UEFI update is available from USB drive, from Windows or via Internet directly from UEFI menu.
OC Tweaker tab

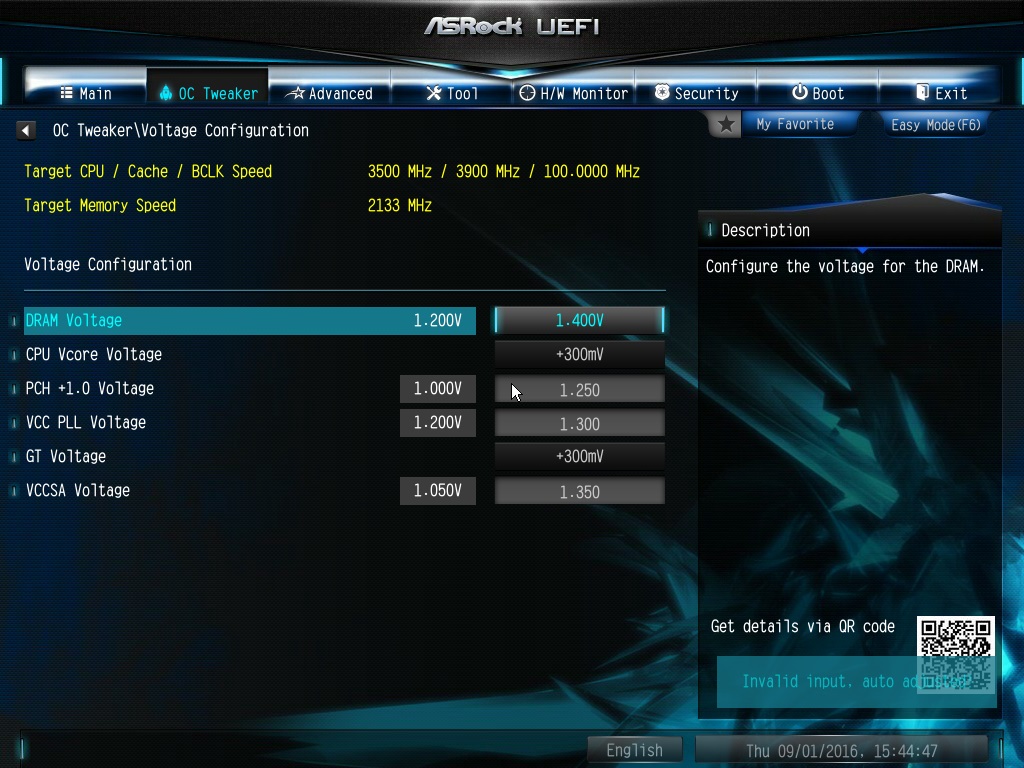


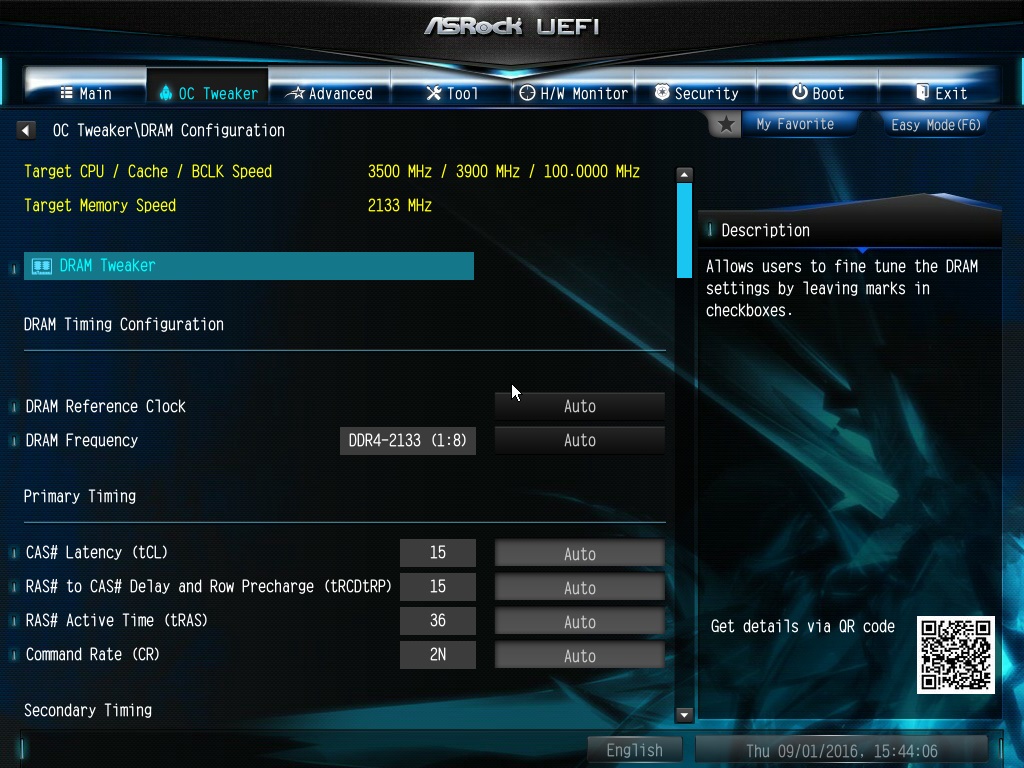
I won’t hide I was expecting something else from OC Tweaker tab on E3V5 WS. There are couple of useful settings but because of chipset limitations and Intel specification we won’t be able to overclock processor. Memory frequency is also limited and we can only set DDR4-2133. XMP profiles are working but because of mentioned limitations will set only tighter memory timings.
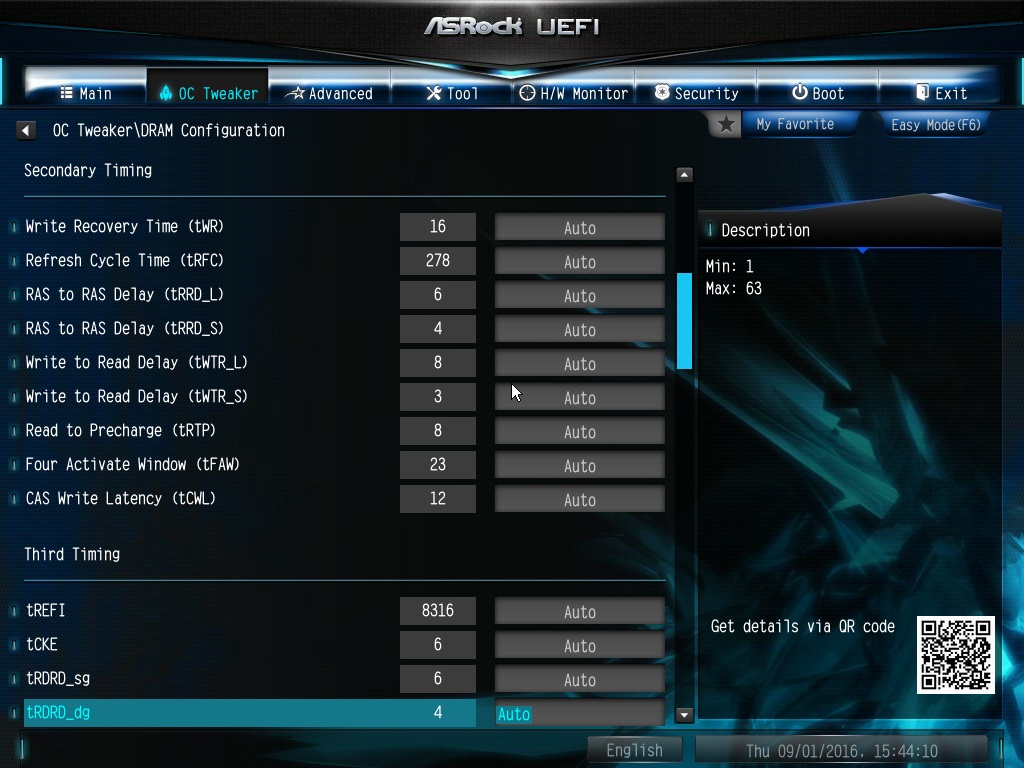
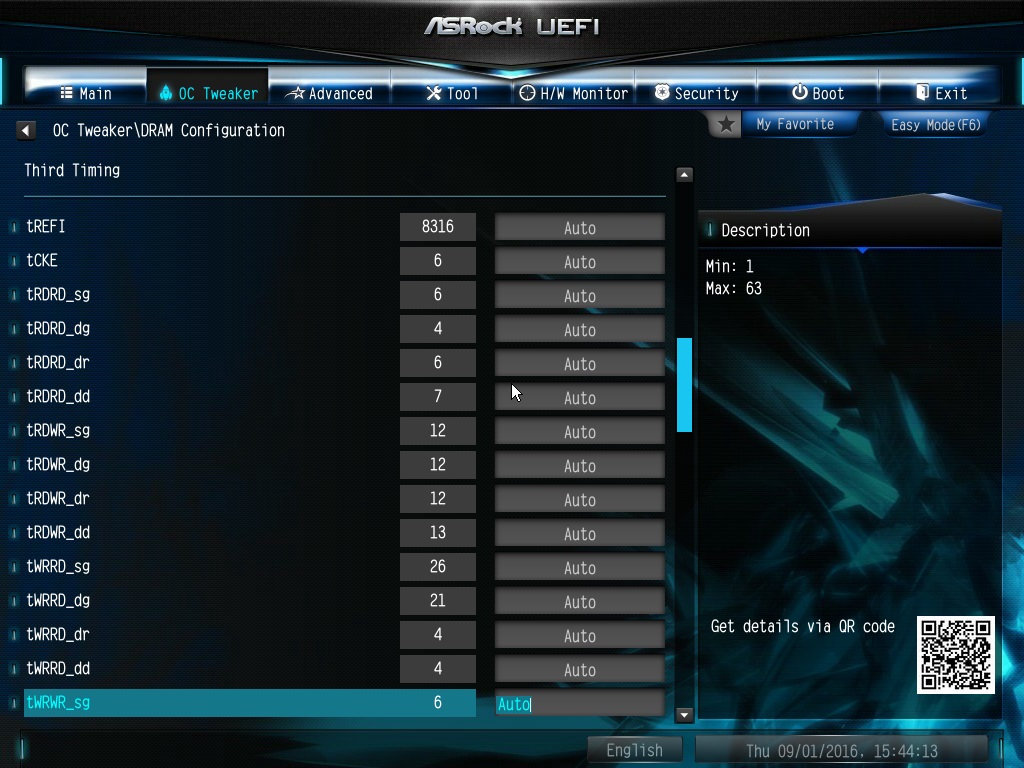
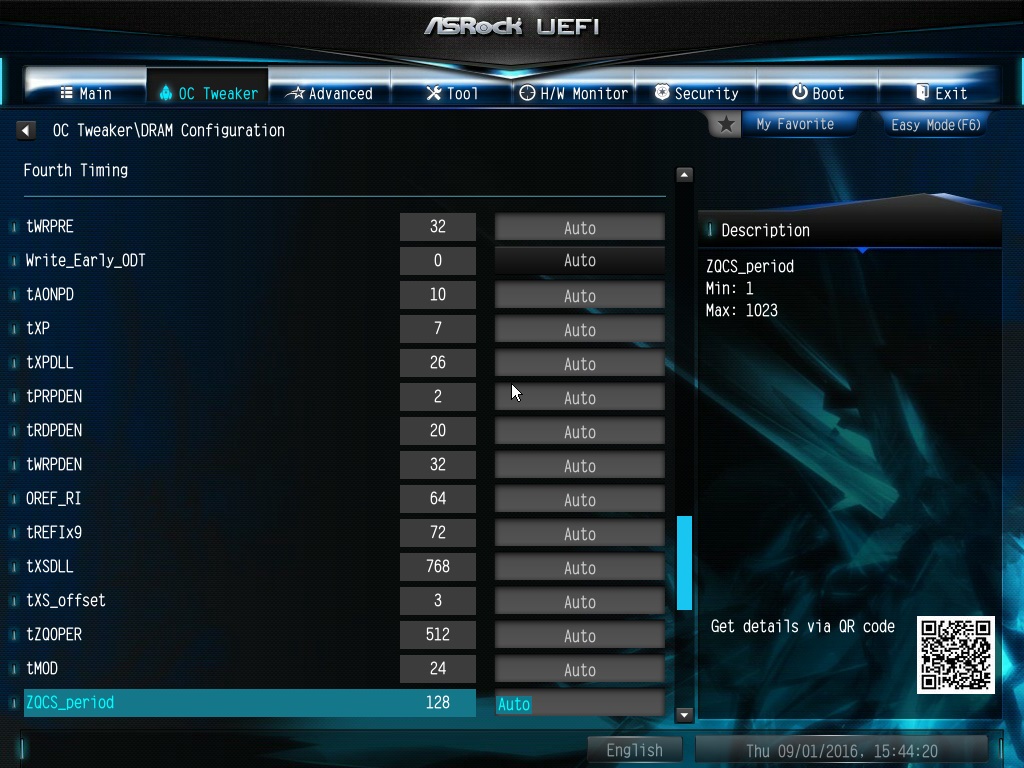
There is about as many memory settings as in the highest overclocking series motherboards. Personally I have no idea if anyone will use them but I guess it’s better to have more in case if you wish to play with additional options.
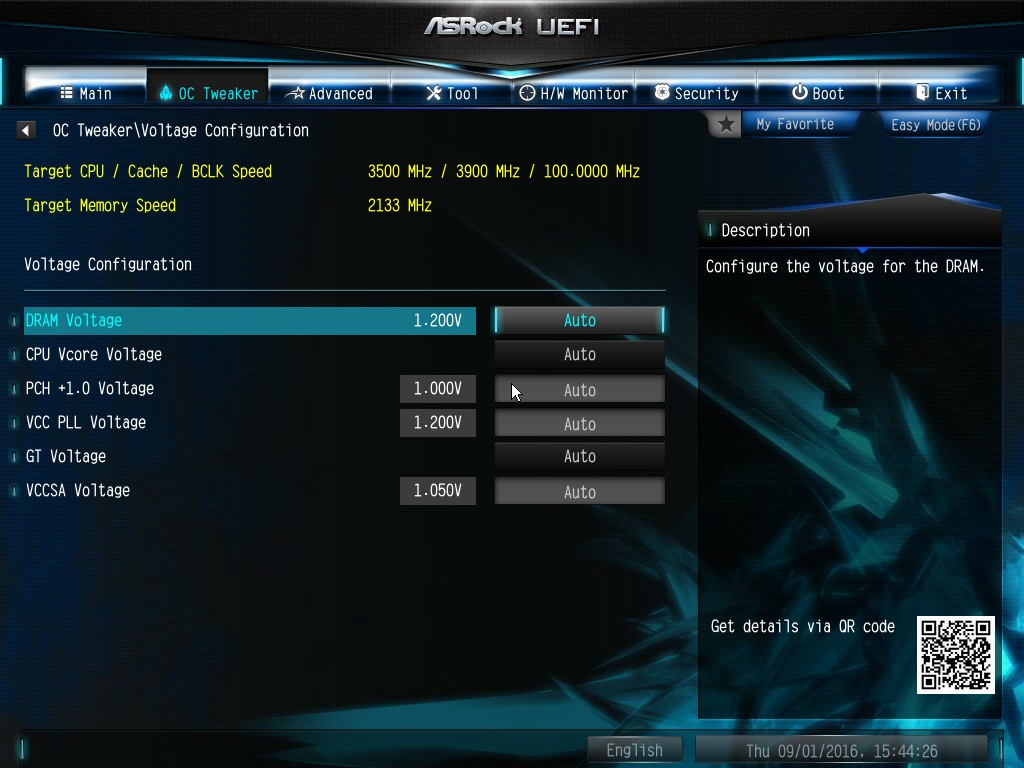
We can also adjust voltages but it won’t help us in anything as we can’t overclock processor or memory. One of the screenshots is showing maximum values which can be set.
Advanced tab
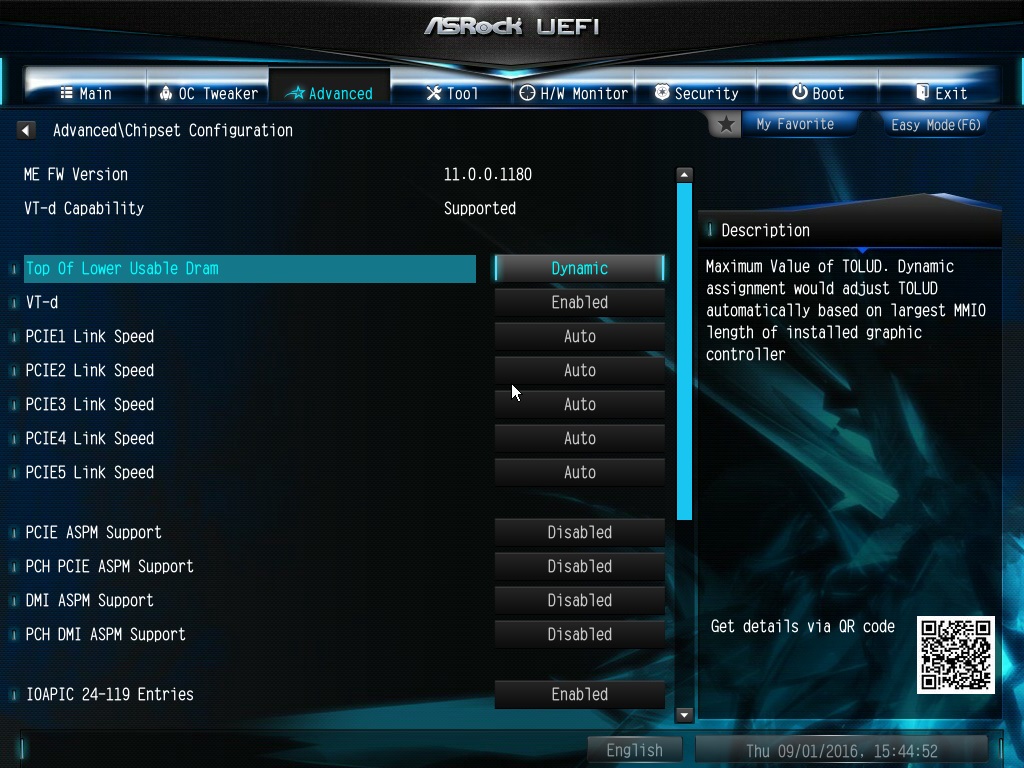
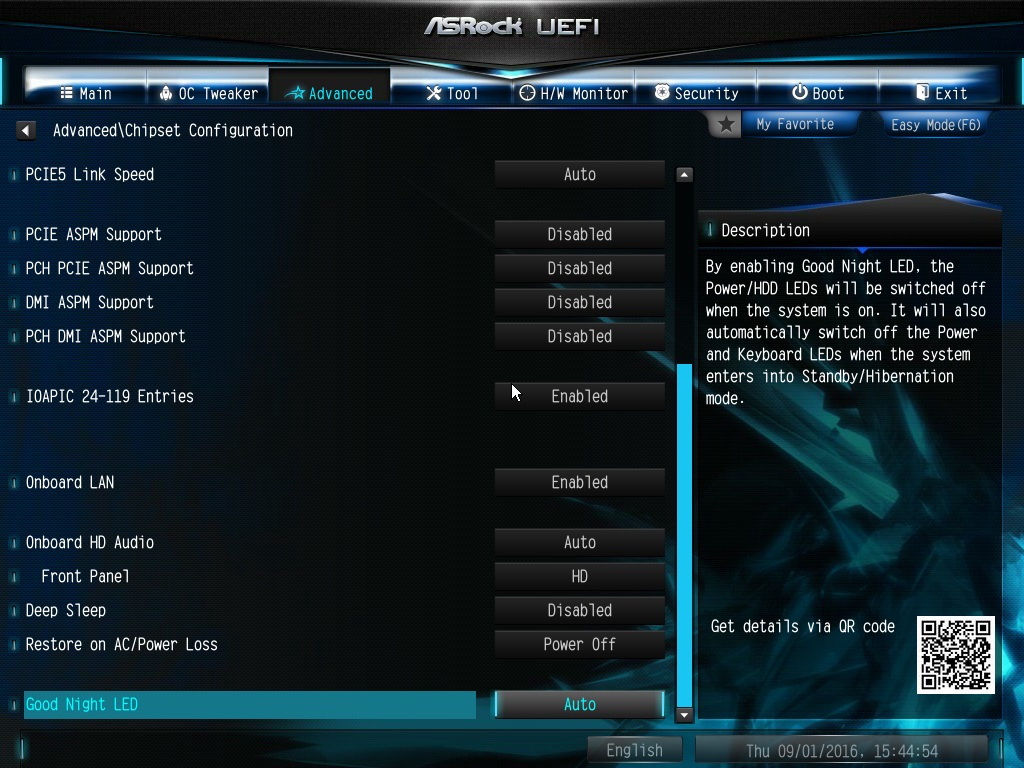
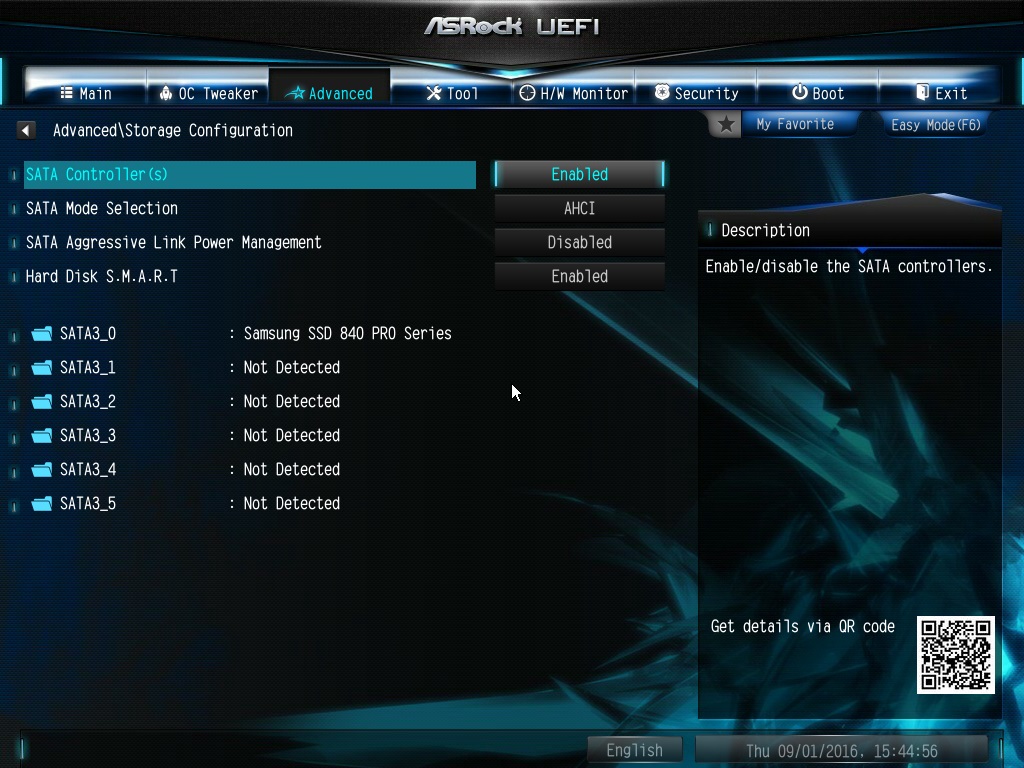
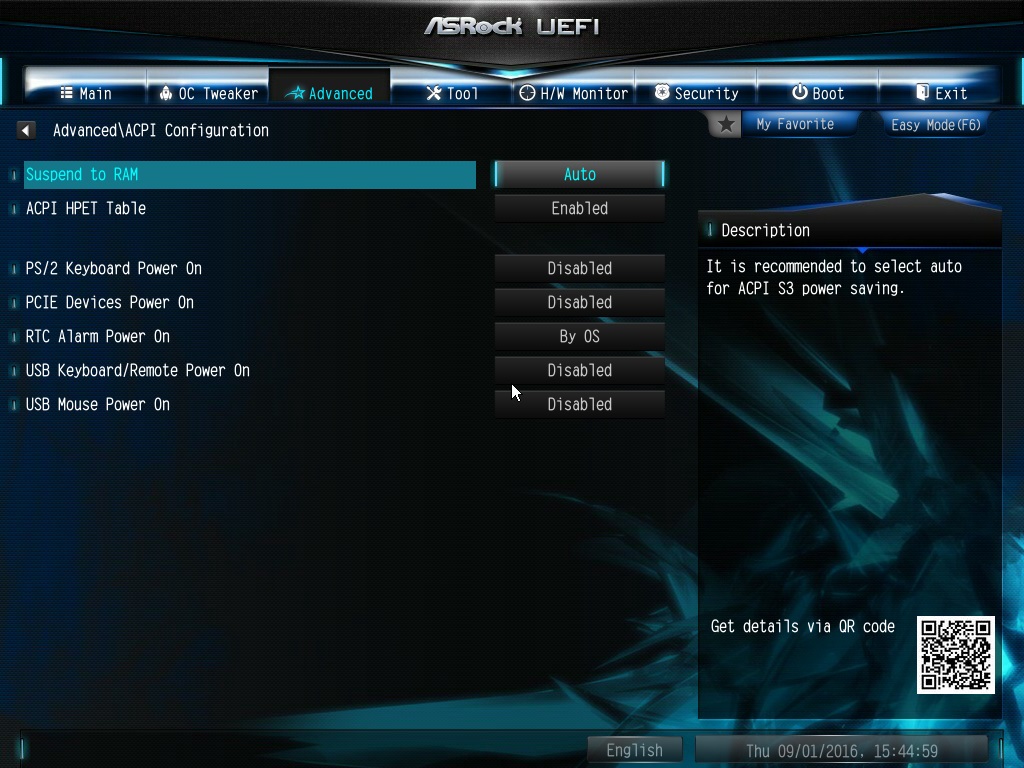
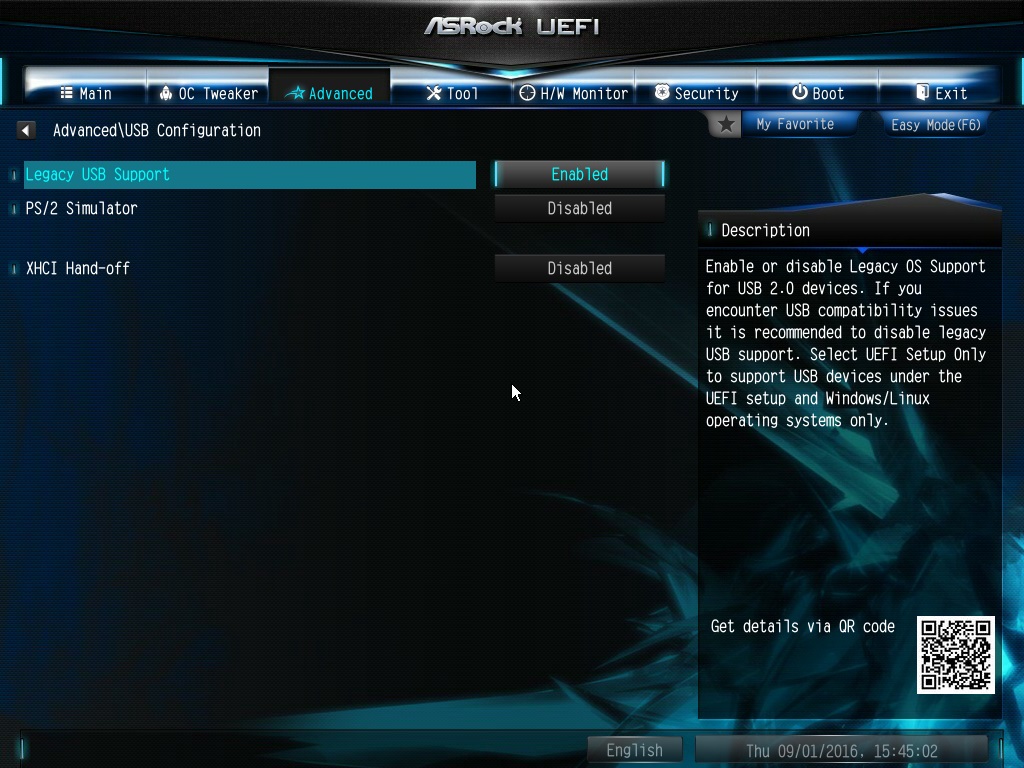
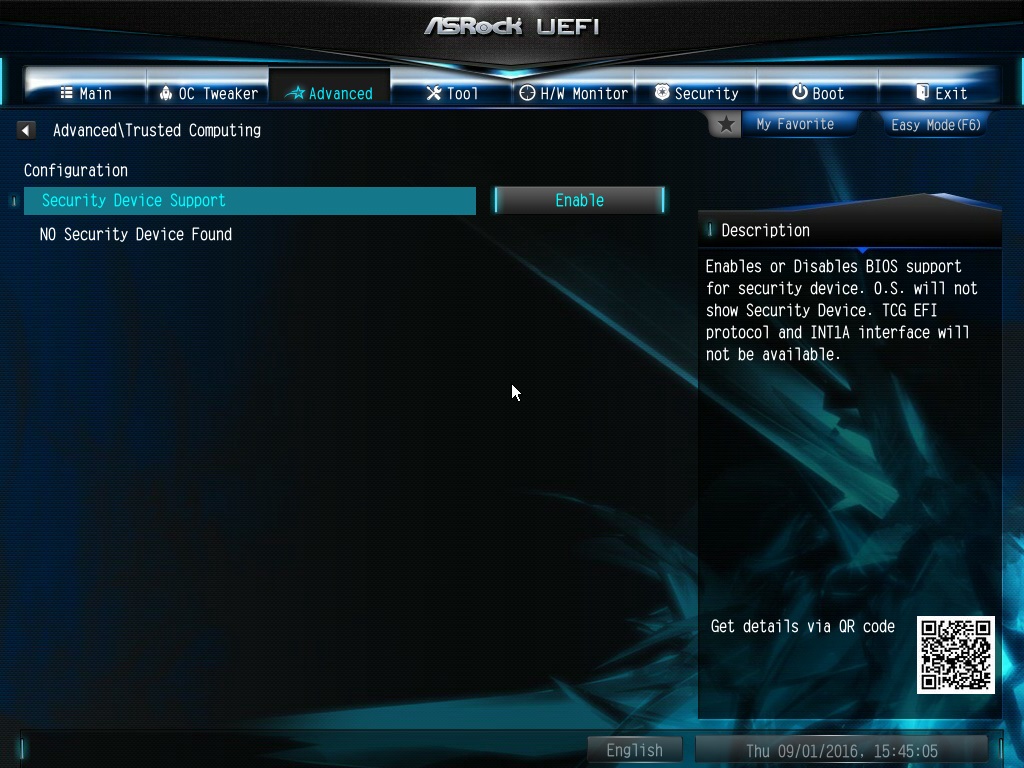
In Advanced tab we can change PCIe options like PCIe generation or bus bandwidth but also storage ( SATA controller ), USB and other settings. All seems clear.
Tools tab
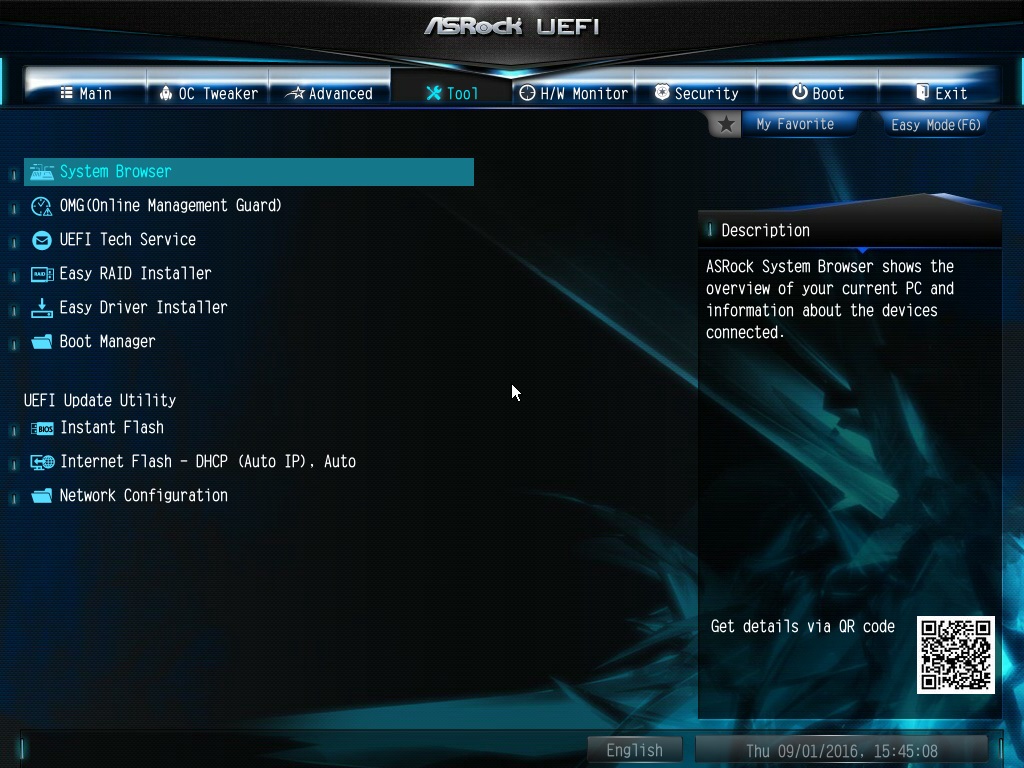
Here we can find UEFI flasher, mentioned earlier System Browser, management utilities and tools which make OS and RAID installation easier.
H/W monitor tab
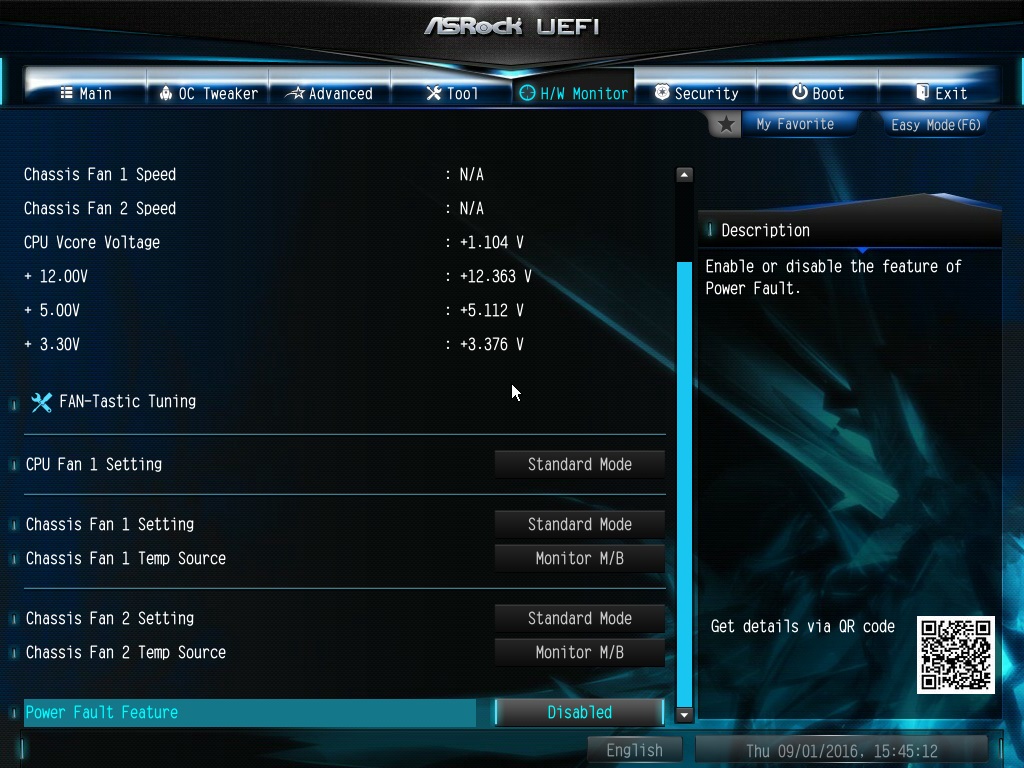
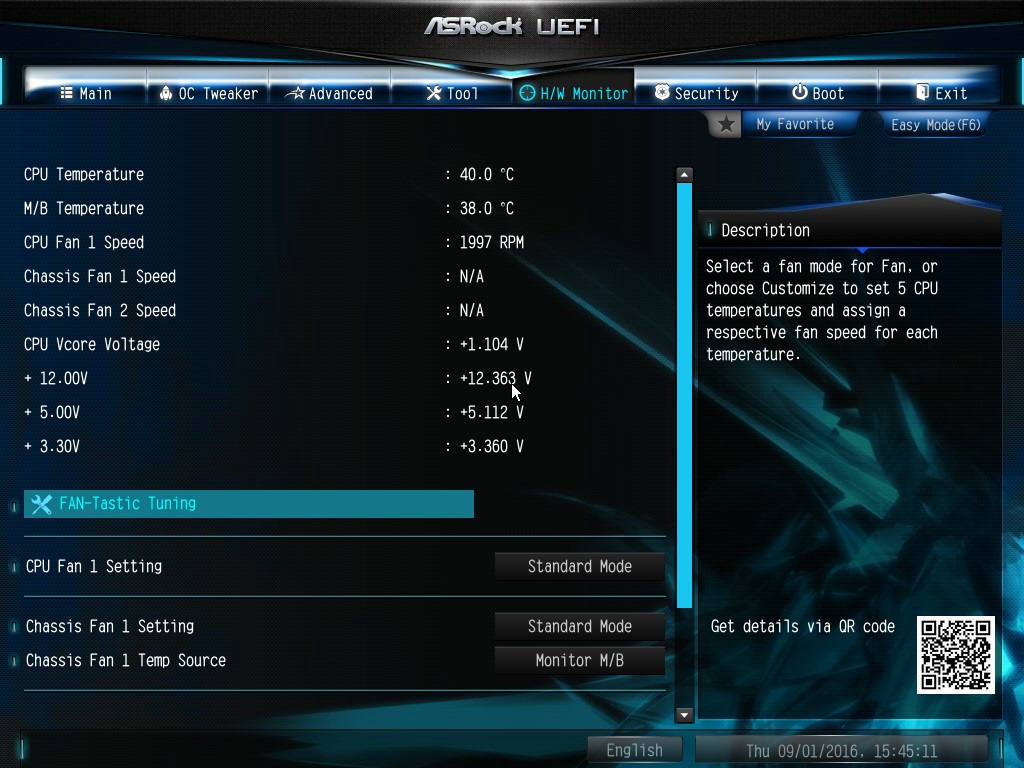
Hardware monitor window is letting us to manage fans and check temperatures and voltages of CPU and motherboard. Again pretty typical and shouldn’t cause any issues to all who at least once configured BIOS/UEFI.
Security tab
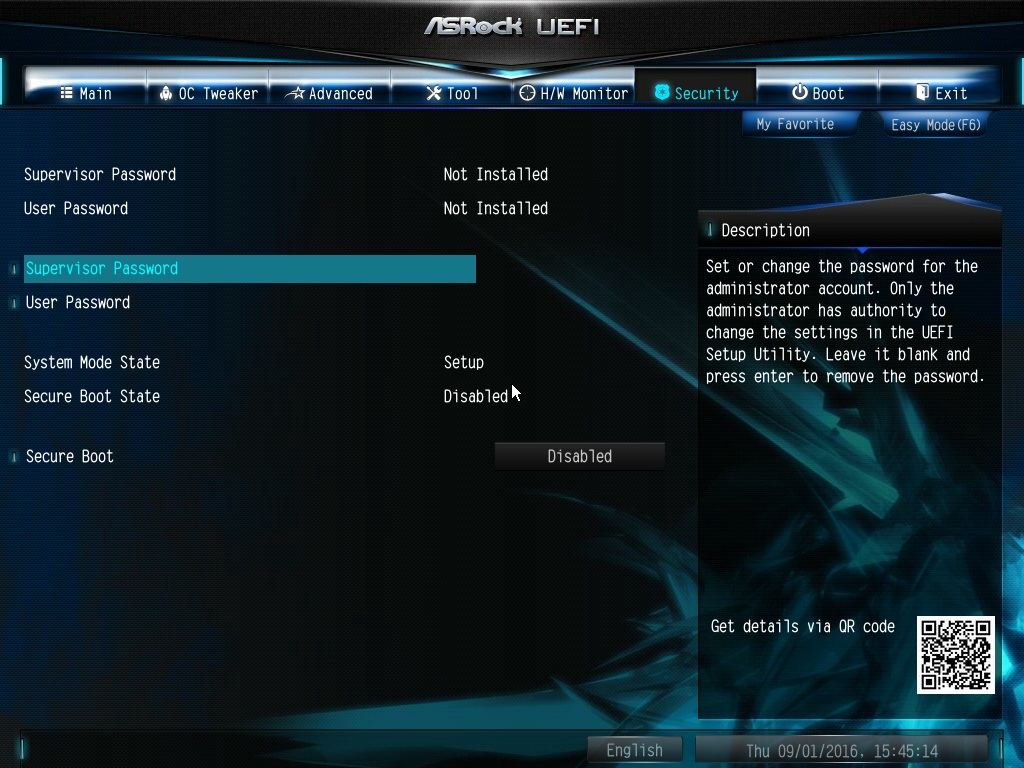
In Security tab we can set passwords and set secure boot options.
Boot tab
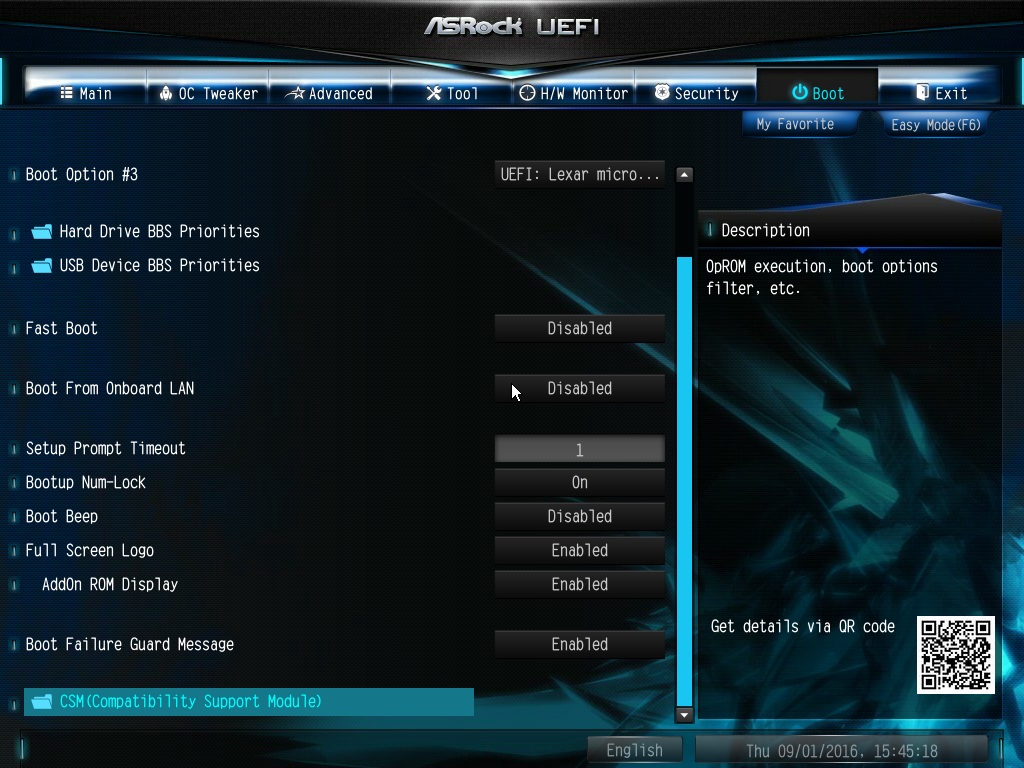
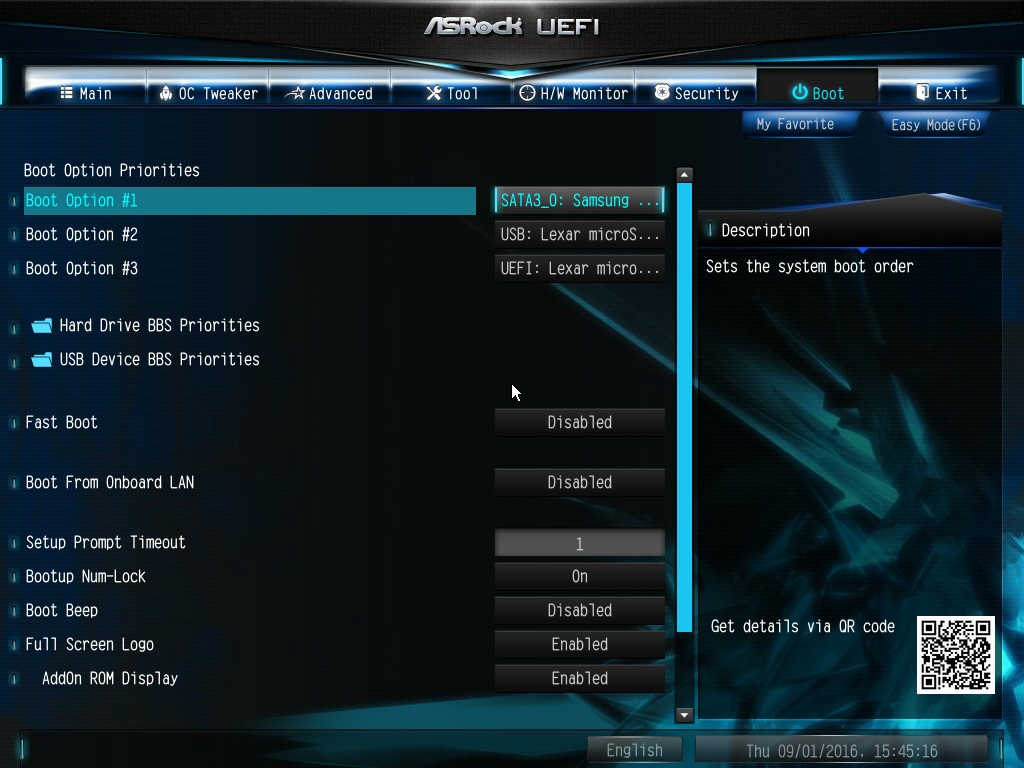
Boot options can be set in the Boot tab. Except booting devices we can also enable or disable welcome screen and set other options which affect our PC booting and UEFI recovery after boot failure.
Exit tab
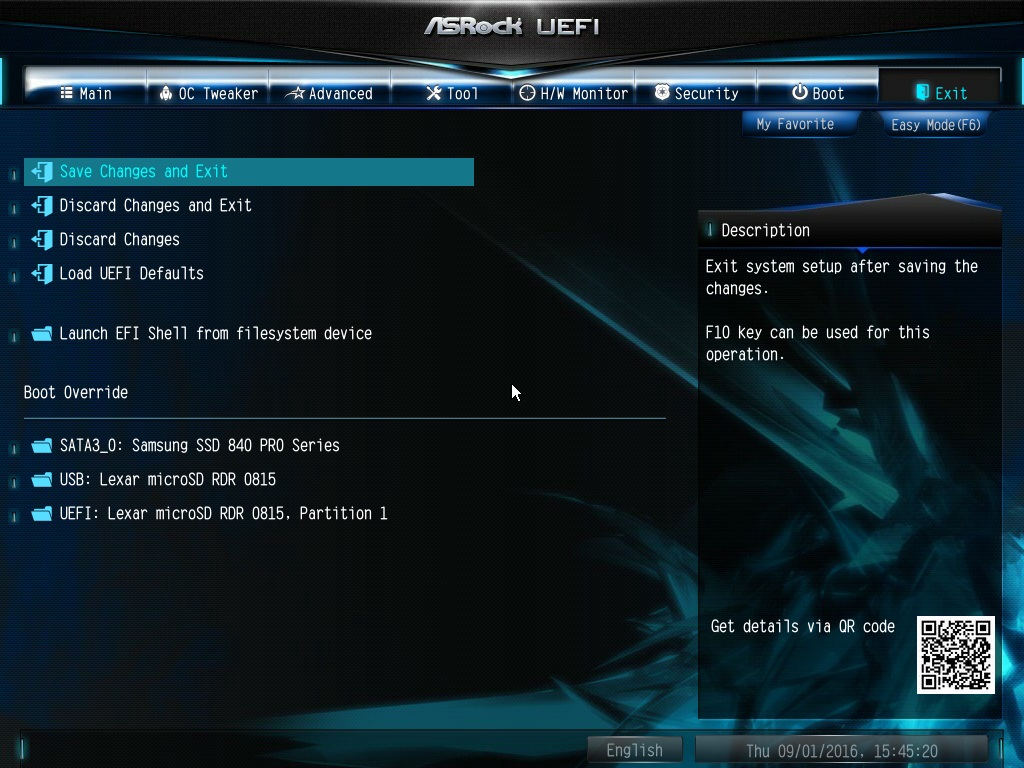
The last tab is letting us to save settings and restart computer but also we can pick one time boot device from Boot Override list.
That’s all. There is nothing unexpected in the UEFI. All seems easy to understand but if you still have any questions then answers can be found in the user’s manual.

