


Installation
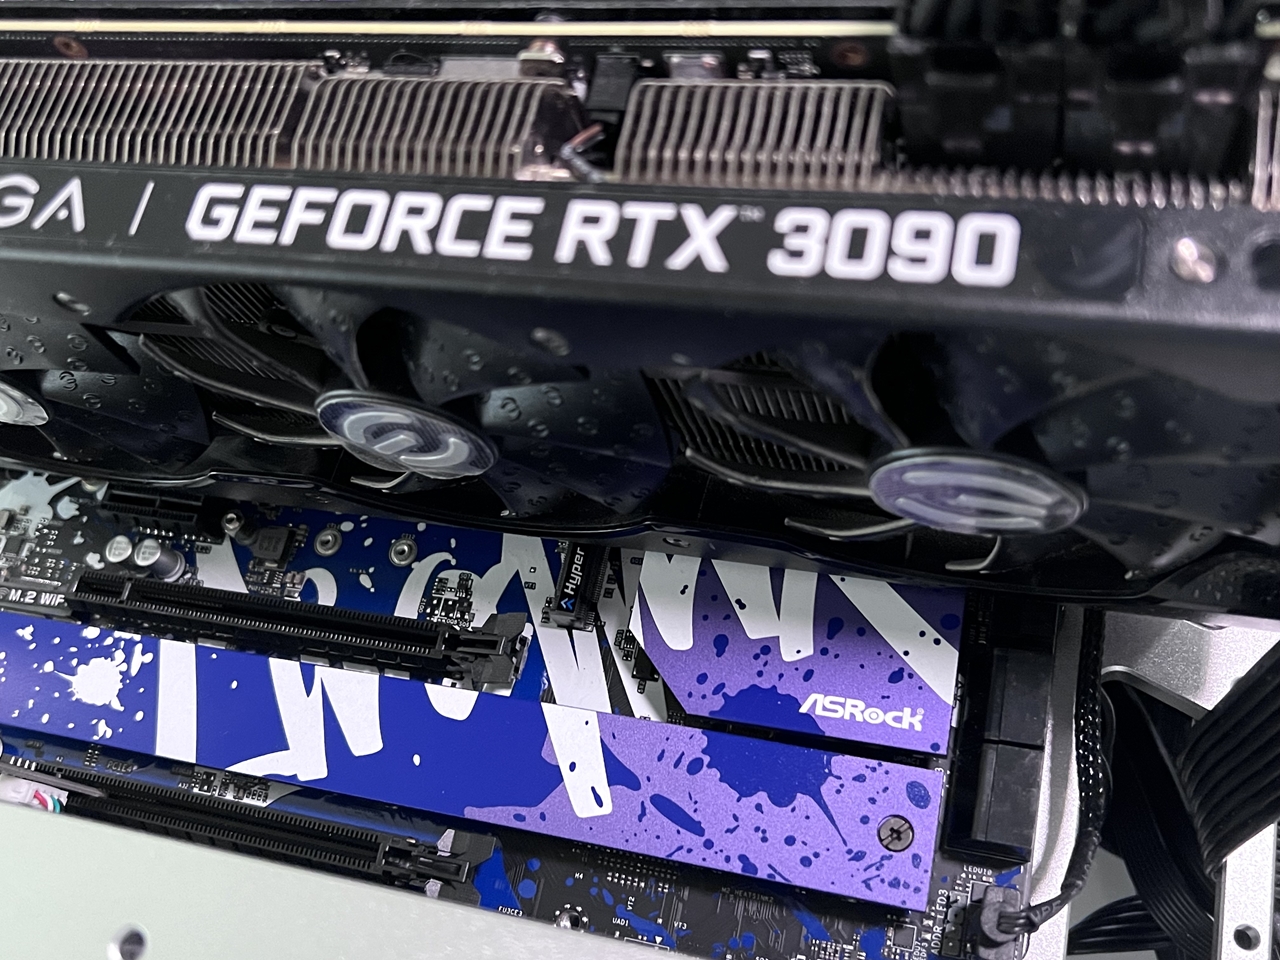
During our installation, we used the same vertical Open Chassis from before. We also used a Cooler Master MasterLiquid PL 240 AIO cooler, which seem to handle the load temperatures of the Core i9-13900K. Everything fitted nicely, with no issues whatsoever. There was plenty of room in and around the Intel LGA1700 processor socket.

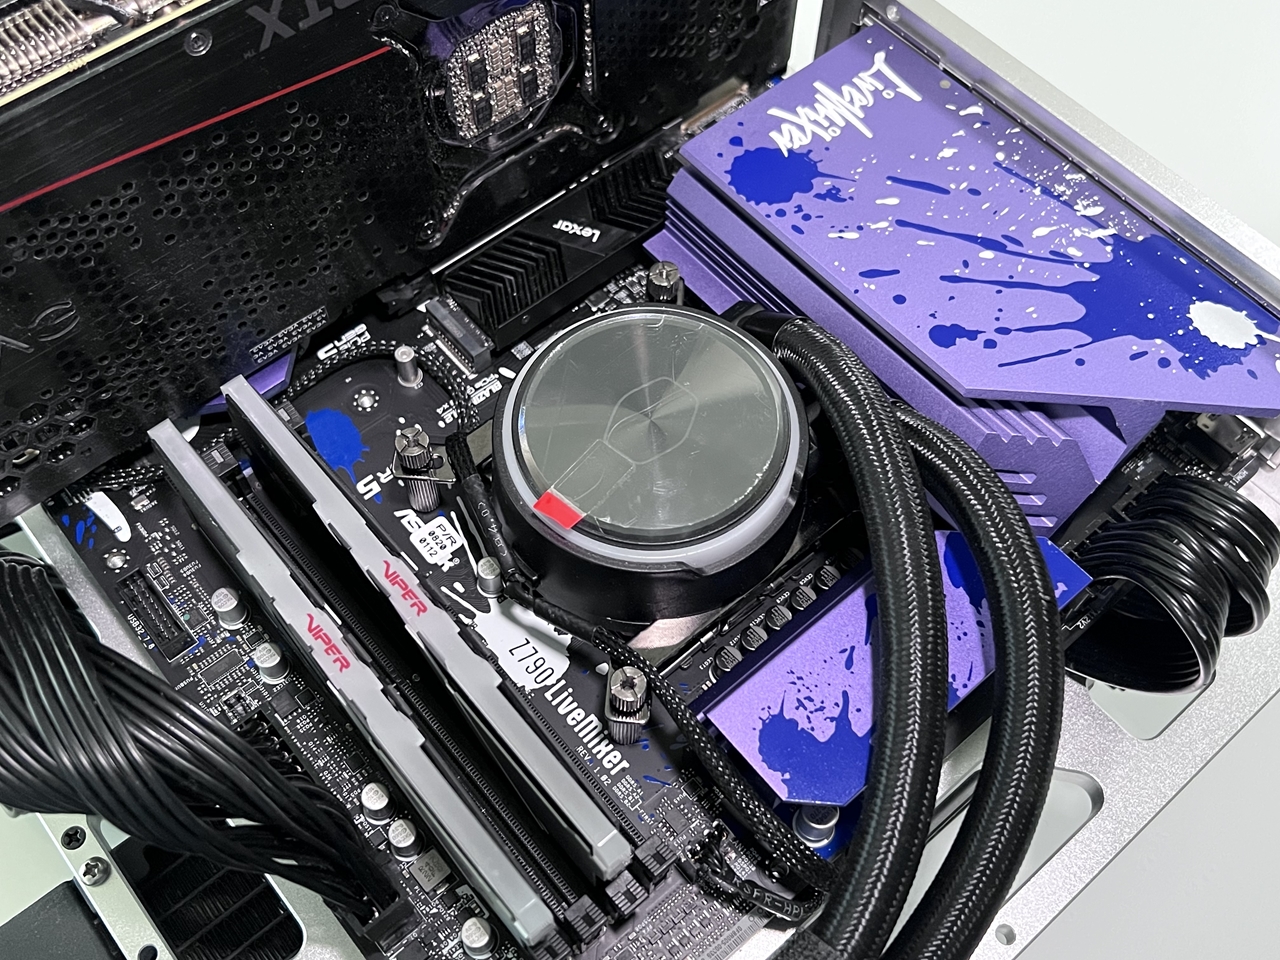
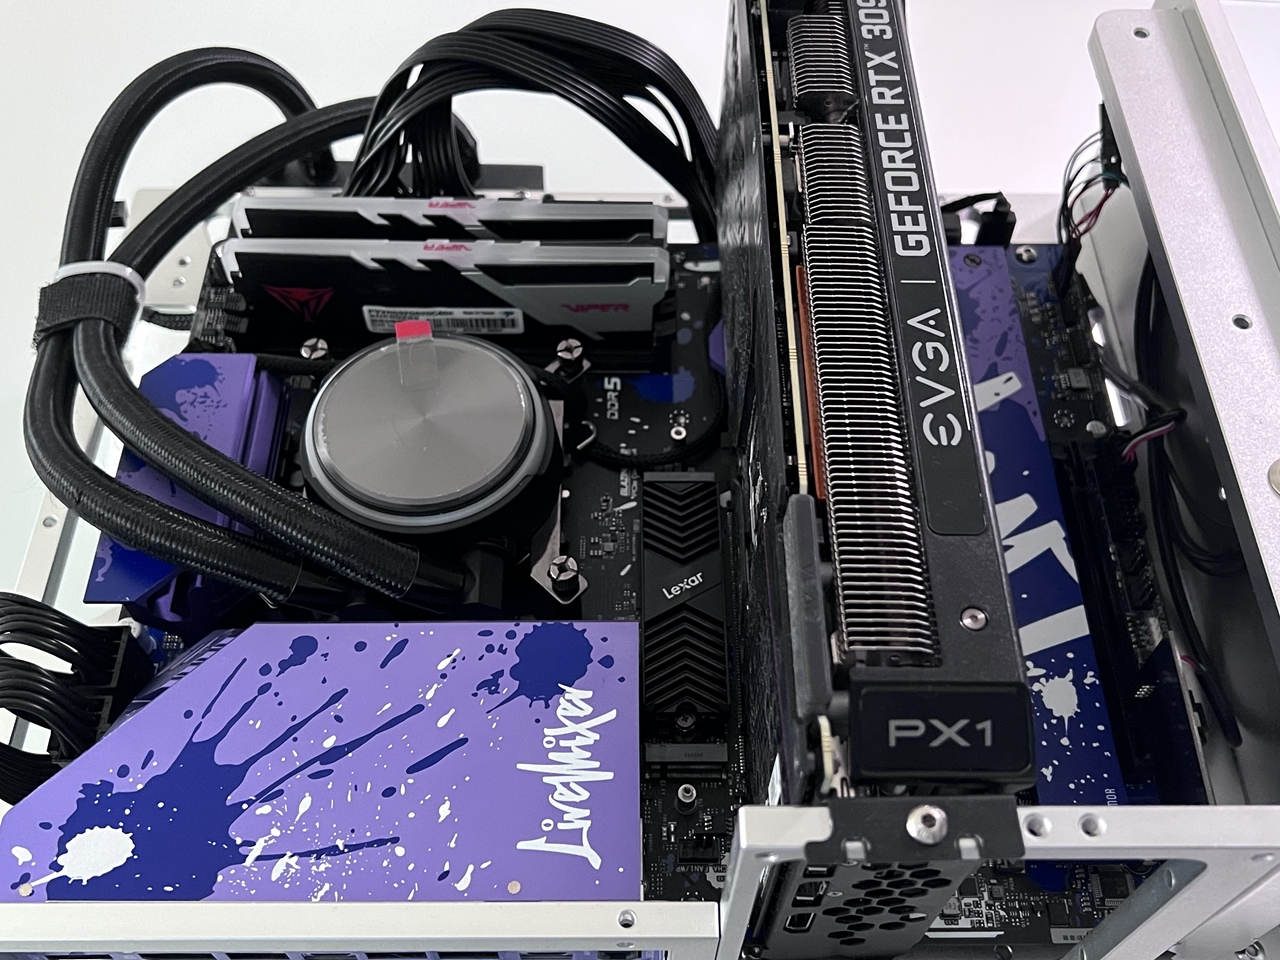
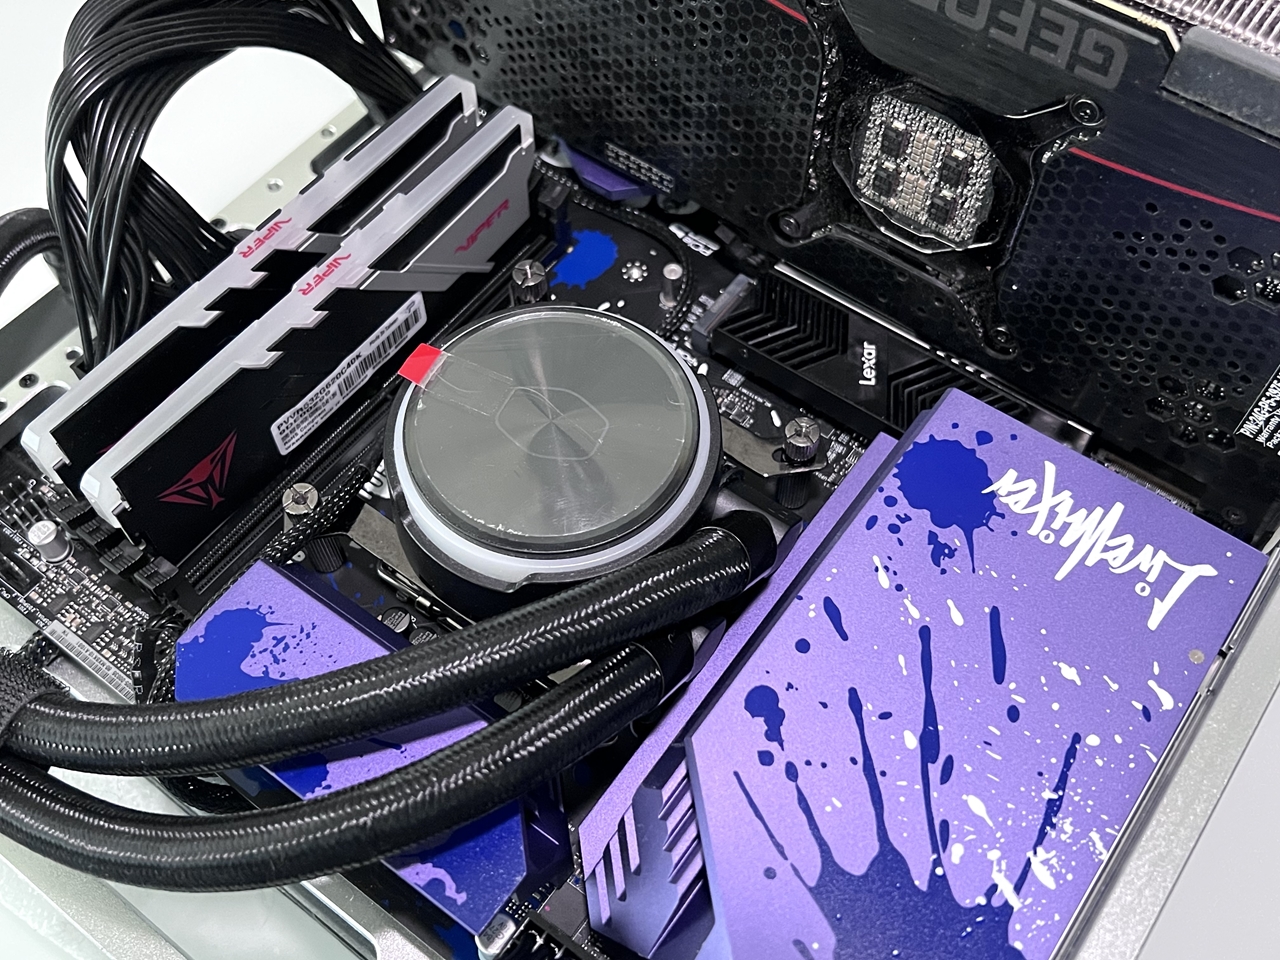
What I find this quite unusual is the location of all the RGB headers. They’re all situated towards the bottom end of the motherboard, which makes it difficult to connect the ARGB cable from the CPU waterblock (AIO coolers that offer ARGB). That said, our cable was just about long enough to reach the bottom ARGB 3-pin header.
BIOS
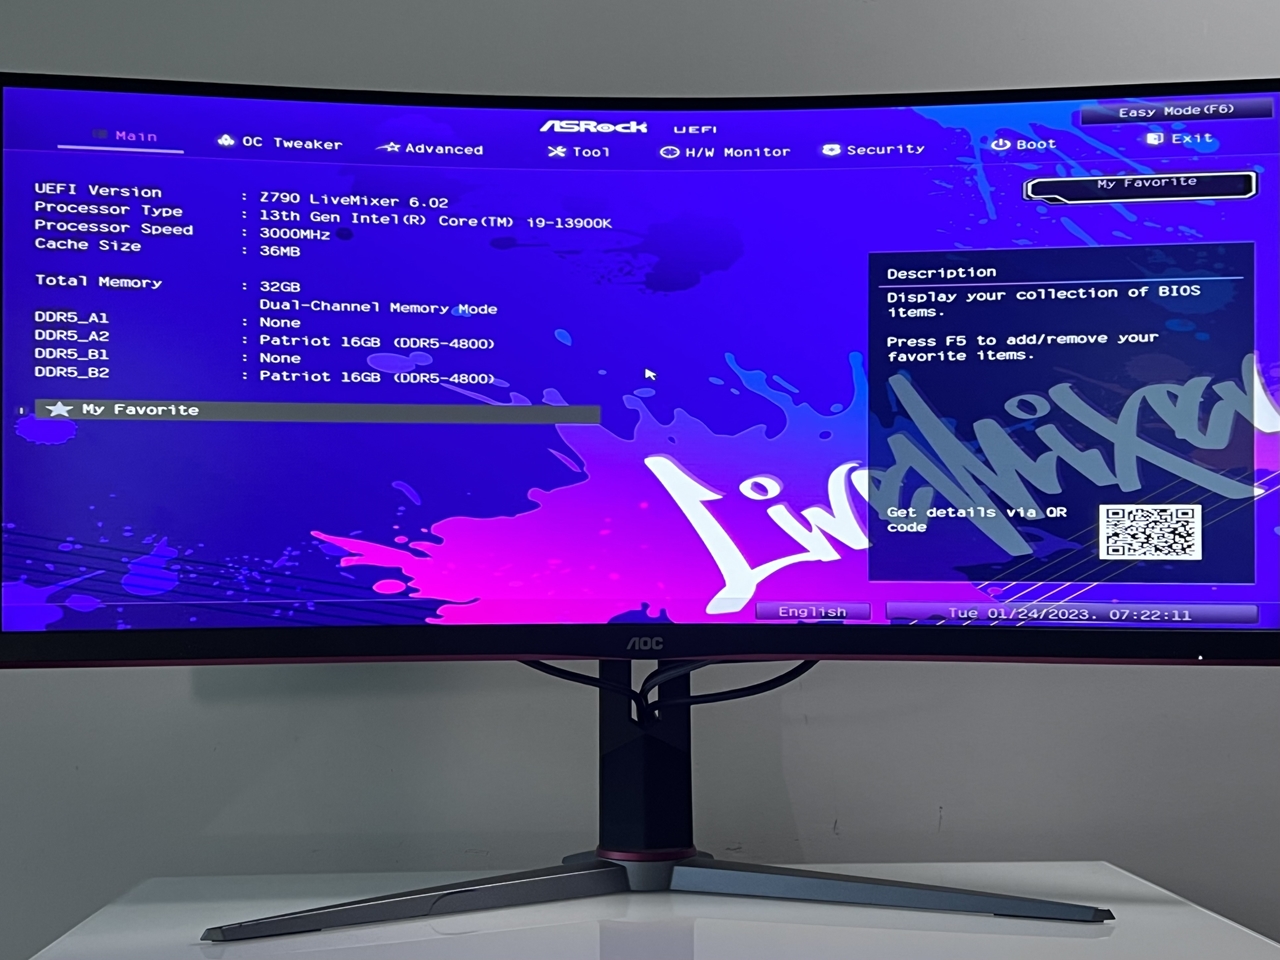
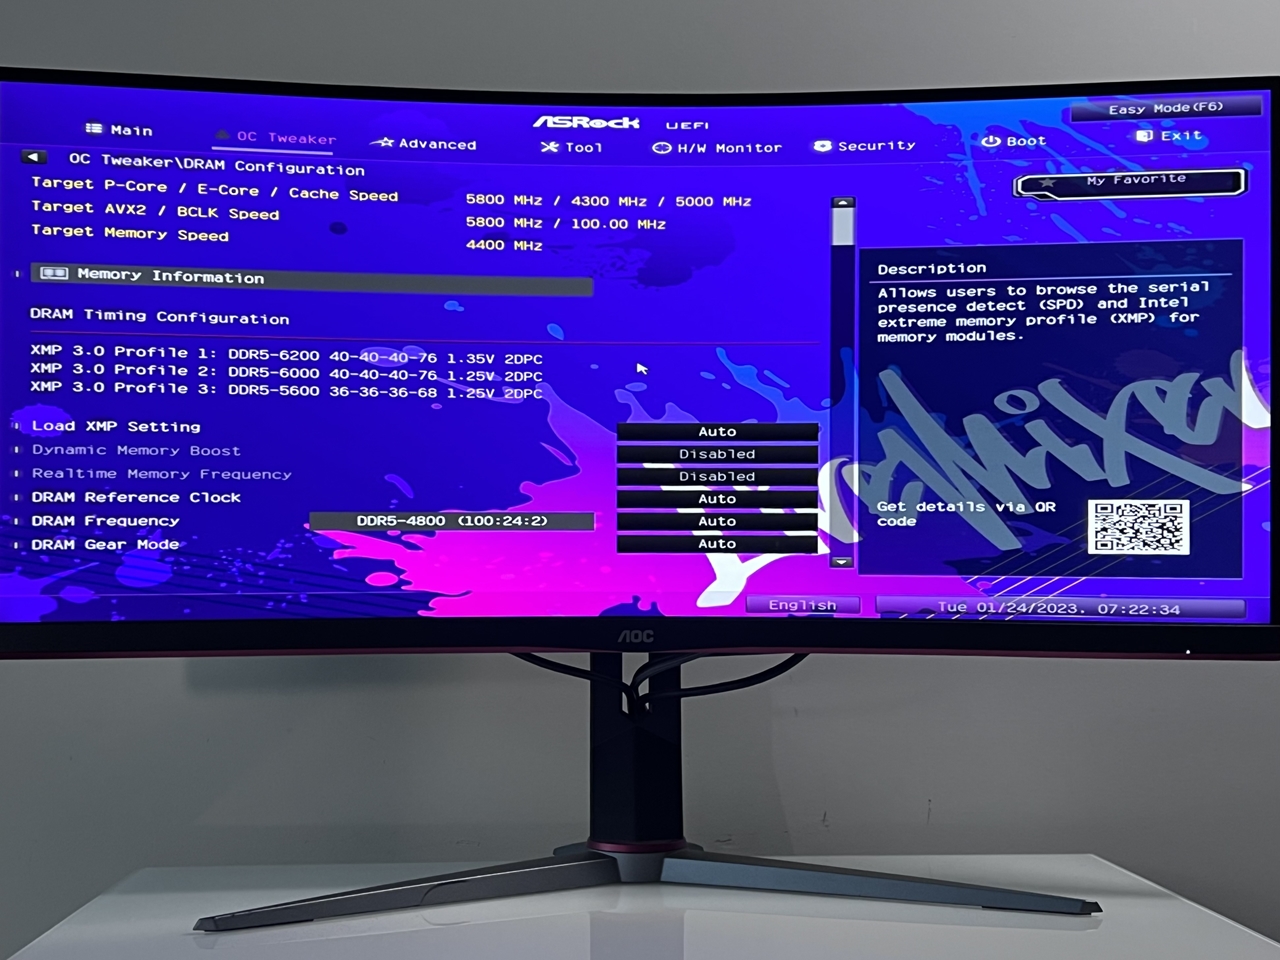
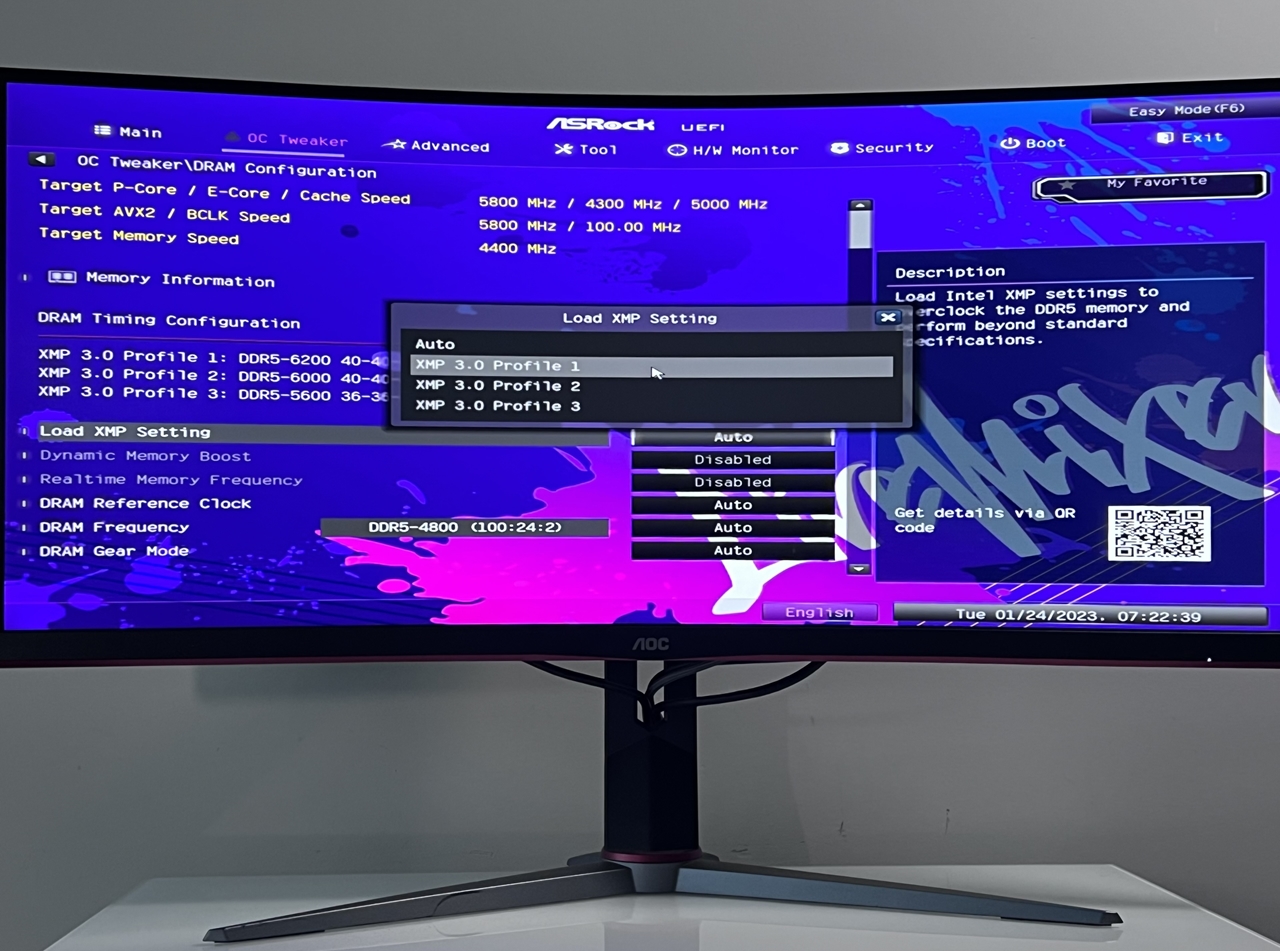
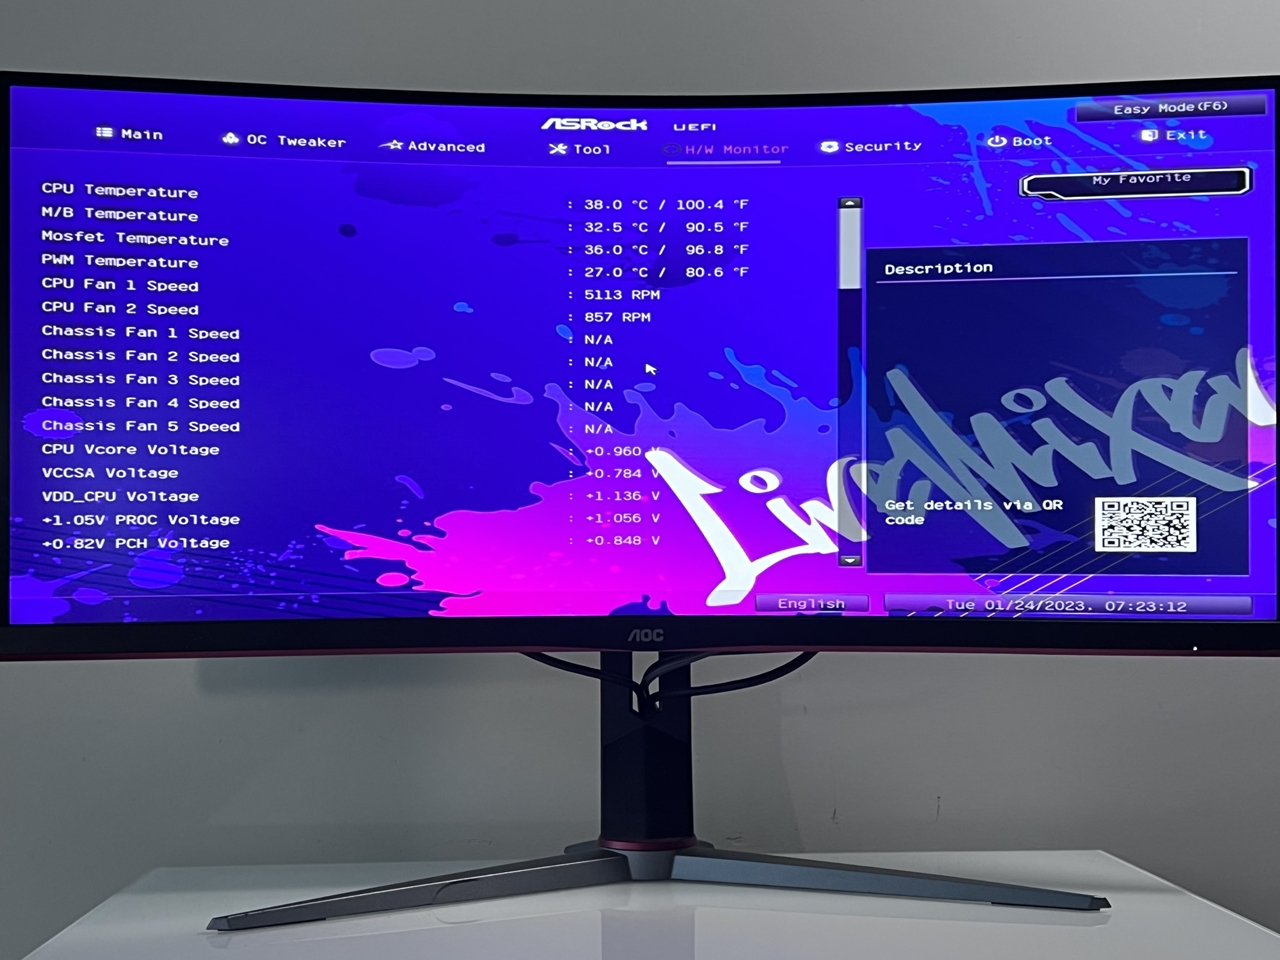
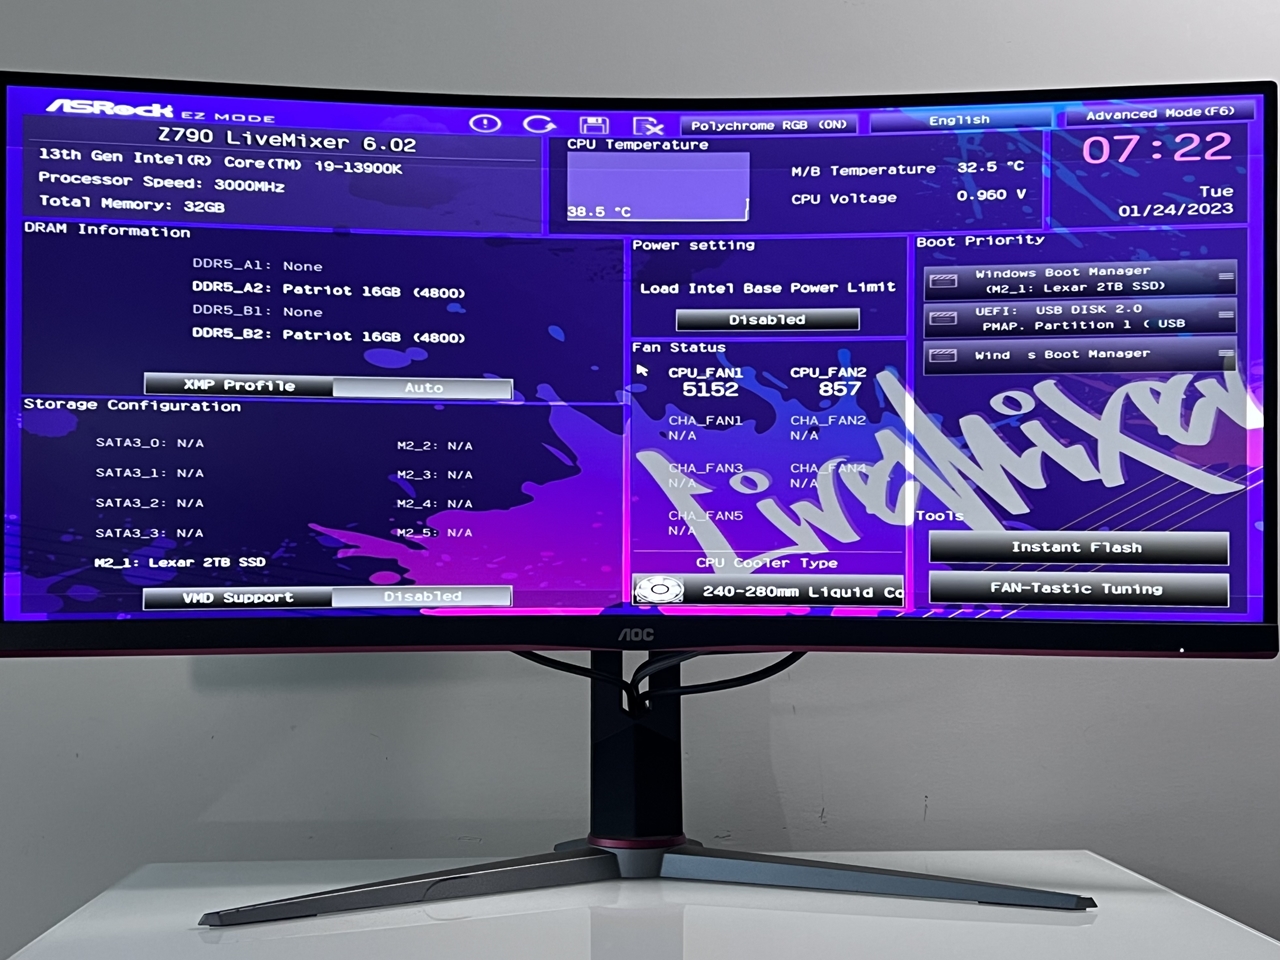
As soon as you enter BIOS, this is the default page you’ll see … “Easy Mode”. Here you can monitor all the system status on this page. Since our DDR5 ram is XMP 3.0 ready, we selected Profile 1 and ran the memory at DDR5-6200 speeds. All other BIOS settings were left on AUTO/Default.

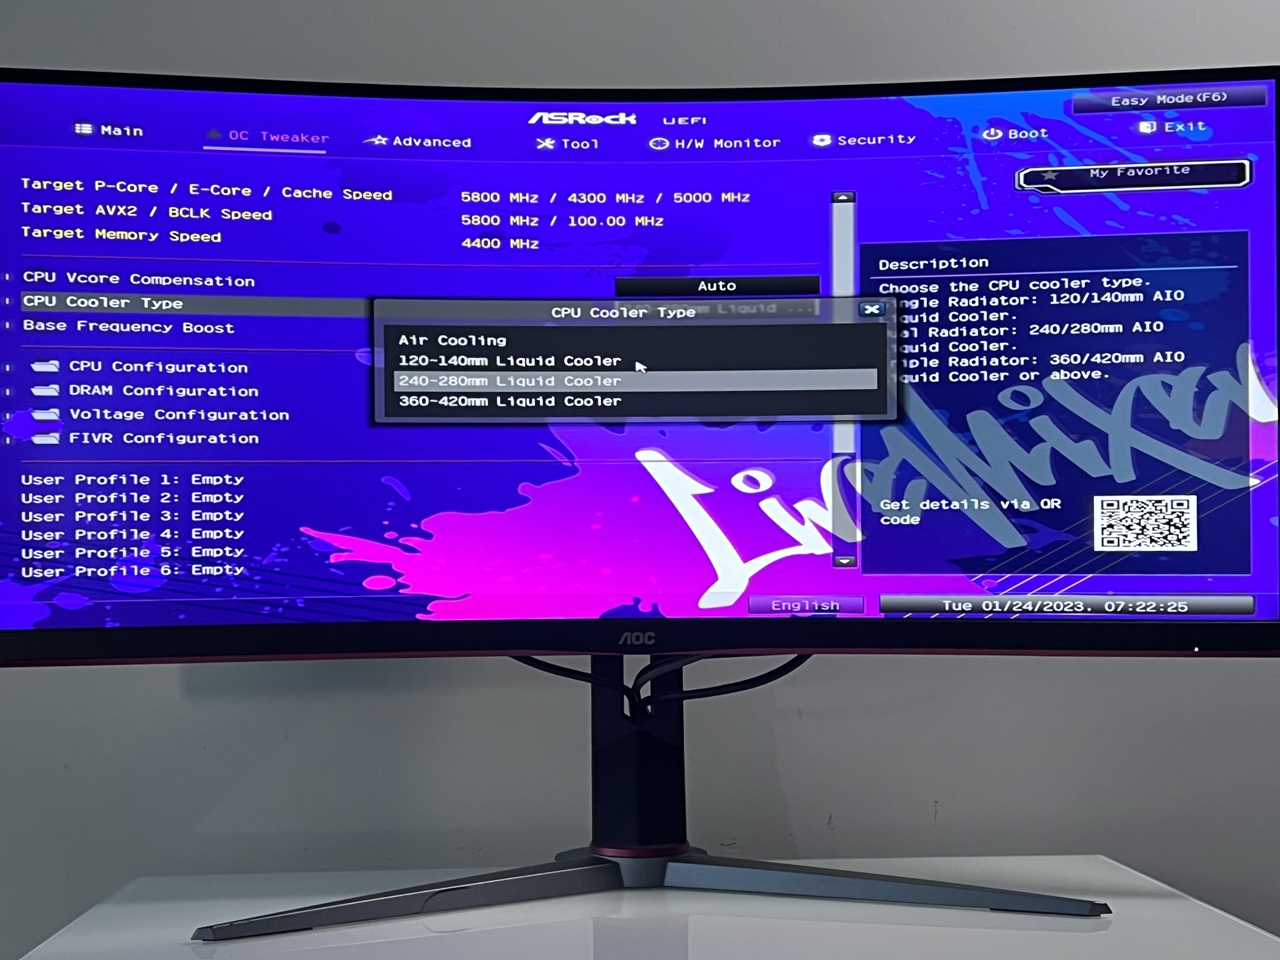
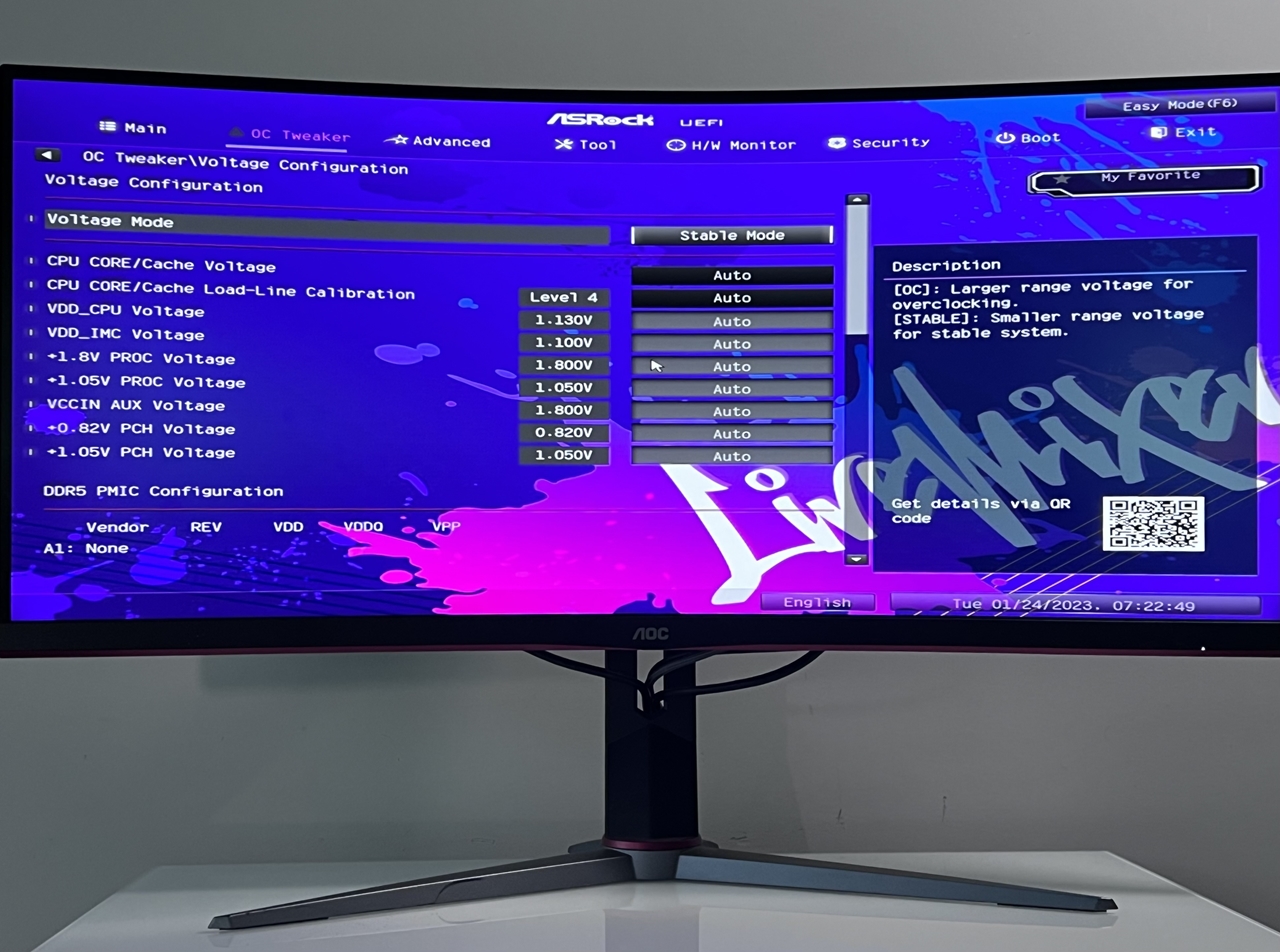
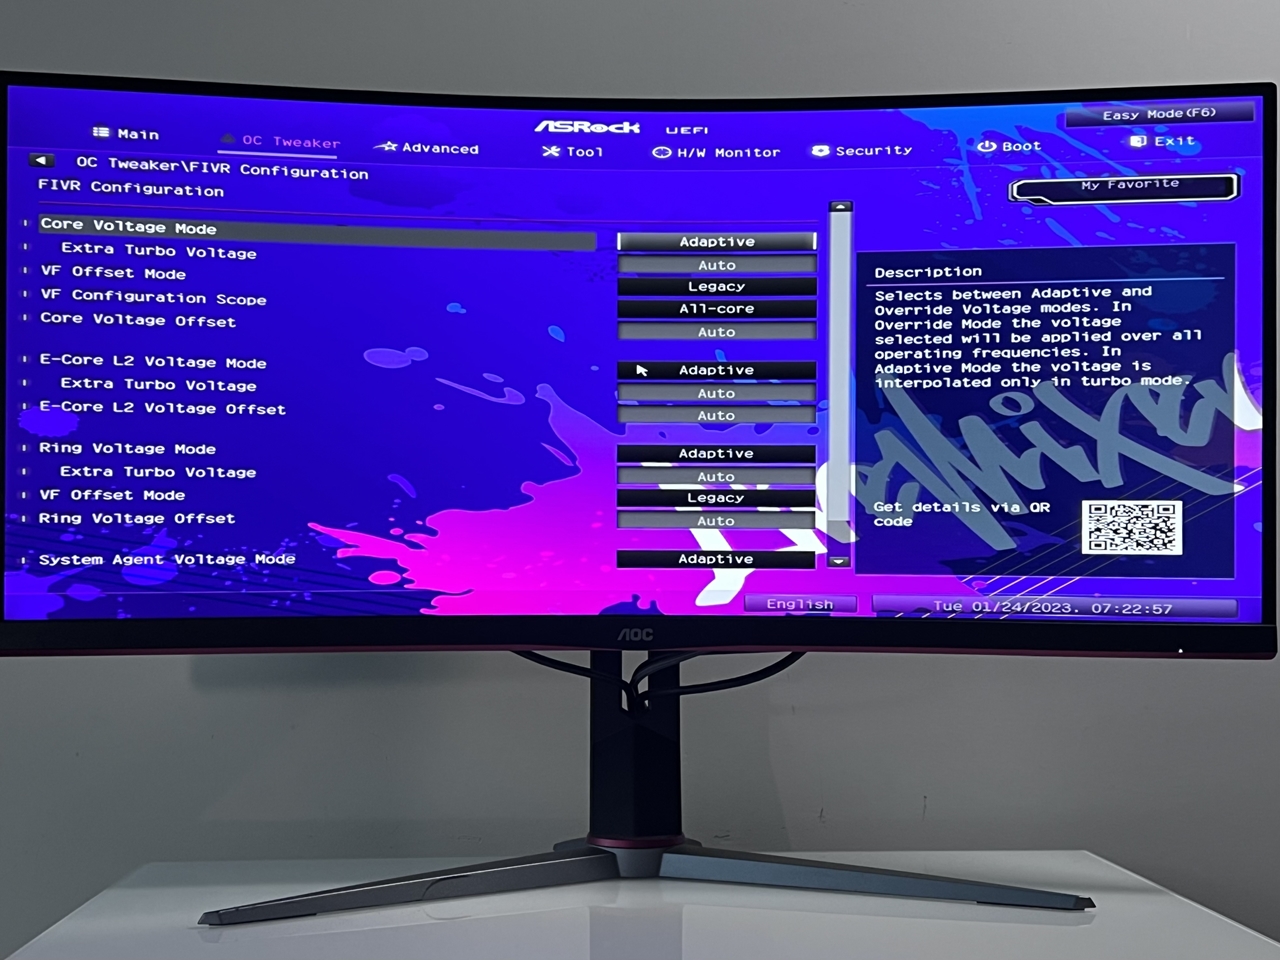
In “Advanced Mode”, you’ll be able to see all the other options available for tweaking your processor, memory and more. Voltages for memory and processor can also be adjusted here.
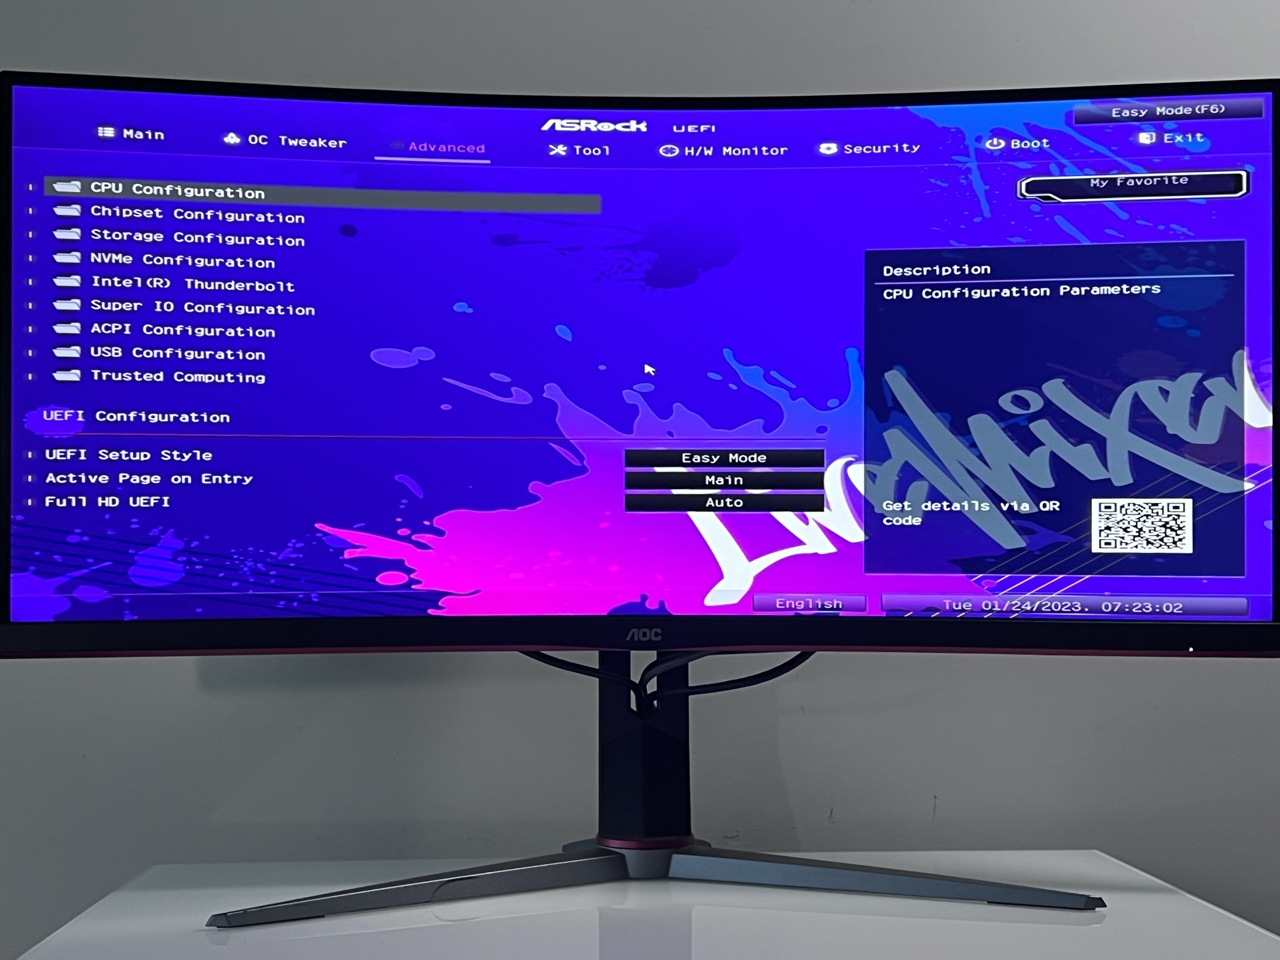
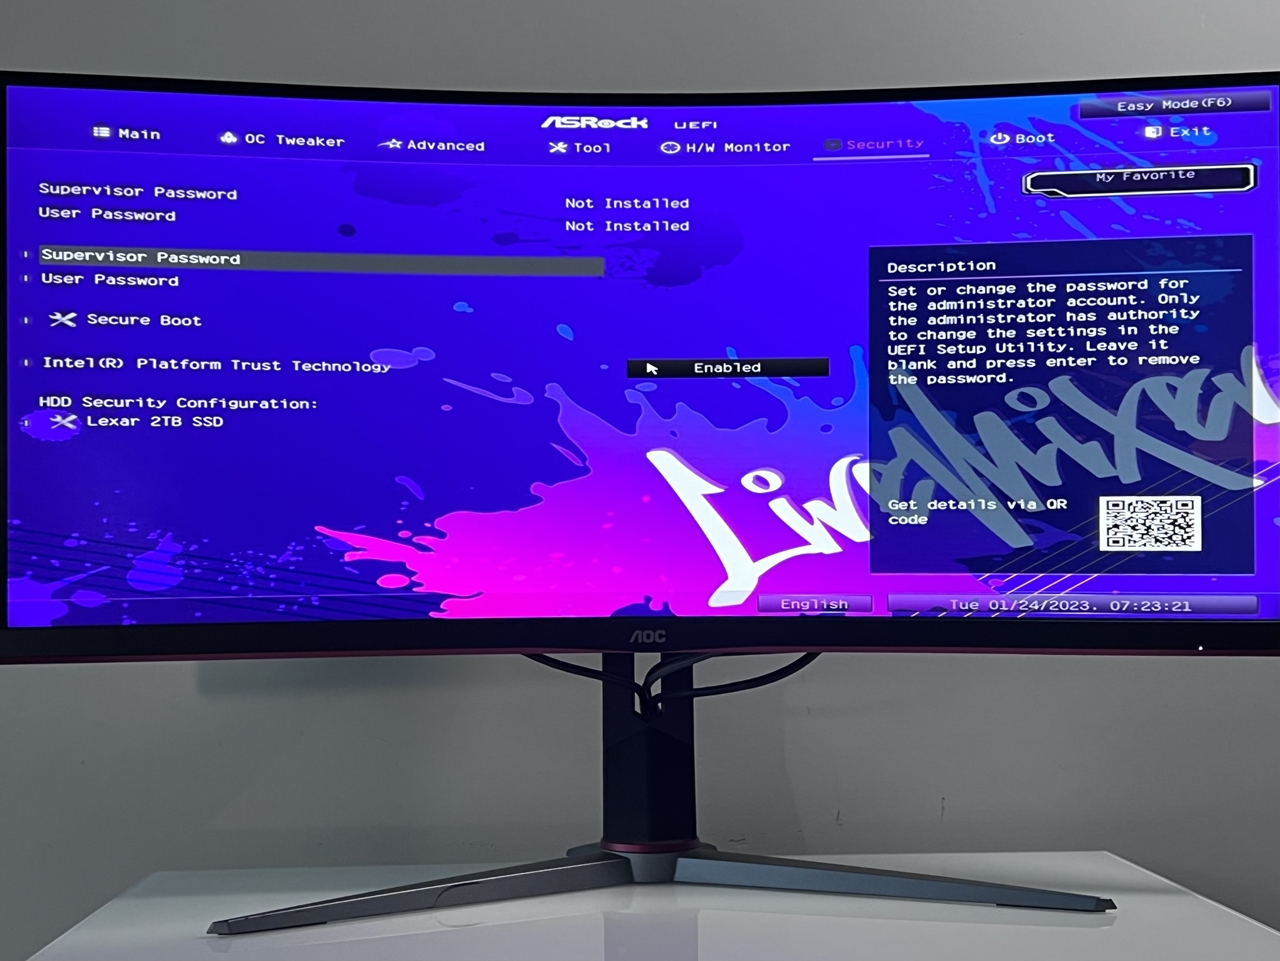
Other options in the advanced tab allows users to configure settings for the chipset, storage and NVMe, LEDs, as well as onboard devices such as LAN, audio, and Bluetooth.
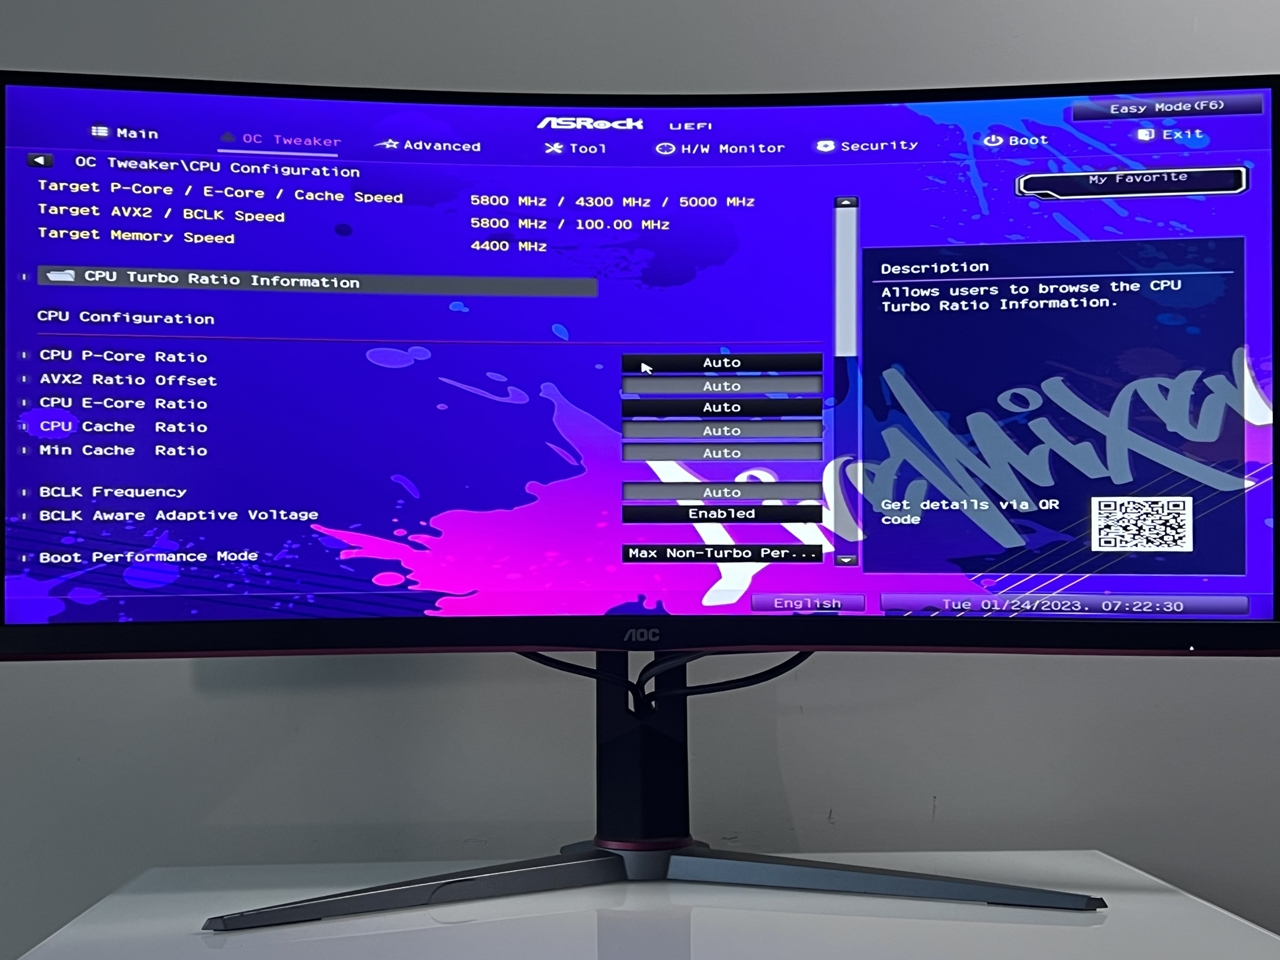
For overclockers, the BIOS allows CPU and memory overclocking, and you can also set the CPU frequency and voltages too.

For memory compatibility and QVL (qualified vendors list), I recommend you check ASRock’s QVL page here.

