


Installation
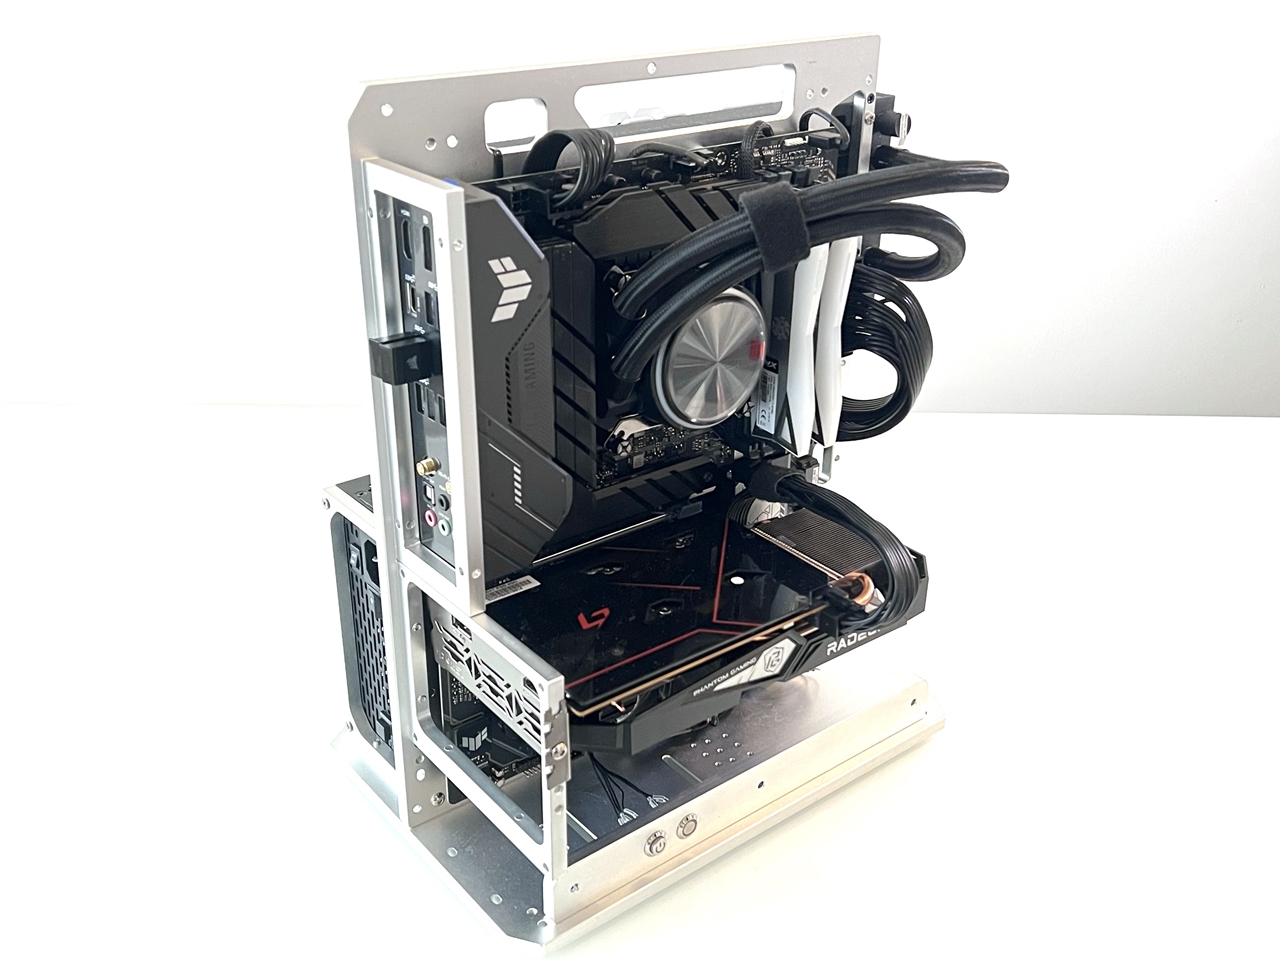
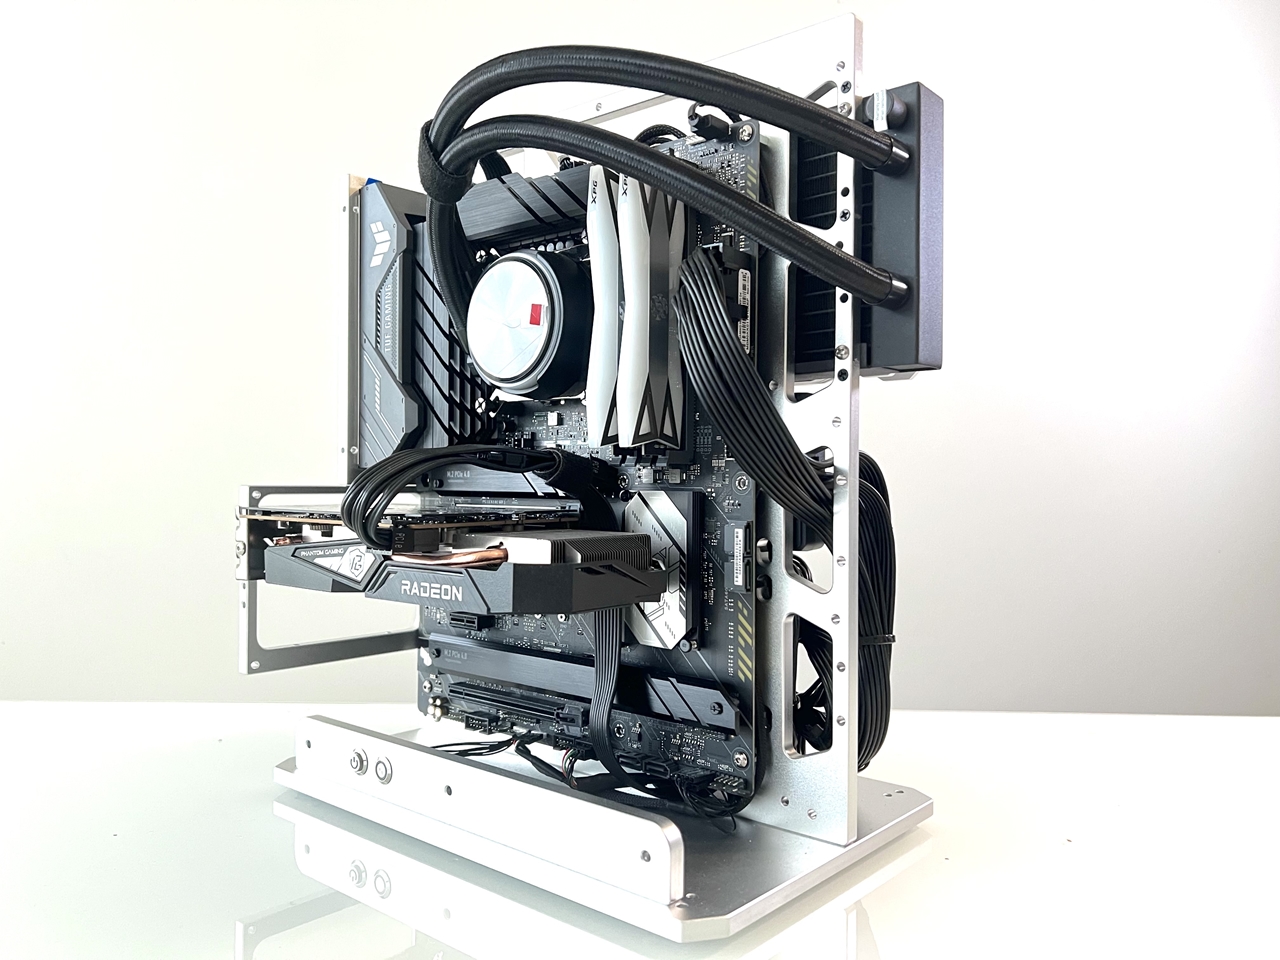
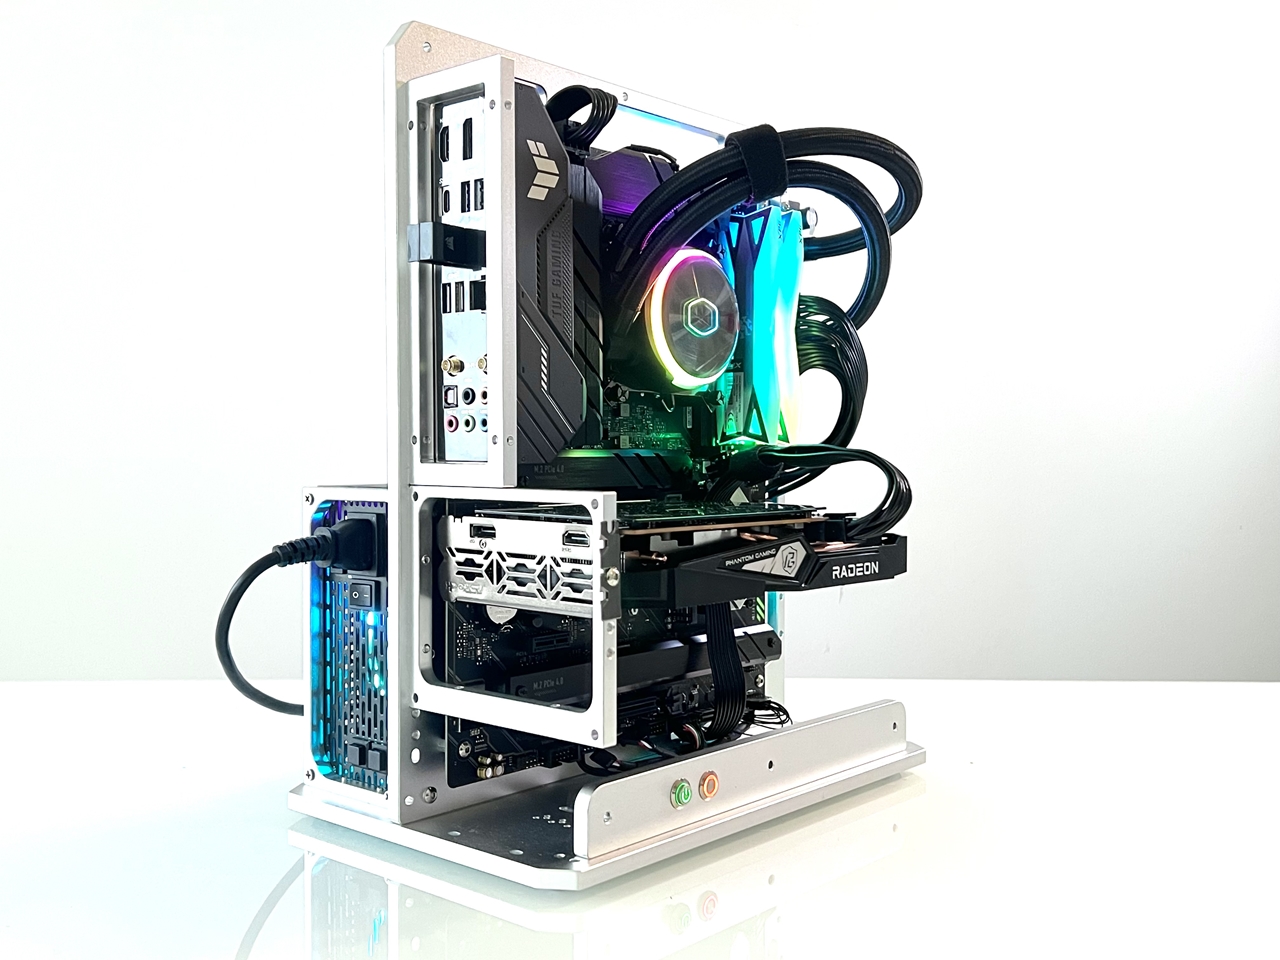
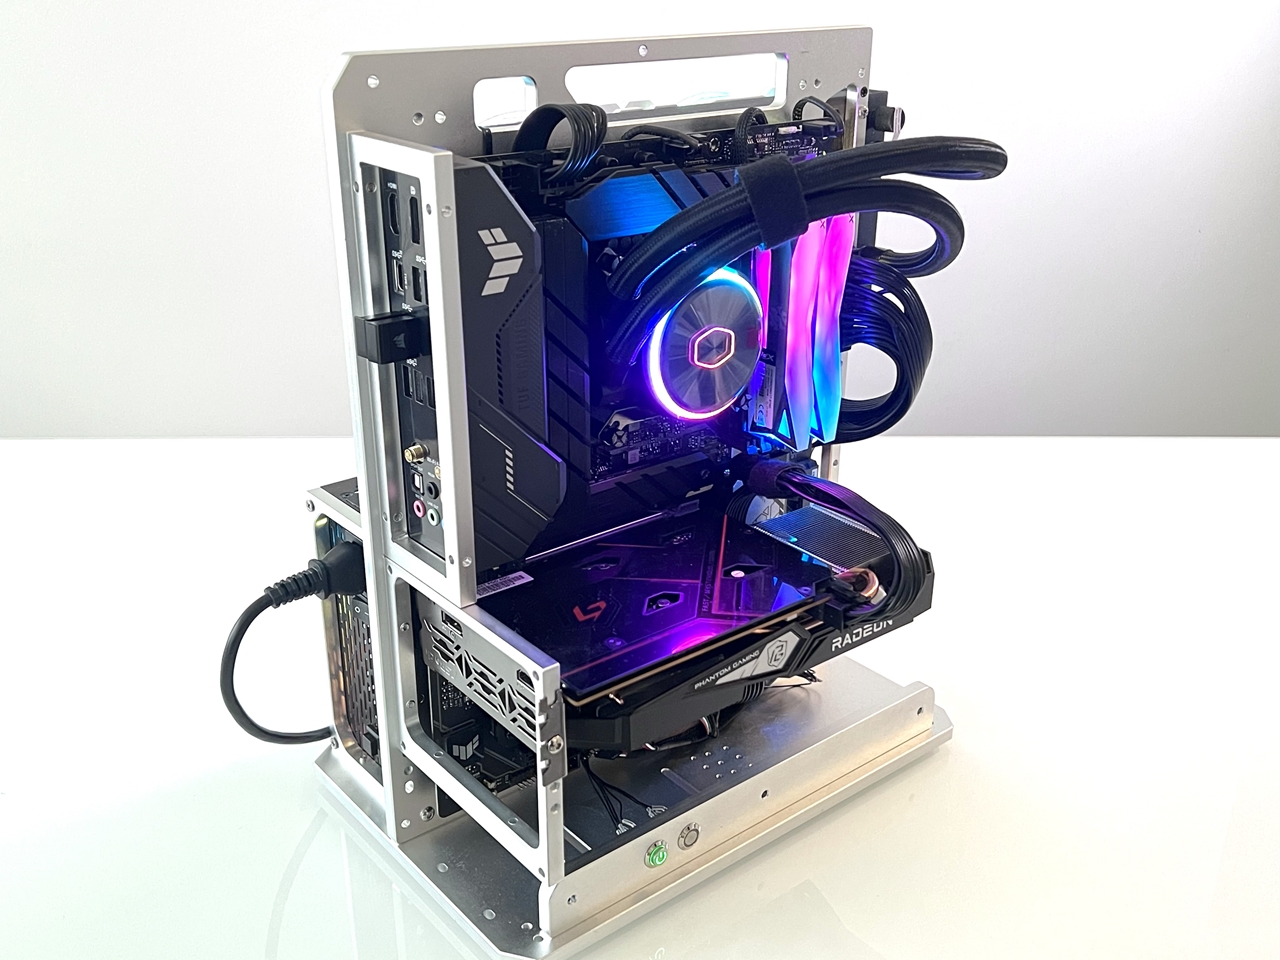
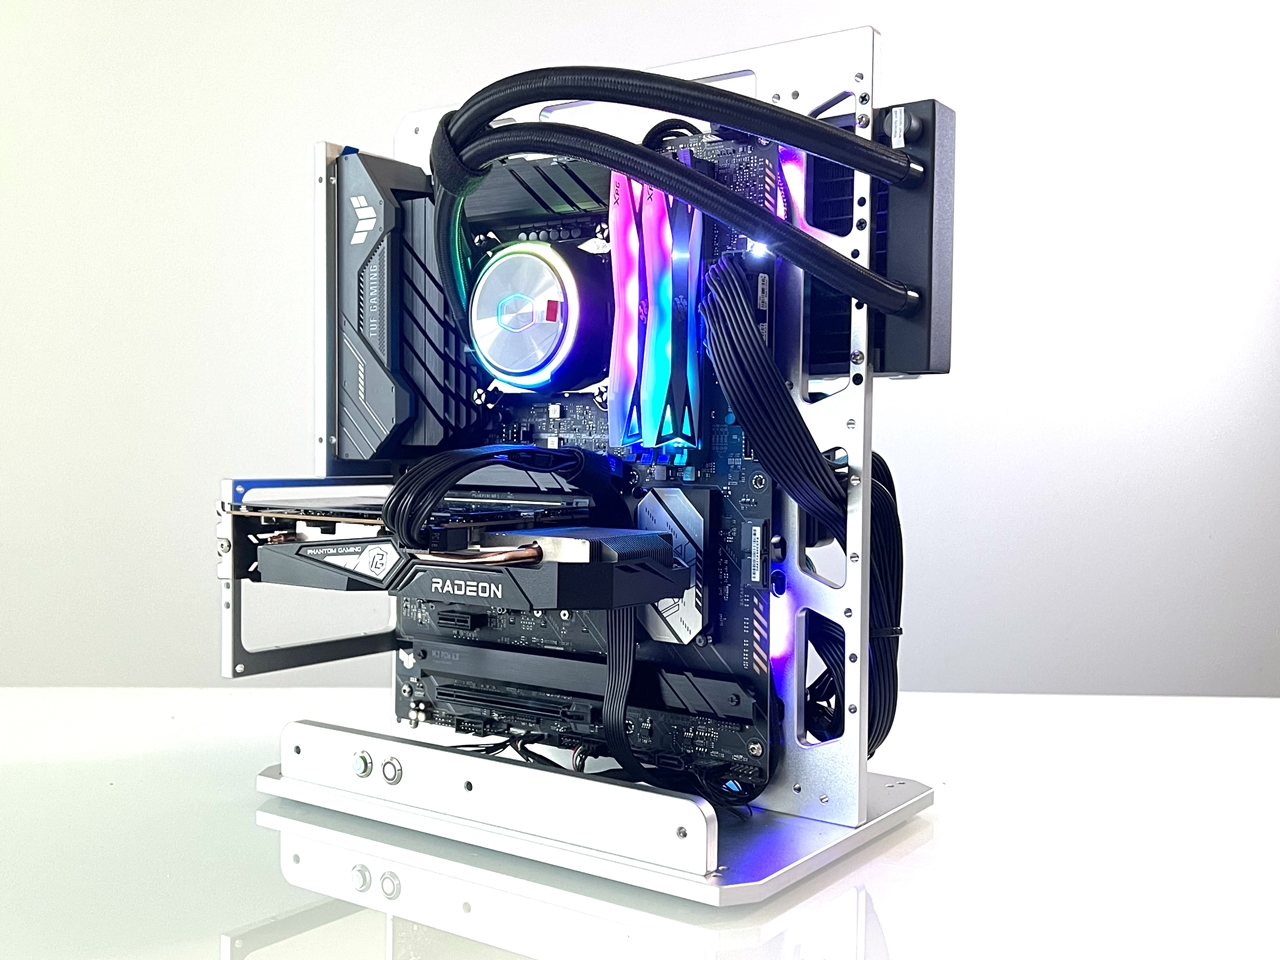
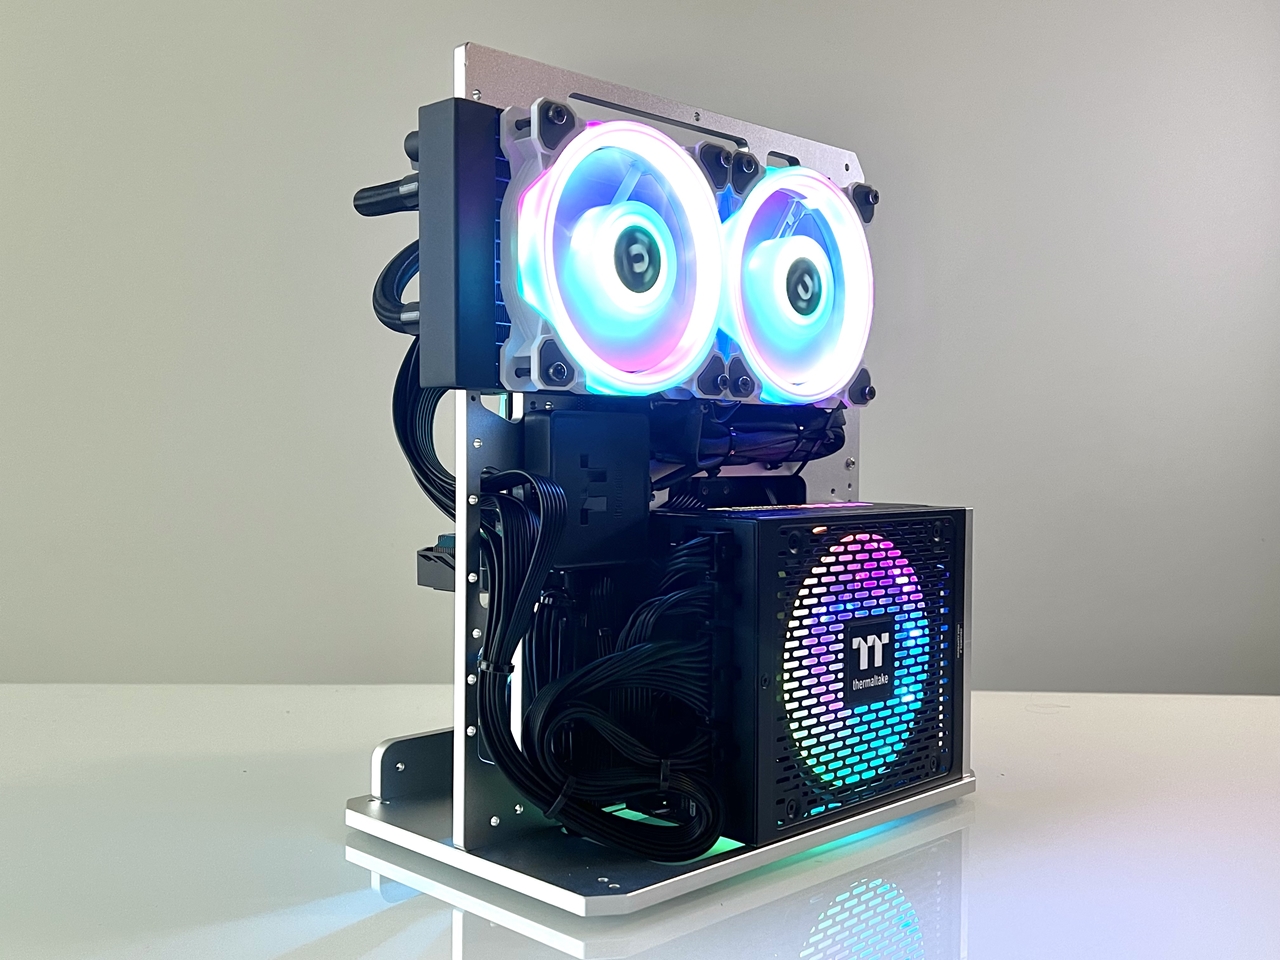
We installed the motherboard on to our new test bench open chassis, along with a Cooler Master MasterLiquid PL240 Flux AIO cooler mounted with Thermaltake Riing Quad 12 fans. So no problems here whatsoever. I love open chassis … it’s so much easier to mount and install various components without any restrictions.

BIOS
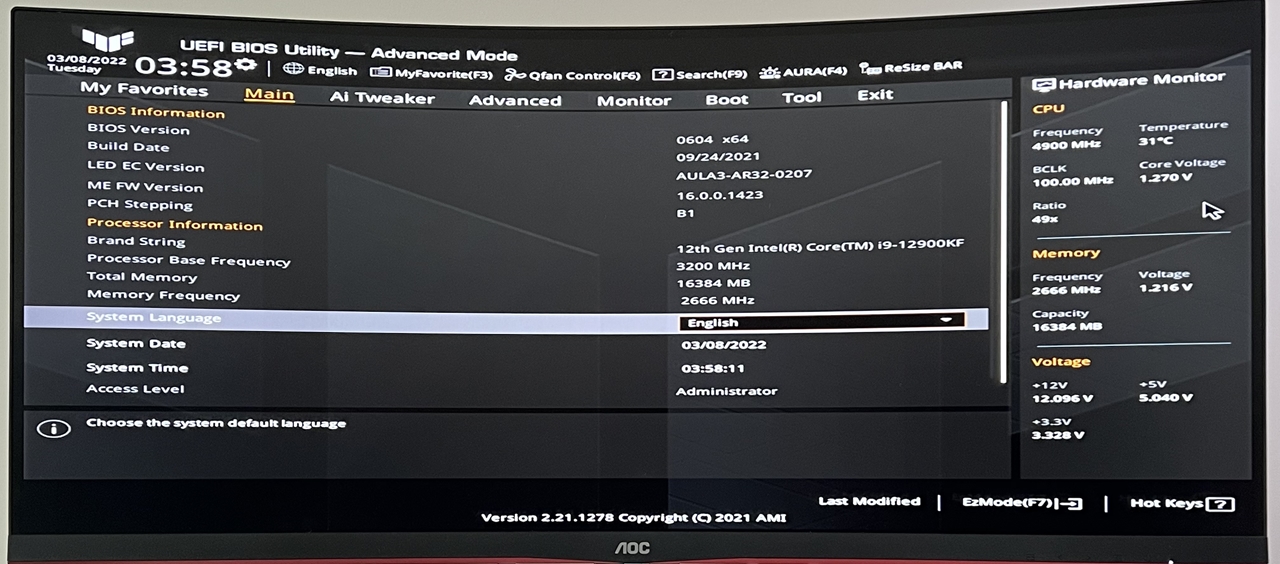
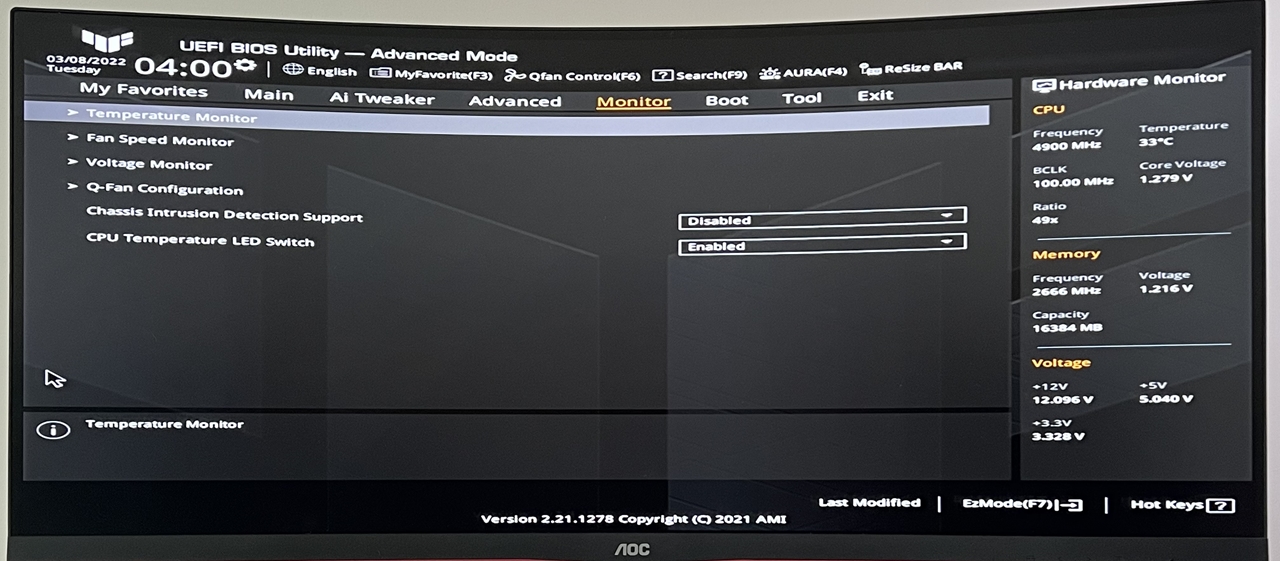
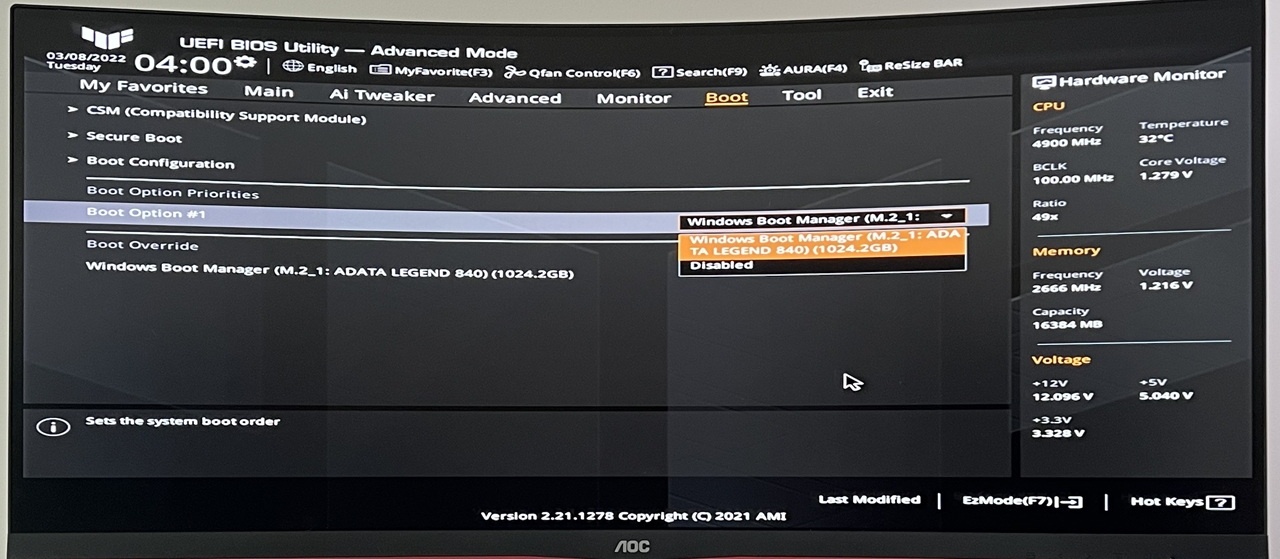
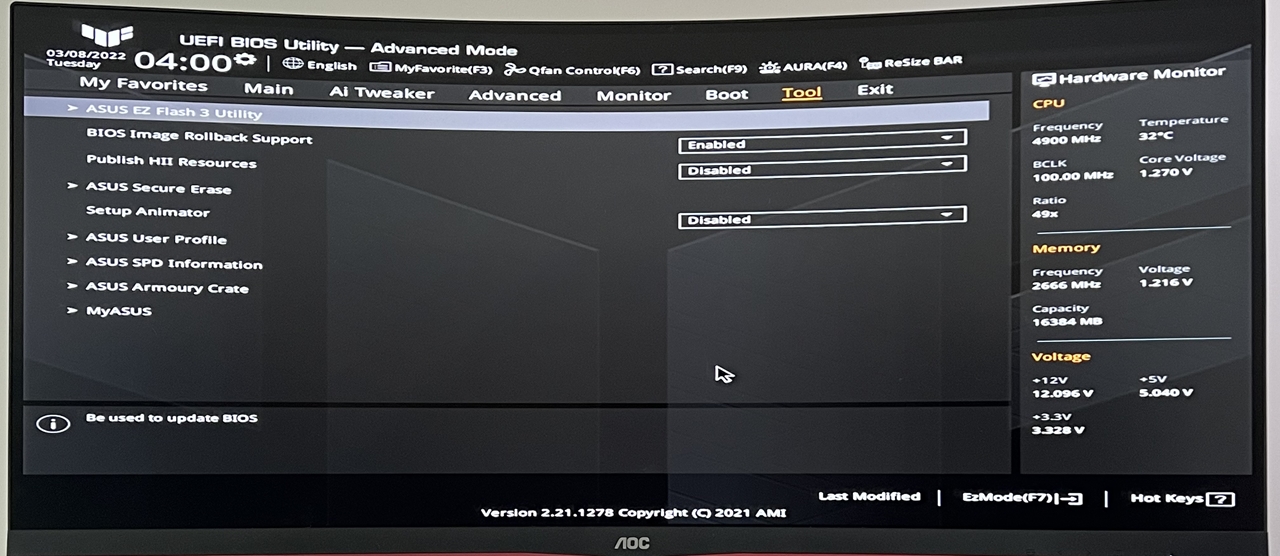
The UEFI BIOS on the Asus TUF Gaming H670 is super easy to use, especially the EZ mode, which shows the current status of the system including voltages, temperatures, memory speed, storage info and fan speeds. There’s also the one-click AI overclocking option, which is reserved for unlocked CPUs.

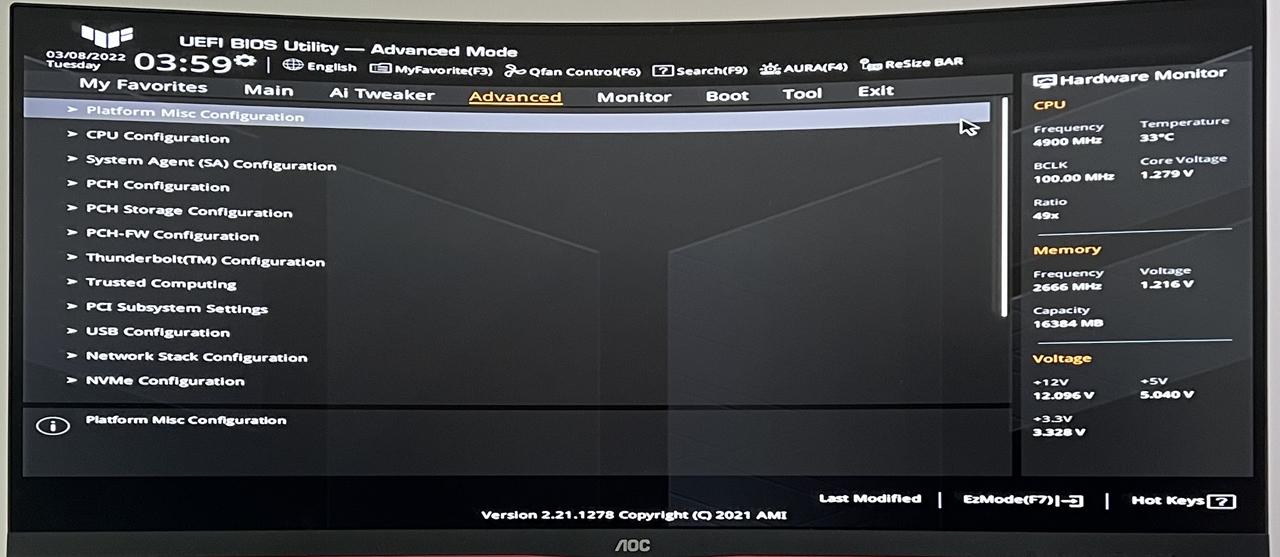
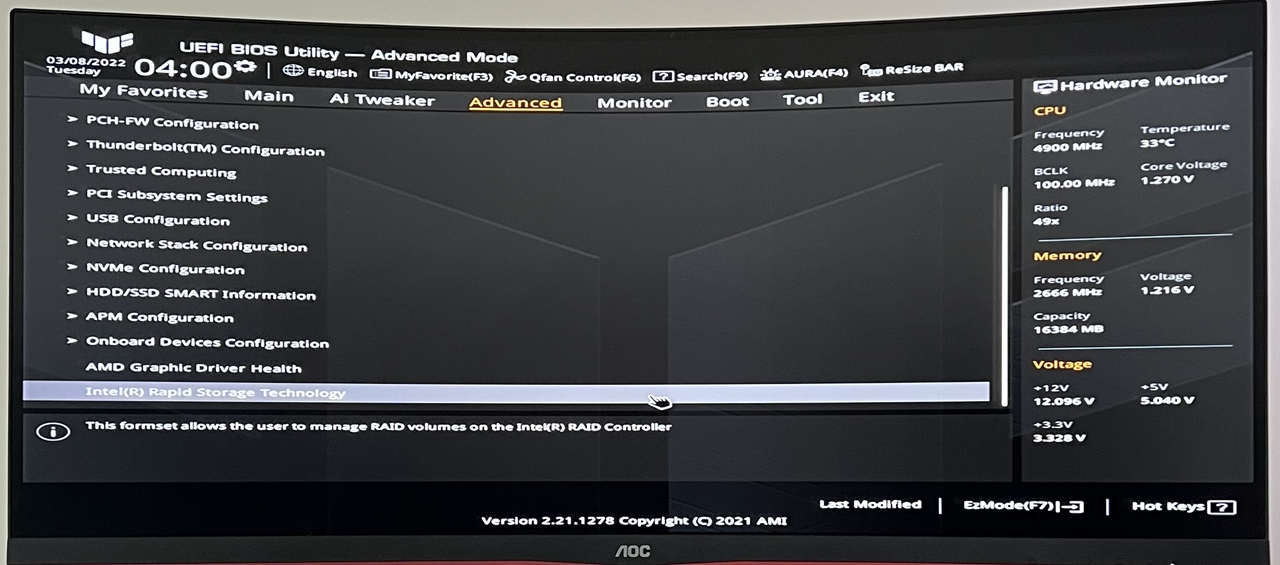
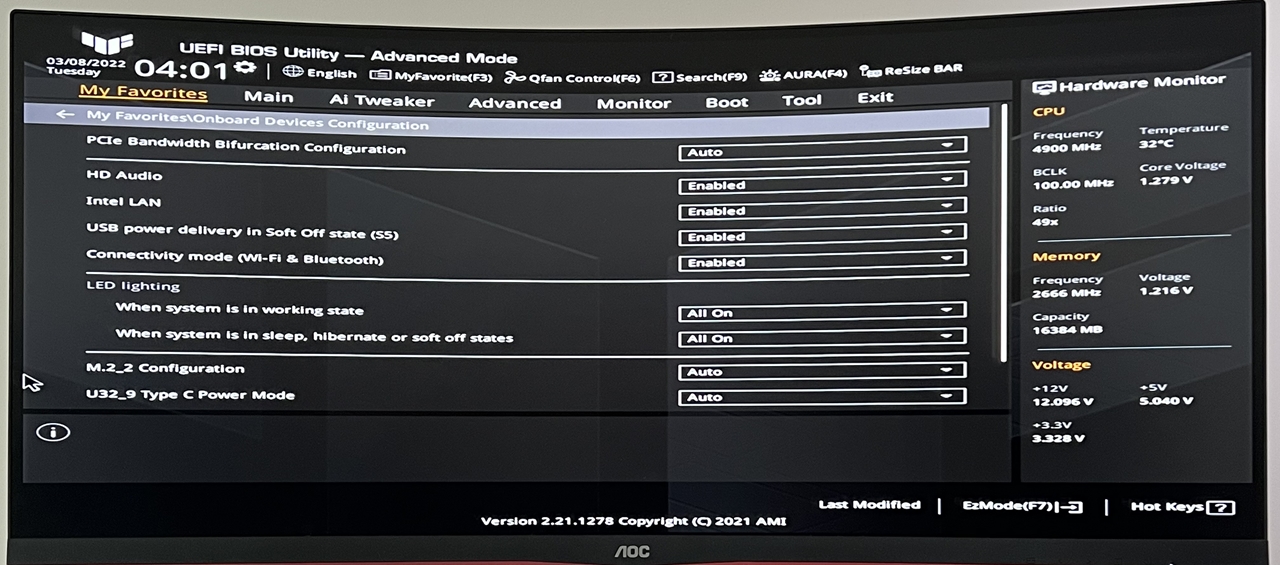
The advanced tab allows users to configure settings for CPU, chipset, storage and NVMe, as well as onboard devices such as Thunderbolt, USB, TPM and more.
The H670 chipset does not offer CPU overclocking. However, memory overclocking can be achieved. You can manually select the DDR4 ram speed or just select XMP 2.0 profiles (if your memory is compatible and supports it).
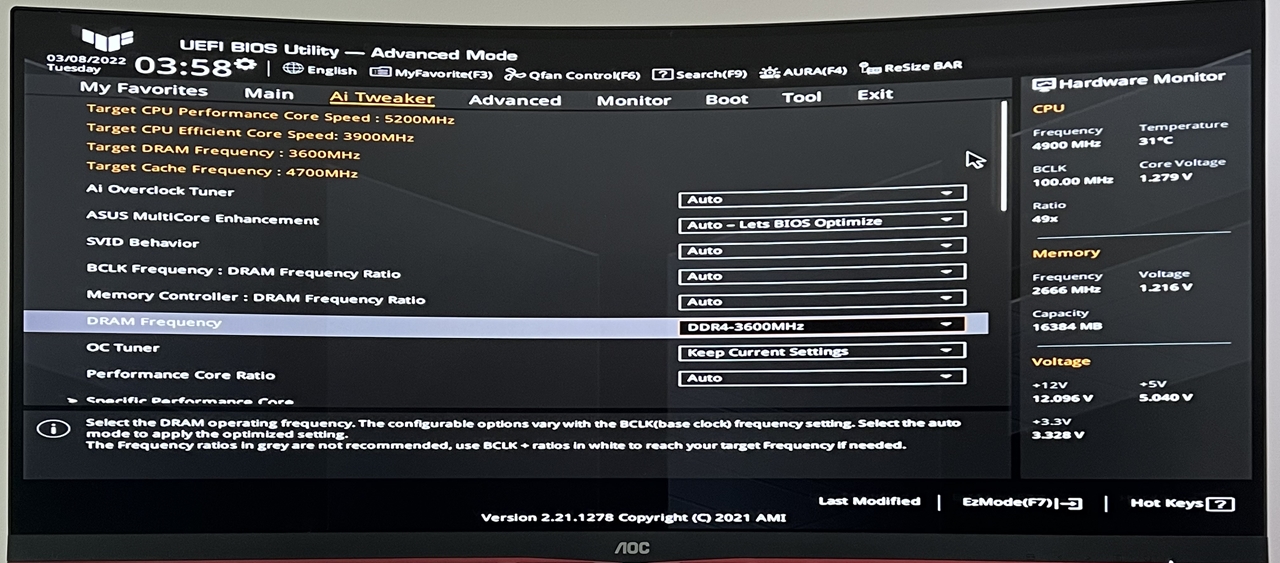
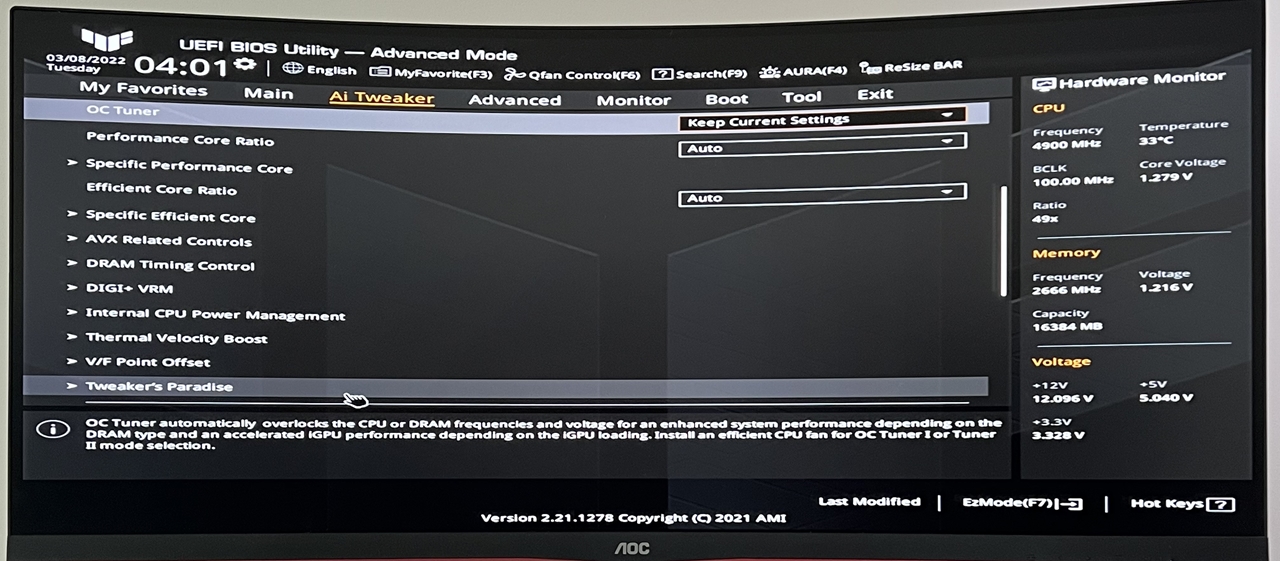
Also in the “Advanced Mode”, you’ll see all the other options available for tweaking your processor, memory and more. Voltages for memory and processor can also be adjusted here … but please be careful not to push it too hard. Higher voltages can damage your hardware.

