Installation
We placed the Core i5-6600K processor on to the motherboard, and then securely mounted the XSPC Raystorm Pro CPU waterblock on top. The whole motherboard was then carefully placed within the ID-Cooling Stream 2 chassis and we finished it off by adding our watercooling loop, which consists of ALL Thermaltake watercooling components.

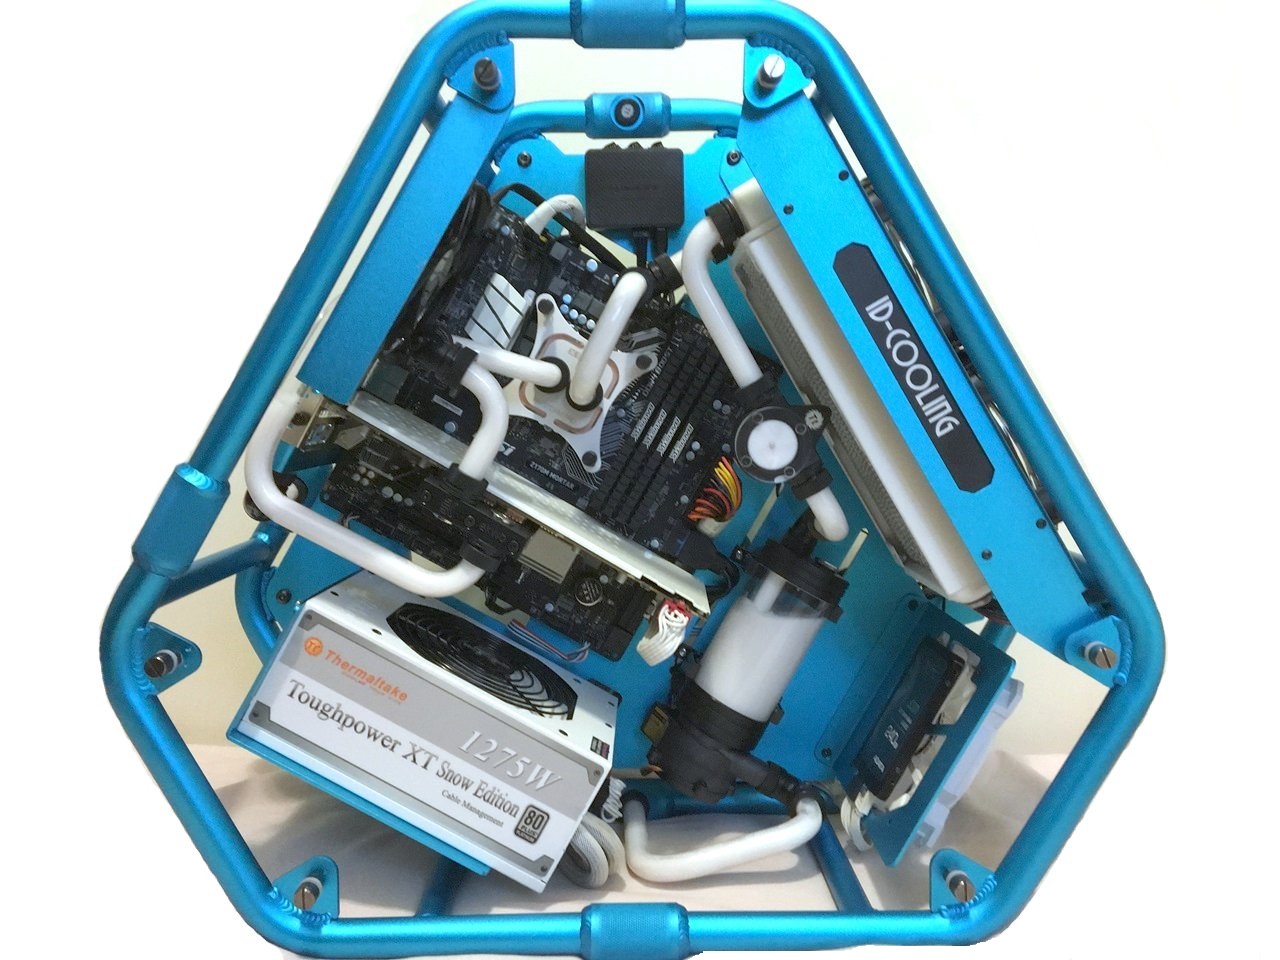
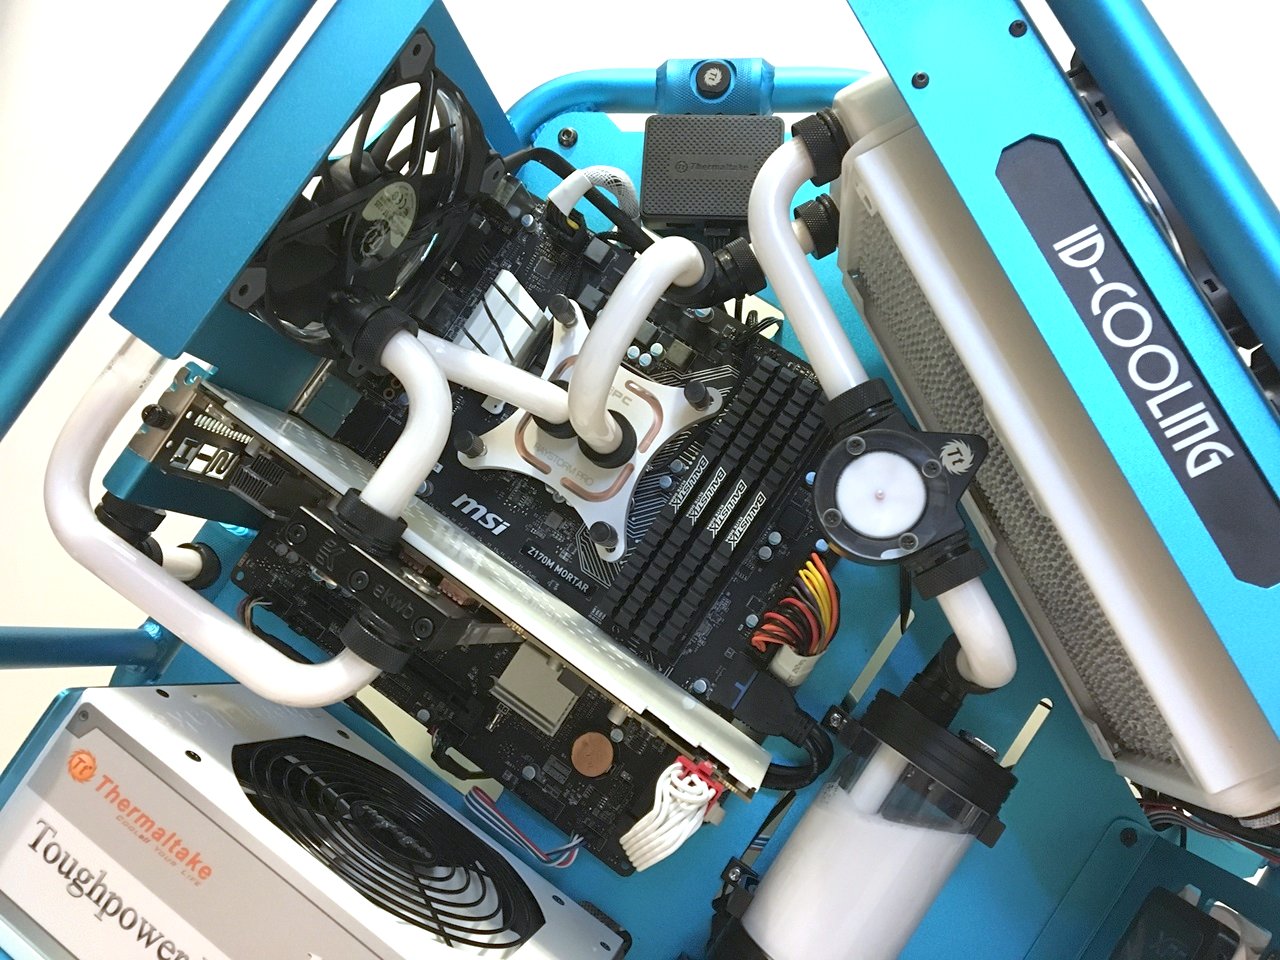
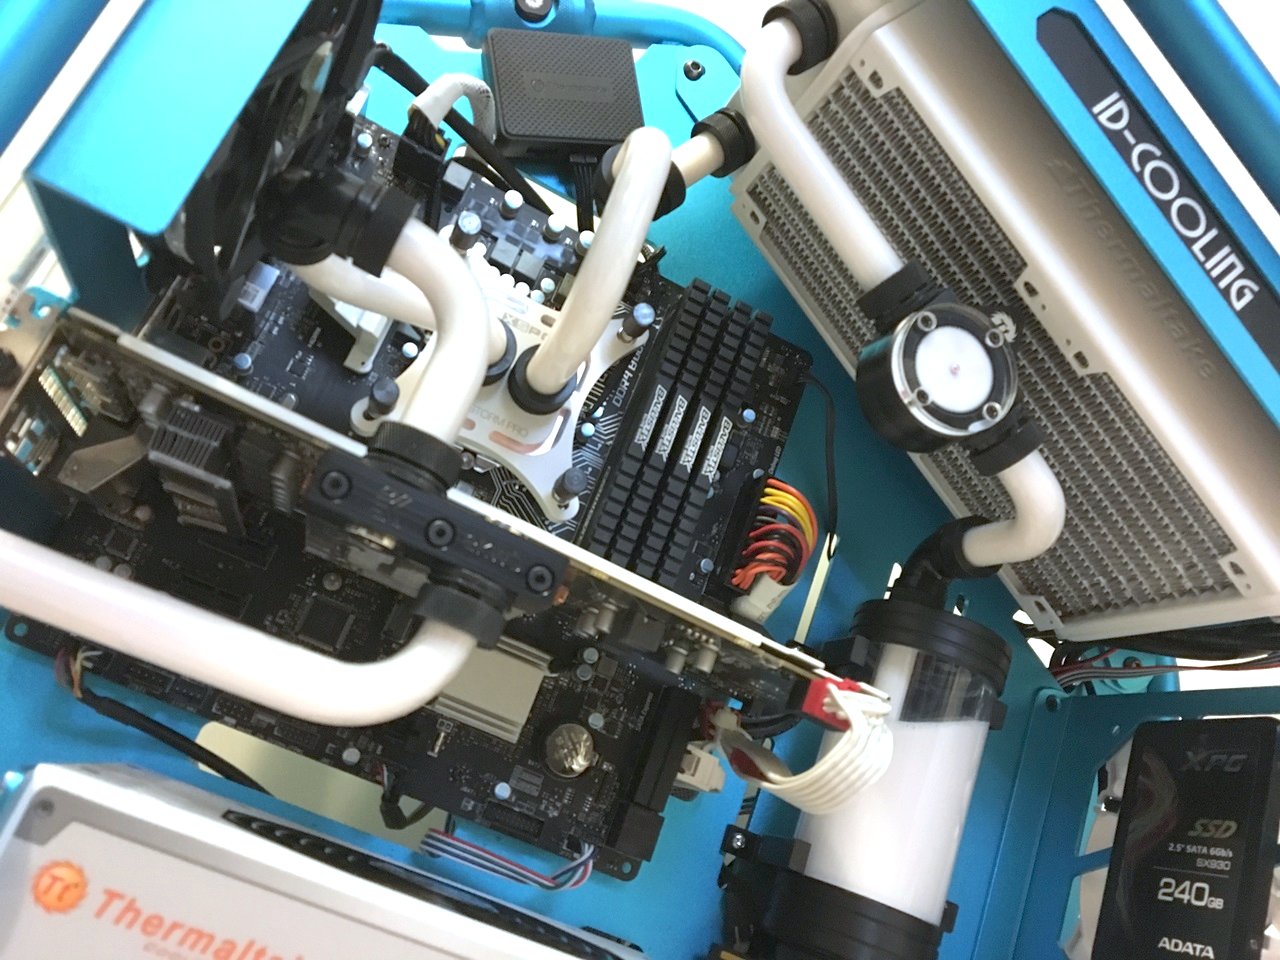
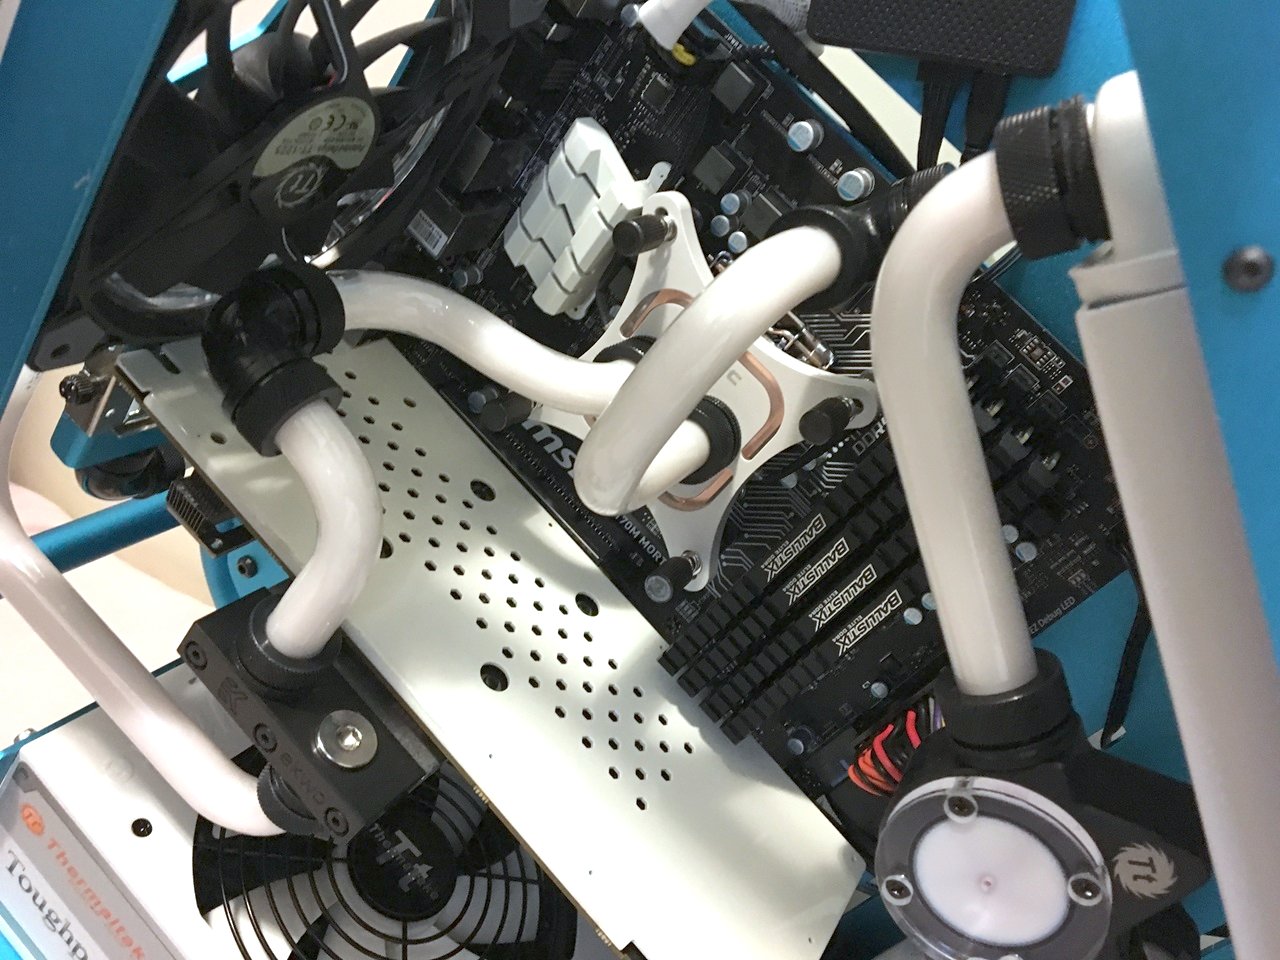
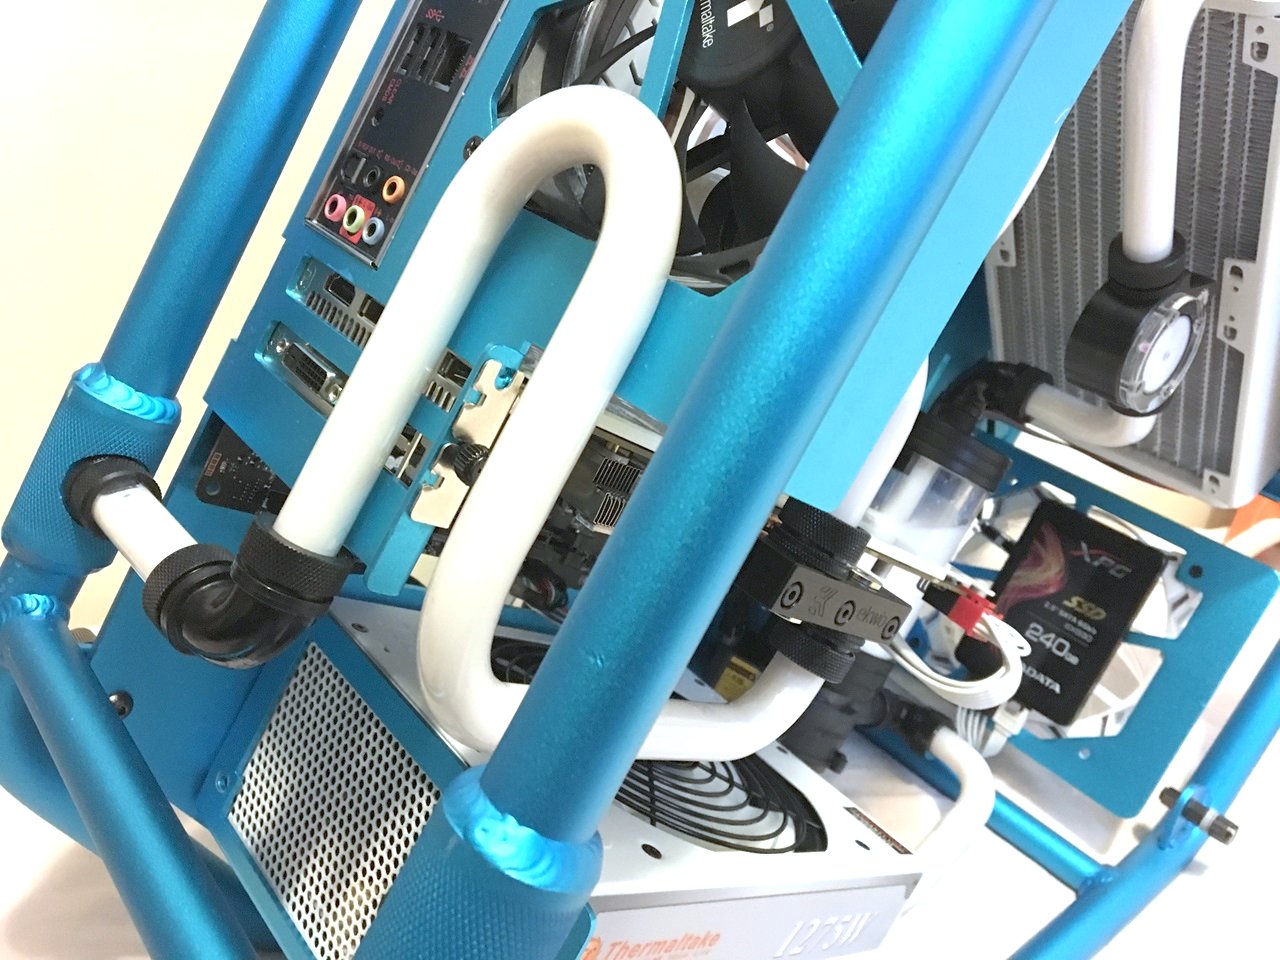
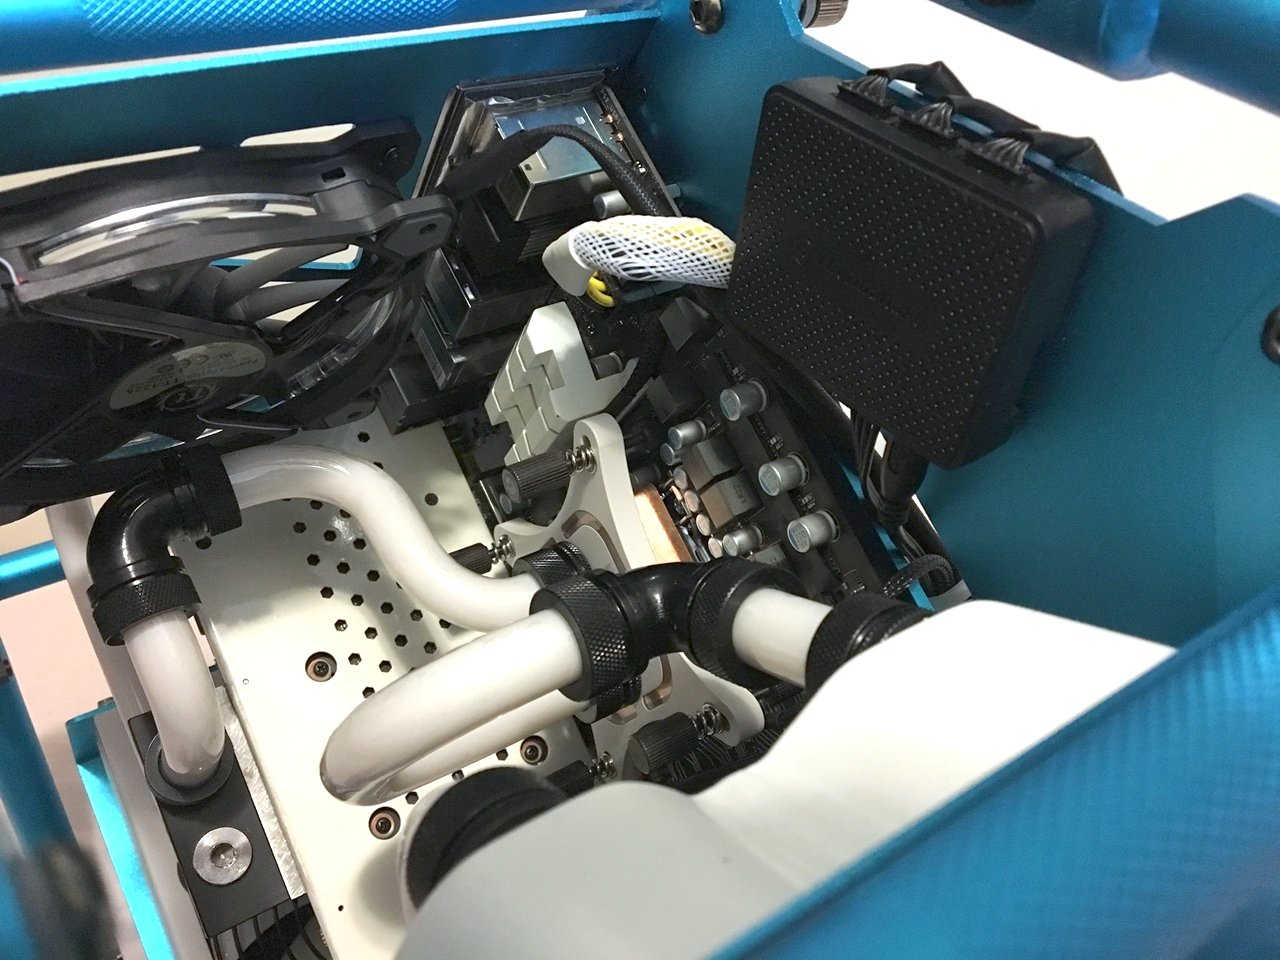

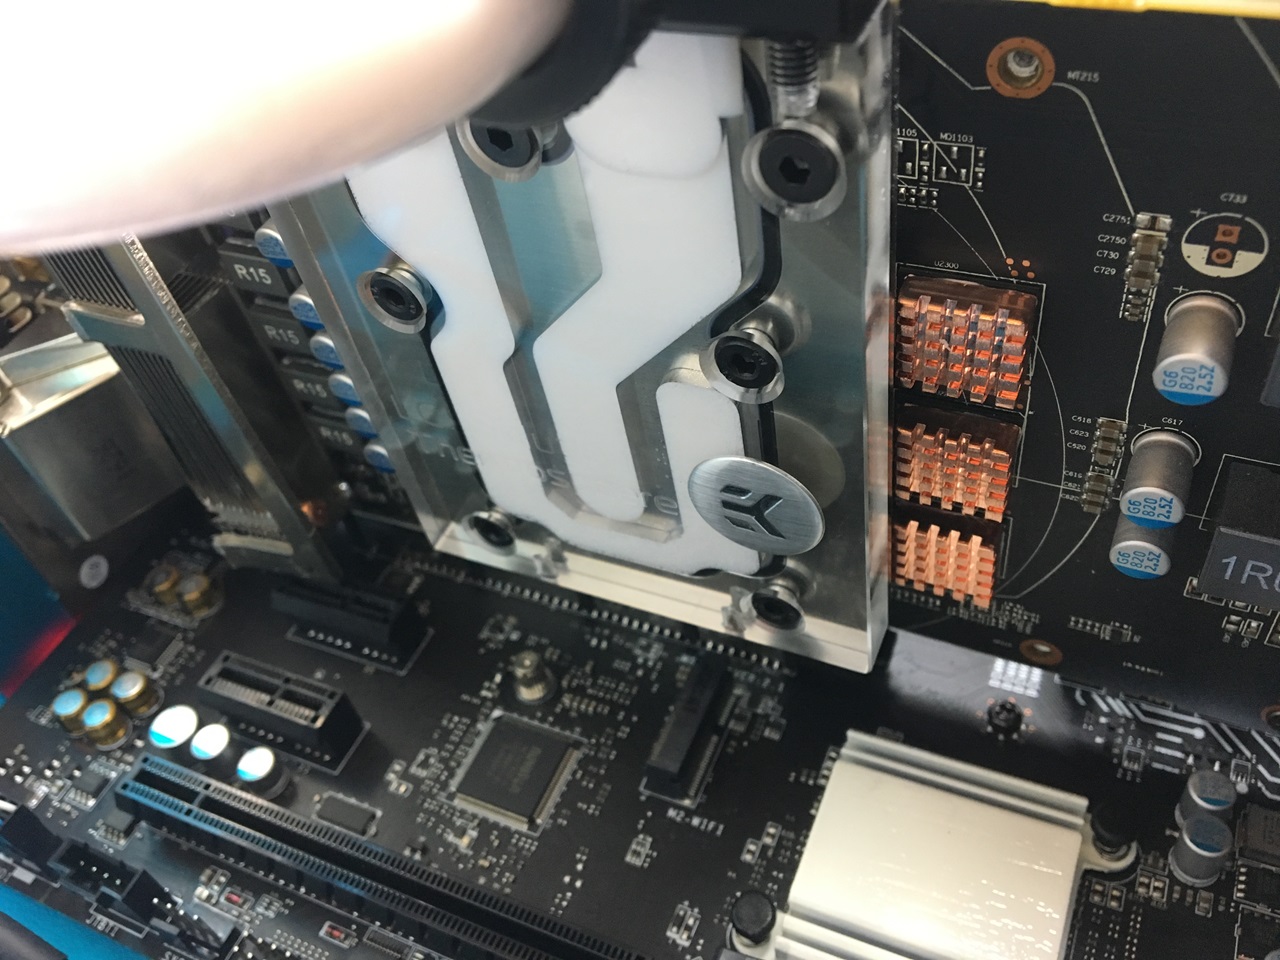
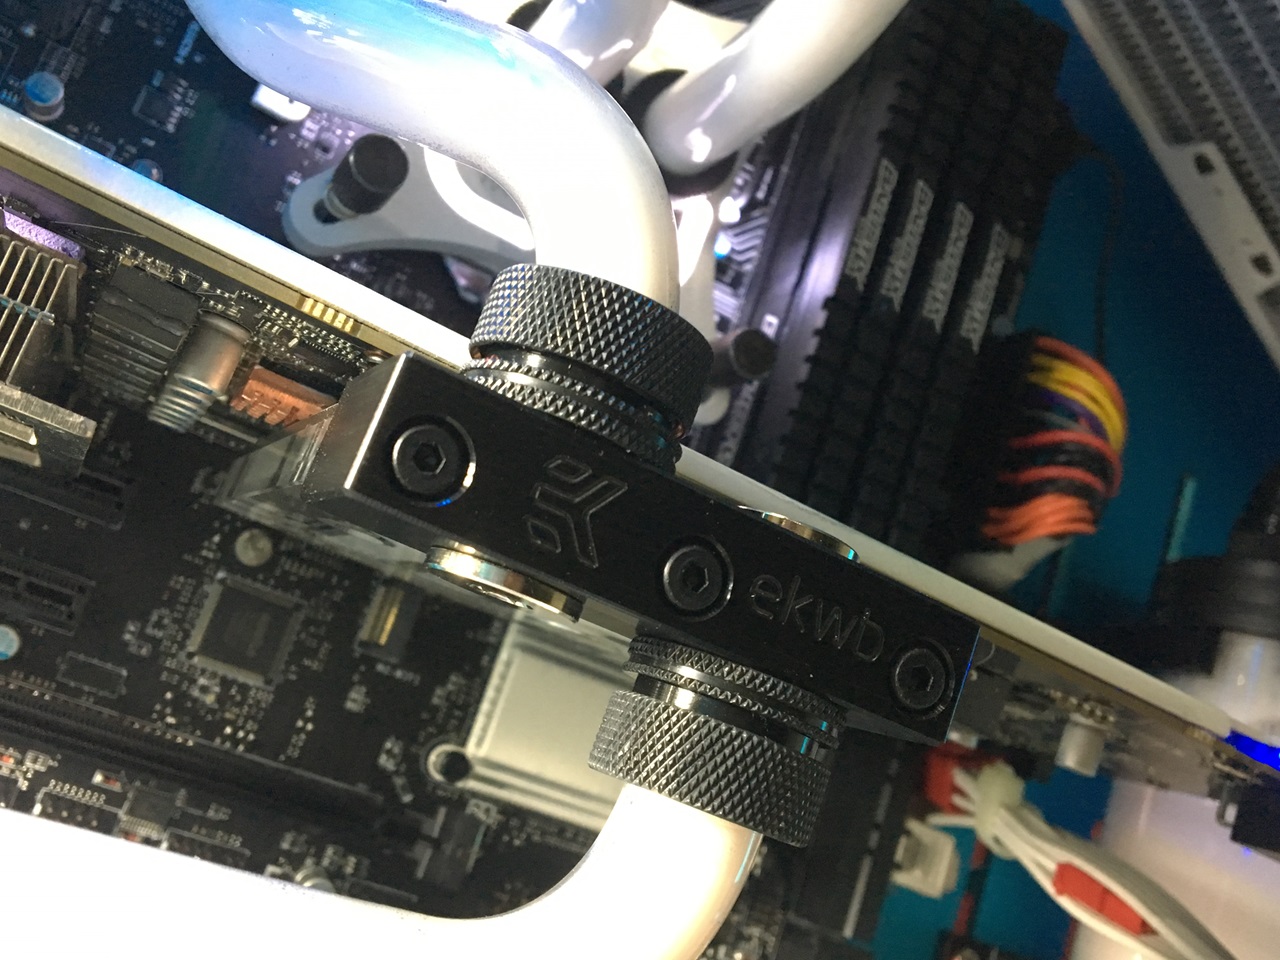
Everything fitted perfectly, albeit a little tight. I had enough room to add another Radeon graphics card if I wanted to, plus I have no issues with cabling … all is good.
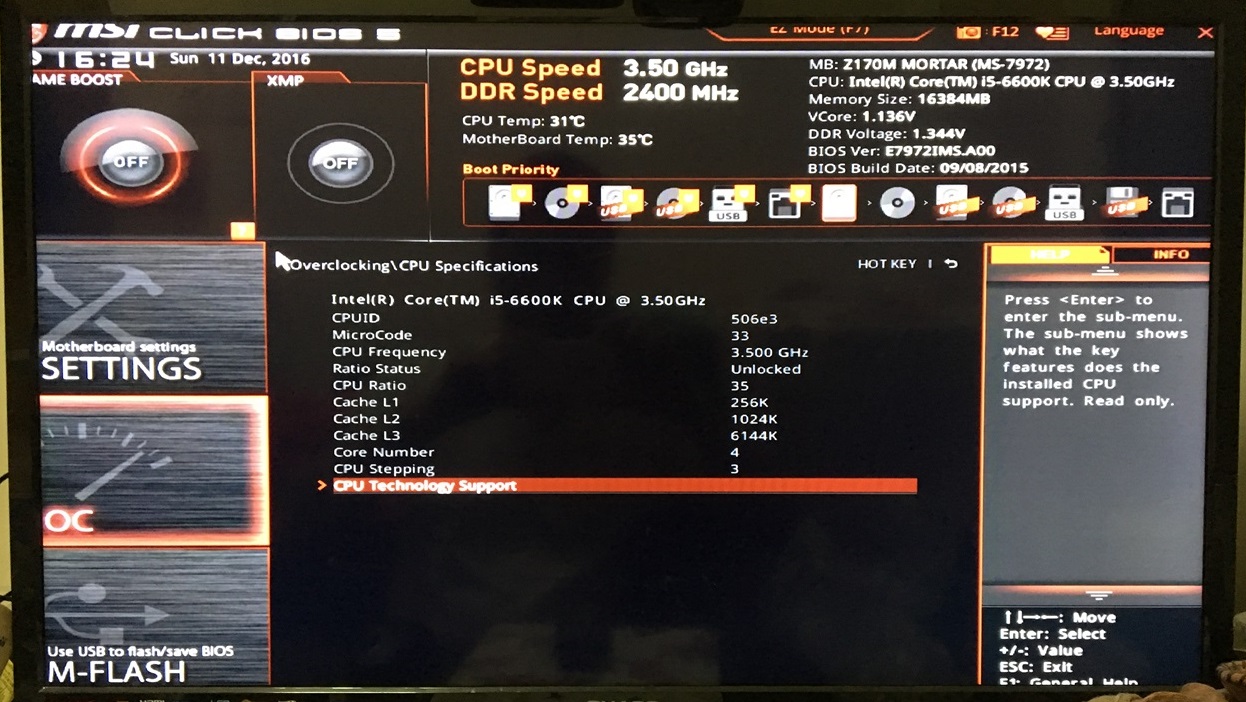
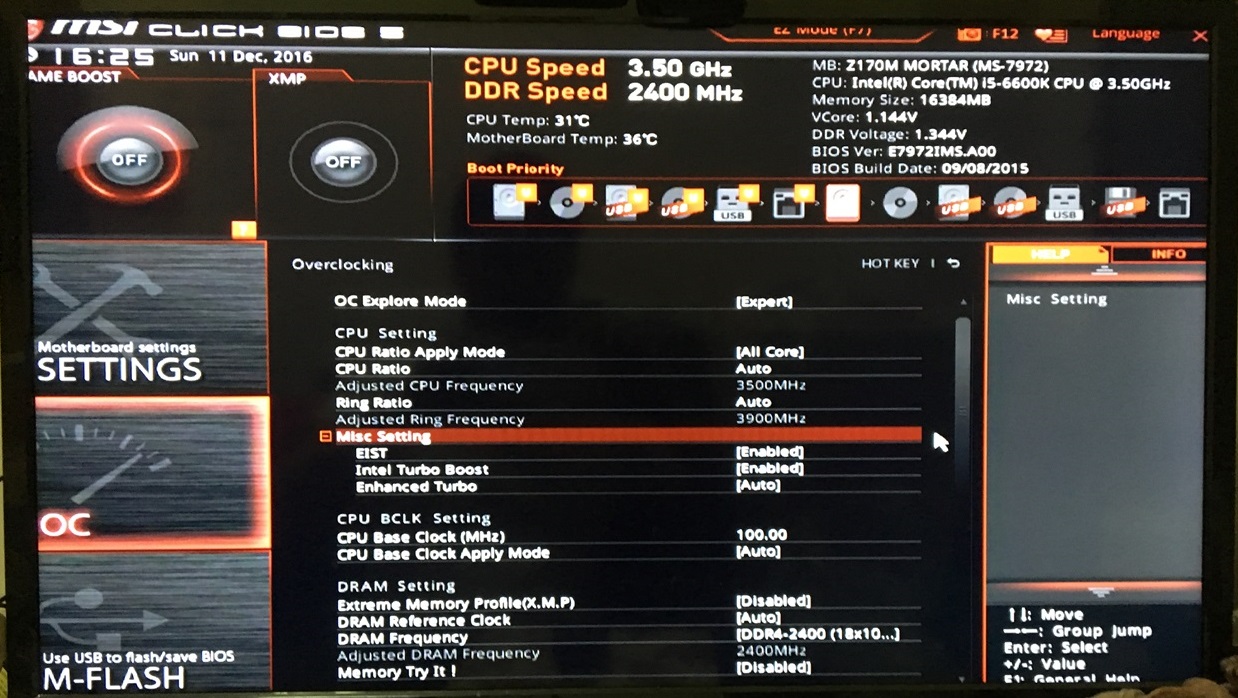
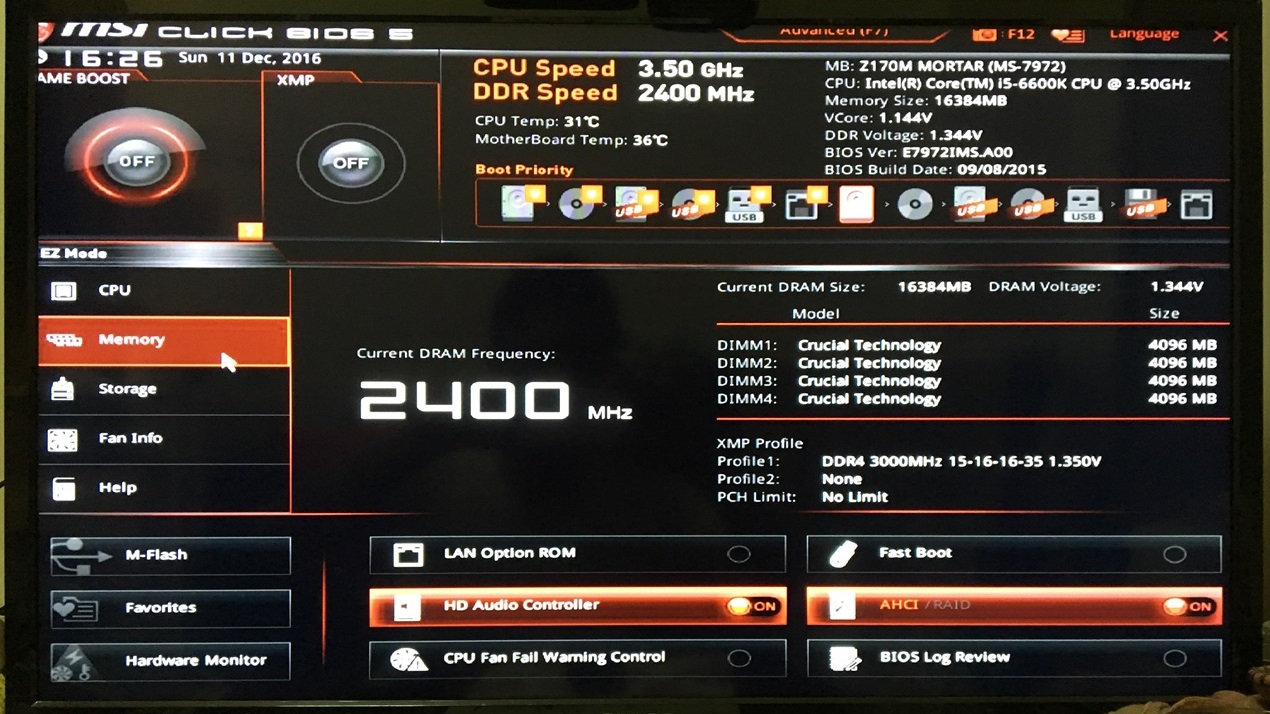
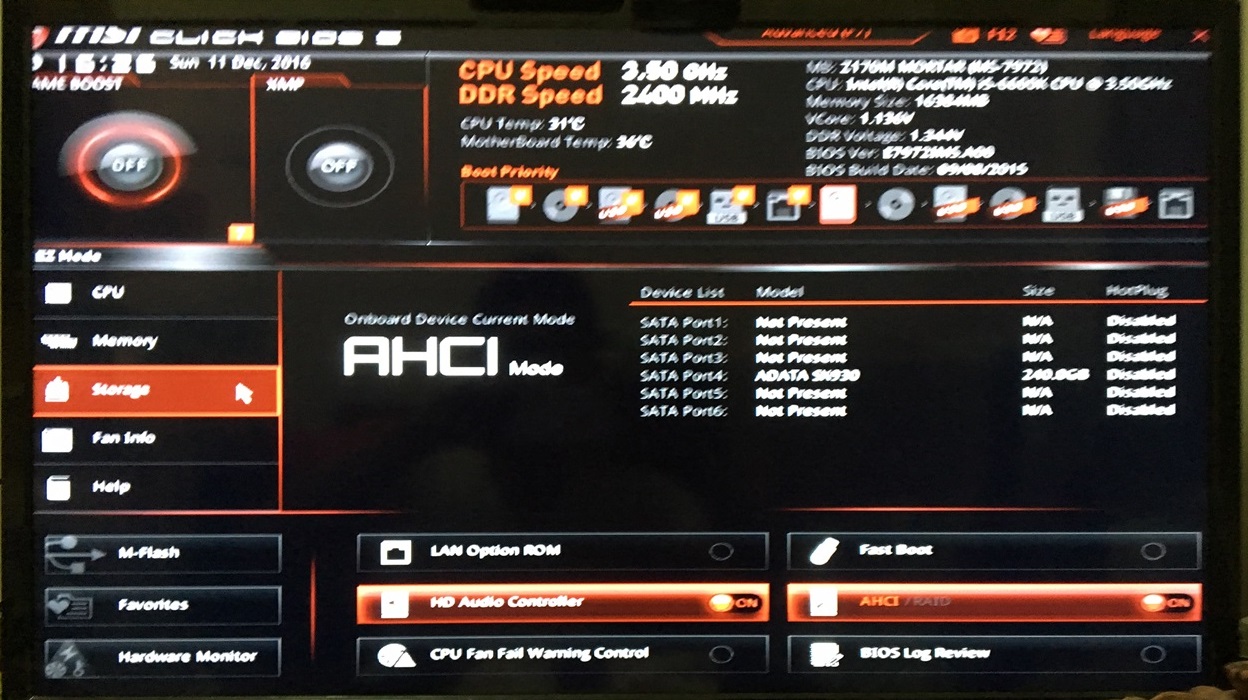
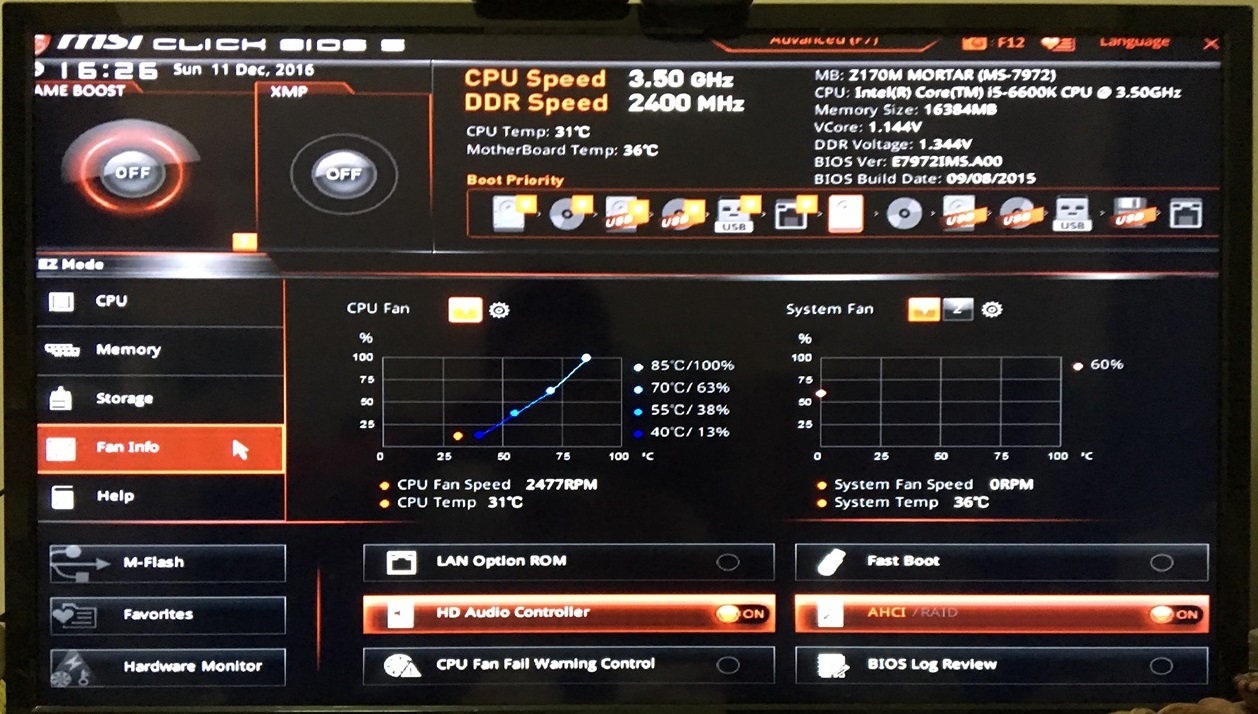
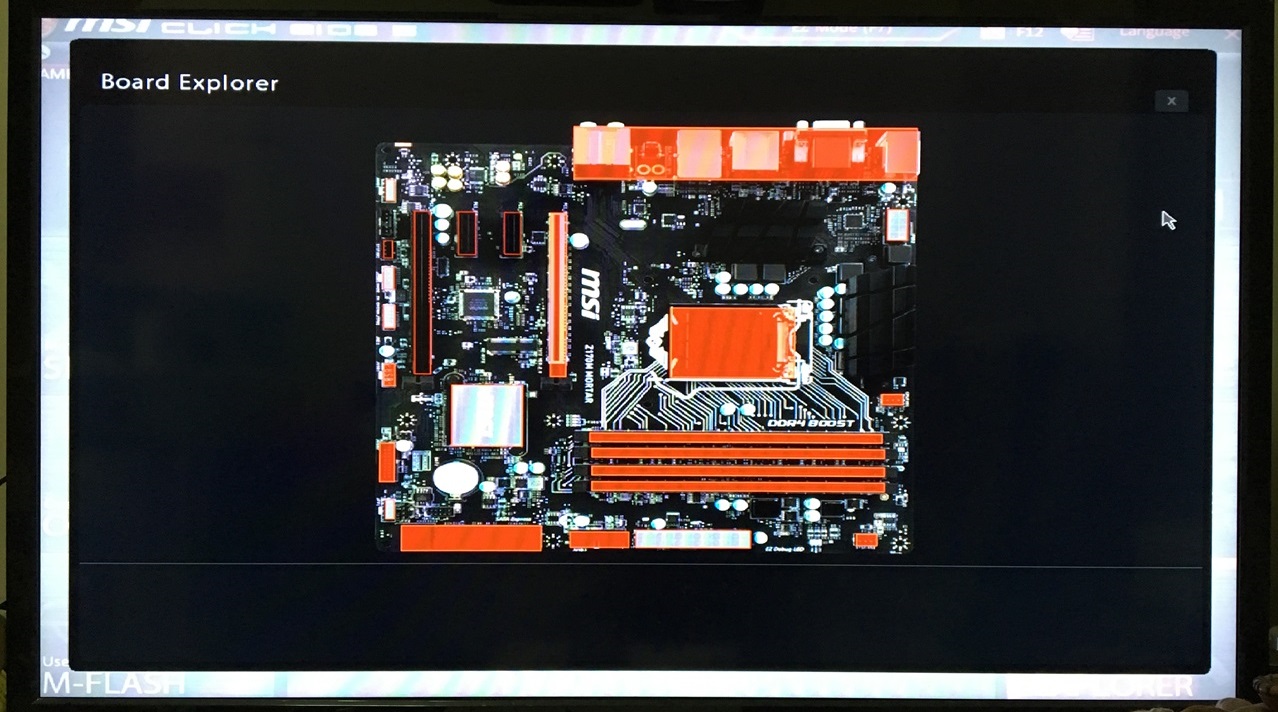
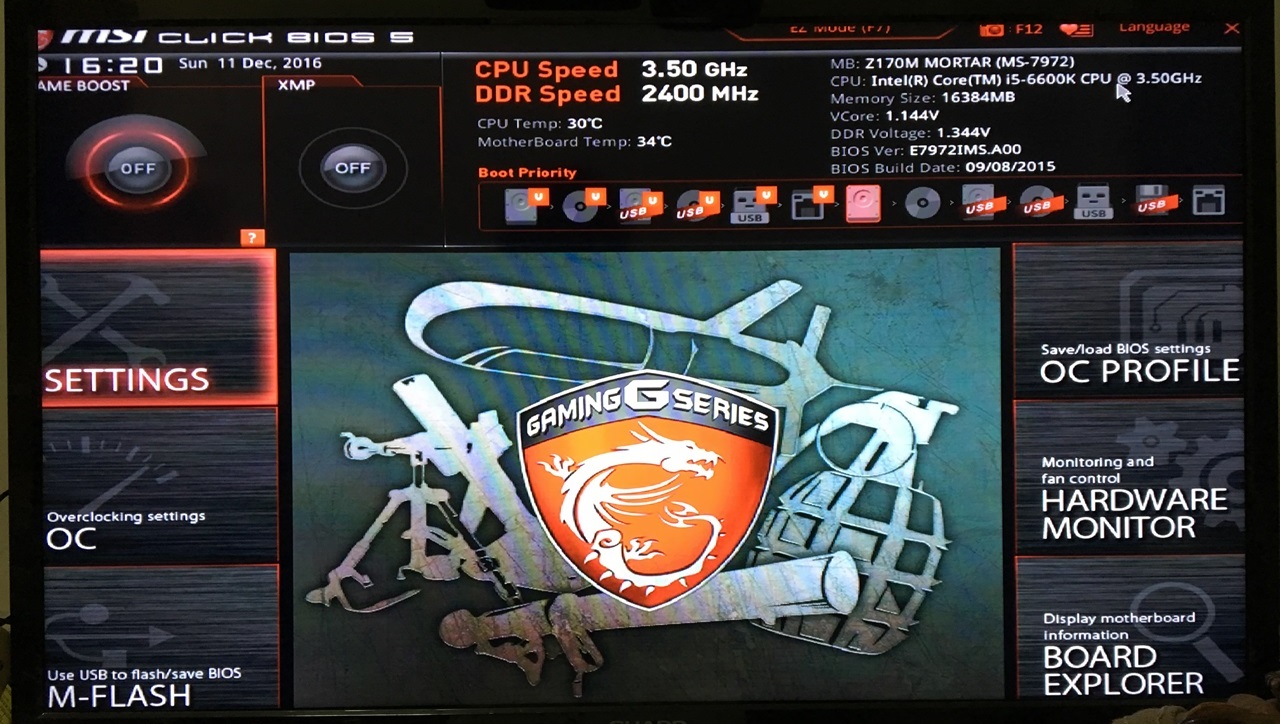
The BIOS
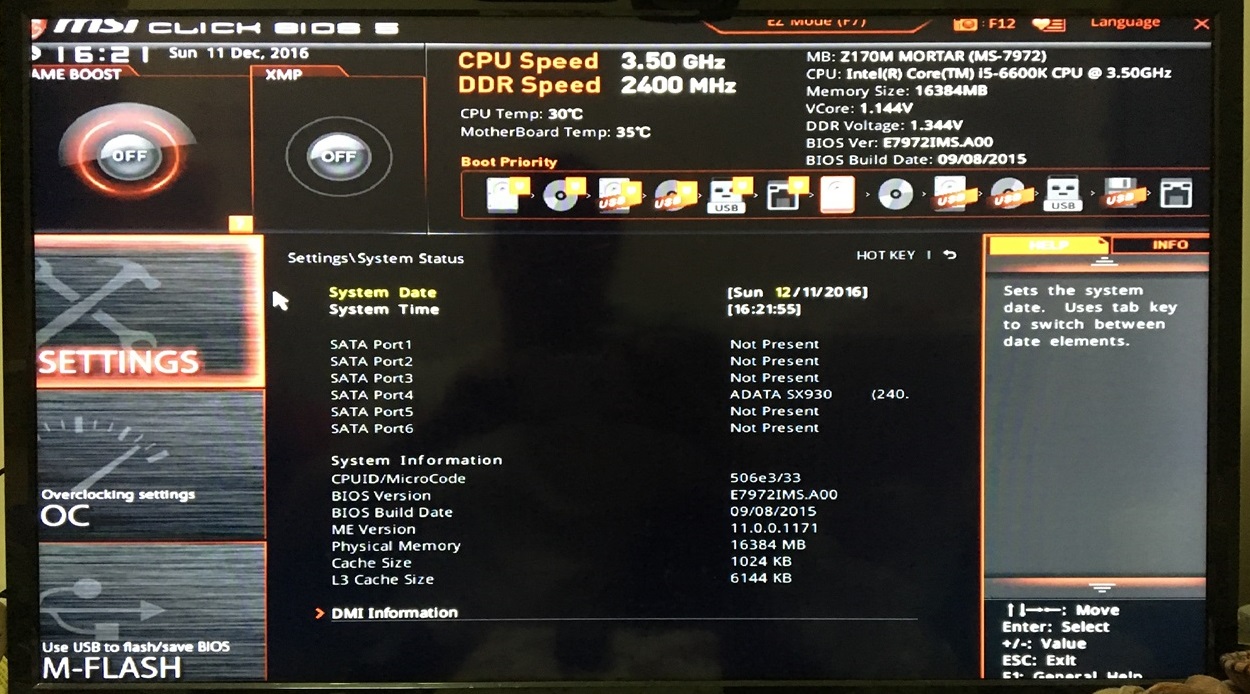
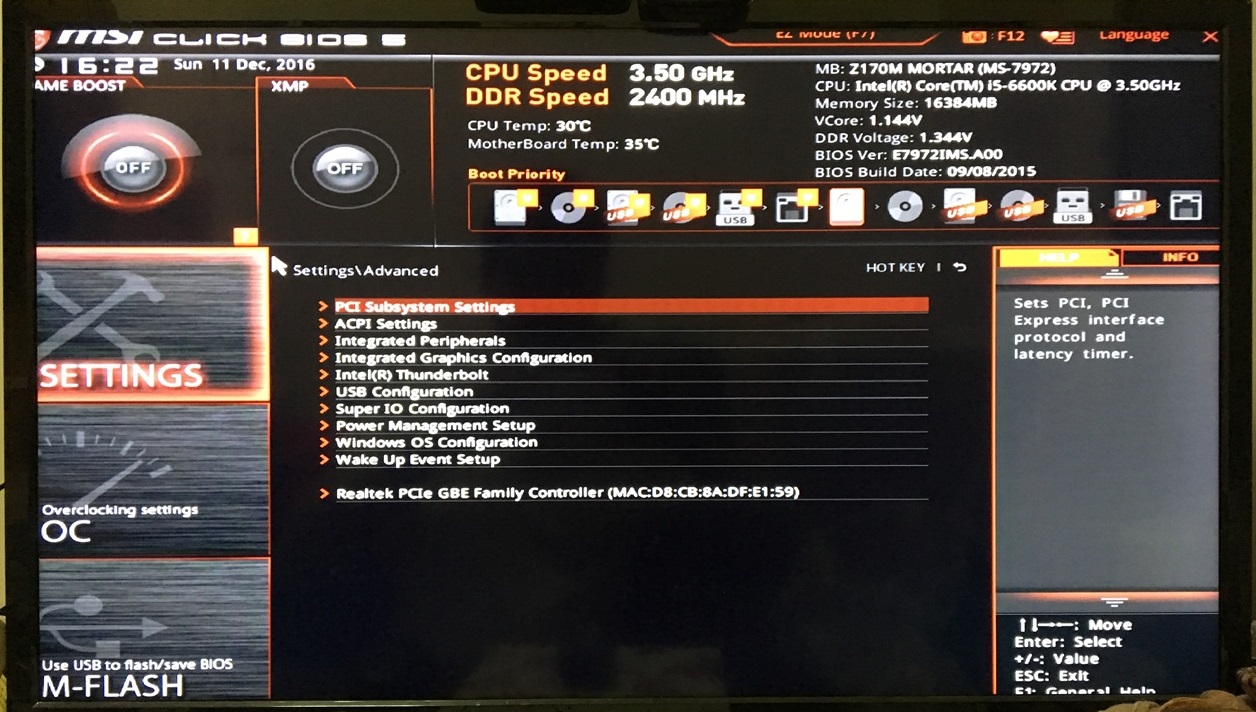
The MSI BIOS is probably one of the most easy to use and simple to navigate. I really love their user interface.

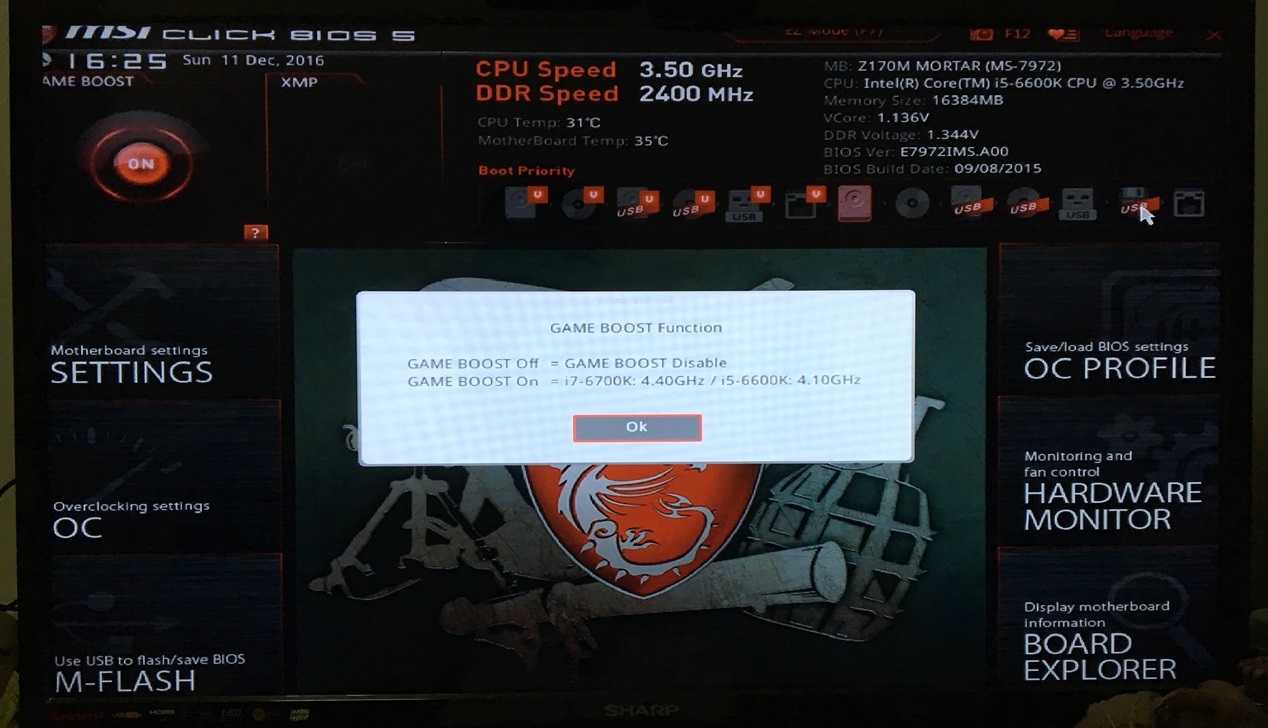
Simple Options
If you want mild and easy overclocking, the MSI BIOS is extremely simple to use. Just click on GAME BOOST button and it automatically chooses the best settings for maximum performance. I was able to up my Core i5-6600K to whopping 4.5Ghz with no issues whatsoever 🙂
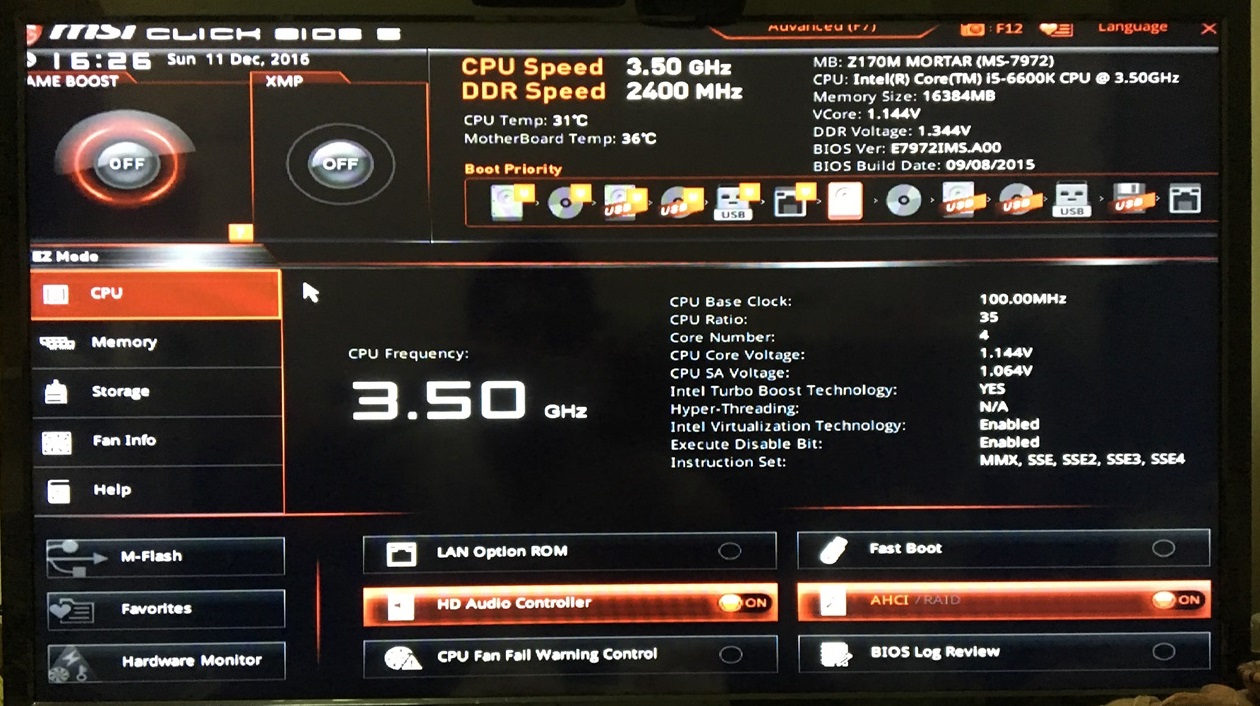
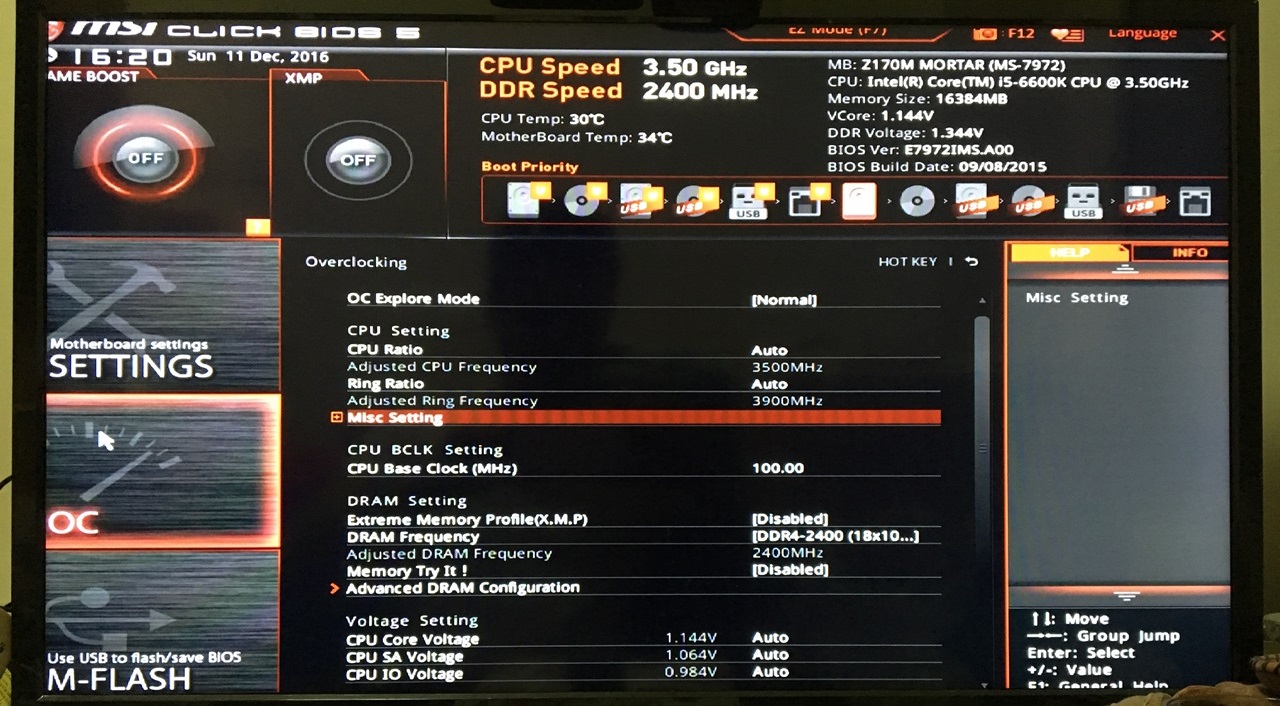
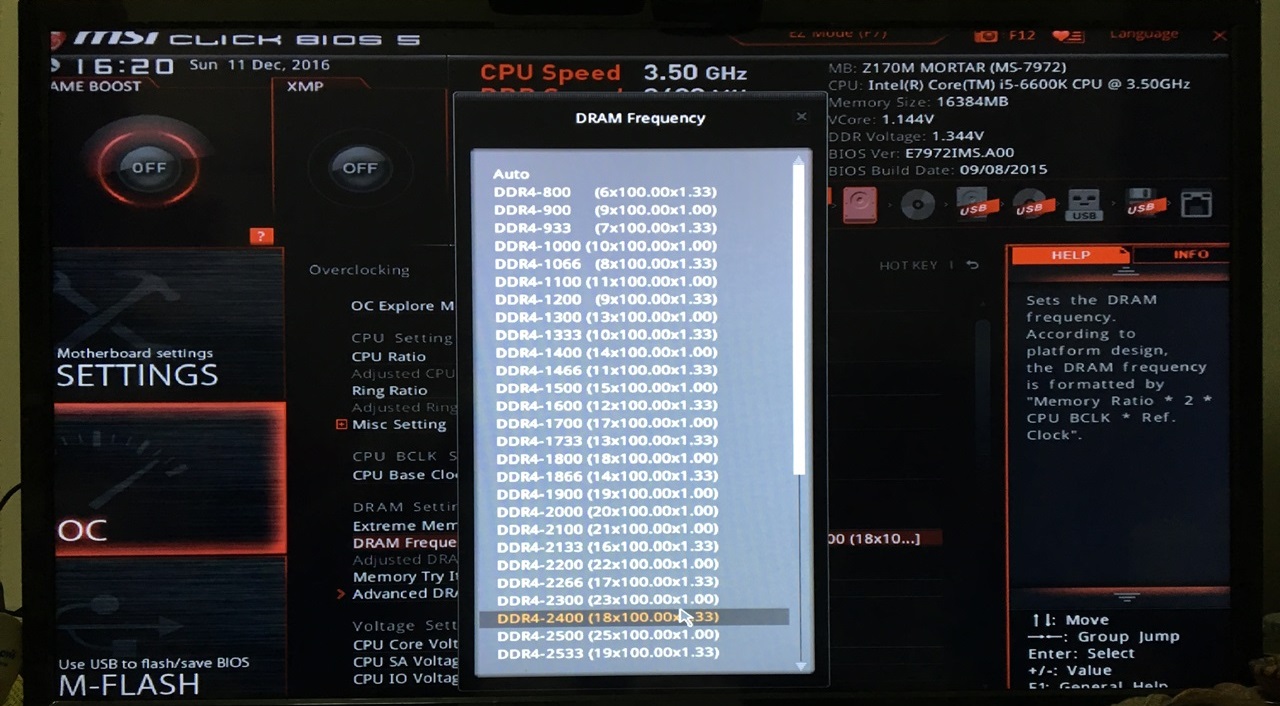
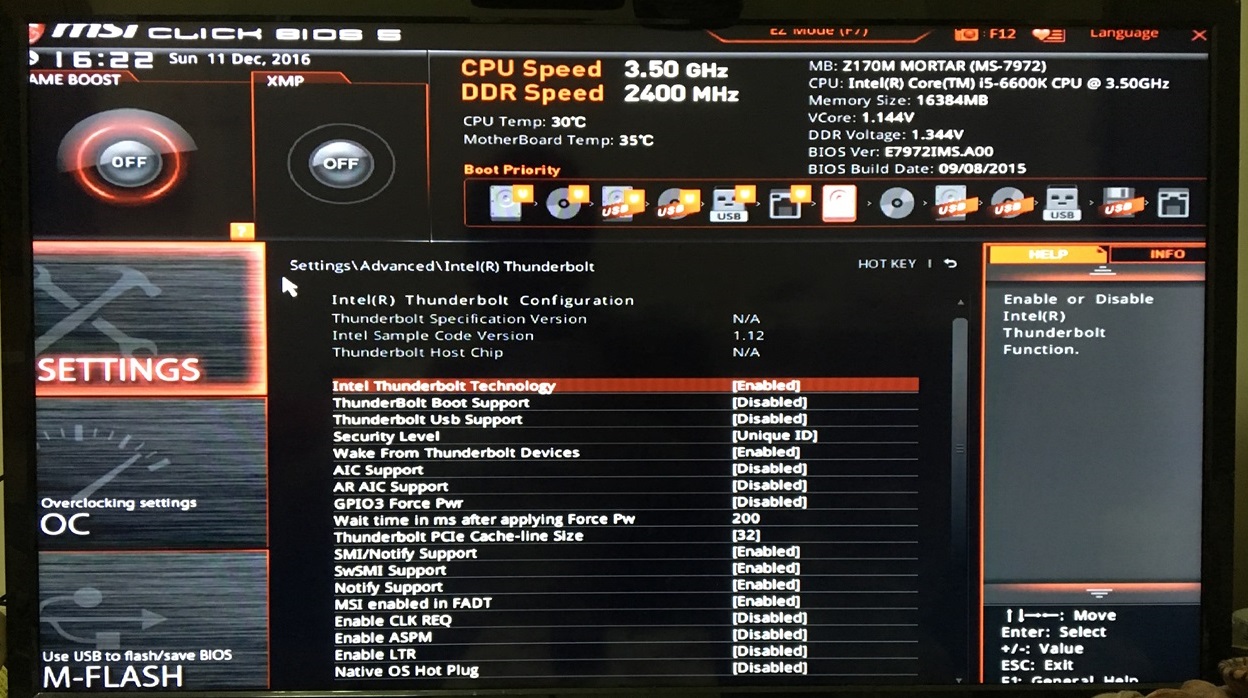
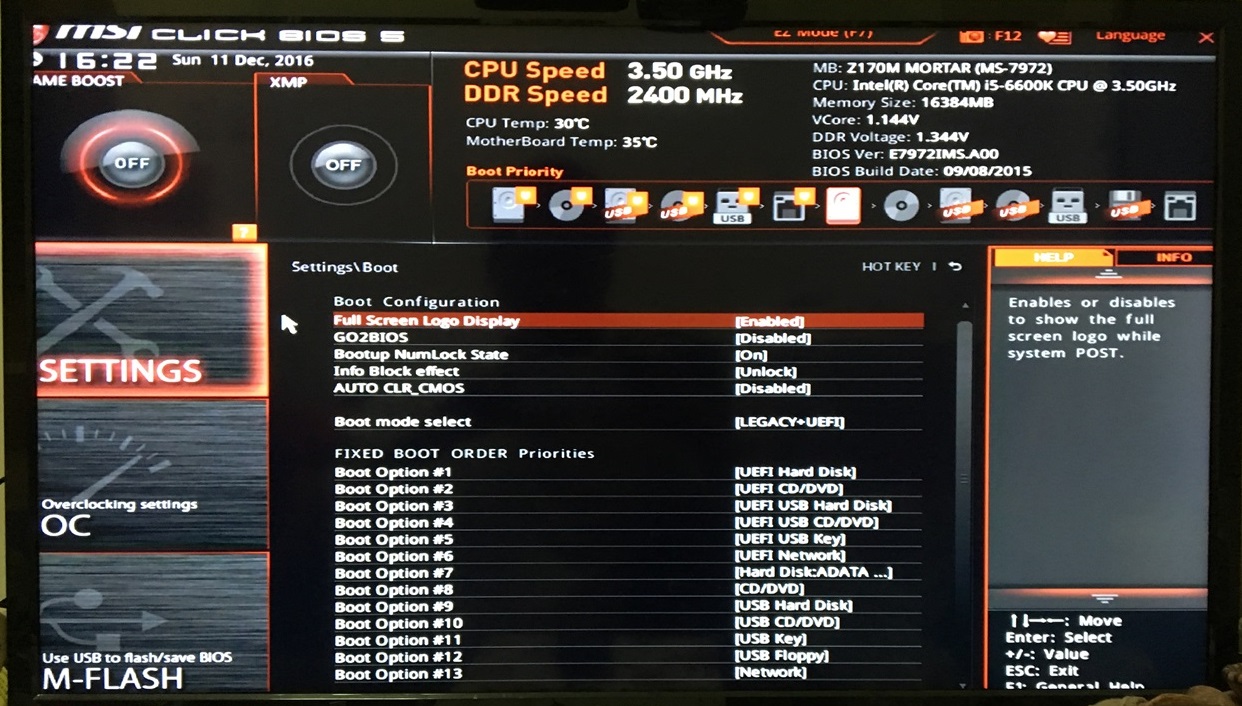
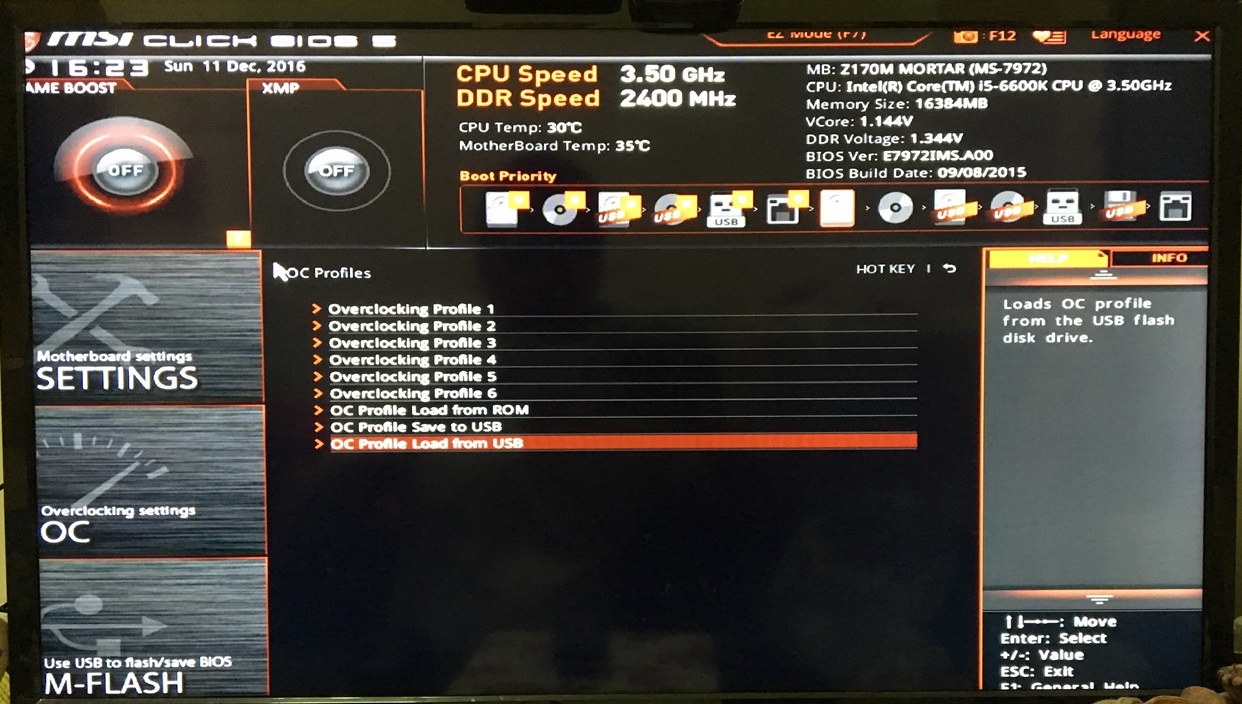
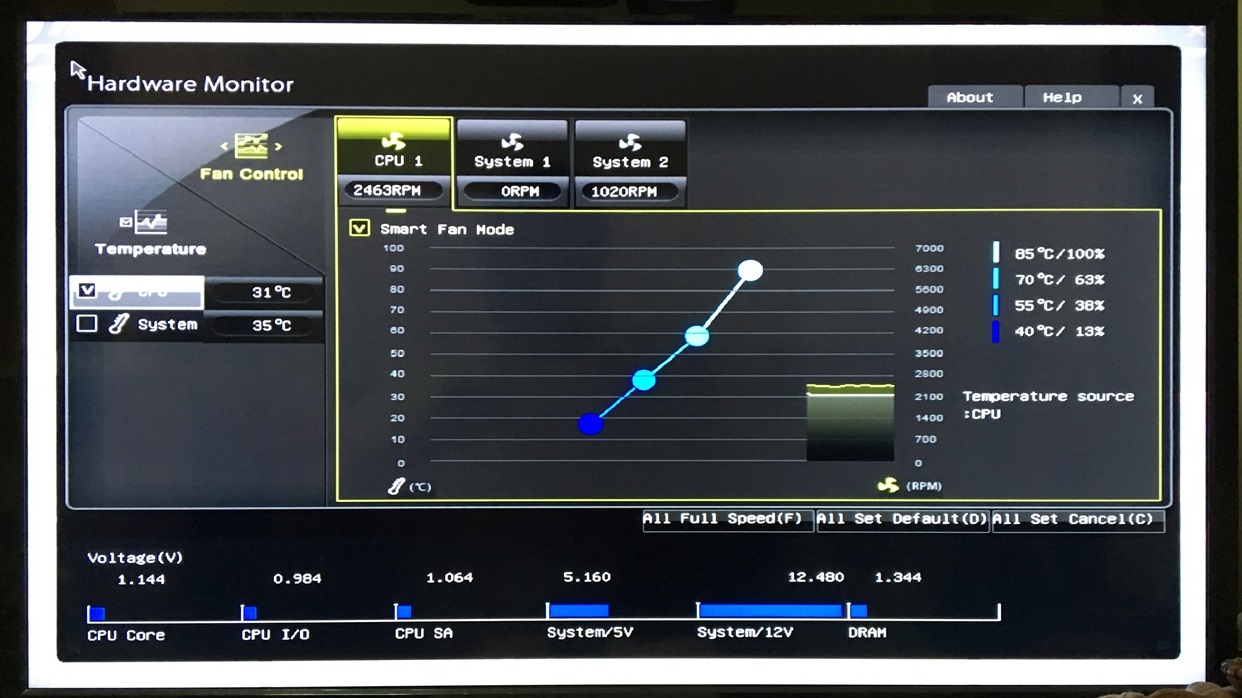
Advanced Options
For overclockers and extreme enthusiasts who want to squeeze every ounce of power from the CPU and memory. Warning – Recommended only for use by experts.