


A closer look at the NAS and first installation
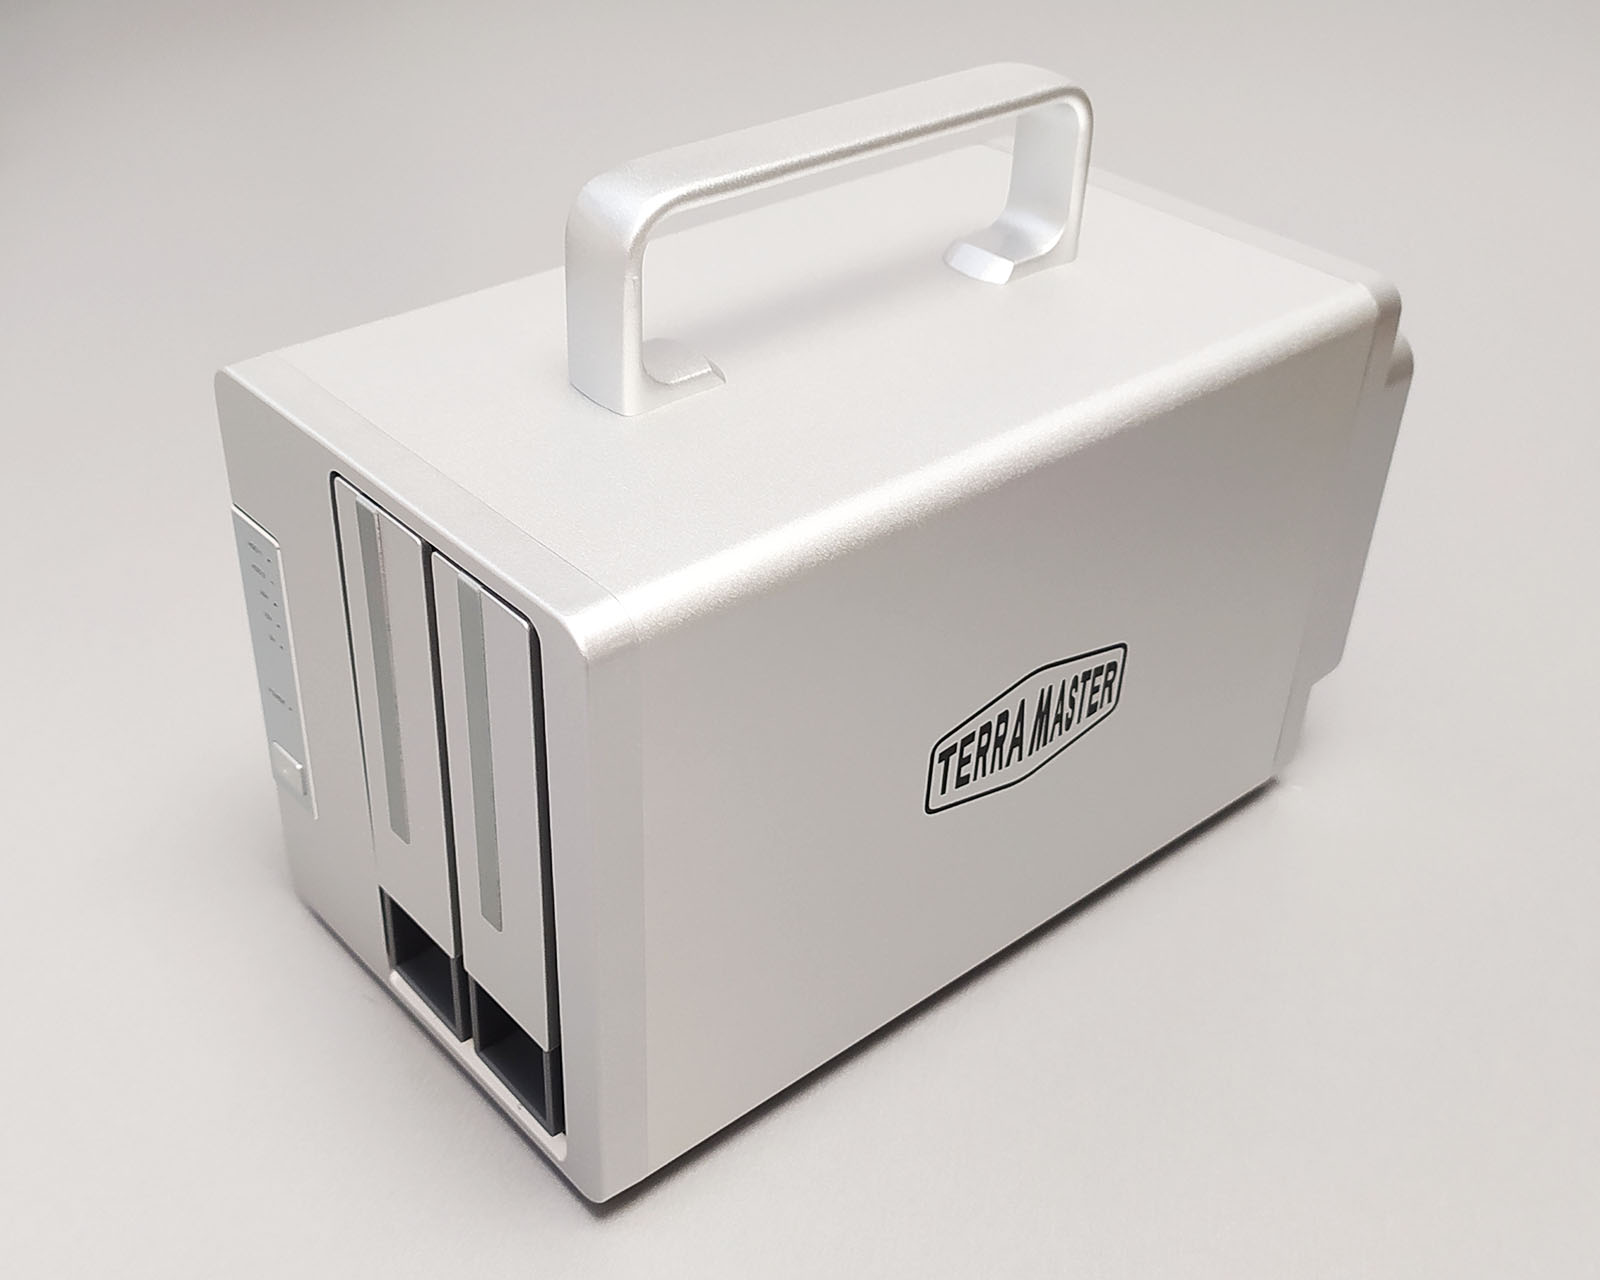
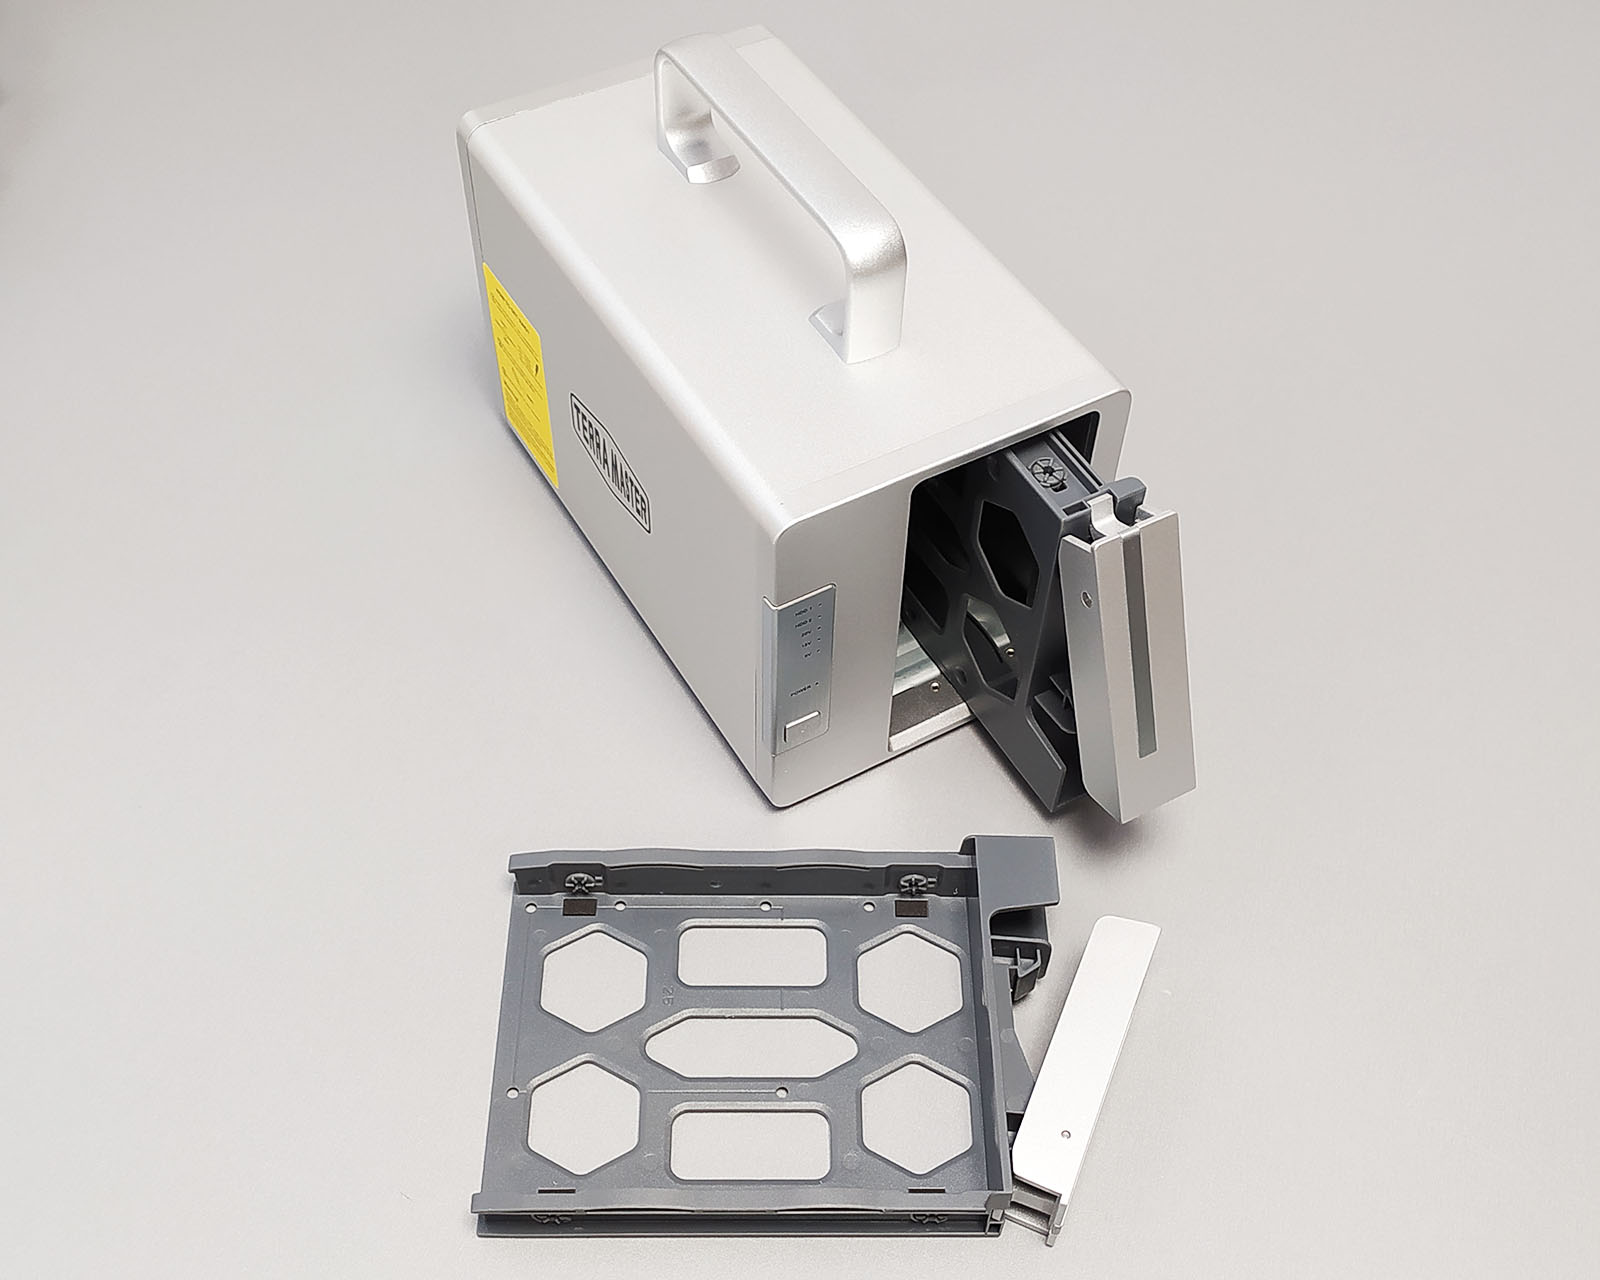
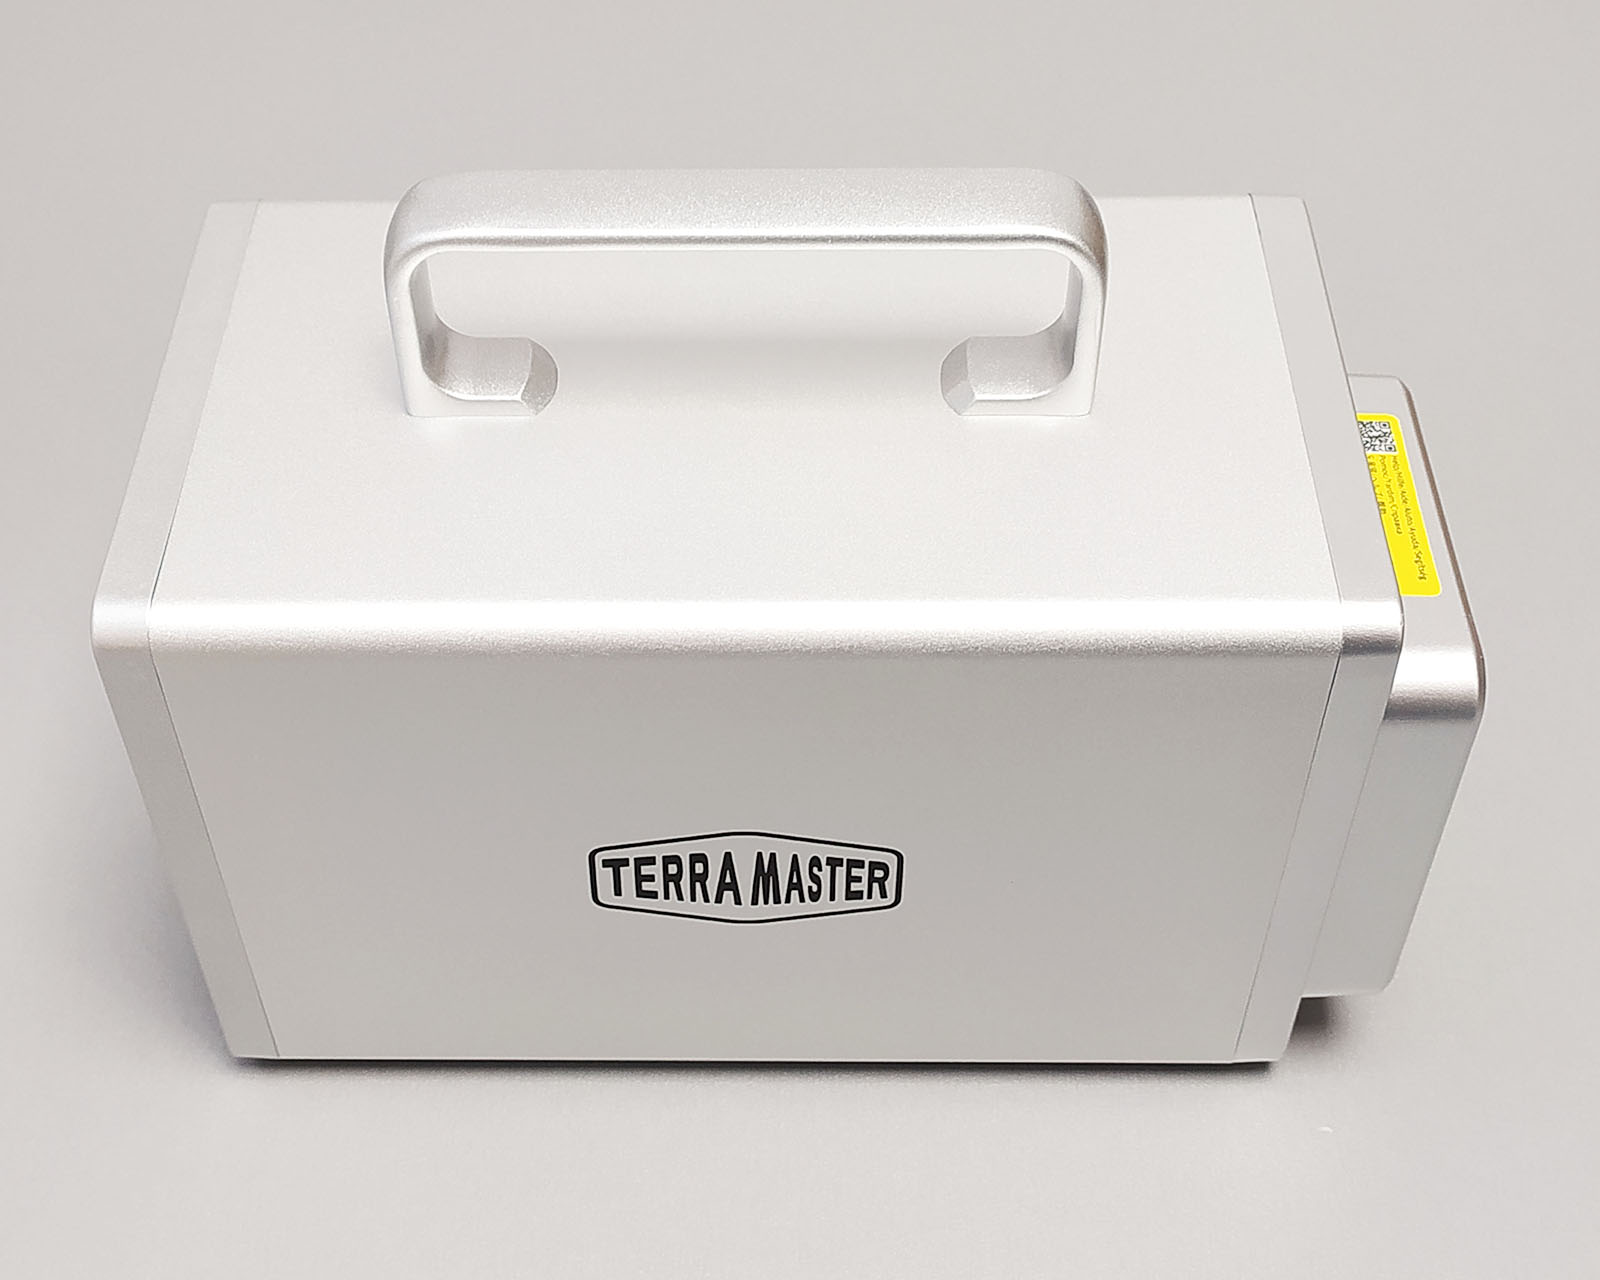
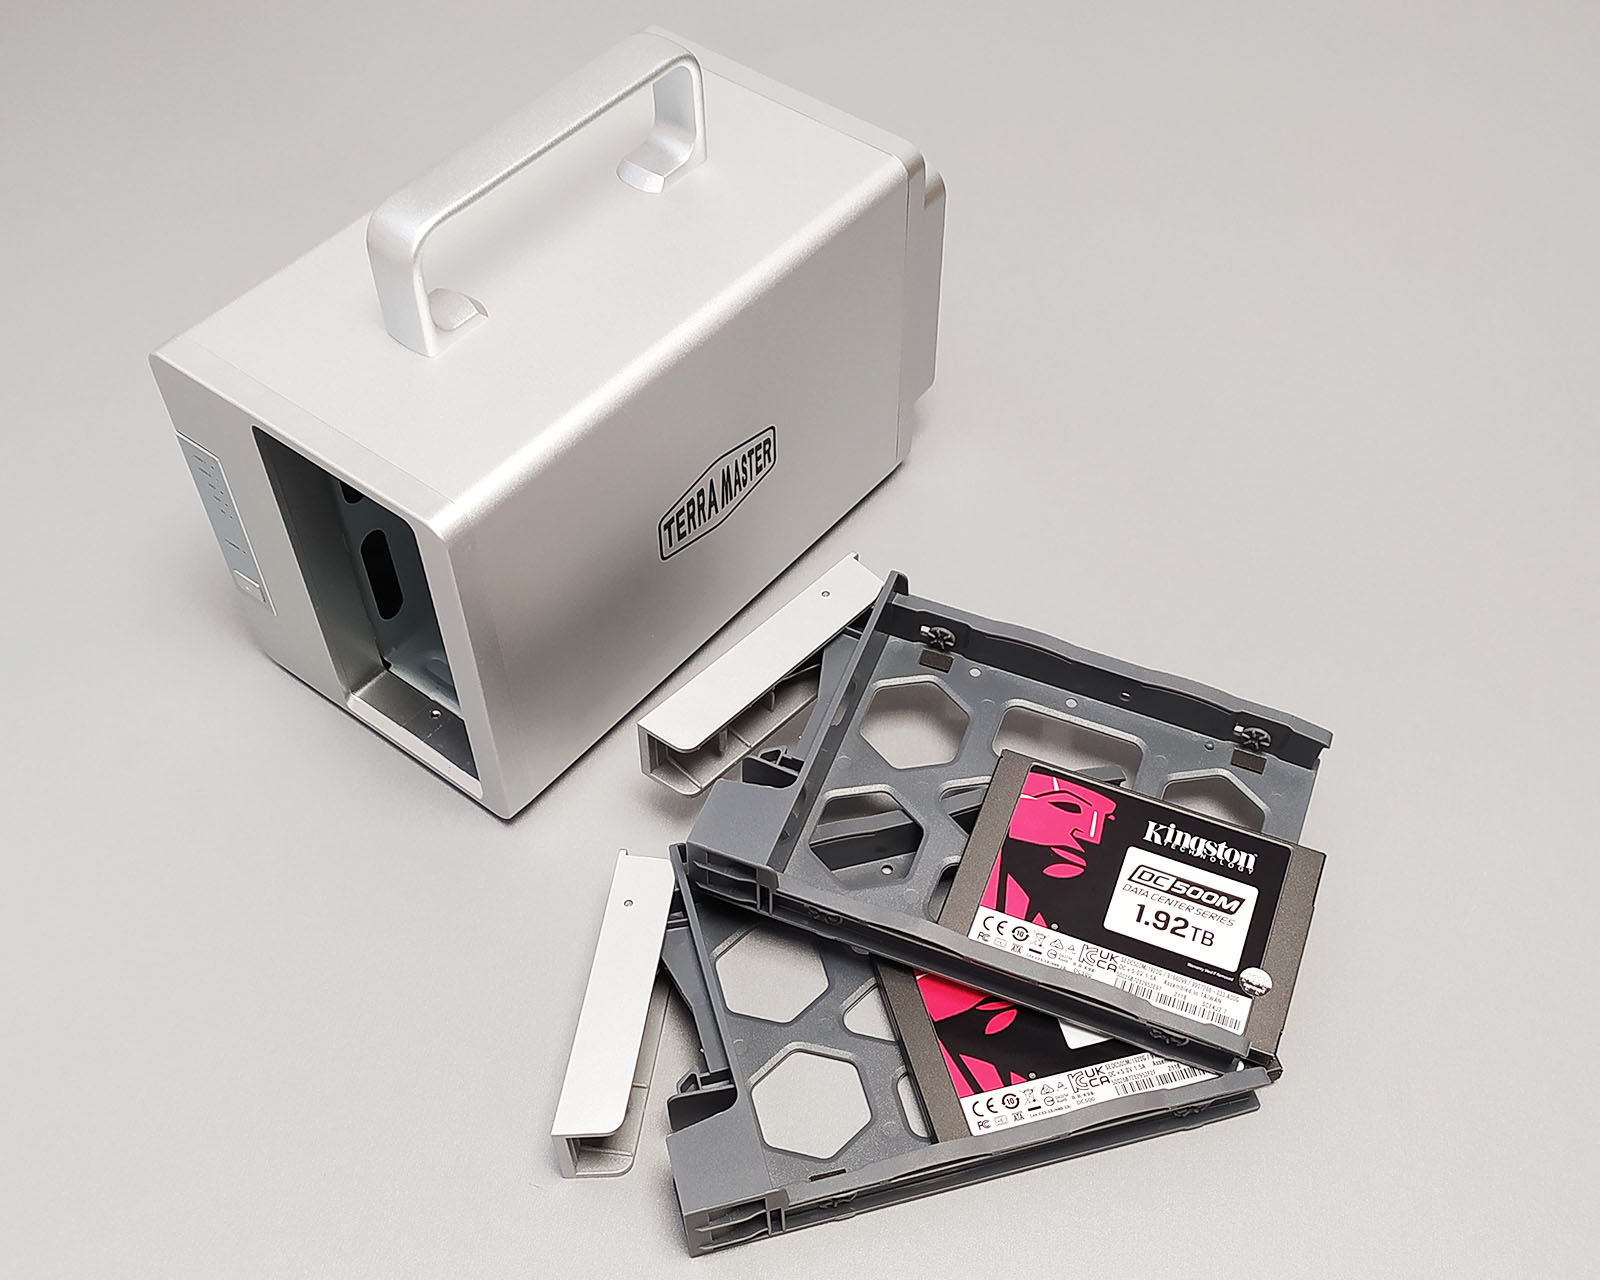
The TD2 looks similar to the two-bay NAS and takes about as much space. The exterior is made of aluminum mixed with plastic panels and drive bays. The whole build is pretty solid and should protect the drives even if we move the device more often.
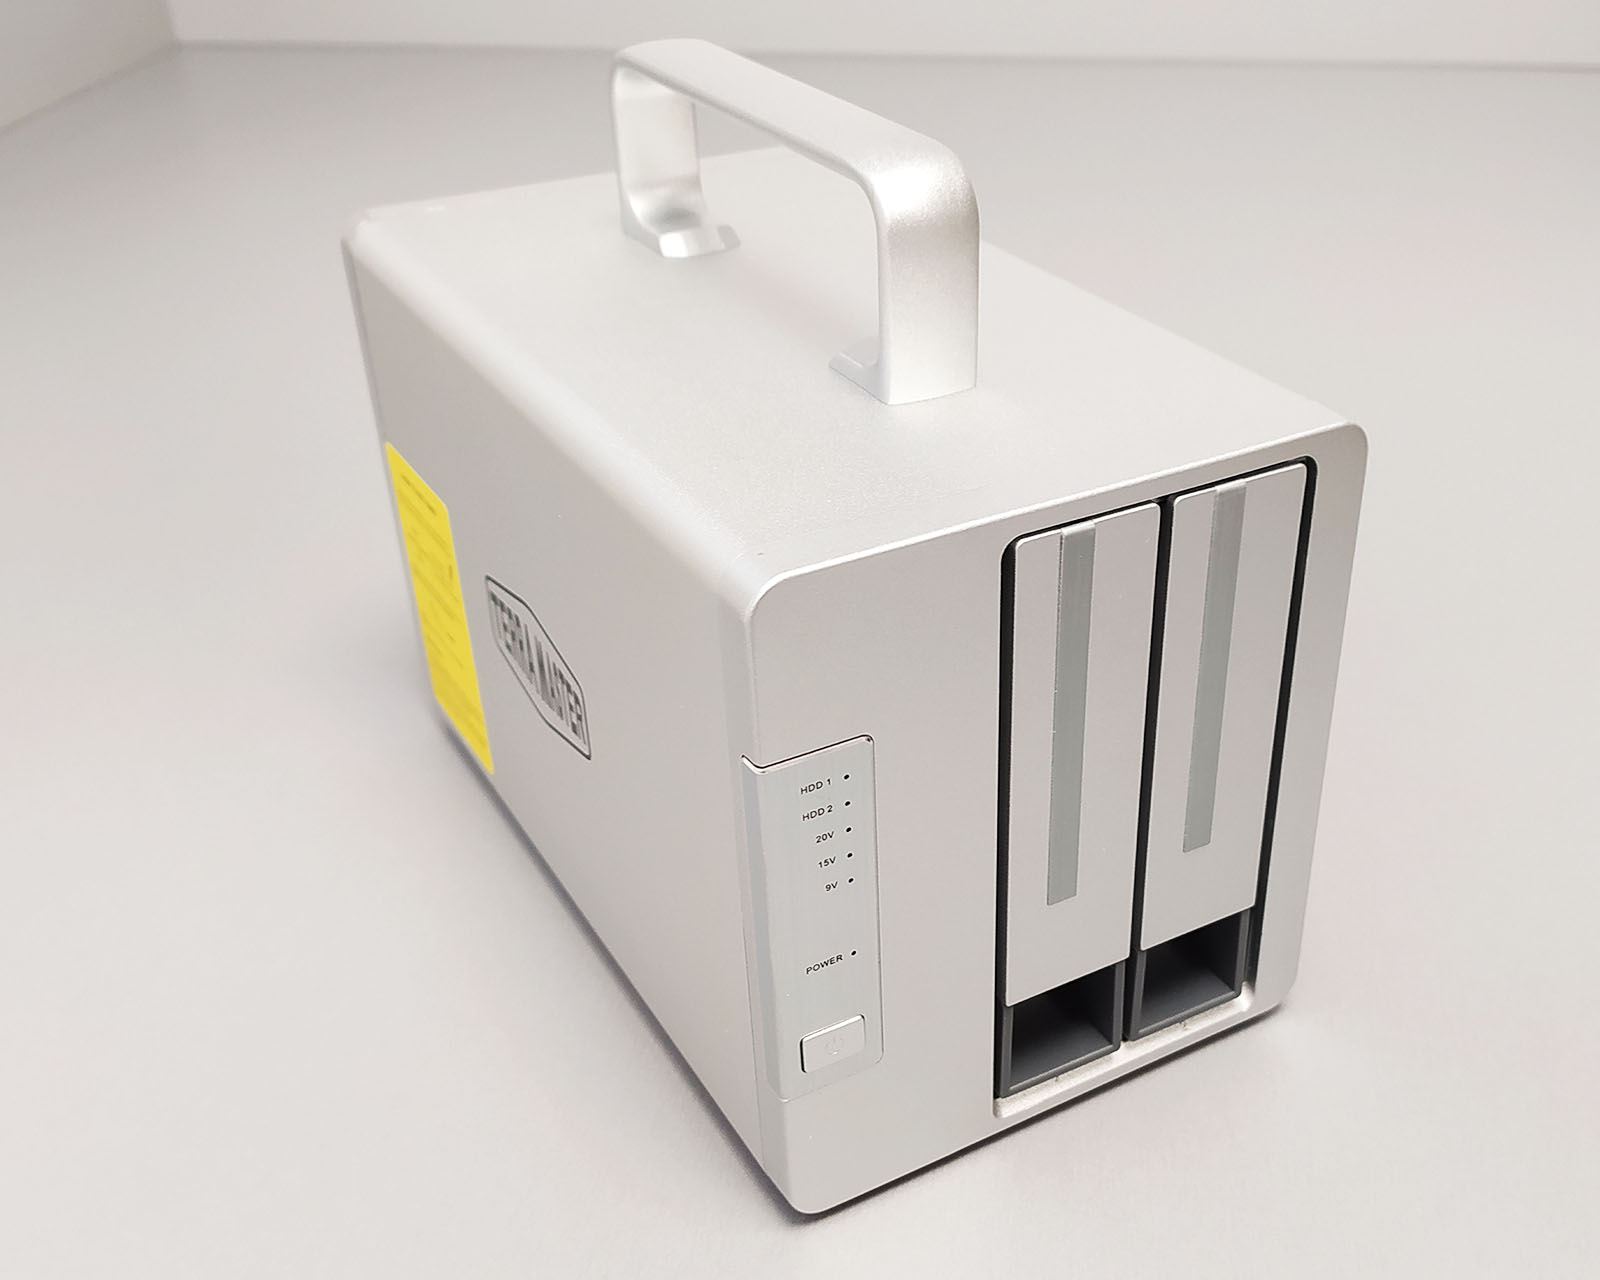
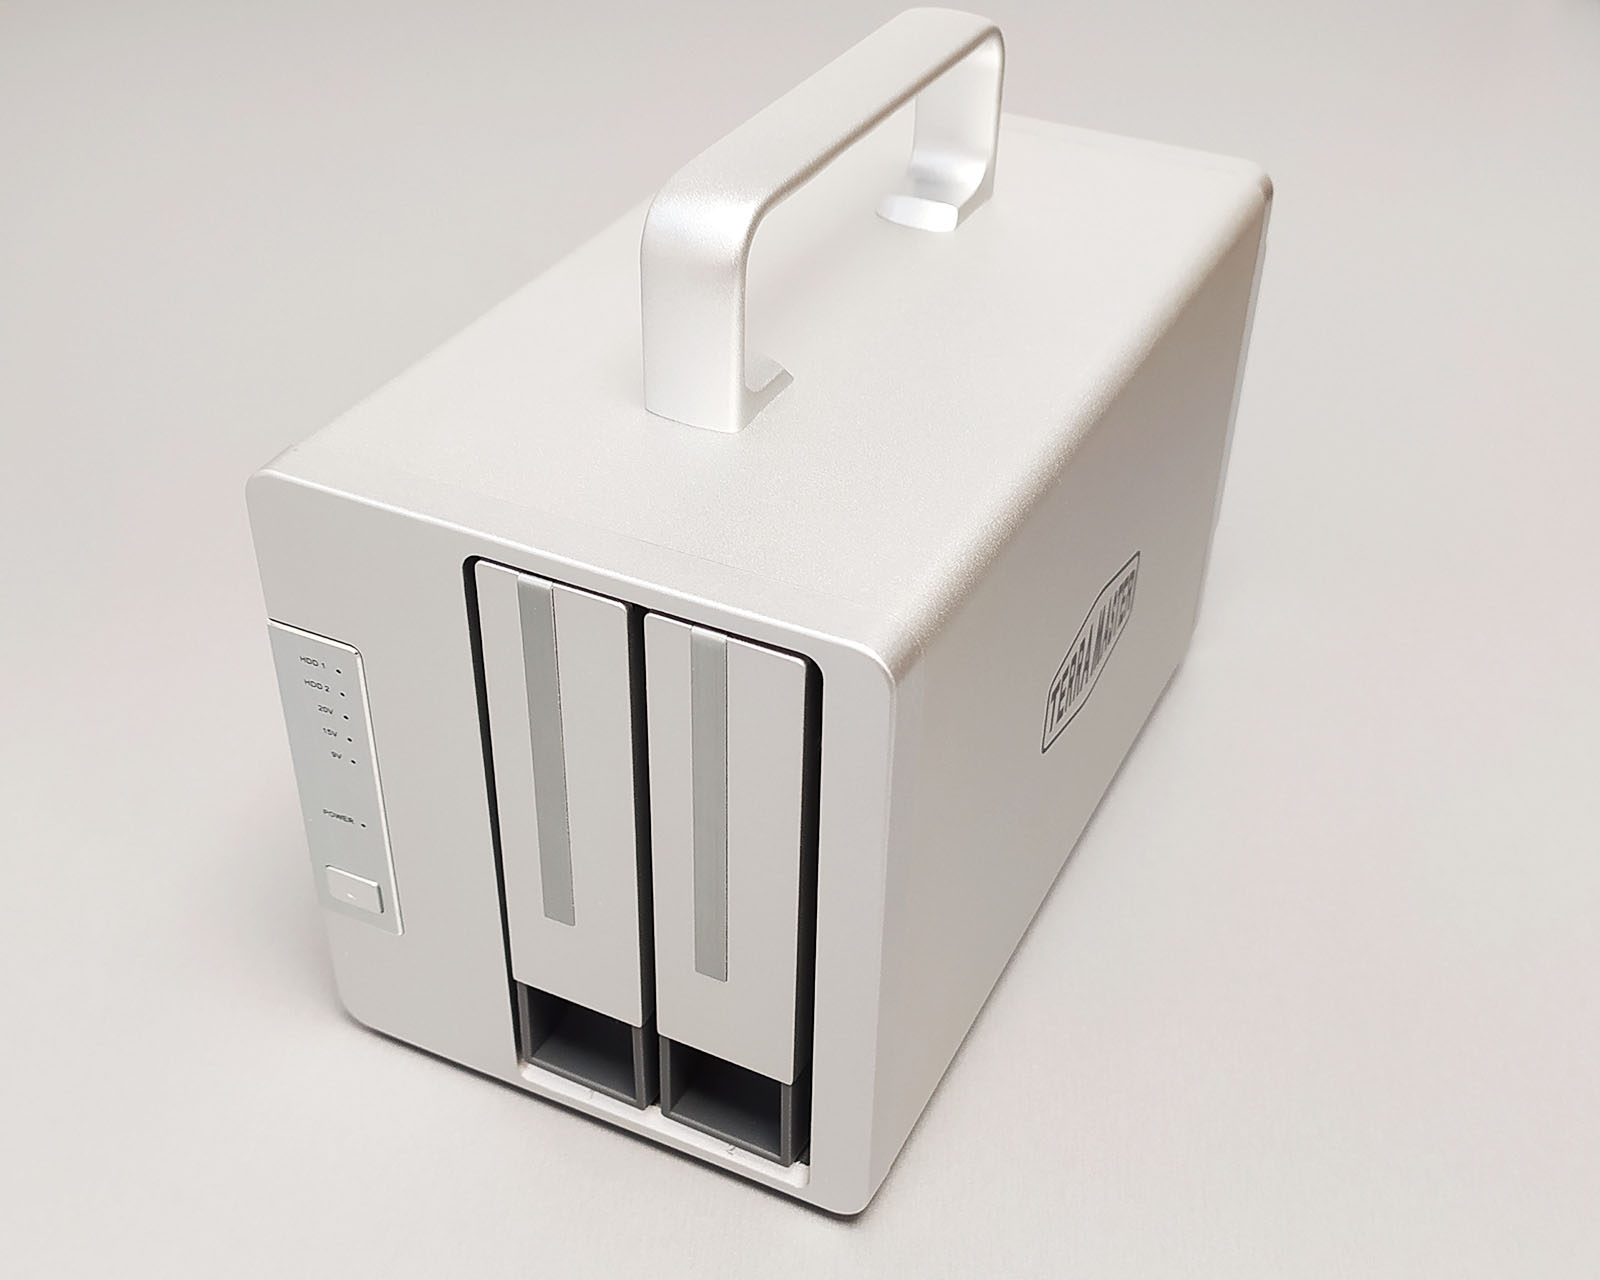
On the front are HDD1, HDD2, power, and LAN activity LEDs. There is also a power button.
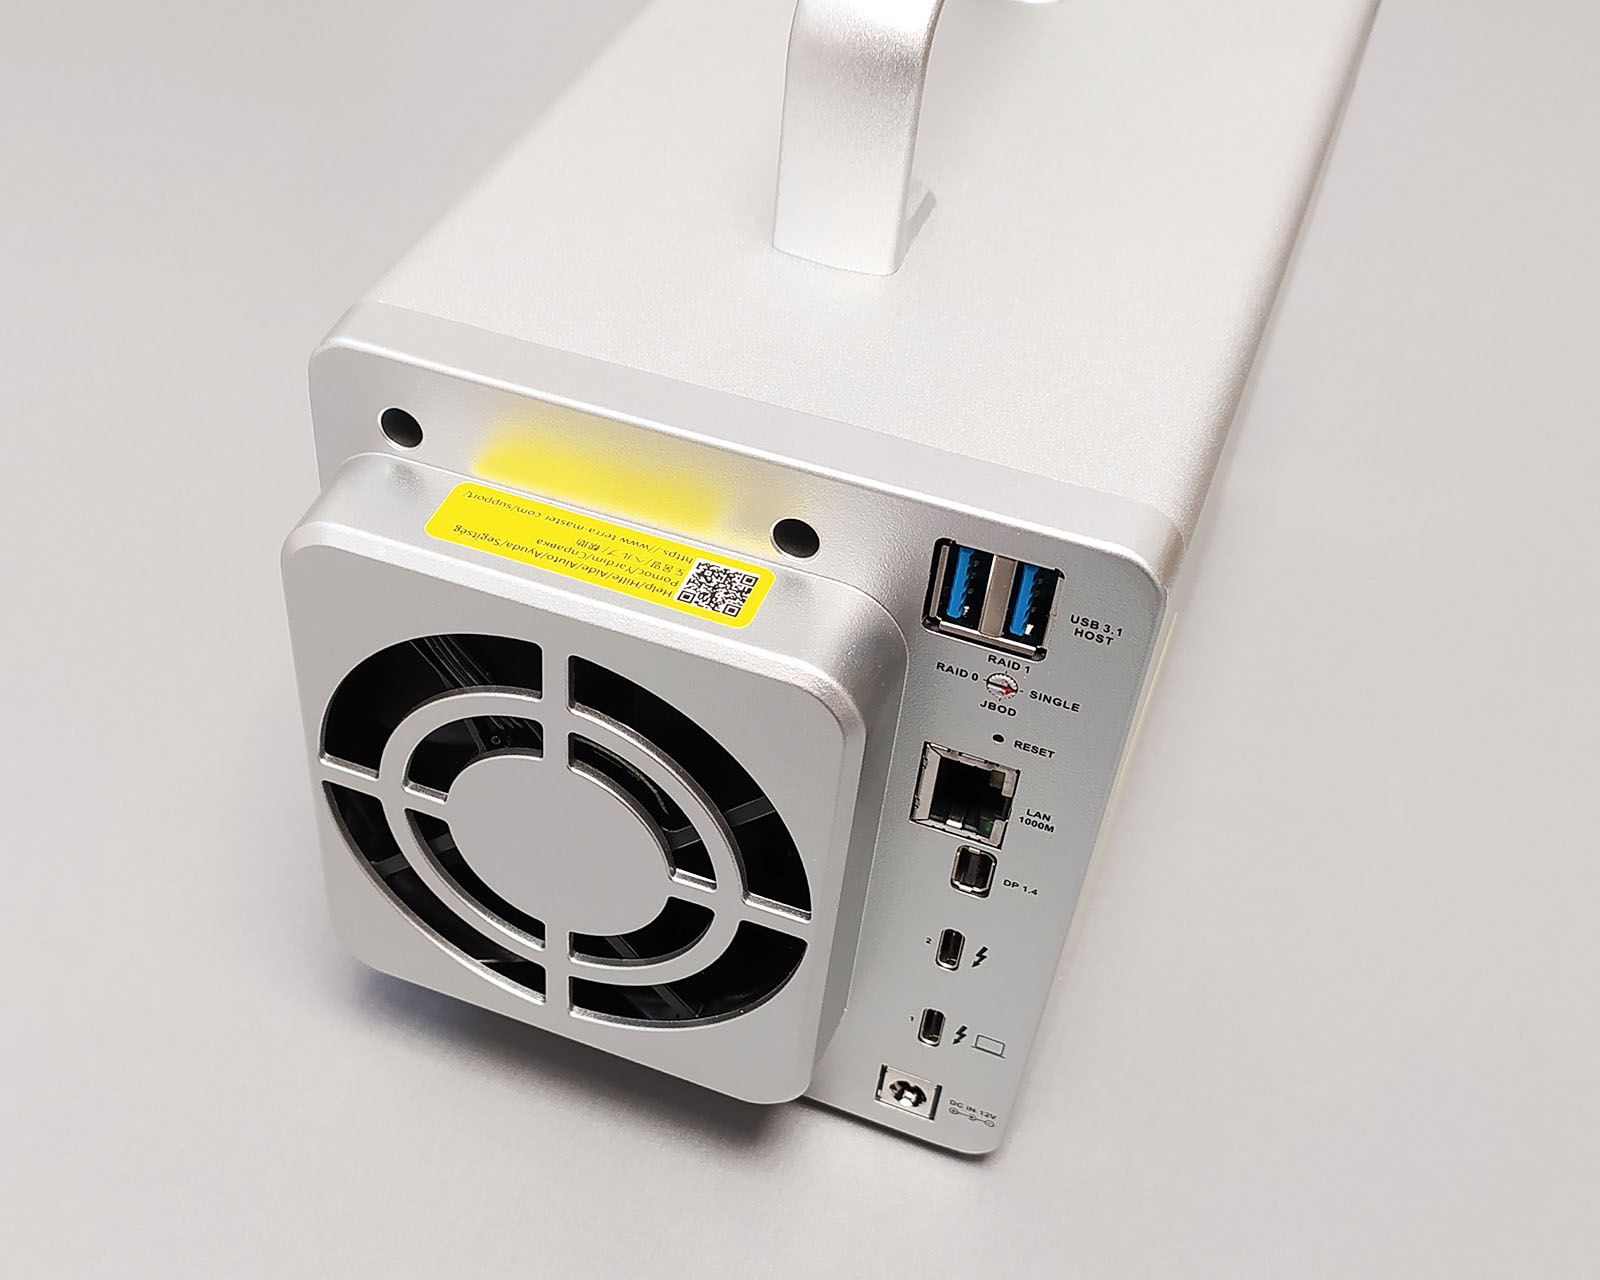
On the back, we will find a fan exhaust, one 1GbE port, one DP 1.2 port, two USB 3.1 A-type ports, two Thunderbolt 3 ports, and a power supply socket. A second Thunderbolt port can be used for a daisy-chain configuration when we connect more than one storage.
The TD2 RAID enclosure is very simple to use. Even less advanced users should handle it without issues.
The first installation
I wasn’t checking the product before the installation, so I was surprised by how simple the first configuration is. We don’t need any software or drivers. As long as we are using a Thunderbolt 3 compatible computer and a modern operating system like Windows 10, everything will work automatically after connecting the cable and creating a partition.
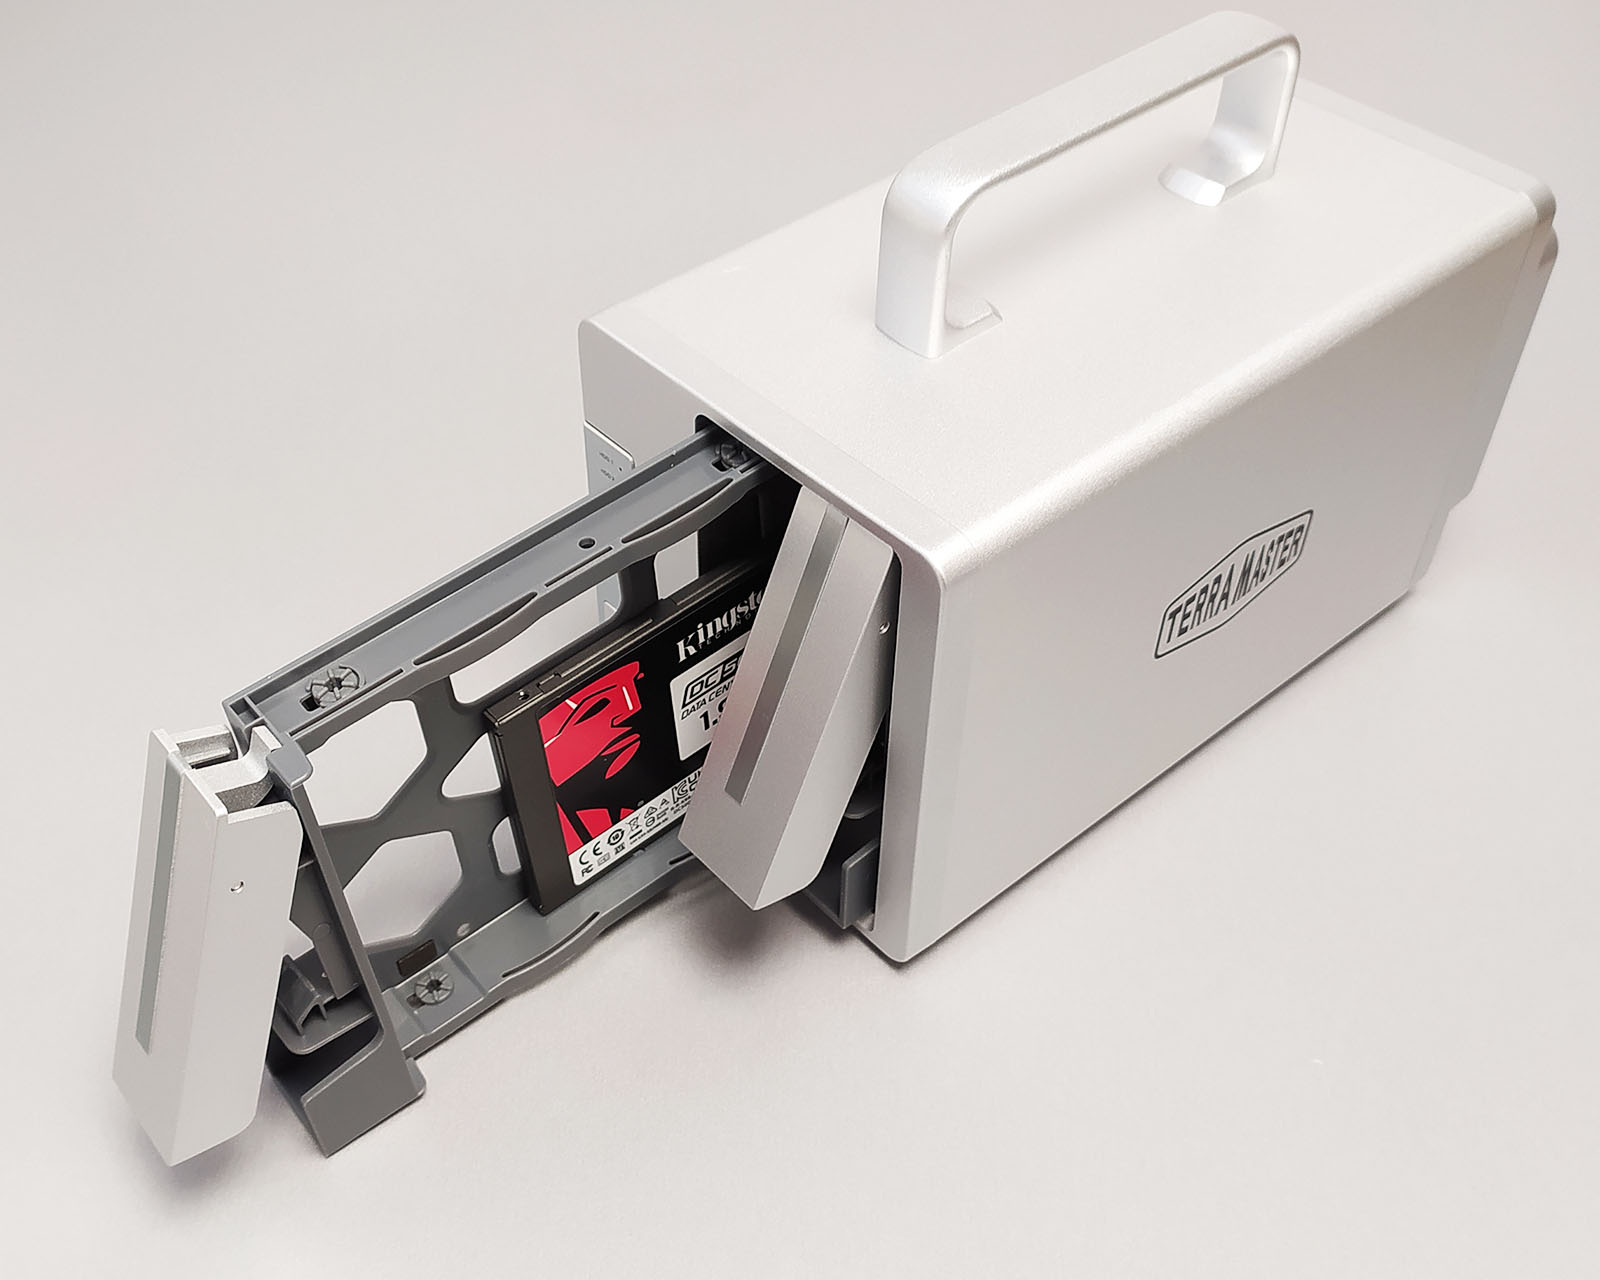
First, we have to set drive(s) mode. Depends on what we need, we can set RAID 0, RAID 1, JBOD, or a single drive mode. I assume that most users who pick two or more drive storage want it to run with data protection mode, so RAID 1. I also recommend using this mode as it gives us some level of protection in case if one drive fails.
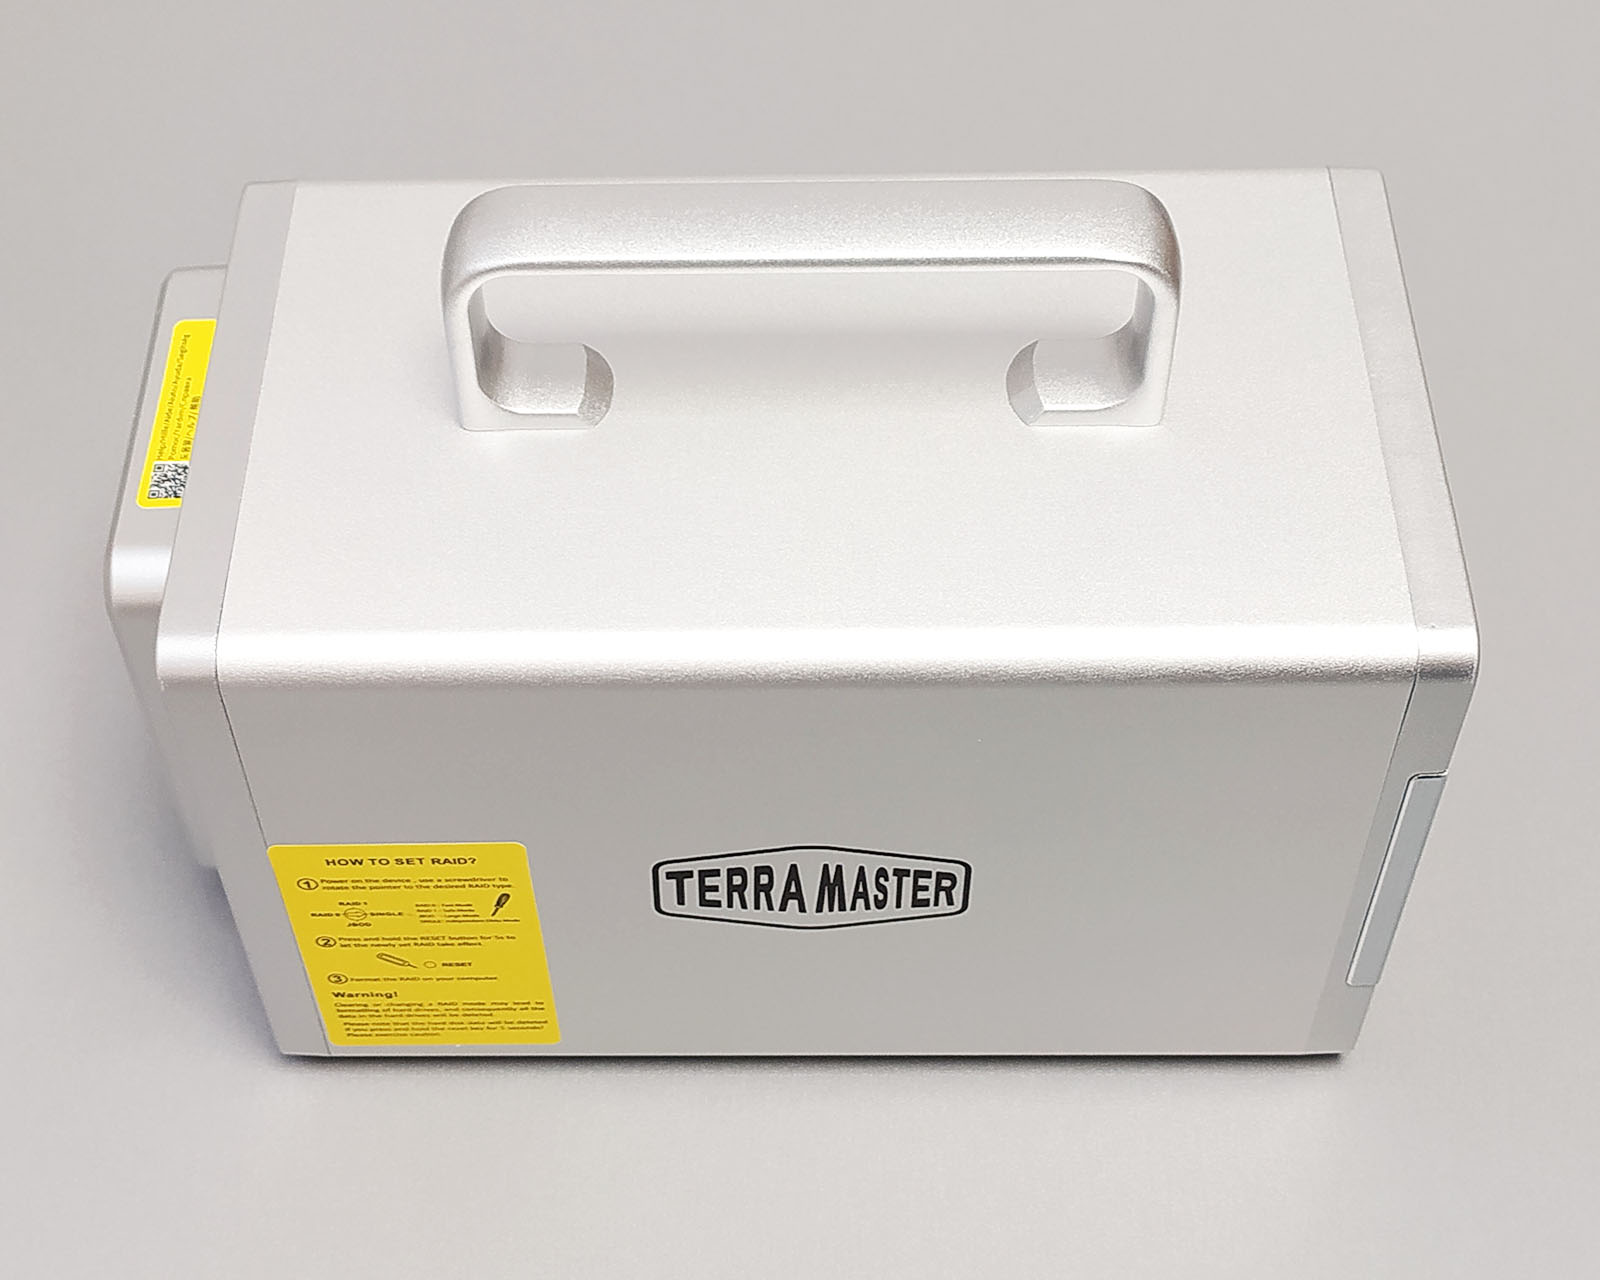
To set any of the mentioned modes, we have to turn the arrow with a screwdriver to the correct position, pointing at the desired mode. Everything is well described on the sticker, which we find directly on the device. The photo is below.
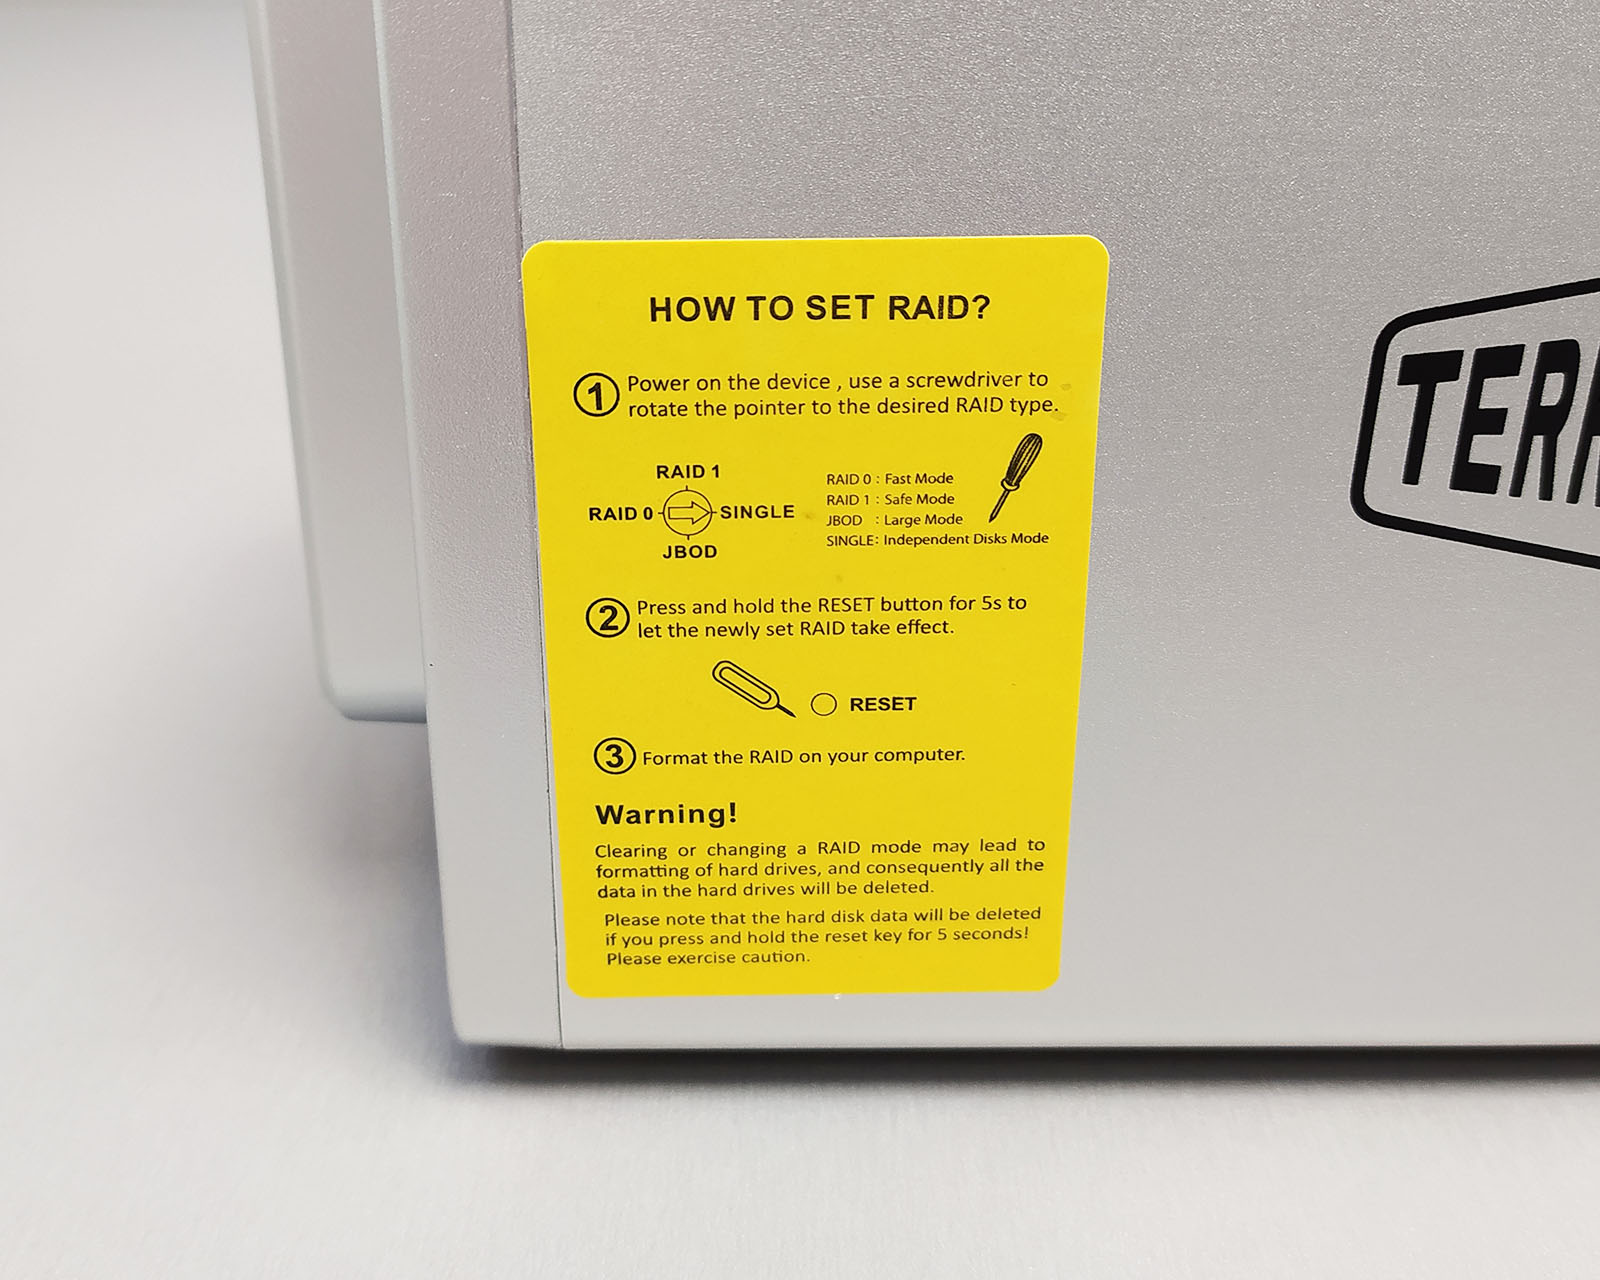
After picking the RAID mode, we have to format the volume, and that’s all. The operating system will automatically discover the drive as long as it’s connected via Thunderbolt cable.
For tests, we’ve used the MSI Z590I Unify motherboard, which is equipped with a Thunderbolt 4 controller. The whole installation took a couple of minutes, and there were no issues with recognizing the device or anything else.
Now it’s time for some performance tests. Let’s move to the next page.

