


Exterior
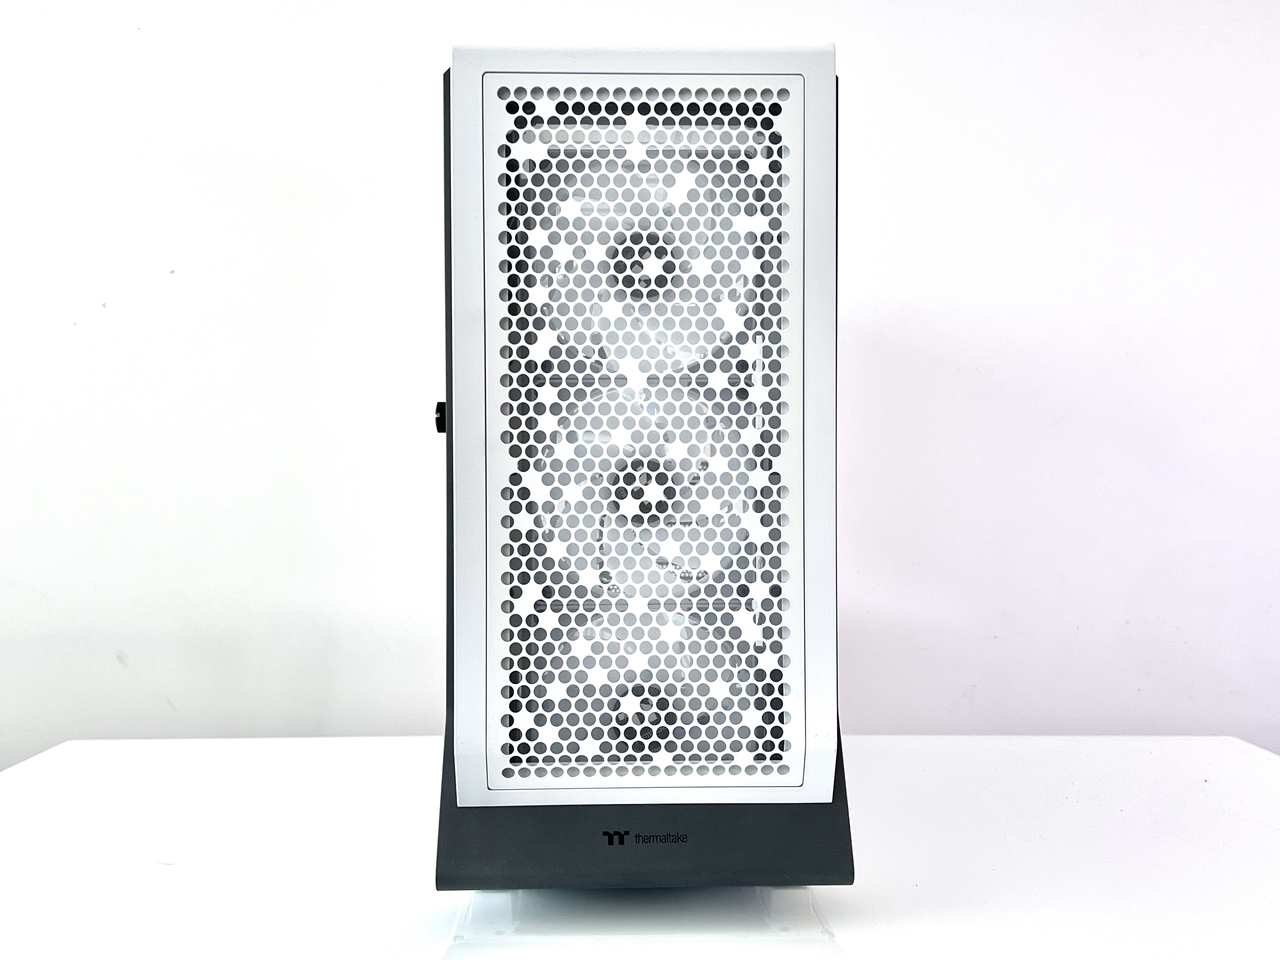
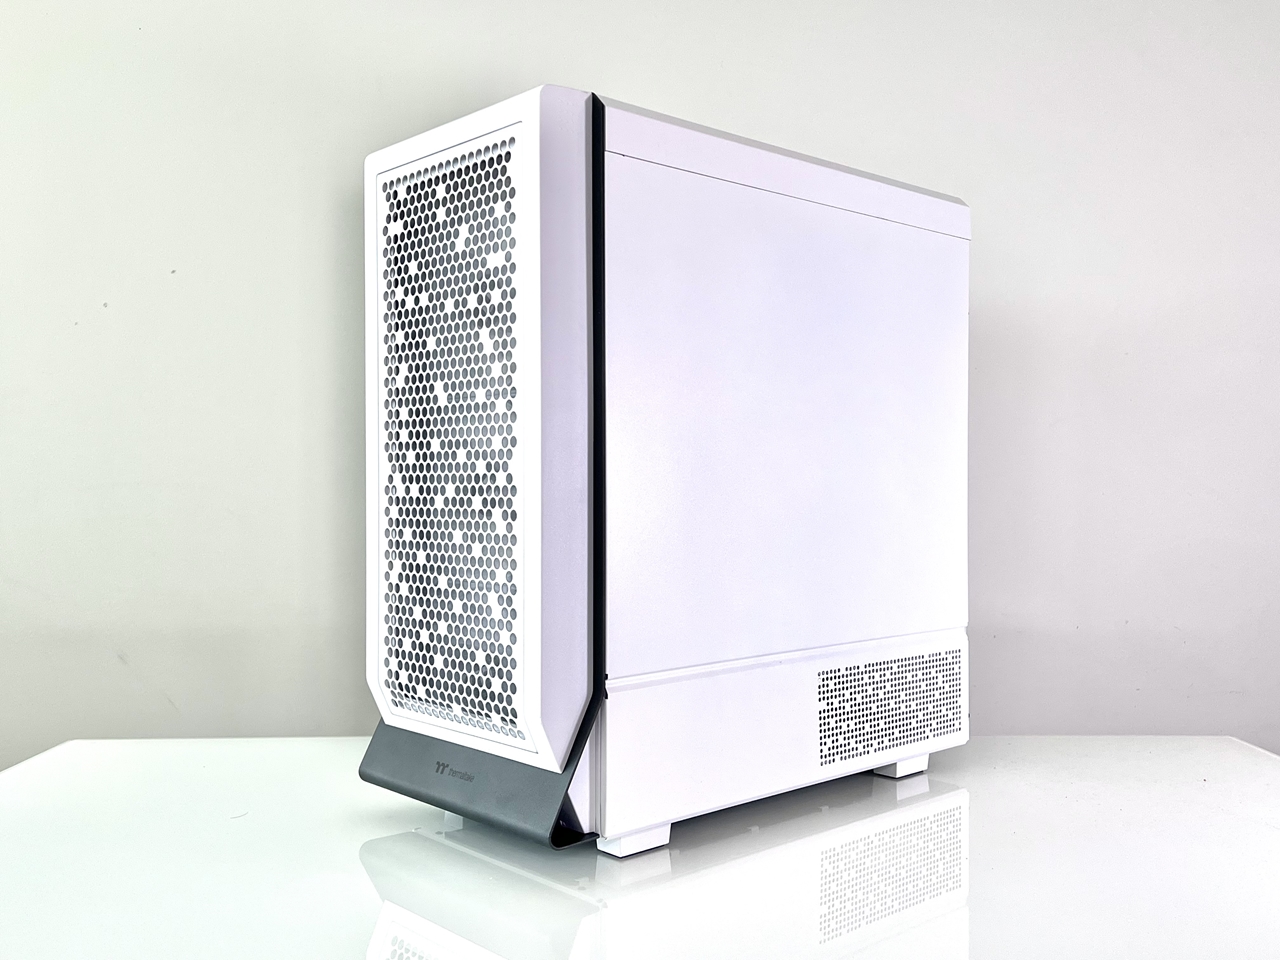
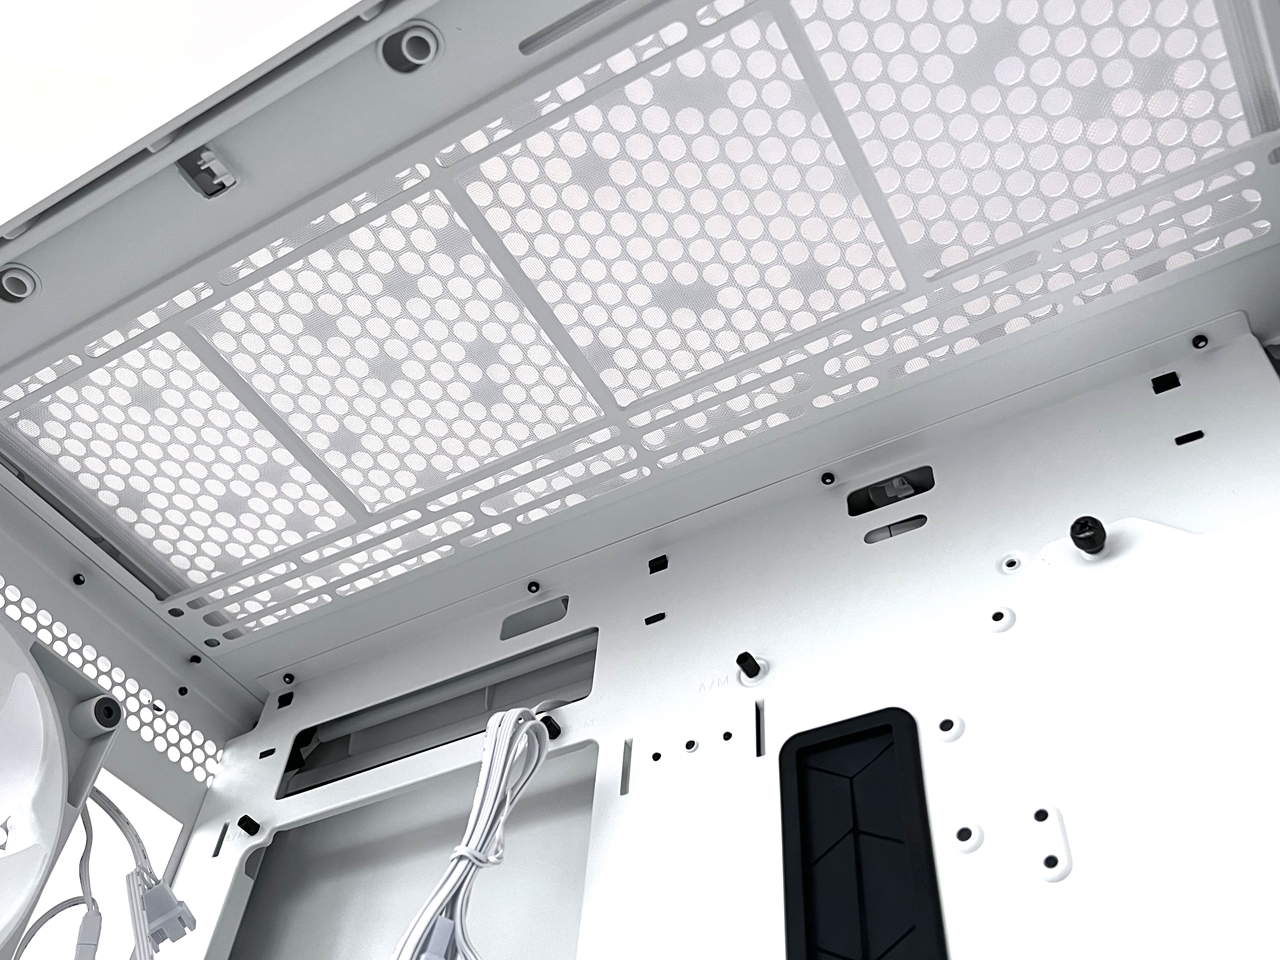
The chassis measures 20.7 x 9.6 x 20 inches and looks about right for a standard ATX mid-tower case. I like the top and front panels which are perforated allowing excellent airflow.

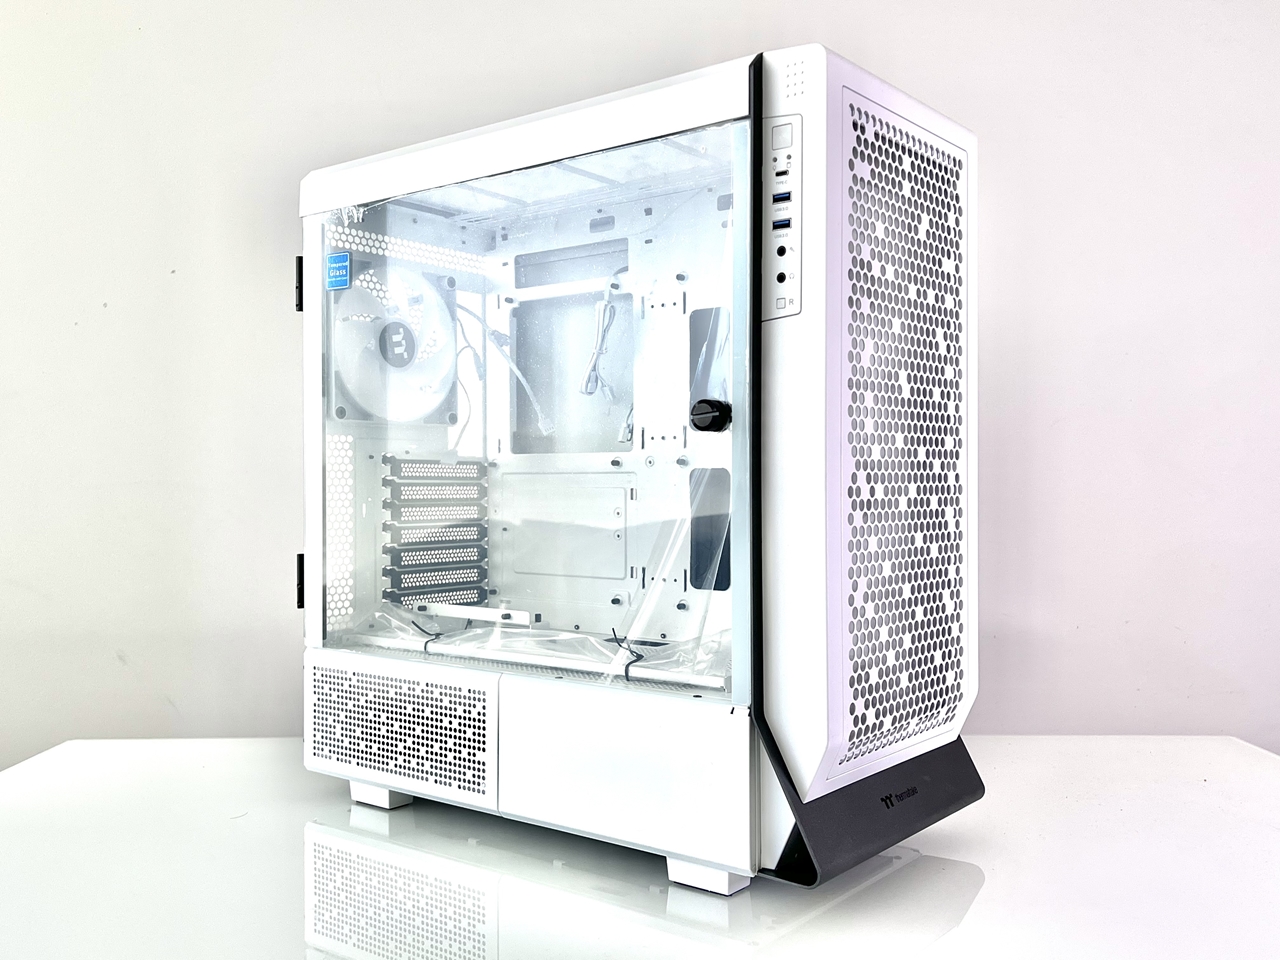
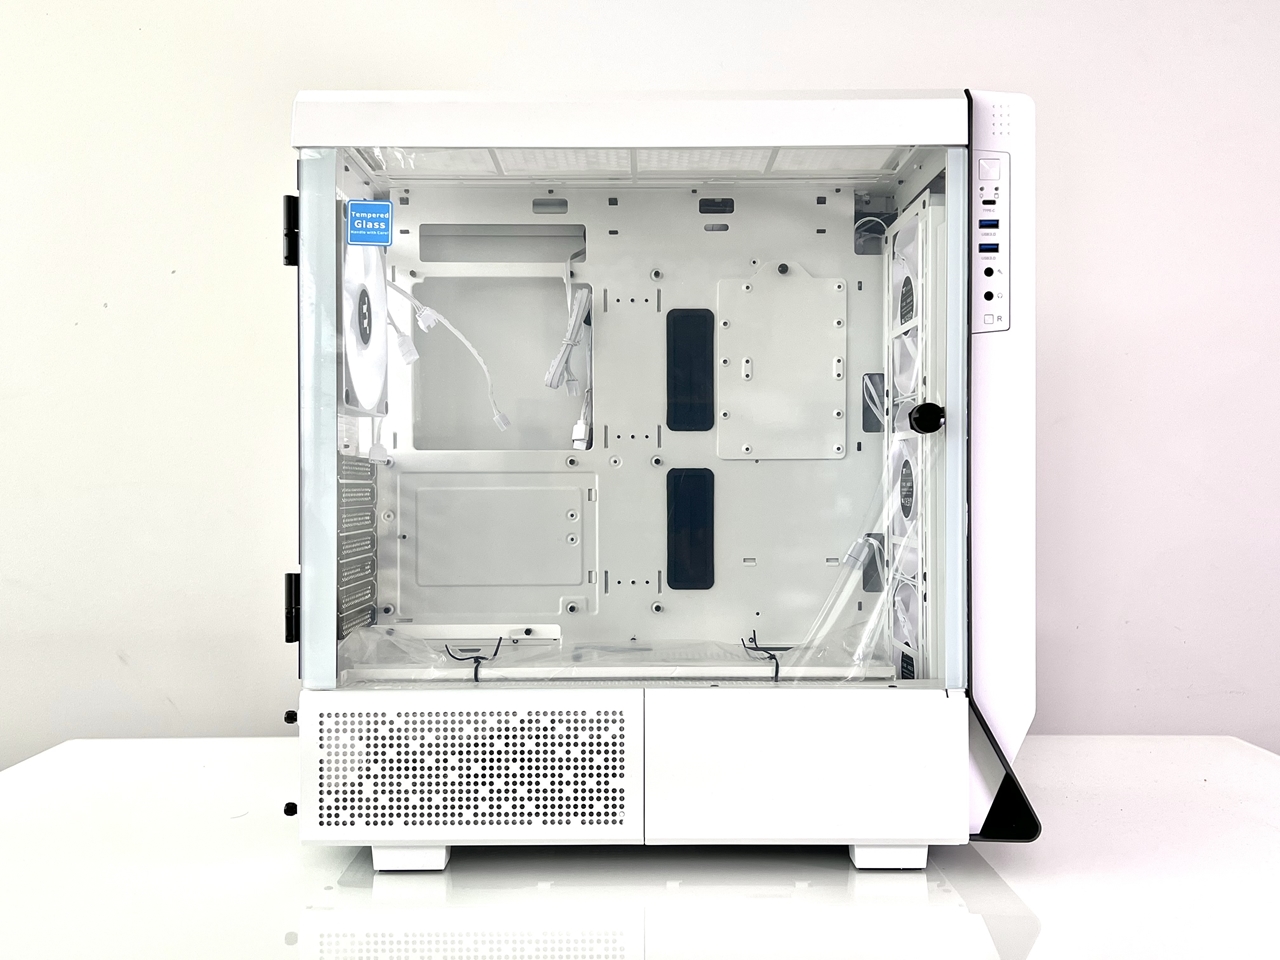
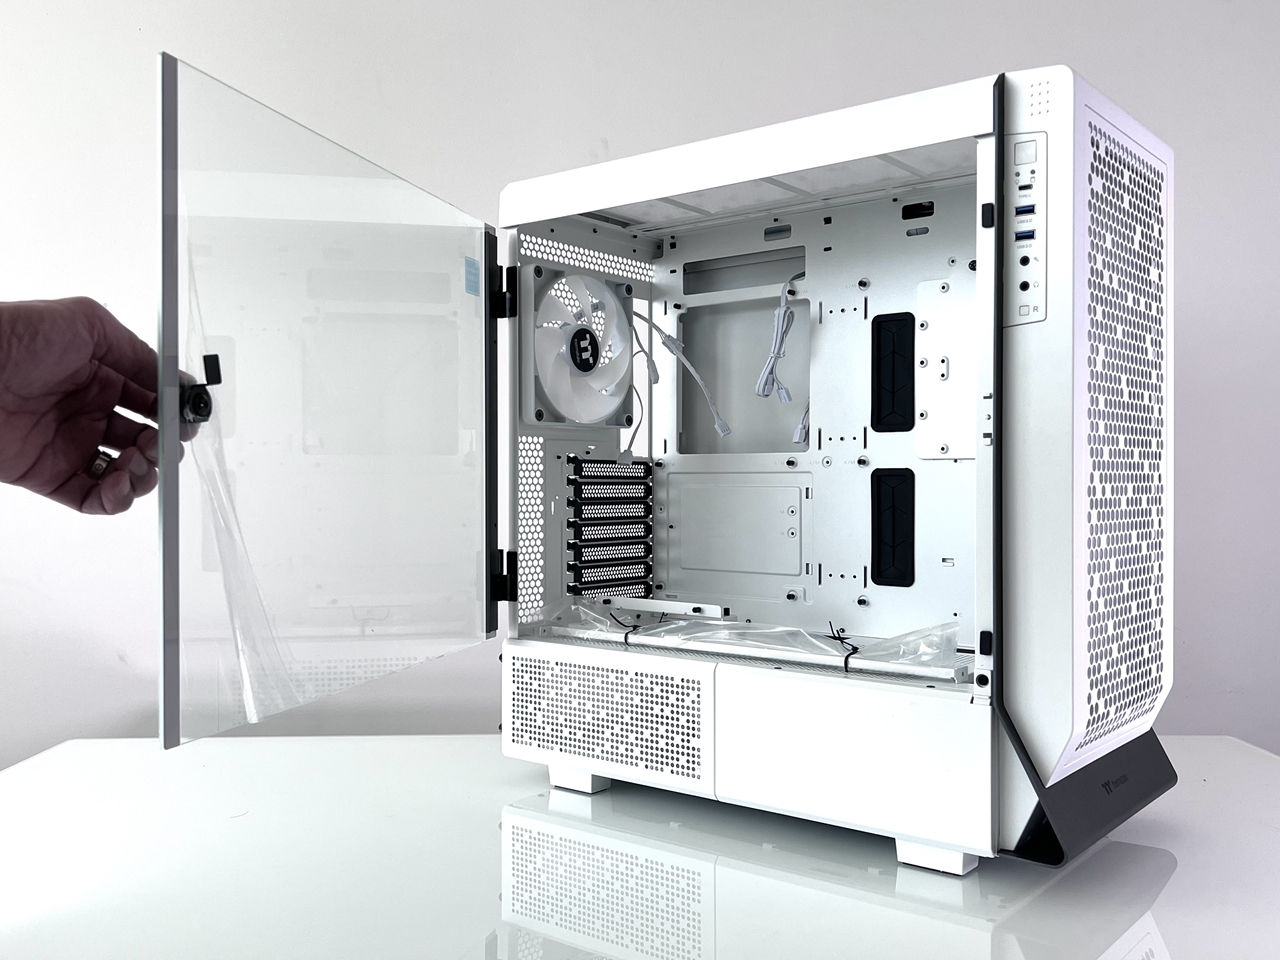
All the panels for the chassis can be easily removed, such as top, side, front and PSU panels. The 3mm hinged tempered glass panel (with knob) on the left side offers stunning views, and this hinged design makes removing the side panel easy, plus it allows you to access to components with ease.
Interior
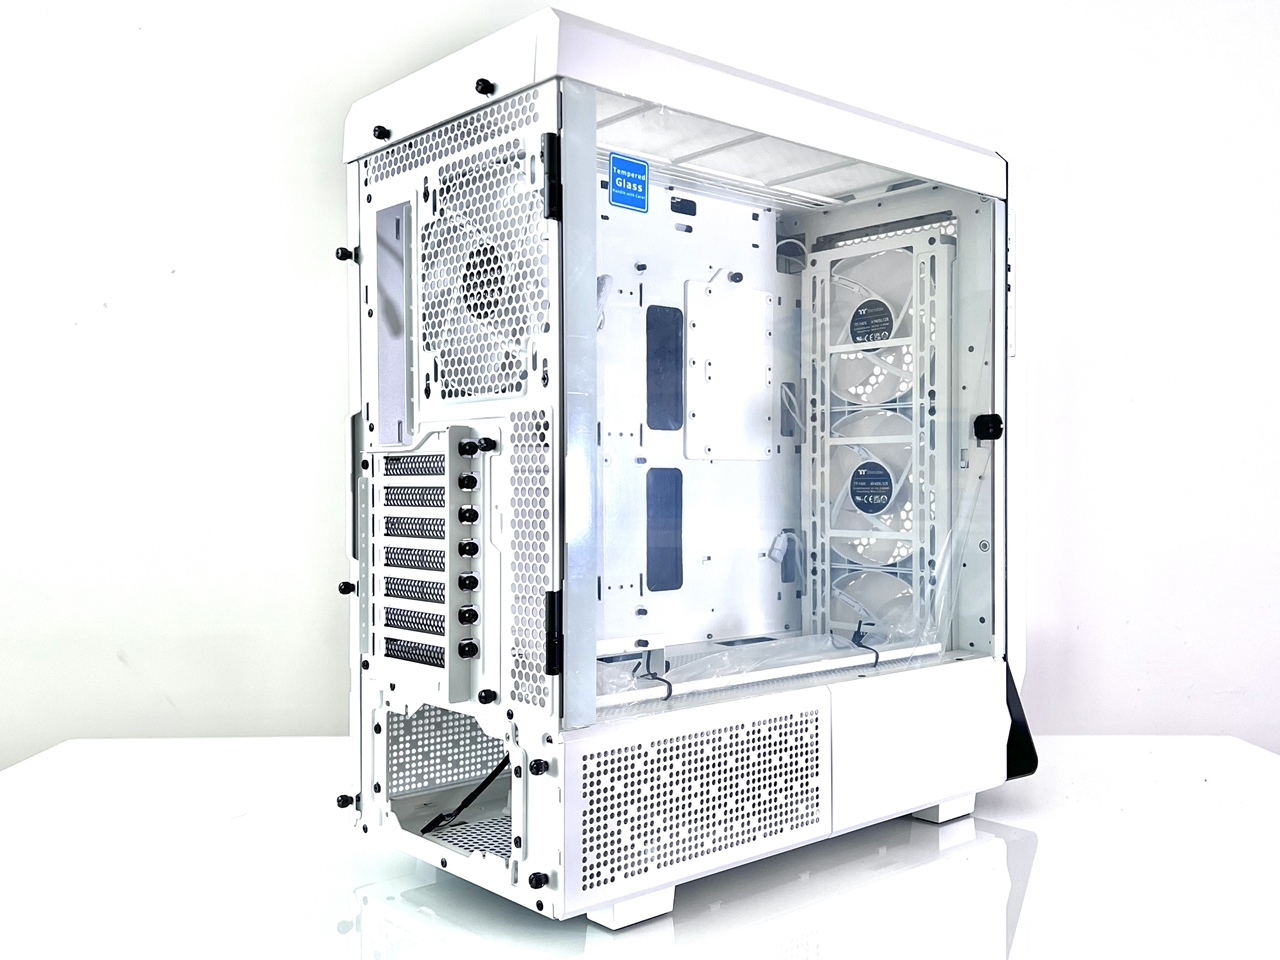
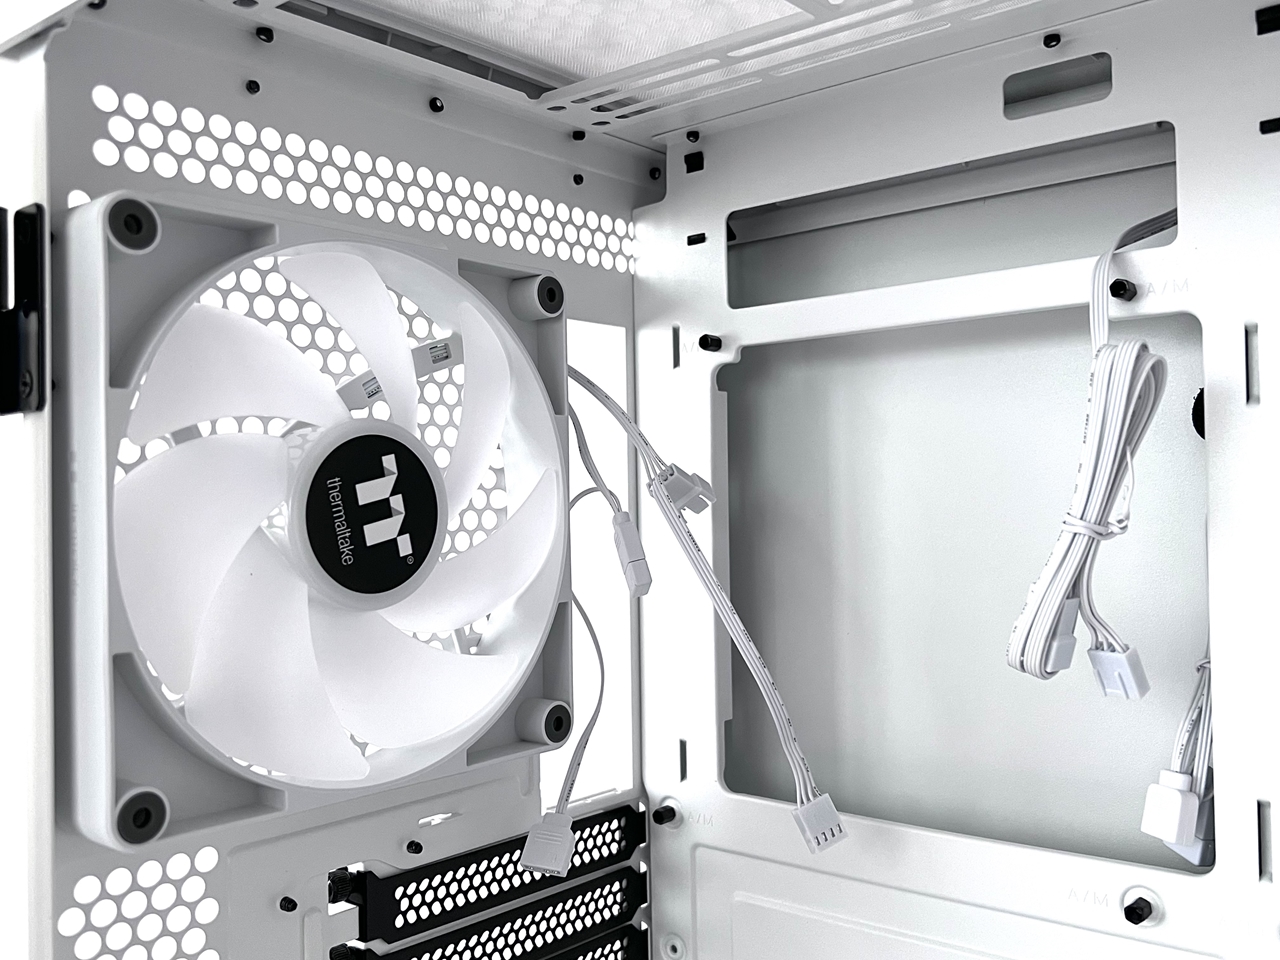
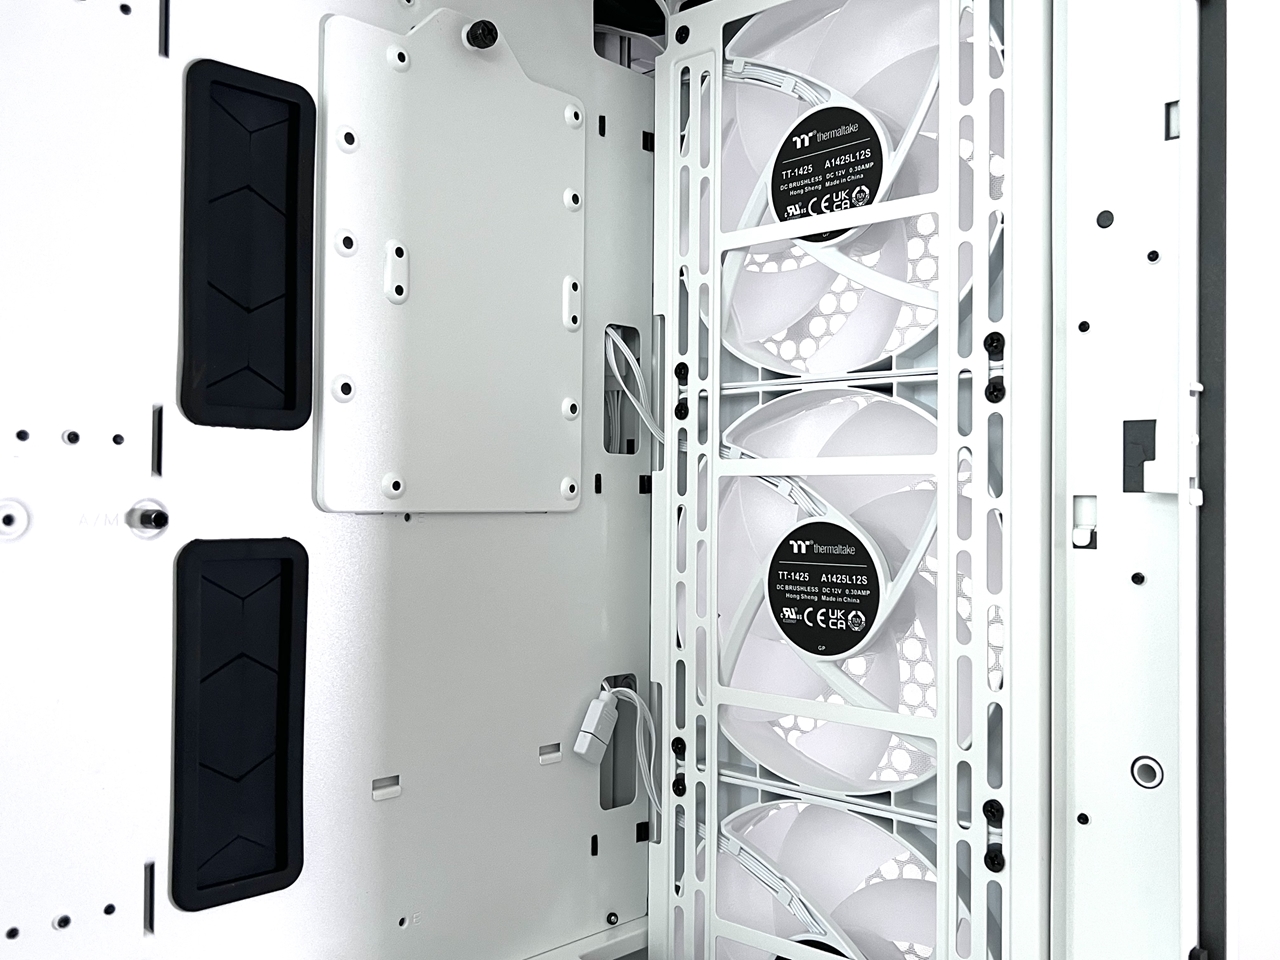
Inside the chassis, you’ll find 1 pre-installed 140mm CT140 ARGB cooling fan at the rear, and 3 more fans at the front of the chassis. Each fan is 140mm in size with a fan speed of 1500rpm, and a noise level of 30.5 dBA.
You can fit a 360mm radiator at the top, and a massive 420mm at the front. Although I’ve never really seen this size radiator before.
Surprisinly, I find there’s plenty of space inside the chassis, and you should be able to fit any size motherboard from the tiny Mini-ITX all the way to the massive E-ATX.
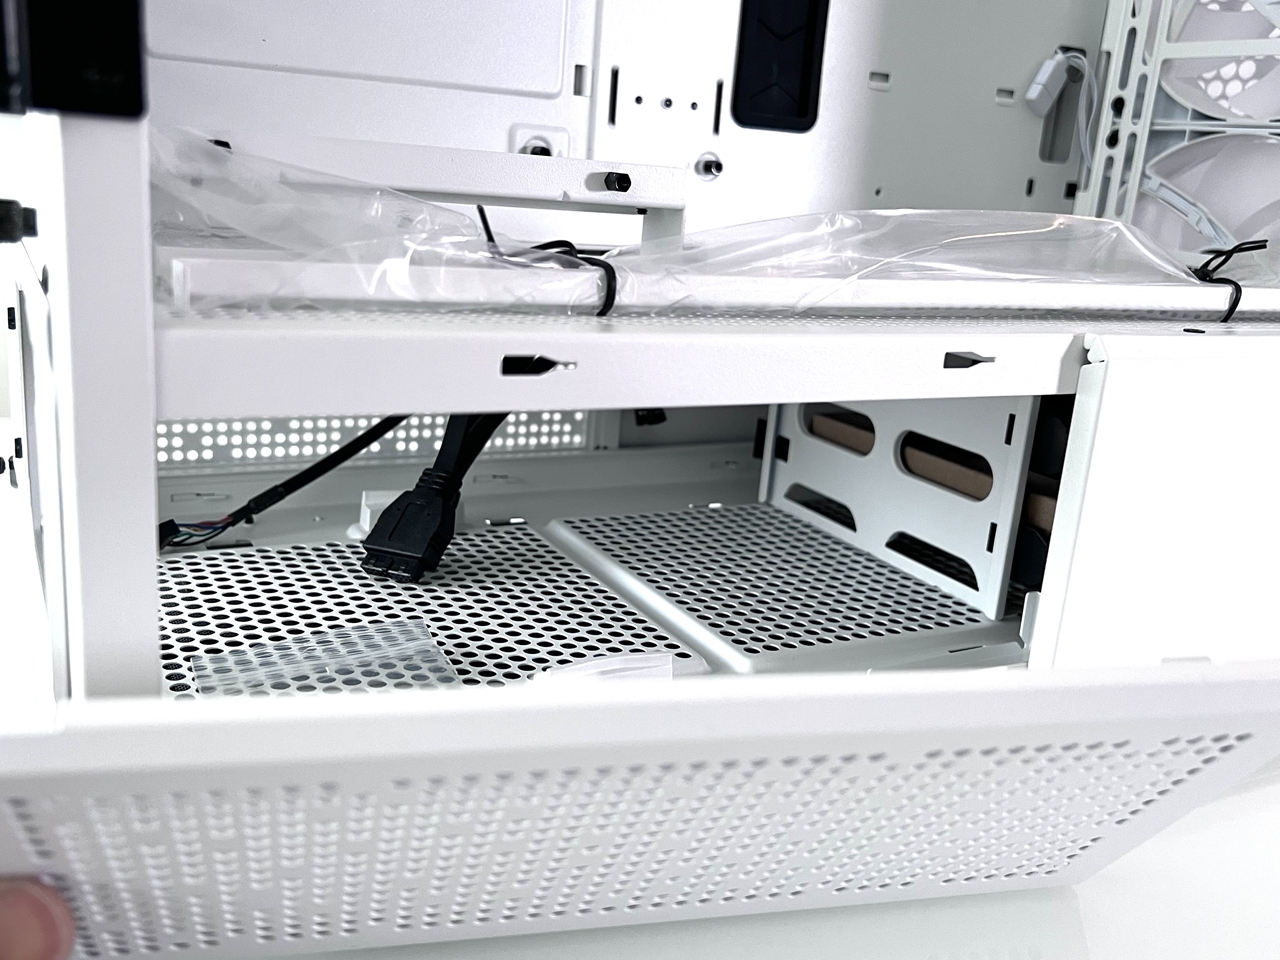
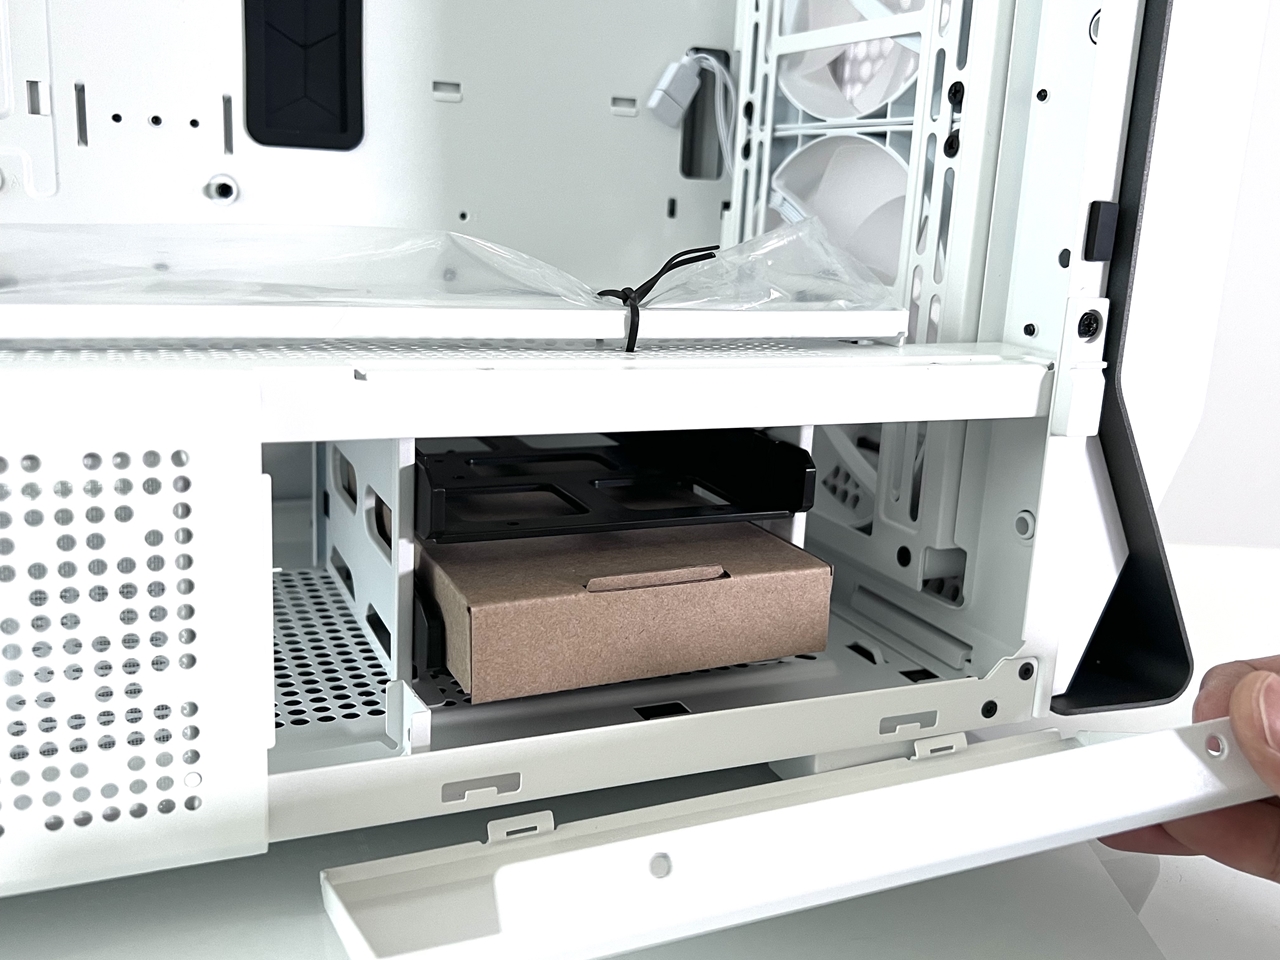


Hidden behind the PSU cover, you’ll find a 3.5″ bracket for mounting upto 2 hard drives. And you can mount up to 6 x 2.5” hard drives thoughout the chassis.
A Closer Look
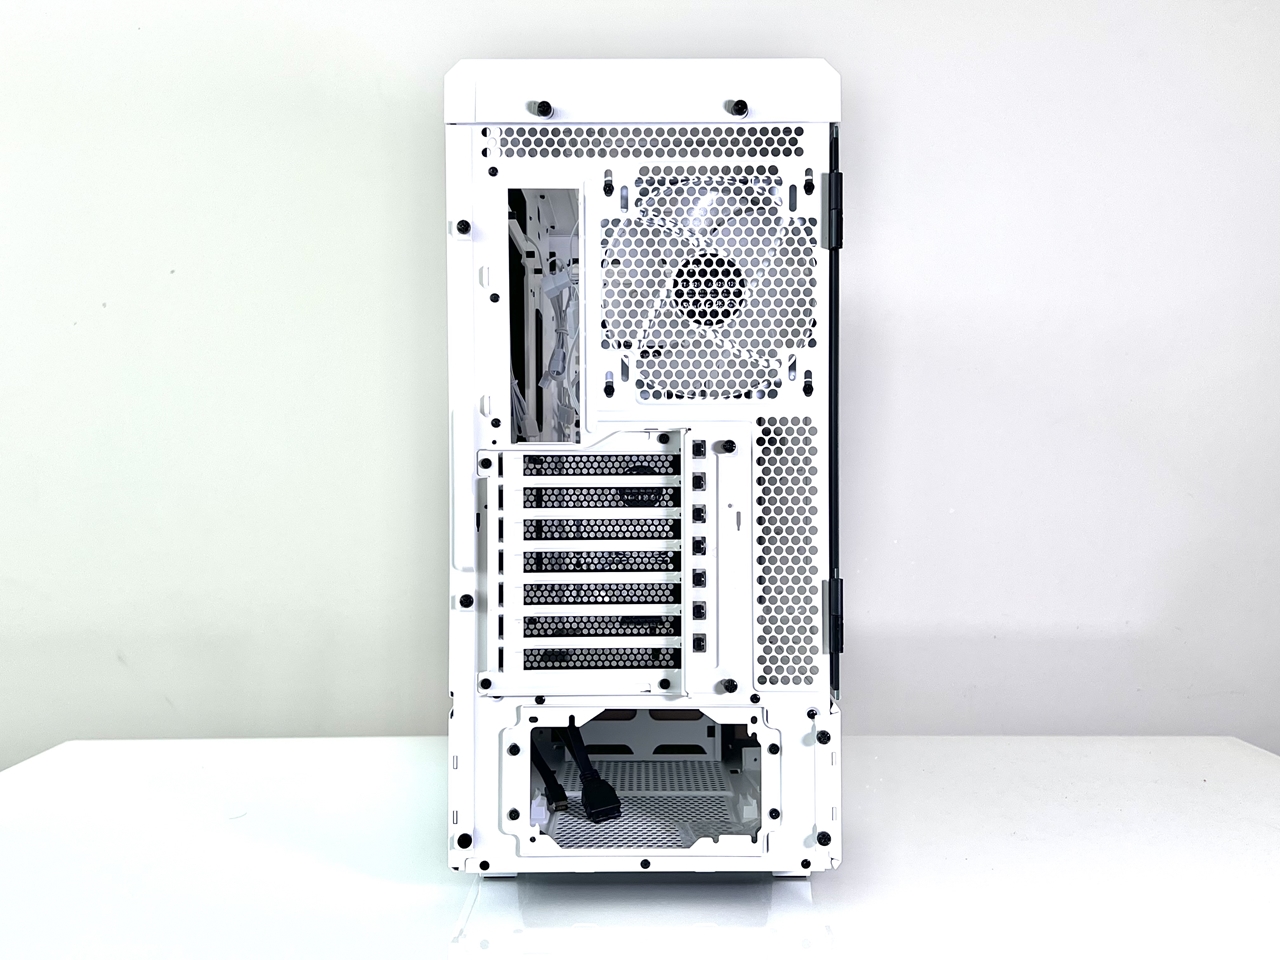
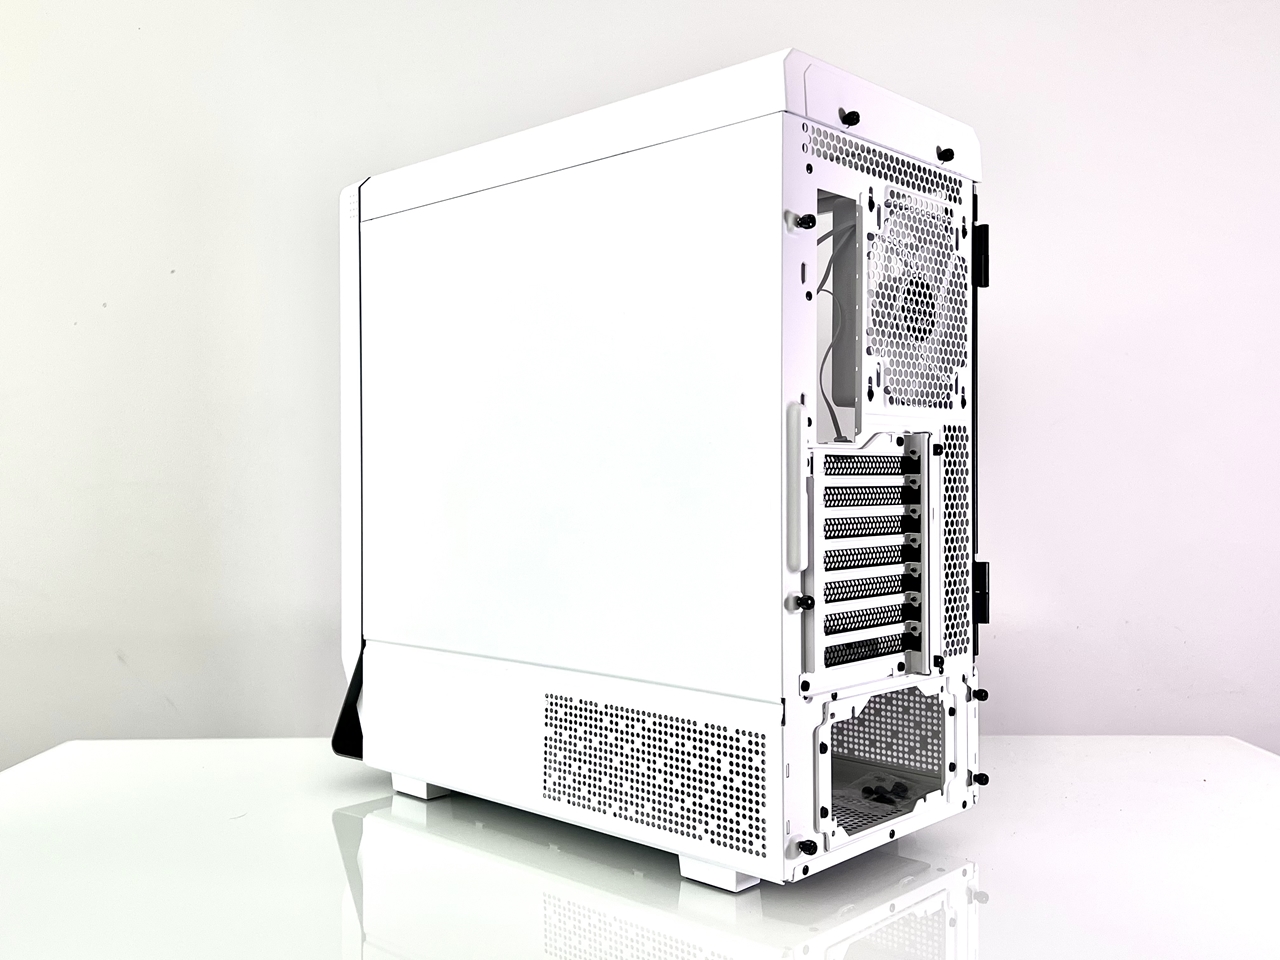
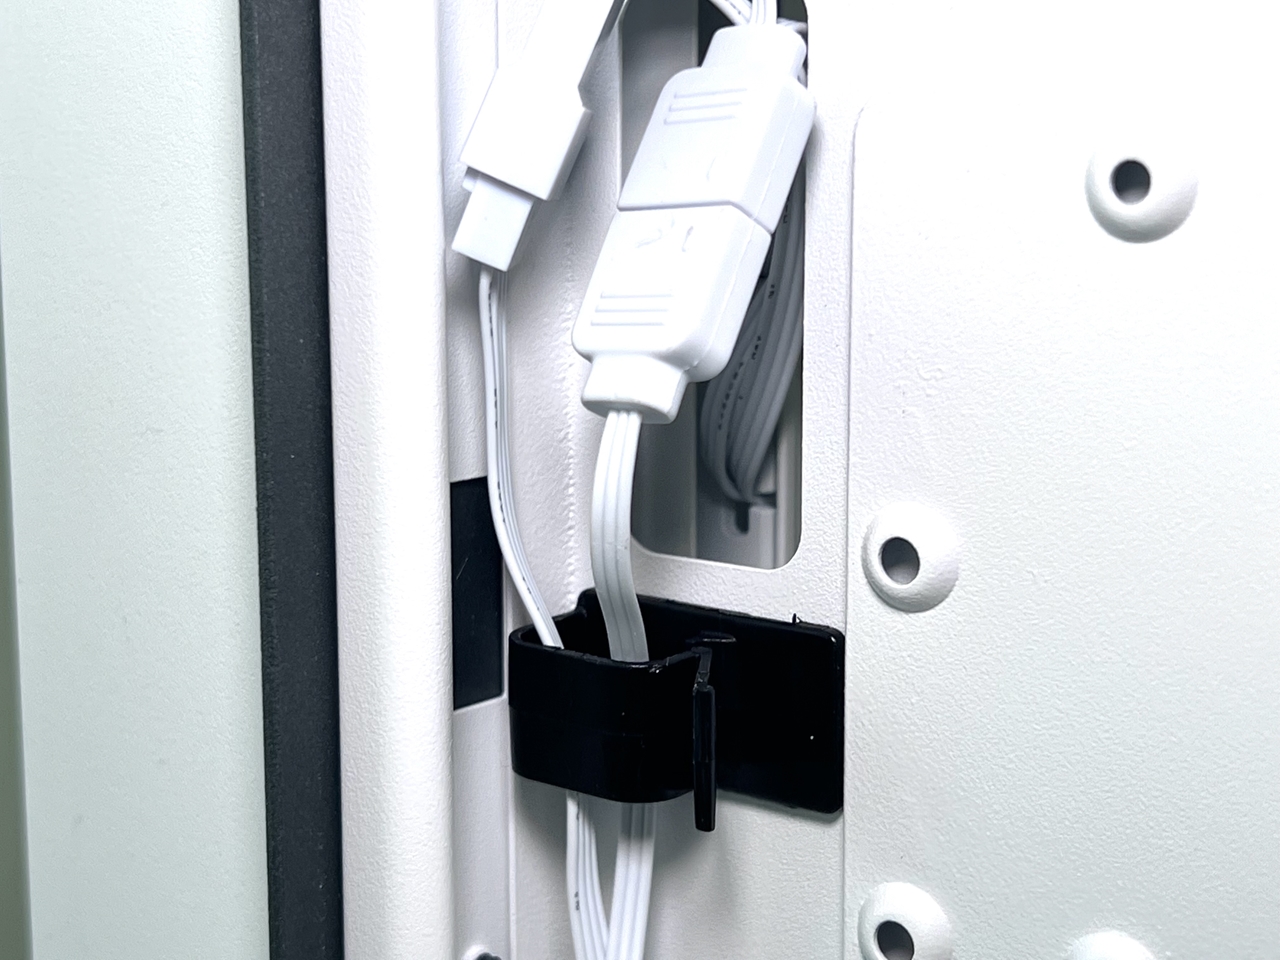
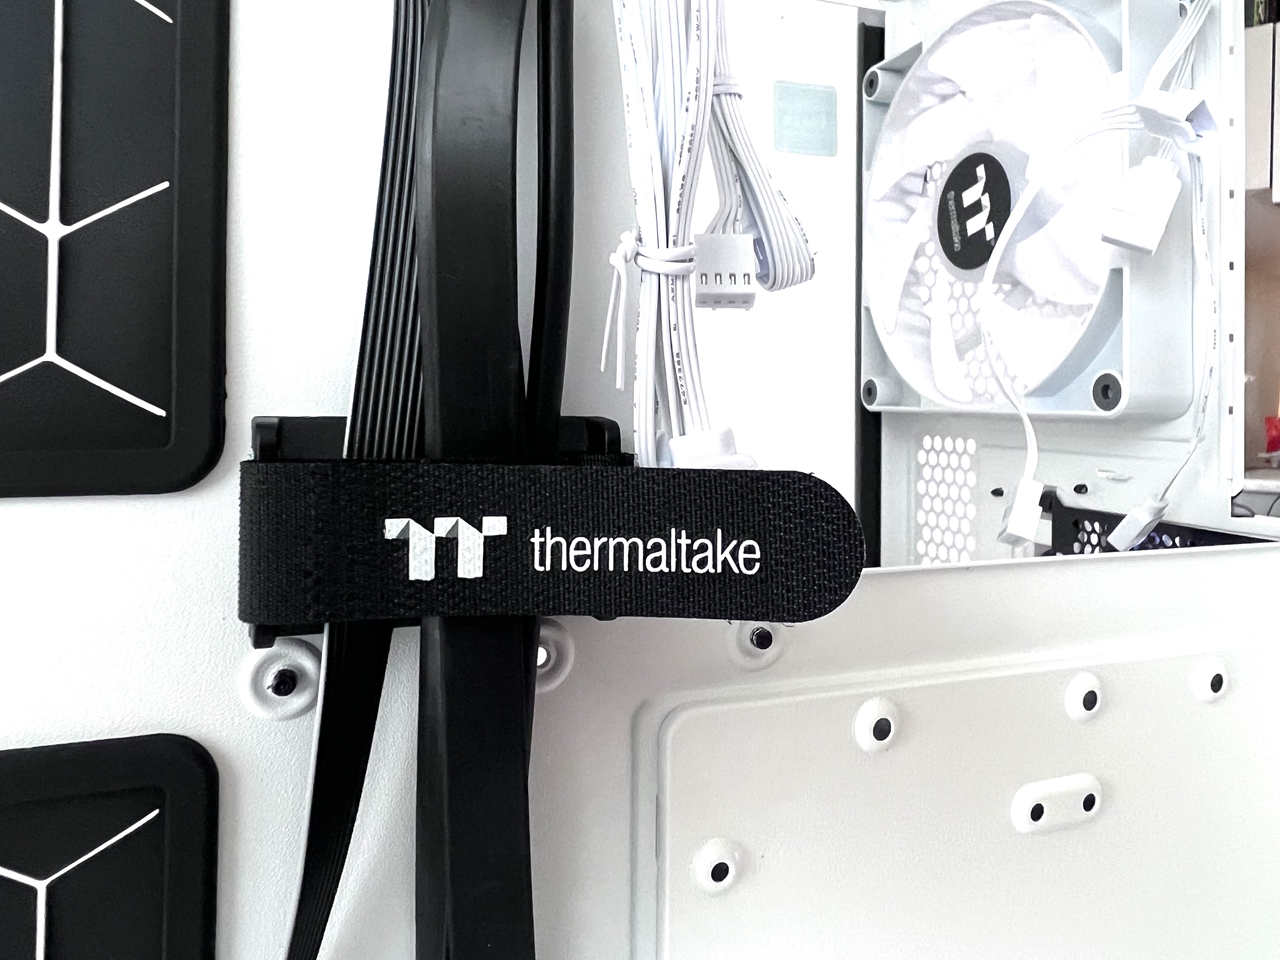
After removing the right side panel, you’ll find there’s pretty of options for cable management. I love the velcro straps and plastic clips which allows you to tidy up your cables with ease.
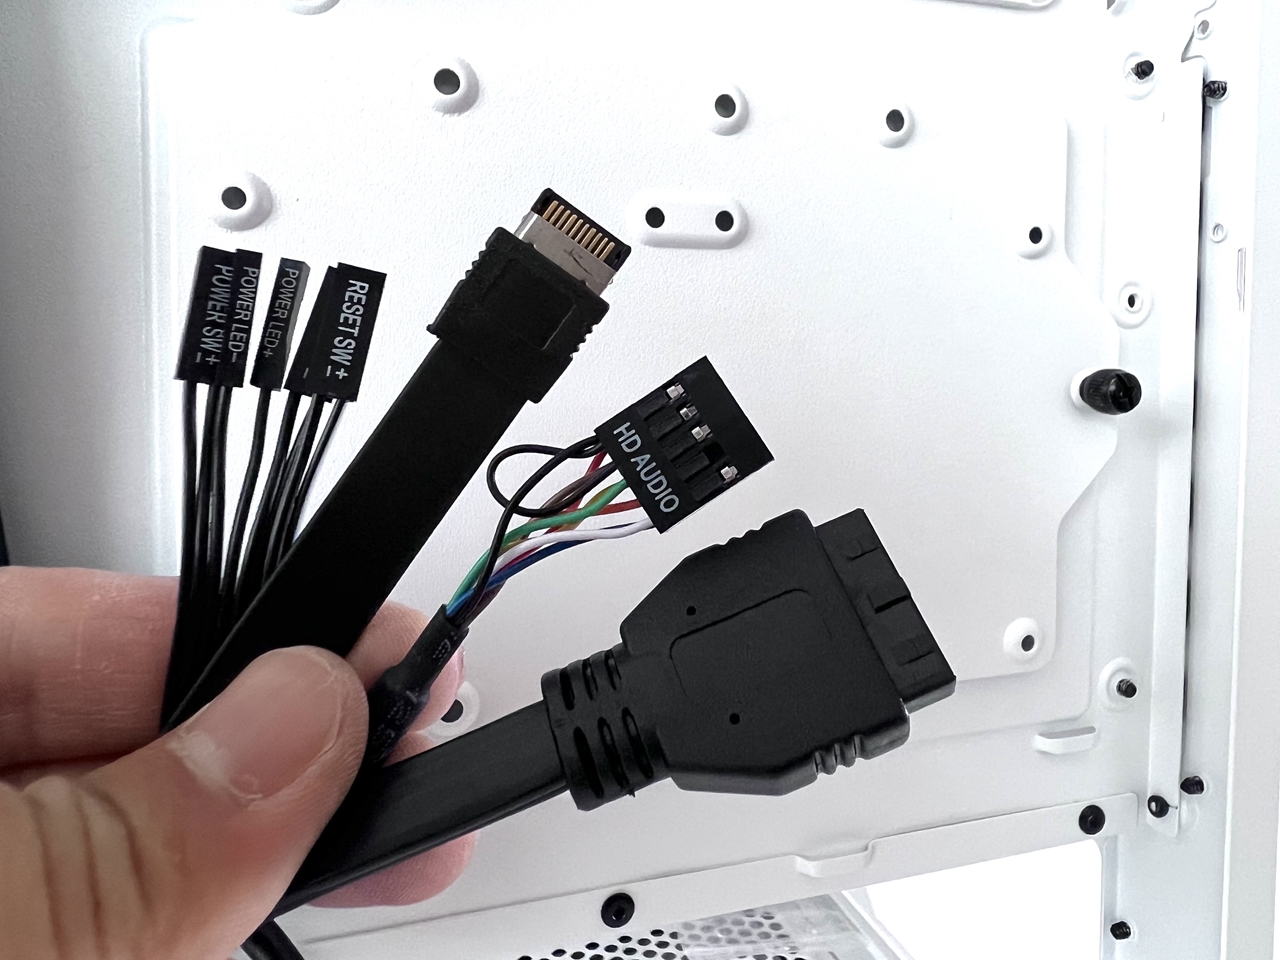
Front I/O ports include 1 x USB 3.2 Gen2 (Type-C), 2 x USB 3.0, Mic-in, Line-out, power-on button and a reset switch.
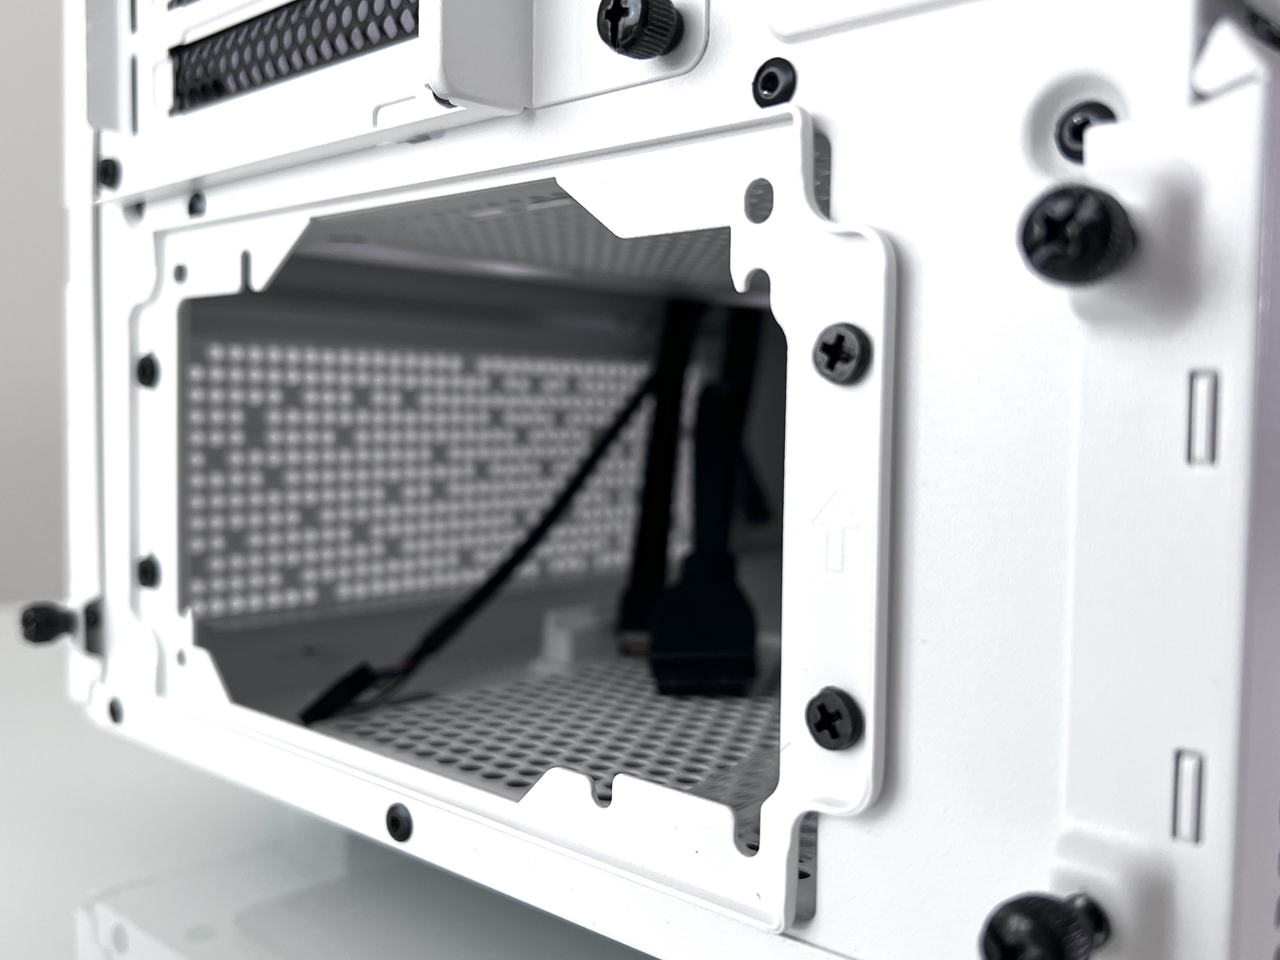
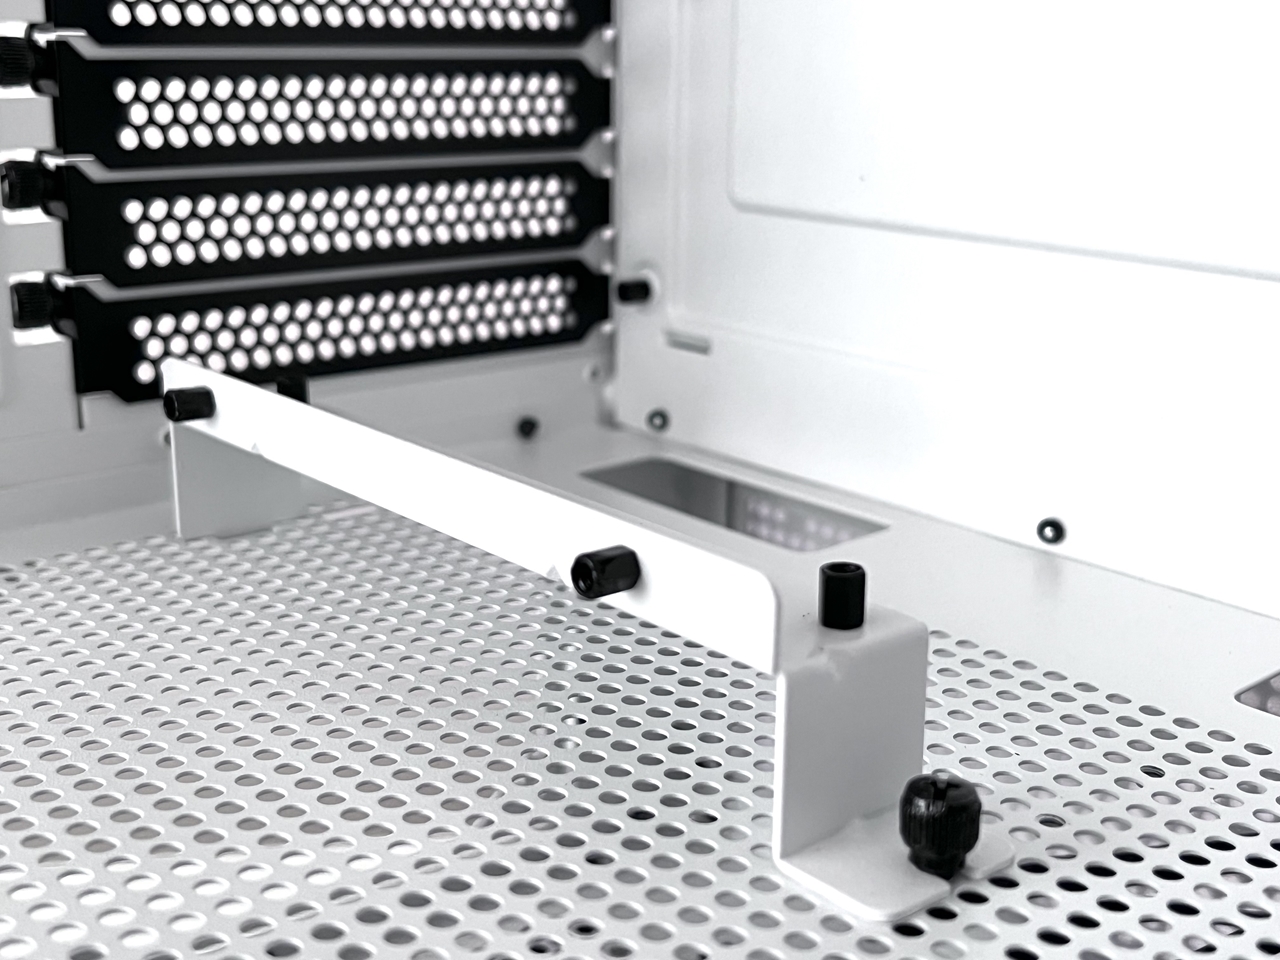
You’ll also notice the vertical GPU mount fitted (default) on top of the PSU cover. If you buy the PCIE riser cable, then all you have to do is intall it and connect it up.

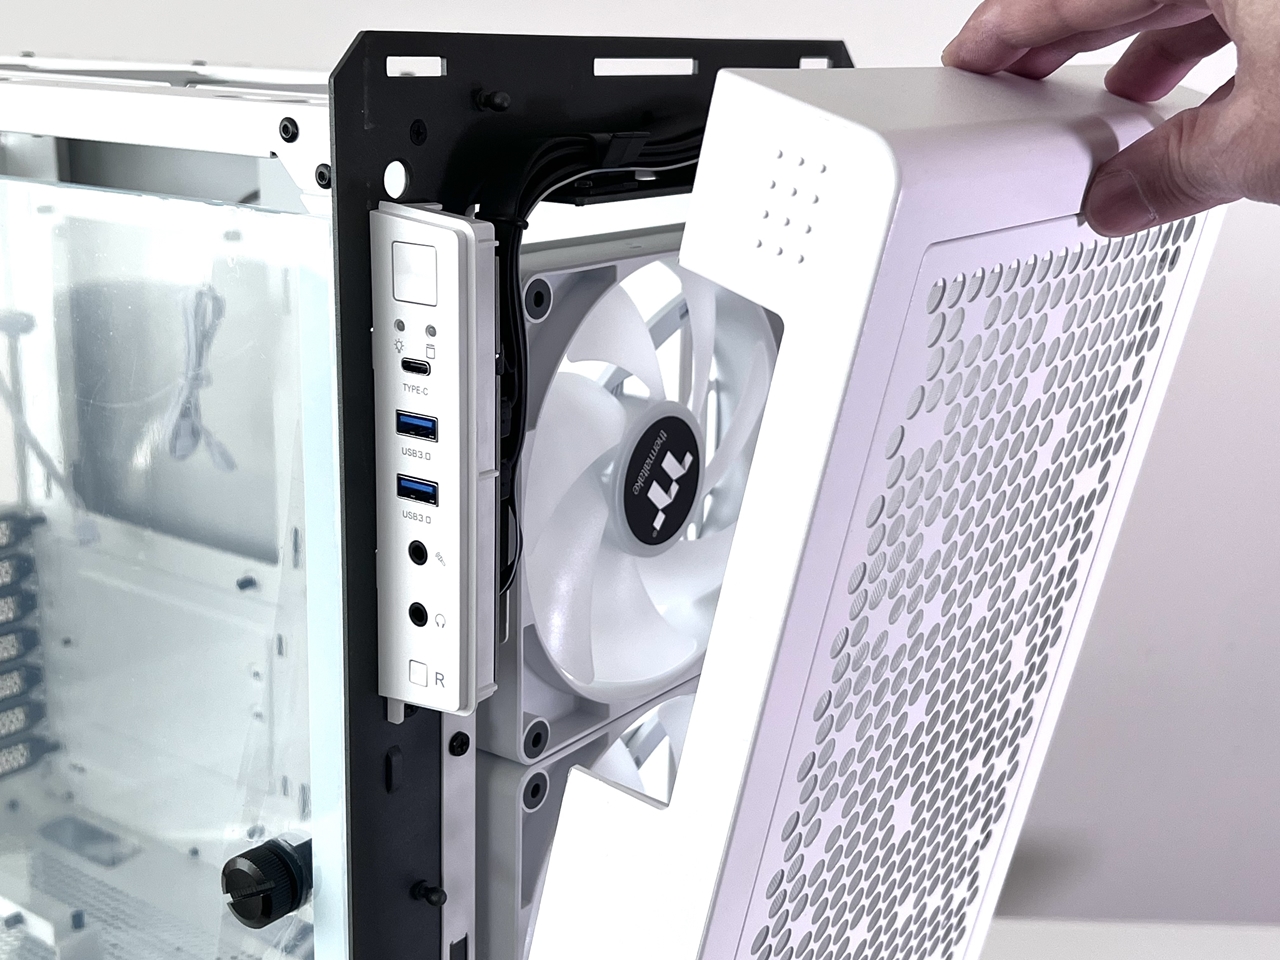
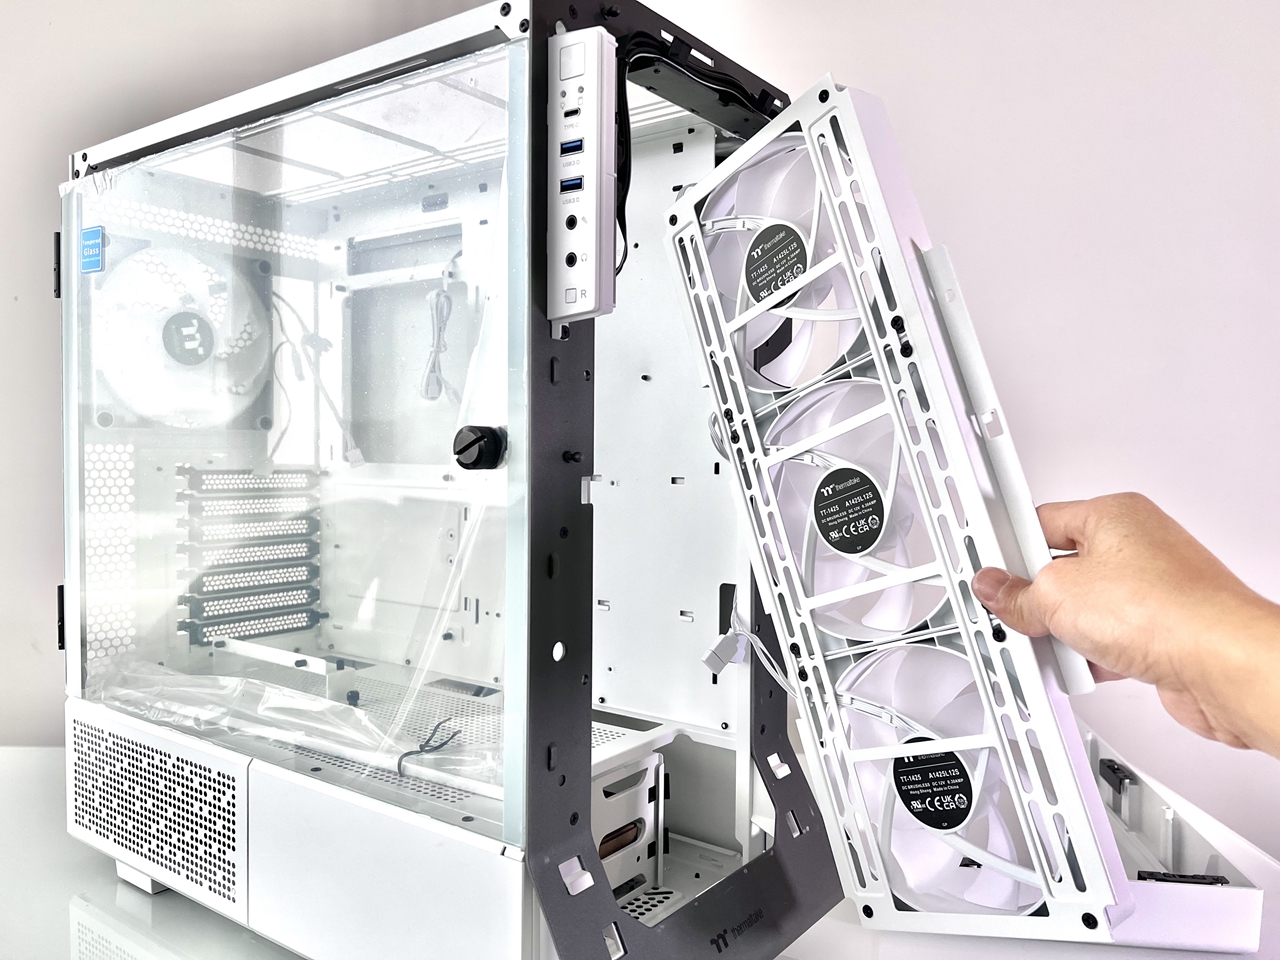
The entire fron panel which holds the 3 x CT140 cooling fans can be removed, allowing you to fit a 420mm radiator if needs be.
The 3-pin ARGB cable from the CT140 cooling fans are easily accessible, all except the one at the rear of the chassis. I find it to be a little too short for connecting up to the motherboard.
As for the hinged 3mm tempered glass side panel … we recommend you remove it completely during your system build. The last thing you want is to have your tempered glass cracked or scratched during installation.

