


Time for the paint!

I’m aiming to get the paint job done in 4 to 6 coats altogether. I’m starting off with a primer which I got from a model store that is suitable for both plastic and metal. The primer will coat both the frame and it’s pieces, and the cover itself.

For the base colour, I’m opted for car paint which I mentioned earlier, and I will look to apply 2-3 coats of this.
I’m also got a can of lacquer which I will use only if the finish is not glossy enough, but only as a clear coat to spray on, and then sand off for the smoothest finish to get that shine.
Between each coat I will be sanding down to as smooth a finish I can get, and then switching to wet sanding on super fine sandpaper to remove the lacquer.

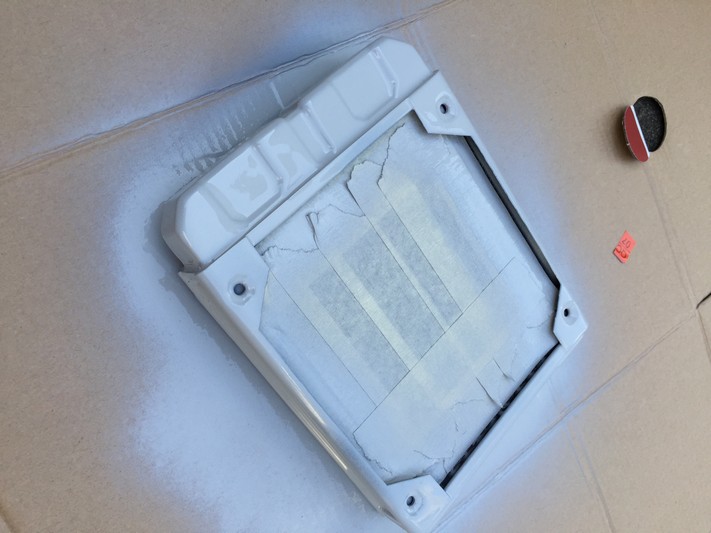
I did not want to lose too much heat dissipation properties of the 120mm Bitspower slim radiator, after all it is designed to remove as much heat from the liquid coolant as possible. So to prevent this, I had to mask off all the cooling fins to protect them from the paints.
The first coat of primer

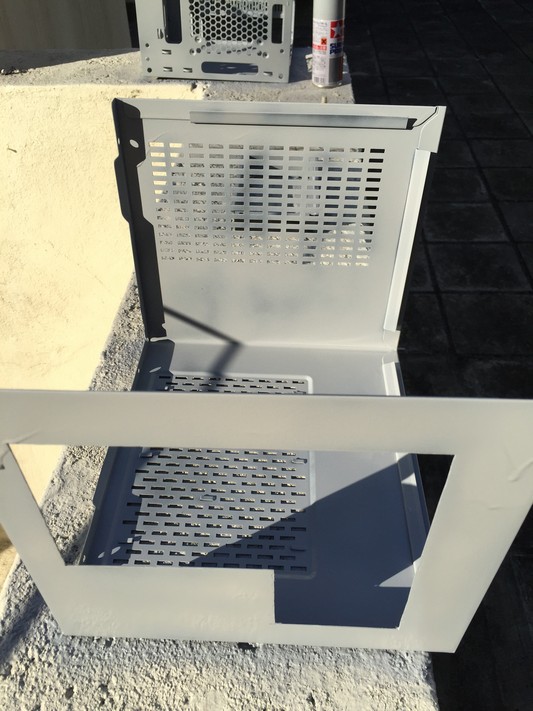

The primer went on easily and was touch dry in around 20 minutes in an open area. My mistake here was I only one can of primer and I only did 2 thirds of the case, so I will need to go out and buy another 3 cans.


If you look closely at the above 3 photos you will see oversprays of the primer running down the casing, and bubbles of paint. This is why it is crucial to let the casing dry completely before a quick sand down so that I can get a smooth surface at the end which a good about of shine.

