


A Closer Look: Exterior
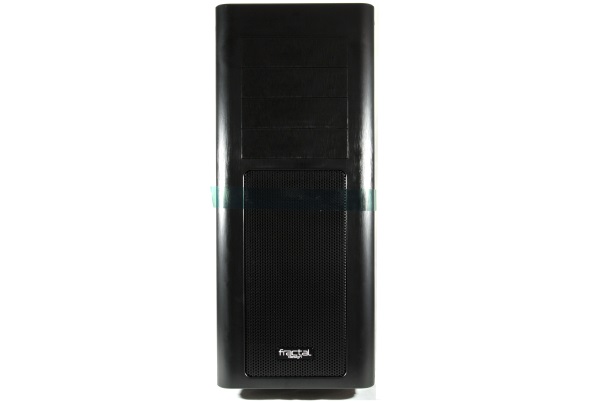
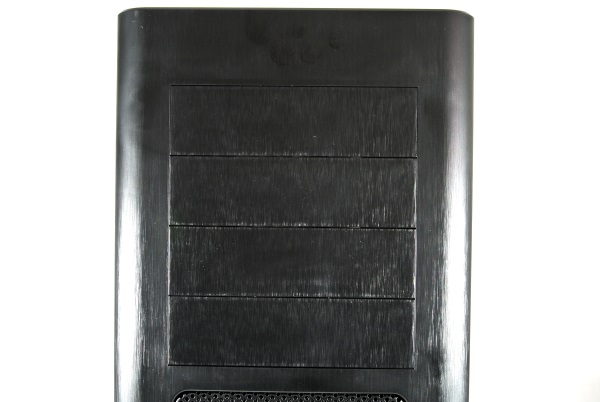
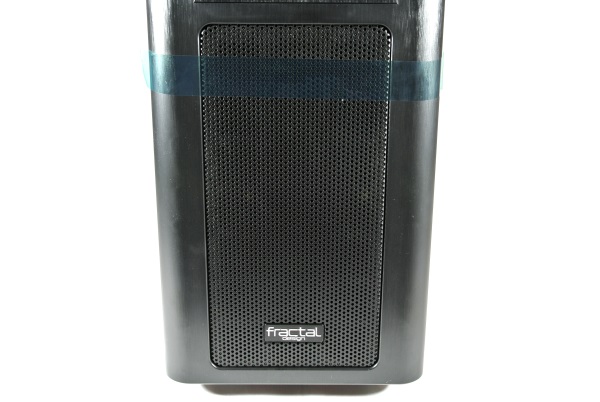
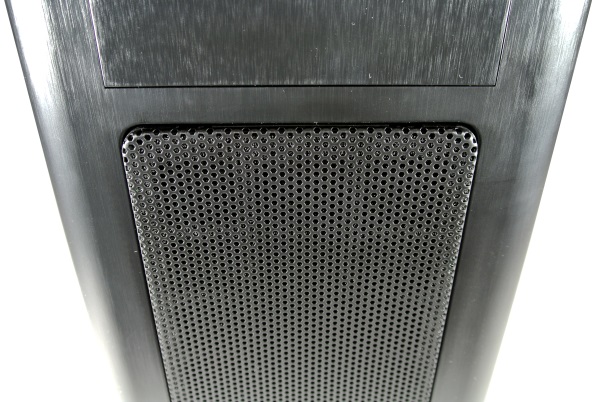
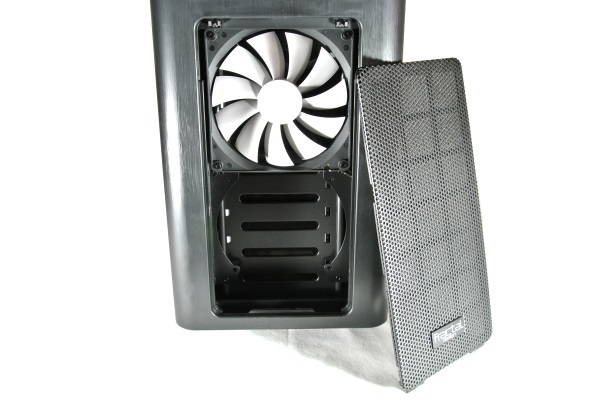
The first impression I get from the ARC XL is that the design is very simple, yet very sleek and modern. This chassis itself has a smooth matte finish that, thankfully, is not prone to major fingerprinting. The left side of the chassis is home to a side panel that houses a nice smoked window that will allow your more aesthetically pleasing computer components to be viewed from the outside. The front face plate is curved with rounded edges at the sides; and only has a single small Fractal Design logo towards the bottom of the front grill. The brushed finish of the front face plate is aesthetically pleasing, even though it is plastic. For shipping purposes you will notice a piece of tape across the front to keep the vent grill in place. To get a closer look at the front panel filter, we first have to remove the front grill. We simply have to press the top of the grill in at which point it will spring out for release and reveal the front hydraulic bearing 140mm Silent Series R2 intake fan. The front panel itself is easy enough to remove also just by giving it a good tug from the bottom. All of the chassis controls and front panel ports are located at the top of the chassis next to a larger ventilation grill. All in all the ARC XL resembles its smaller sibling the ARC Mini R2, unsurprisingly. That is not necessarily a bad thing though!


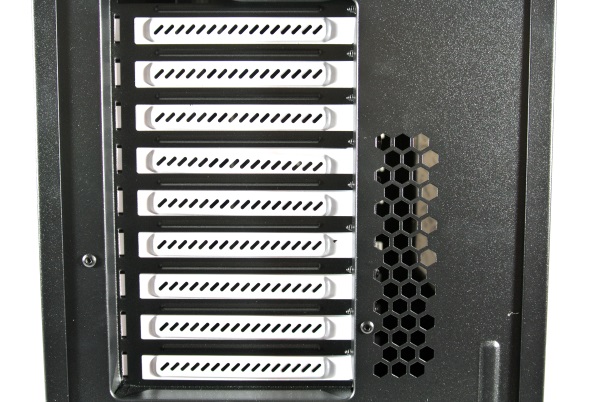
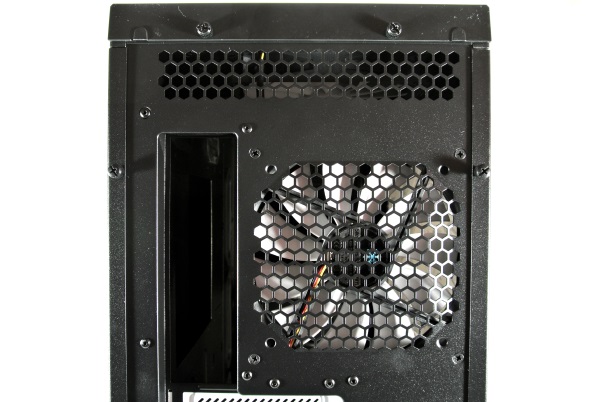
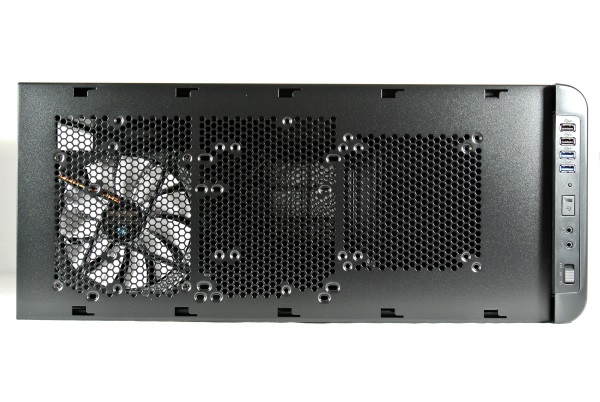
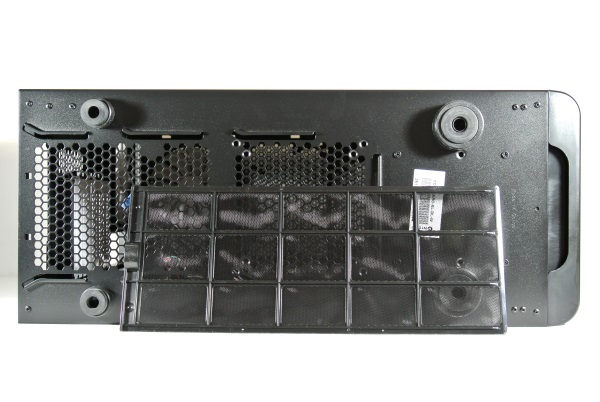
The rear side of the ARC XL has a pretty standard layout featuring a rear hydraulic bearing 140mm Silent Series R2 fan pre-installed, nine motherboard expansion slots (WOW), and a power supply mount at the bottom of the chassis. What is most noticeably missing are the rubber grommeted holes for water cooling setups.

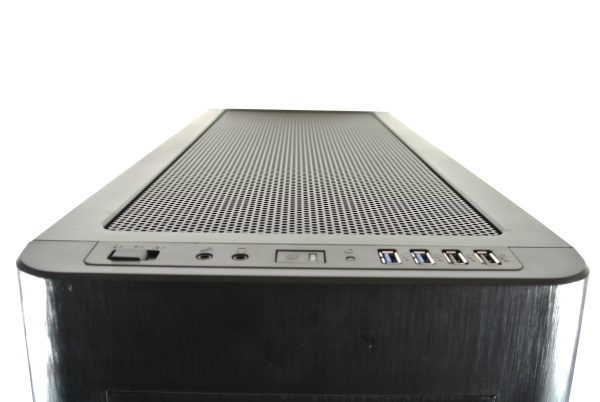
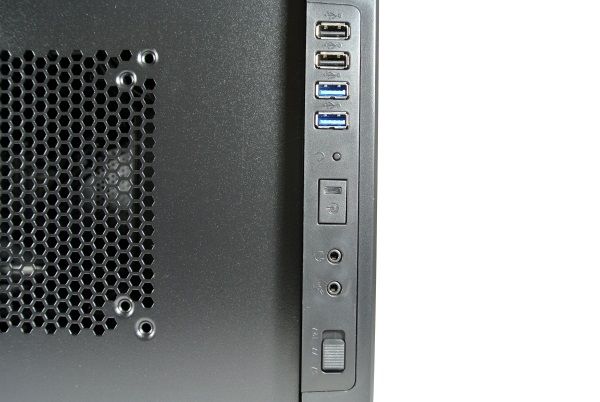
The top side of the ARC XL chassis has a long filtered vent and is also removable via two thumbscrews. Also visible here towards the front of the chassis are the front panel connections which have a slightly different layout than the ARC Mini R2. Located here are the headphone and microphone ports, a power button with power and HDD activity LED, a really tiny reset button (again), a pair of USB 3.0 ports, a pair of USB 2.0 ports, and a fan controller switch that features 5v, 7v, and 12v settings. Removing the top panel from the exterior of the chassis is simple enough, just remove the two thumbscrews at the rear of the chassis. Once removed we can get a direct look at the filter used for the upper vent as well as the additional space that can accommodate up to a 360mm radiator!
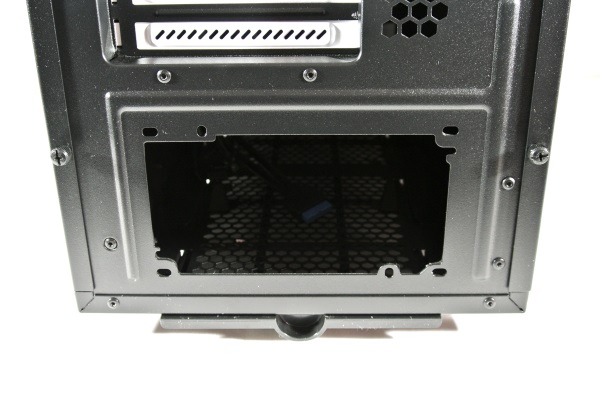
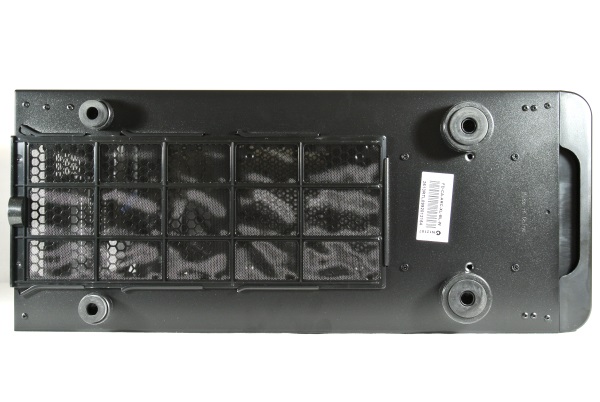
On the bottom side of the chassis, we discover an external removable filter that covers the vents directly beneath the power supply mount as well as an additional space for a 120mm or 140mm fan. As with most chassis, there are also four rubber feet that lift the chassis up from the surface to allow for positive intake airflow and also dampen any noise or vibration that may occur.

Now that we have examined the exterior of the ARC XL, let us take a closer look at the interior!

