


Conclusion and Verdict
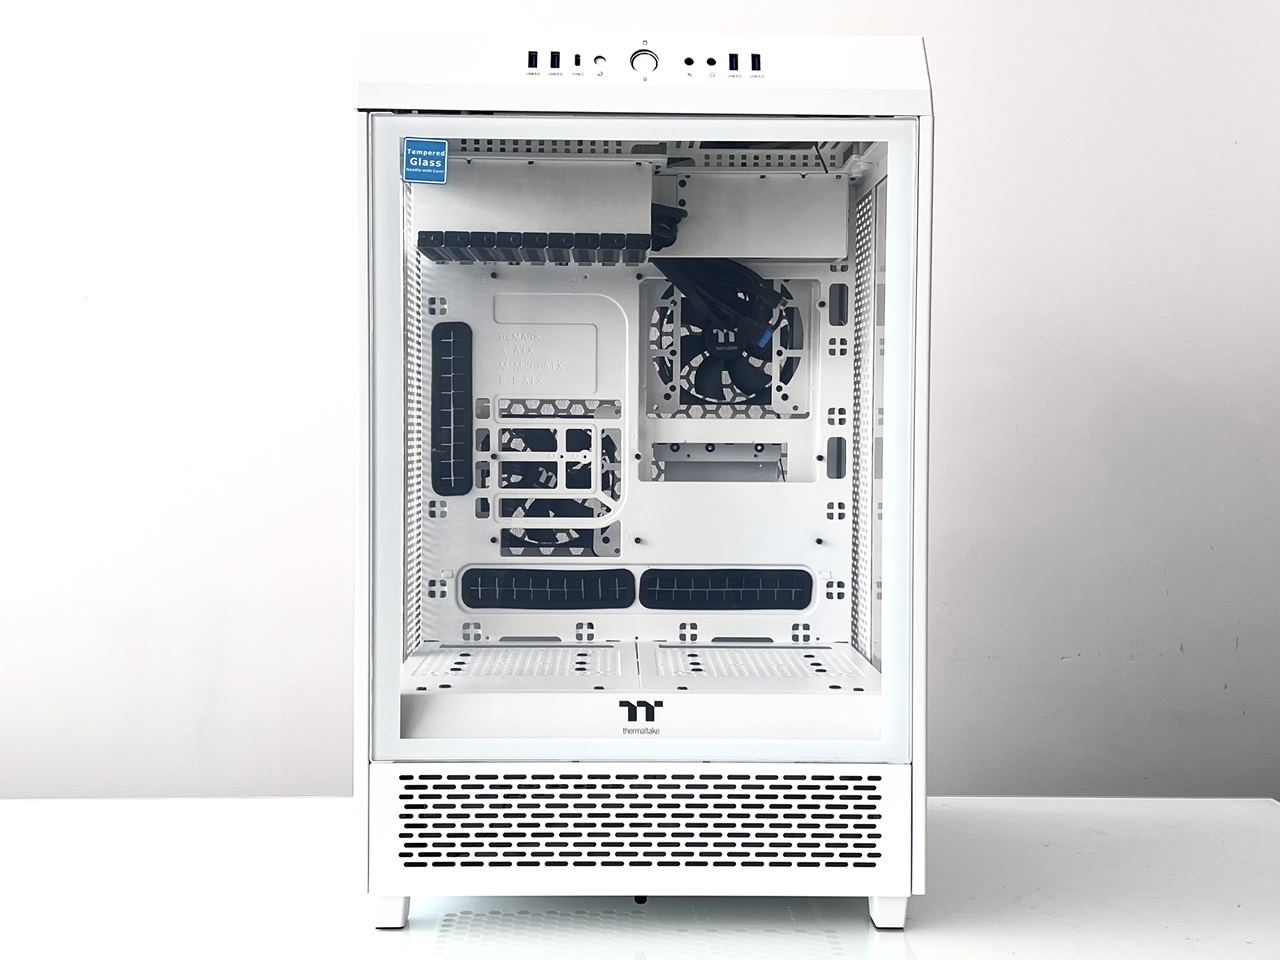
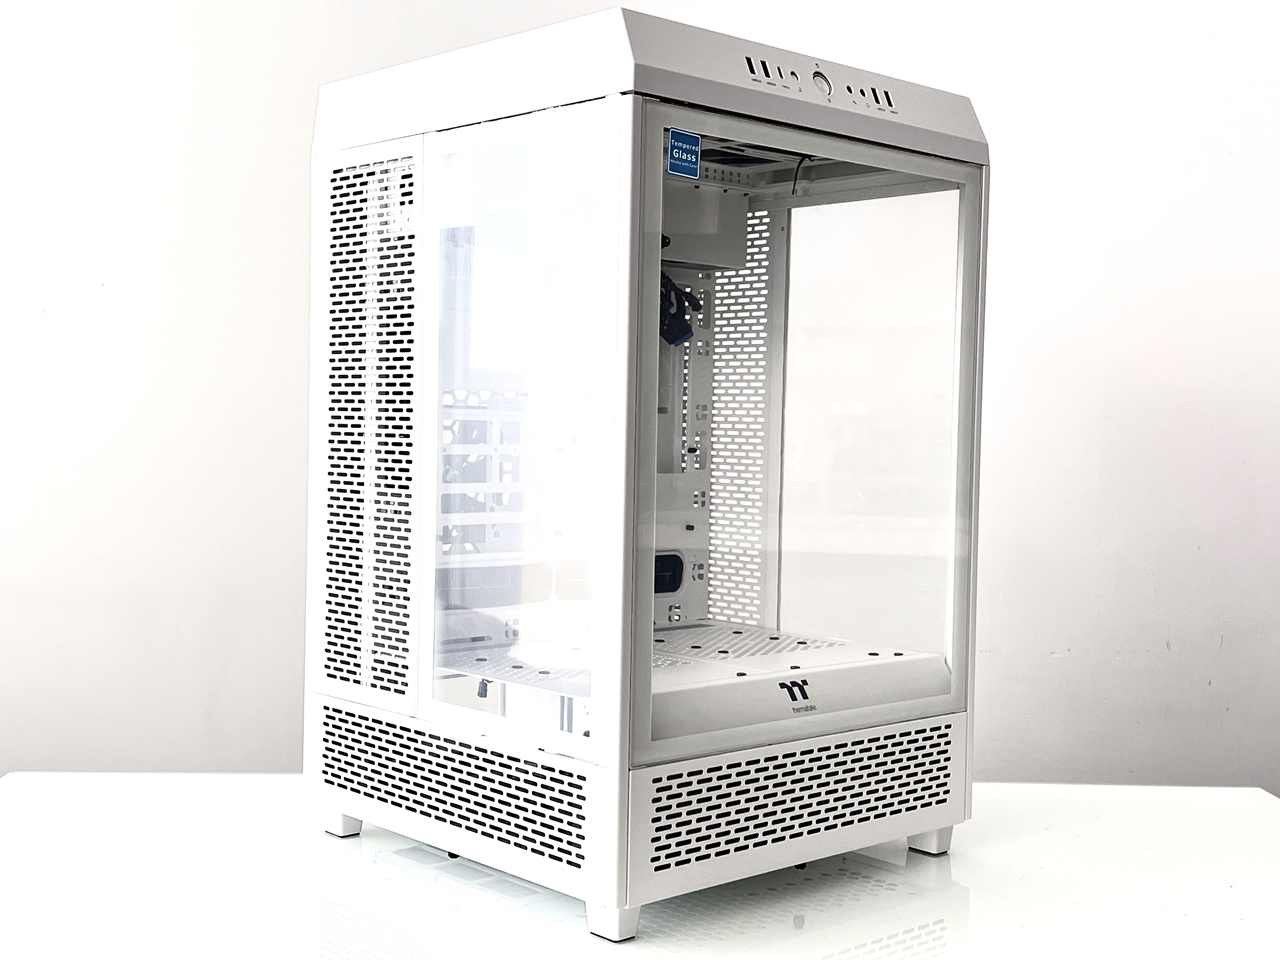
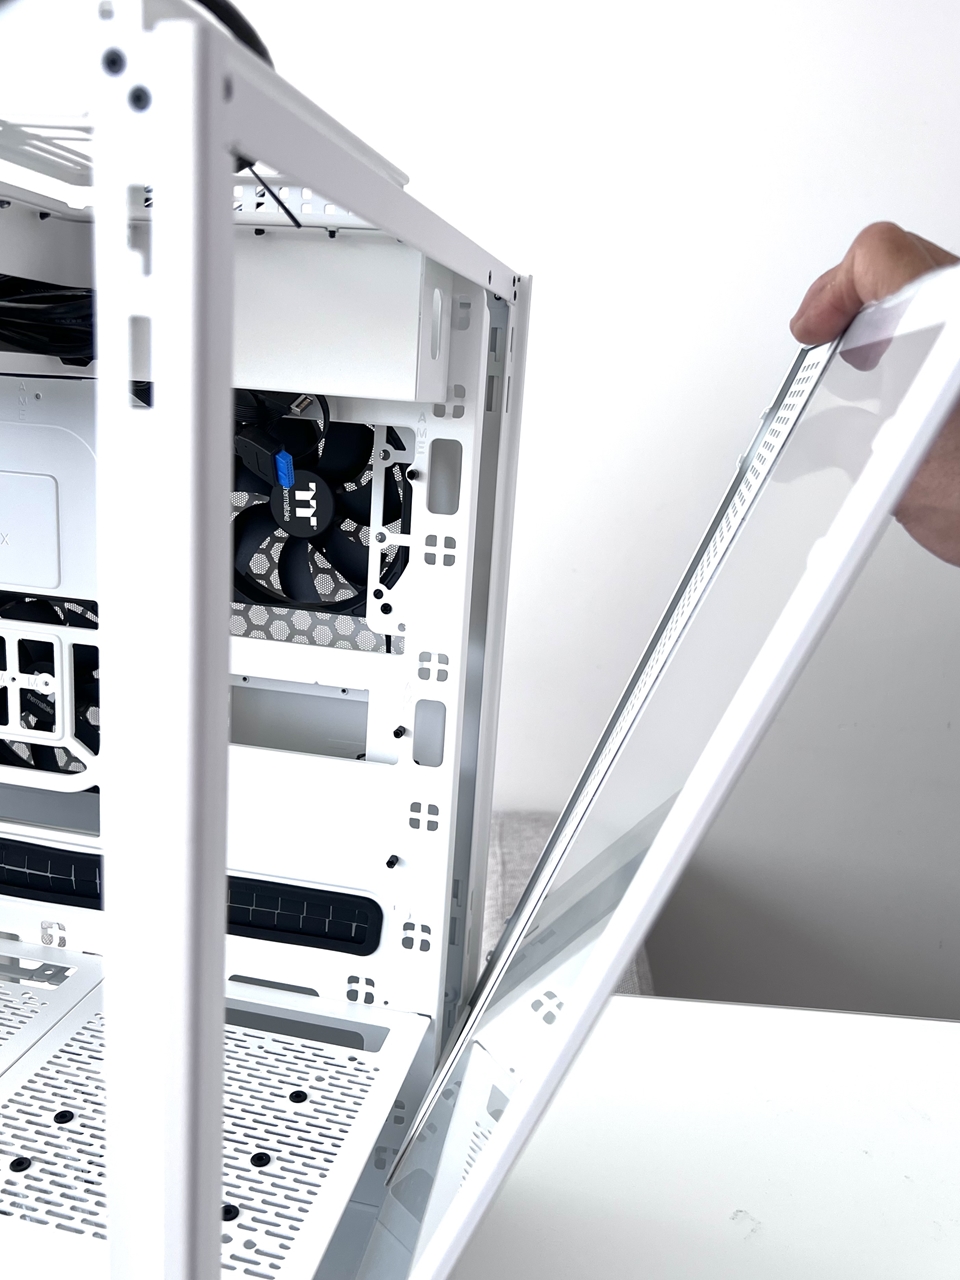
Thermaltake’s Tower series of chassis may not be suited to everyone’s tastes. But for me … I love it! It’s what I’ve been waiting for. A box-shaped mid tower chassis that’s smaller then the original Tower 900, but able to fit a full-size ATX or E-ATX motherboard. What I like about the Tower 500 is the vast amount of customization that it offers in terms of cooling. You have the options to fit a 360mm radiator on the right side, a 240mm (or 280mm) radiator on the top, and one 240mm on the bottom. With its 3 x tempered glass side panels and DMD design – Dismantlable Modular Design, you’re also able to configure how the system will look.

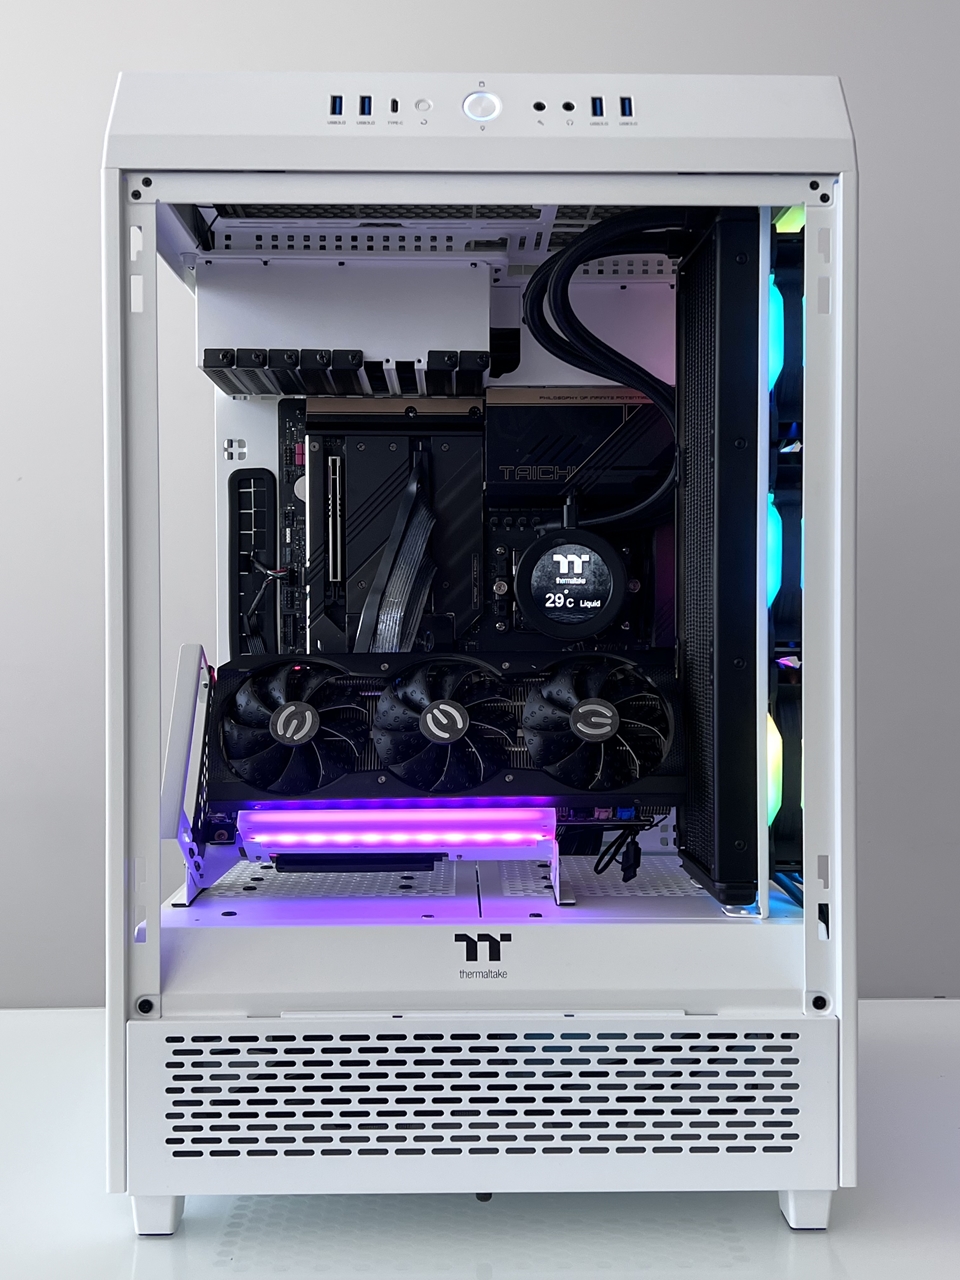
The 2 pre-installed 120mm cooling fans at the rear of the chassis is an added bonus. They’re placed at specific positions to enhance cooling performance, preventing overheating for the CPU and GPU. Of course if you don’t like them, you can also replace them with some nice RGB cooling fans 😛
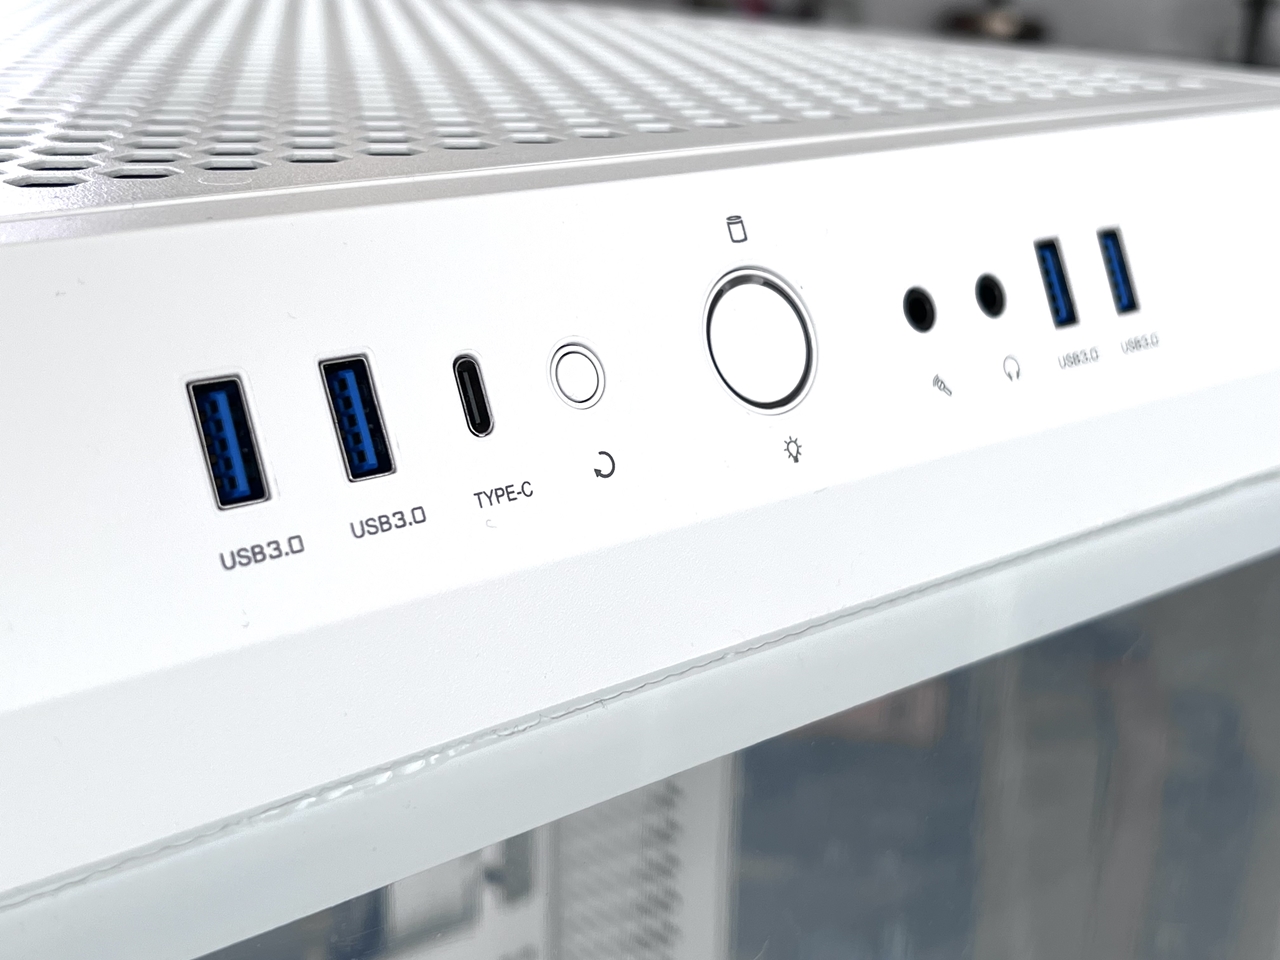
The front I/O panel inclues 4 x USB 3.2 ports (Type-A), 1 x USB-C, mic-in, audio-out, reset and power-on buttons. The top panel comes with a quick release mechanism for easy access to your motherboard’s main I/O panel. The entire chassis is contructed with high quality SPCC steel with smooth edges which great. No more cutting your fingers or hands on sharp edges anynore!

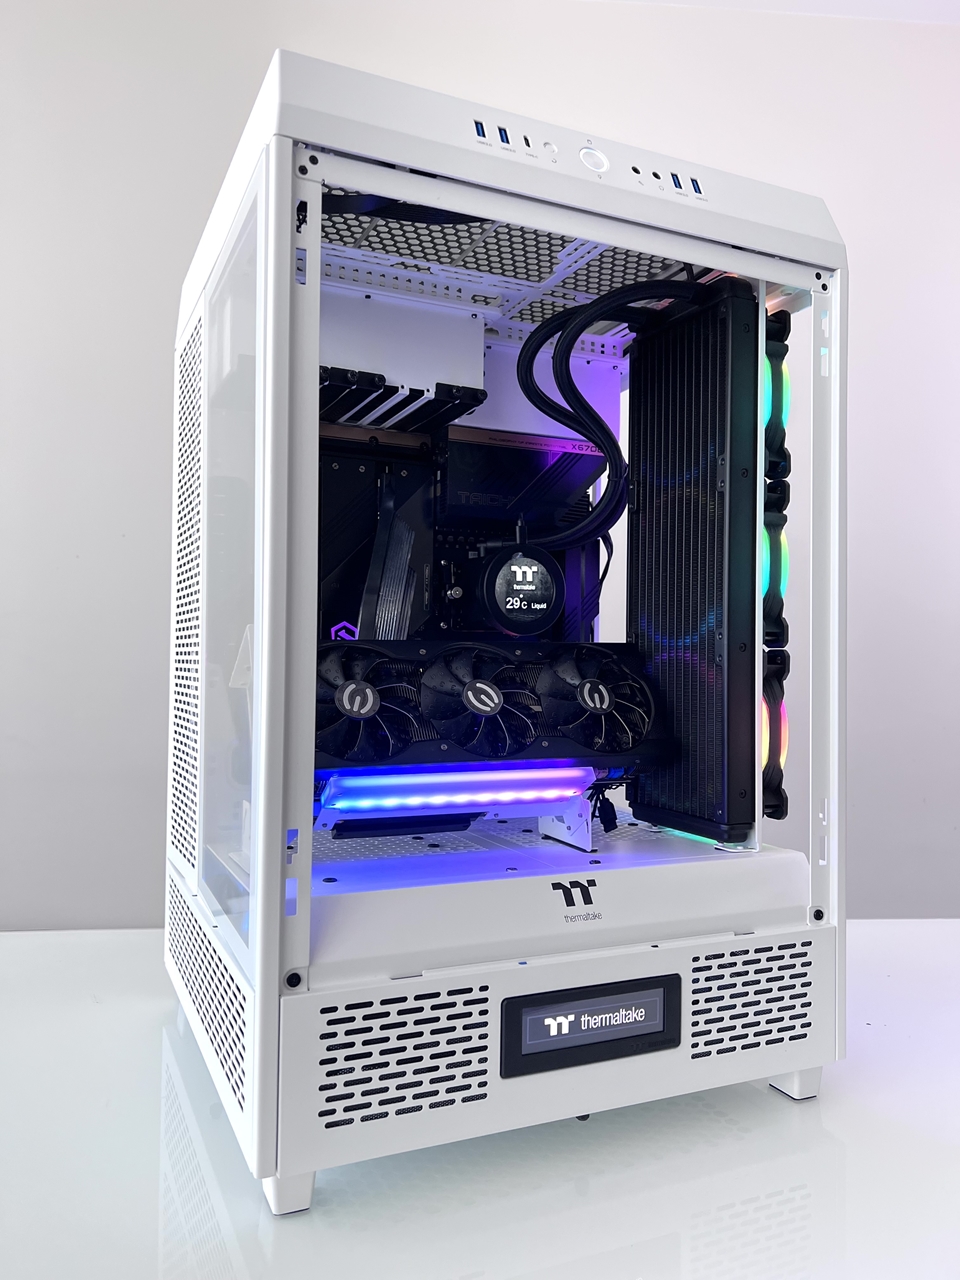
During our system build, we installed an ASRock X670E Tachi, which is a full-size E-ATX motherboard. It fitted nicely inside the Tower 500 chassis without any issues whatsoever. We also mounted the Thermaltake ToughLiquid Ultra 360 AIO cooler on the right side of the case. Again, it fitted with no problems … plus it really made the system stand out, especially with the 3 x SWAFAN 12 RGB fans installed.
And if you want more room for that extra modding … no worries, the Tower 500 has plenty. So much room in fact, we’re able to install a multi-angle vertical GPU mount which sat on the bottom panel of the PSU cover/plate.
The Tower 500 can also be paired with a separately sold LCD panel kit (bottom panel) with a 3.9″ LCD Display. This will give your PC stunning visual effects, as well as displaying system health and performance stats.

You can buy the Thermaltake The Tower 500 Snow Edition Chassis

Pros:
- Mid-Full Tower Chassis with tons of room
- Fits ALL motherboards up to EATX format
- Dismantlable Modular Design
- Plenty of room for radiators up to 360mm
- Preinstalled 120mm cooling fans at the rear
- Optional LCD panel kit with 3.9-inch display (sold separately)
Cons:
- Bigger than your standard mid-tower chassis
Final Thoughts
I’m not going to lie, the Tower series of chassis from Thermaltake is not for everyone. But for modders and system builders like me, it’s the perfect chassis for showing off all your premium PC components in full 180 degree view. There’s plenty of room inside for full custom watercooling, or simply install an AIO cooler … the choice is yours. Whatever you decide, the Thermaltake Tower 500 chassis will surely impress.

You can buy the Thermaltake The Tower 500 Snow Edition Chassis
Related articles
- Thermaltake TOUGHLIQUID Ultra 360 All-In-One Liquid Cooler Review
- Thermaltake SWAFAN 12 RGB Fan Review (3 Pack)
- Thermaltake TOUGHRAM XG RGB DDR5-6000 32GB Memory Kit Review
- Thermaltake TOUGHPOWER PF1 ARGB 1050W Power Supply Review
- Thermaltake Core P6 TG Mid Tower Chassis Review
- Thermaltake Pure 12 ARGB Sync Fans Review (3-pack in white)
- Thermaltake Toughram RGB Turquoise 16GB DDR4-3600 CL18 Memory Review
- Thermaltake Toughliquid Ultra 240 AIO CPU Cooler Review
- Thermaltake Riing Trio 12 RGB Fans (3 Pack – White) Review


4 comments
I love the Tower 500, I’m curious about the GPU mount? Does it come in black? Where can I get it? How much was it? …Thank you, great video.
Thanks for your comments. I would like to apologies in advance if I misled anyone. The GPU vertical mount is not included with the chassis. I separately bought the vertical GPU mount … but I wanted to see if it would fit in the Tower 500. It fits ok. If you want to buy the verticla GPU mount go here … https://amzn.to/3J35C9E
im also curious about the vertical gpu mount. Im wondering how you would connect the hdmi or dp cable to the gpu? Im assuming this was only for aesthetics in this case? it would have to go thru the case and im not sure if there is a hole big enough in the back of the case for the connector end to fit through? just trying to figure this out before i actually order a 60$ part i might not be able to use?
What nobody seems to mention, is that the case doesnt suppport push/pull with AIOs on the side. The glass sits too tight. Also, if you are looking for a case that shines in airflow, Look elsewhere. It also says that 140mm fans fit up top. Well sort of, if you dont mind a couple fan screws not aligned. Really had to cram them in there. The side vents arent very functional, they donot flow well and they dont line up to an AIO well (very sloppy in this aspect) I leave a side off while I game to vent the heat. (Ryujin360mm/12700k/3070ftw3) I run 2 140mm fans up top one being an icegale xtra which moves serious air but, I may have to add another and replace the corsair QL140 thats in there beside it as the thing will still heat up a bit under heavy load. I Bought a TT CTE750. Much better display case imo. BTW, That diy GPU mod mount more than likely will require a right angle cable. Otherwise you wont be able to put the glass back on without bending the cable beyond its like. There are slots on the floor of the PSU cover, also on the wall under the motherboard mount. Cables are no issue in this case unless they are short.