


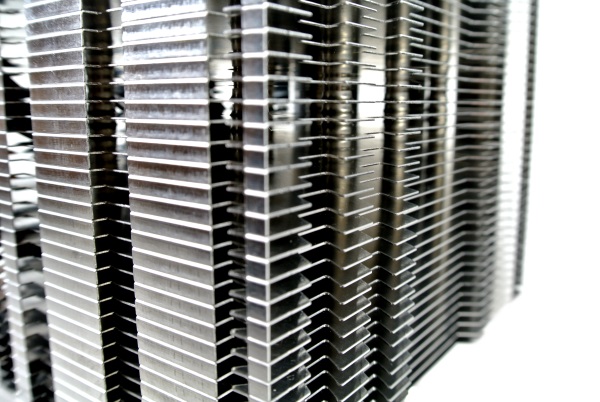
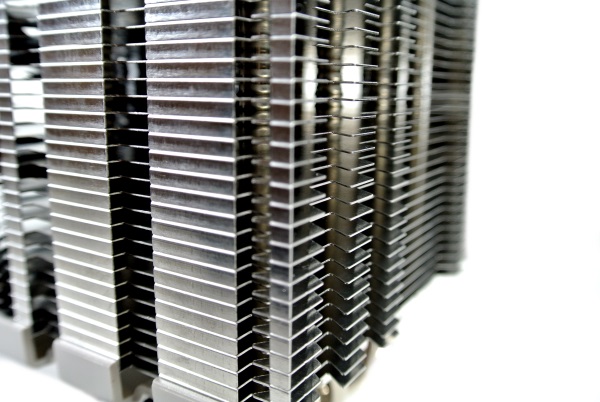
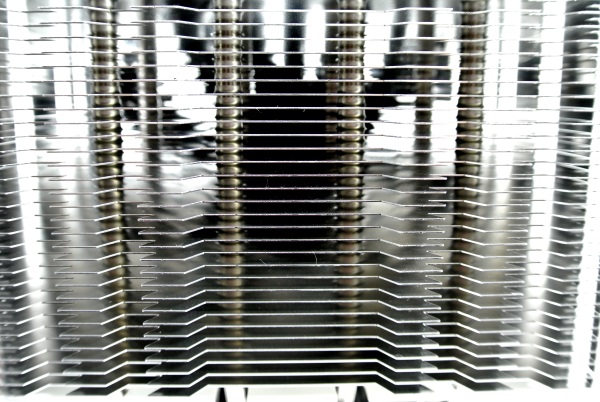
A Closer Look
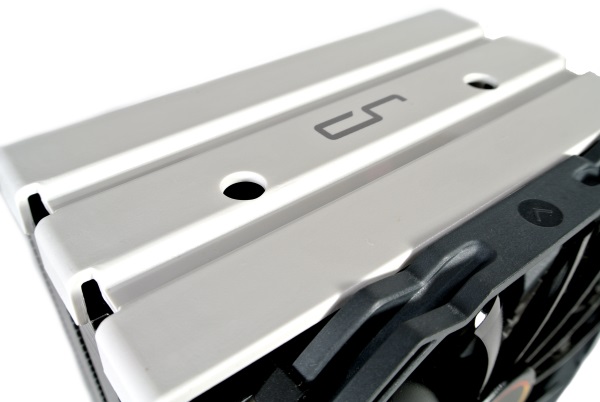
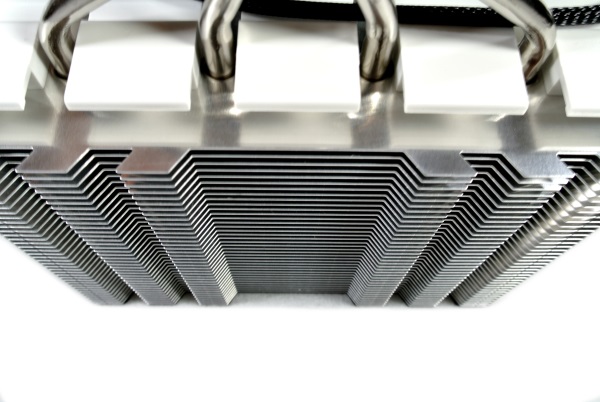
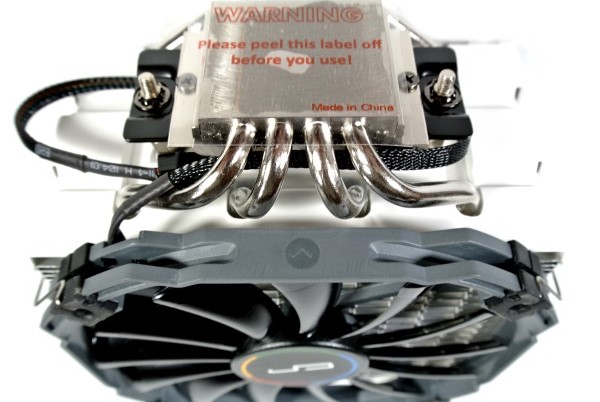
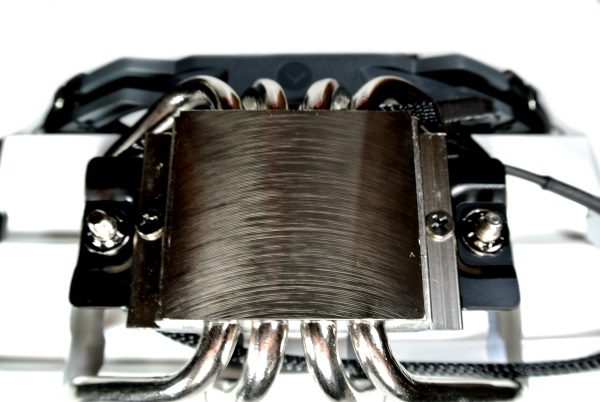
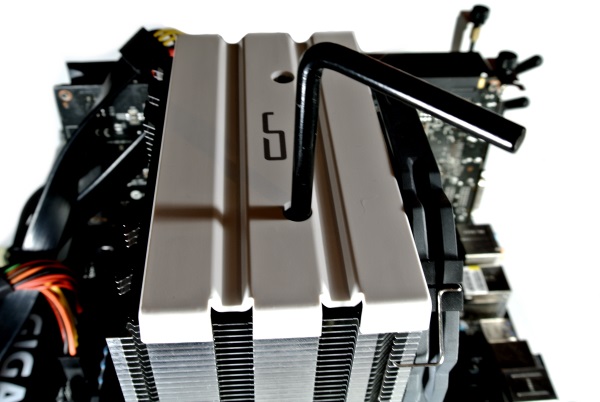
The H series coolers by CRYORIG feature an extended fin surface area to the back. This allows the heatsink to achieve phenomenal cooling performance comparable to Dual Tower coolers and heatsinks. The H5 in particular has a cooling surface area within 90% of our top-line R1 series coolers. Optimized Heatpipe Positioning and Total CPU Coverage. The H5’s Heatpipe Convex-Align System allows for more heatpipes in a given area, optimized heatpipe placement in the copper base, and improved alignment with your CPU. With the Heatpipe Convex-Align System, each heatpipe functions to their maximum TDP capacity. Acoustically Optimized Silence Means Cold.

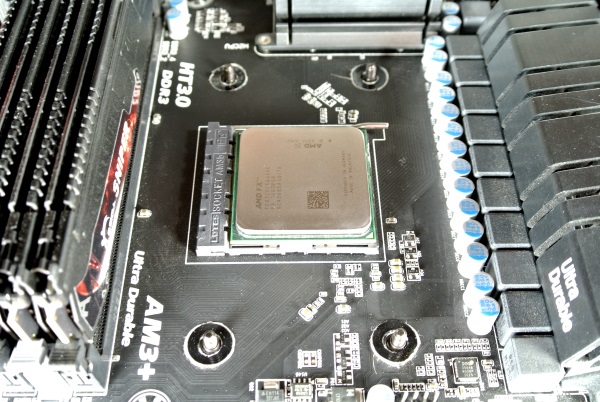
Let us move on to the part that most of do not look forward to, the installation. Let us see if Cryorig has simplified the process for us!
Installation
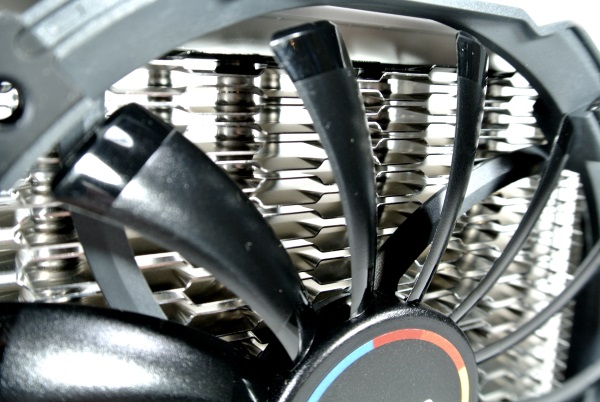
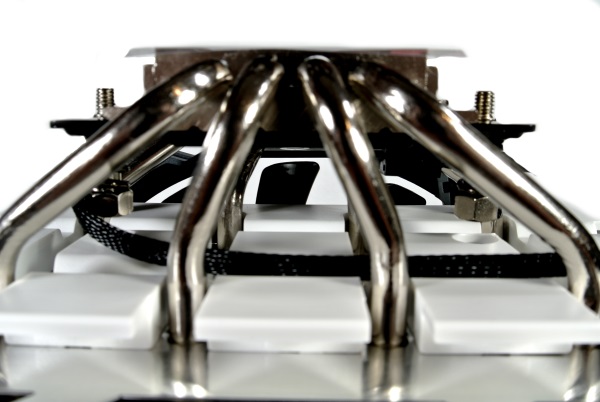
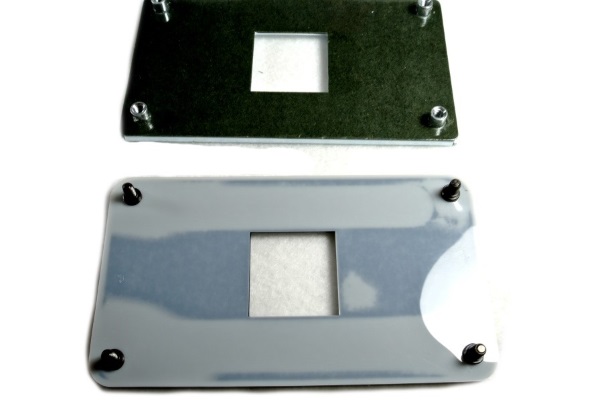
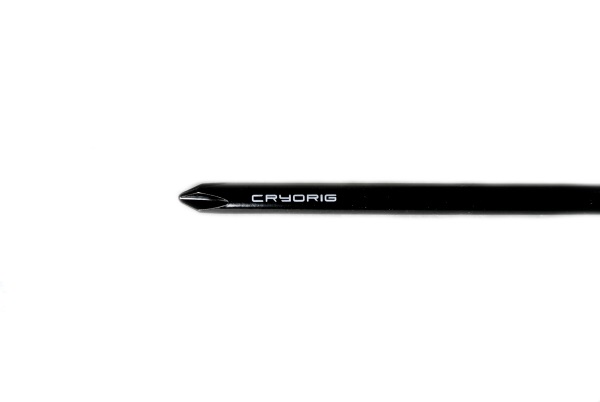
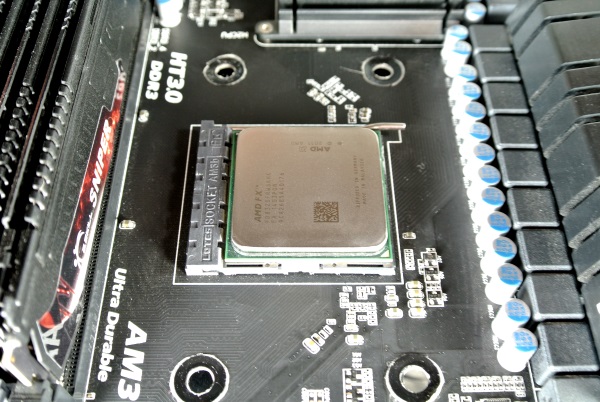
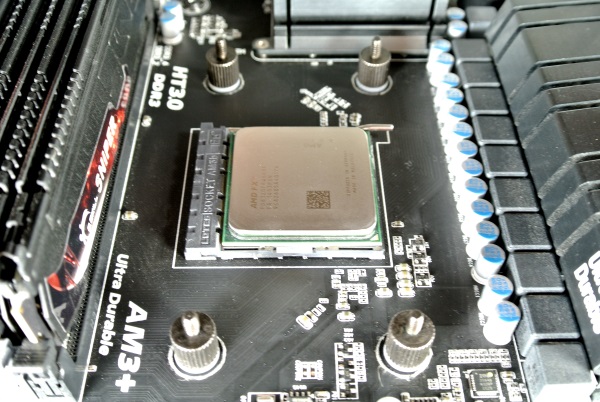
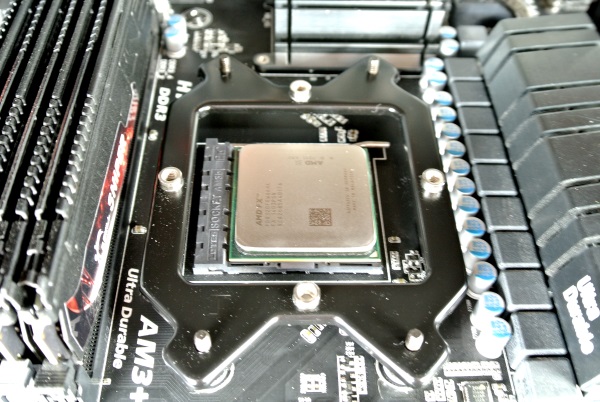
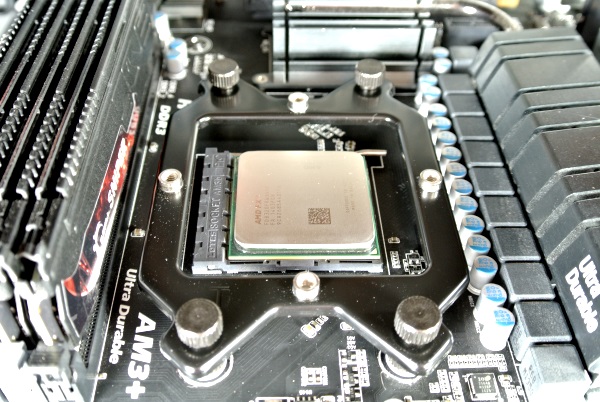
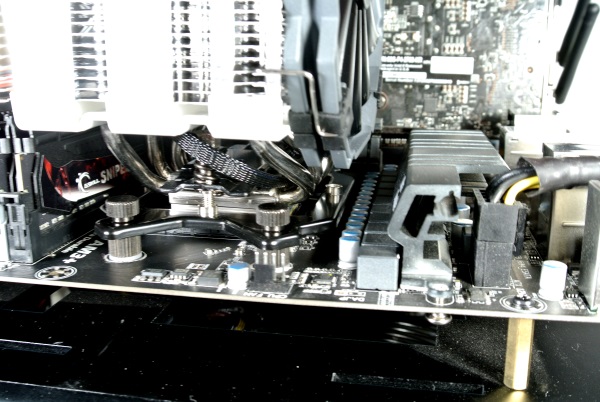
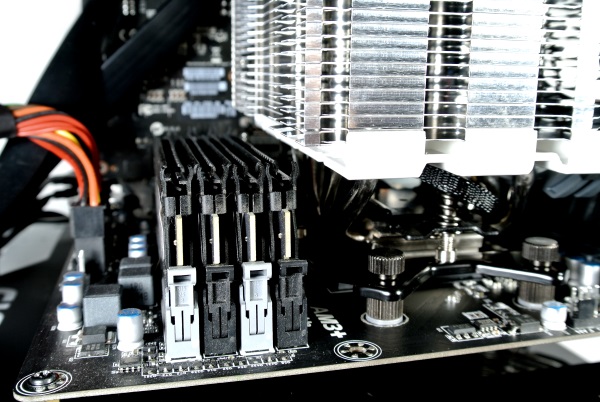
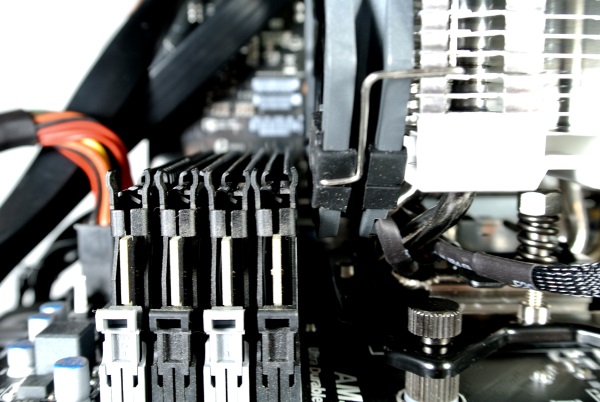
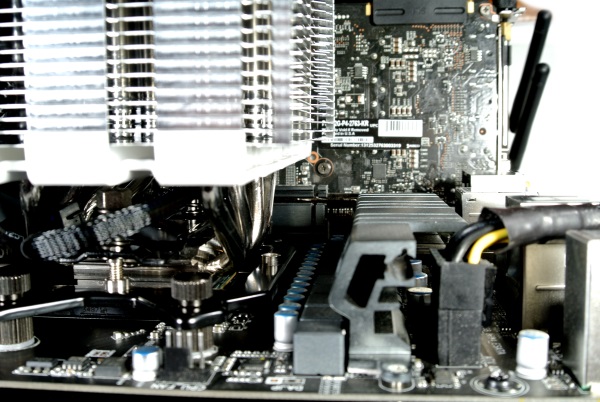
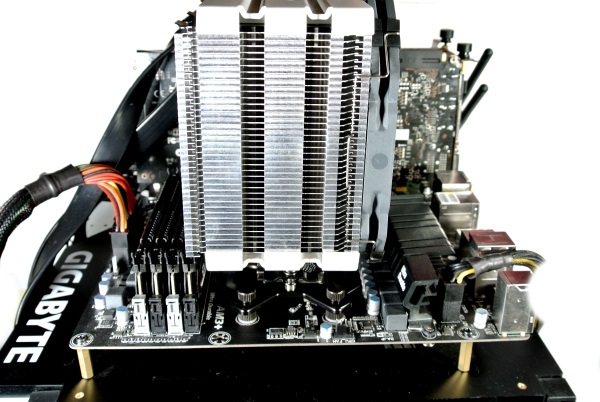
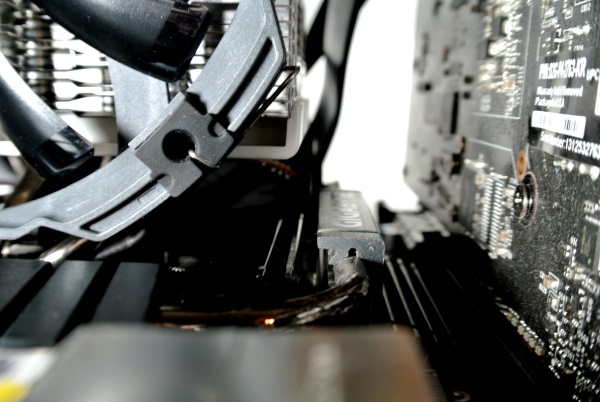
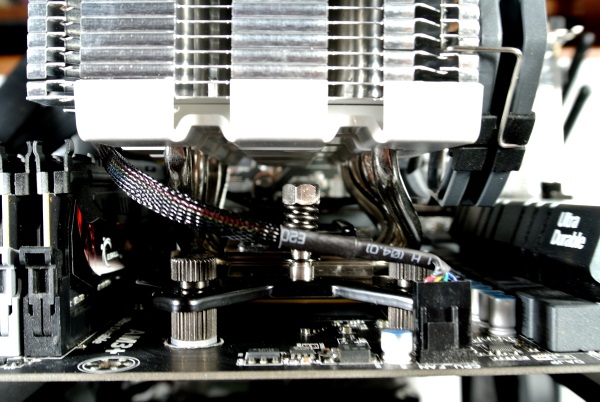
The patent pending Multiseg Quick Mount System provides an all in one solution on Intel platforms, CRYORIG’s MultiSeg Quick Mount System allows for a securer and firmer installation within minutes. Unmatched Compatibility Zero RAM Interference. Focusing on providing the widest range of compatibility, the H5 utilizes an asymmetric slanted heatpipe layout to move the heatsink away from the RAM zone. Also, fitted with a 13mm thin XT140 the CRYORIG H5 offers optimal compatibility for RAM with tall heat spreaders on both Intel and AMD platforms. The installation was actually quite painless the only difference noted that was out of the ordinary was the supplied back plate that is necessary to use for the install. I doubt that many people are that attached to the stock AMD back plate anyways. With that being said if you don’t have access to the back of your motherboard when still in the case you will have to remove the motherboard to complete the install. When the new back plate and top brace are installed you simply put the required amount of thermal paste on the CPU and use the screw driver supplied by Cryorig and tighten down the two retaining screws till the don’t turn anymore and you will be ready to fire the H5 up.

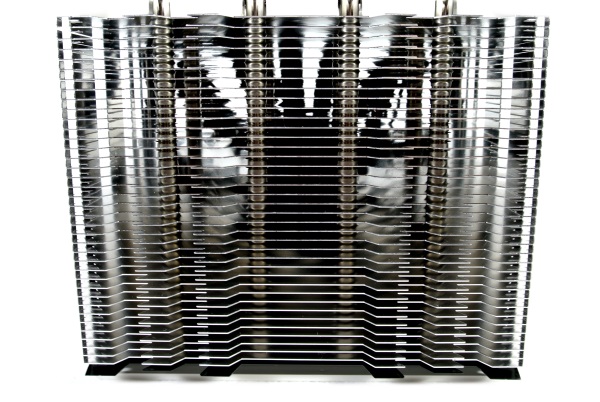
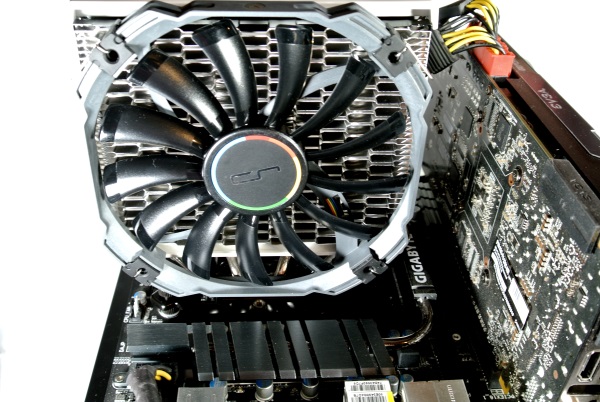
Finished Looks

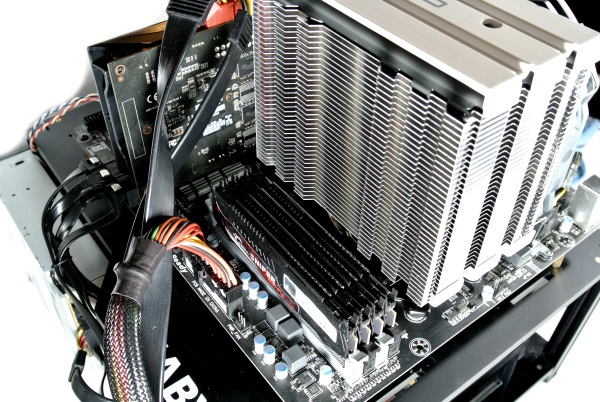
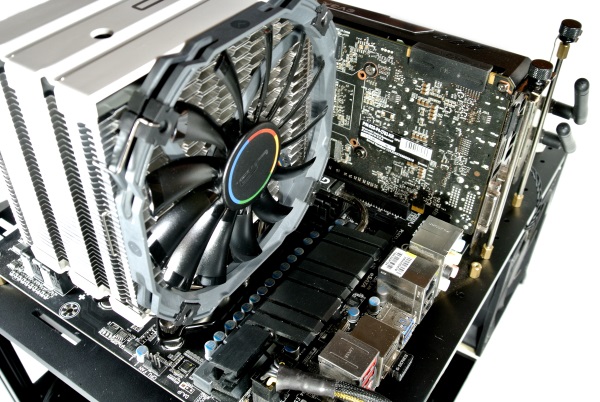
Now that we covered the installation of the Cryorig H5, let us see the results from testing!

