ChassisReviews

Phanteks Eclipse P300 Tempered Glass Case Review

Building inside the P300

Please hover over the pictures for more information on the build process.

The PSU only fits in one way due to how the screws line up so if having the text upside down bothers you you may have some issues.One nice thing is this case has enough room in the front panel to fit fans mounted to the outside of the bracket. I personally mounted my fans to the outside because of personal preference but the case also supports mounting them inside the case if that is what you prefer.I did replace the stock fan with a AF120 fan from Corsair for fairness when comparing thermals.The P300 includes 2 tool-less hard drive bays situated at the front of the case, this is definitely  one of the strangest spots Ive seen a hard drive mounted but when you're trying to save space you have to make sacrifices.With both drive bays removed there is quite a bit of space for cables, if you are only using SSDs in your build I would recommend doing this. I personally left the bottom drive bay removed for cable management reasons since I am using one hard drive.The P300 features toolless mounting for the 3.5in drives. One thing to note is the drives only mount with the connections facing outward making cable management for them a little awkward.
You can mount the ssd either up or down but I mounted it with the connections facing down for easier cable management.With everything mounted it was time for some cable management, While my personal cable management skills may be lacking the included Velcro straps and decent amount of space under the PSU shroud (with the lower 3.5 bay removed) made it fairly easy to shove all of the needed cables out out of site when viewed from the front. Getting the rear panel on was also easier than expected all things considered, I did have to spend a little time getting all of the mounting points lined up and there is a noticeable bulge coming from the rear panel when viewing it from the underside of the PC but it was one of the easier rear panels to mount with all if the cables installed.The P300 does feature reusable PCI slot covers, something that is common but not always seen on budget oriented cases.Mounting the motherboard and GPU was basically the same as any case. Theres enough PCI slot openings for any of the supported motherboard sizes.

With everything finished this case does look really good, the tempered glass feels and looks much more premium than a plastic side panel and its clear enough to let you see everything inside.

I did choose to leave my light strips on white to provide more visible lighting for the rest of my parts but you can use any colored light you want.

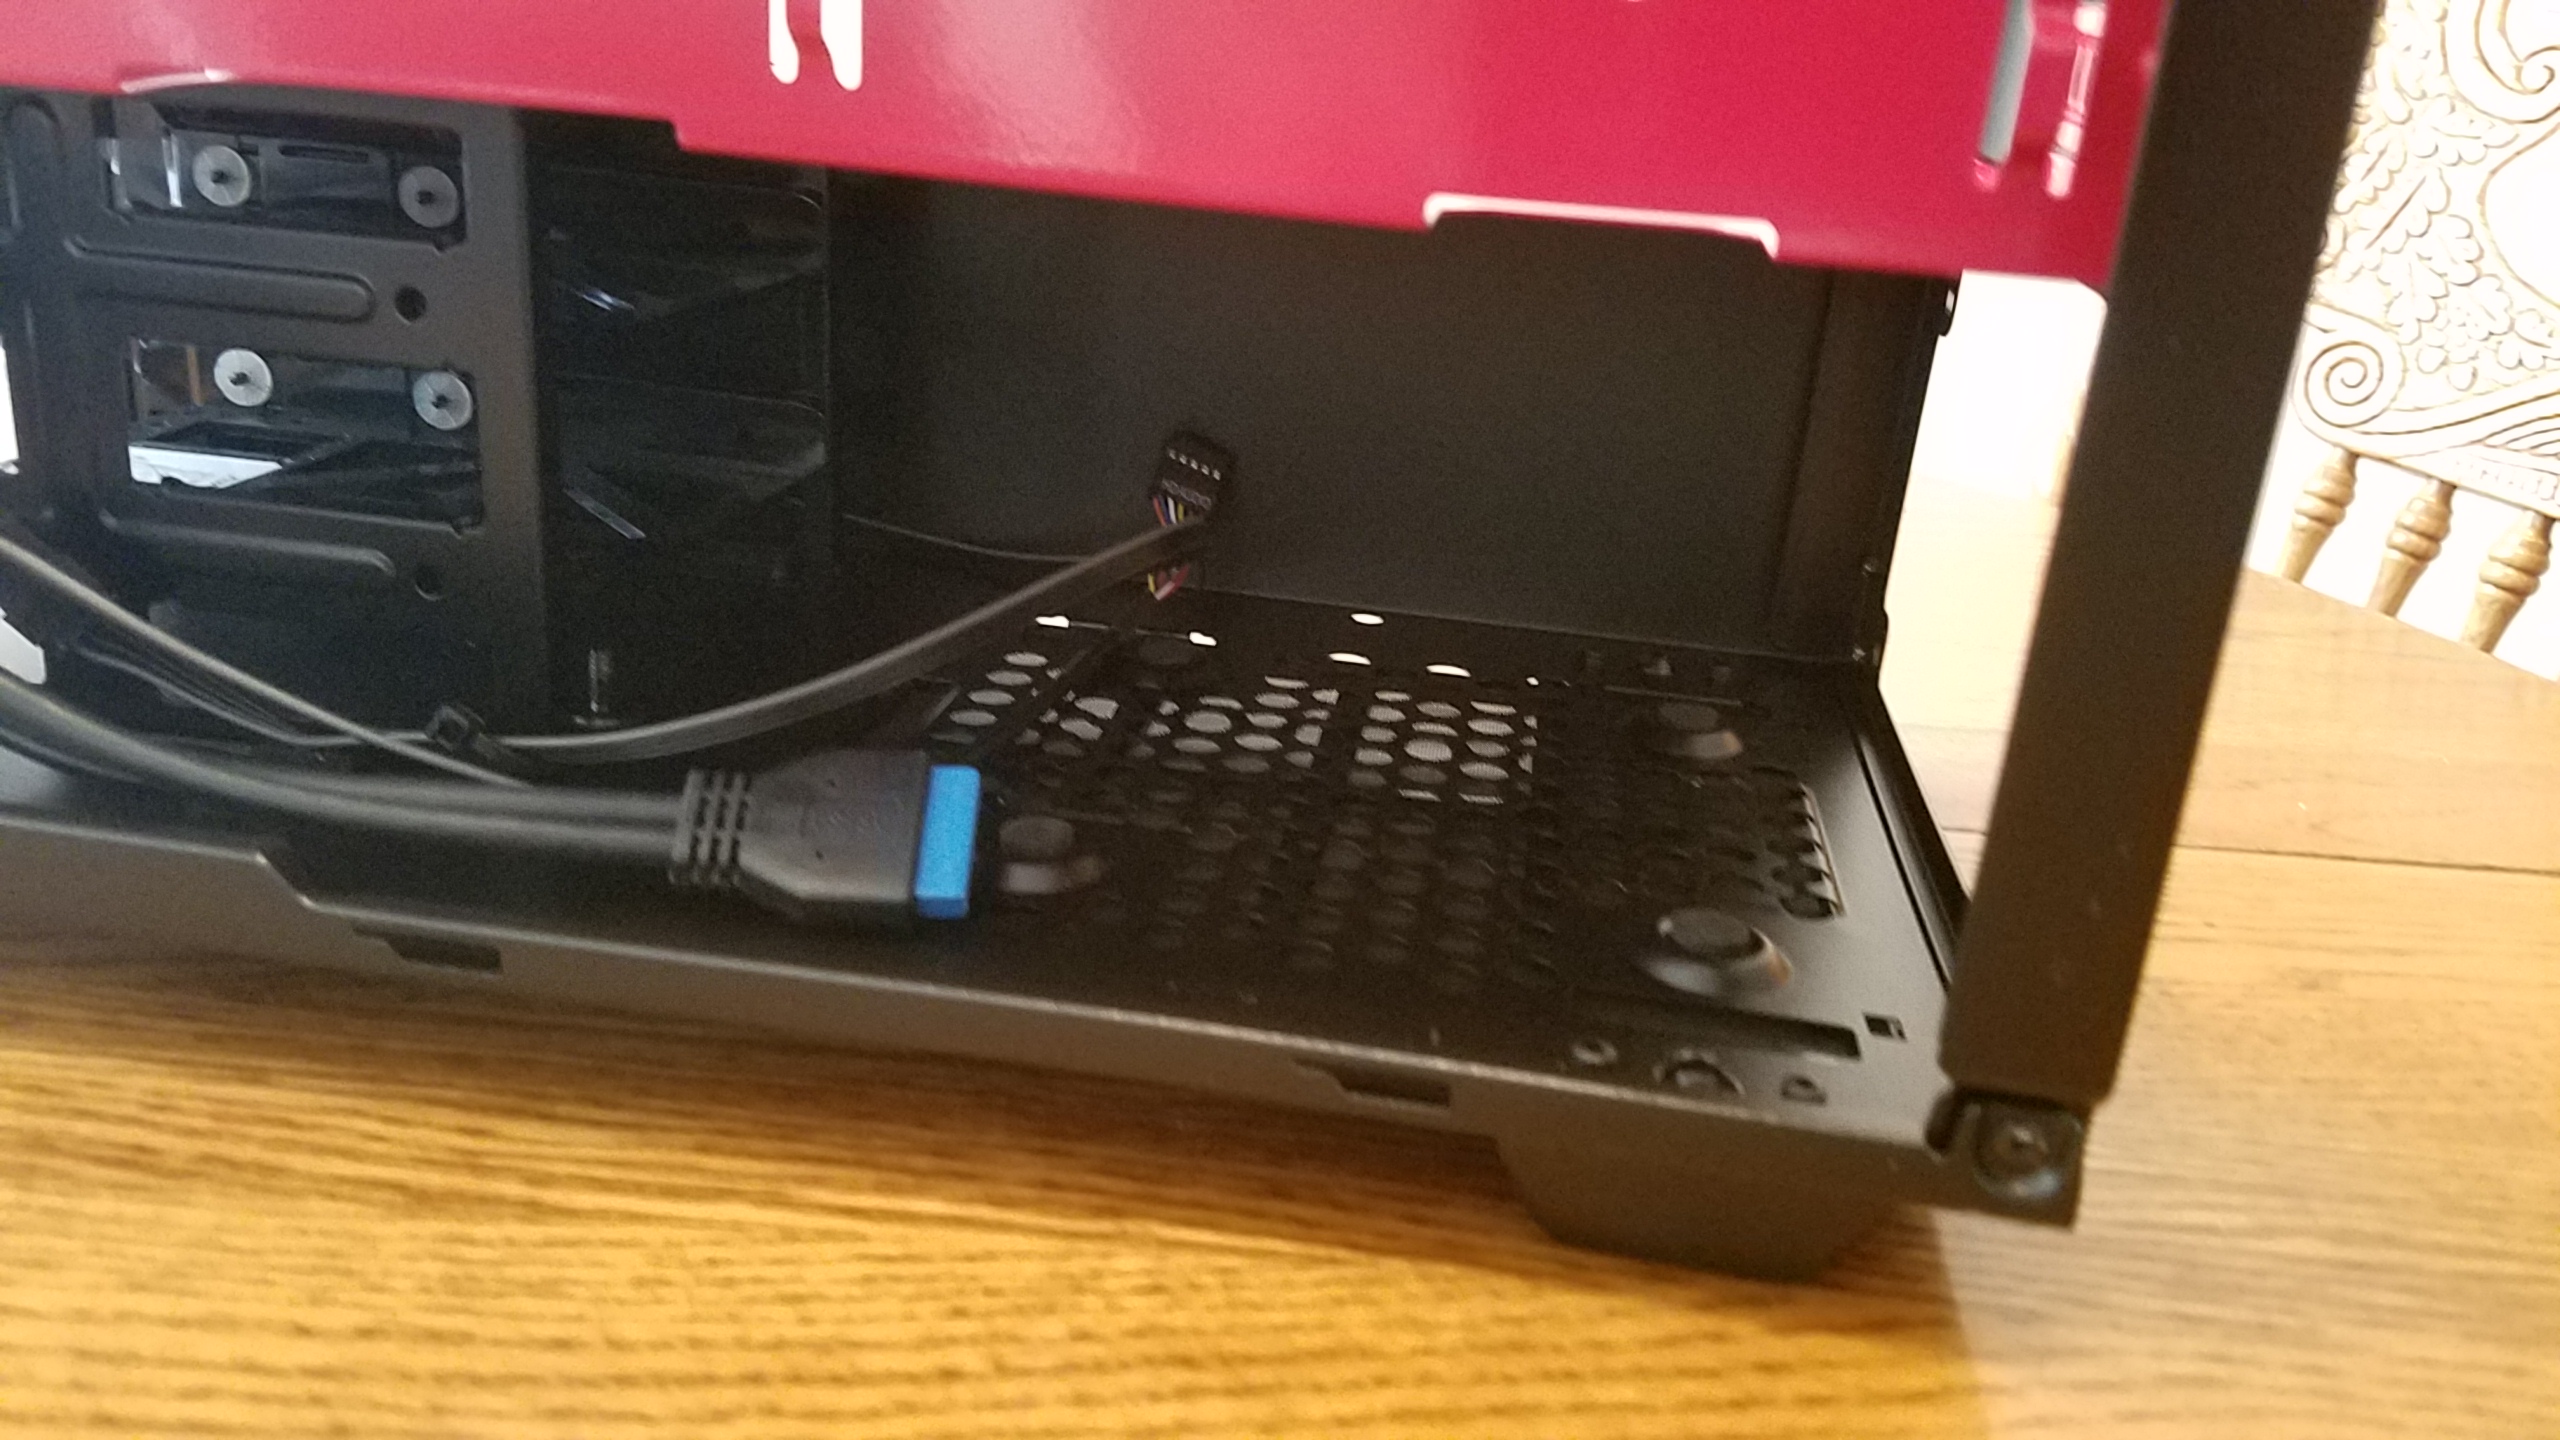
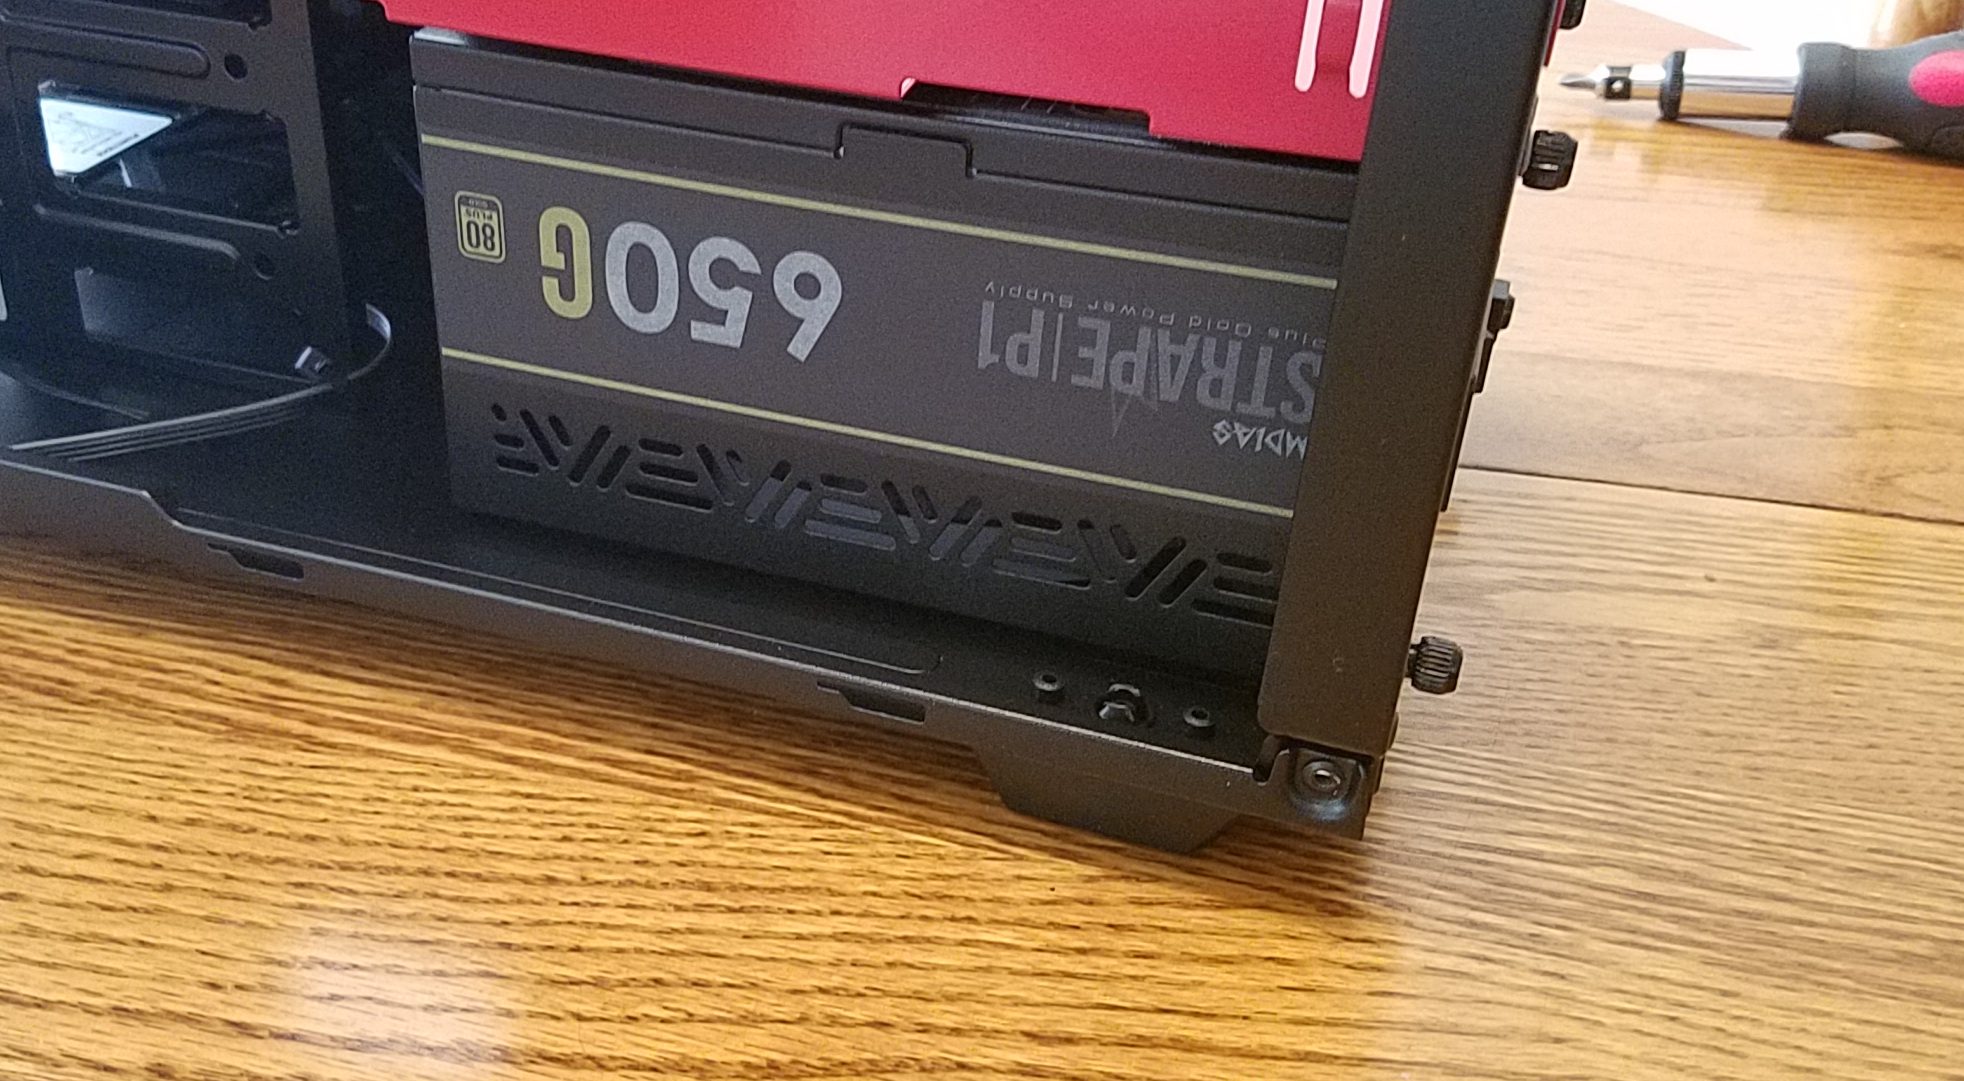
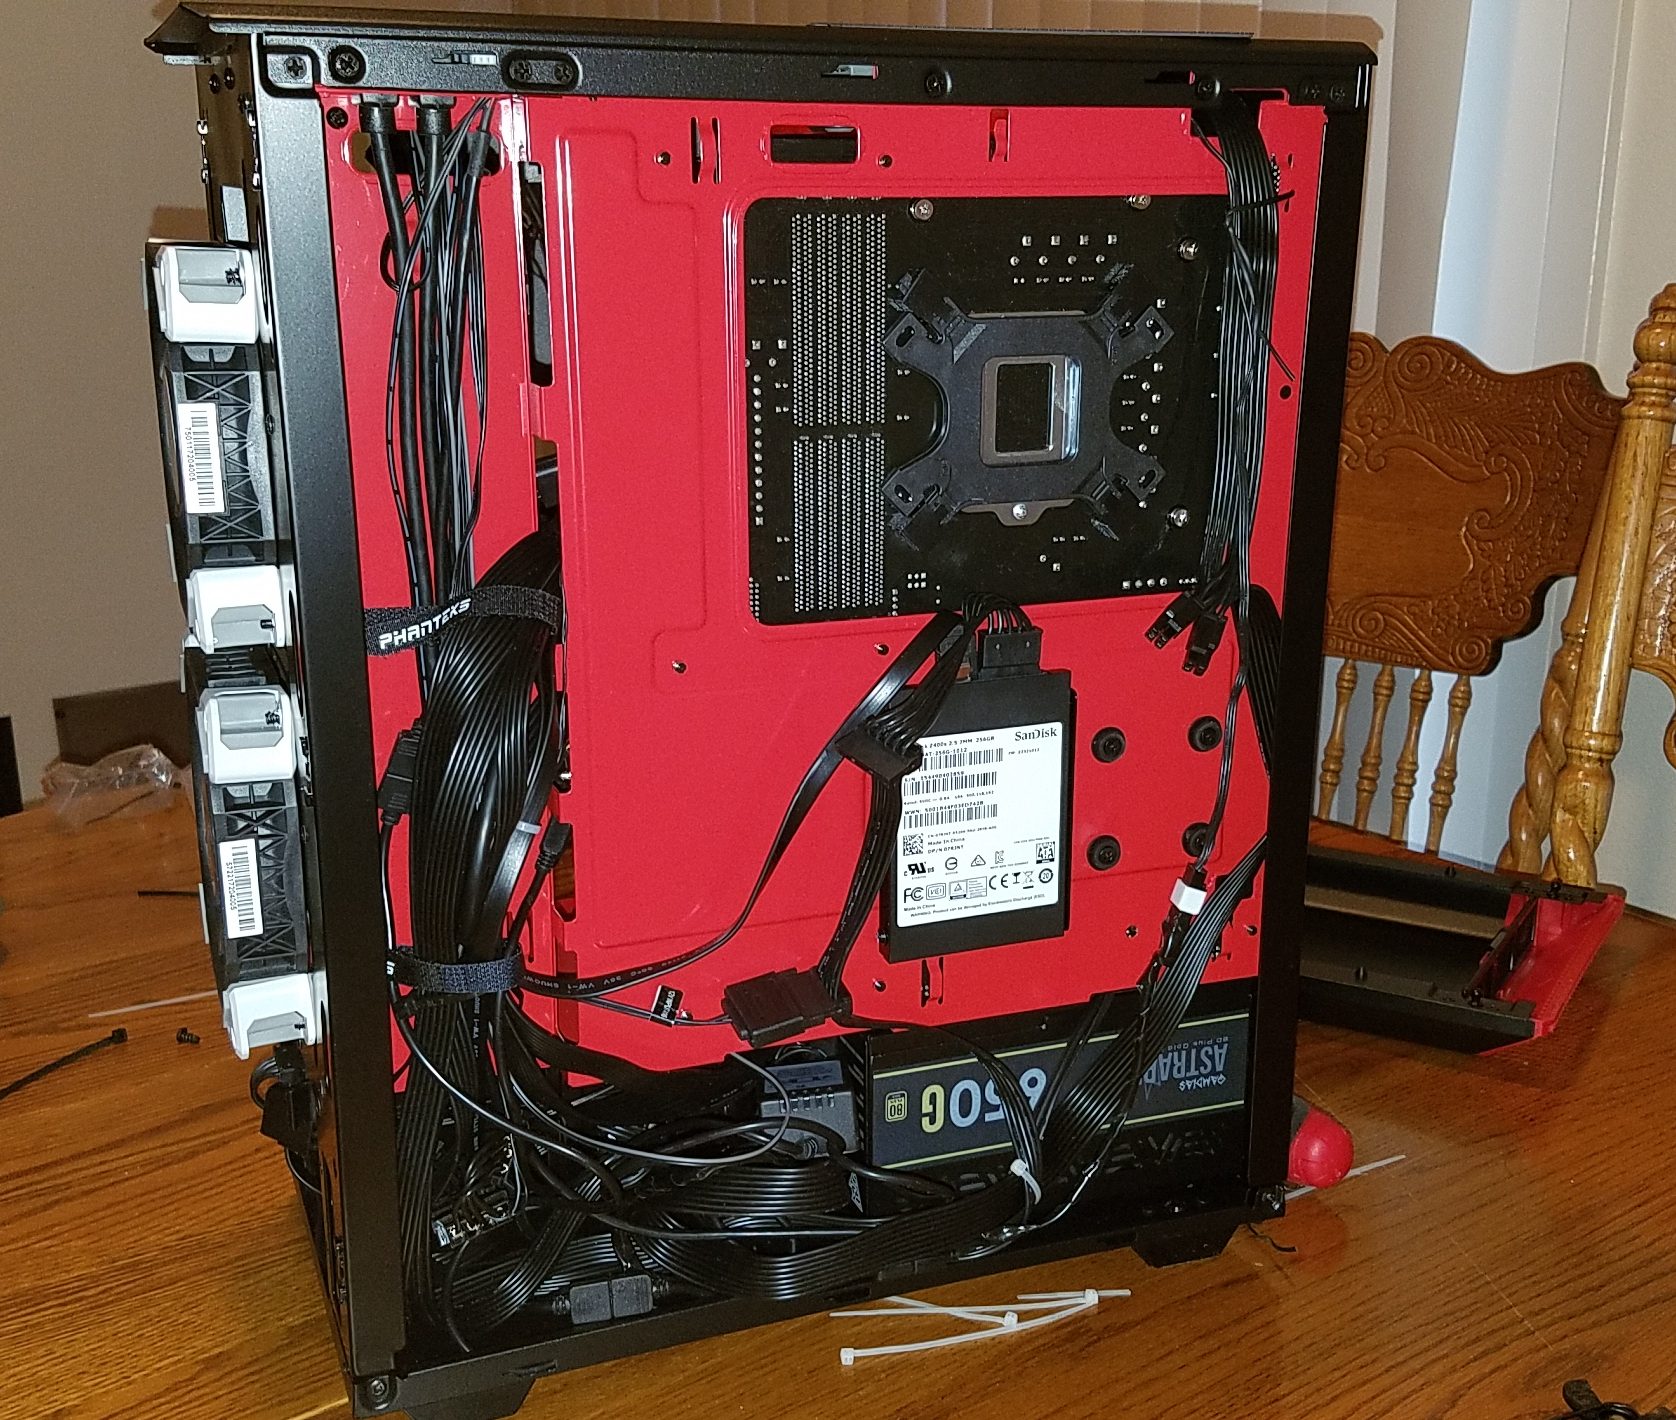
One annoyance I ad when build inside this case was the PSU, You can only mount the PSU sideways and there isn’t enough room to install the PSU with all of the cables installed on the outside meaning that with a modular power supply you have to plug all of the cables into the PSU once it’s inside the case and you’re not getting much room for that. It probably took me close to 15 minutes of cramping my hand in awkward ways in order to plug-in all of the needed cables inside the couple of inches of space under the PSU shroud. This is an issue easily fixed by letting you install the PSU through the back of the case so hopefully Phanteks will modify the PSU mounting to allow for this.


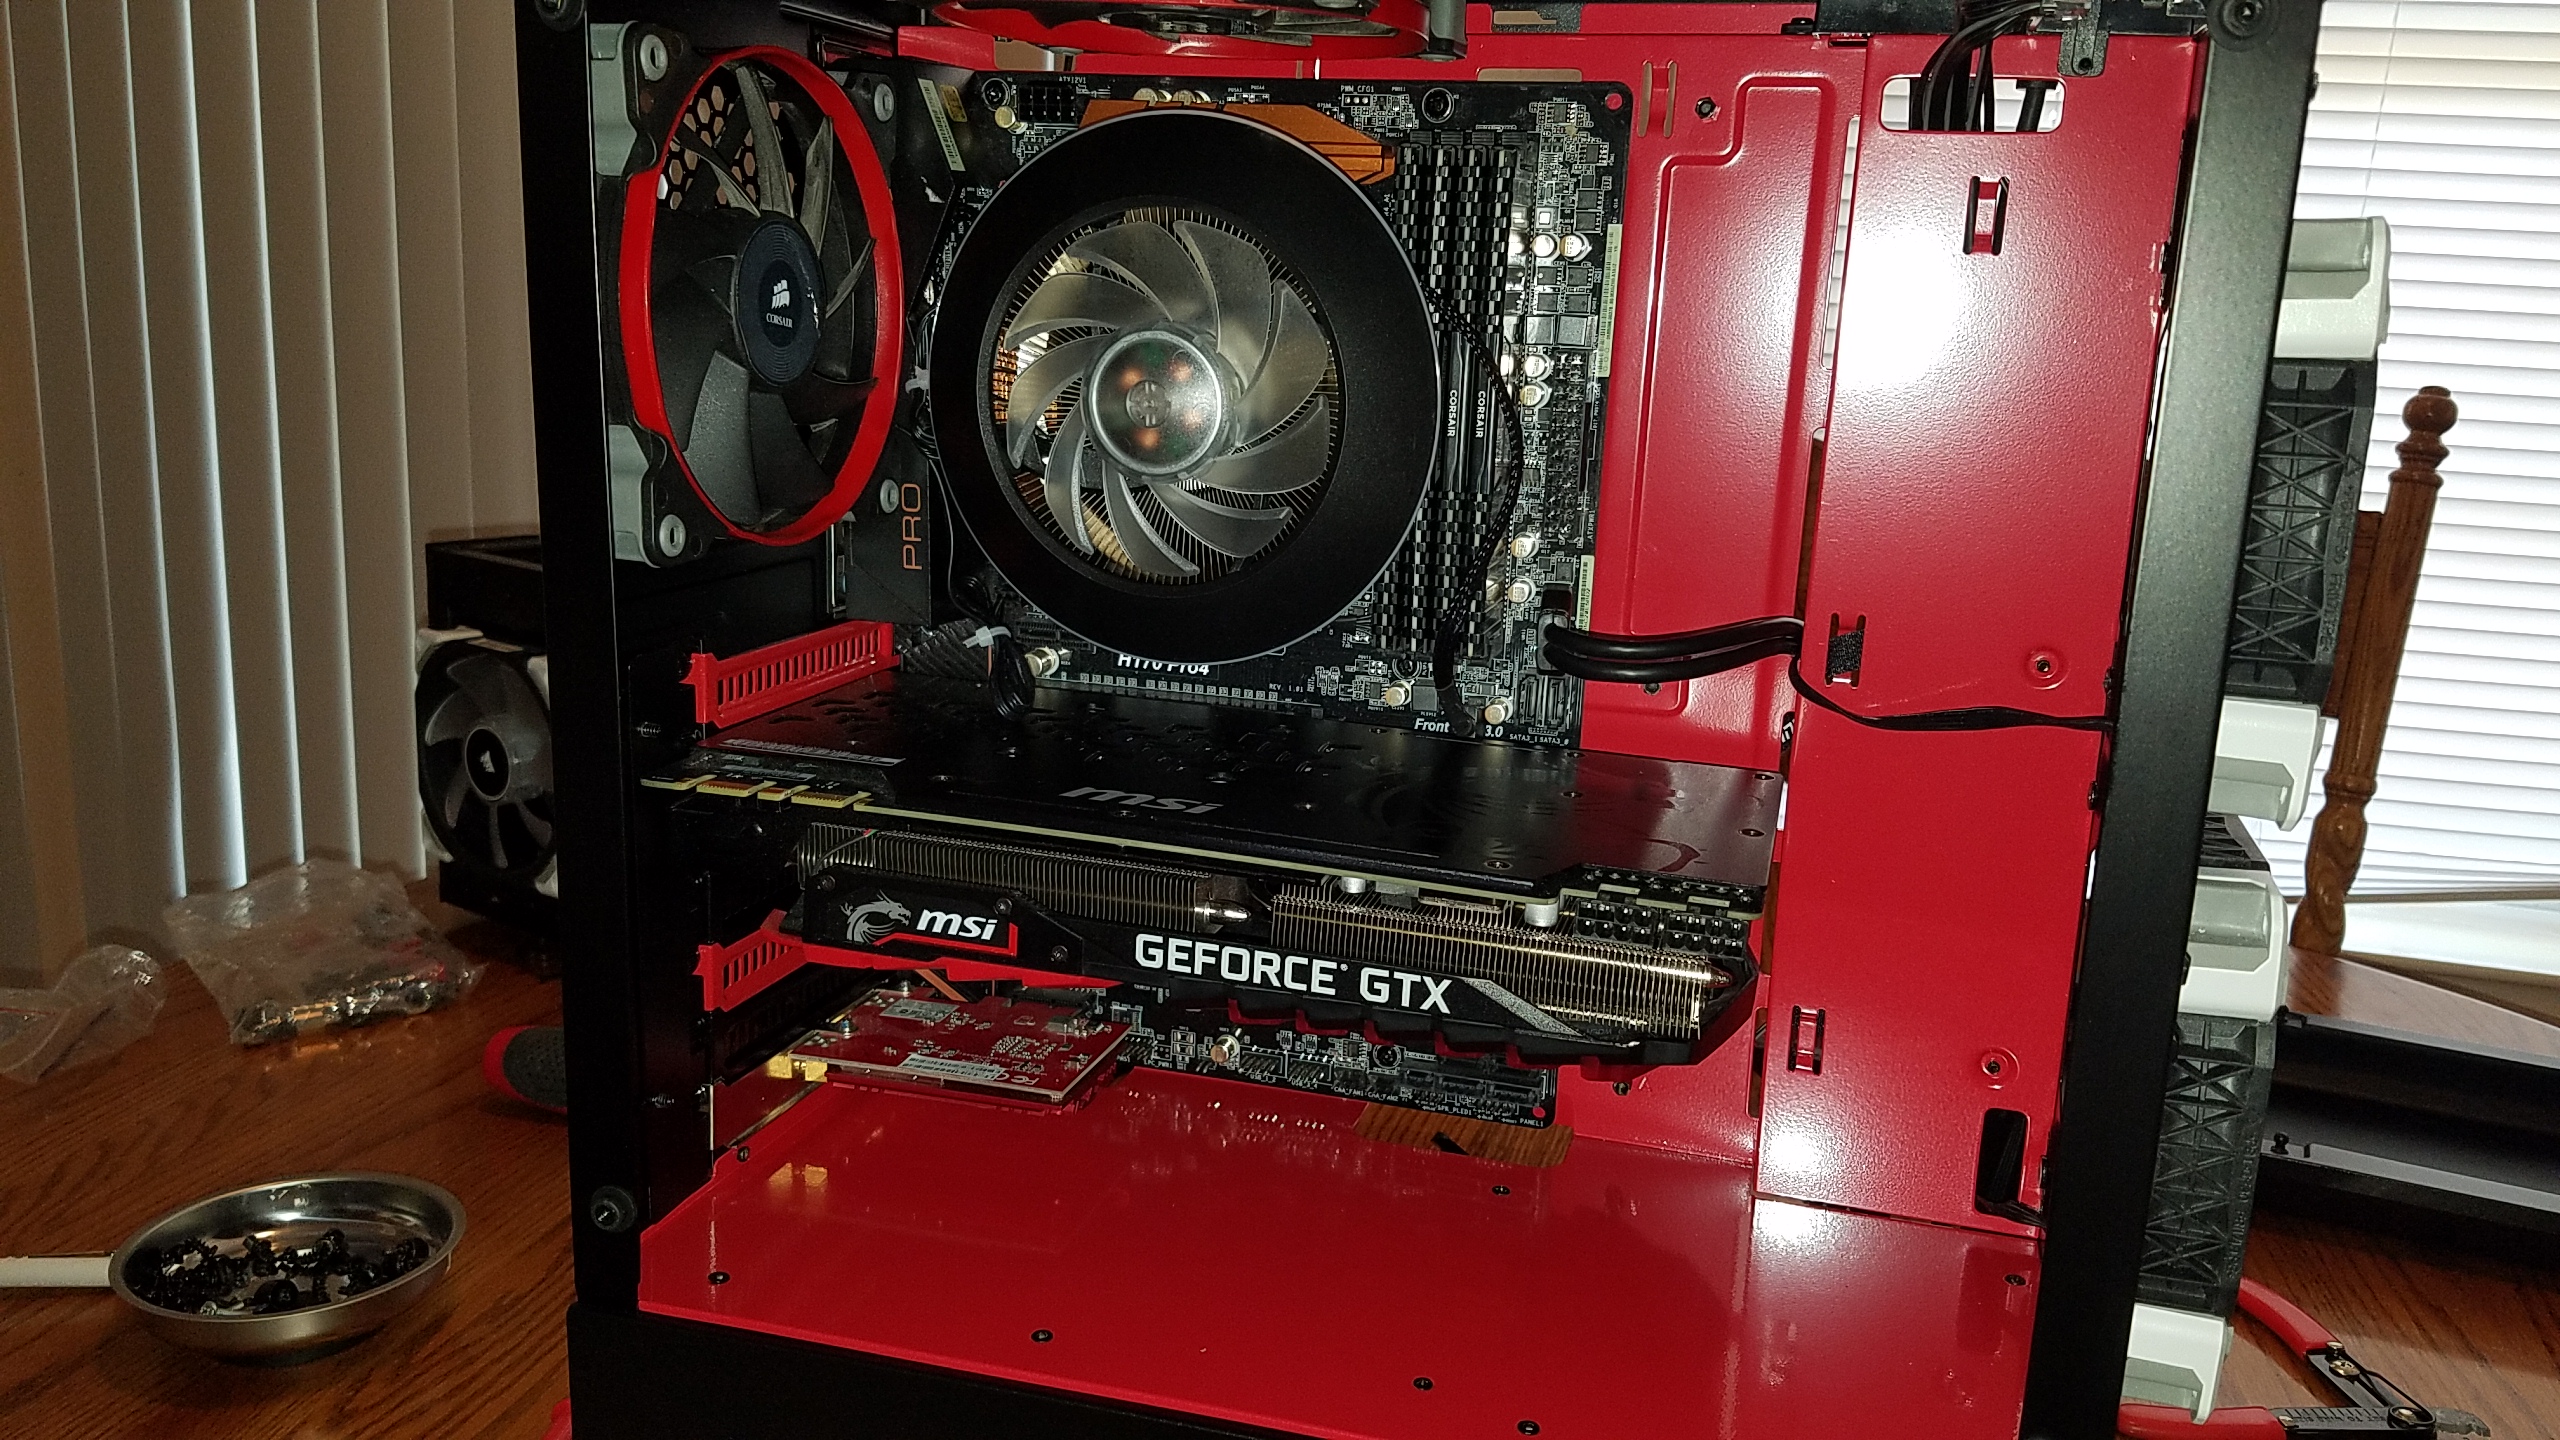
One thing I will note is this case is also a little thinner than my previous case and with the side panel mounted my GPU power cables were slightly pressed in by the side panel, it wasn’t enough for me to worry but if you have a graphics card wider than a MSI Gaming X GPU you may want to get something to rout the cables in a different direction.

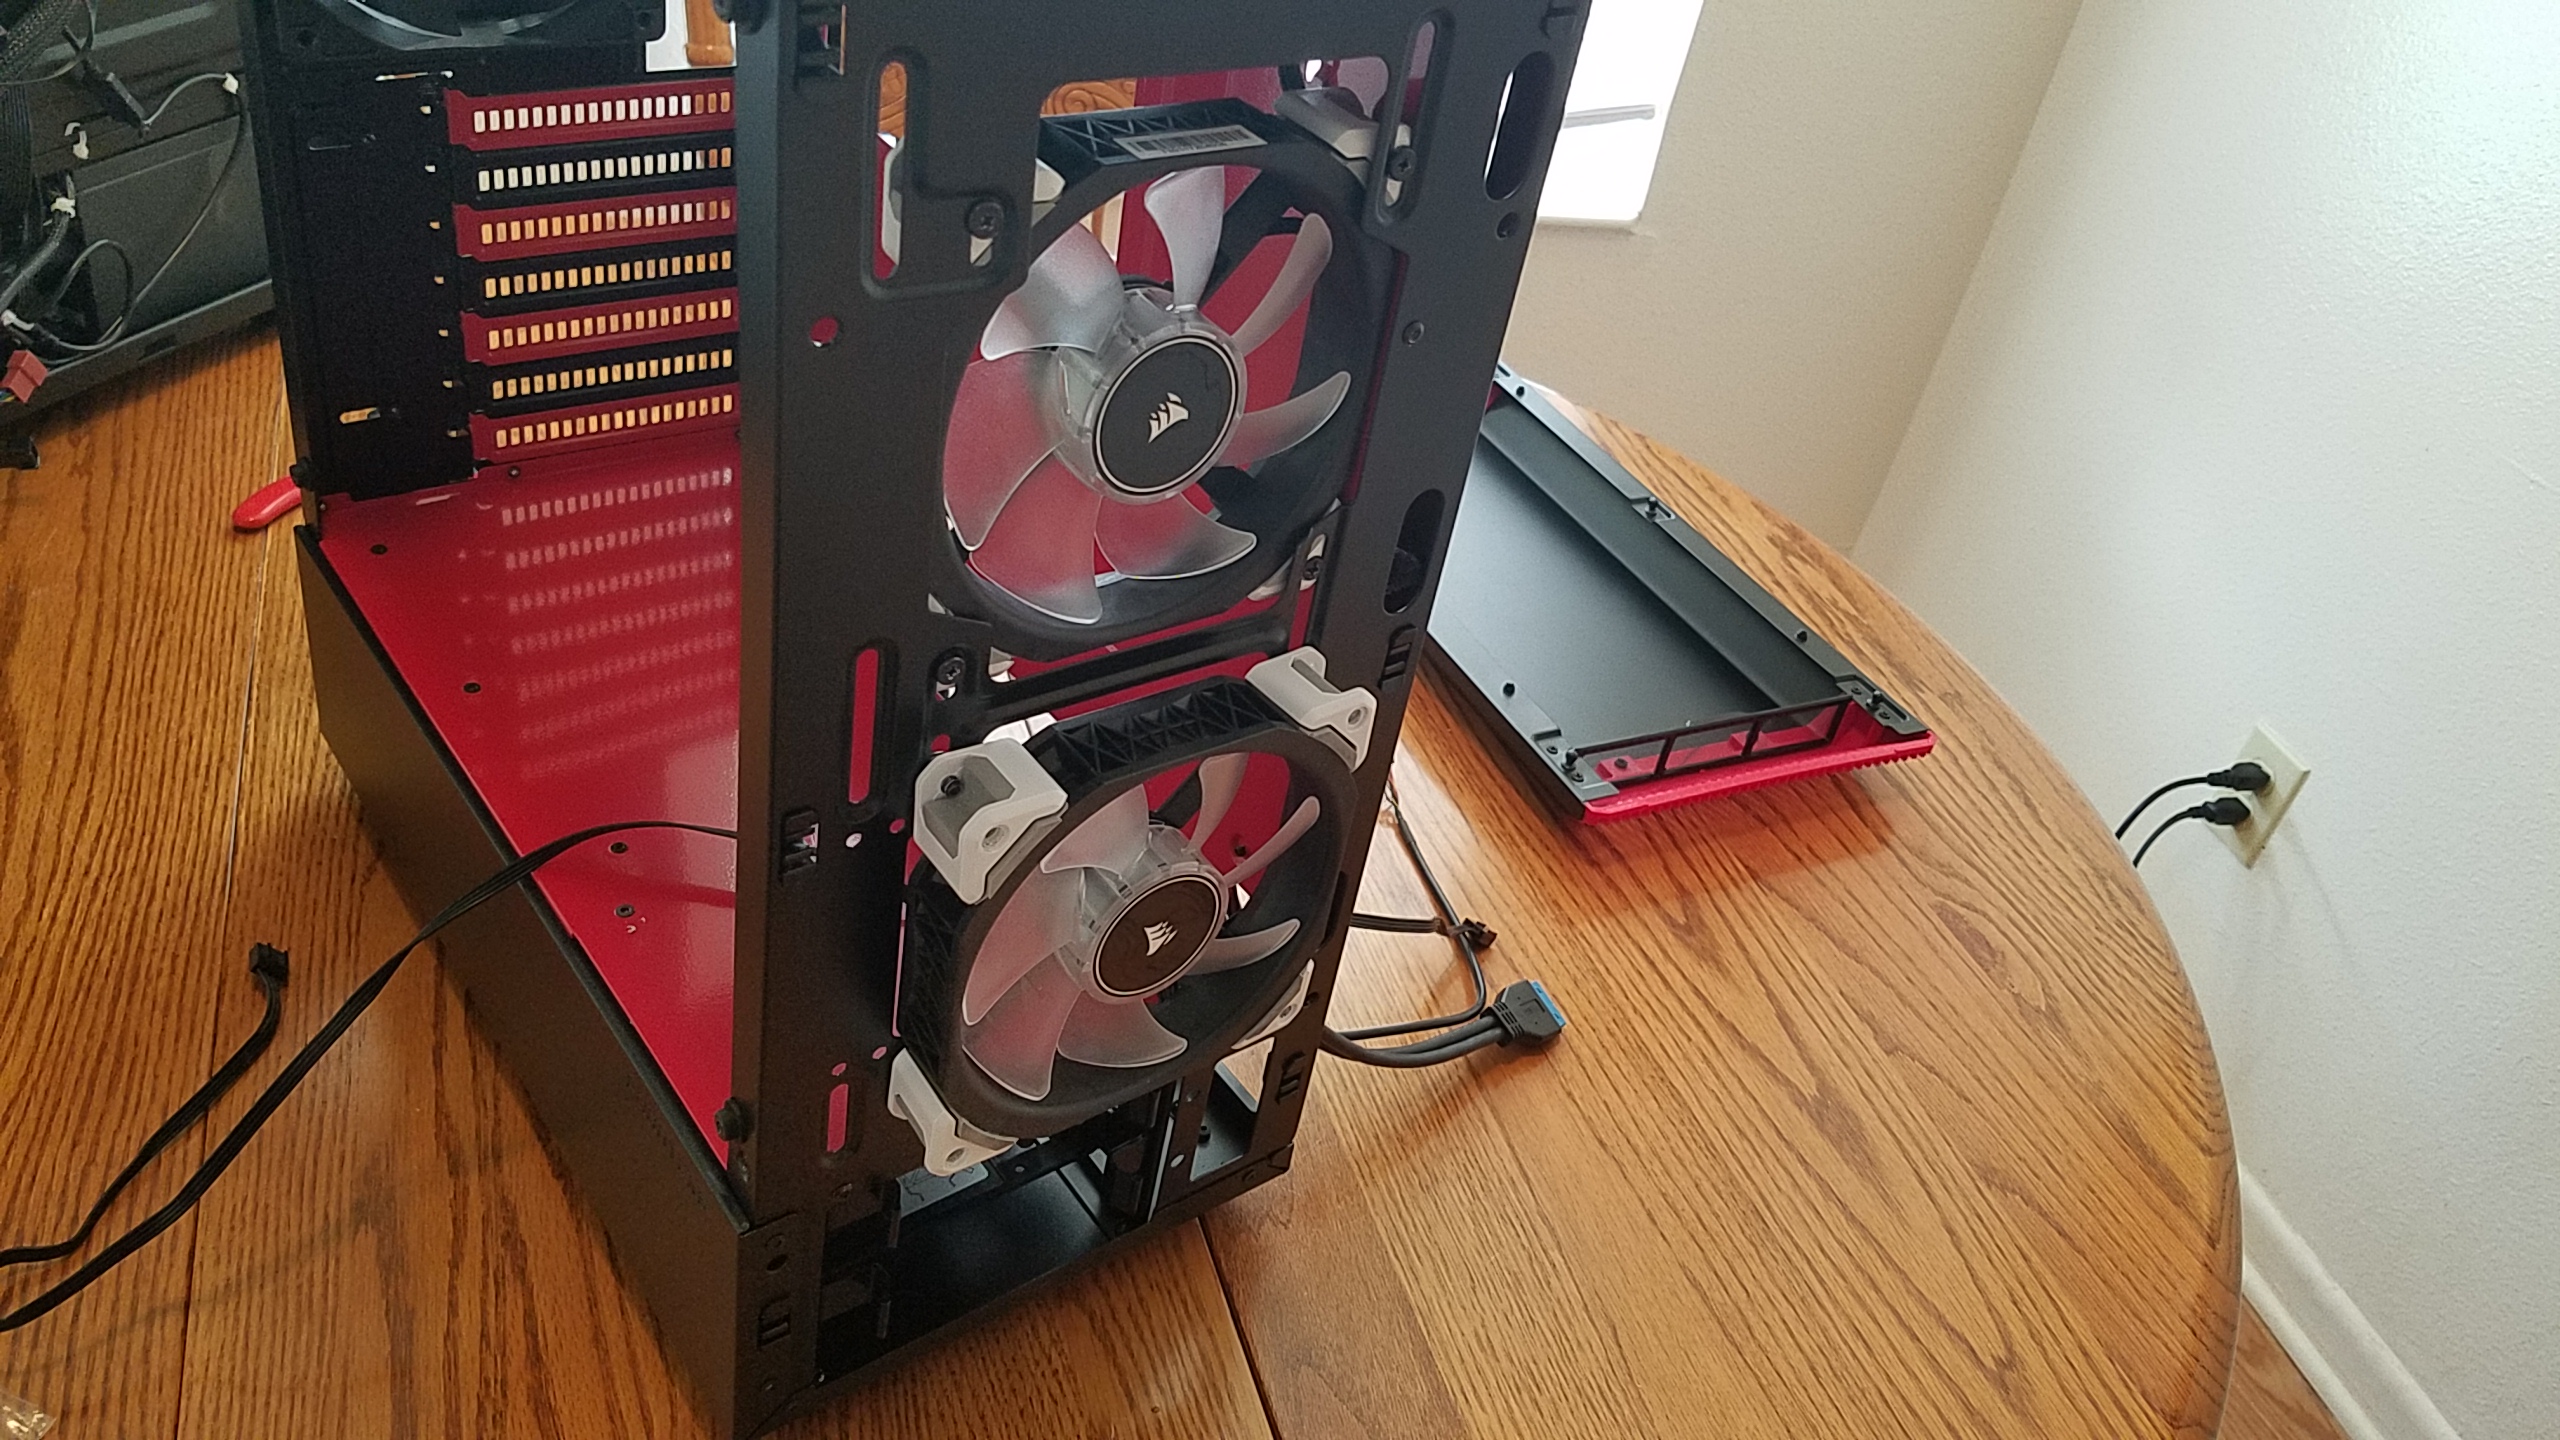
Building inside this case was fairly easy and they provide ample room for cables but the overall experience was dragged down a bit by the awkward PSU installation so I rate the building portion of this case a 3.5/5


Lighting.

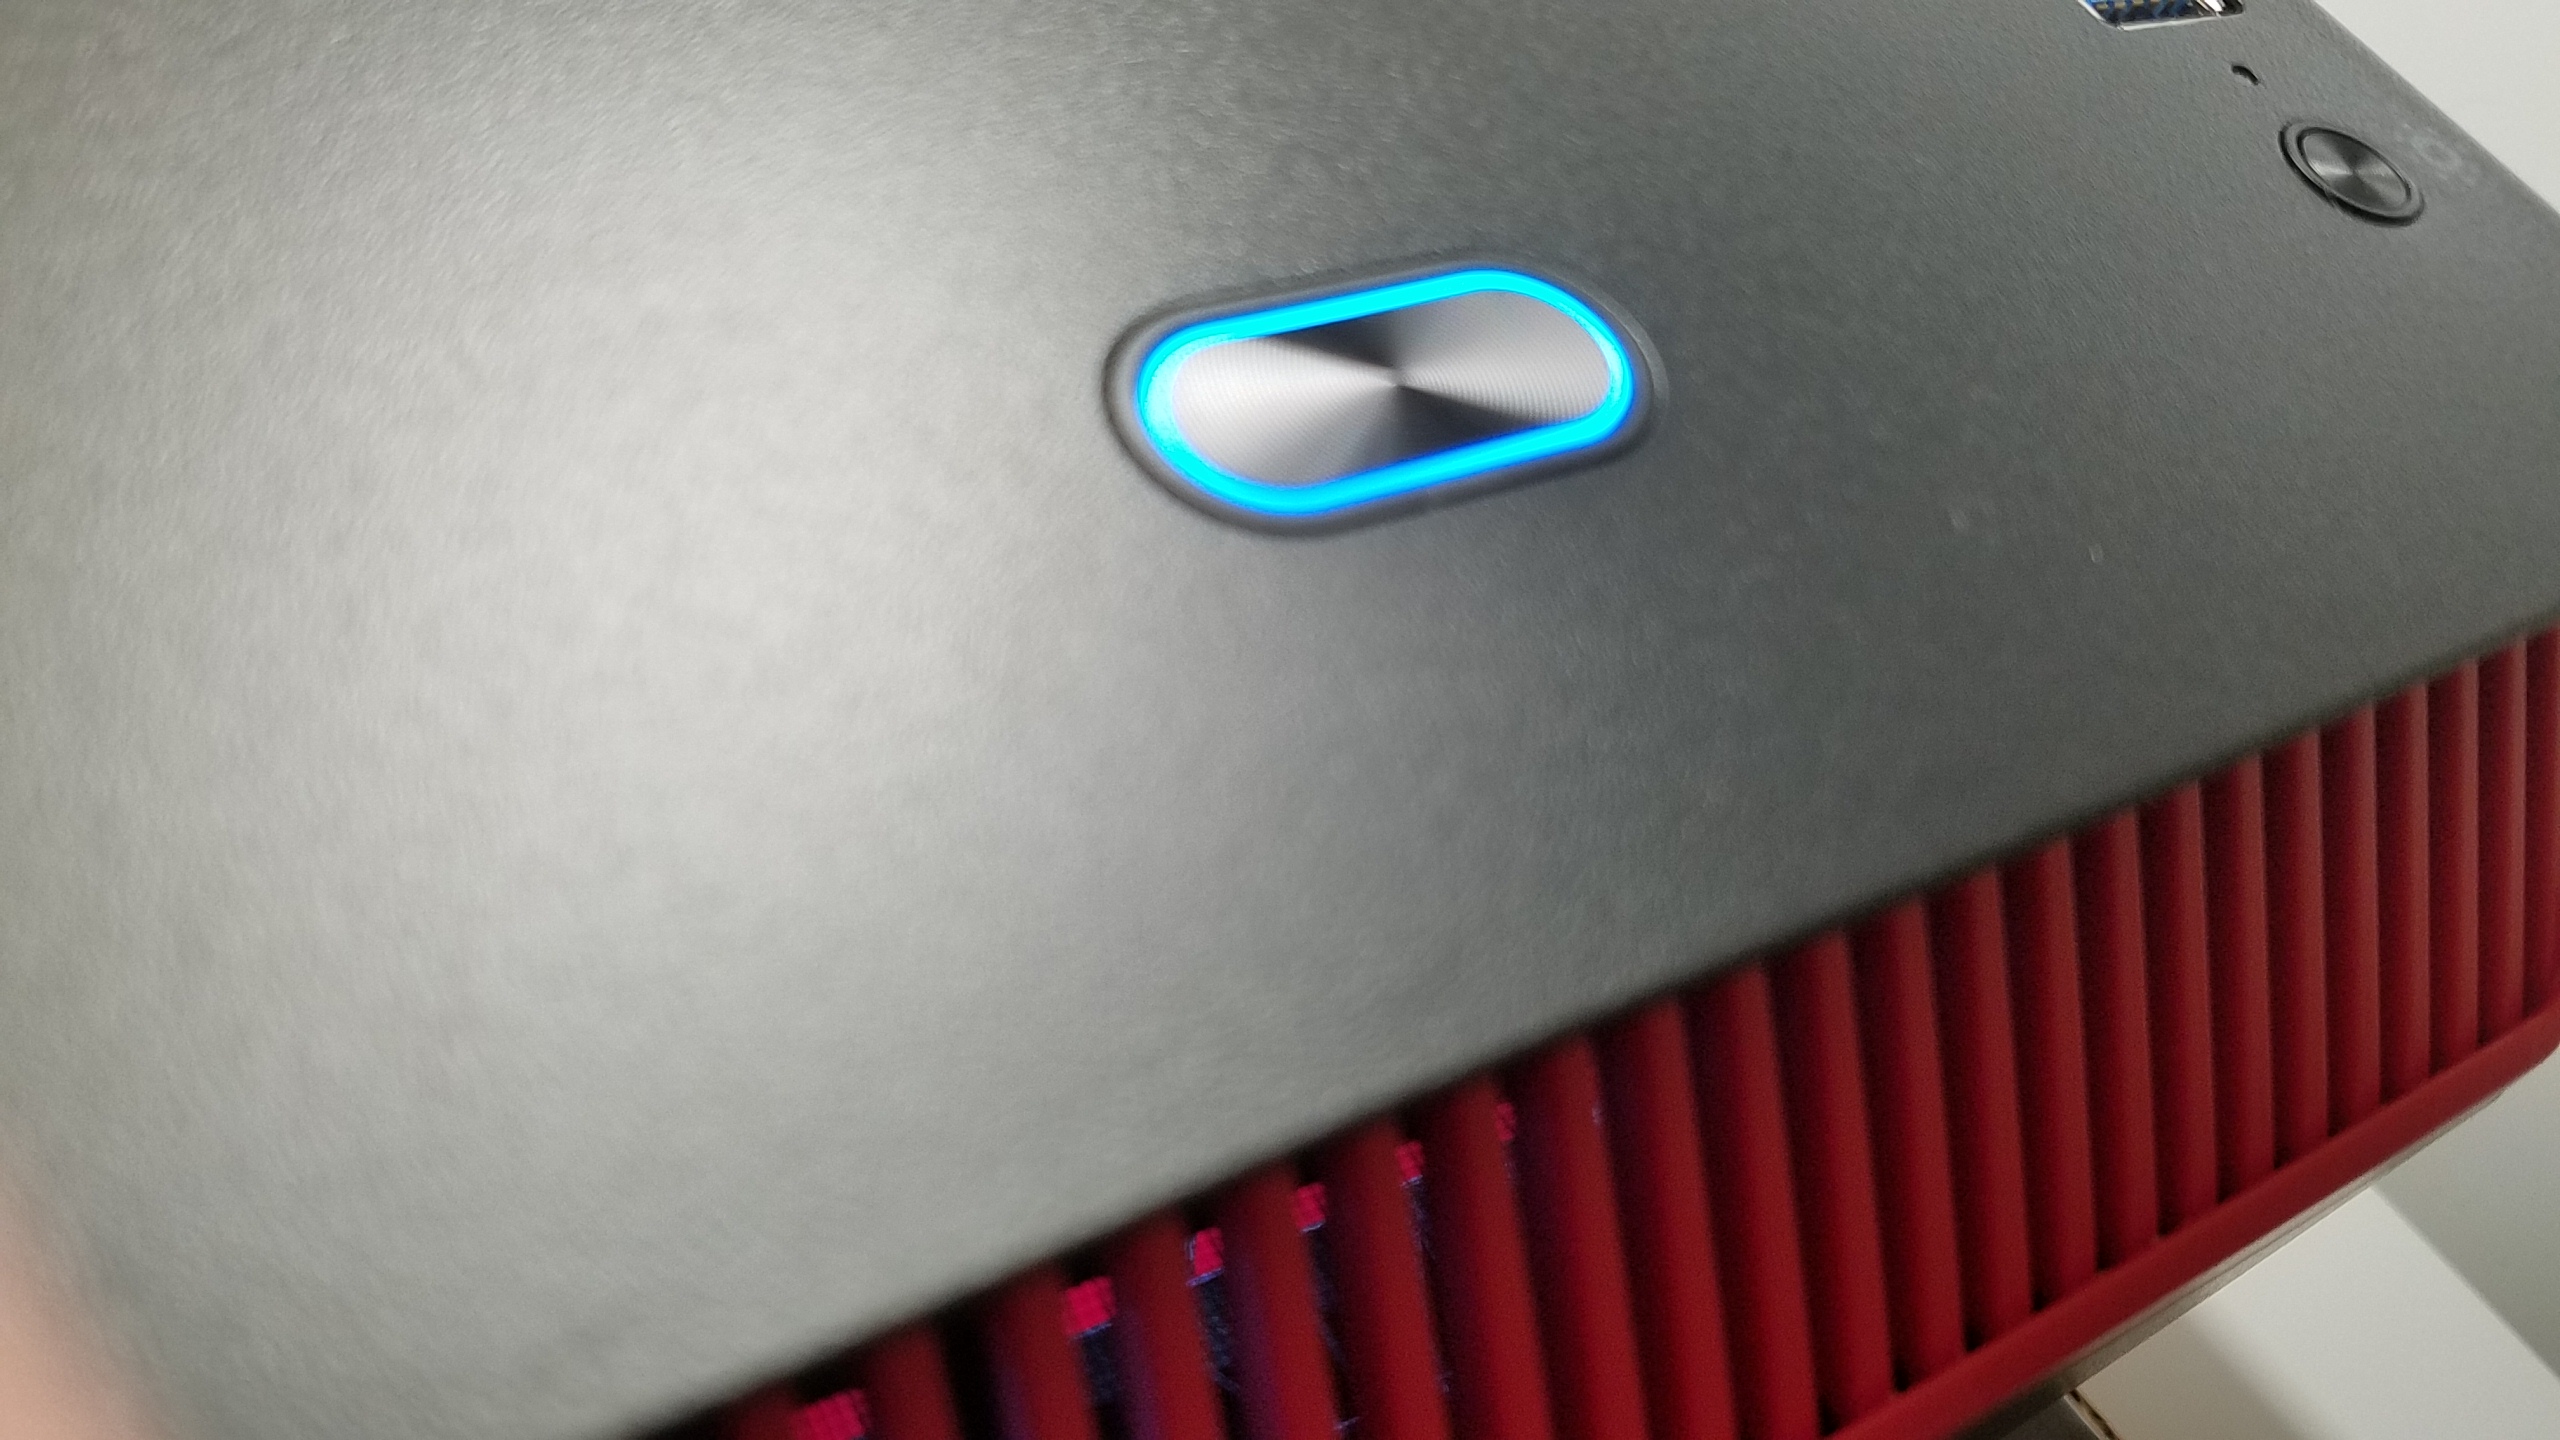
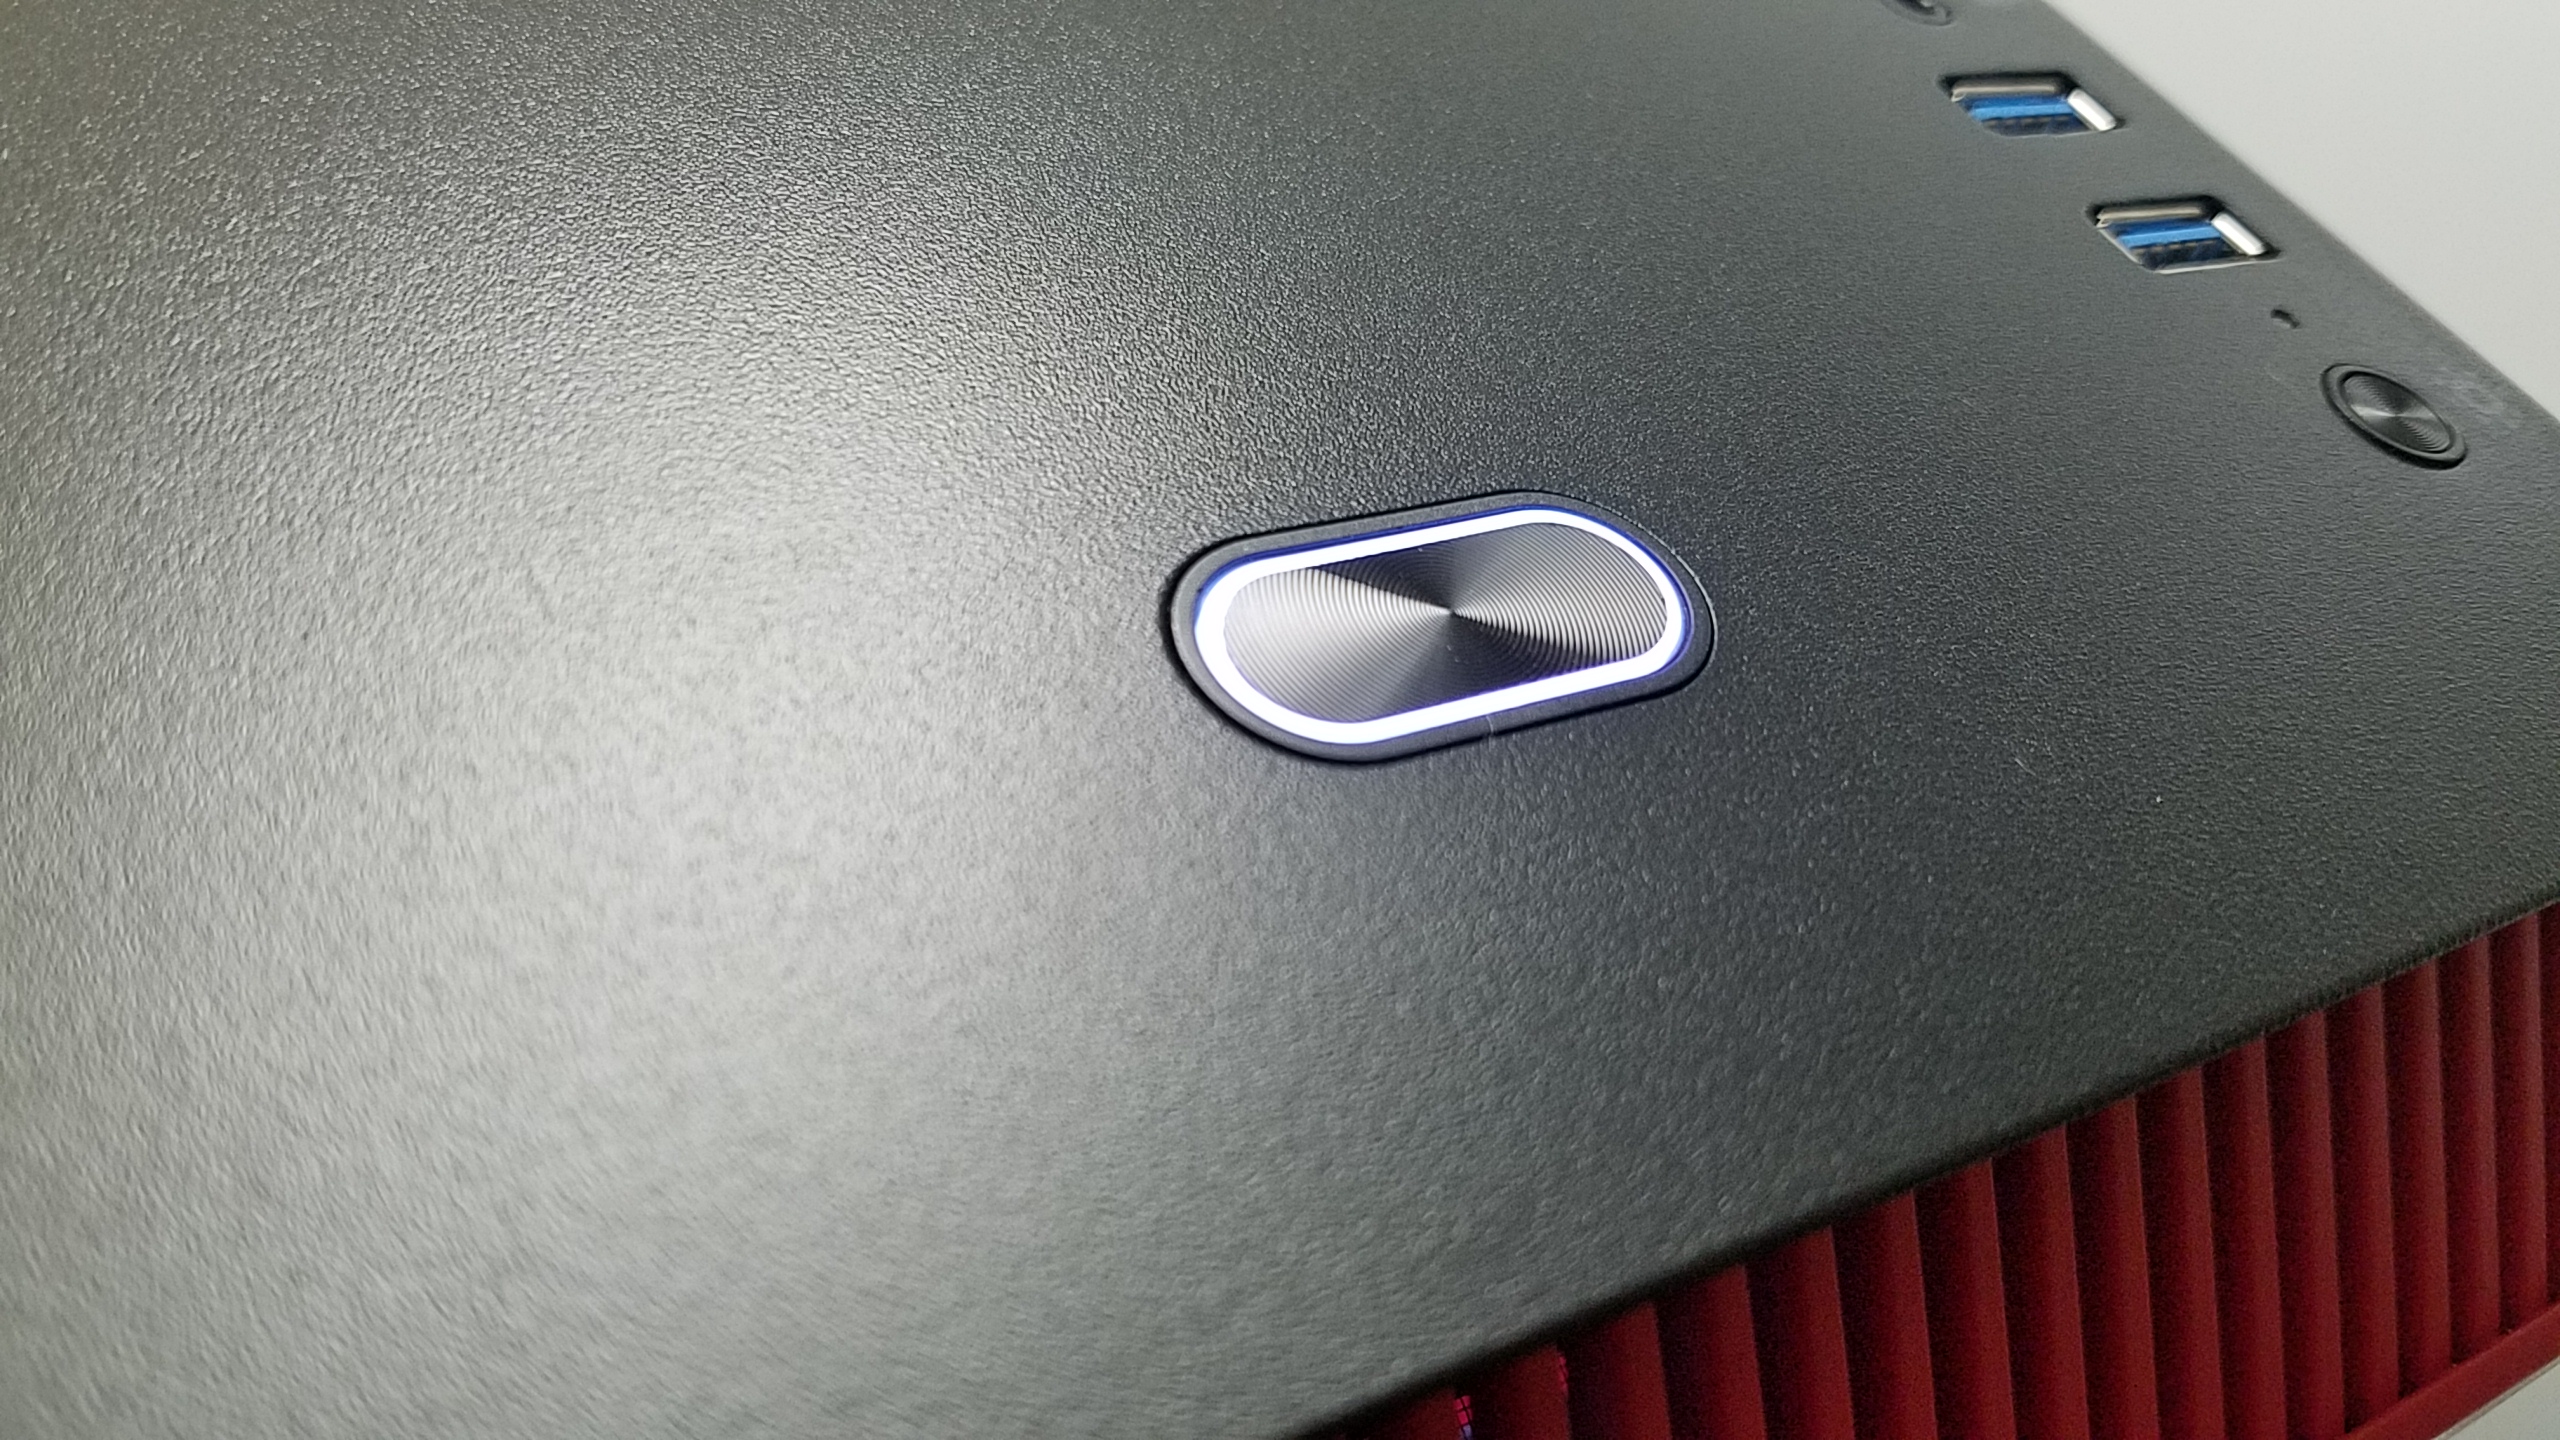
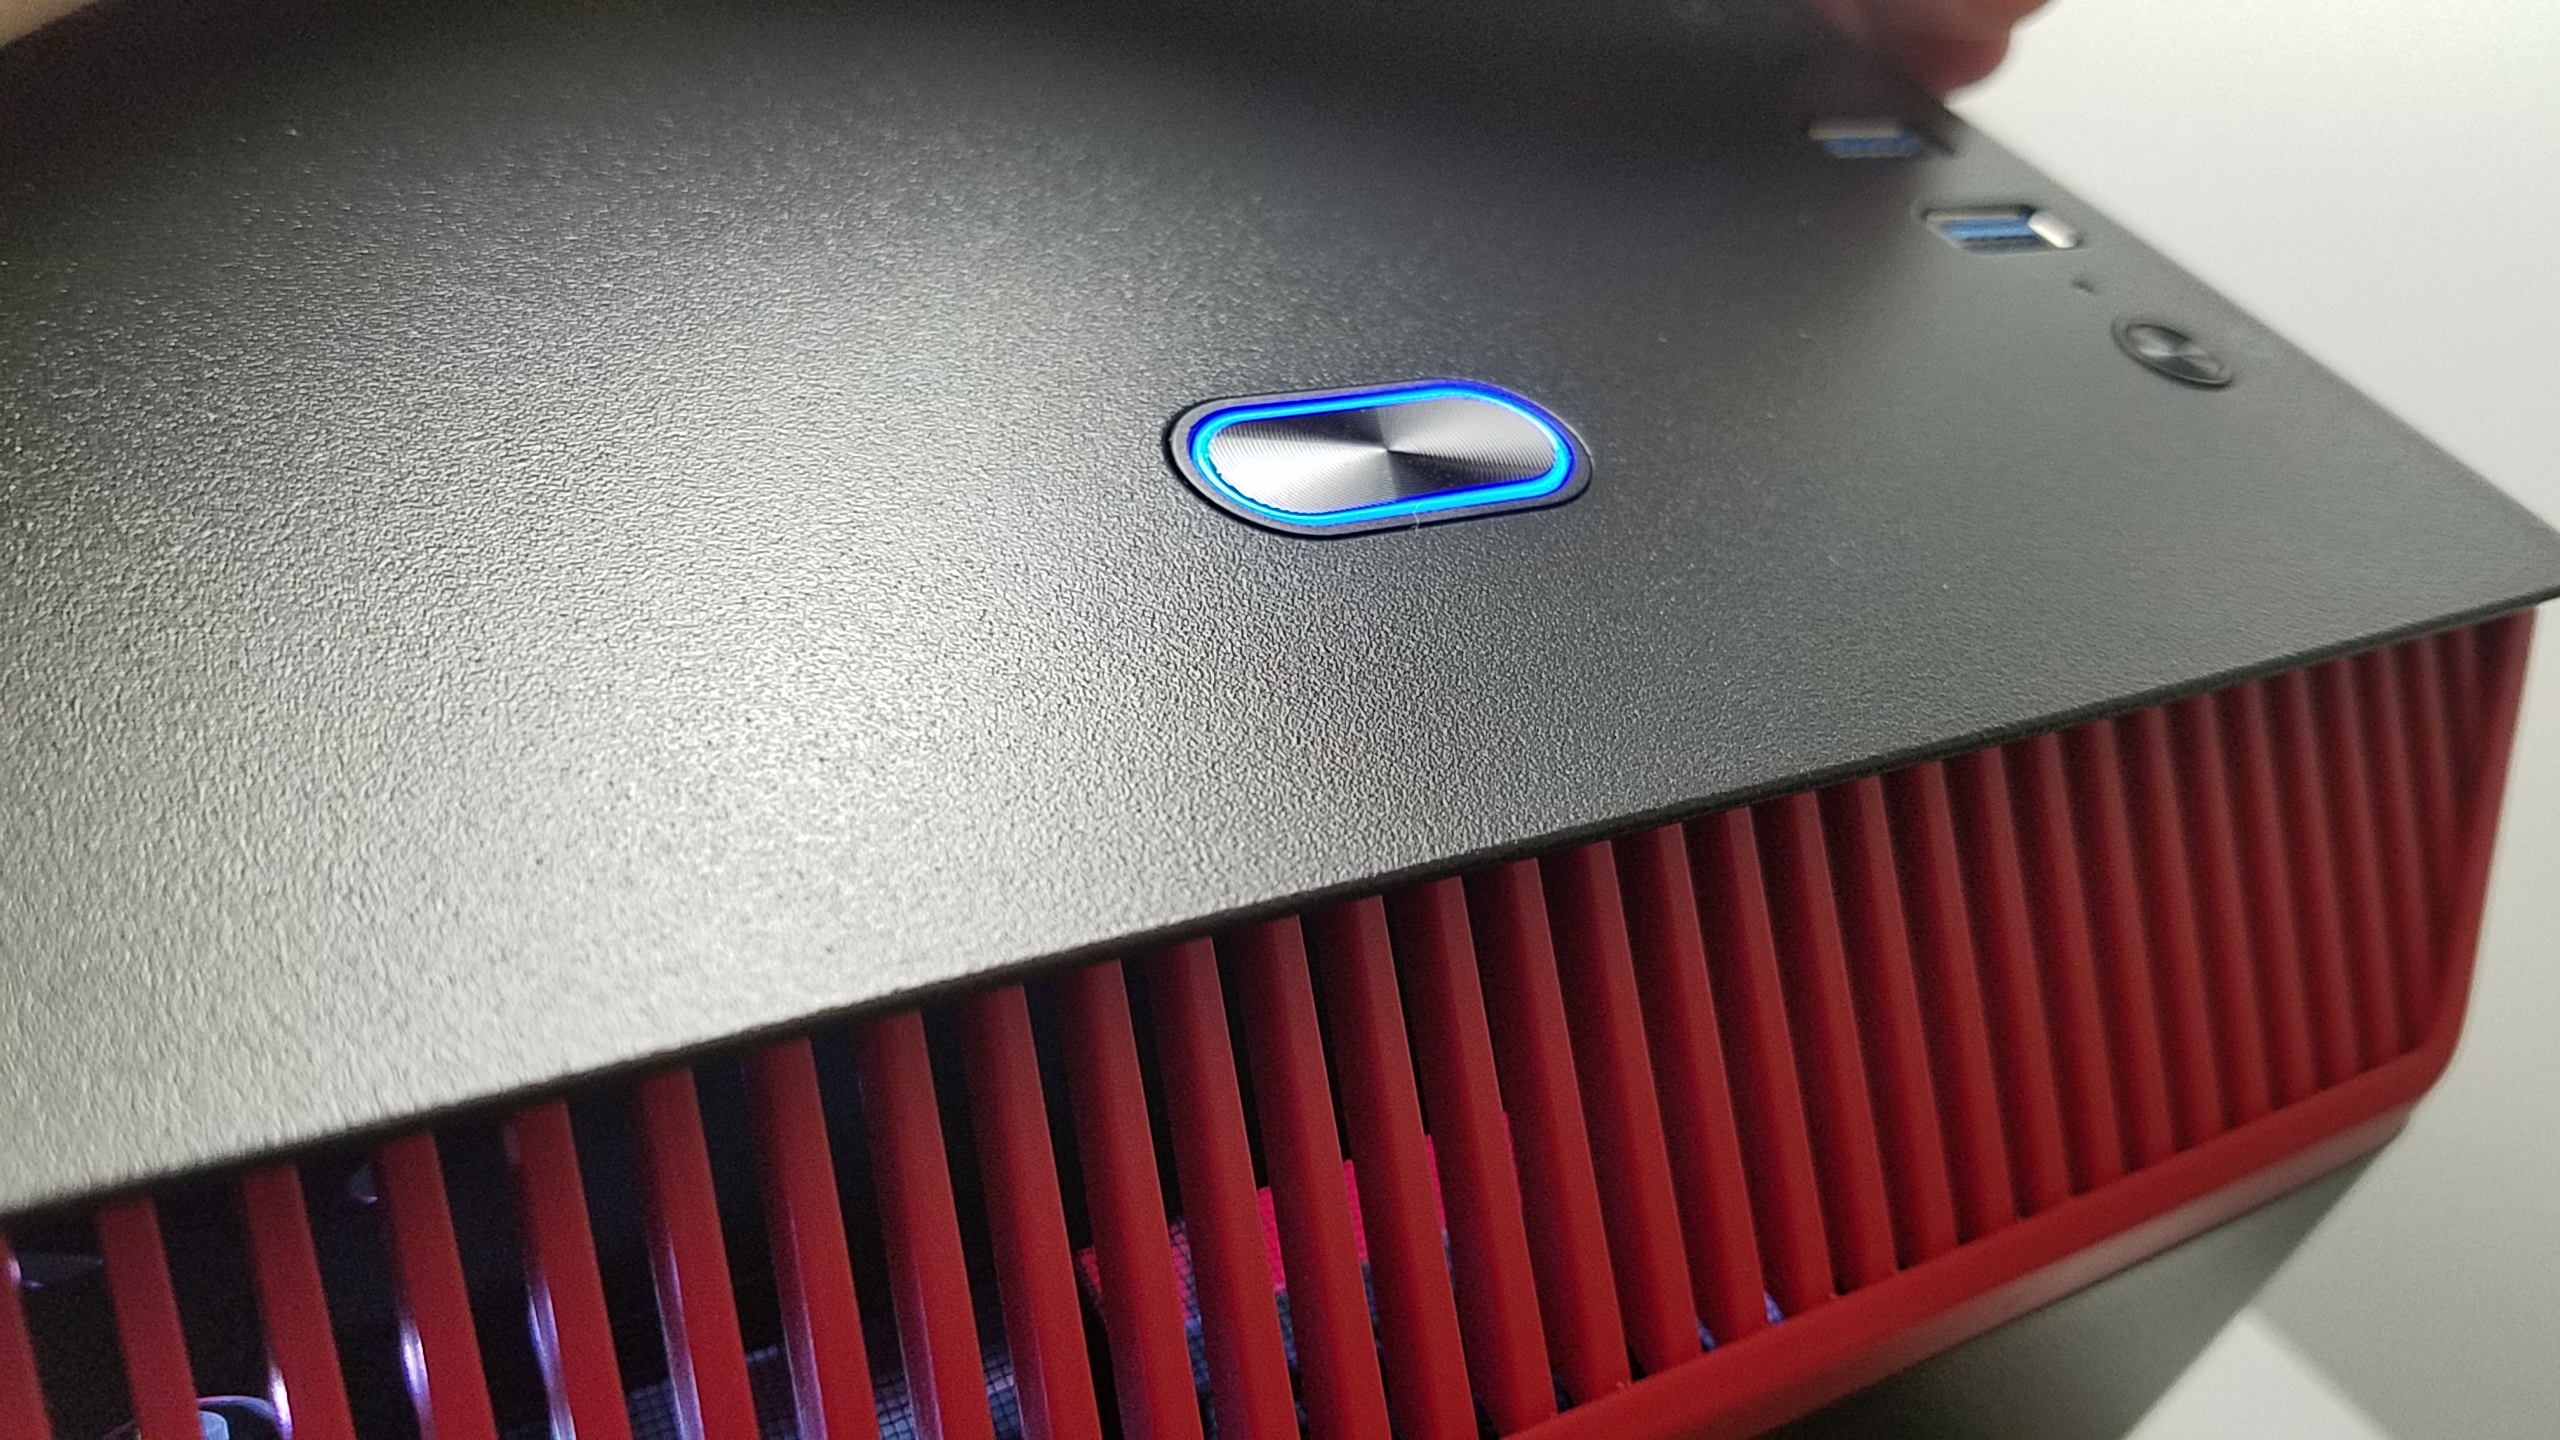
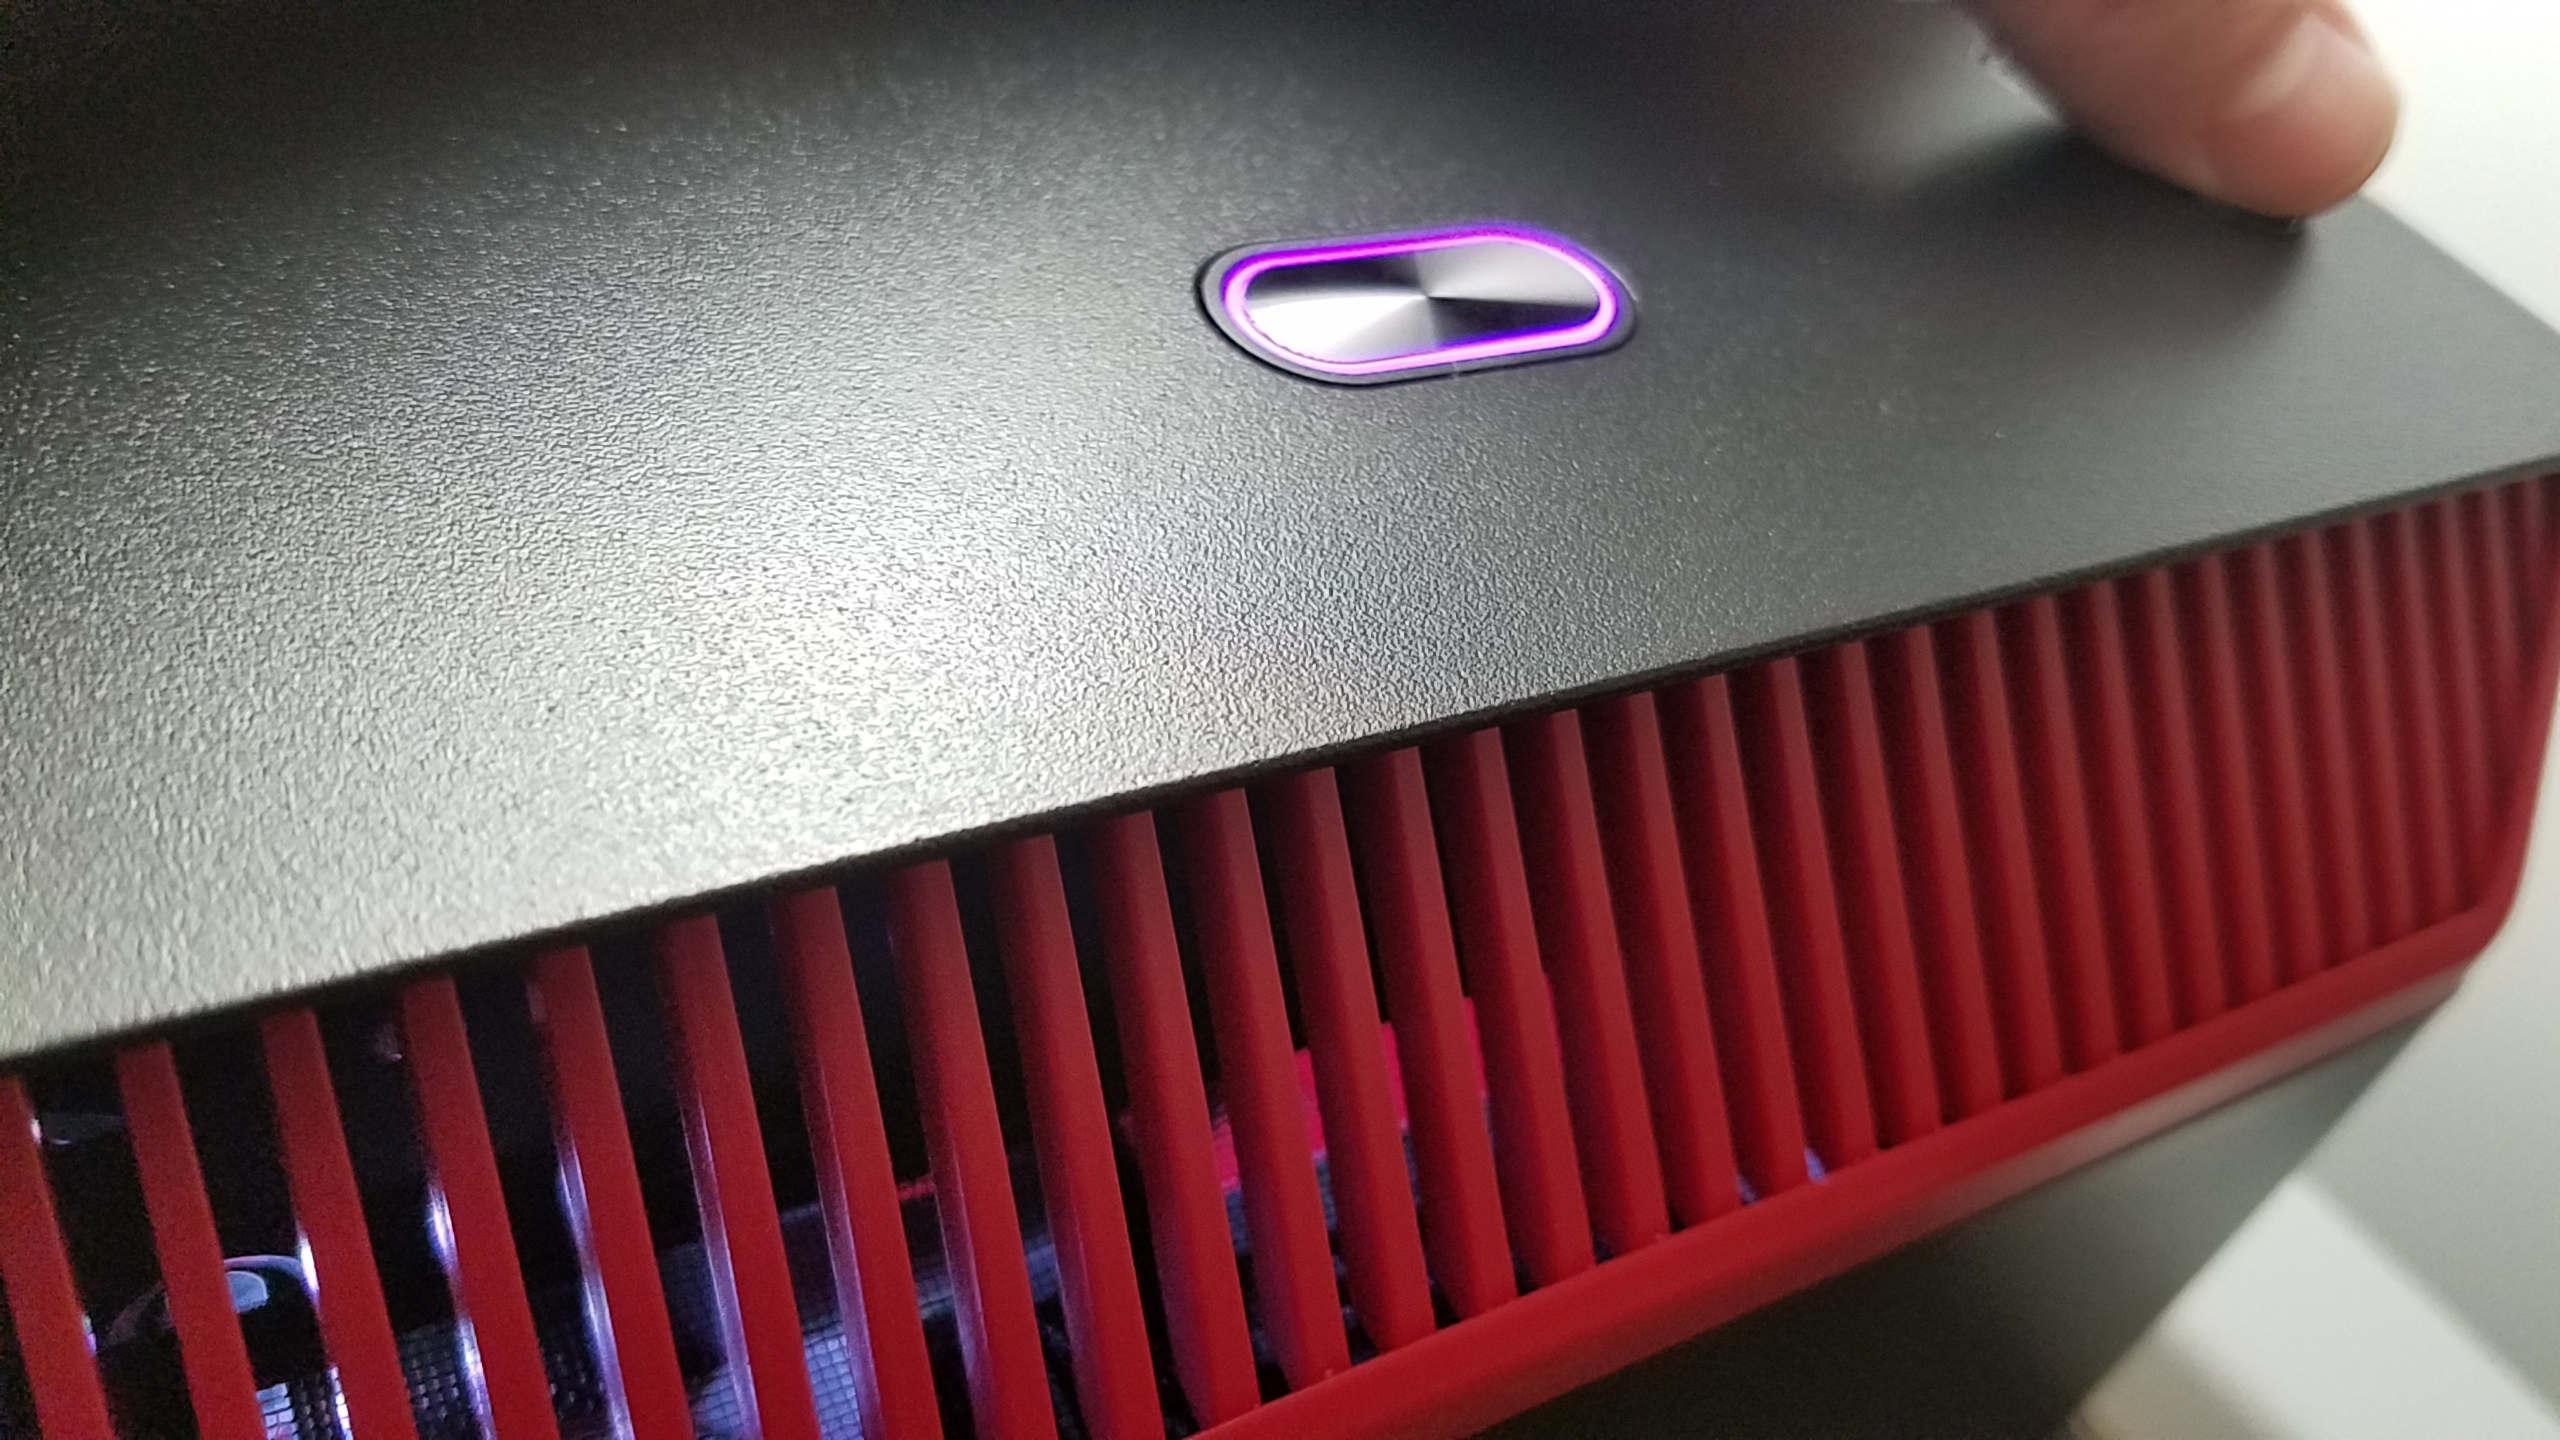
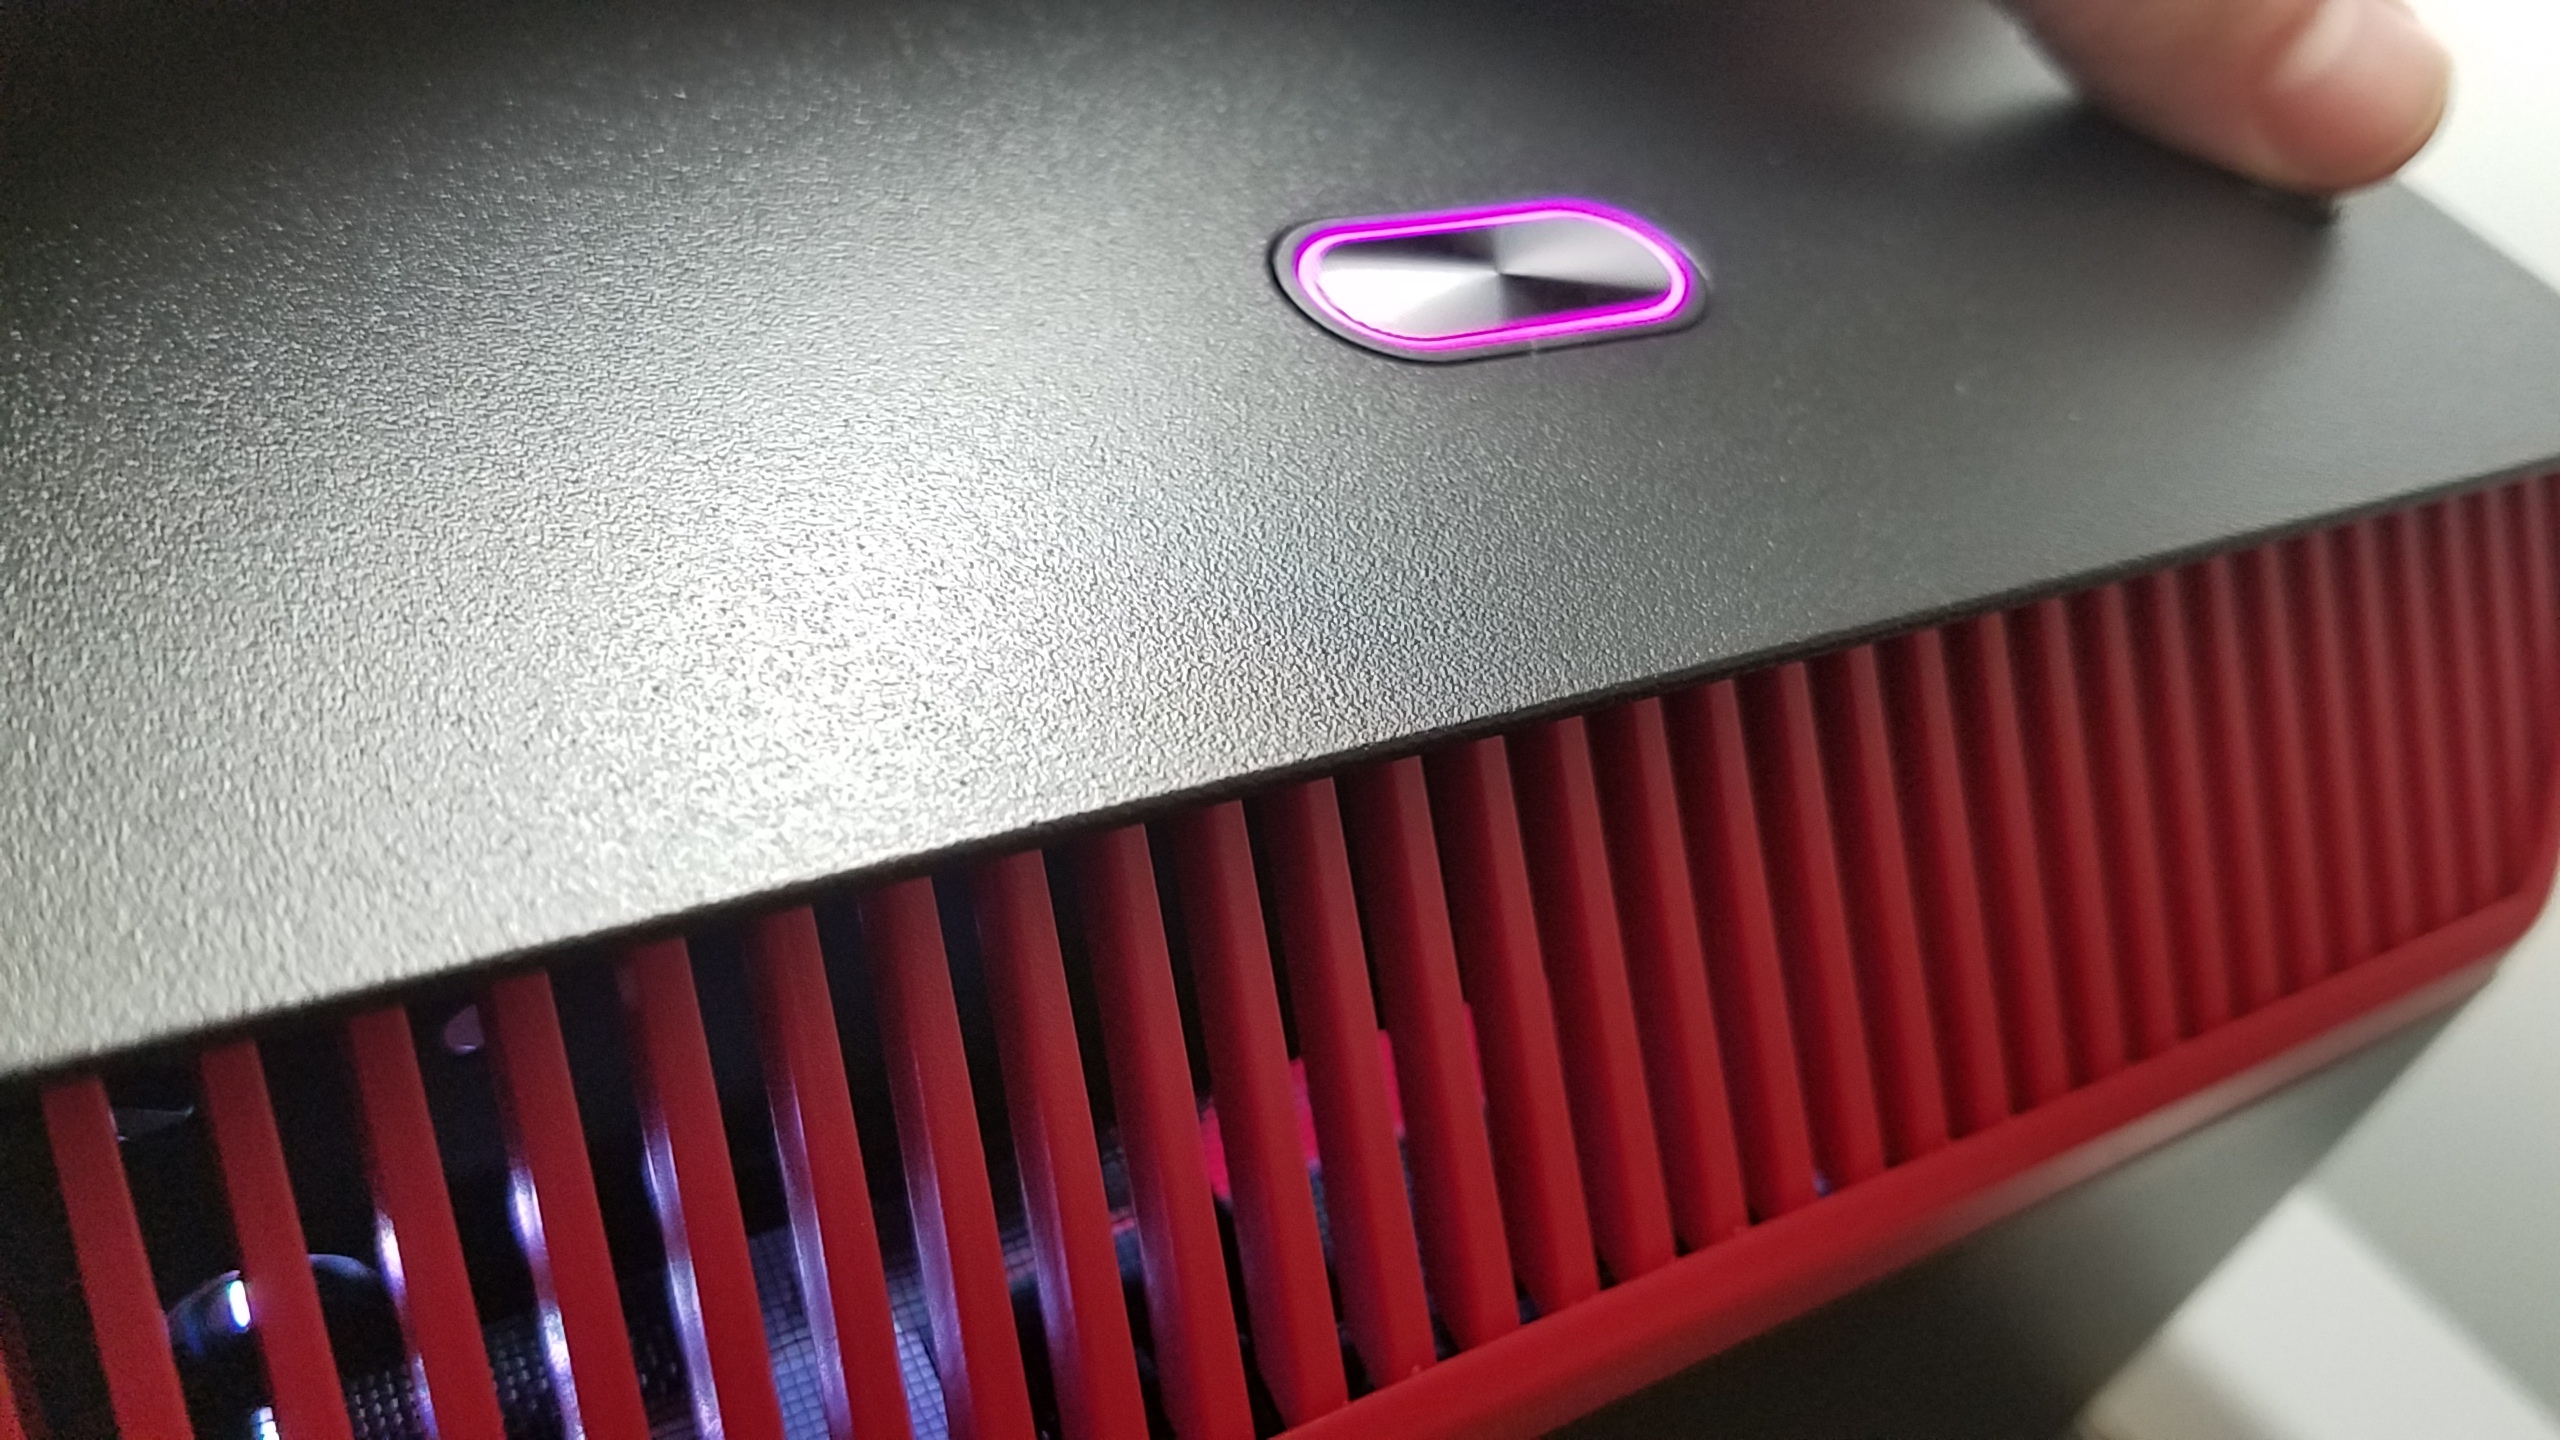
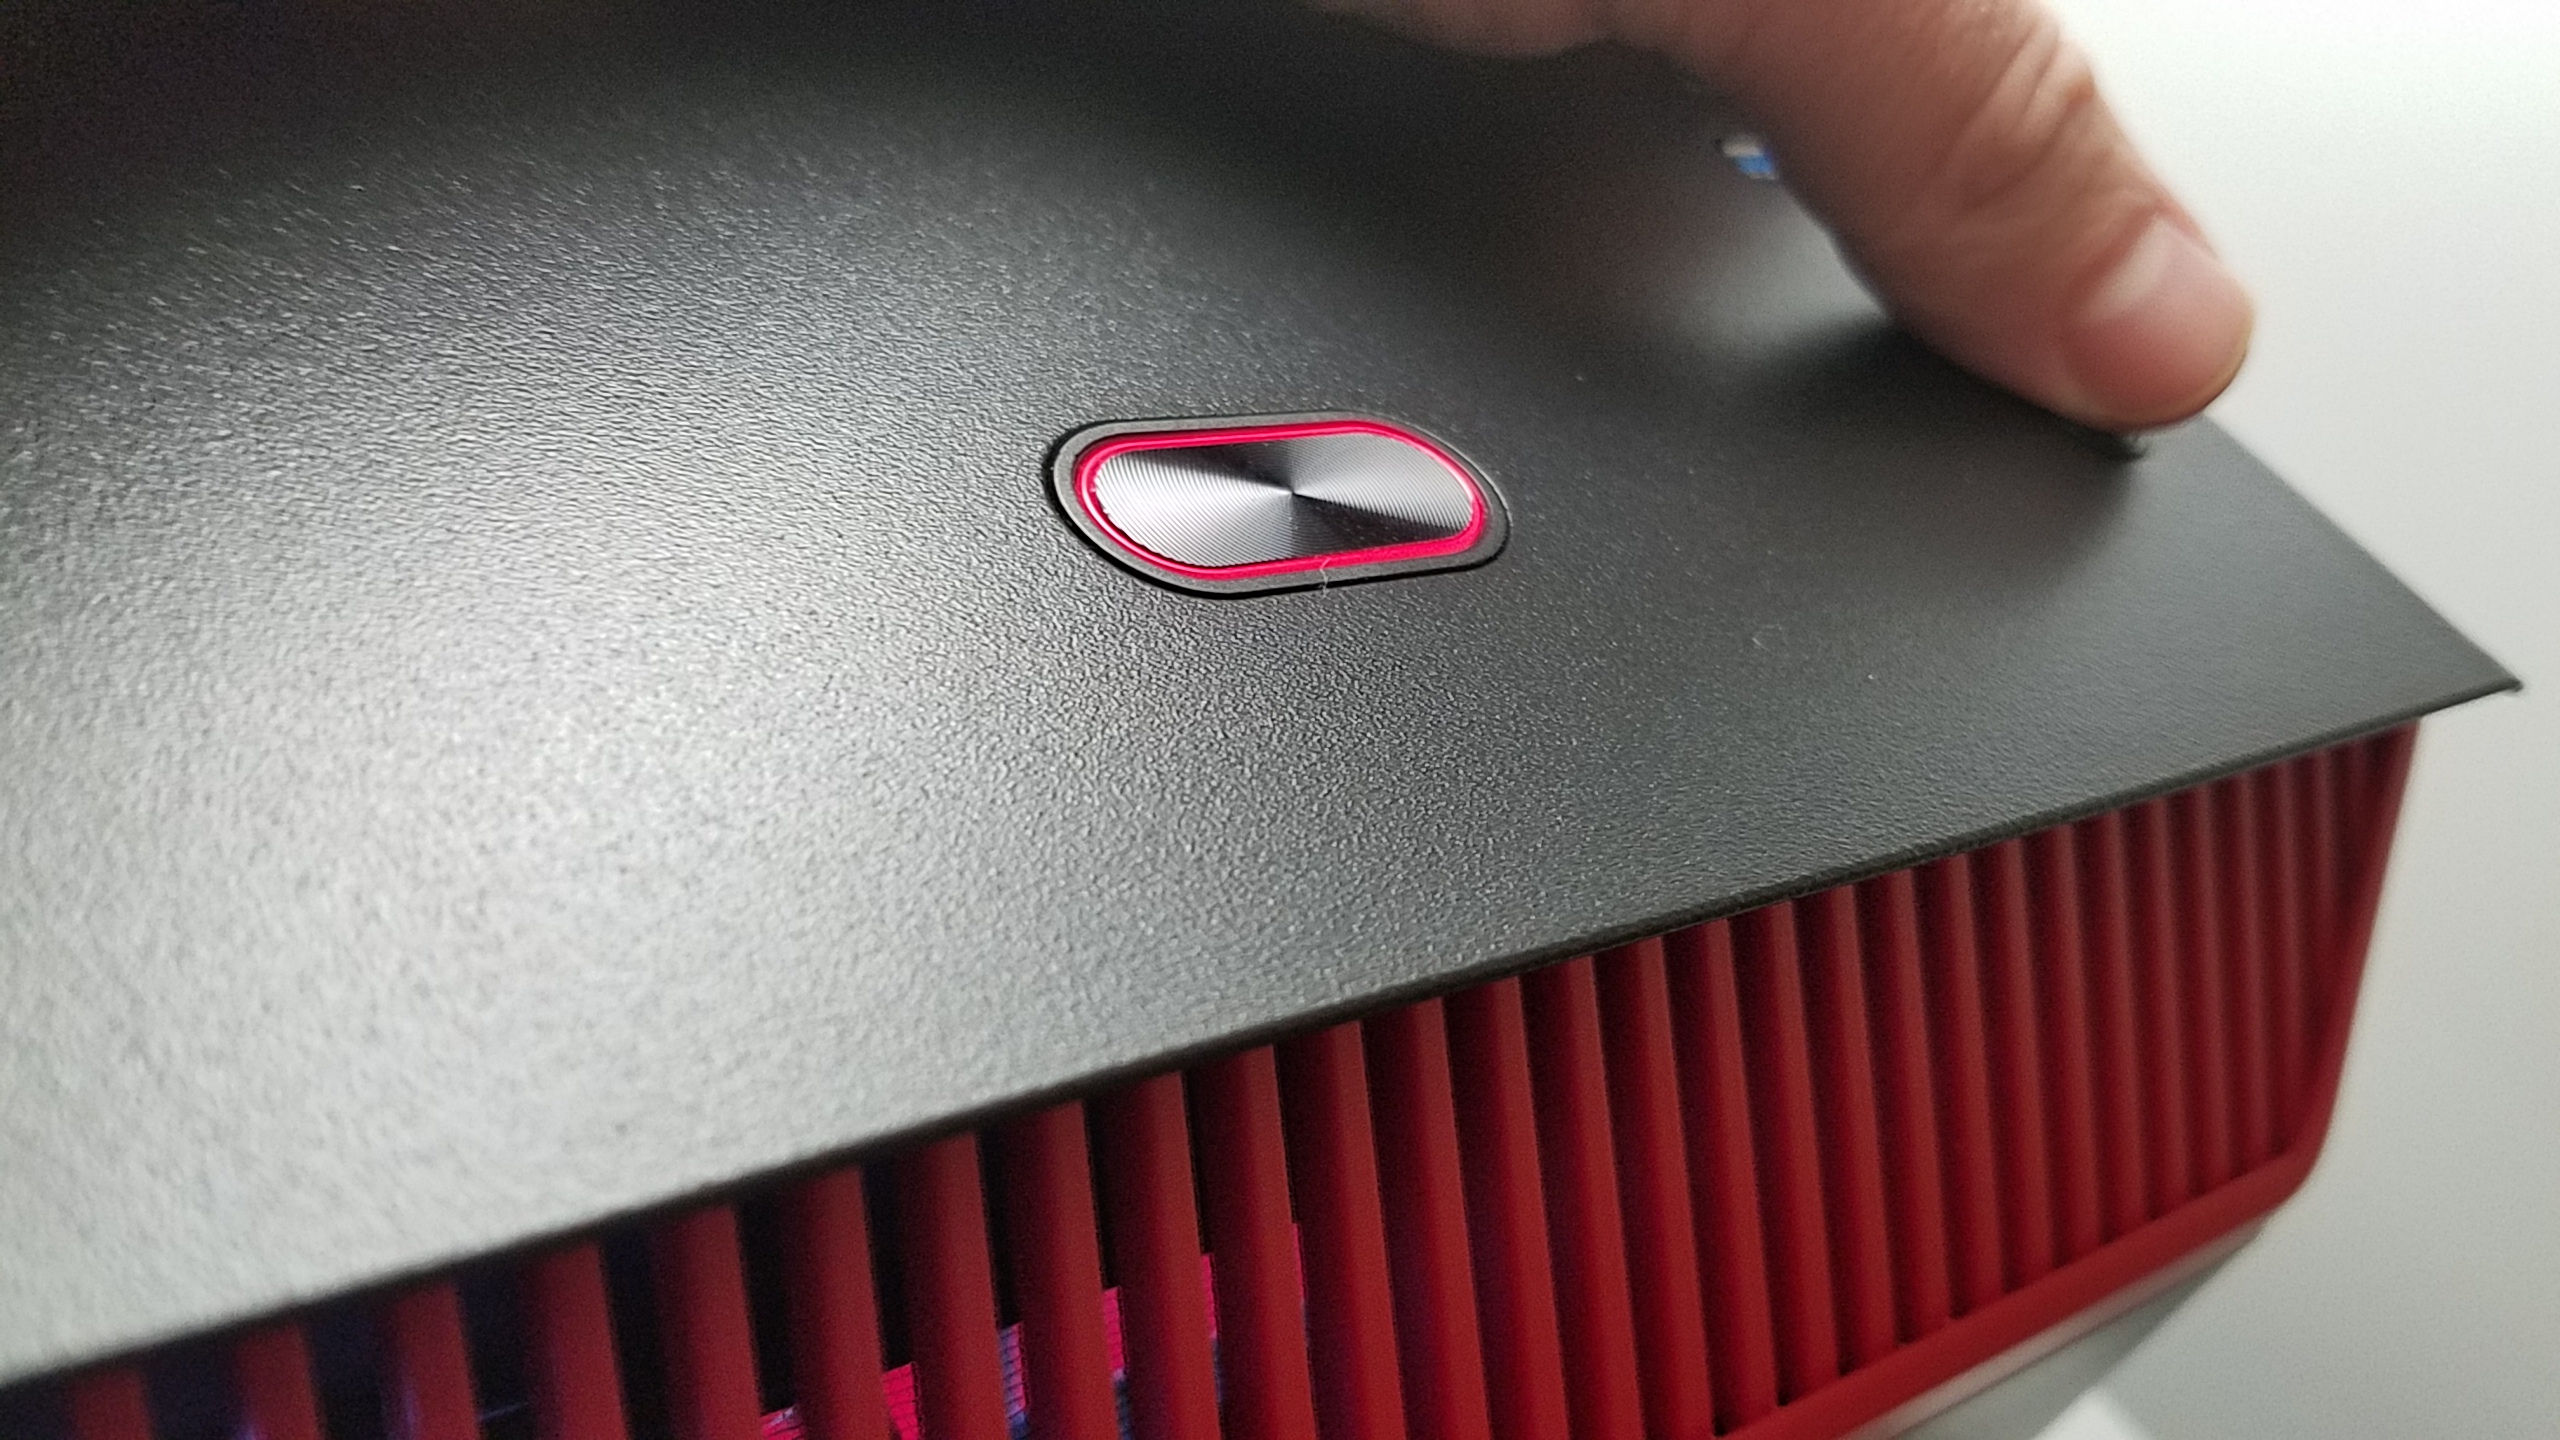
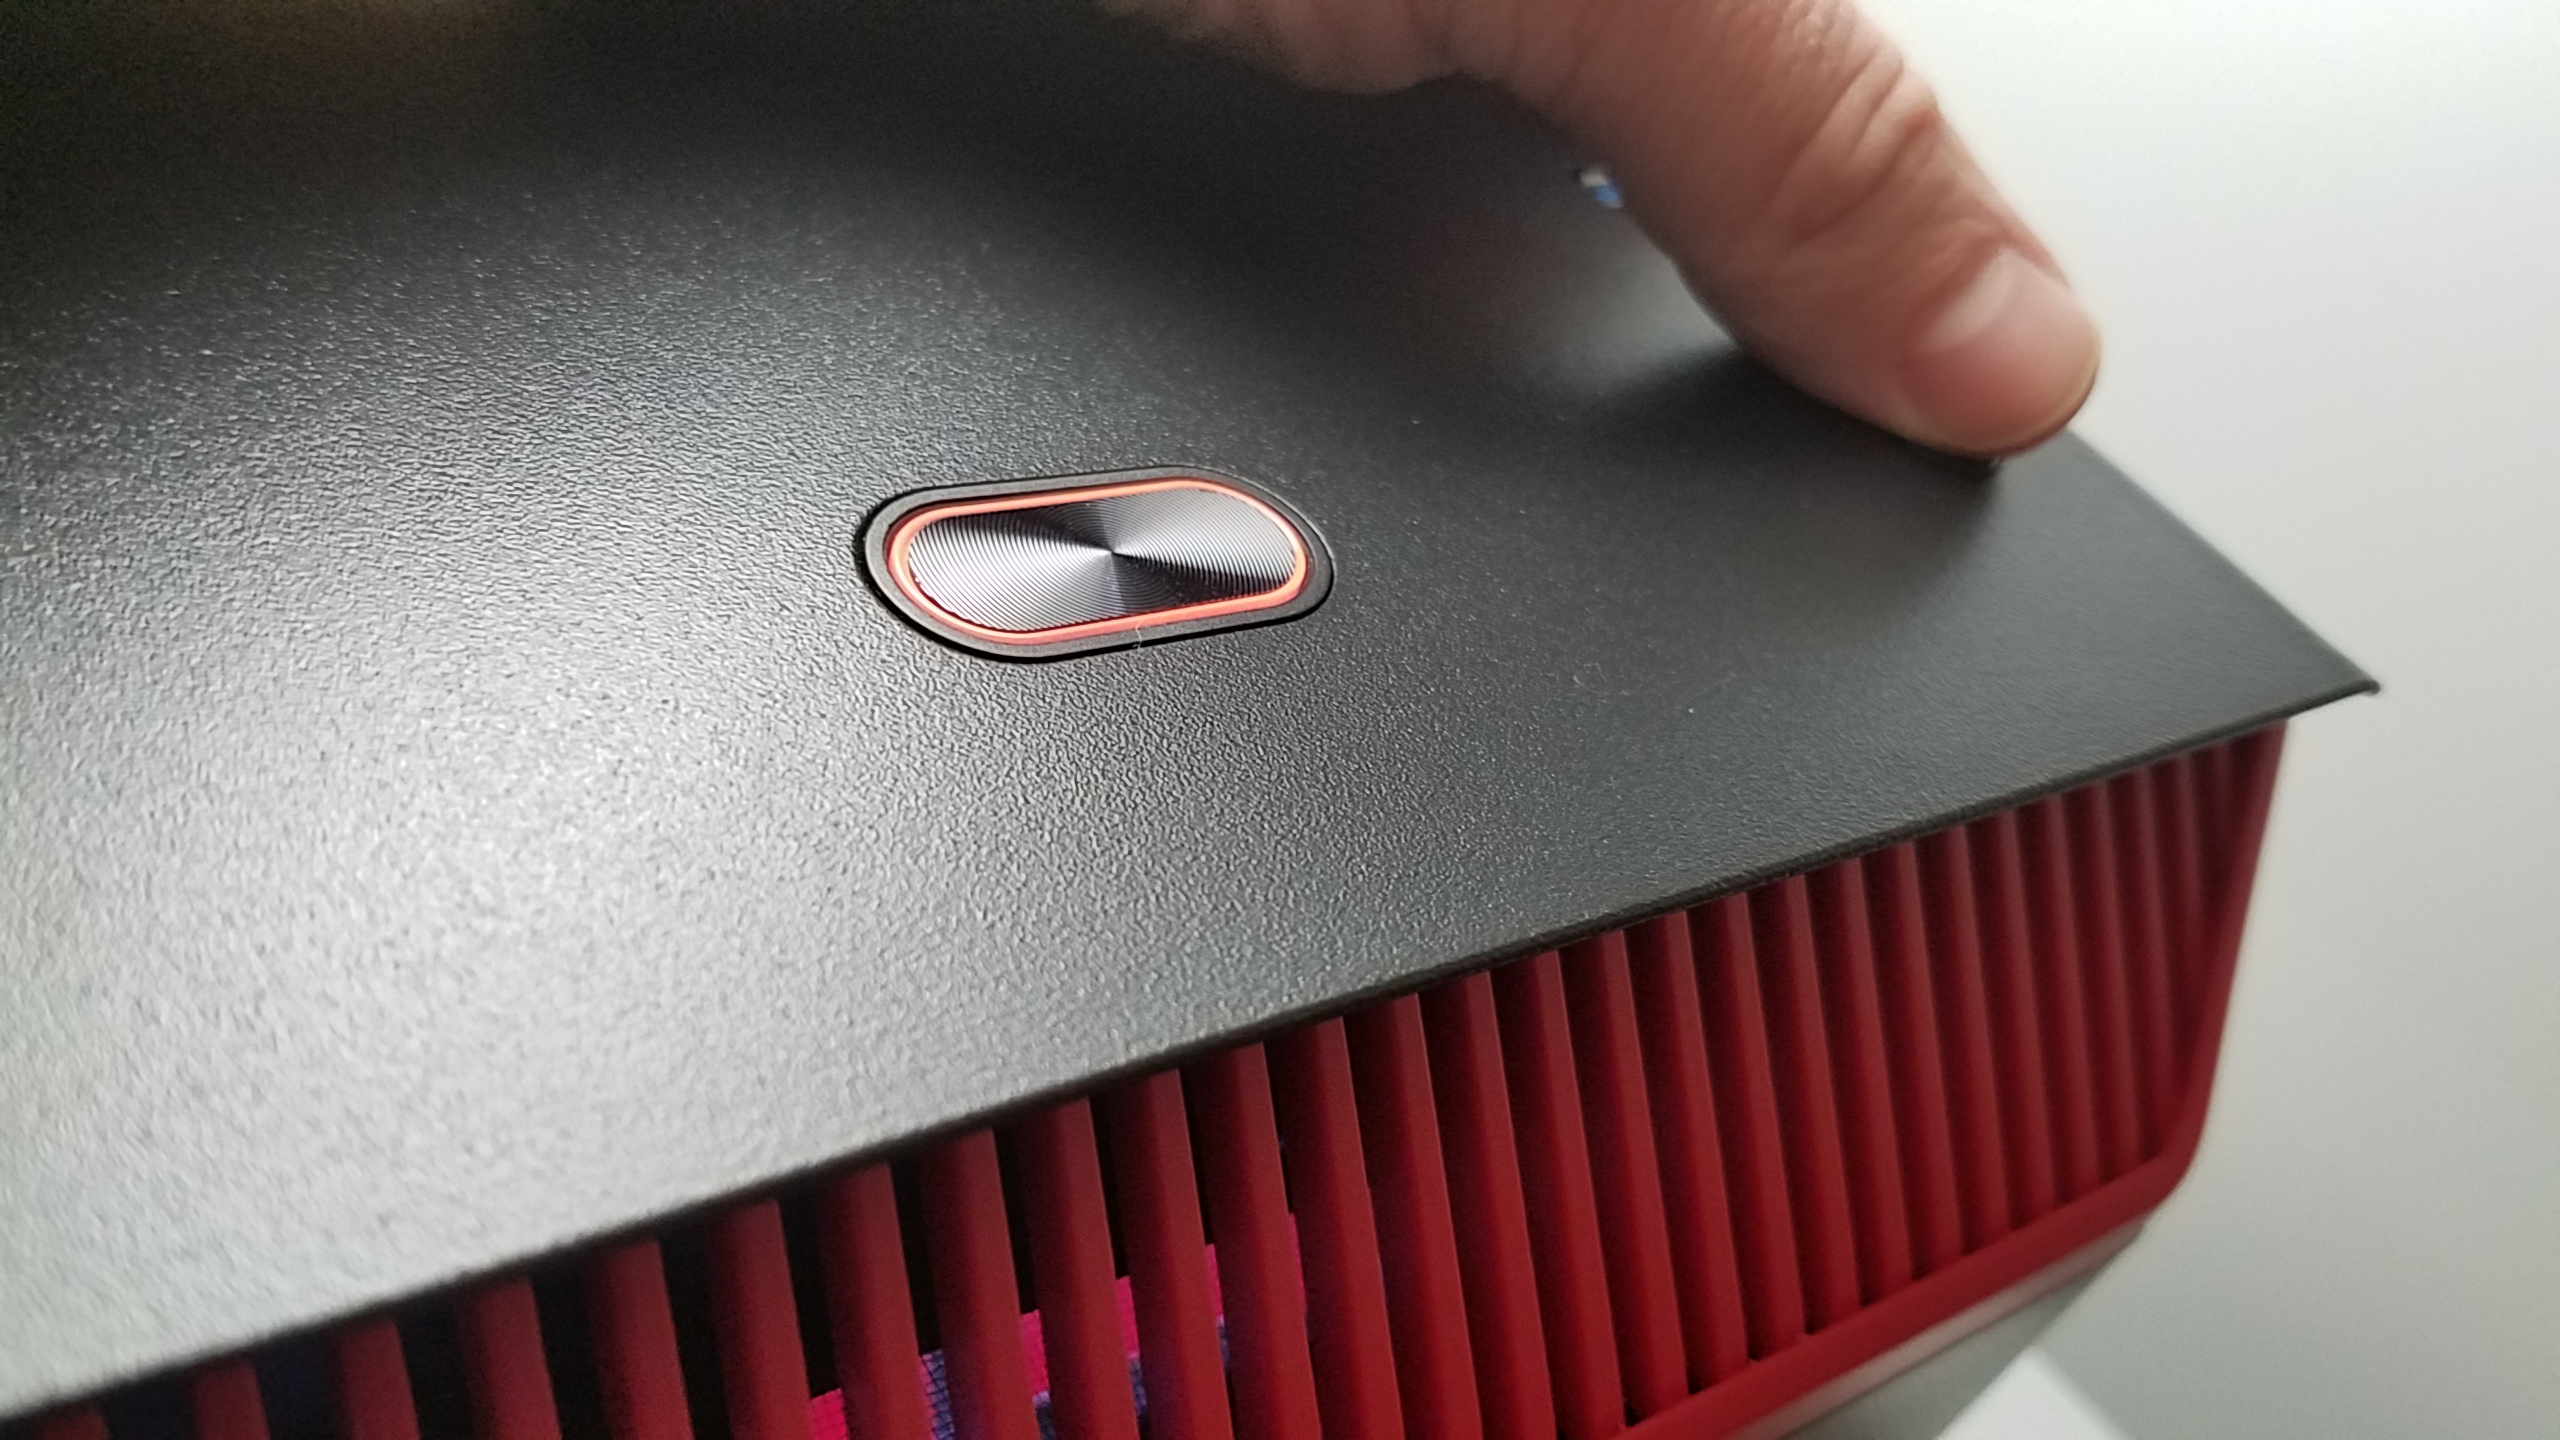
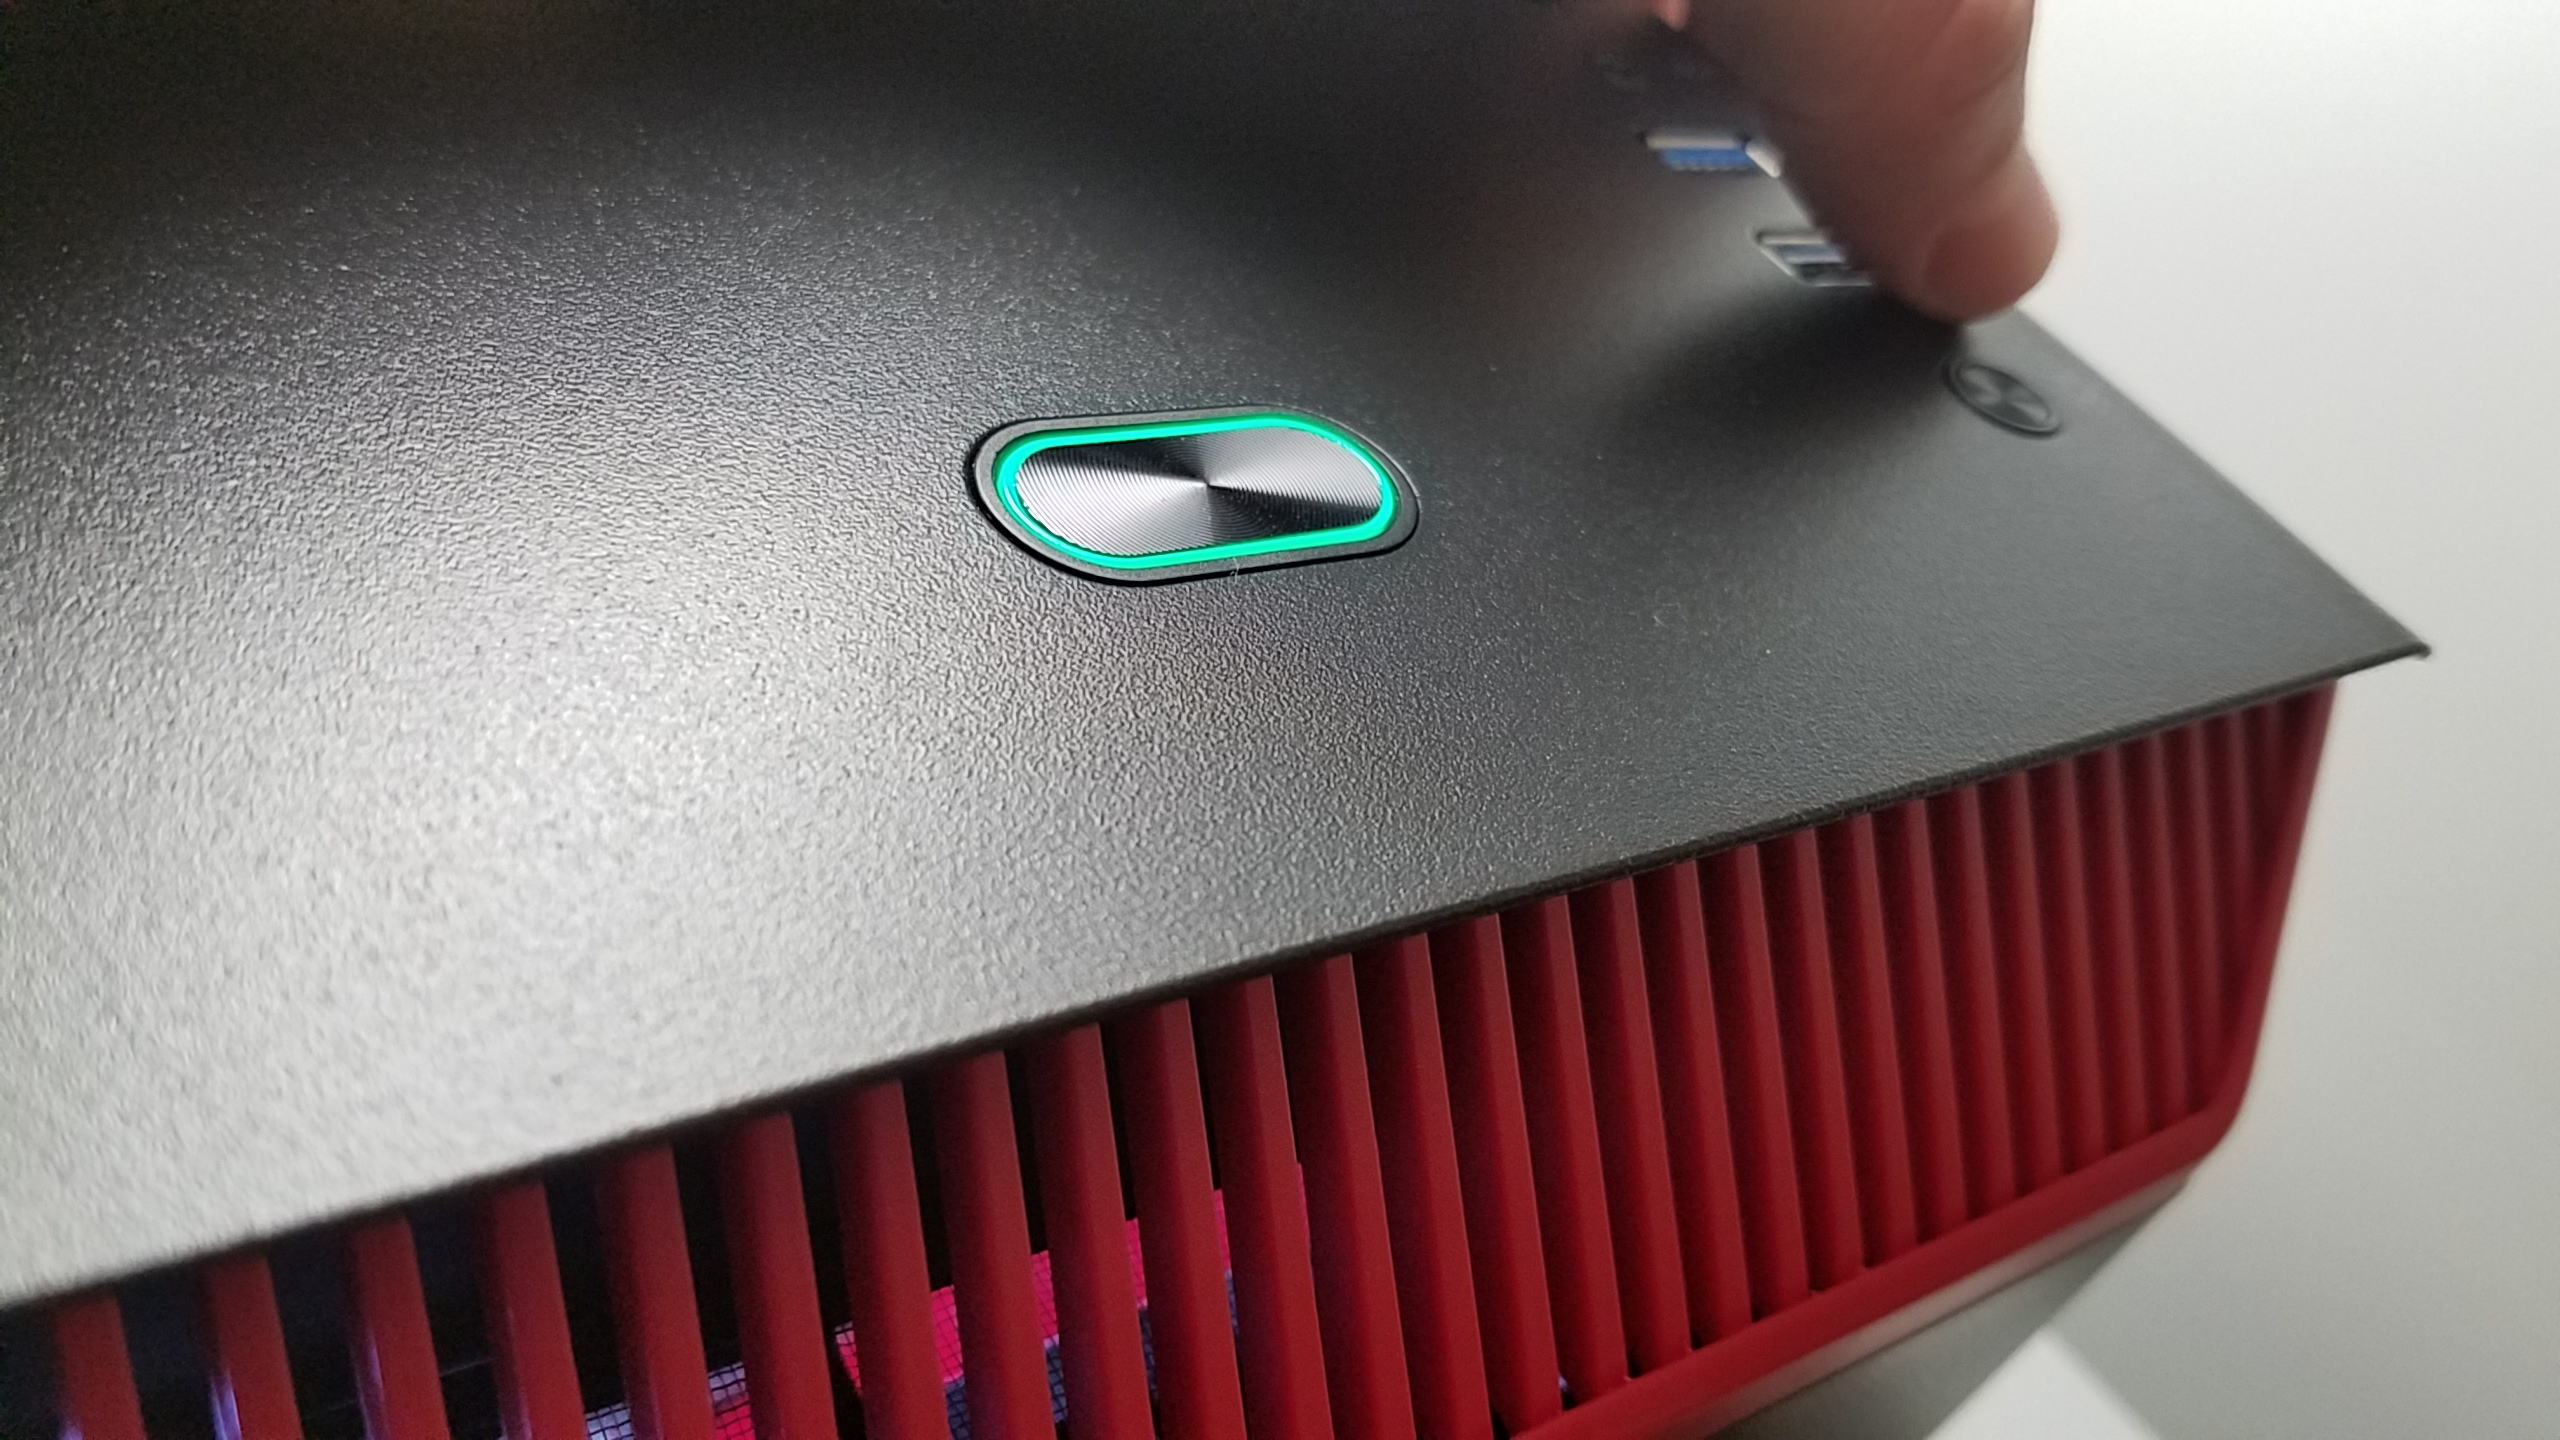
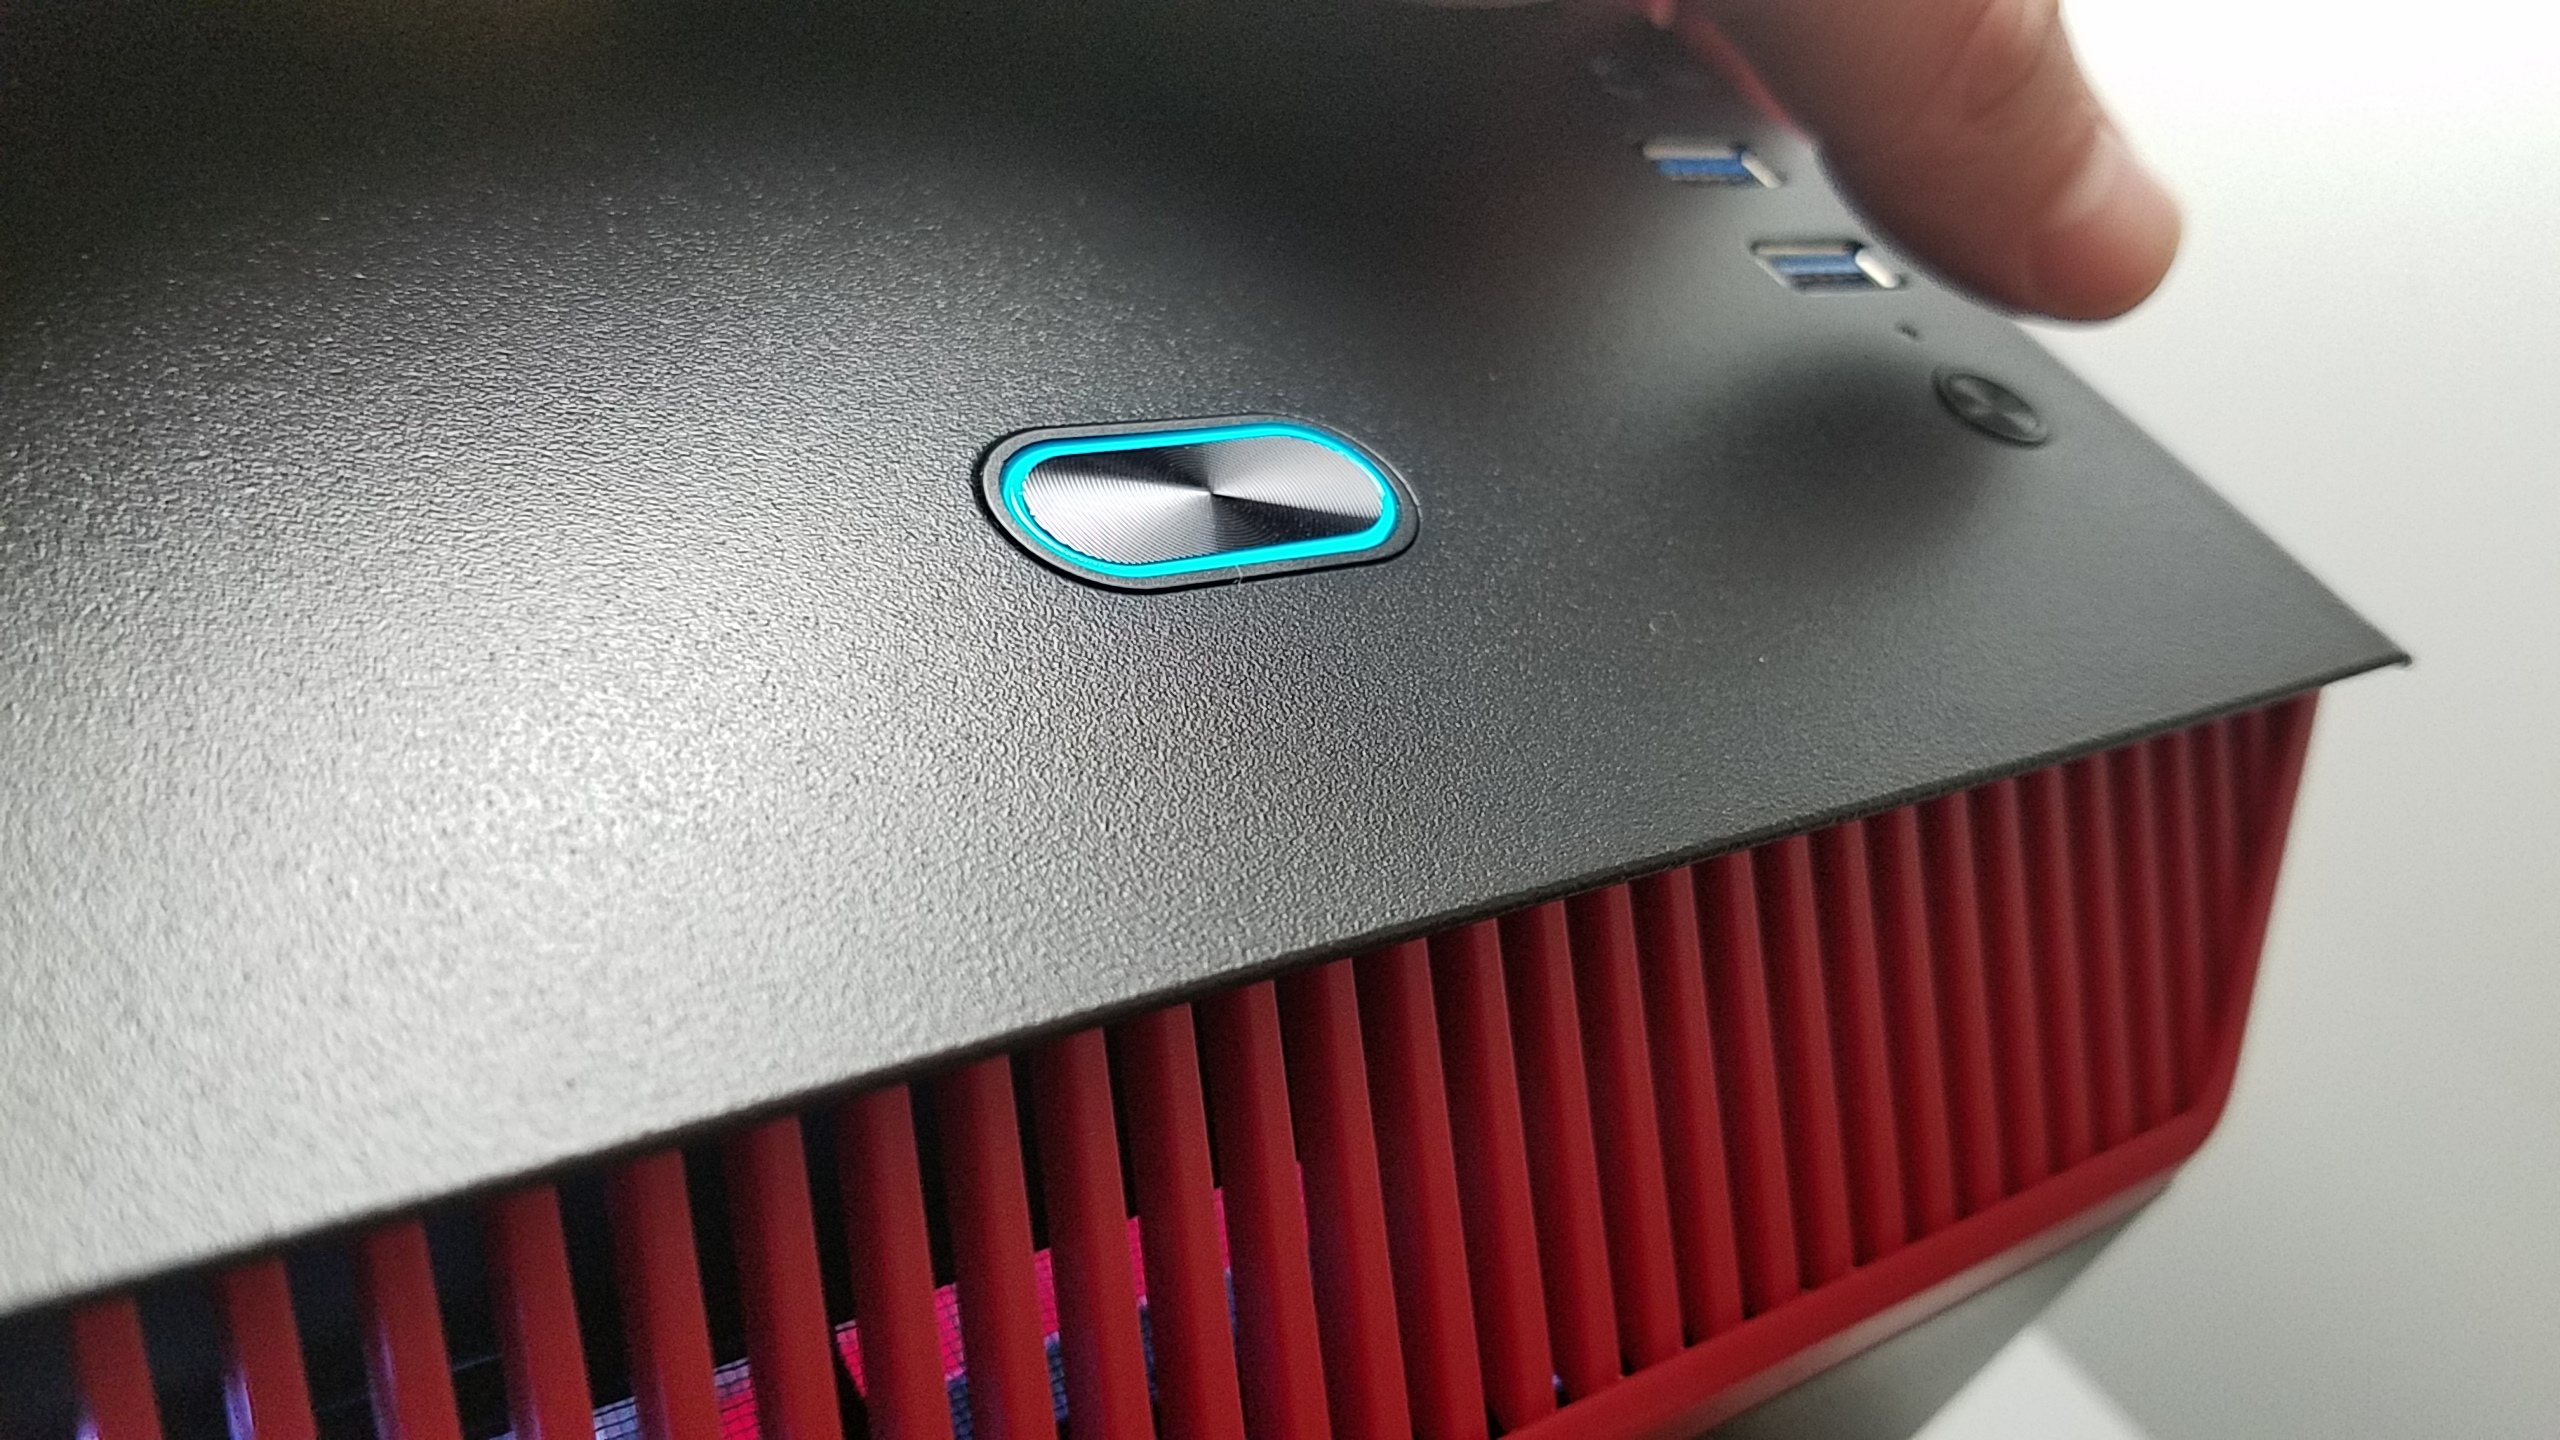
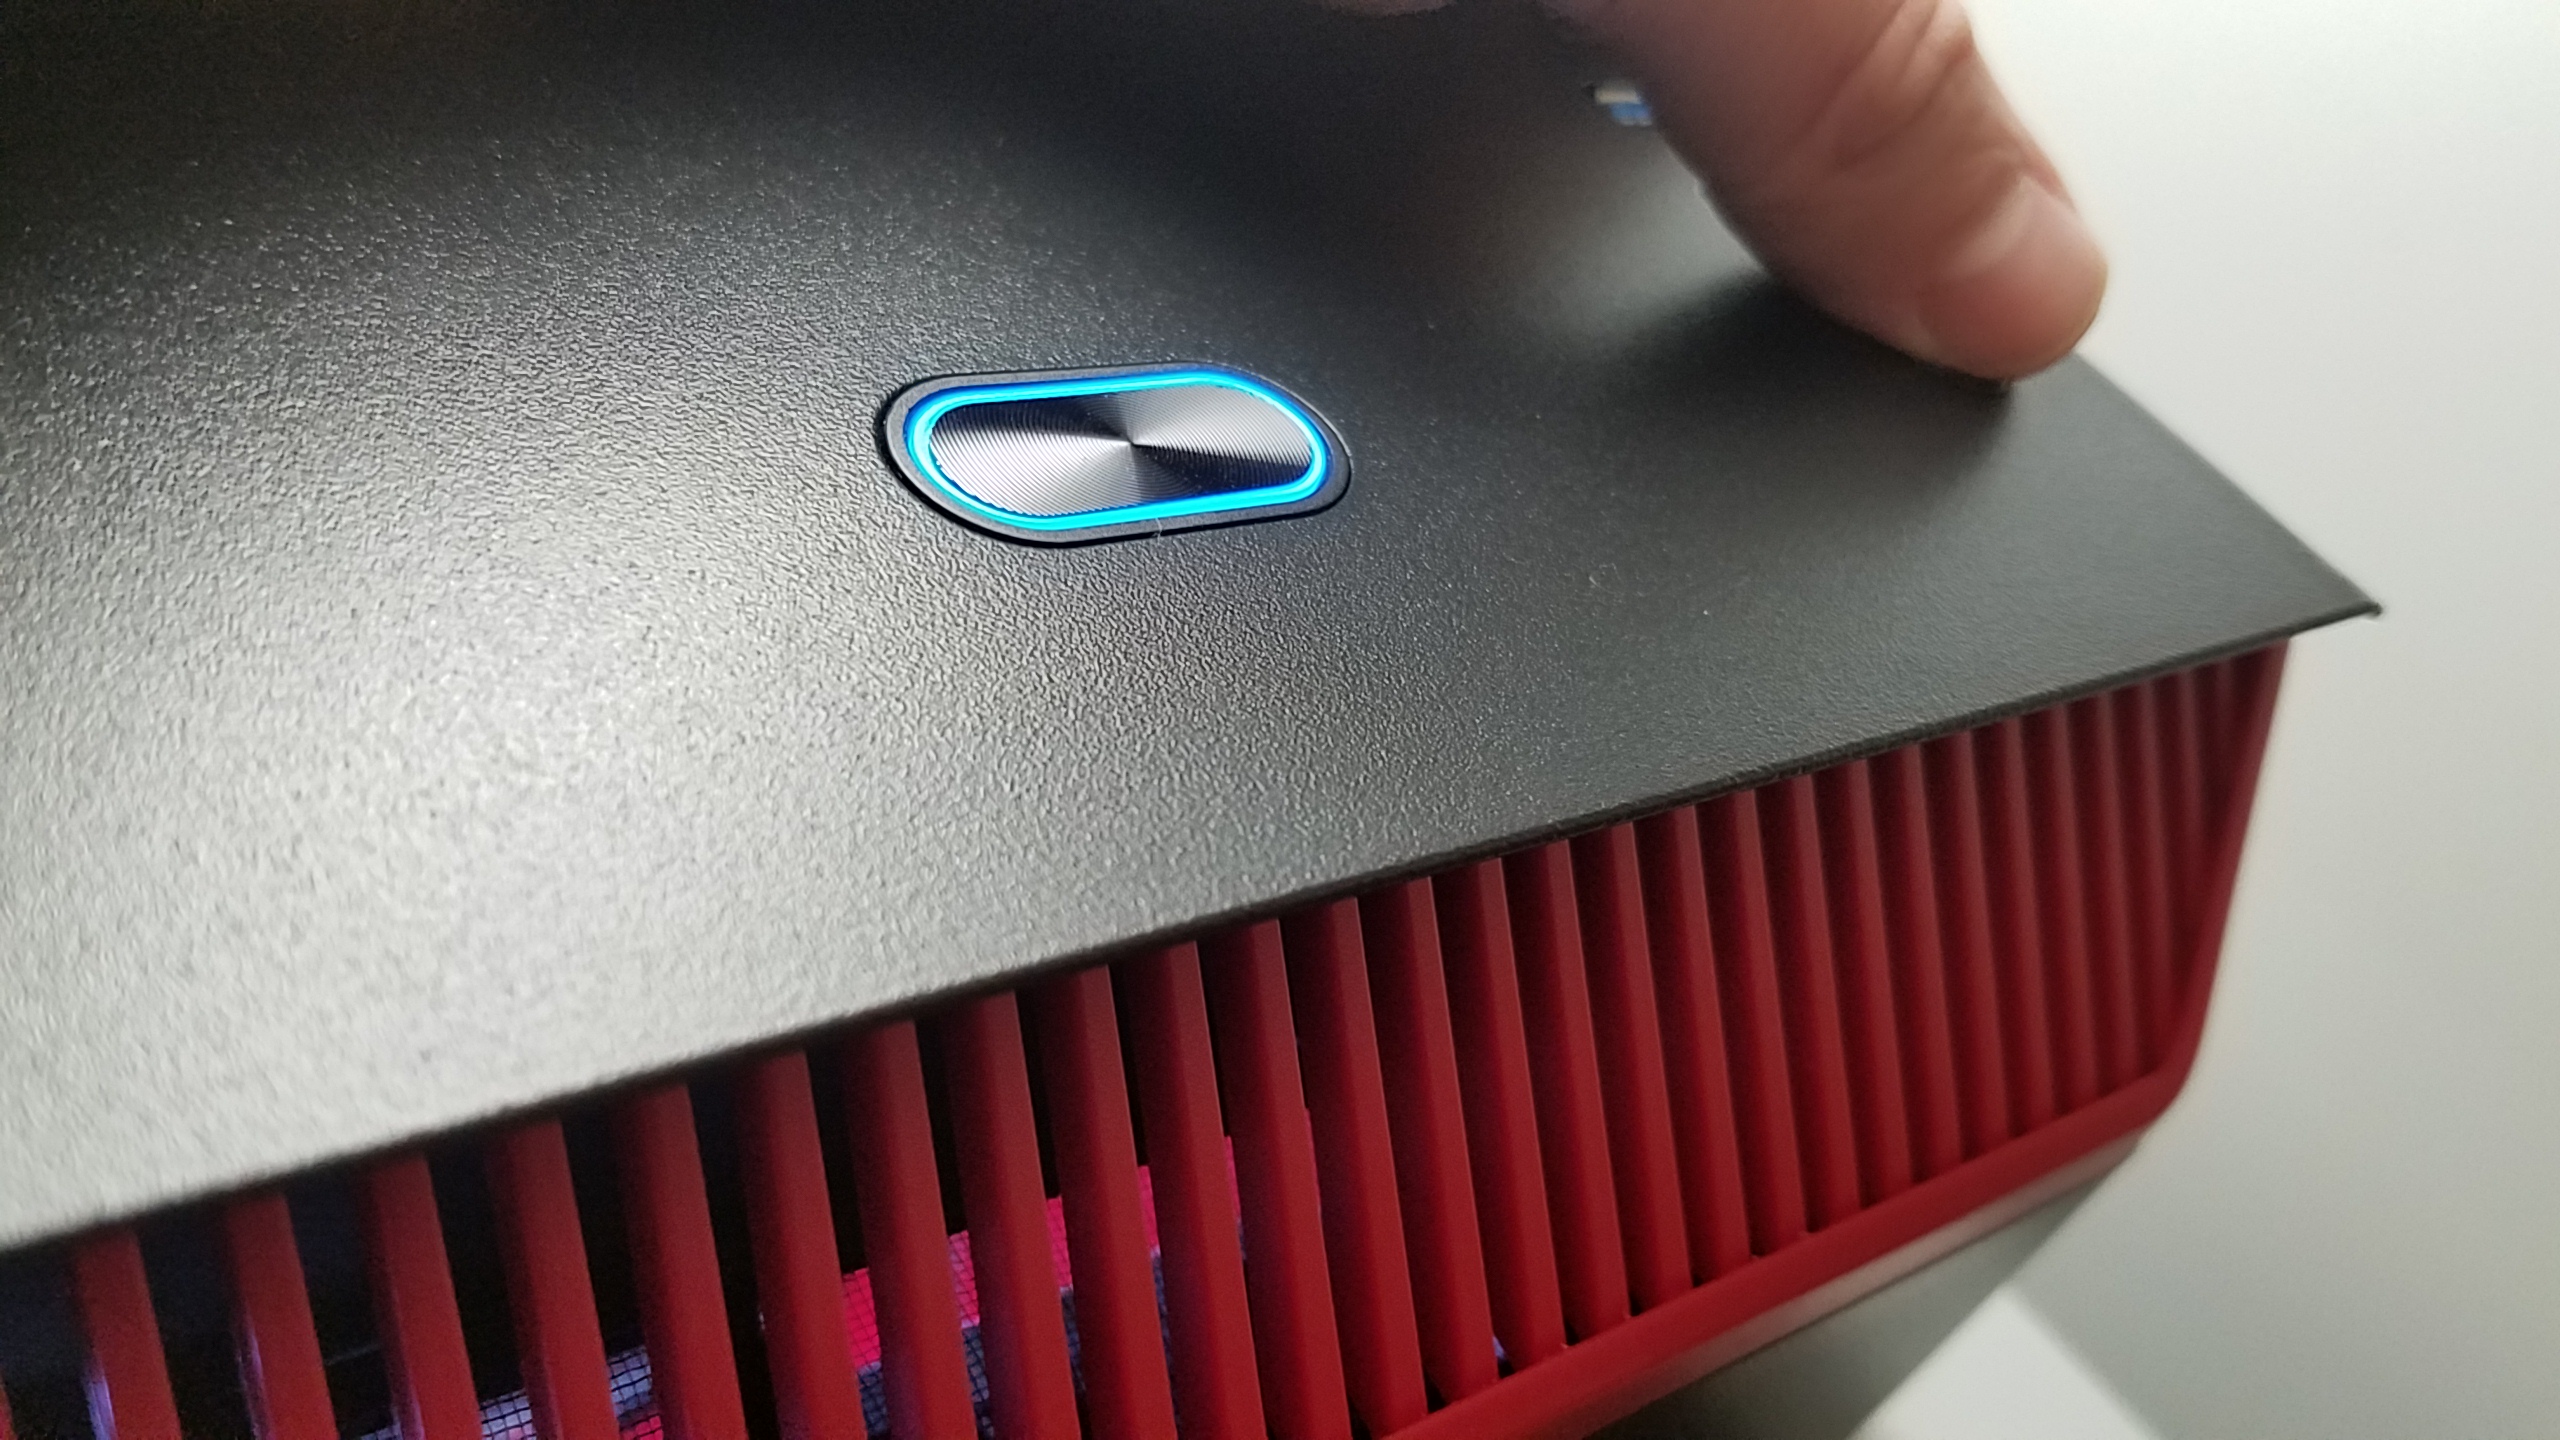
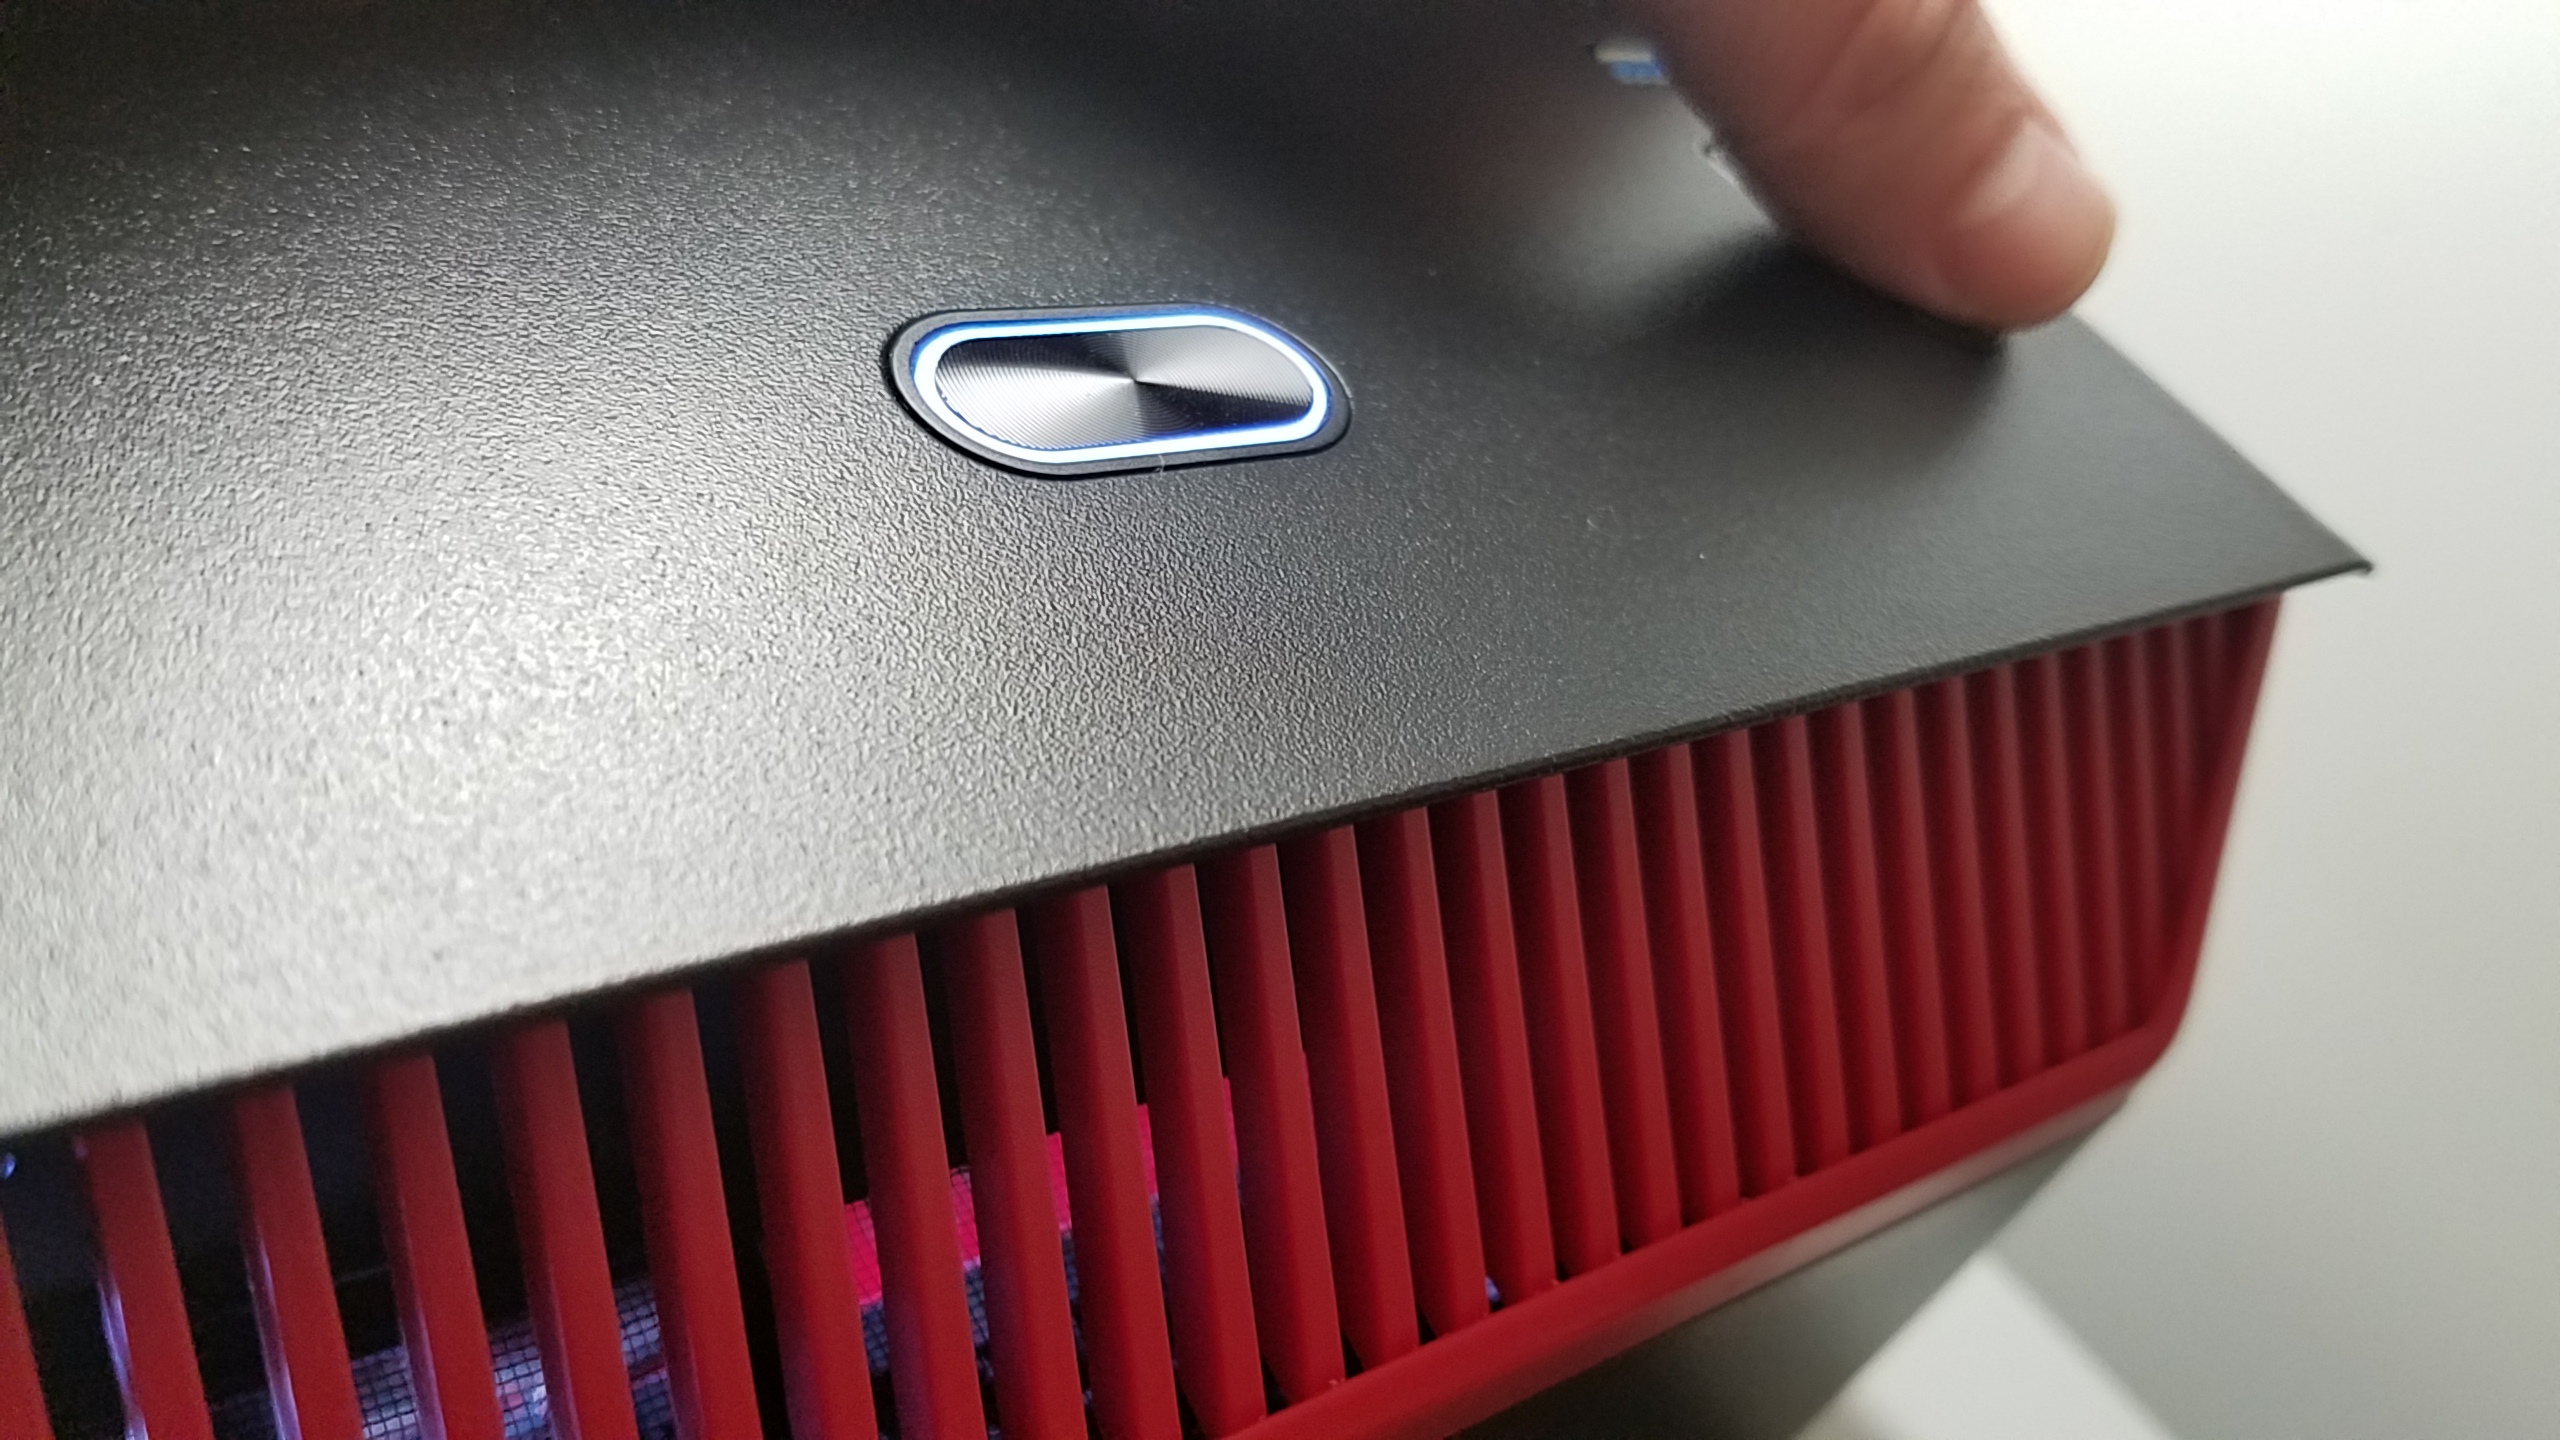
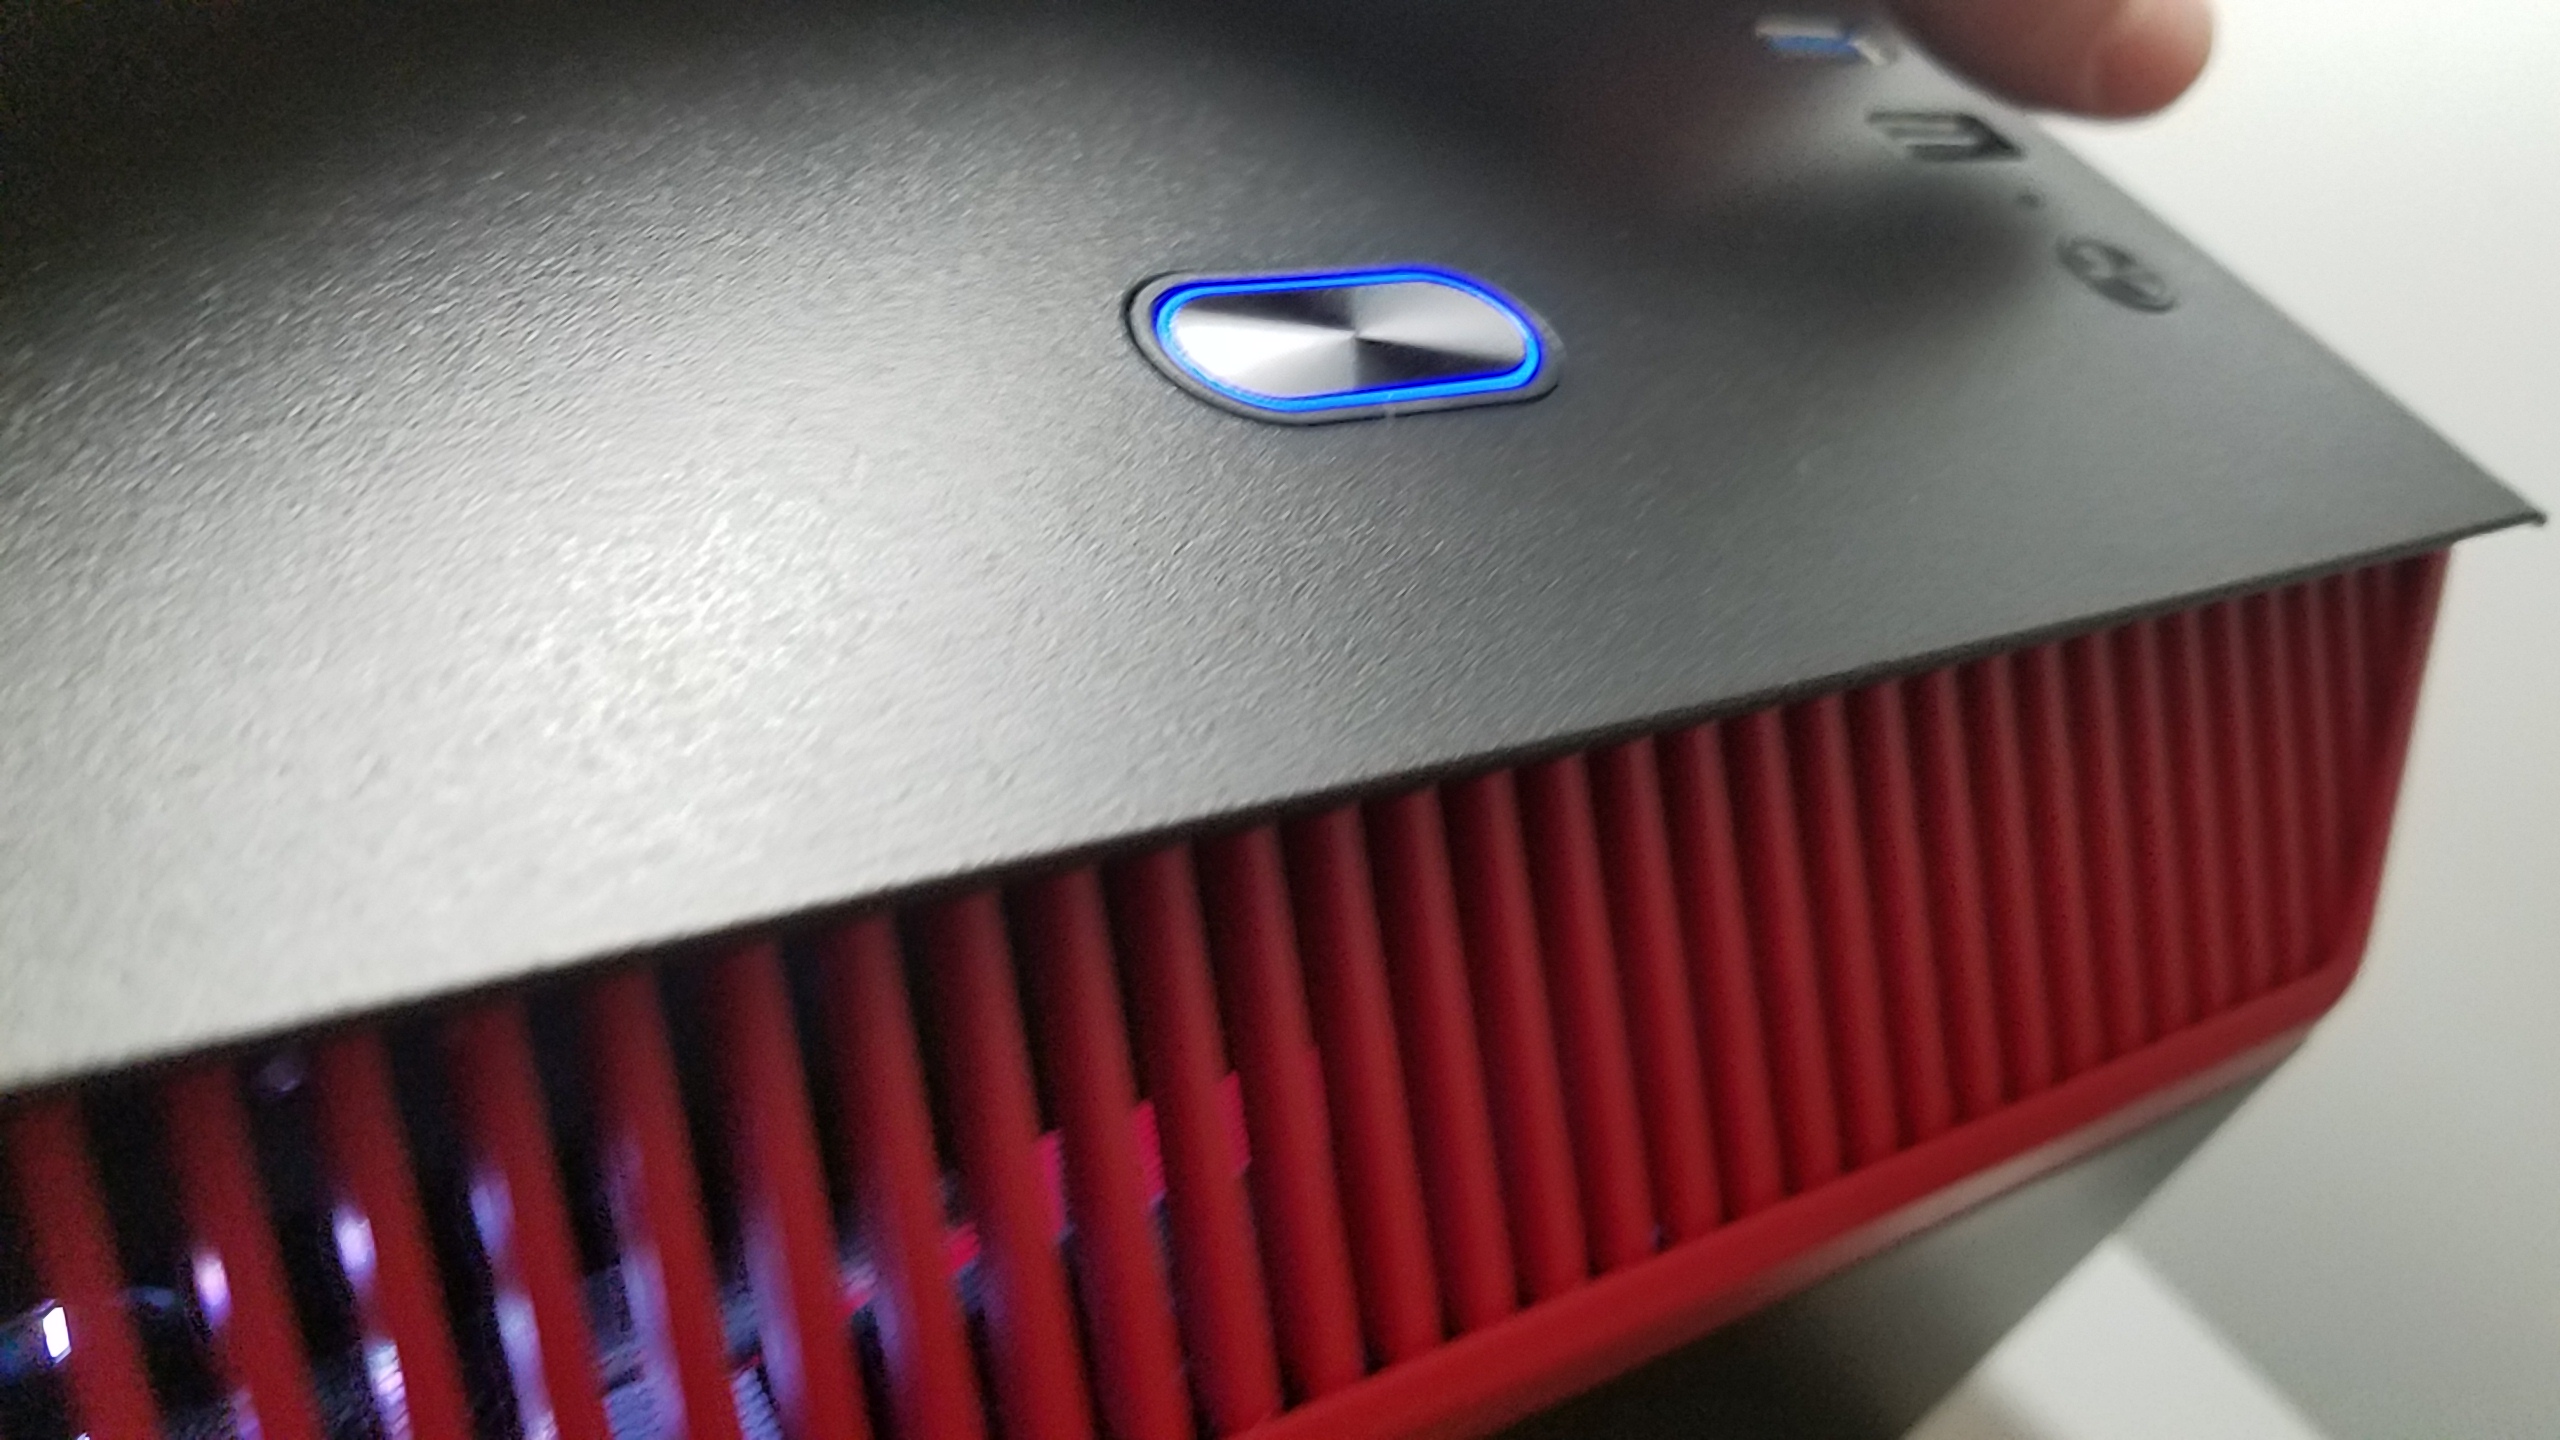
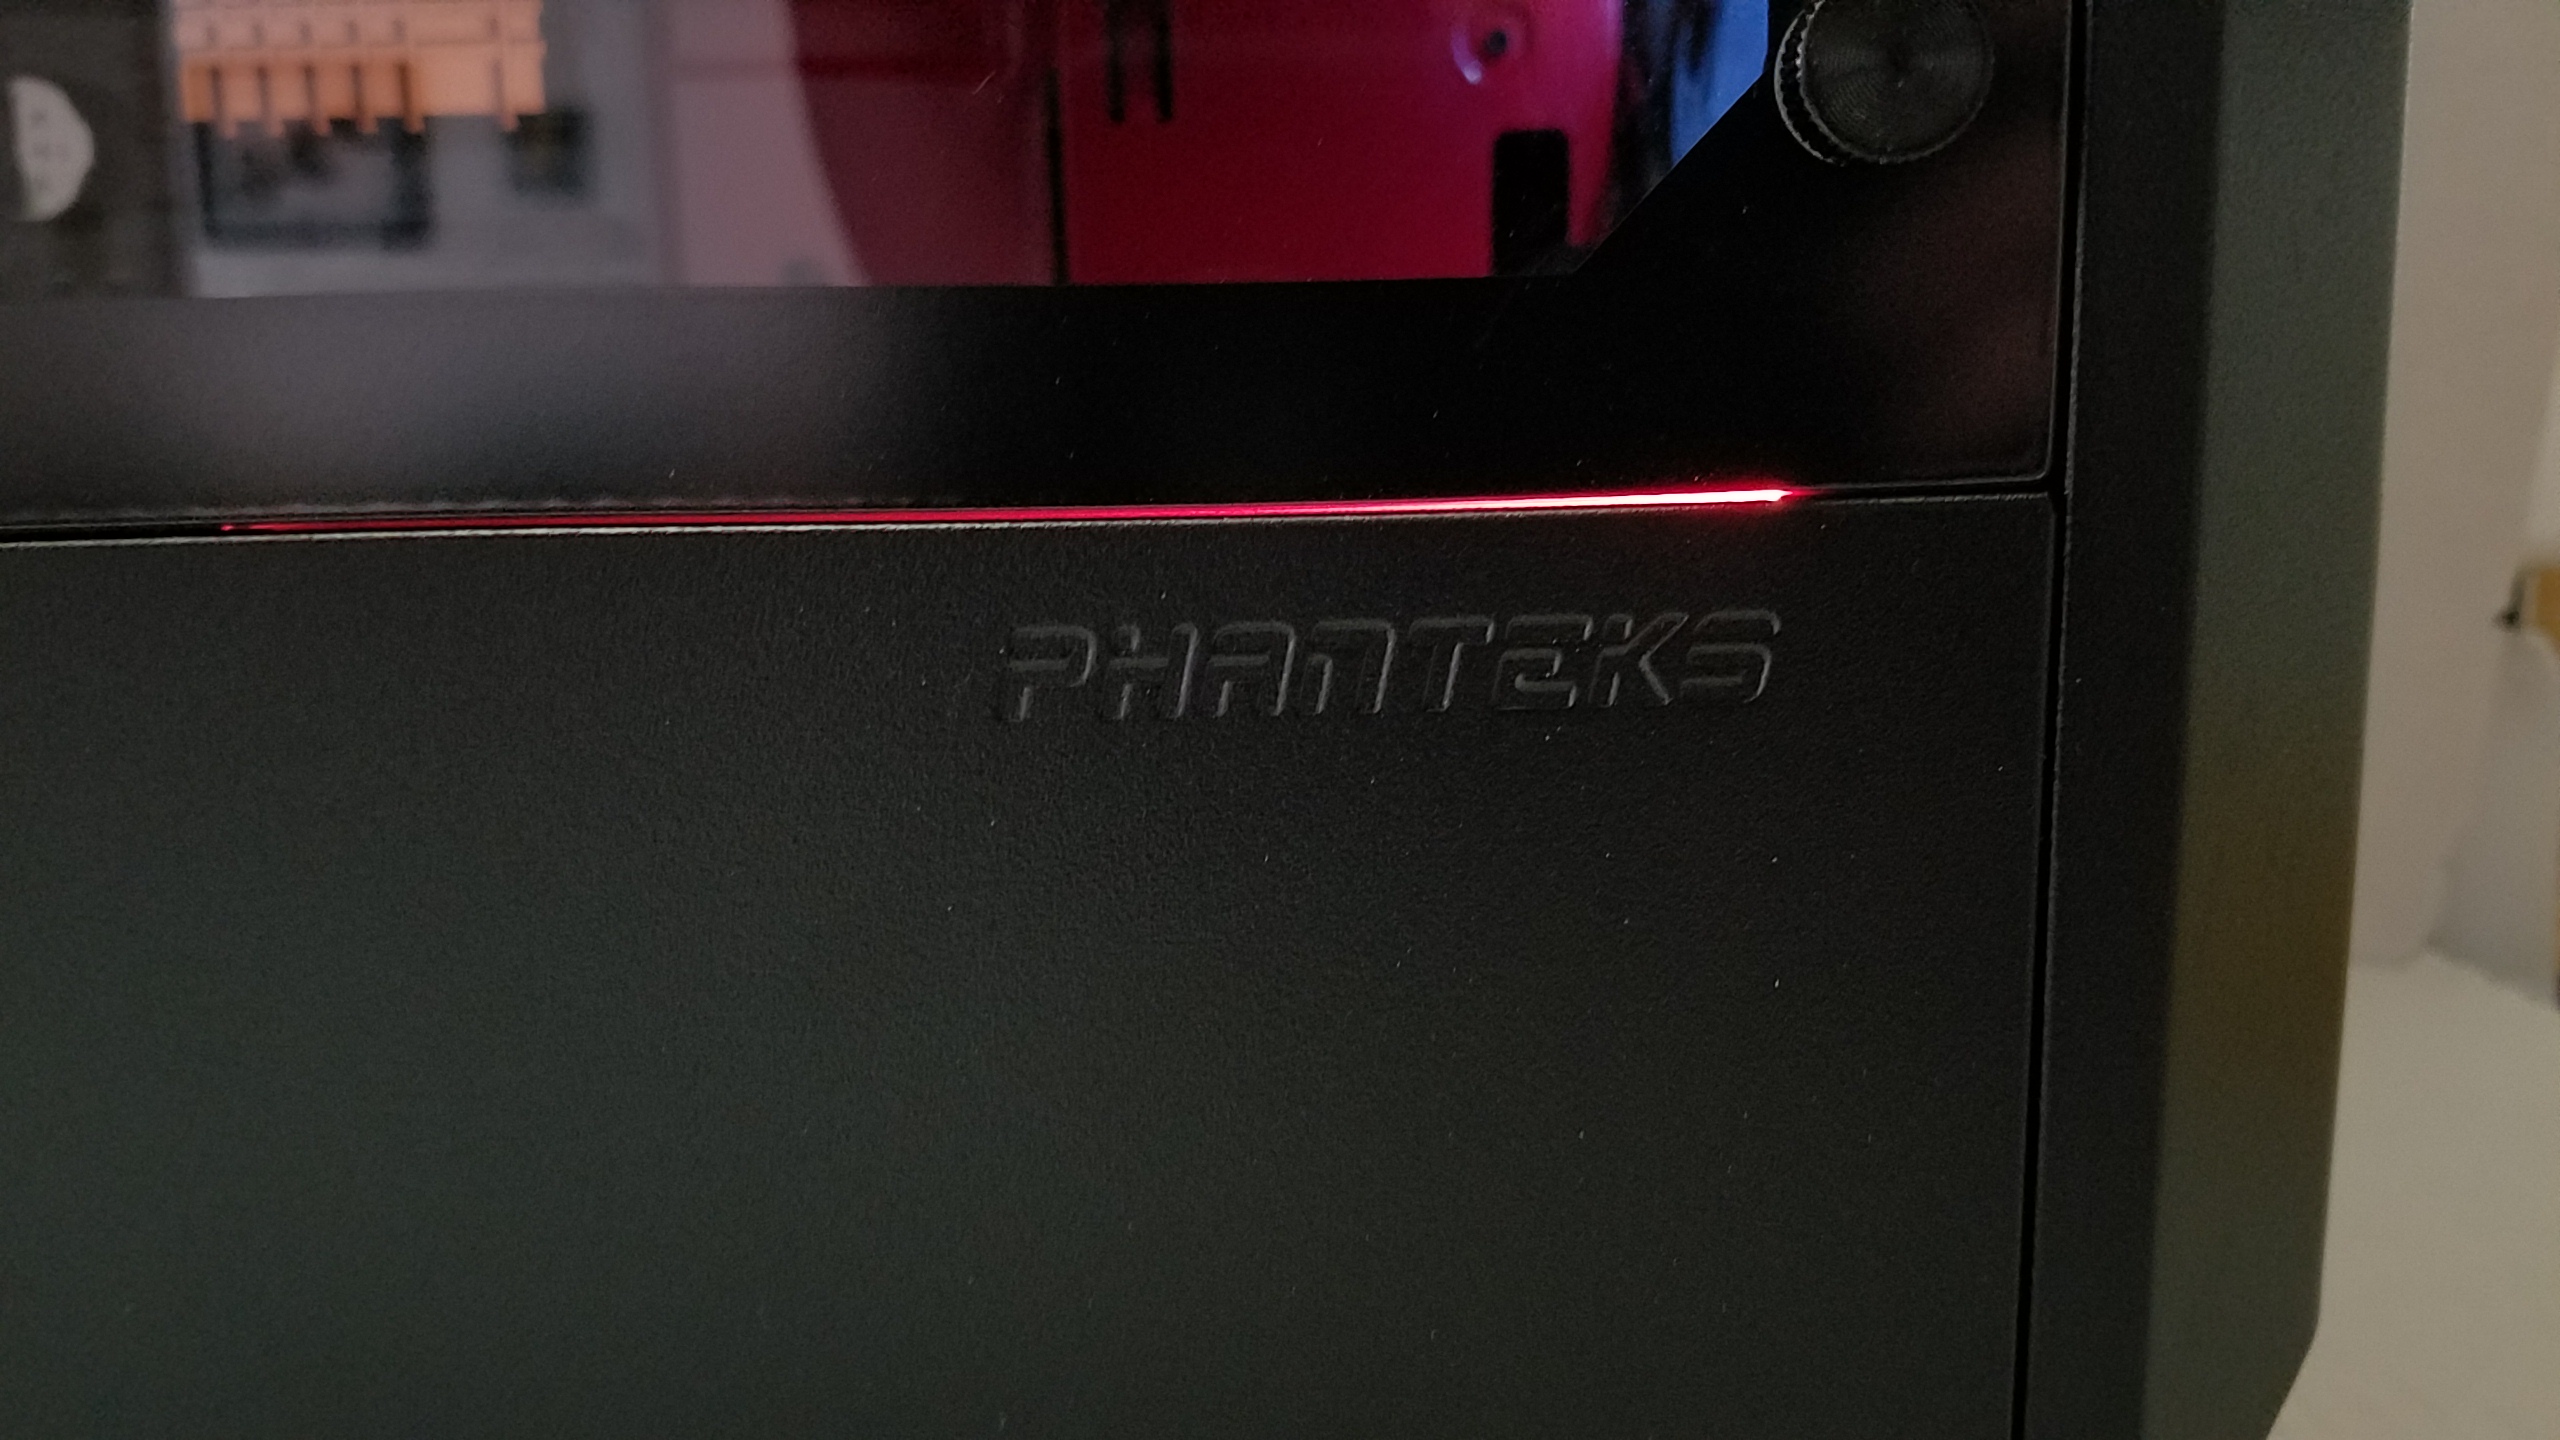
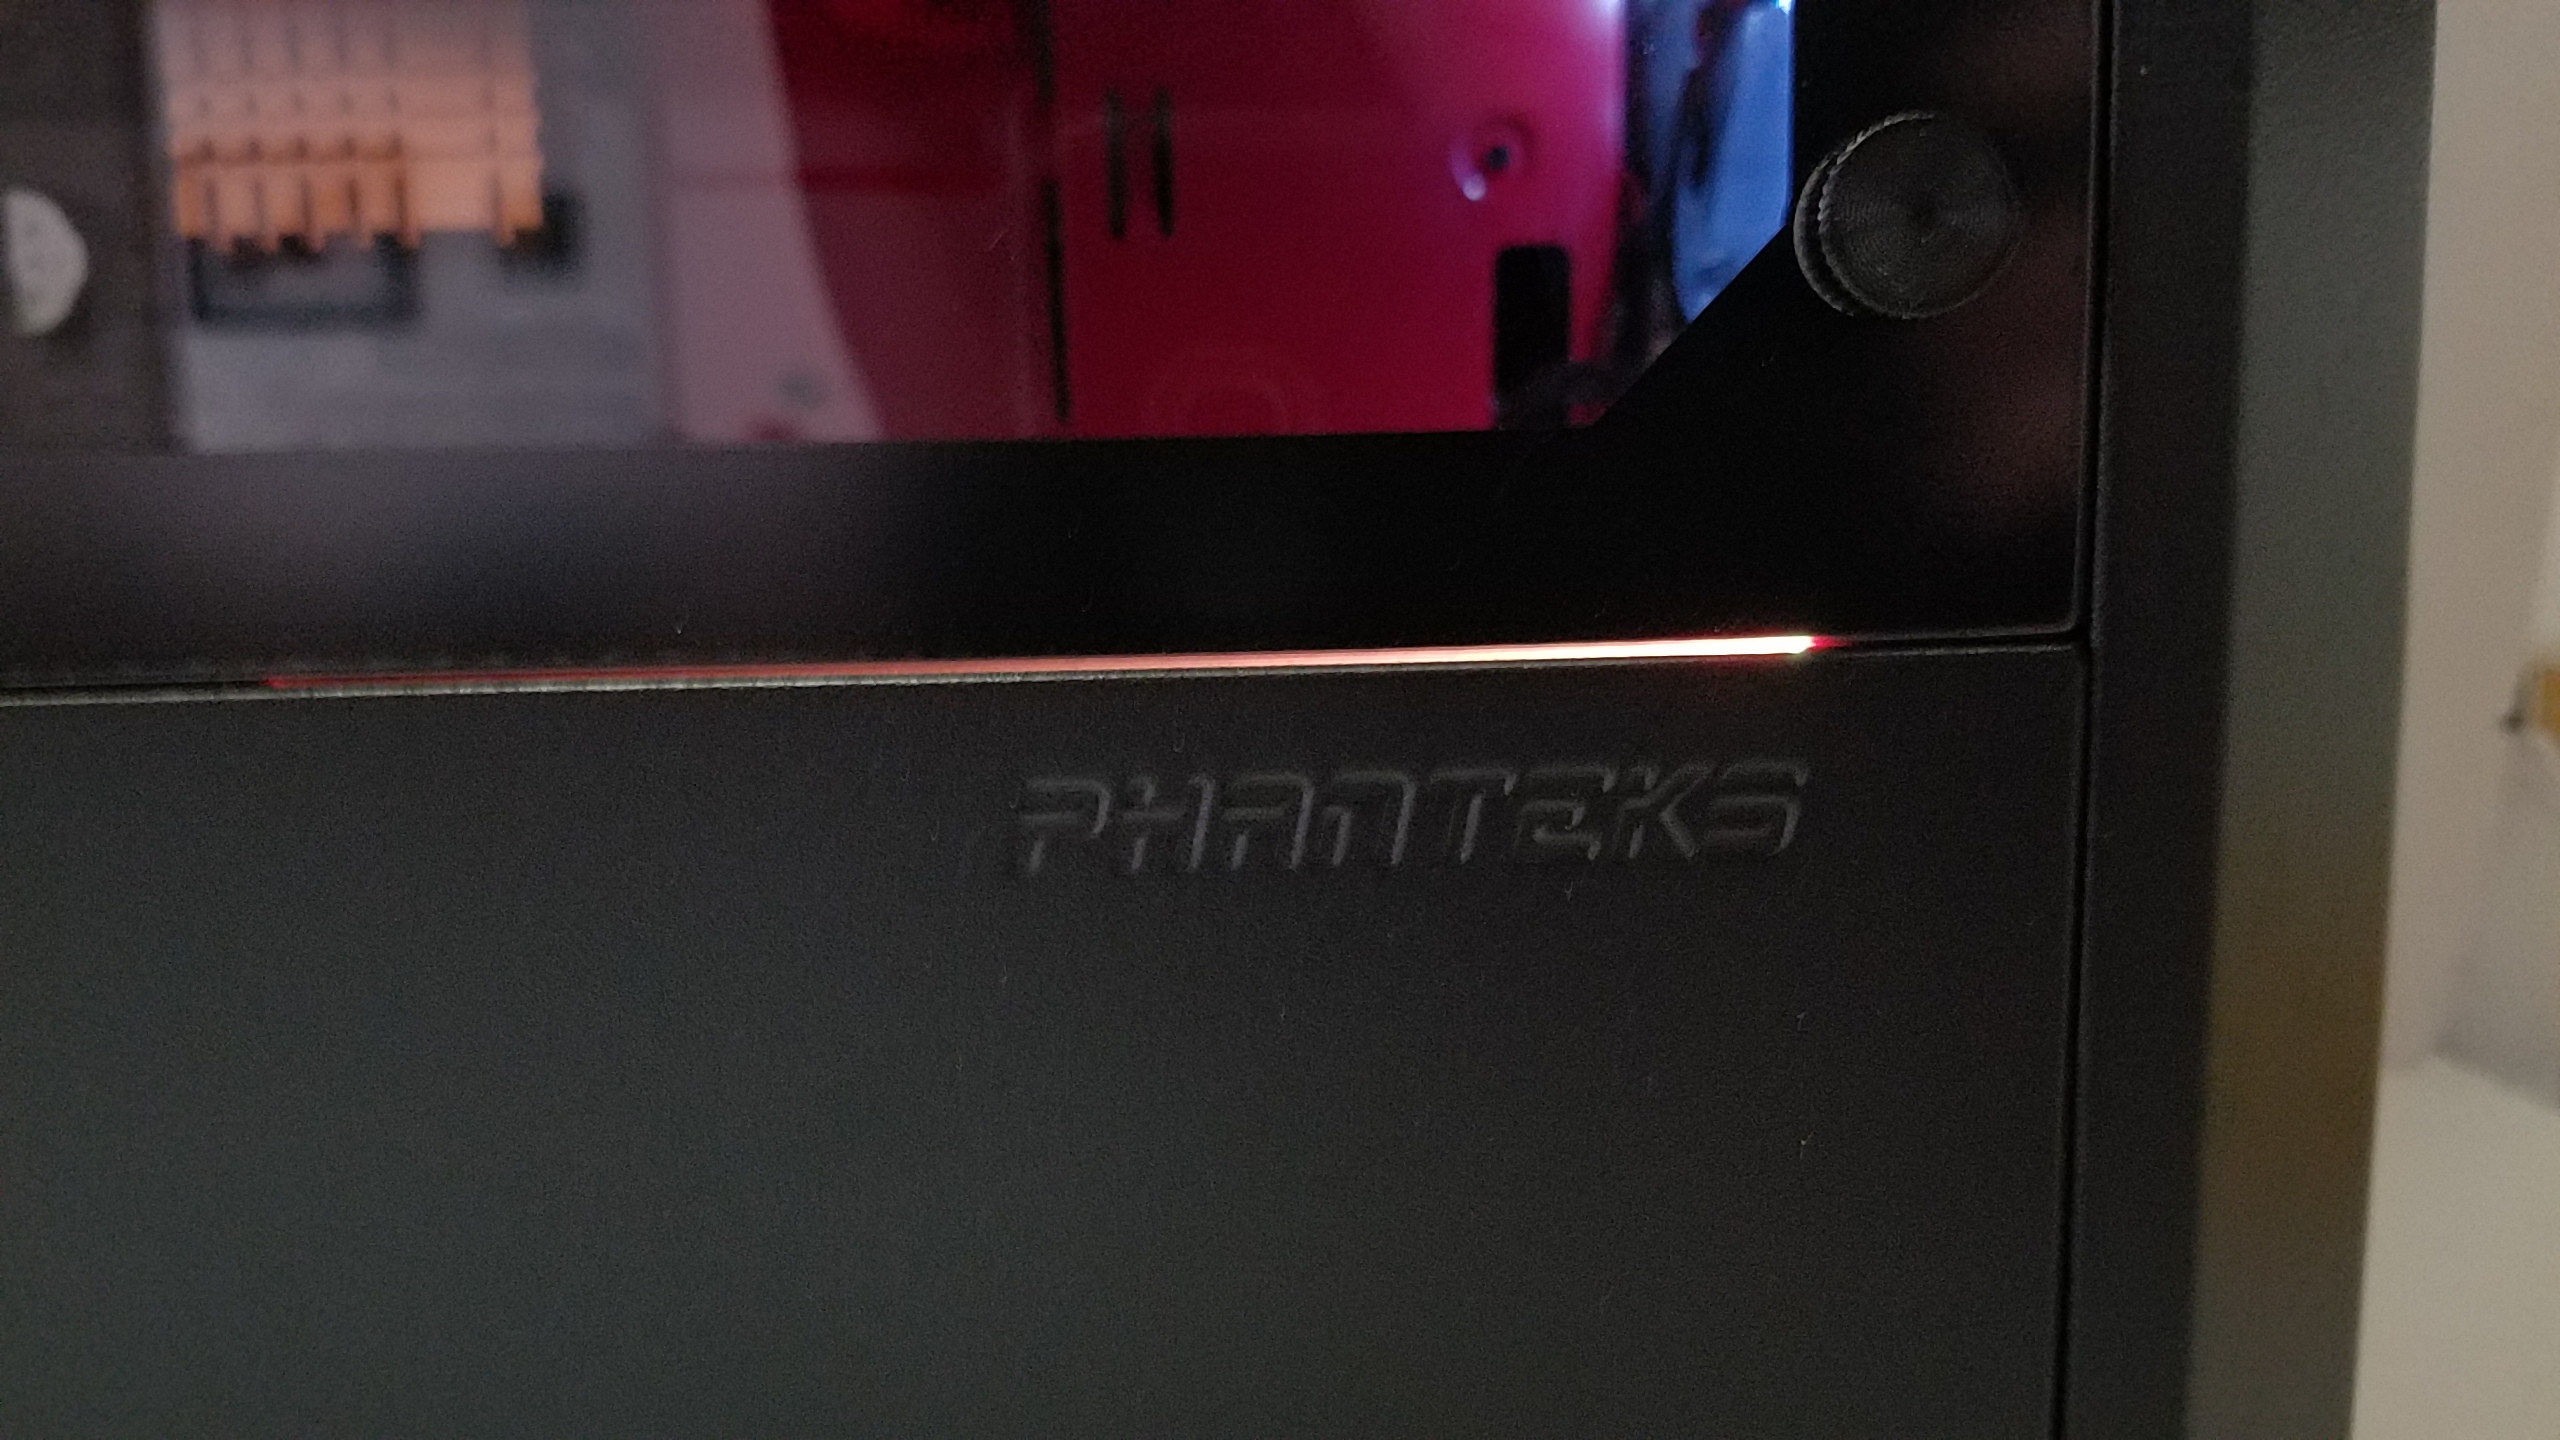
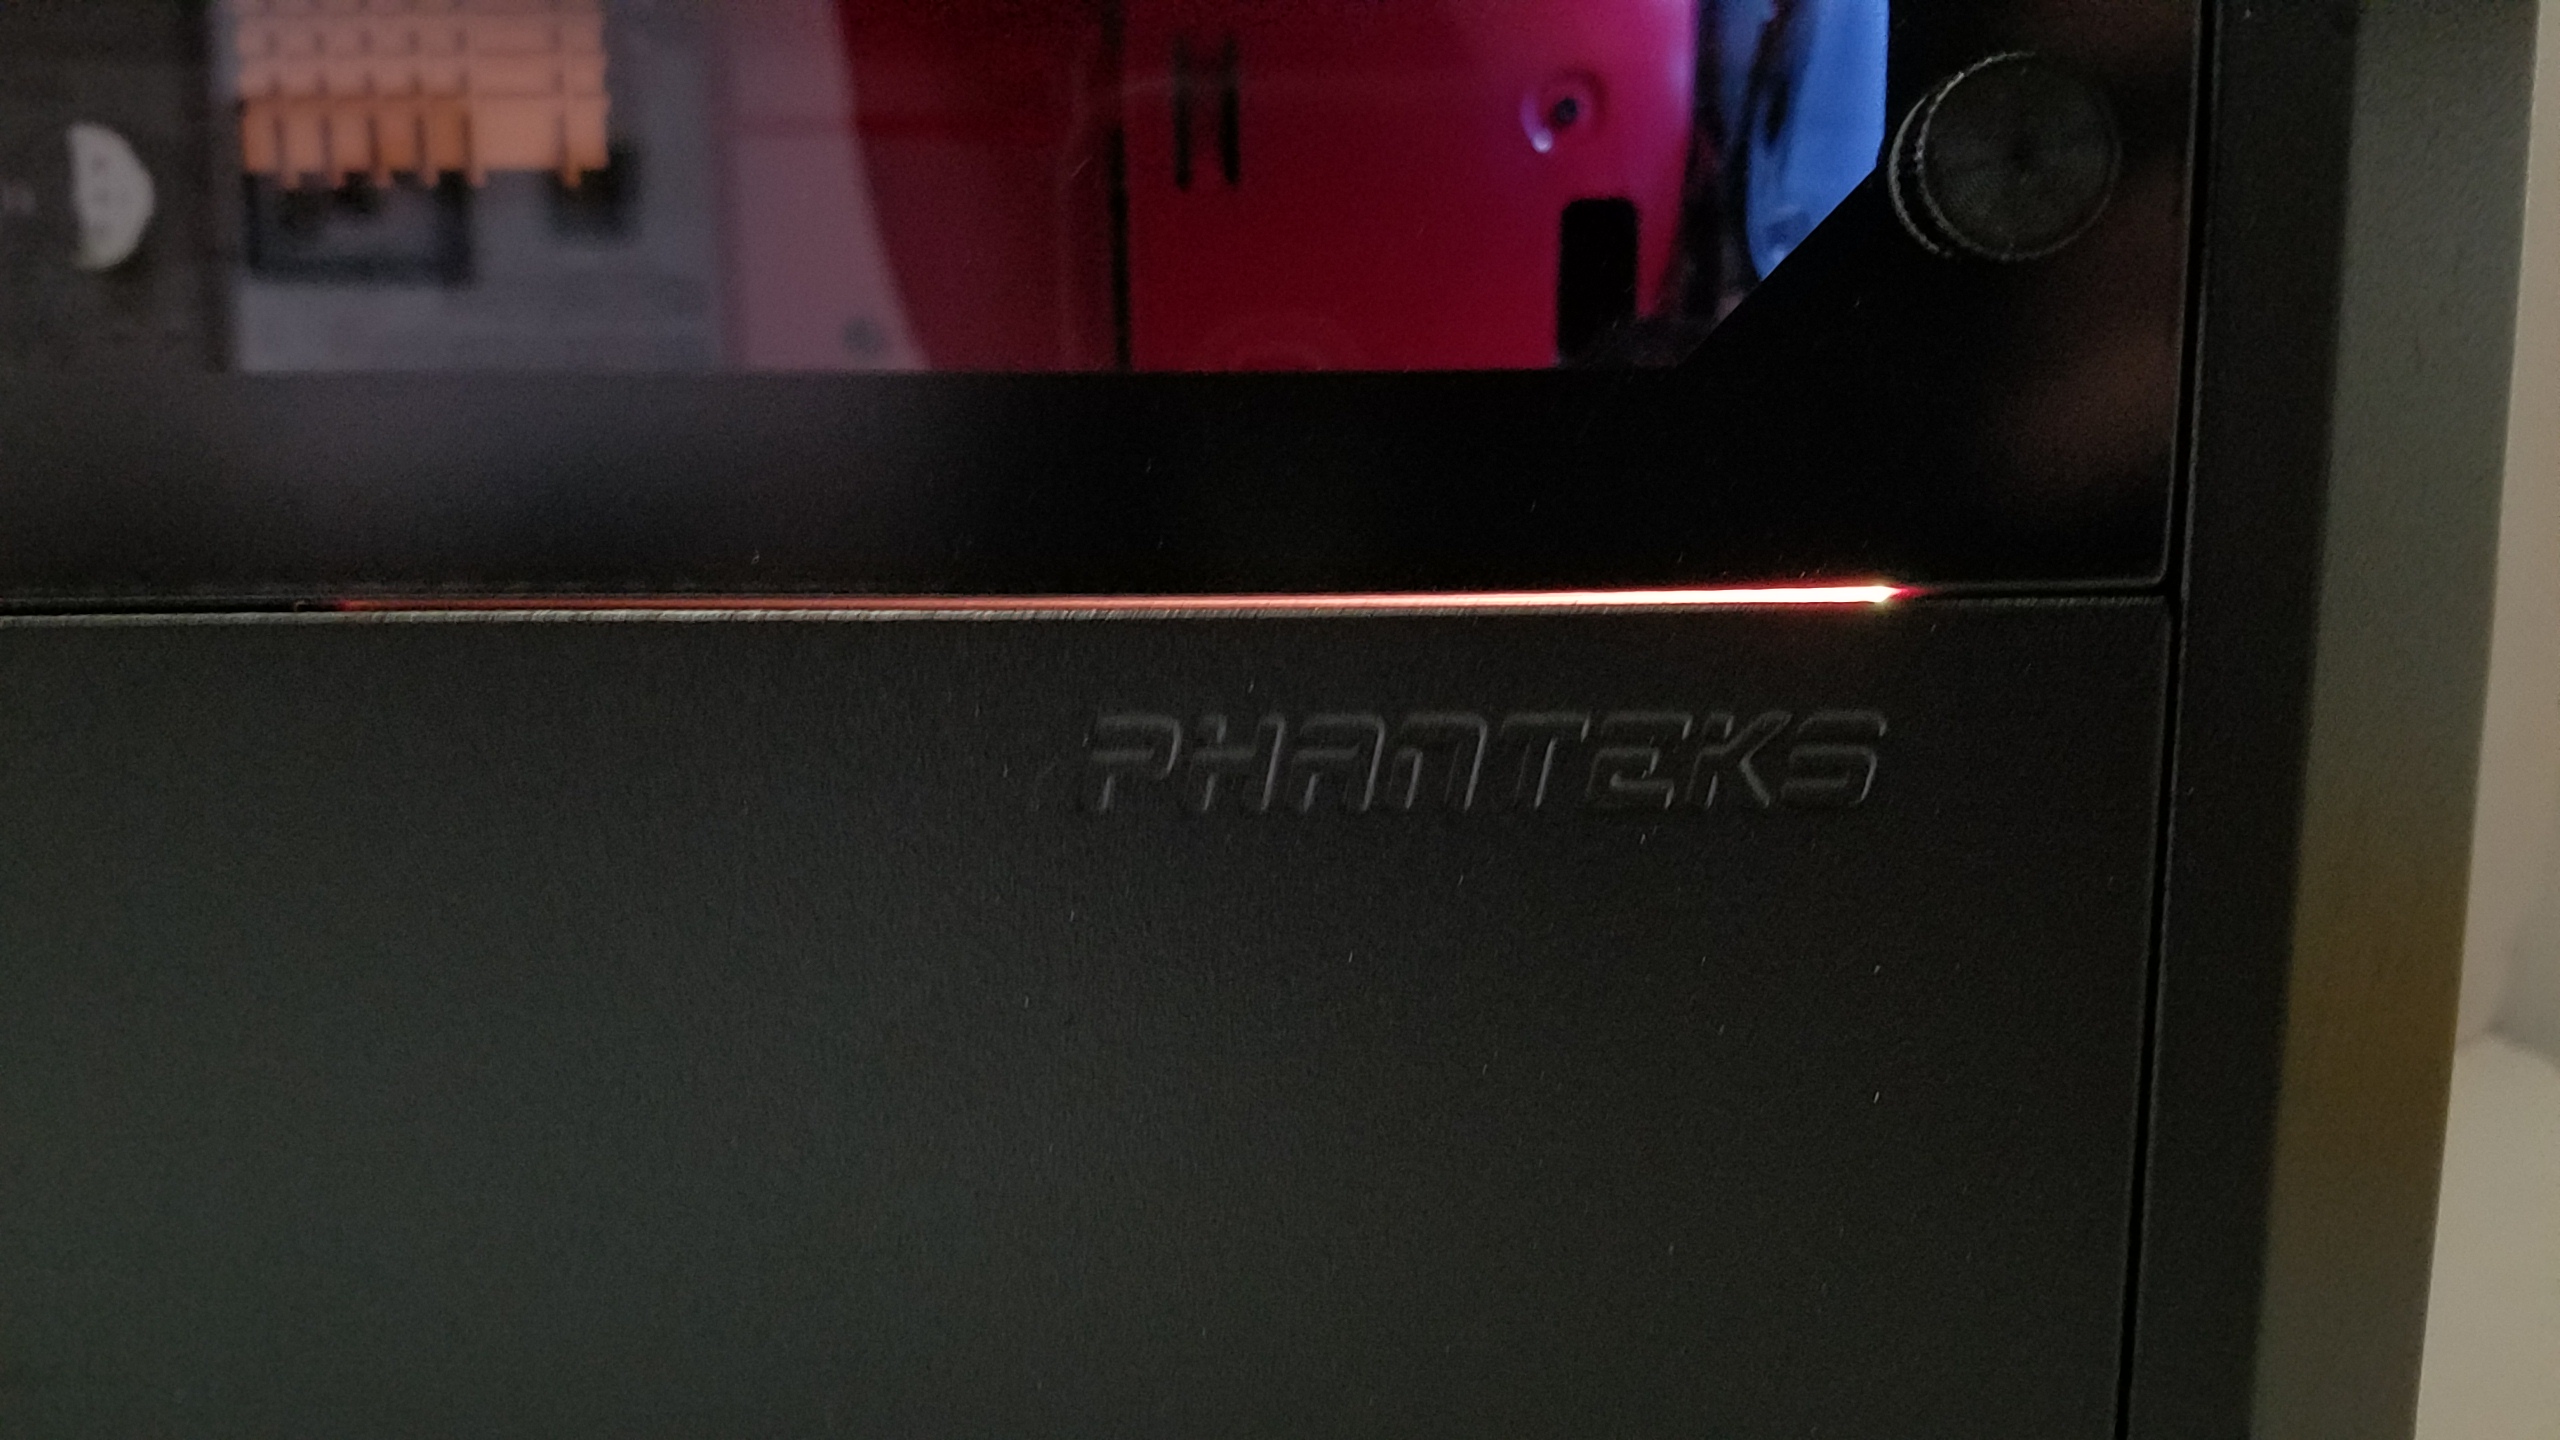
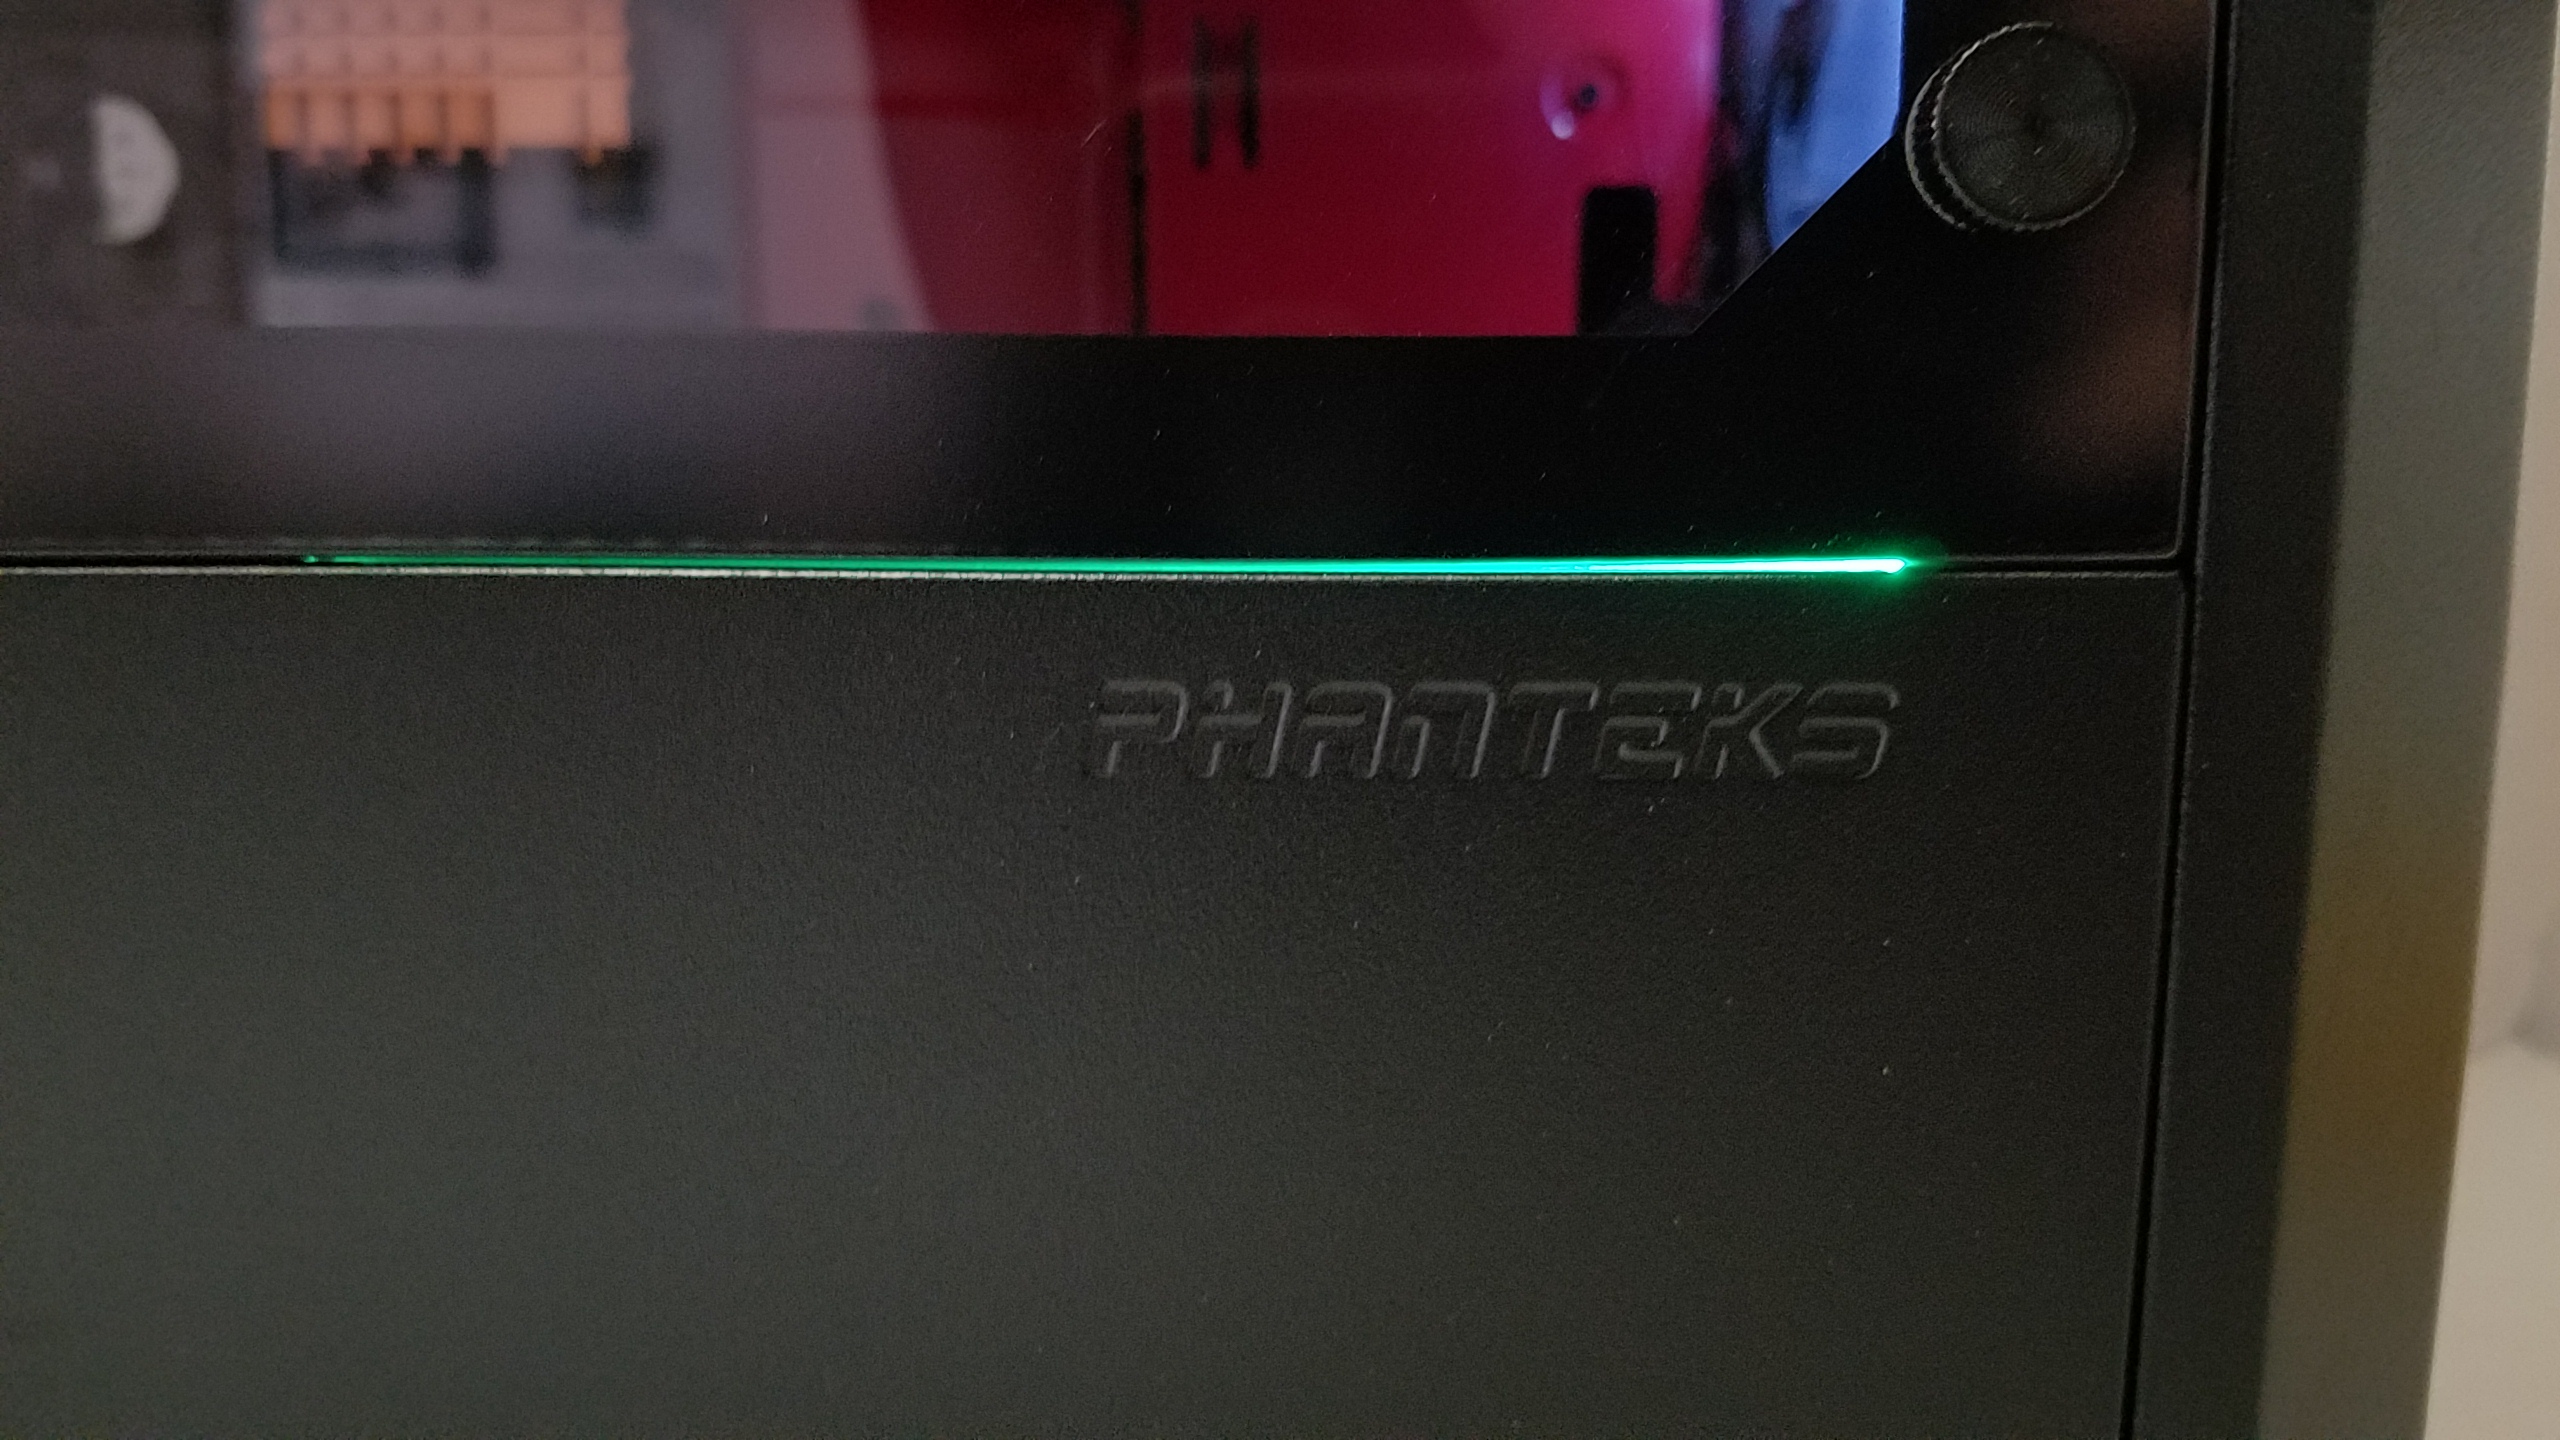
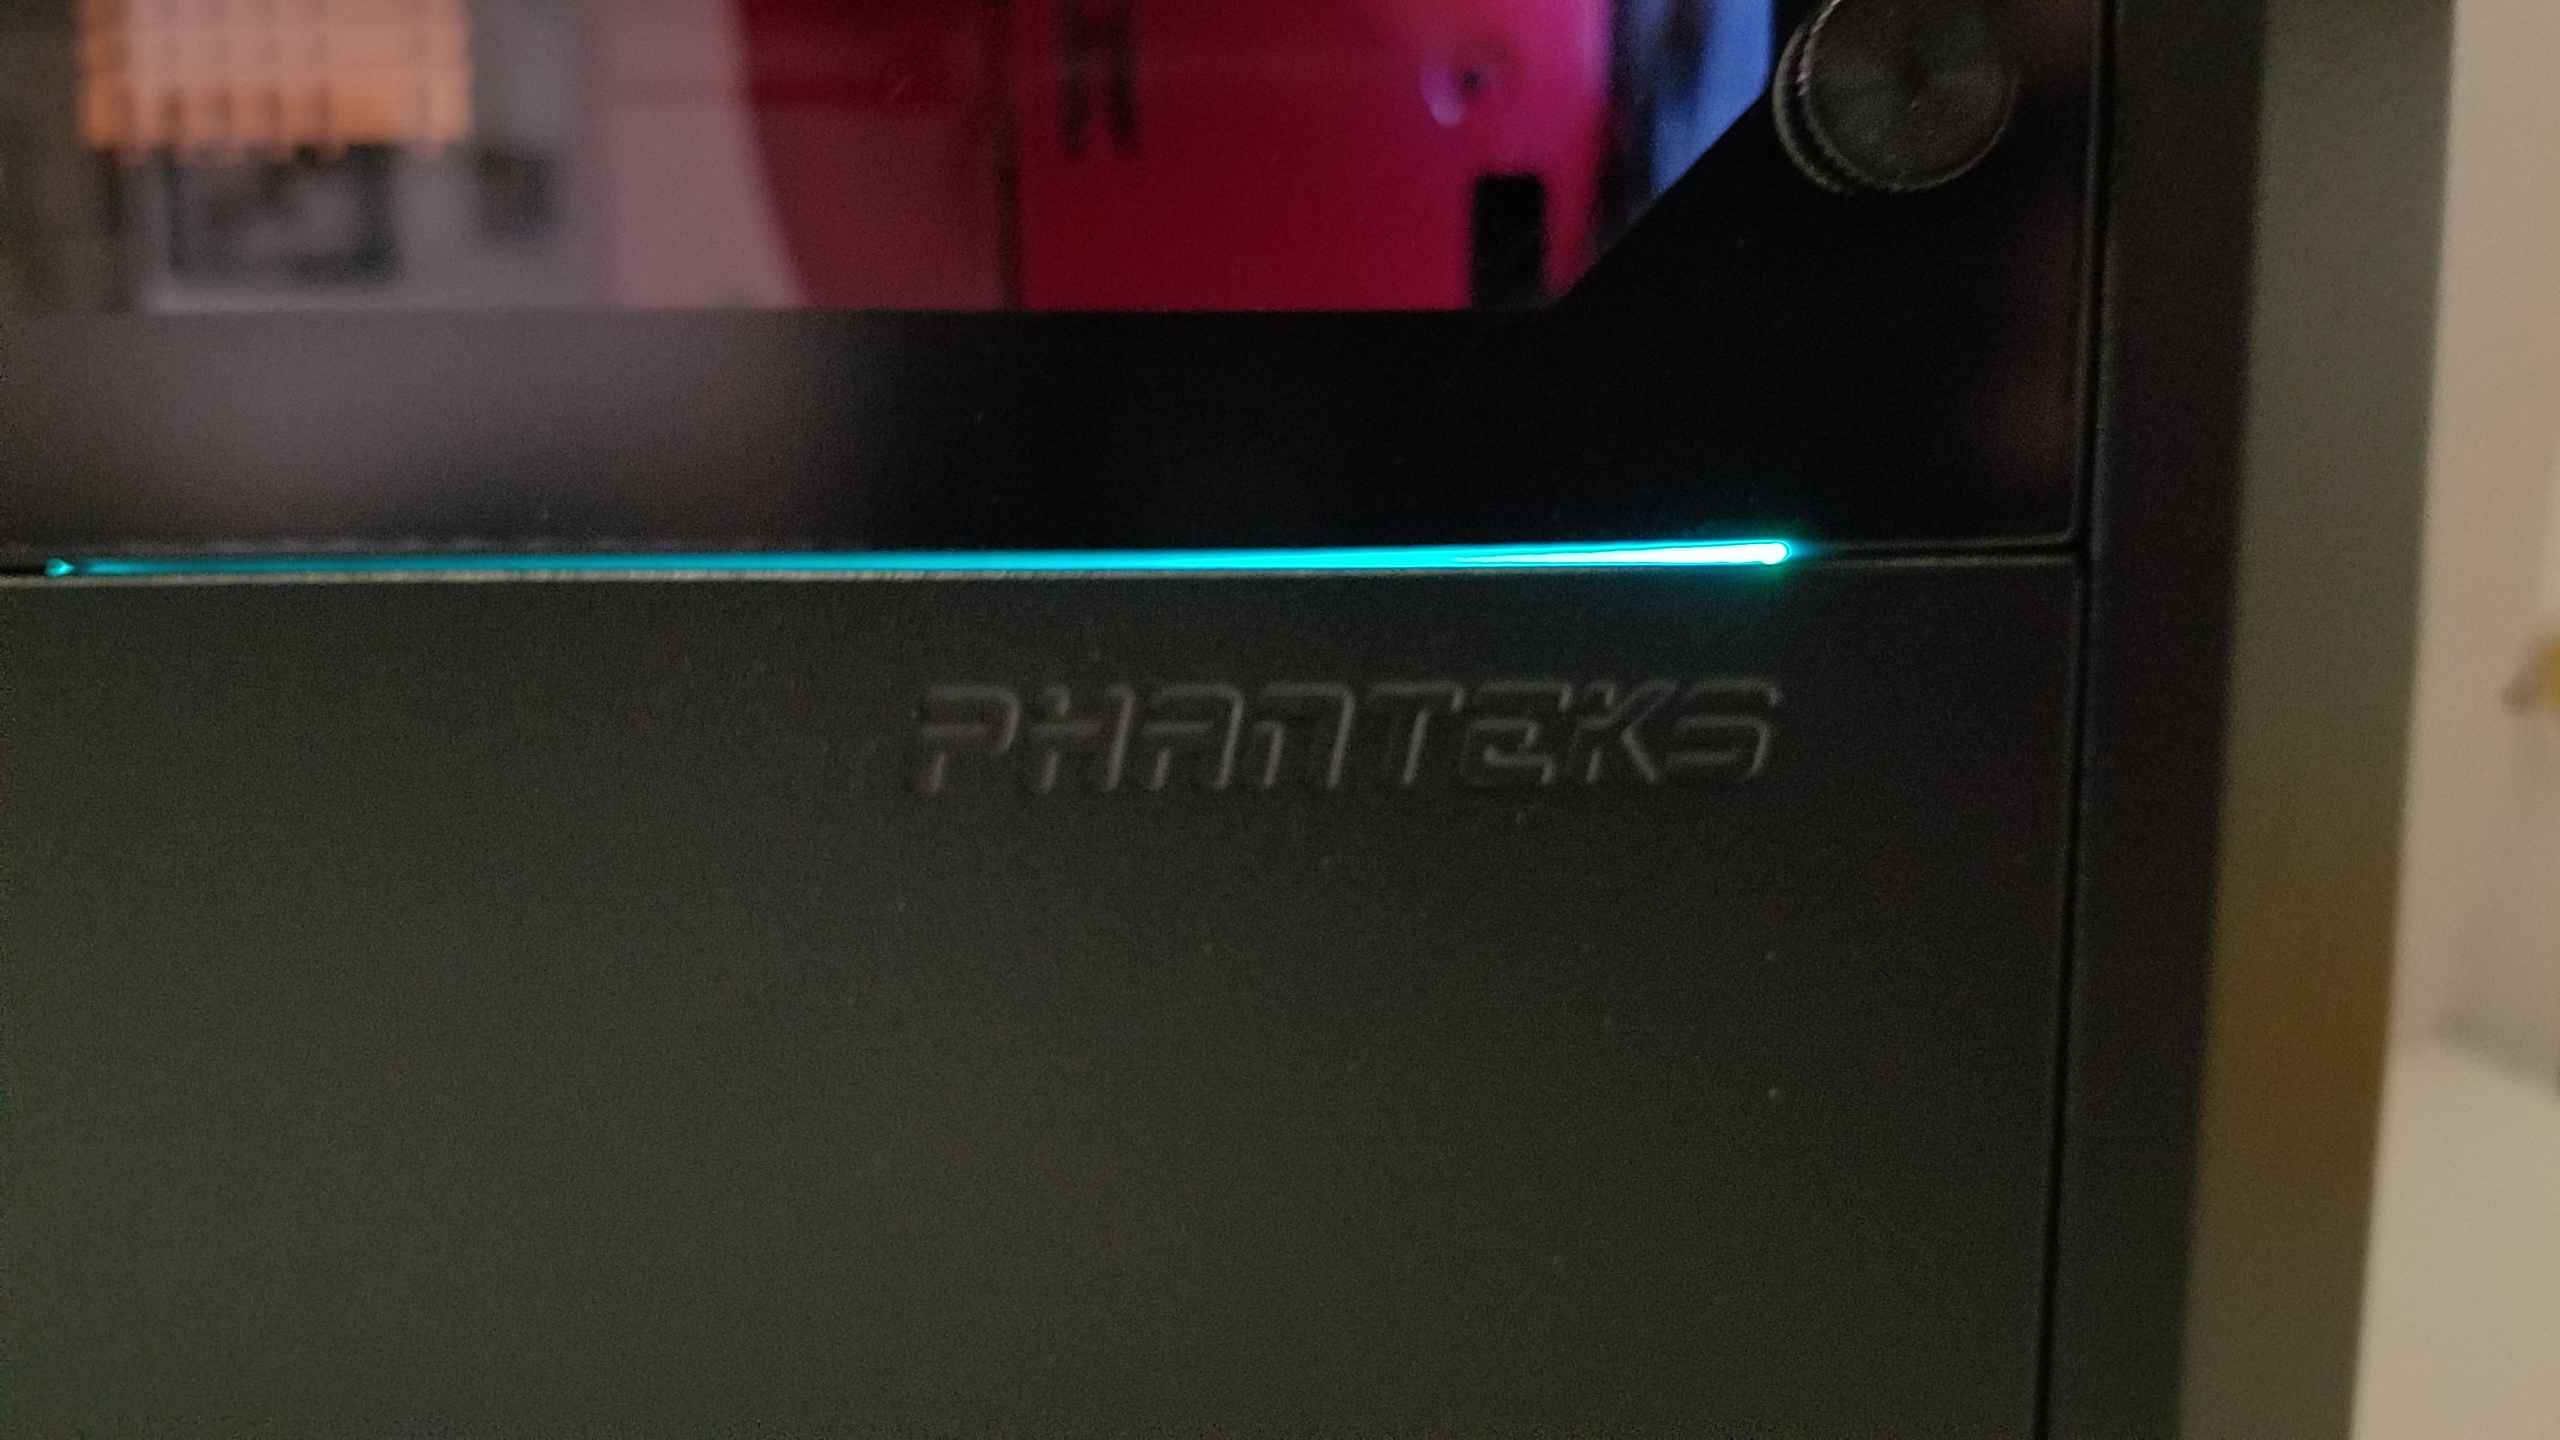
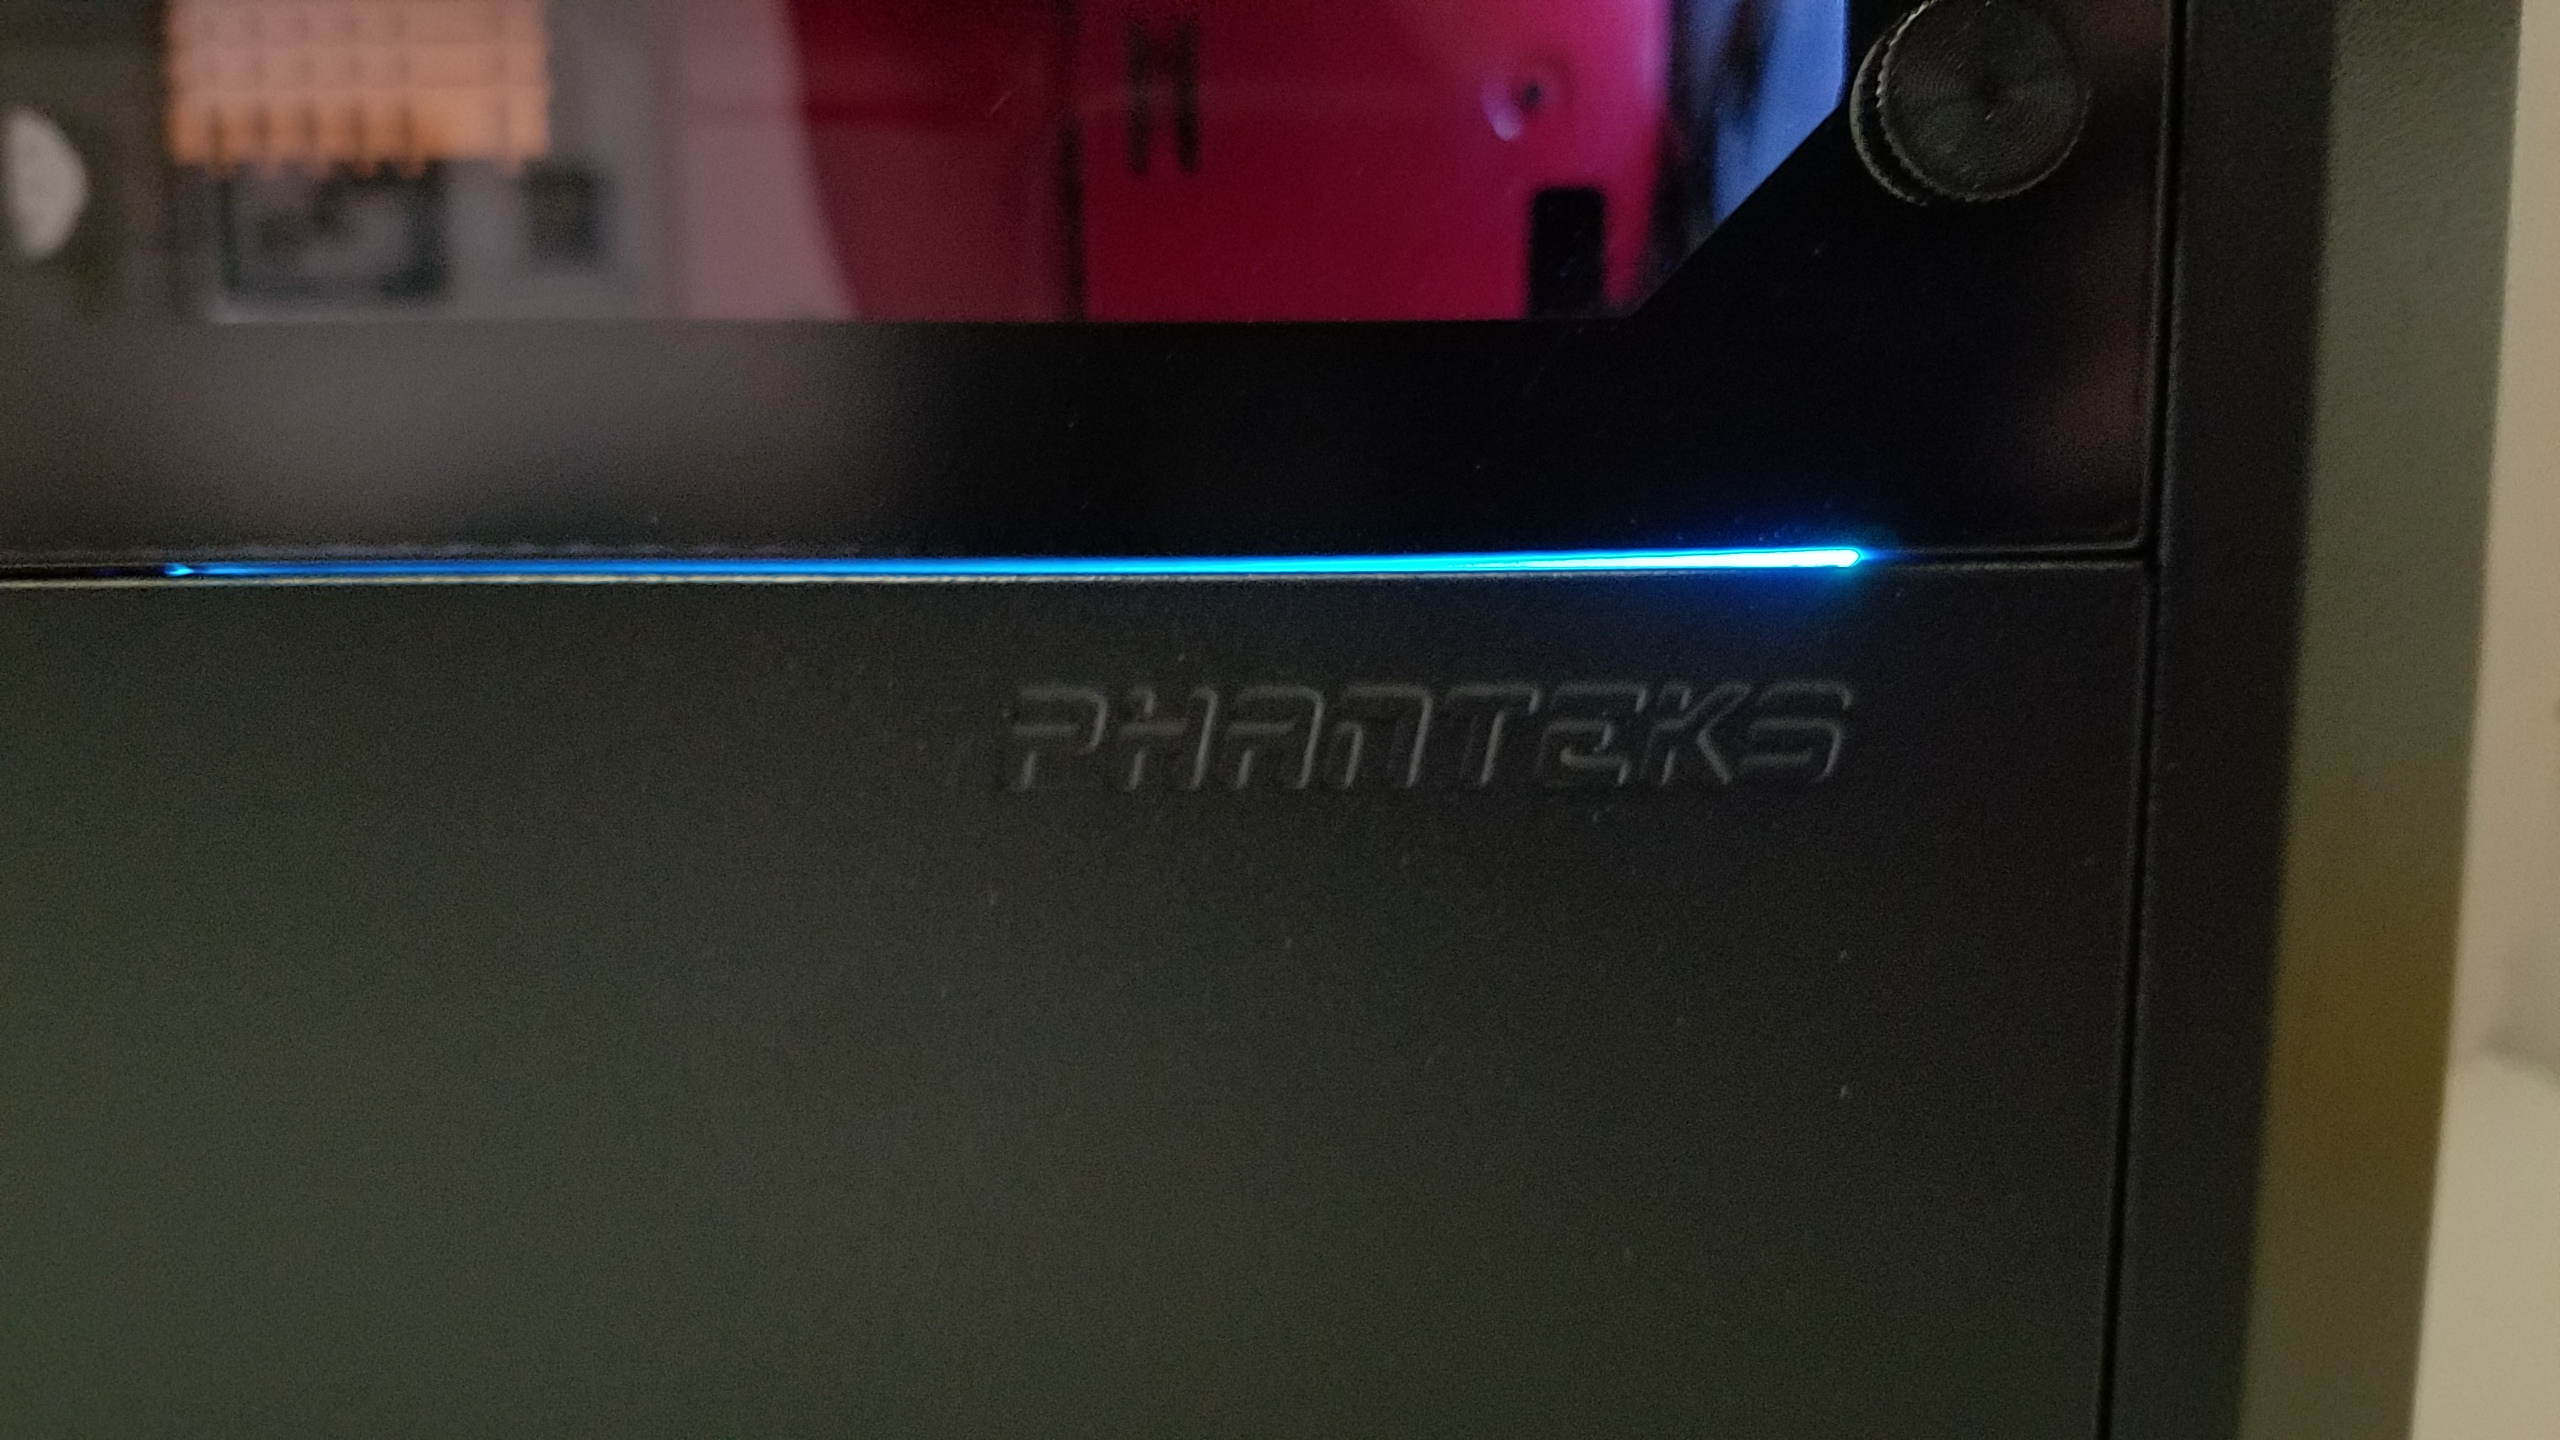
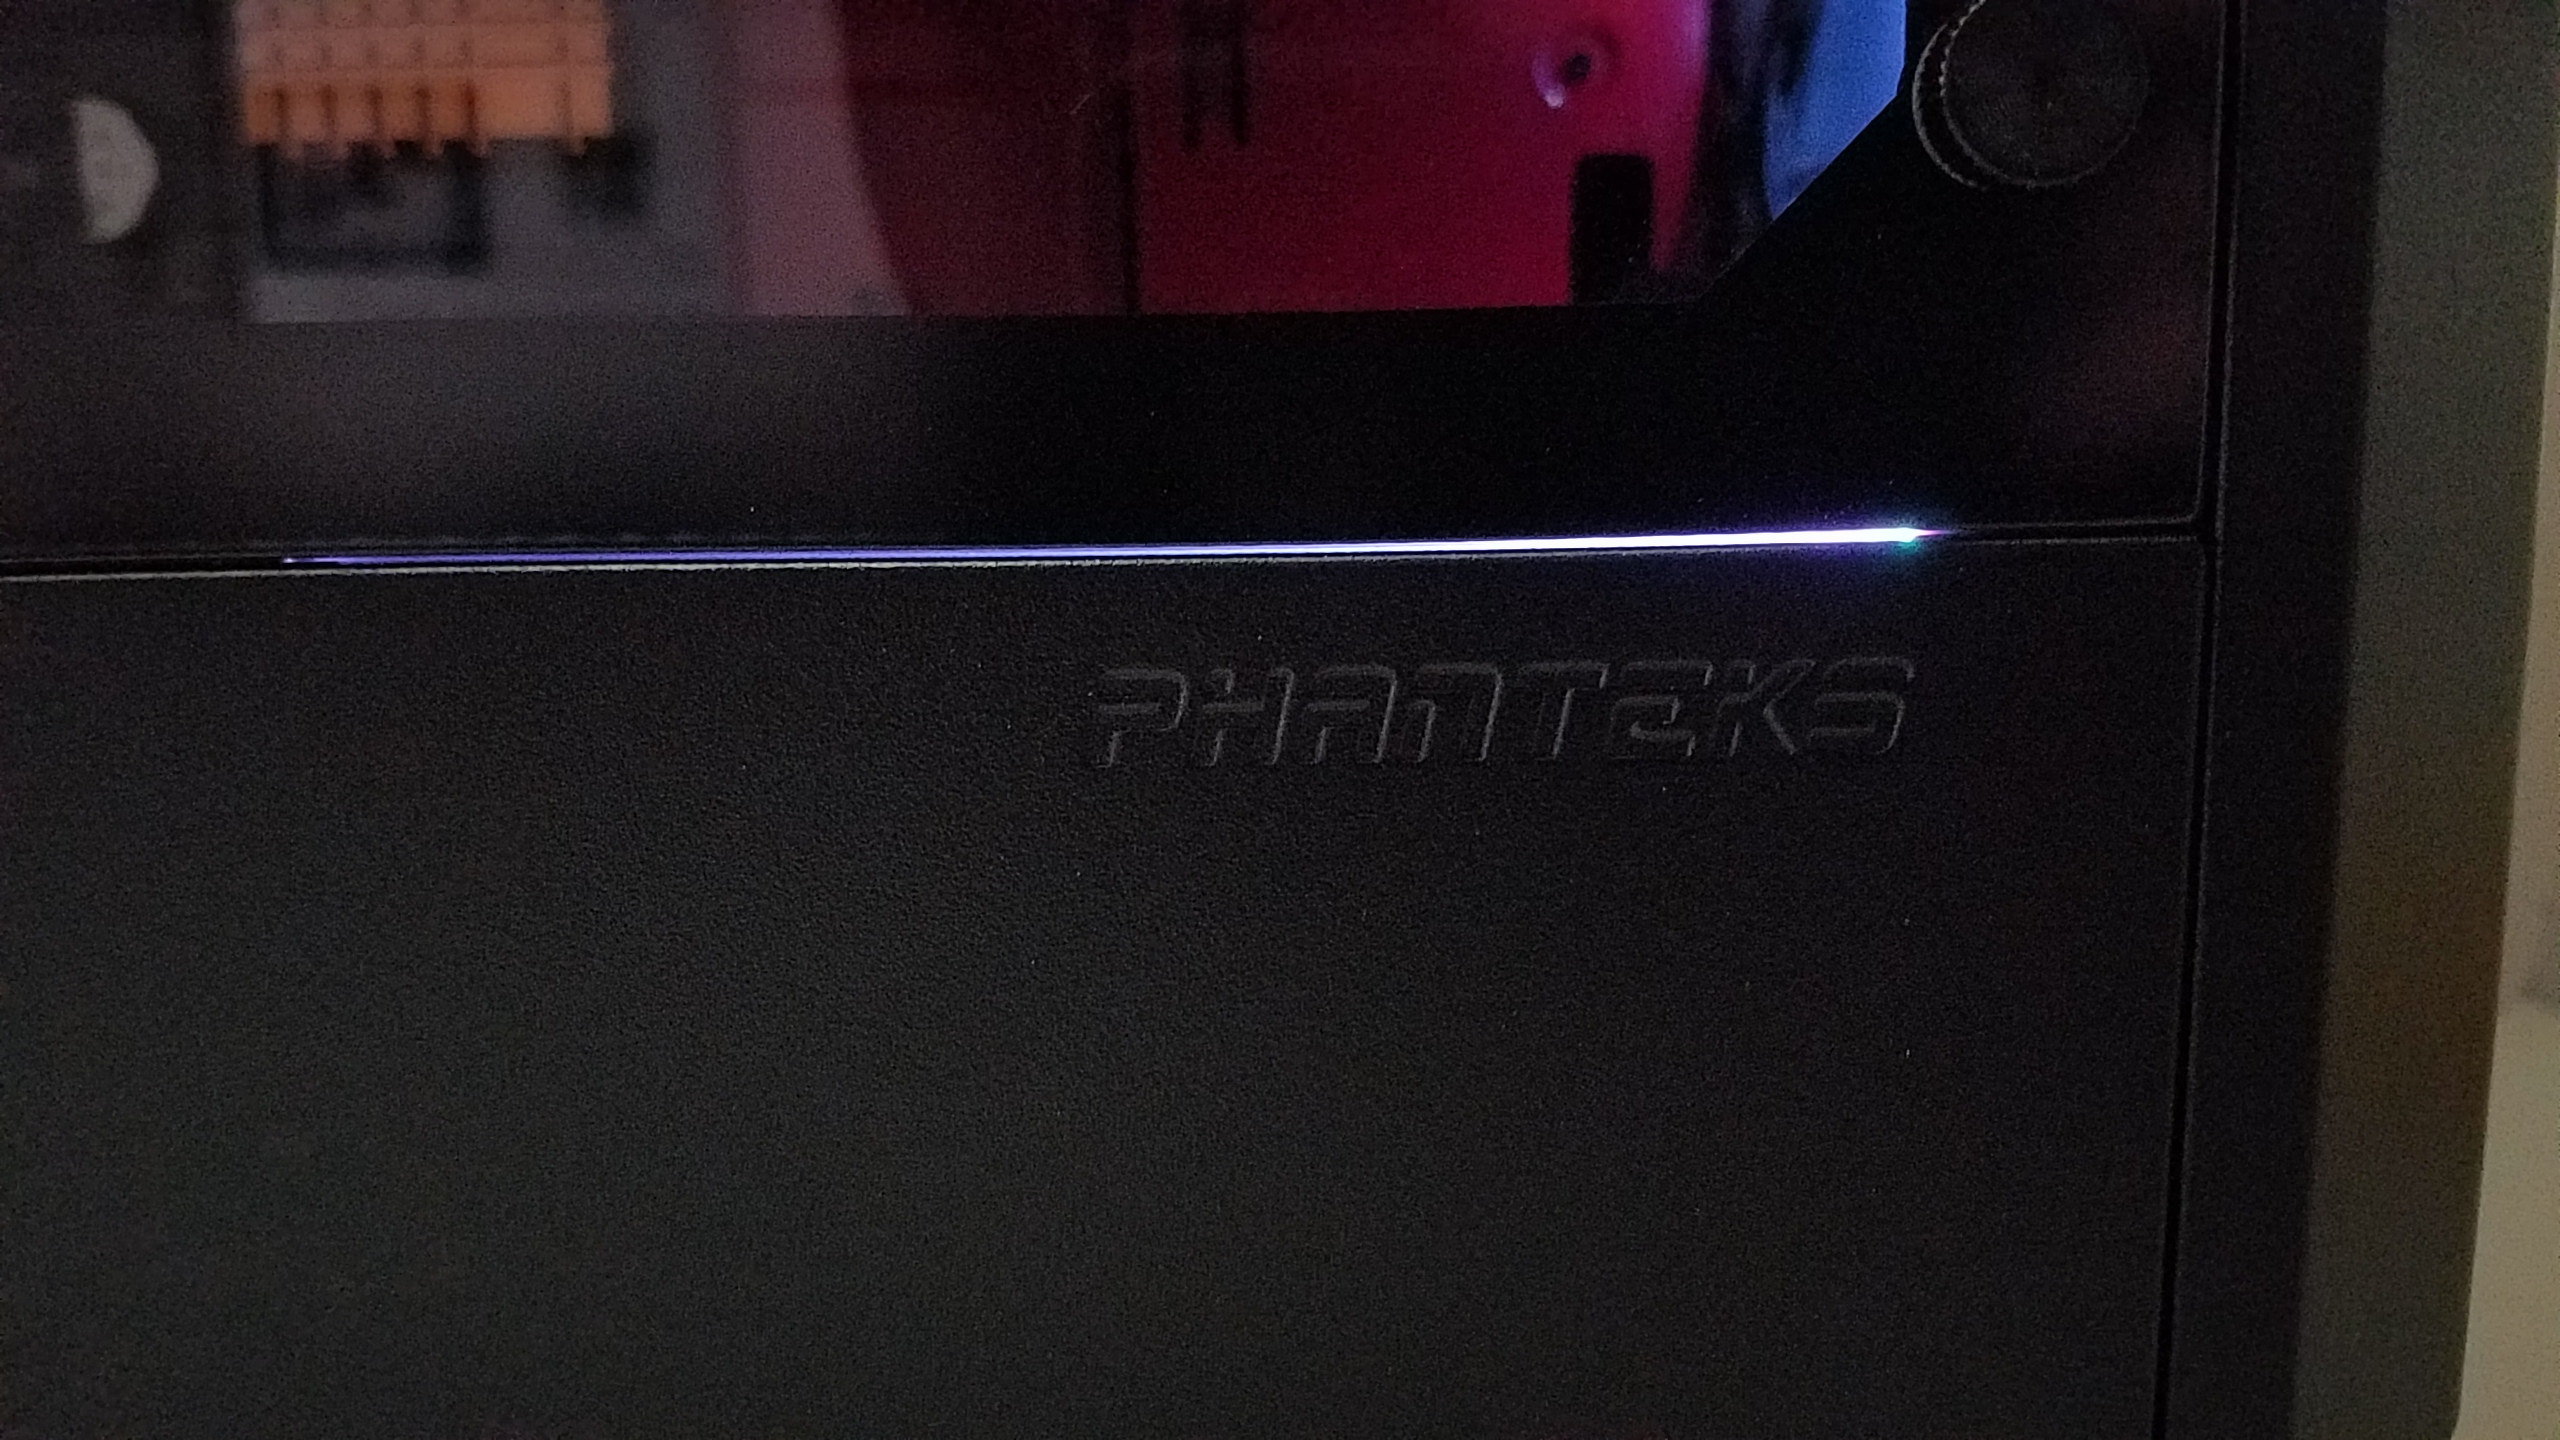
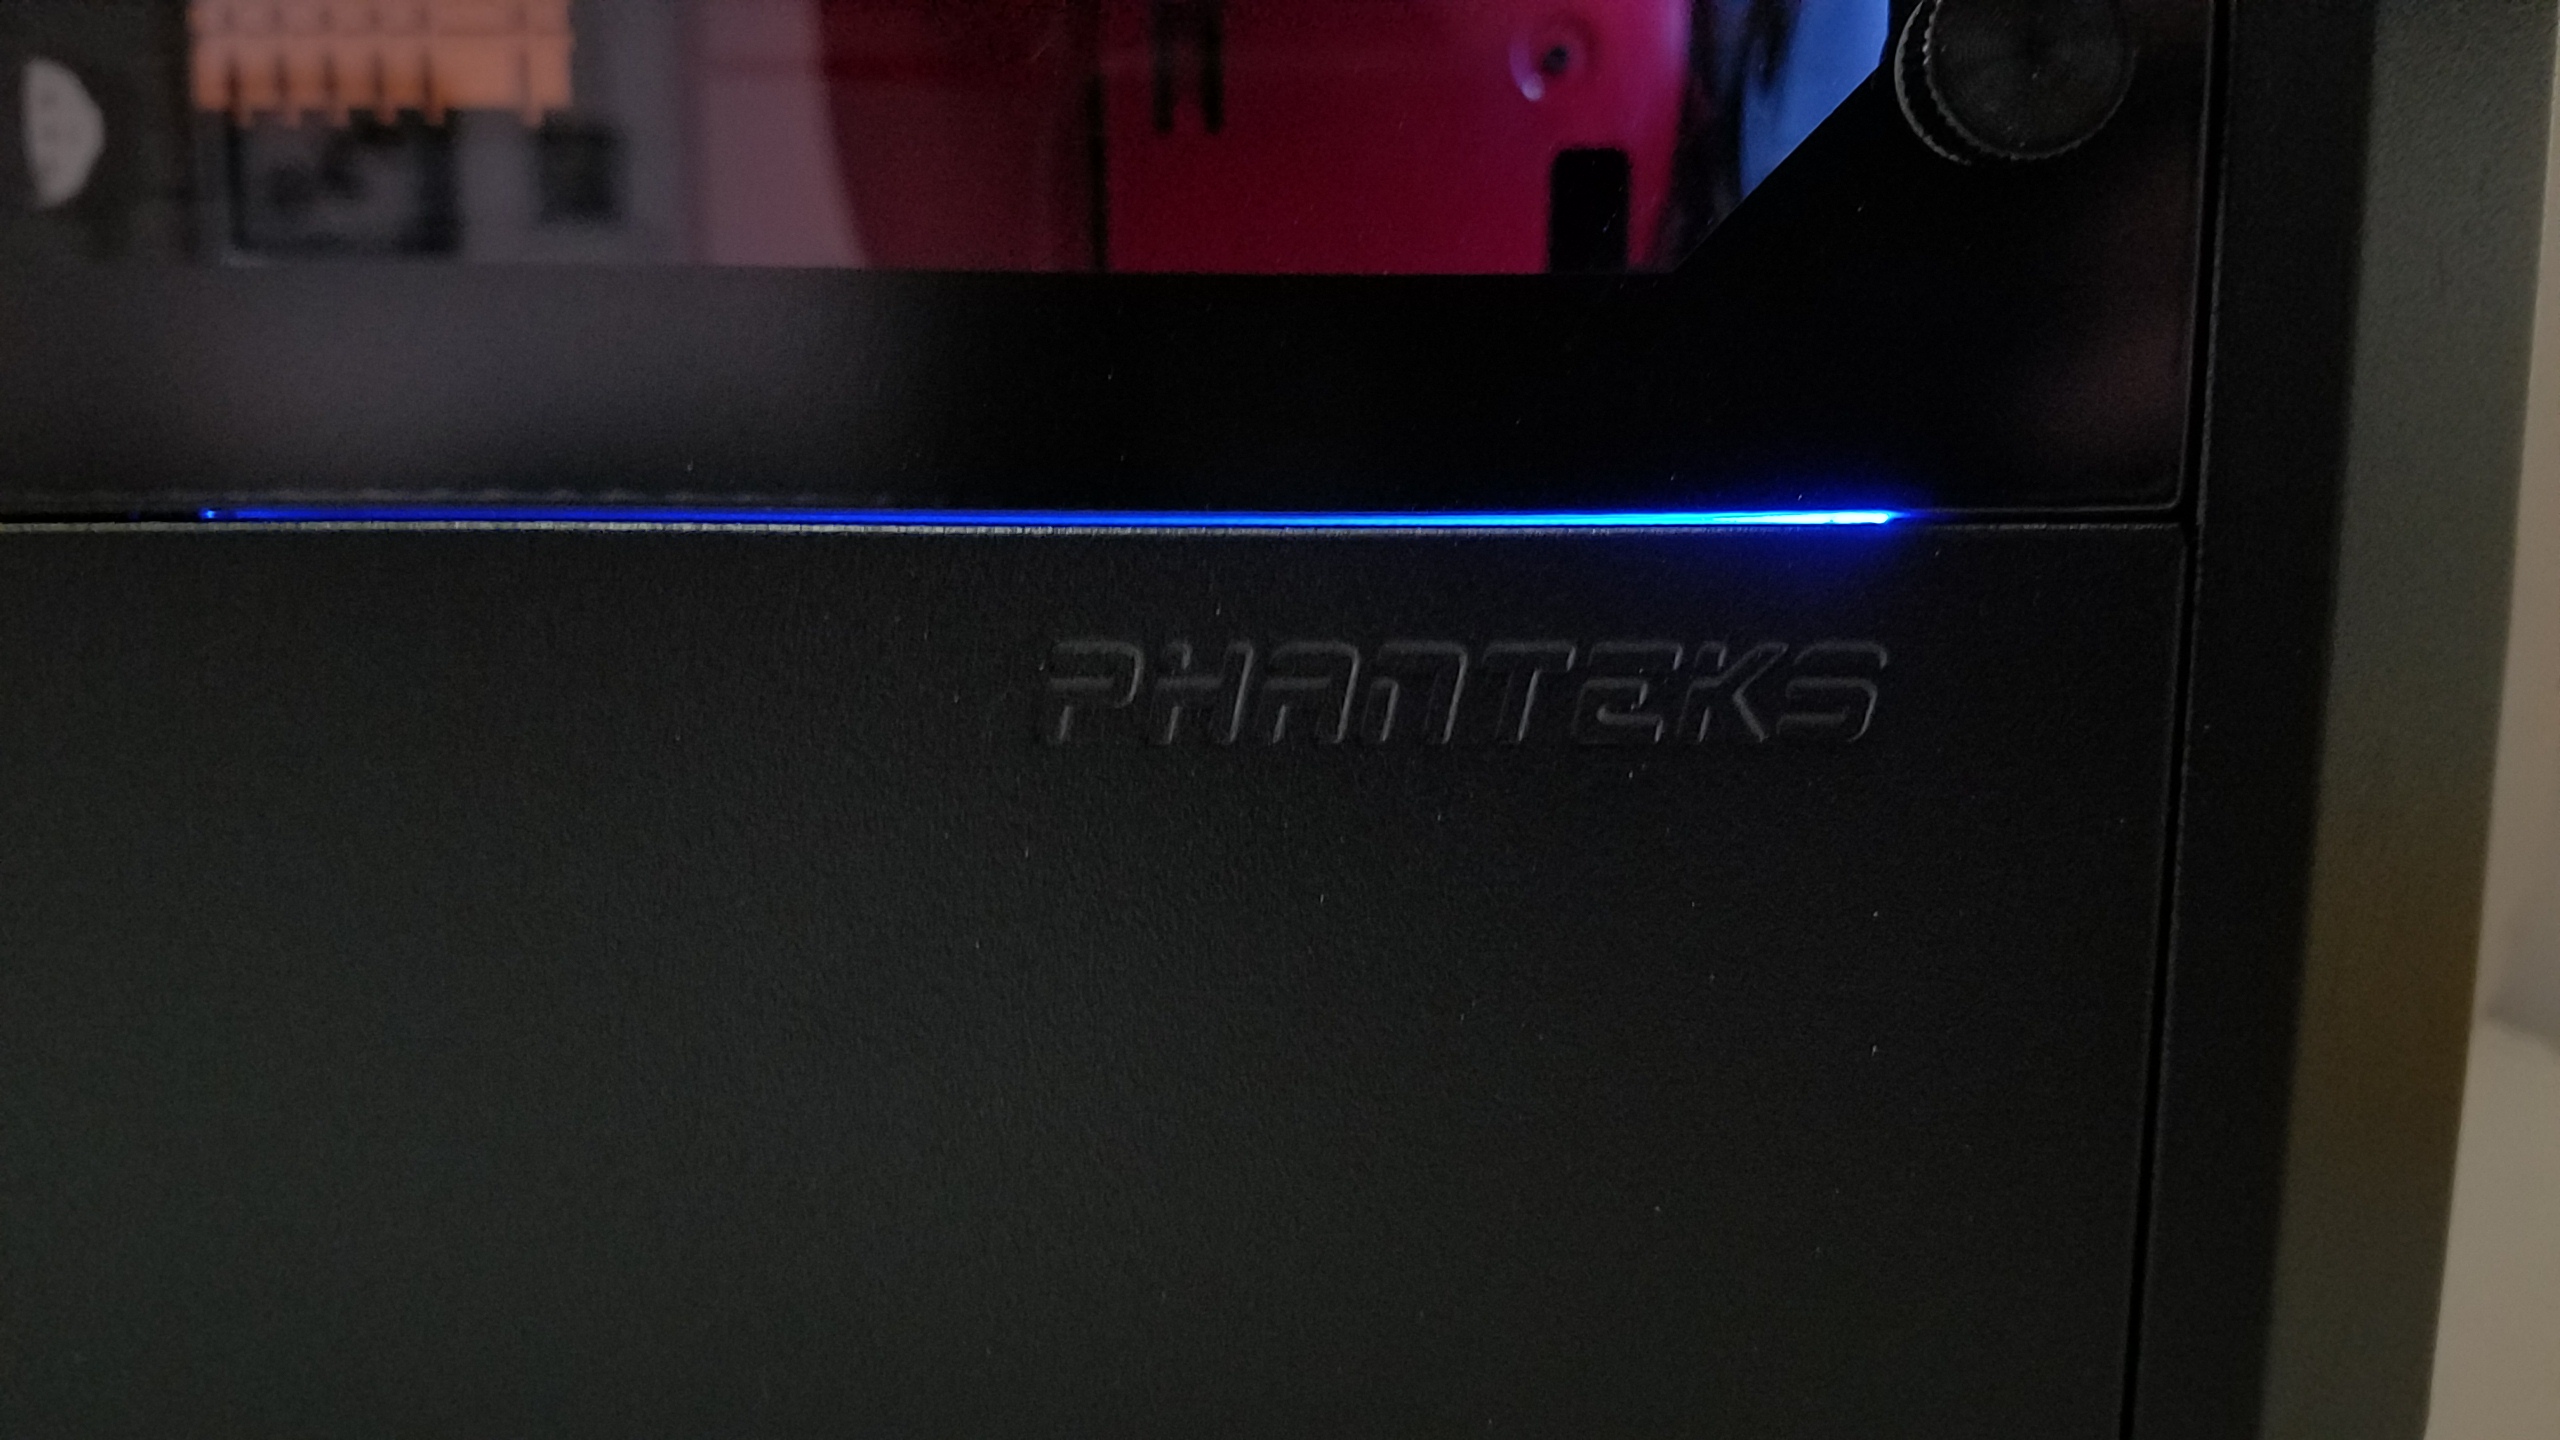
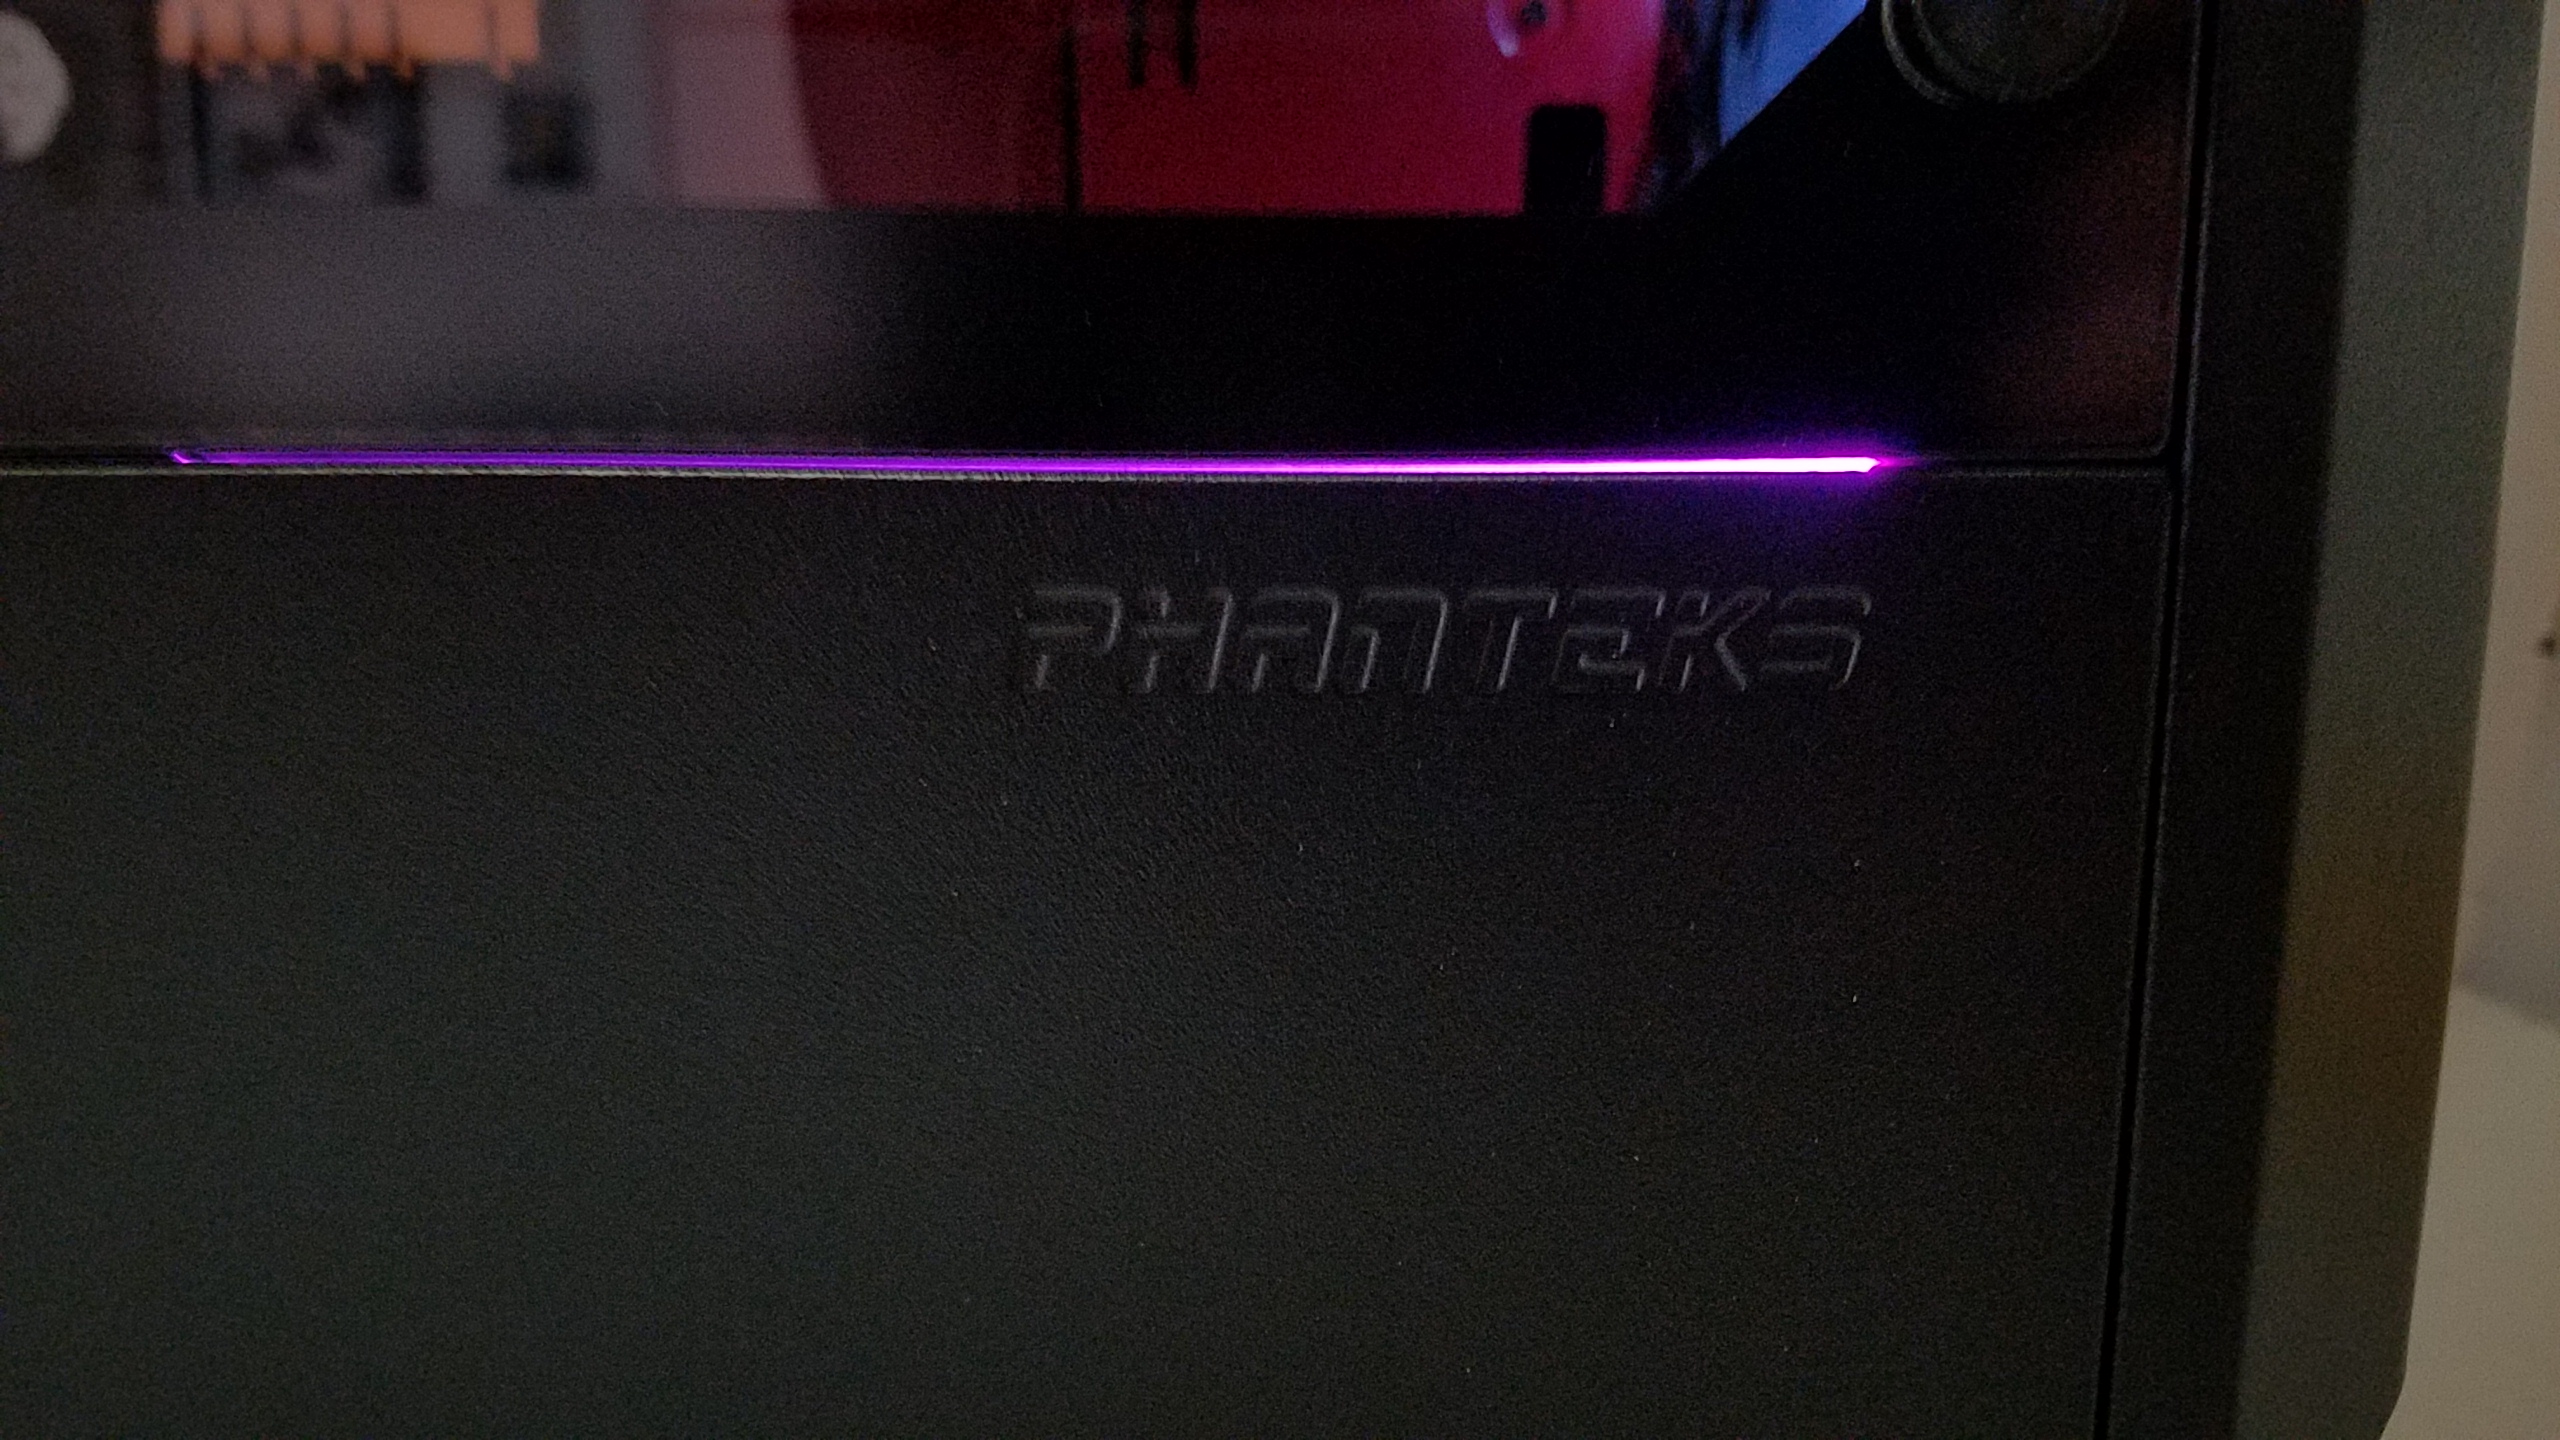
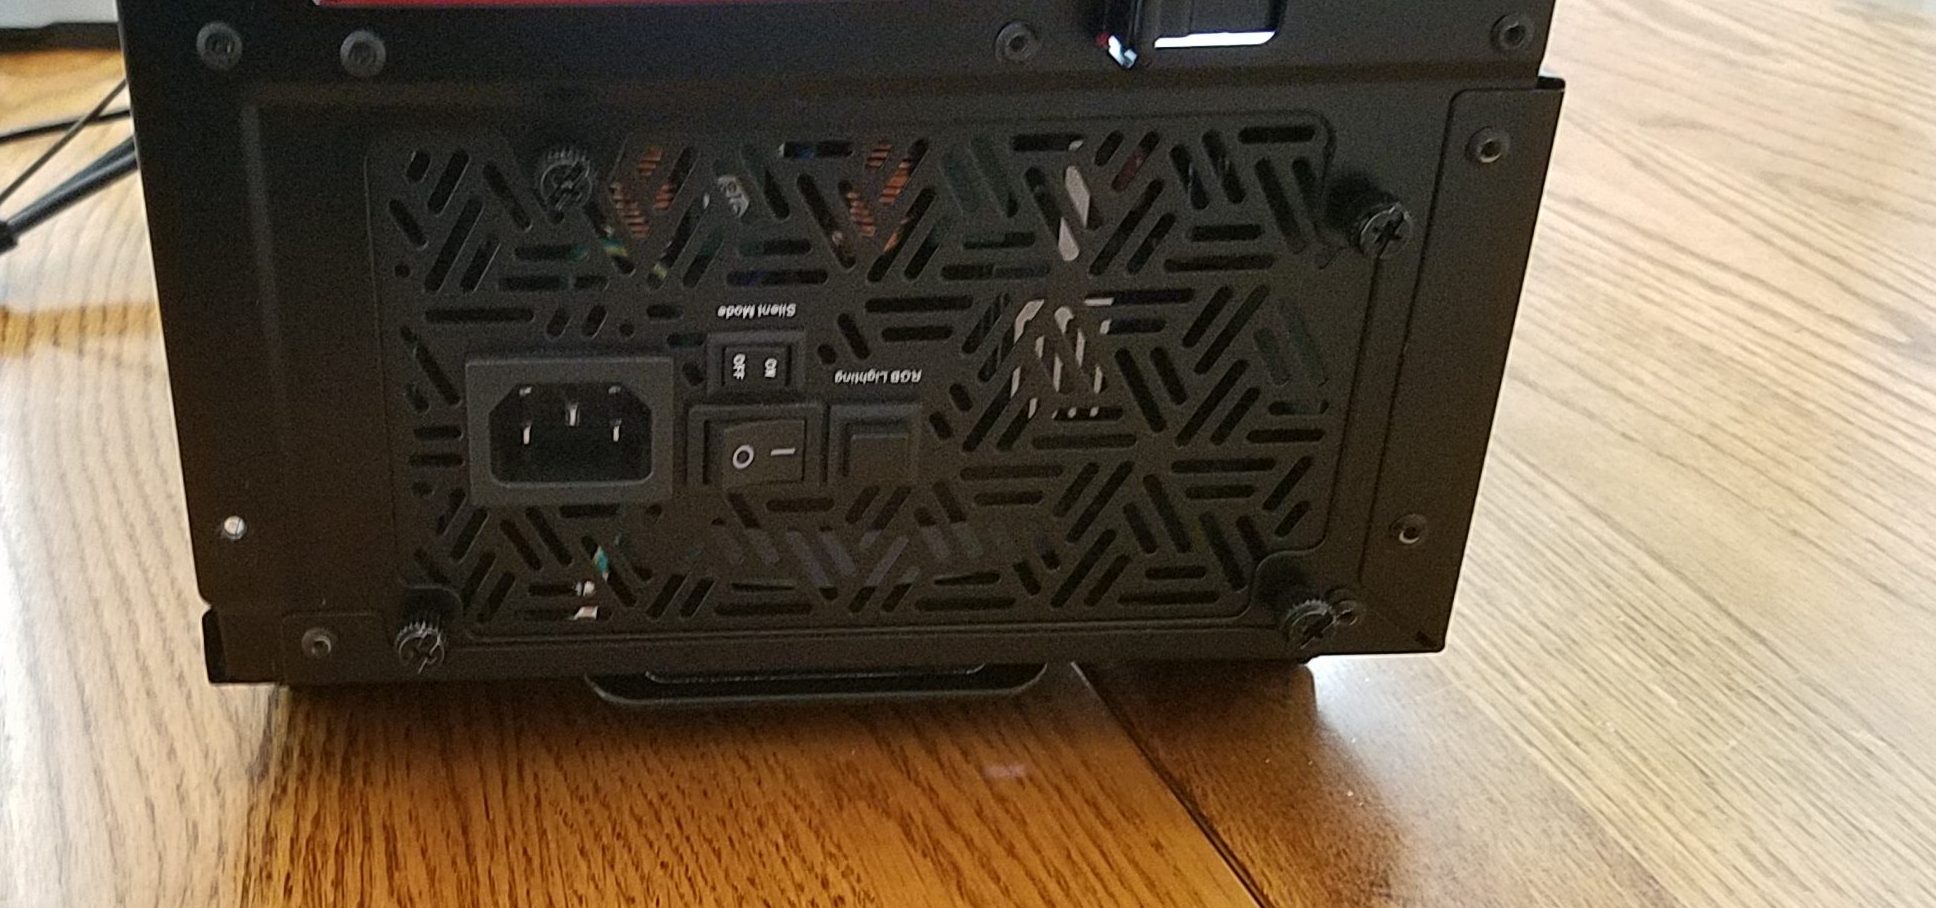
Along with all of the colors shown you have the choice of having the lighting breath with a single color or cycle through each color and while I couldn’t show off the lighting animation here it does look really good. You can also sync the lighting effects with either ASUS AURA lighting, Gigabyte RGB Fusion or MSI Mystic lighting enabled motherboards in order to have all of your lighting effects synced within your system.

I will say that my camera wasn’t able to properly do the lighting justice it does look really sleek when viewed in person.


Related posts

Leave a Comment

* By using this form you agree with the storage and handling of your data by this website.

This site uses Akismet to reduce spam. Learn how your comment data is processed.

This website uses cookies to improve your experience. We'll assume you're ok with this, but you can opt-out if you wish. Accept Read More