


Building inside of the DF500RGB

As you can see this case comes with quite a few cables right out of the box so if you’re like me and have a ton of cables already this could pose an extra challenge, but luckily Antec has provided a fairly modular case so depending on what parts you’re putting in you may be able to make more room for cables under the PSU shroud.
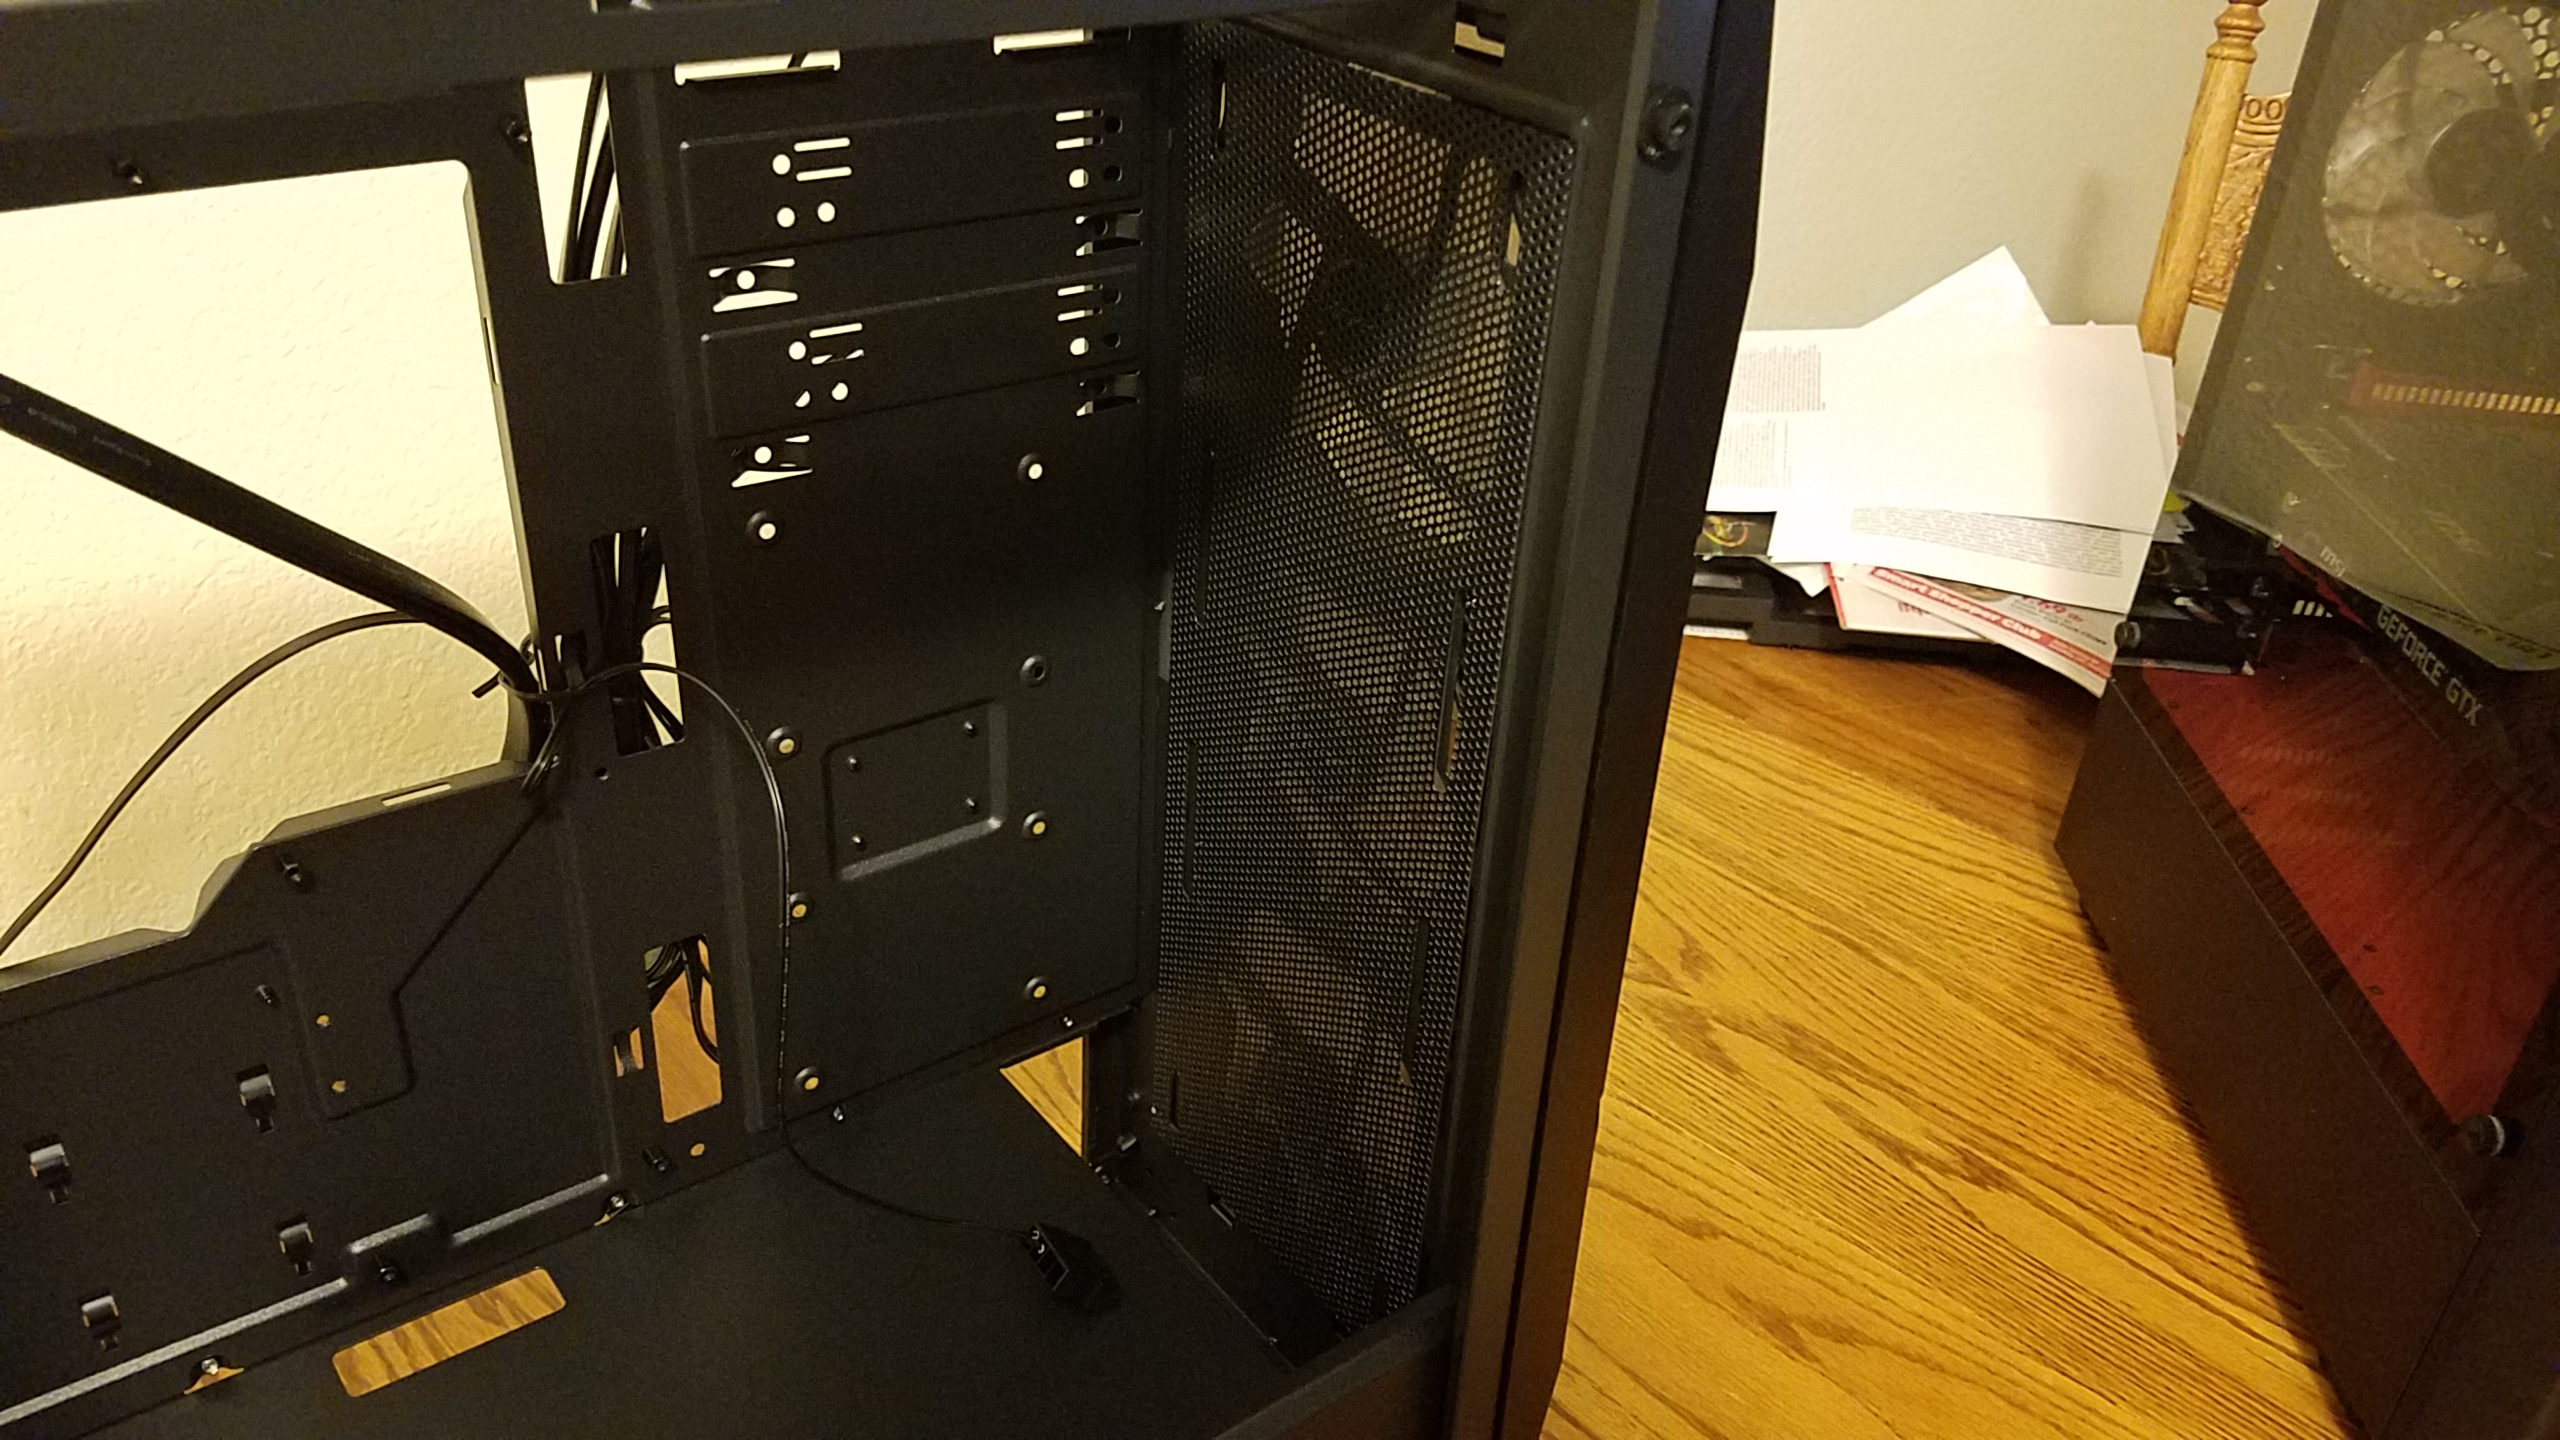
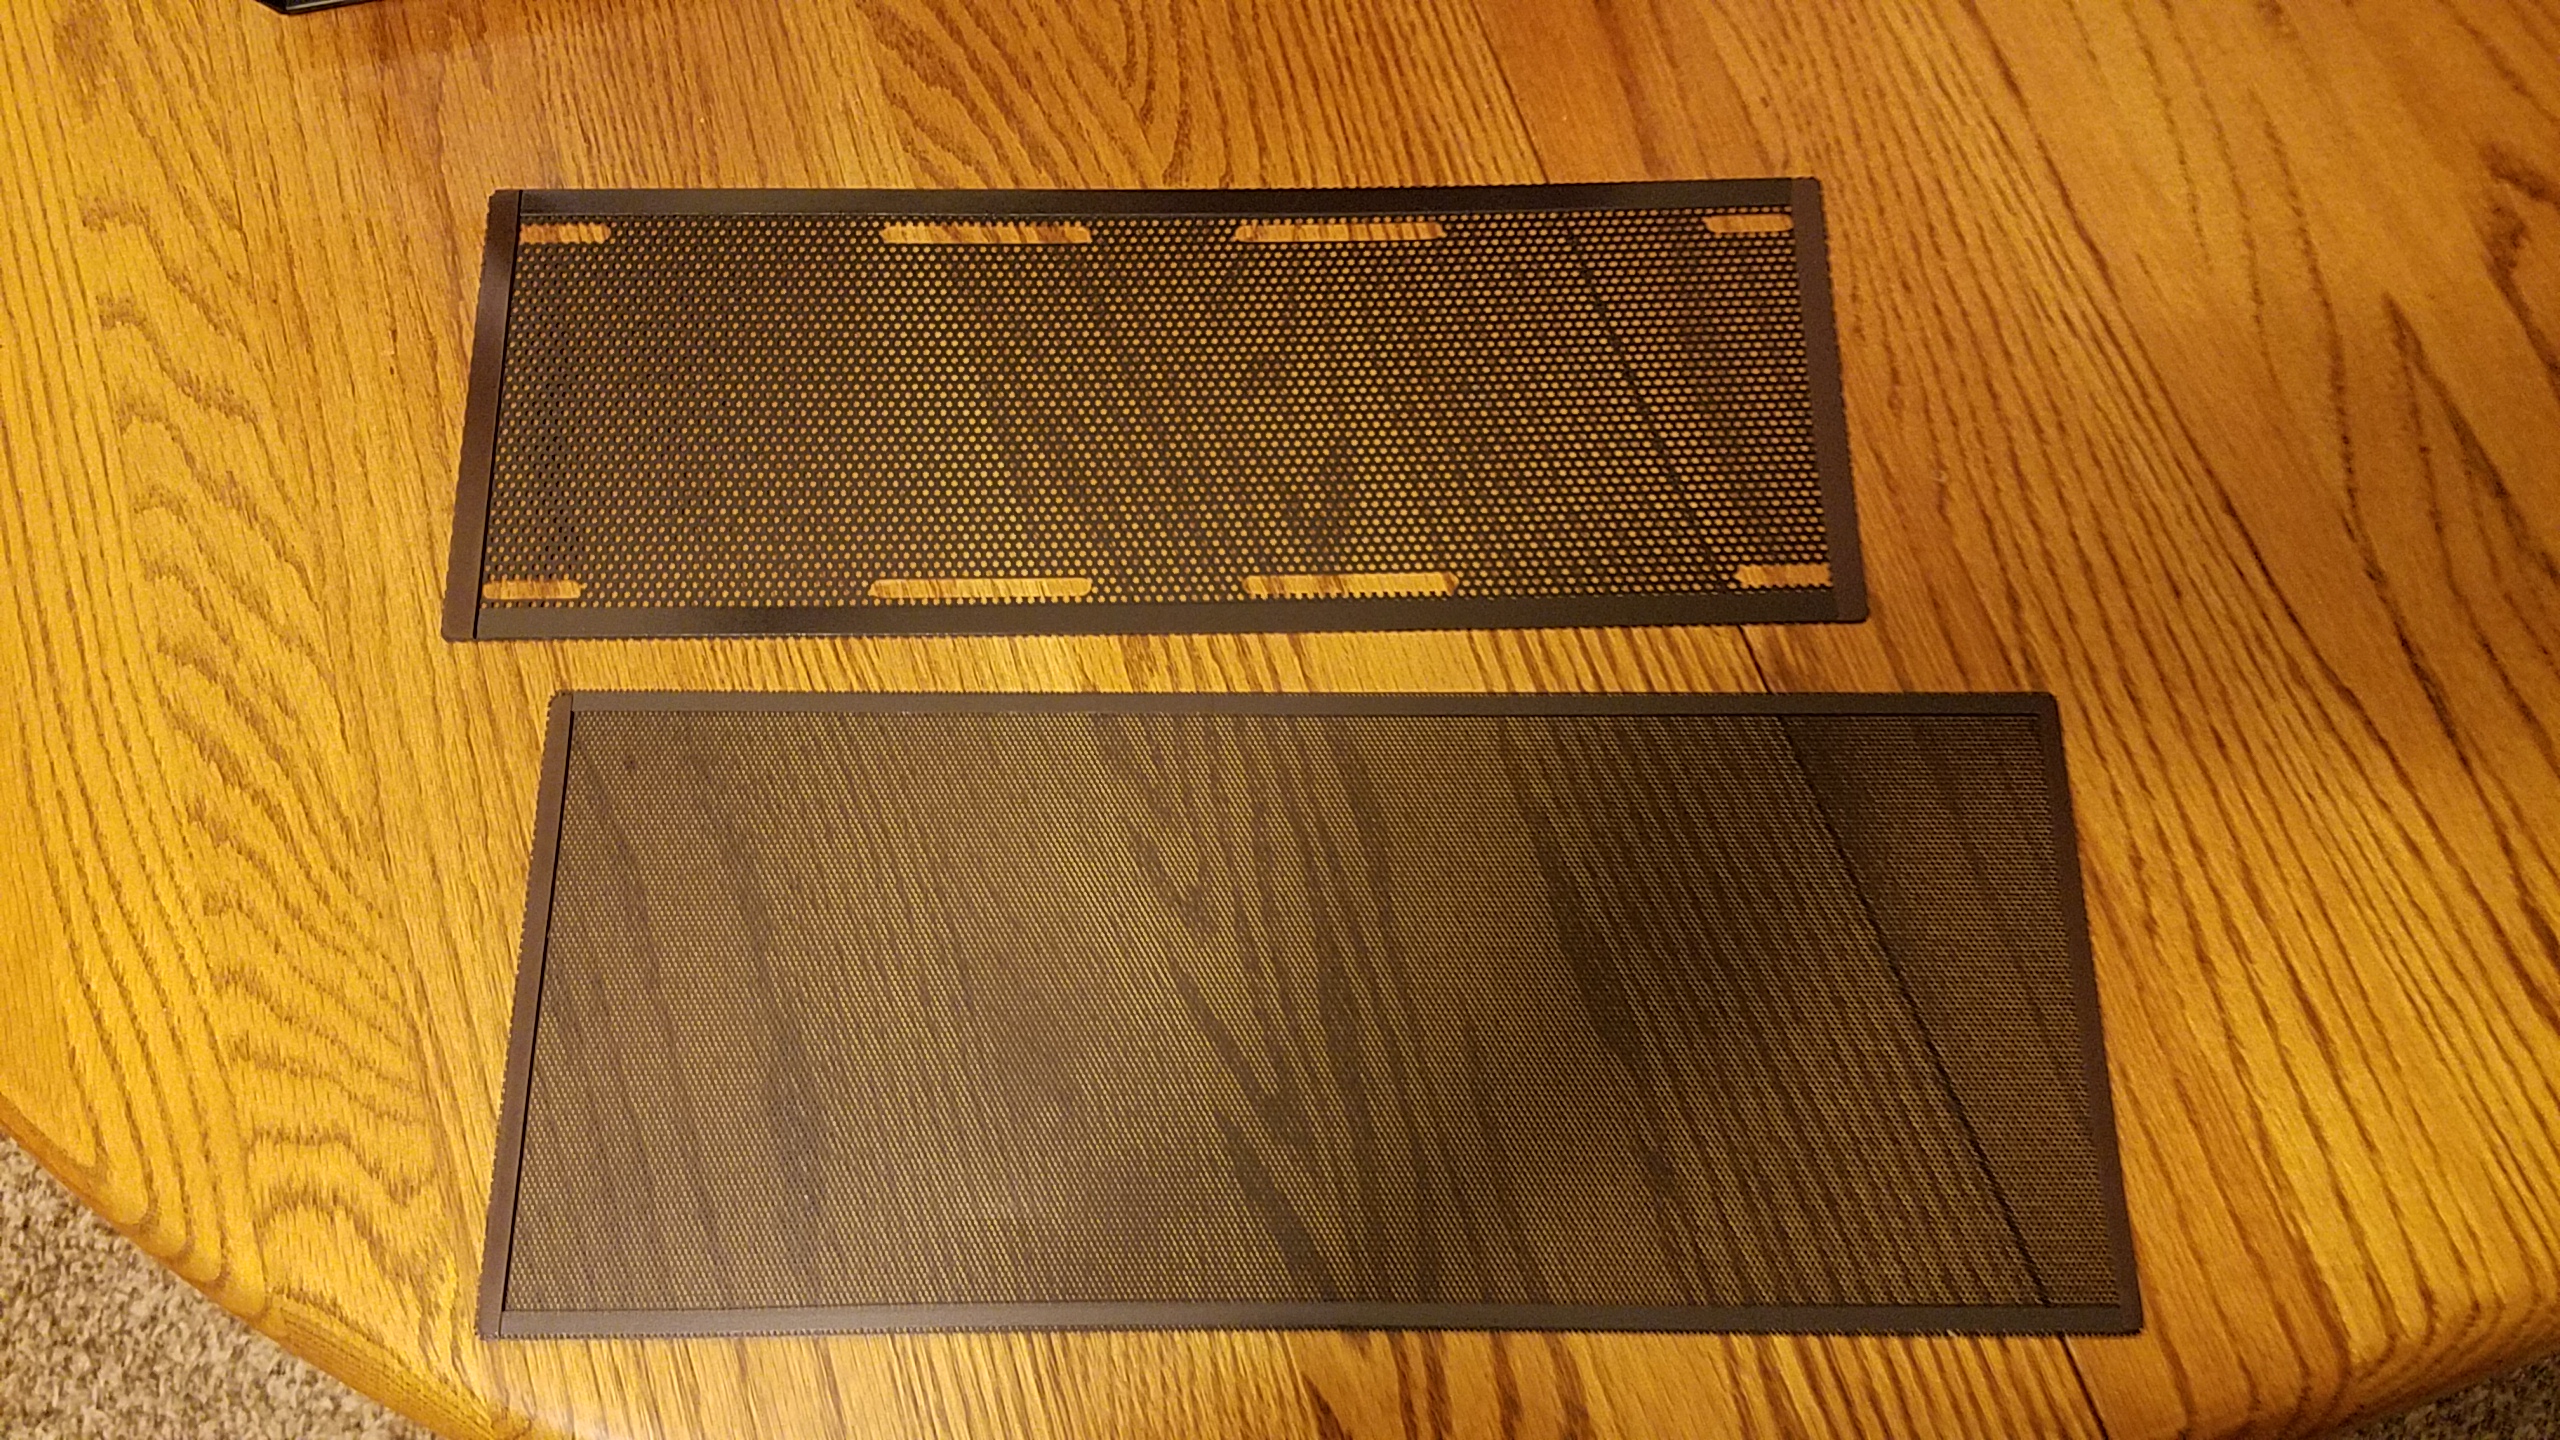
Another thing I like about this case is the magnetic dust filters. By default, Antec includes one on the front intake and the top exhaust but these are easily removed if you don’t want to use them. I will be removing the front dust filter in order to mount a 240mm AIO on the front of the case.

The DF500RGB has room for 3 120mm or 2 140mm fans on top and one 120 or 140mm fan at the rear, I will be using 3 120mm fans on top and 1 120mm fan at the rear.
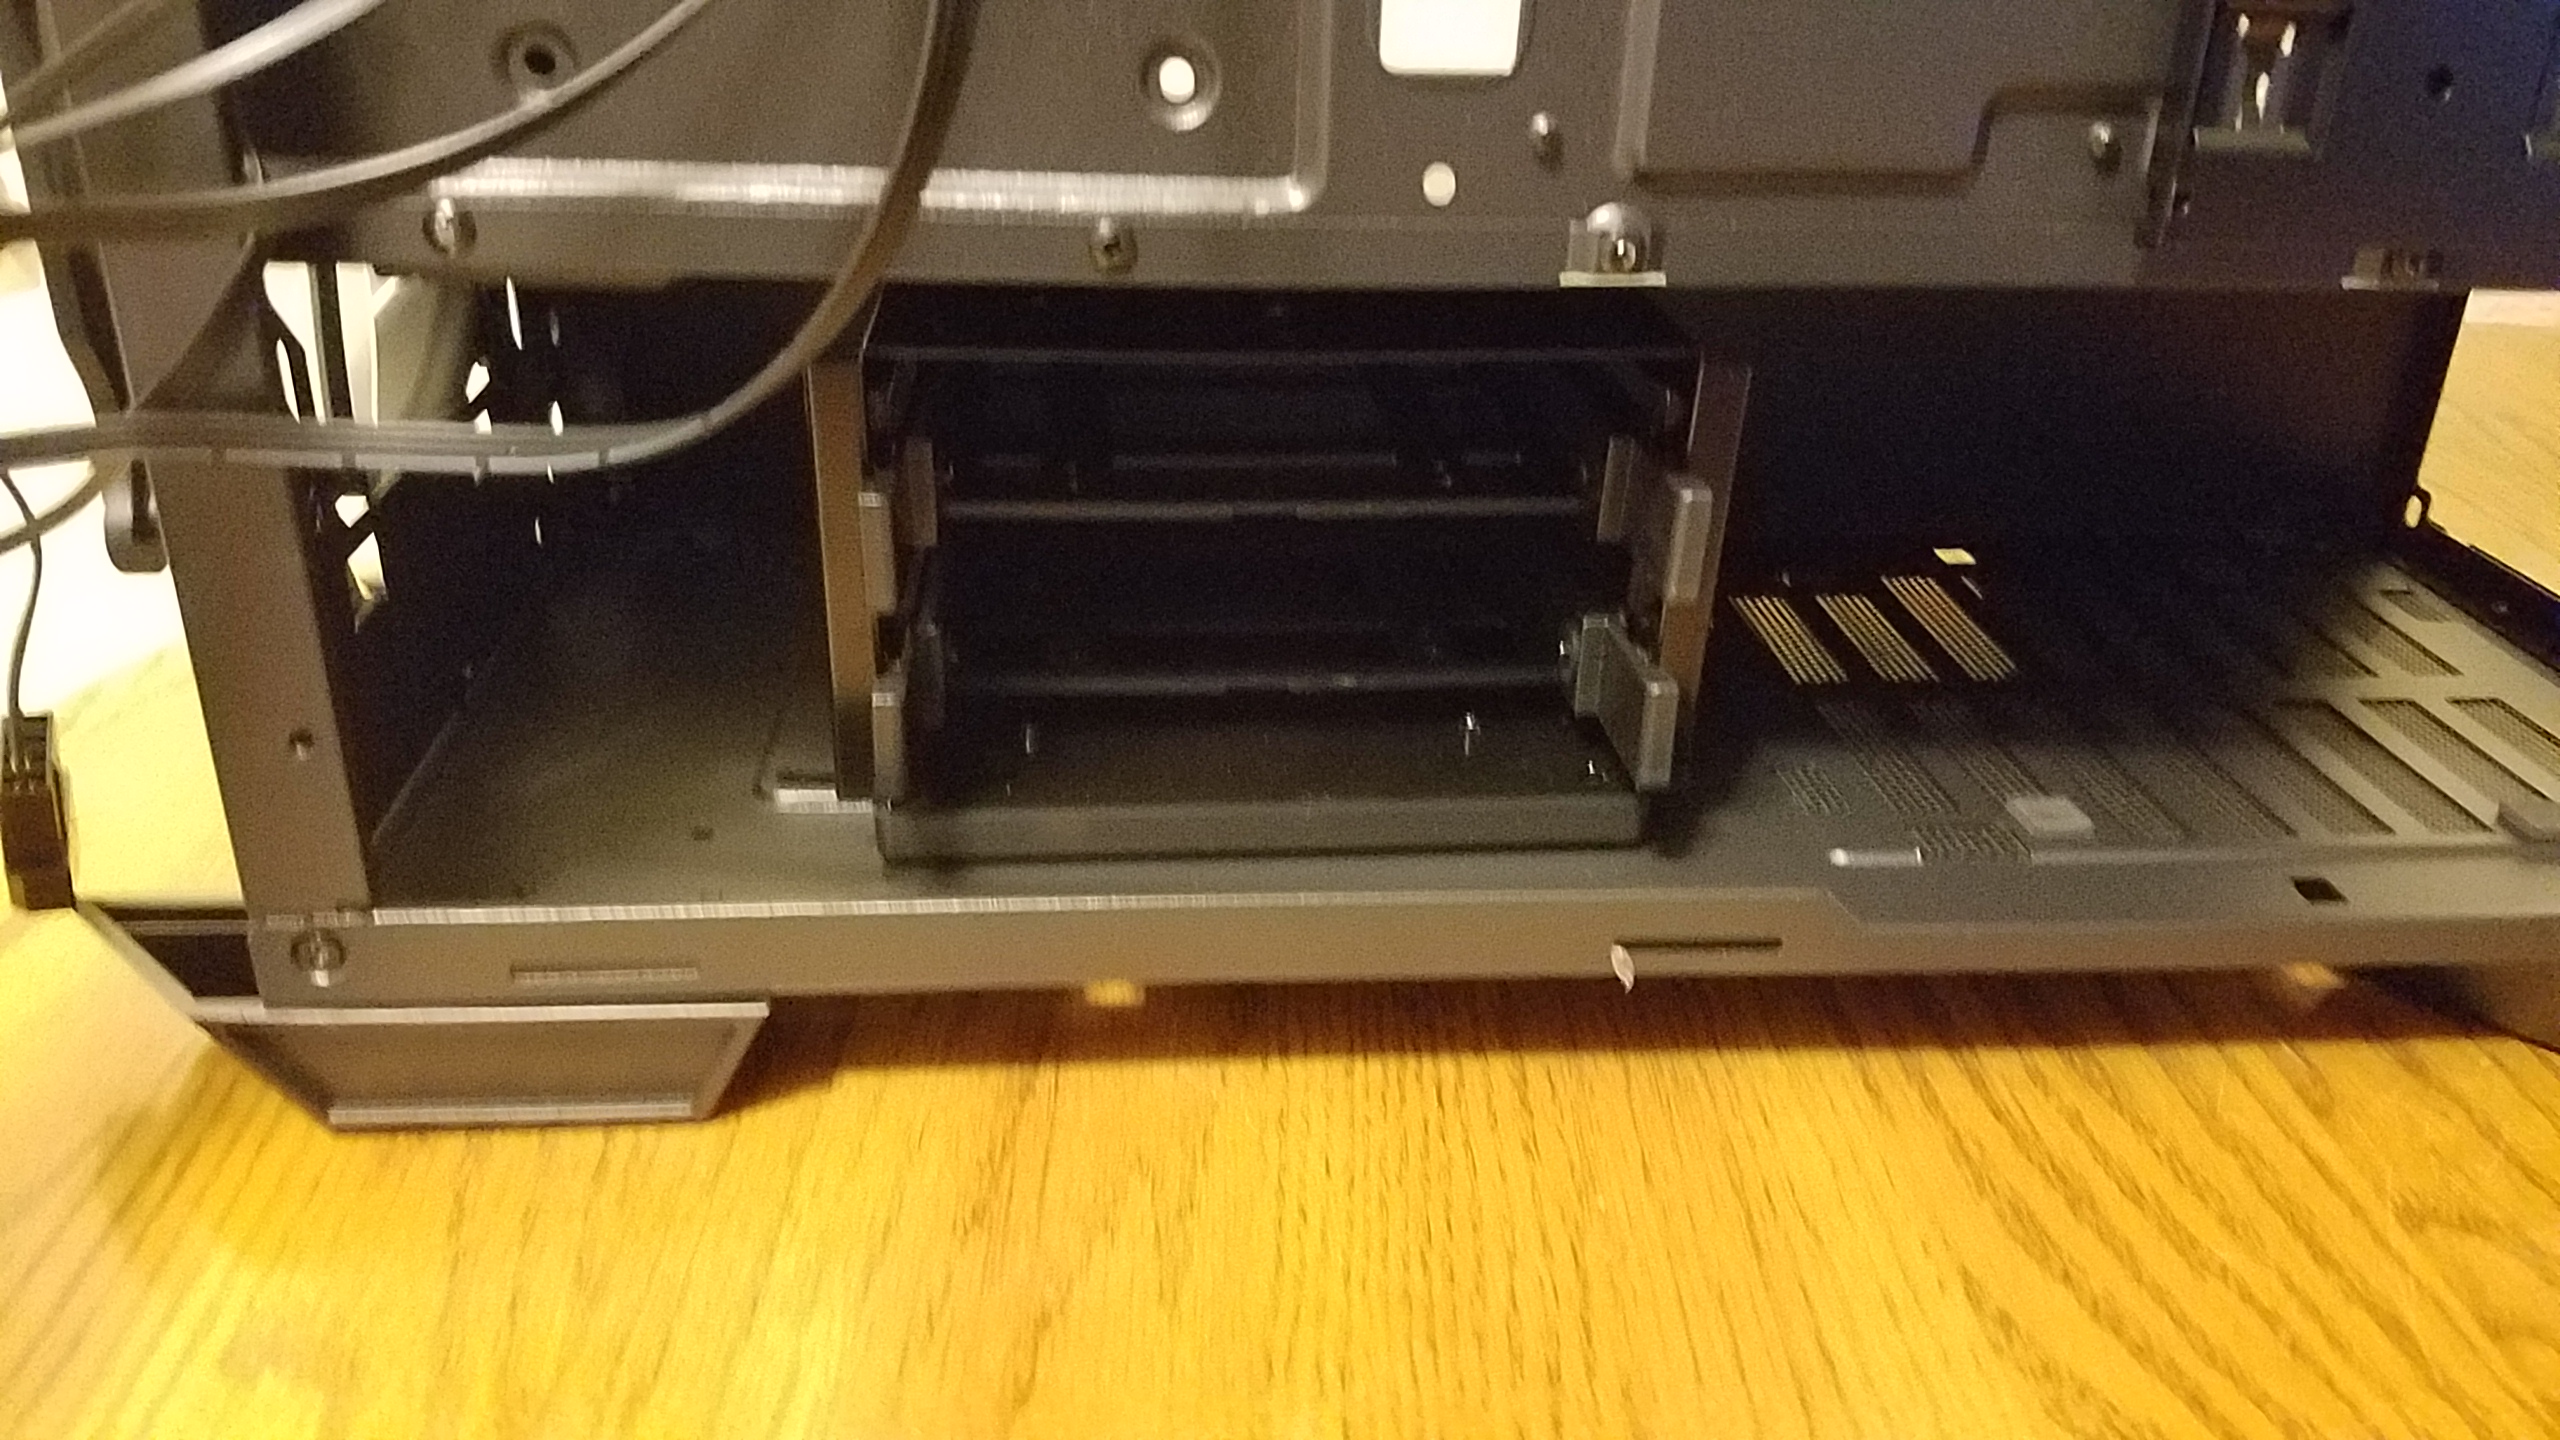
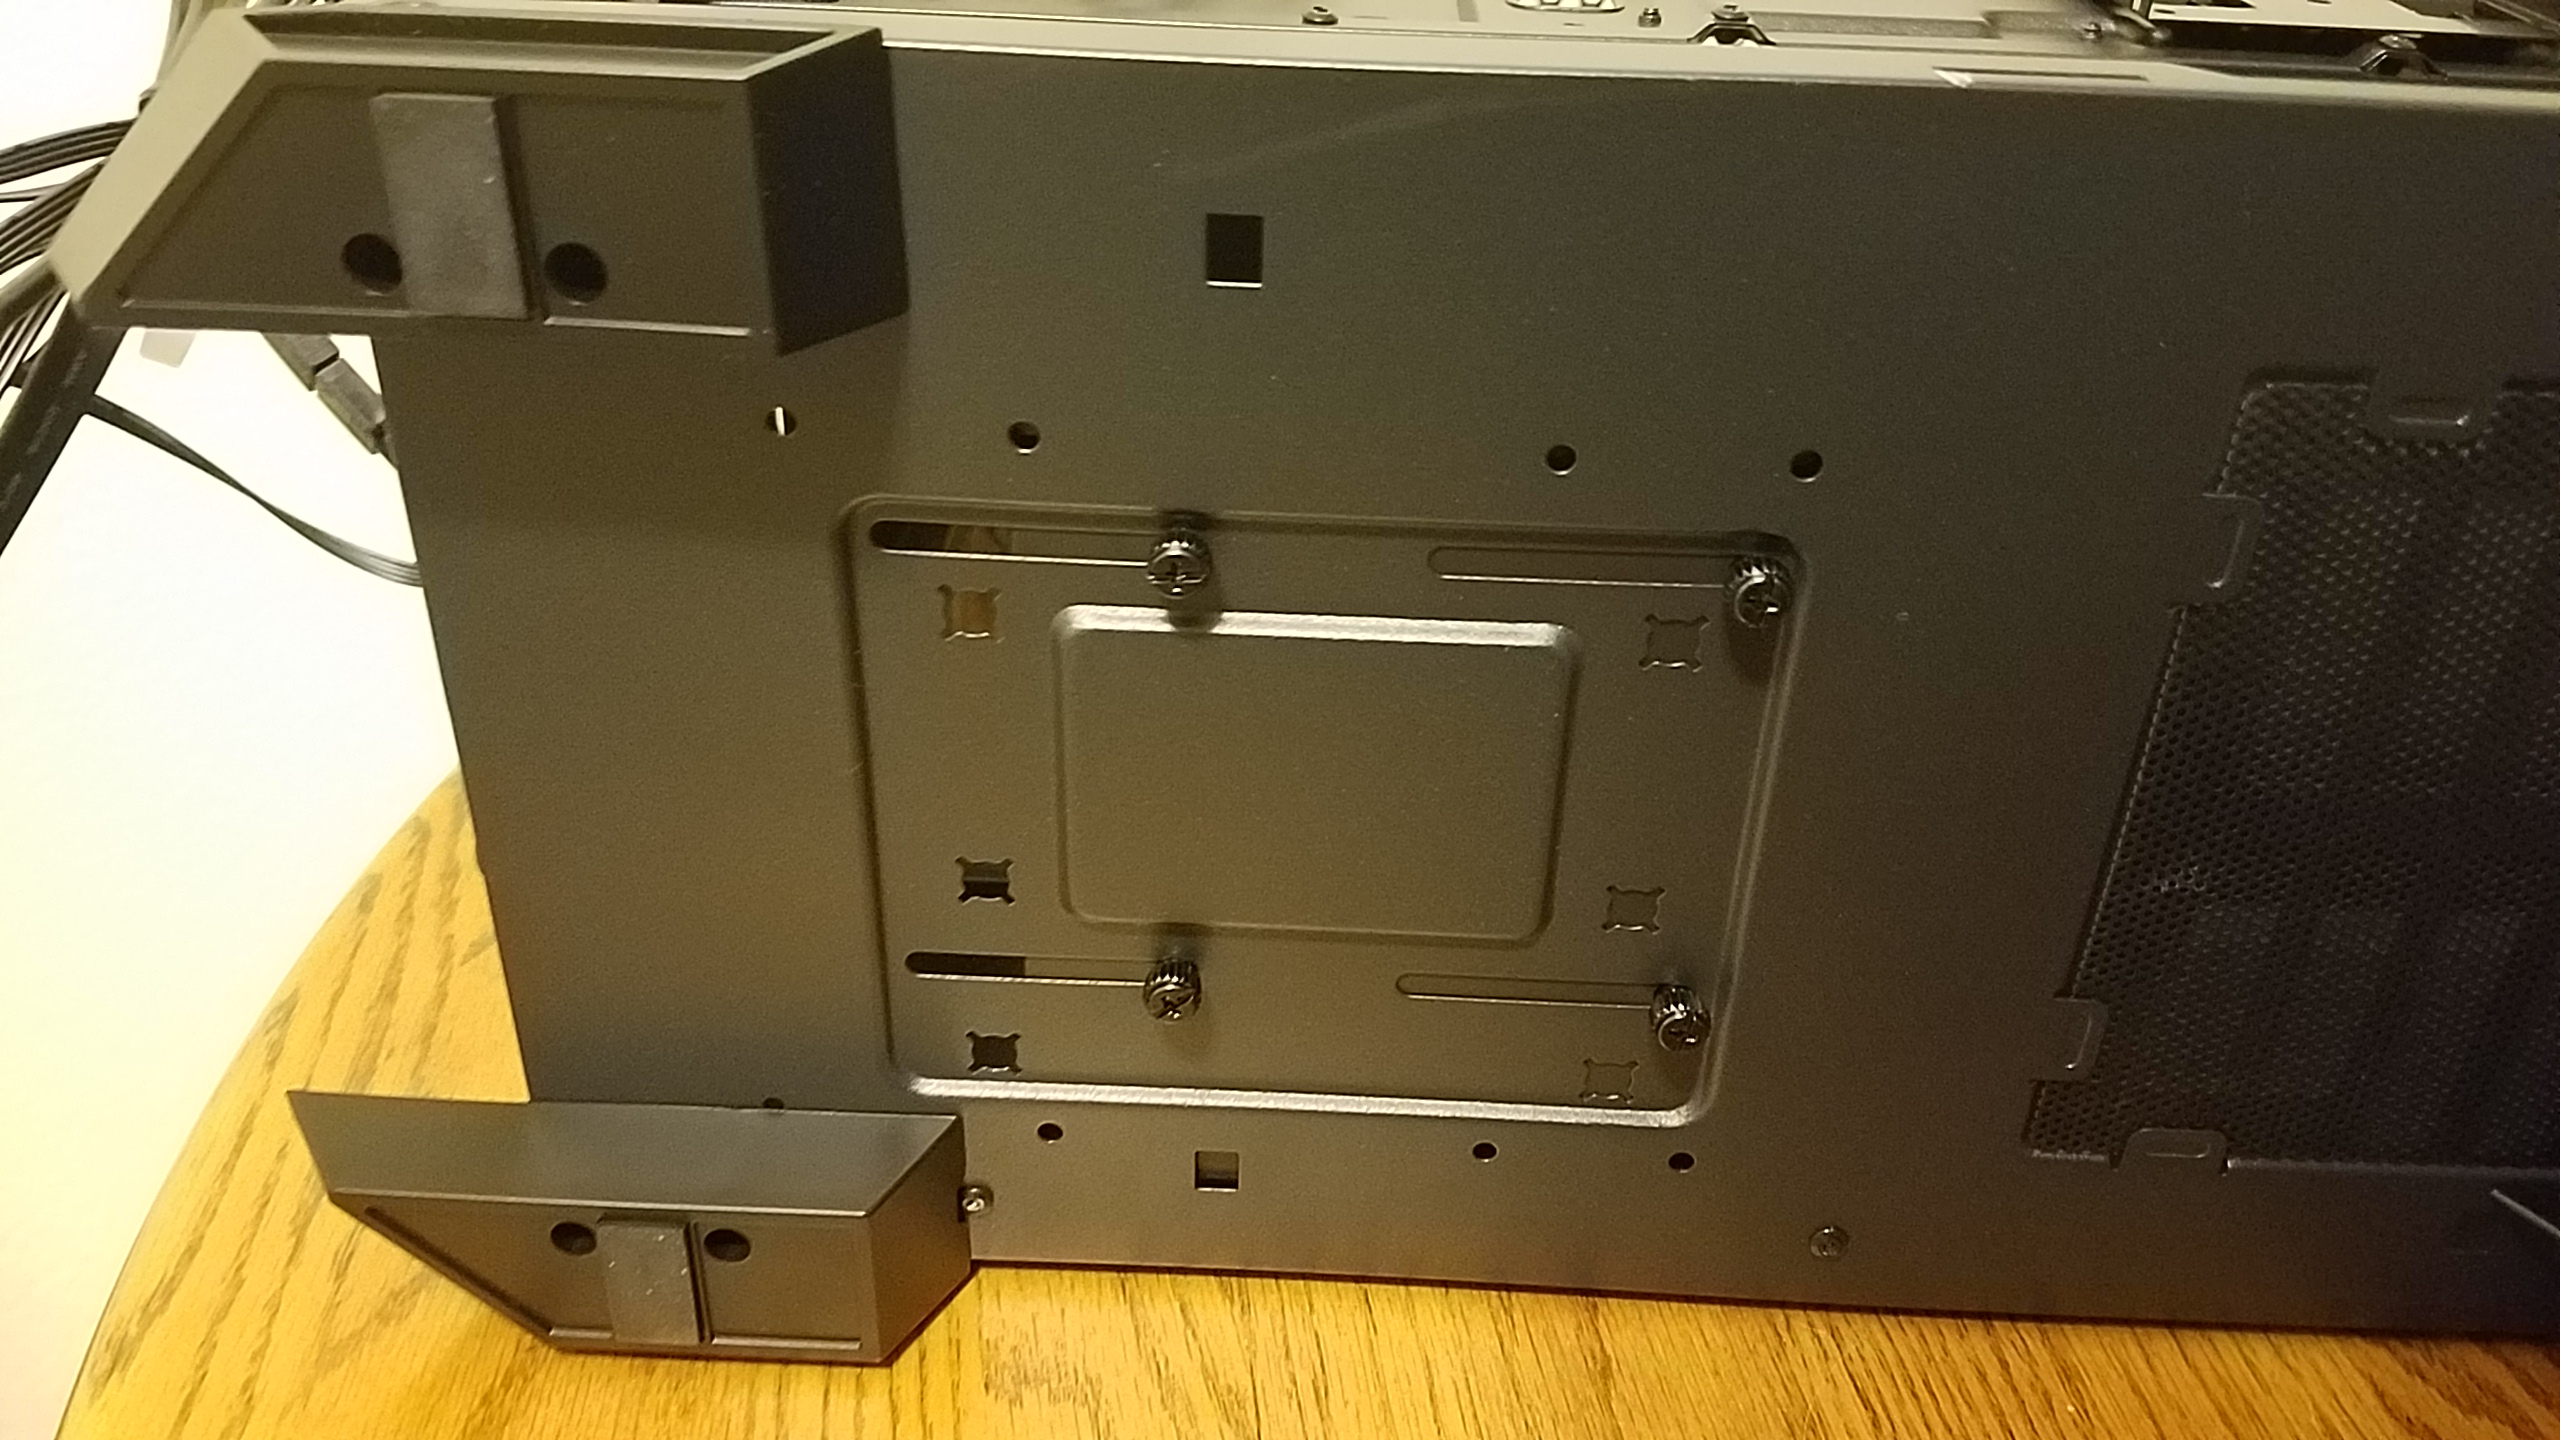
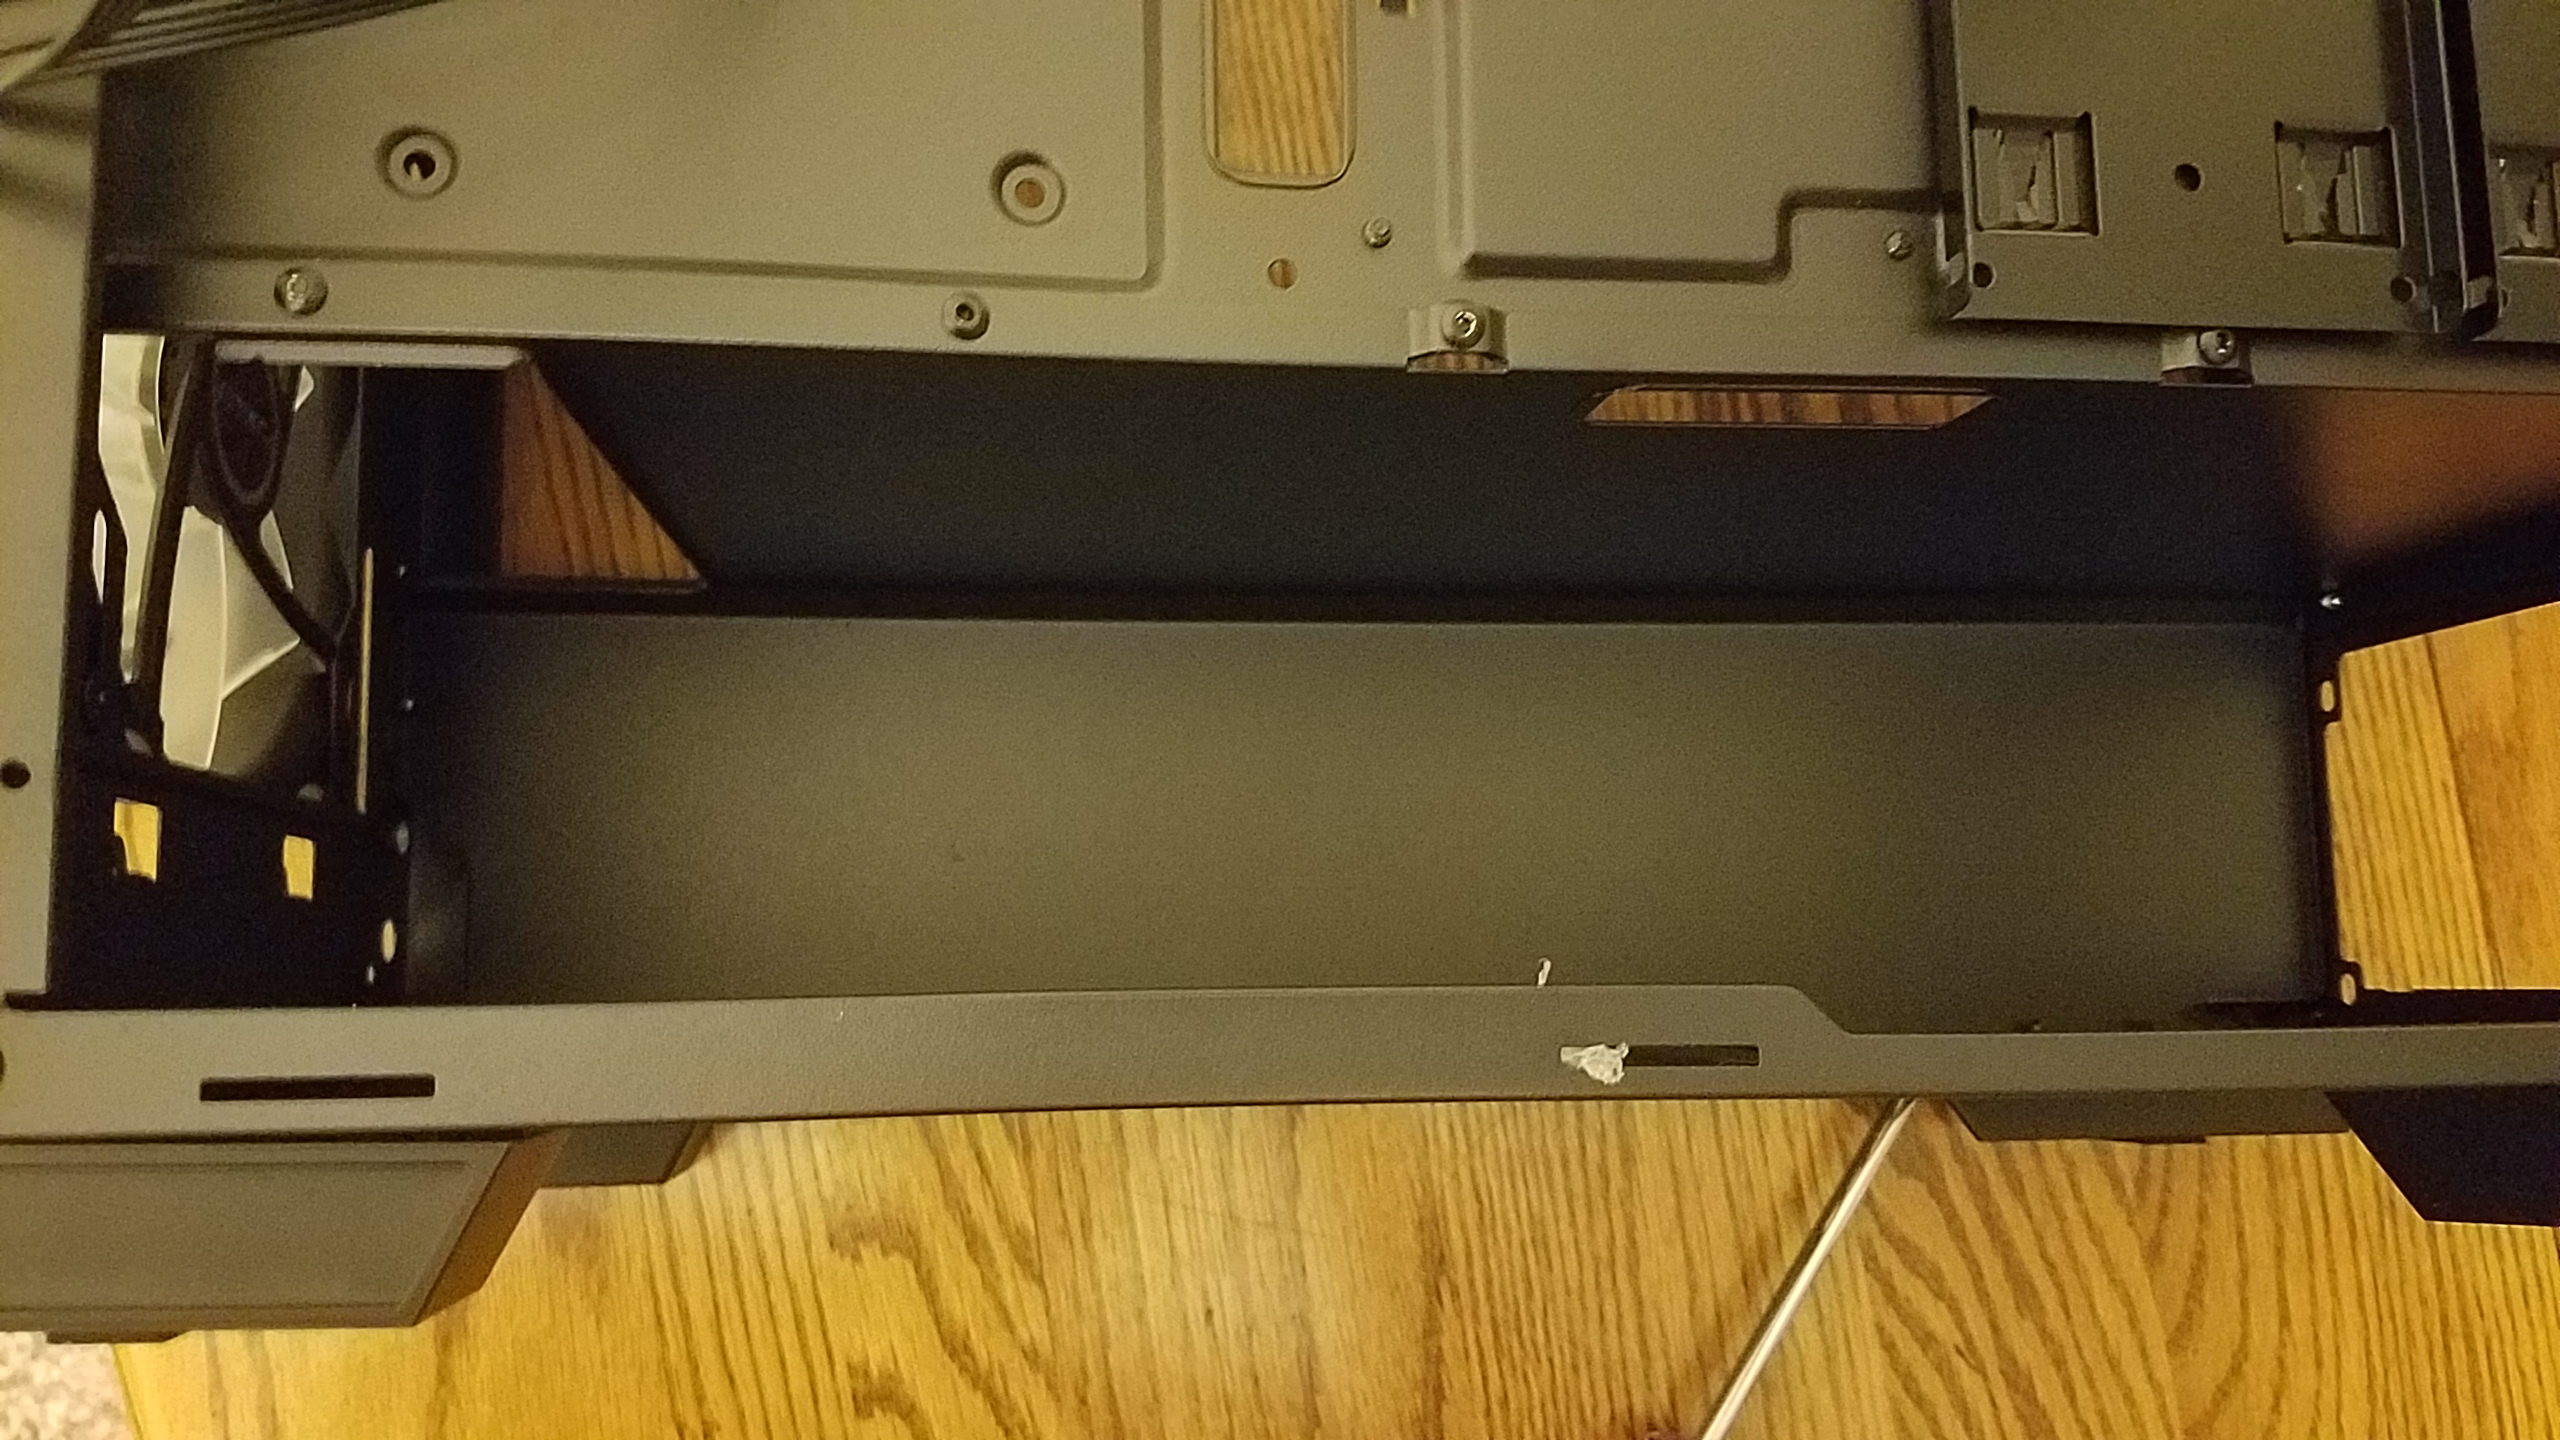
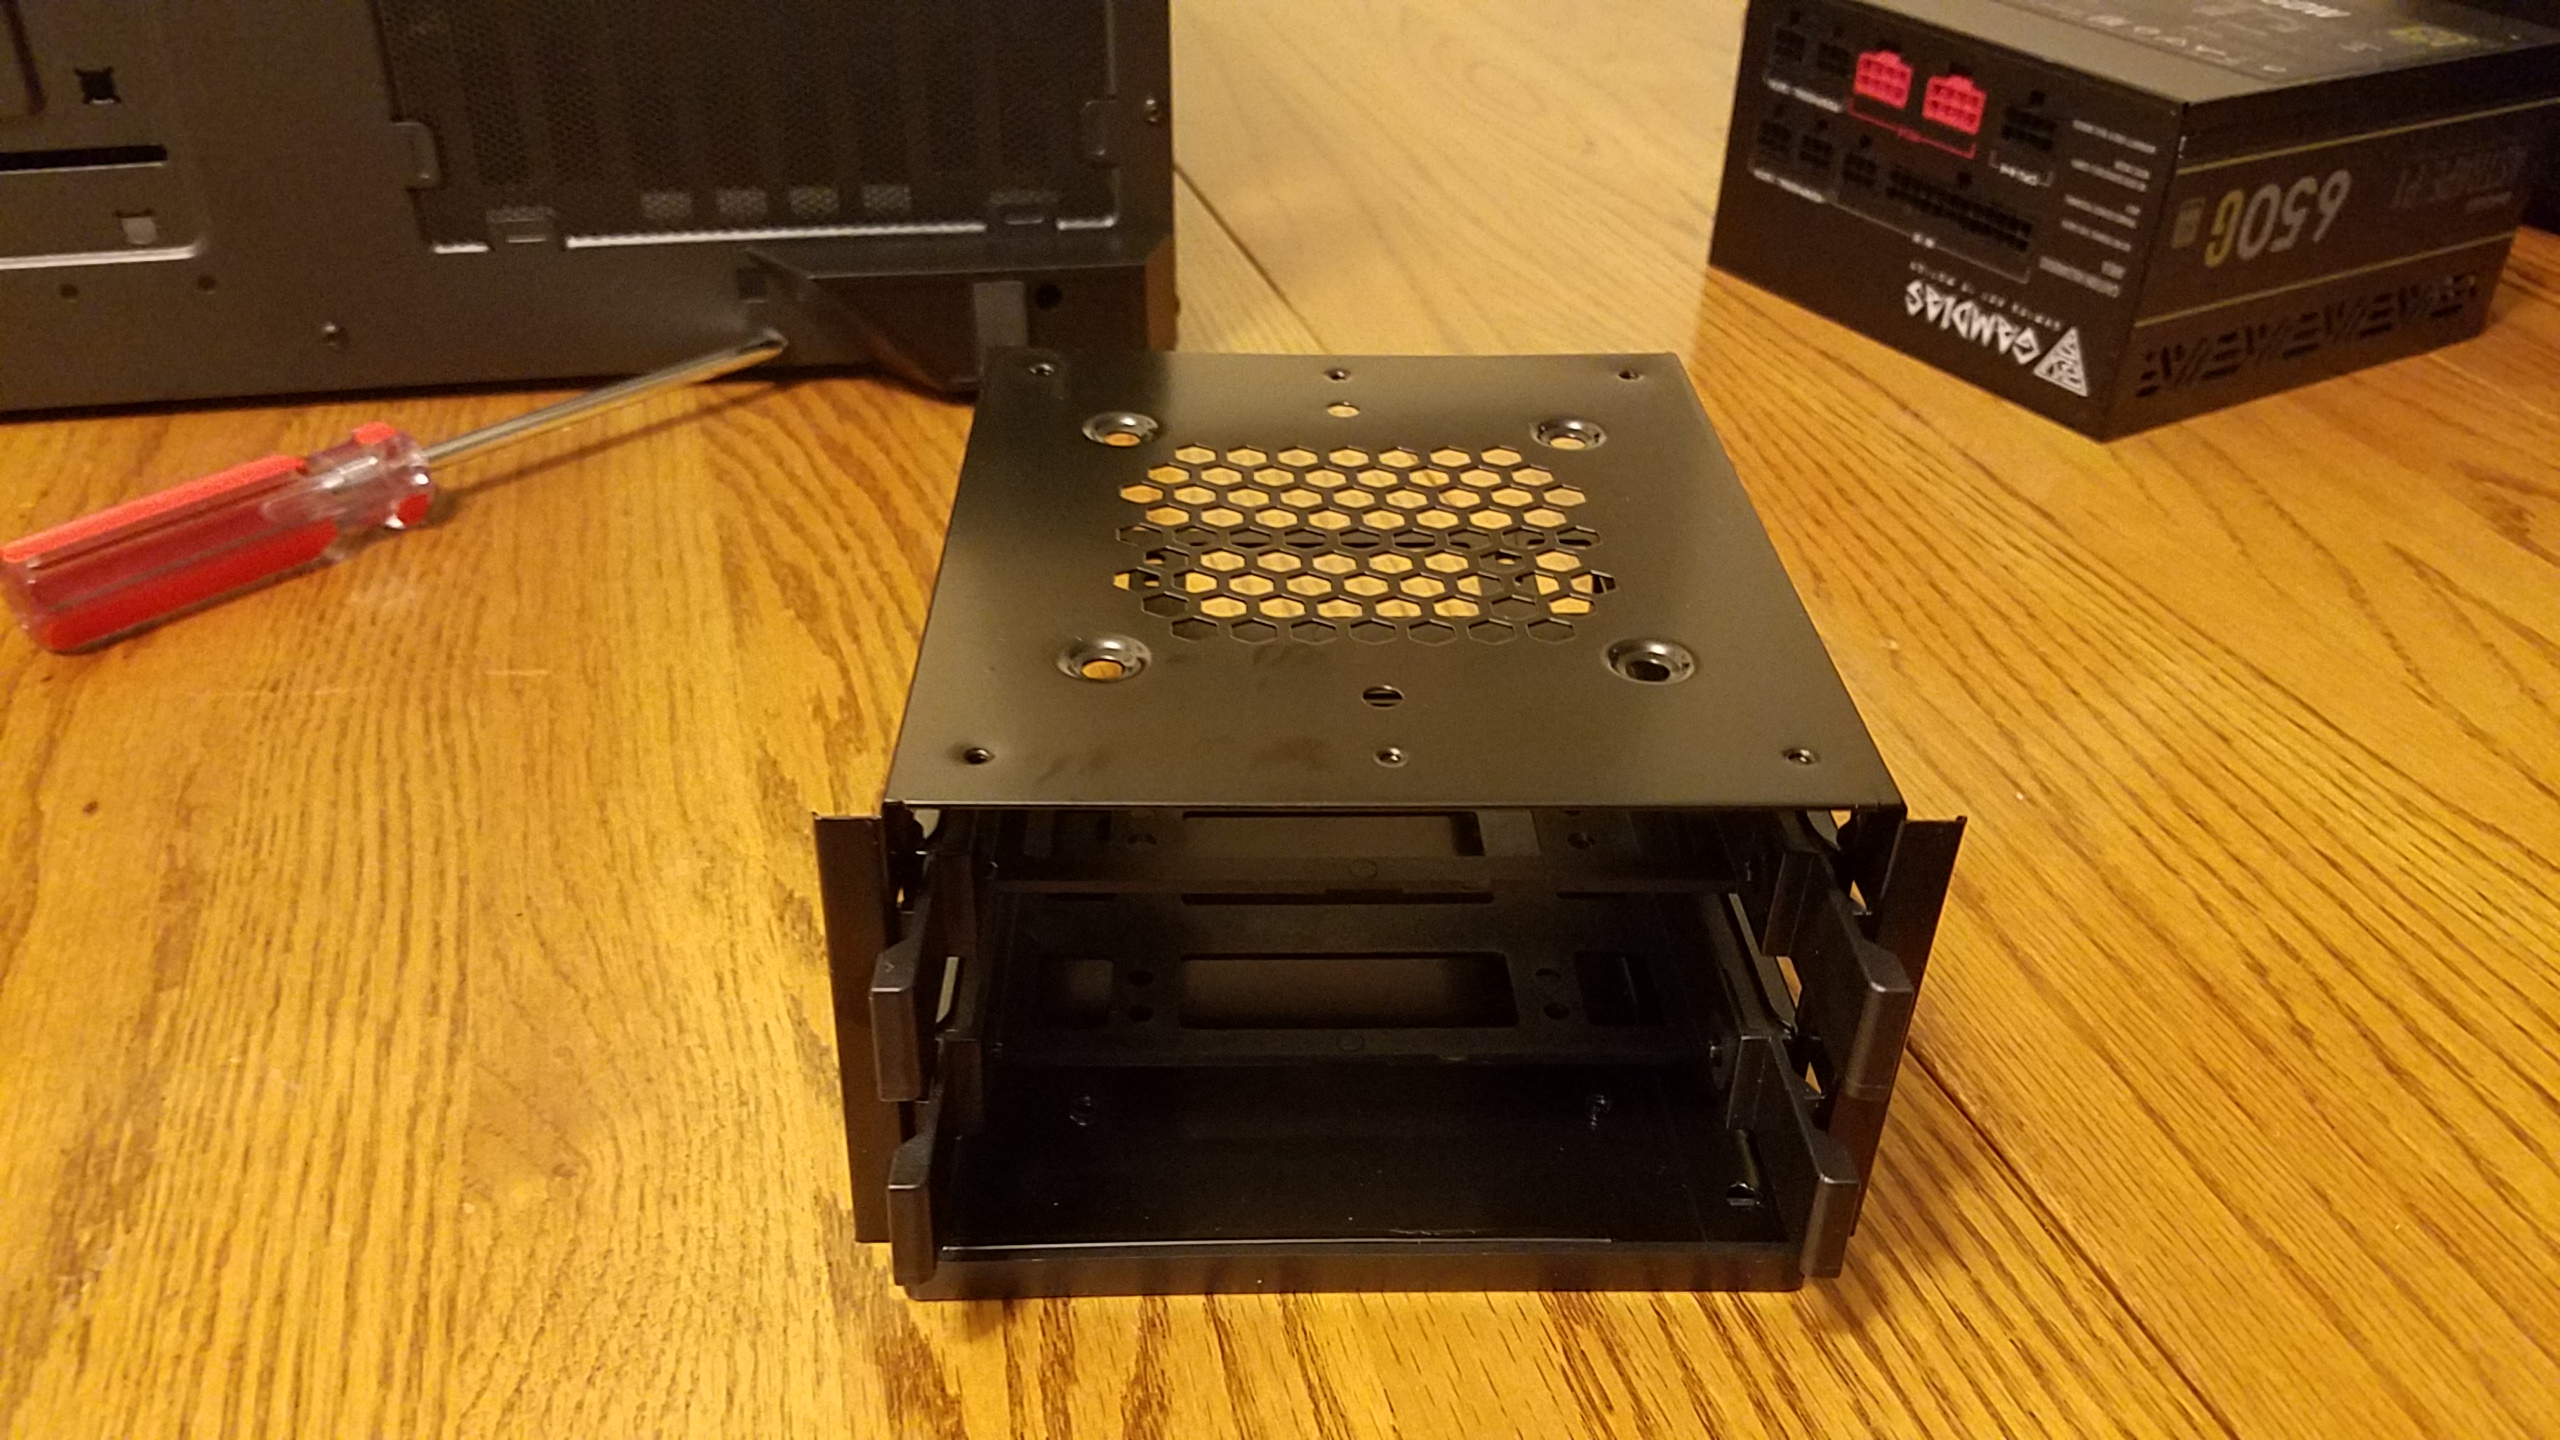
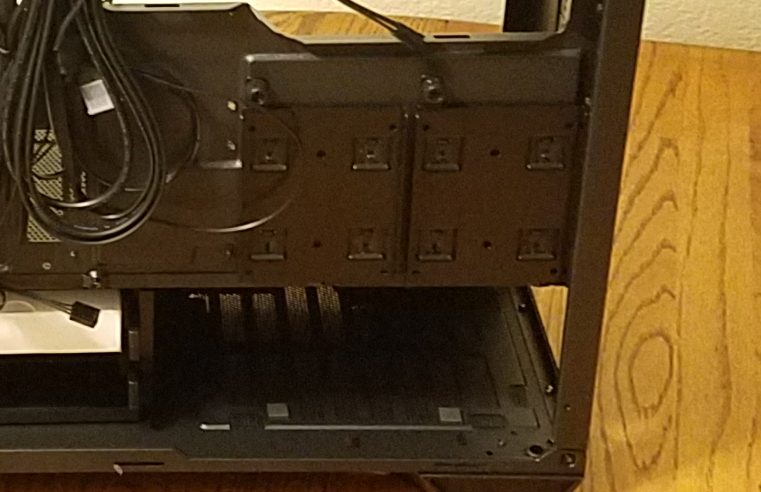
The 3.5in drive bays can be completely removed if you aren’t using a mechanical hard drive using the 4 screws shown above. Once the drive bay is removed you have nearly the entire PSU shroud to use for cable management which is quite impressive! But I do use a 1TB HDD lets reinstall the drive bays and continue.

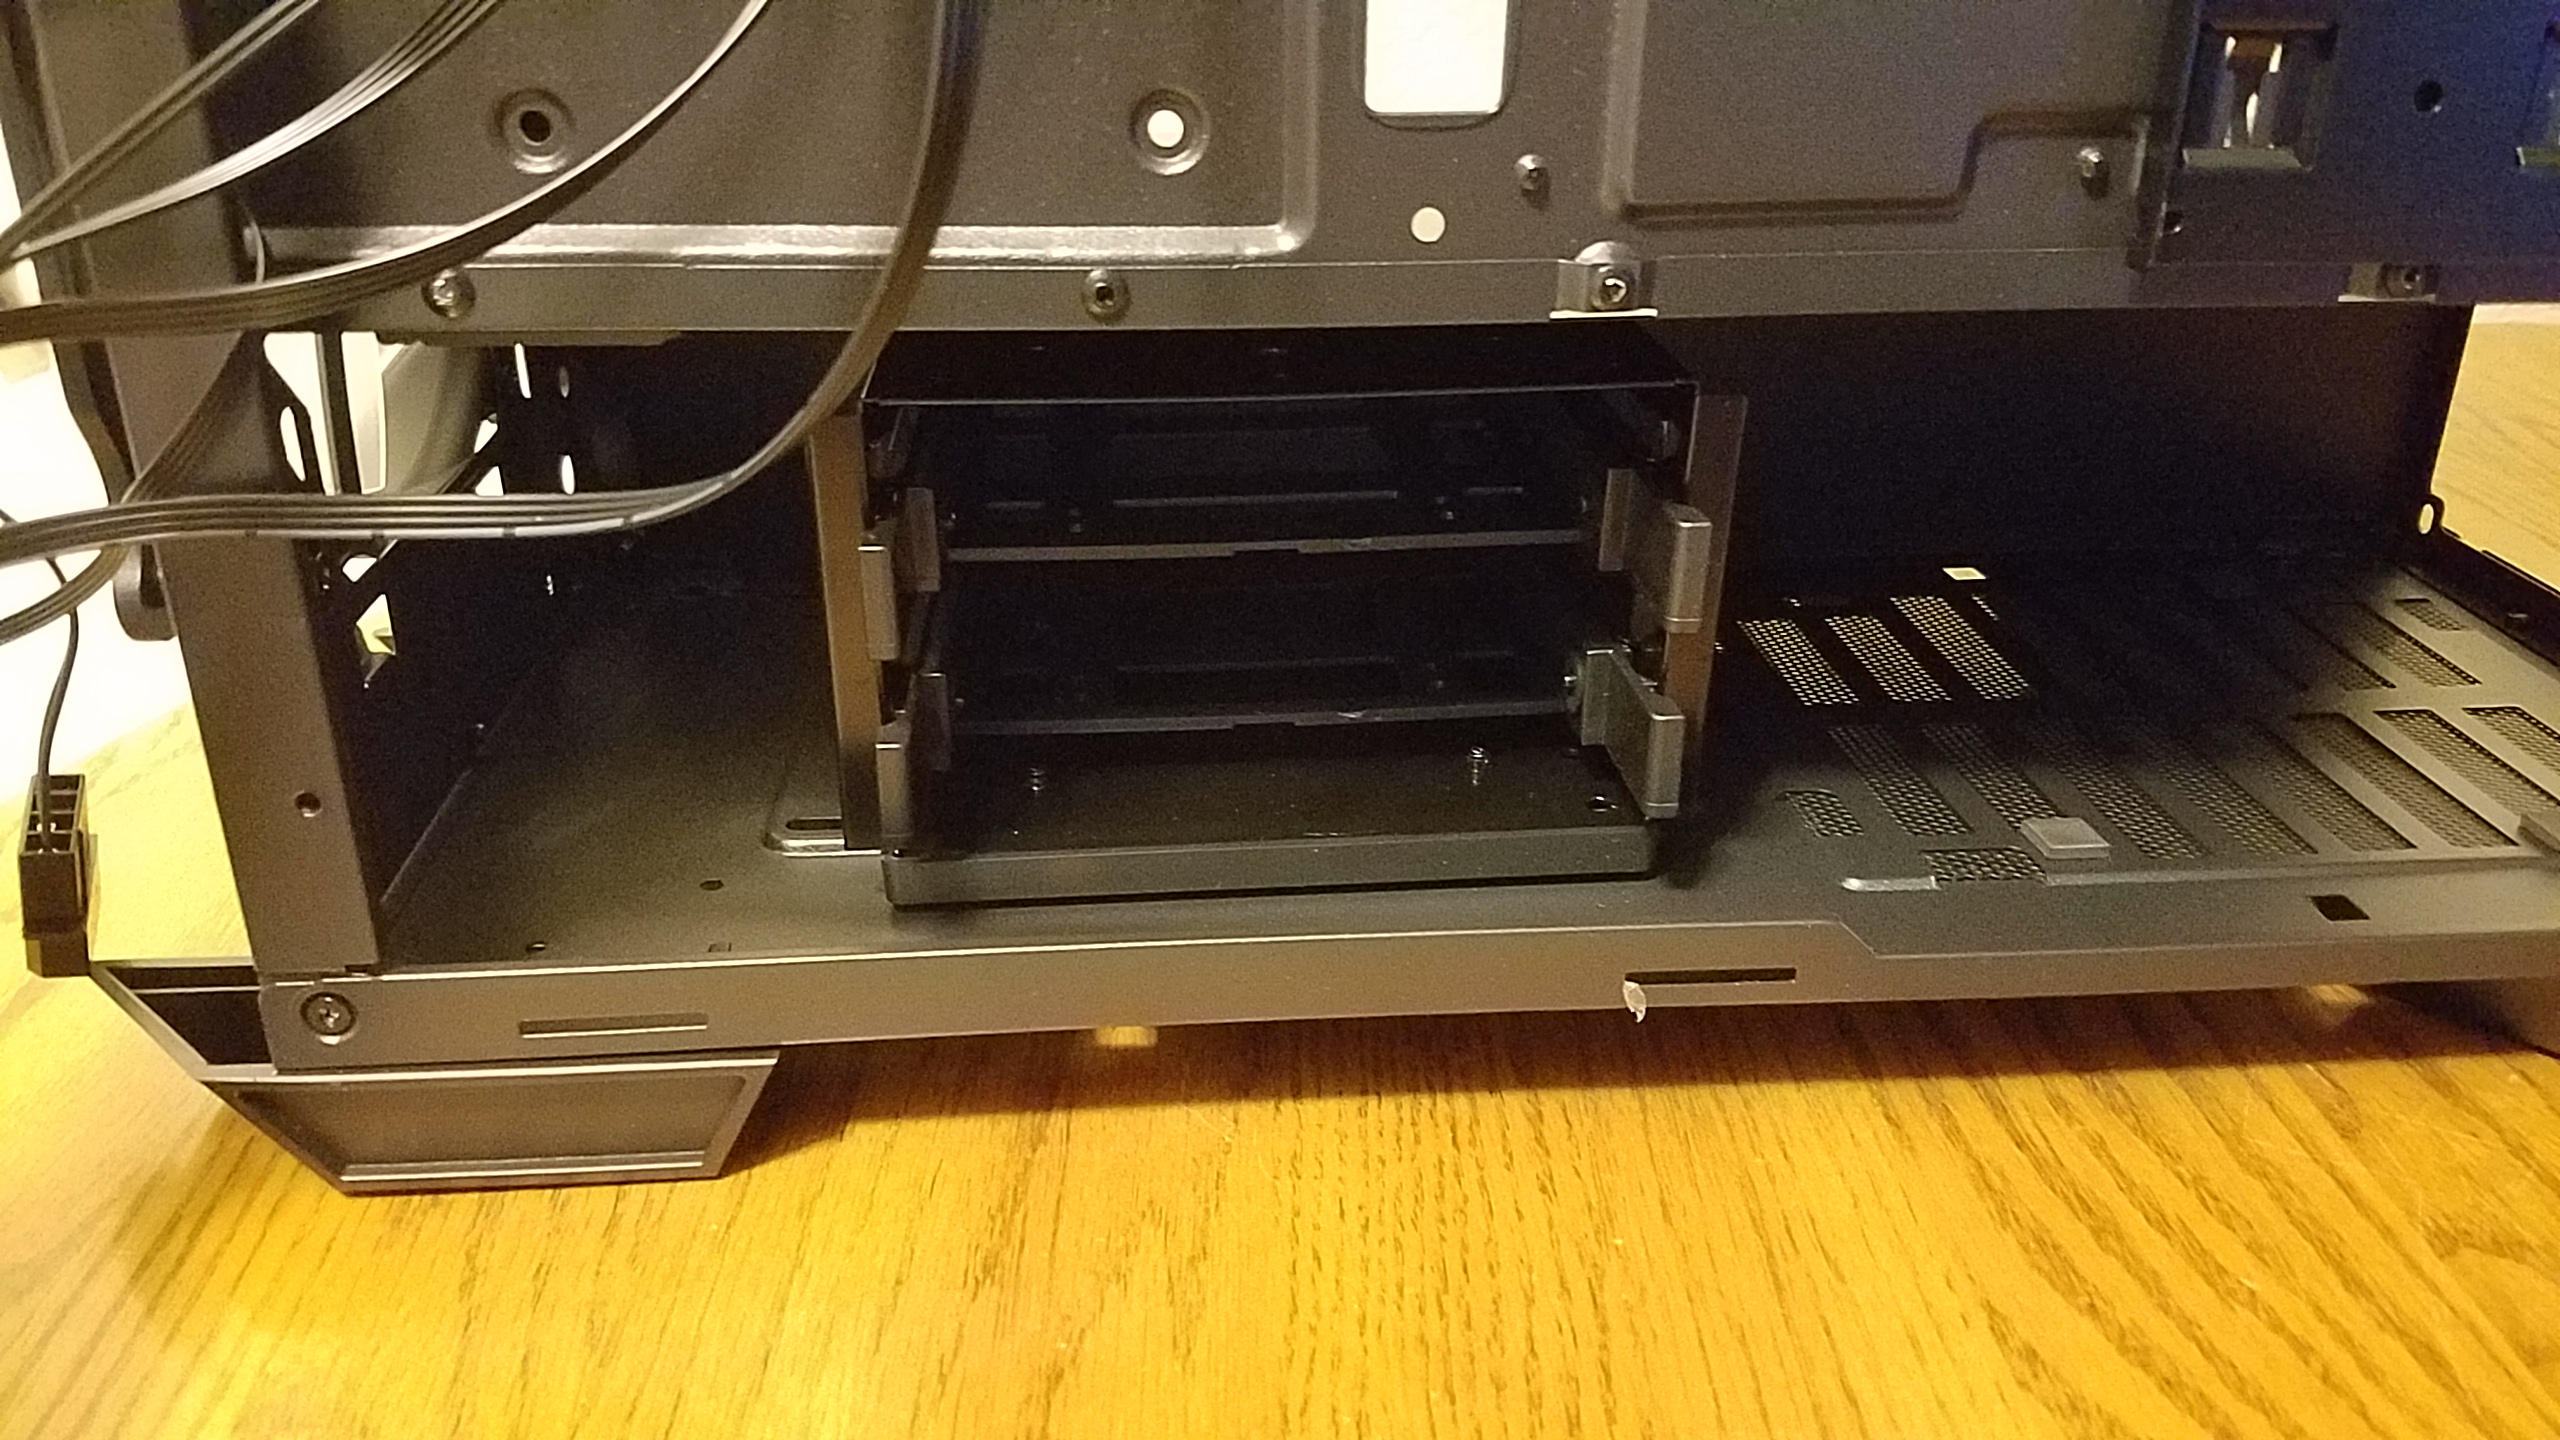
If you’re like me and still have an HDD you’ll need to leave the drive bay installed but luckily Antec gives you a bit of choice here too. Allowing you to loosen the same screws and slide the drive bay a few inches in either direction, this is helpful because if you need extra room for a radiator up front you can move the drives closer to the PSU and further from the front of the case or if you’re like me and need maximum room between the PSU and the drive bay to shove cables into you can move the drive the other direction and closer to the front of the case which is what I did.
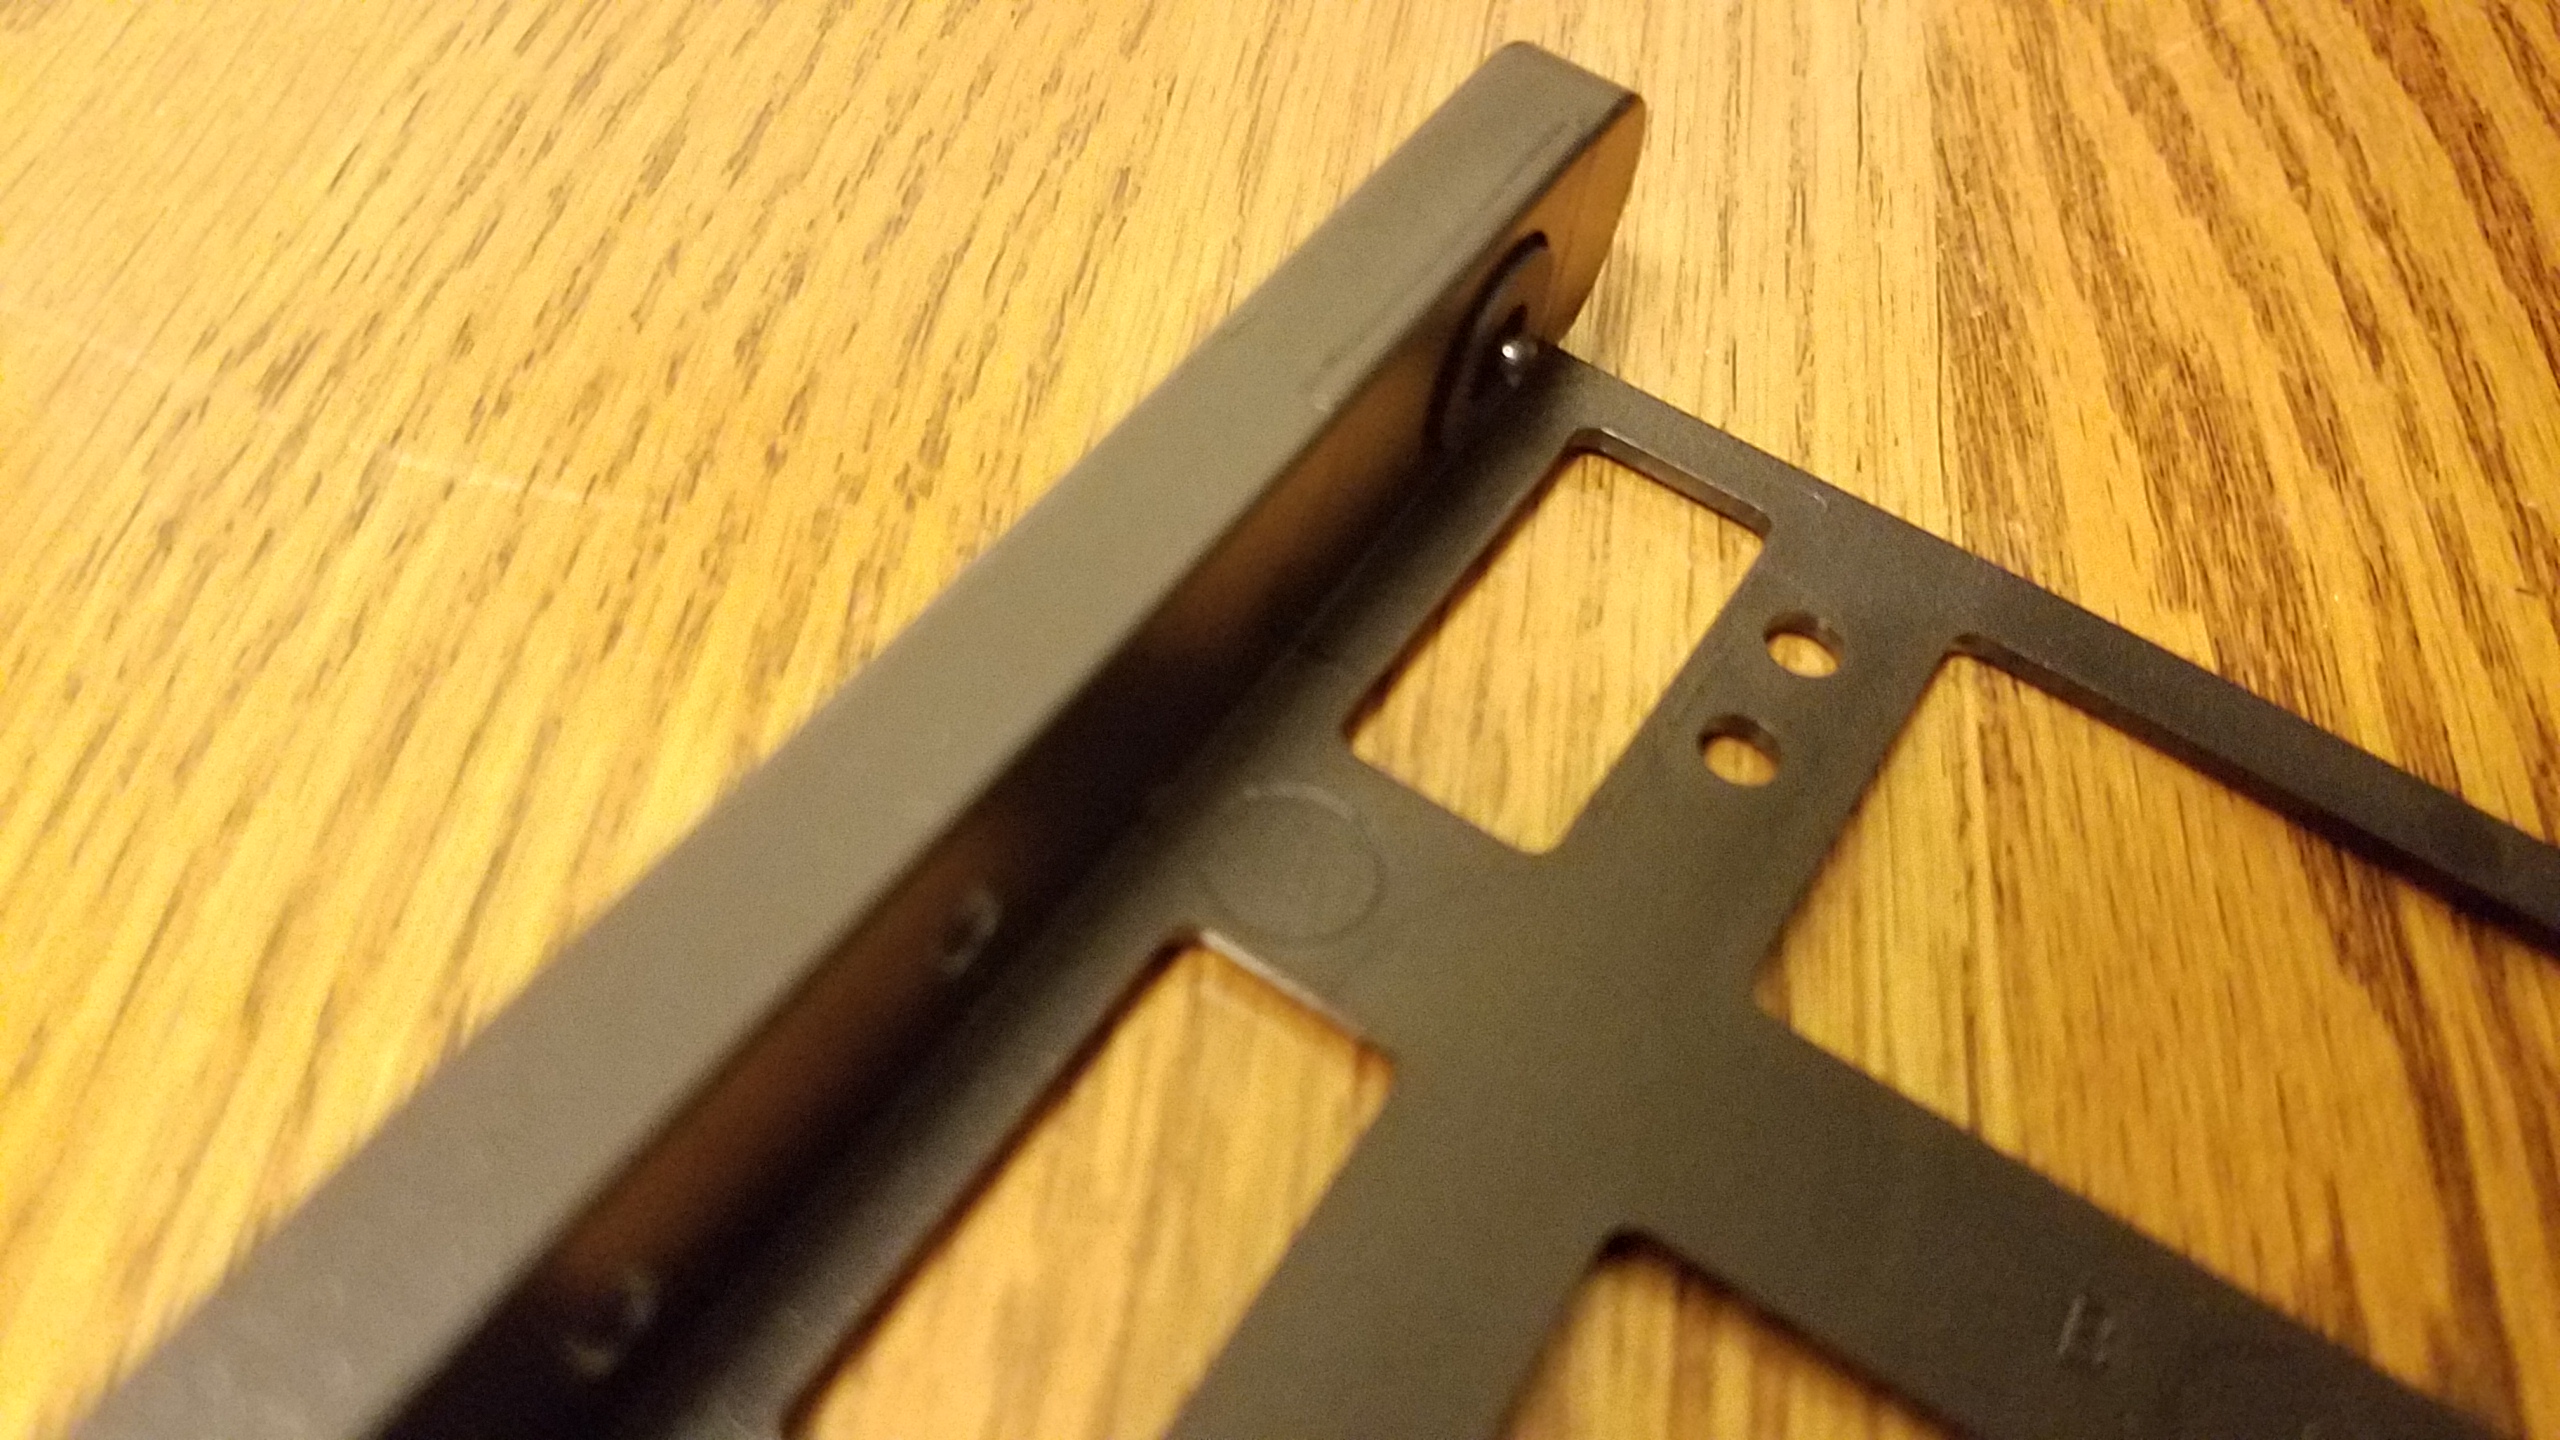
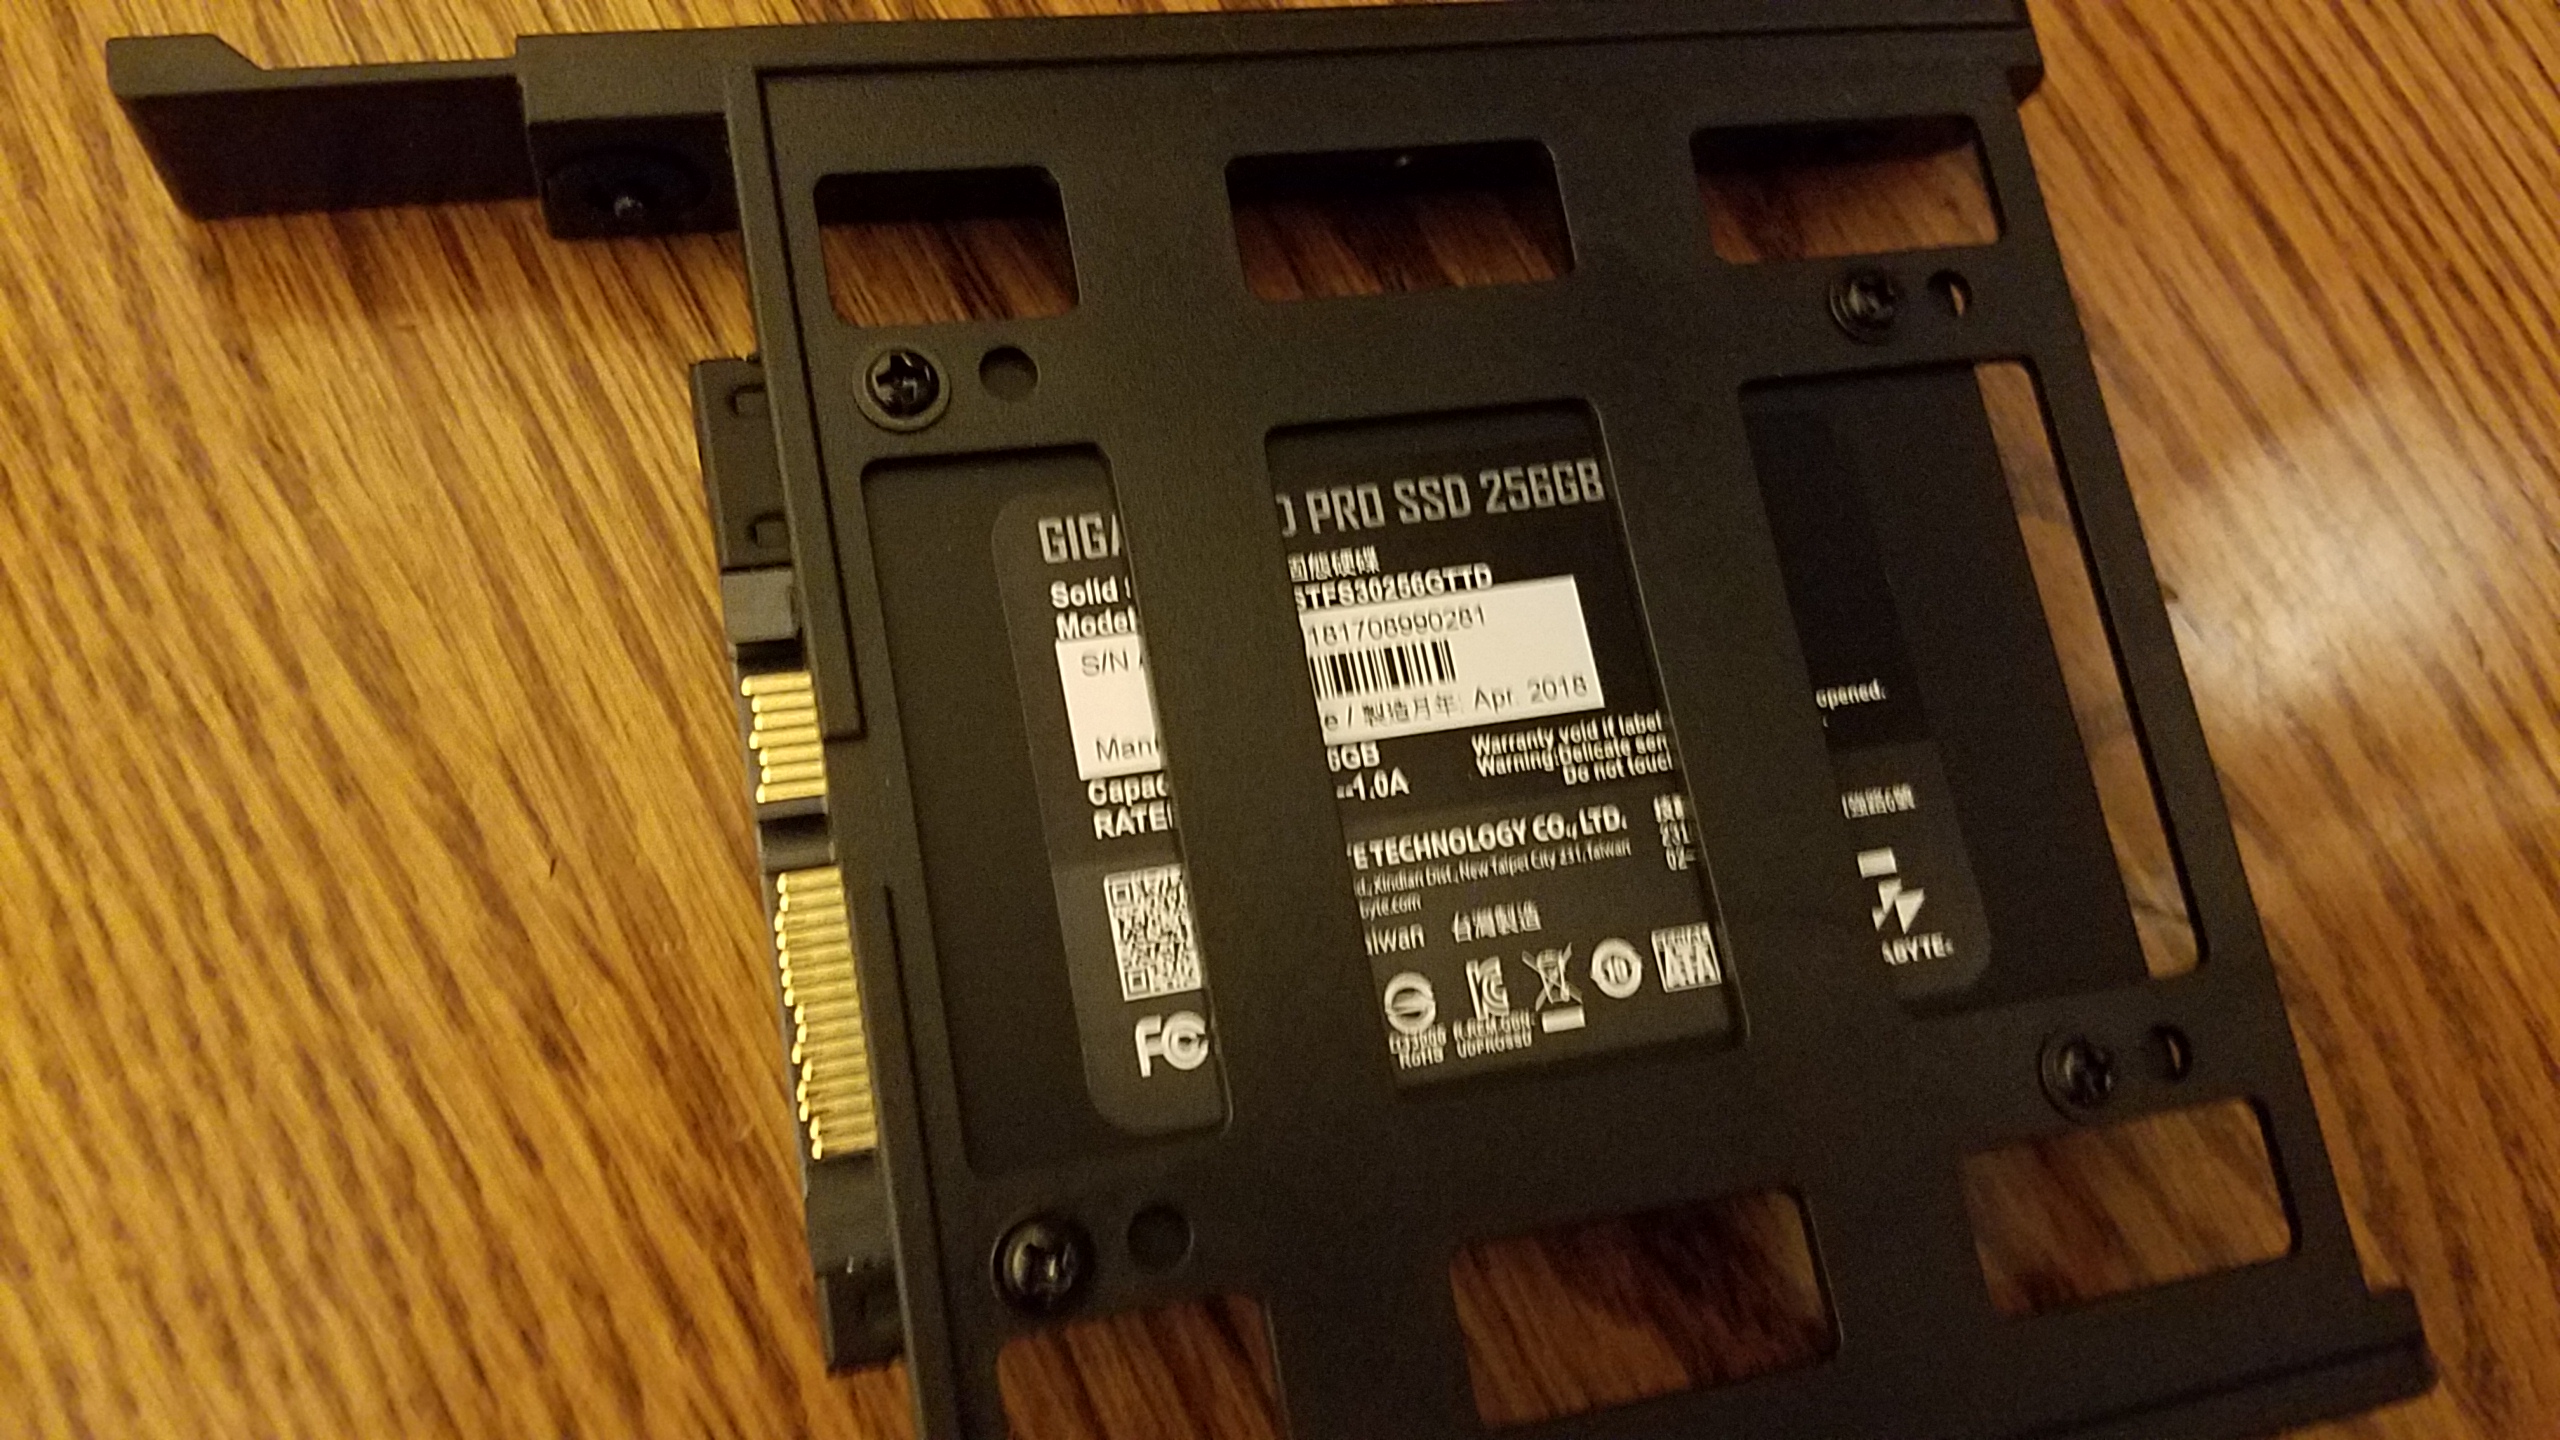
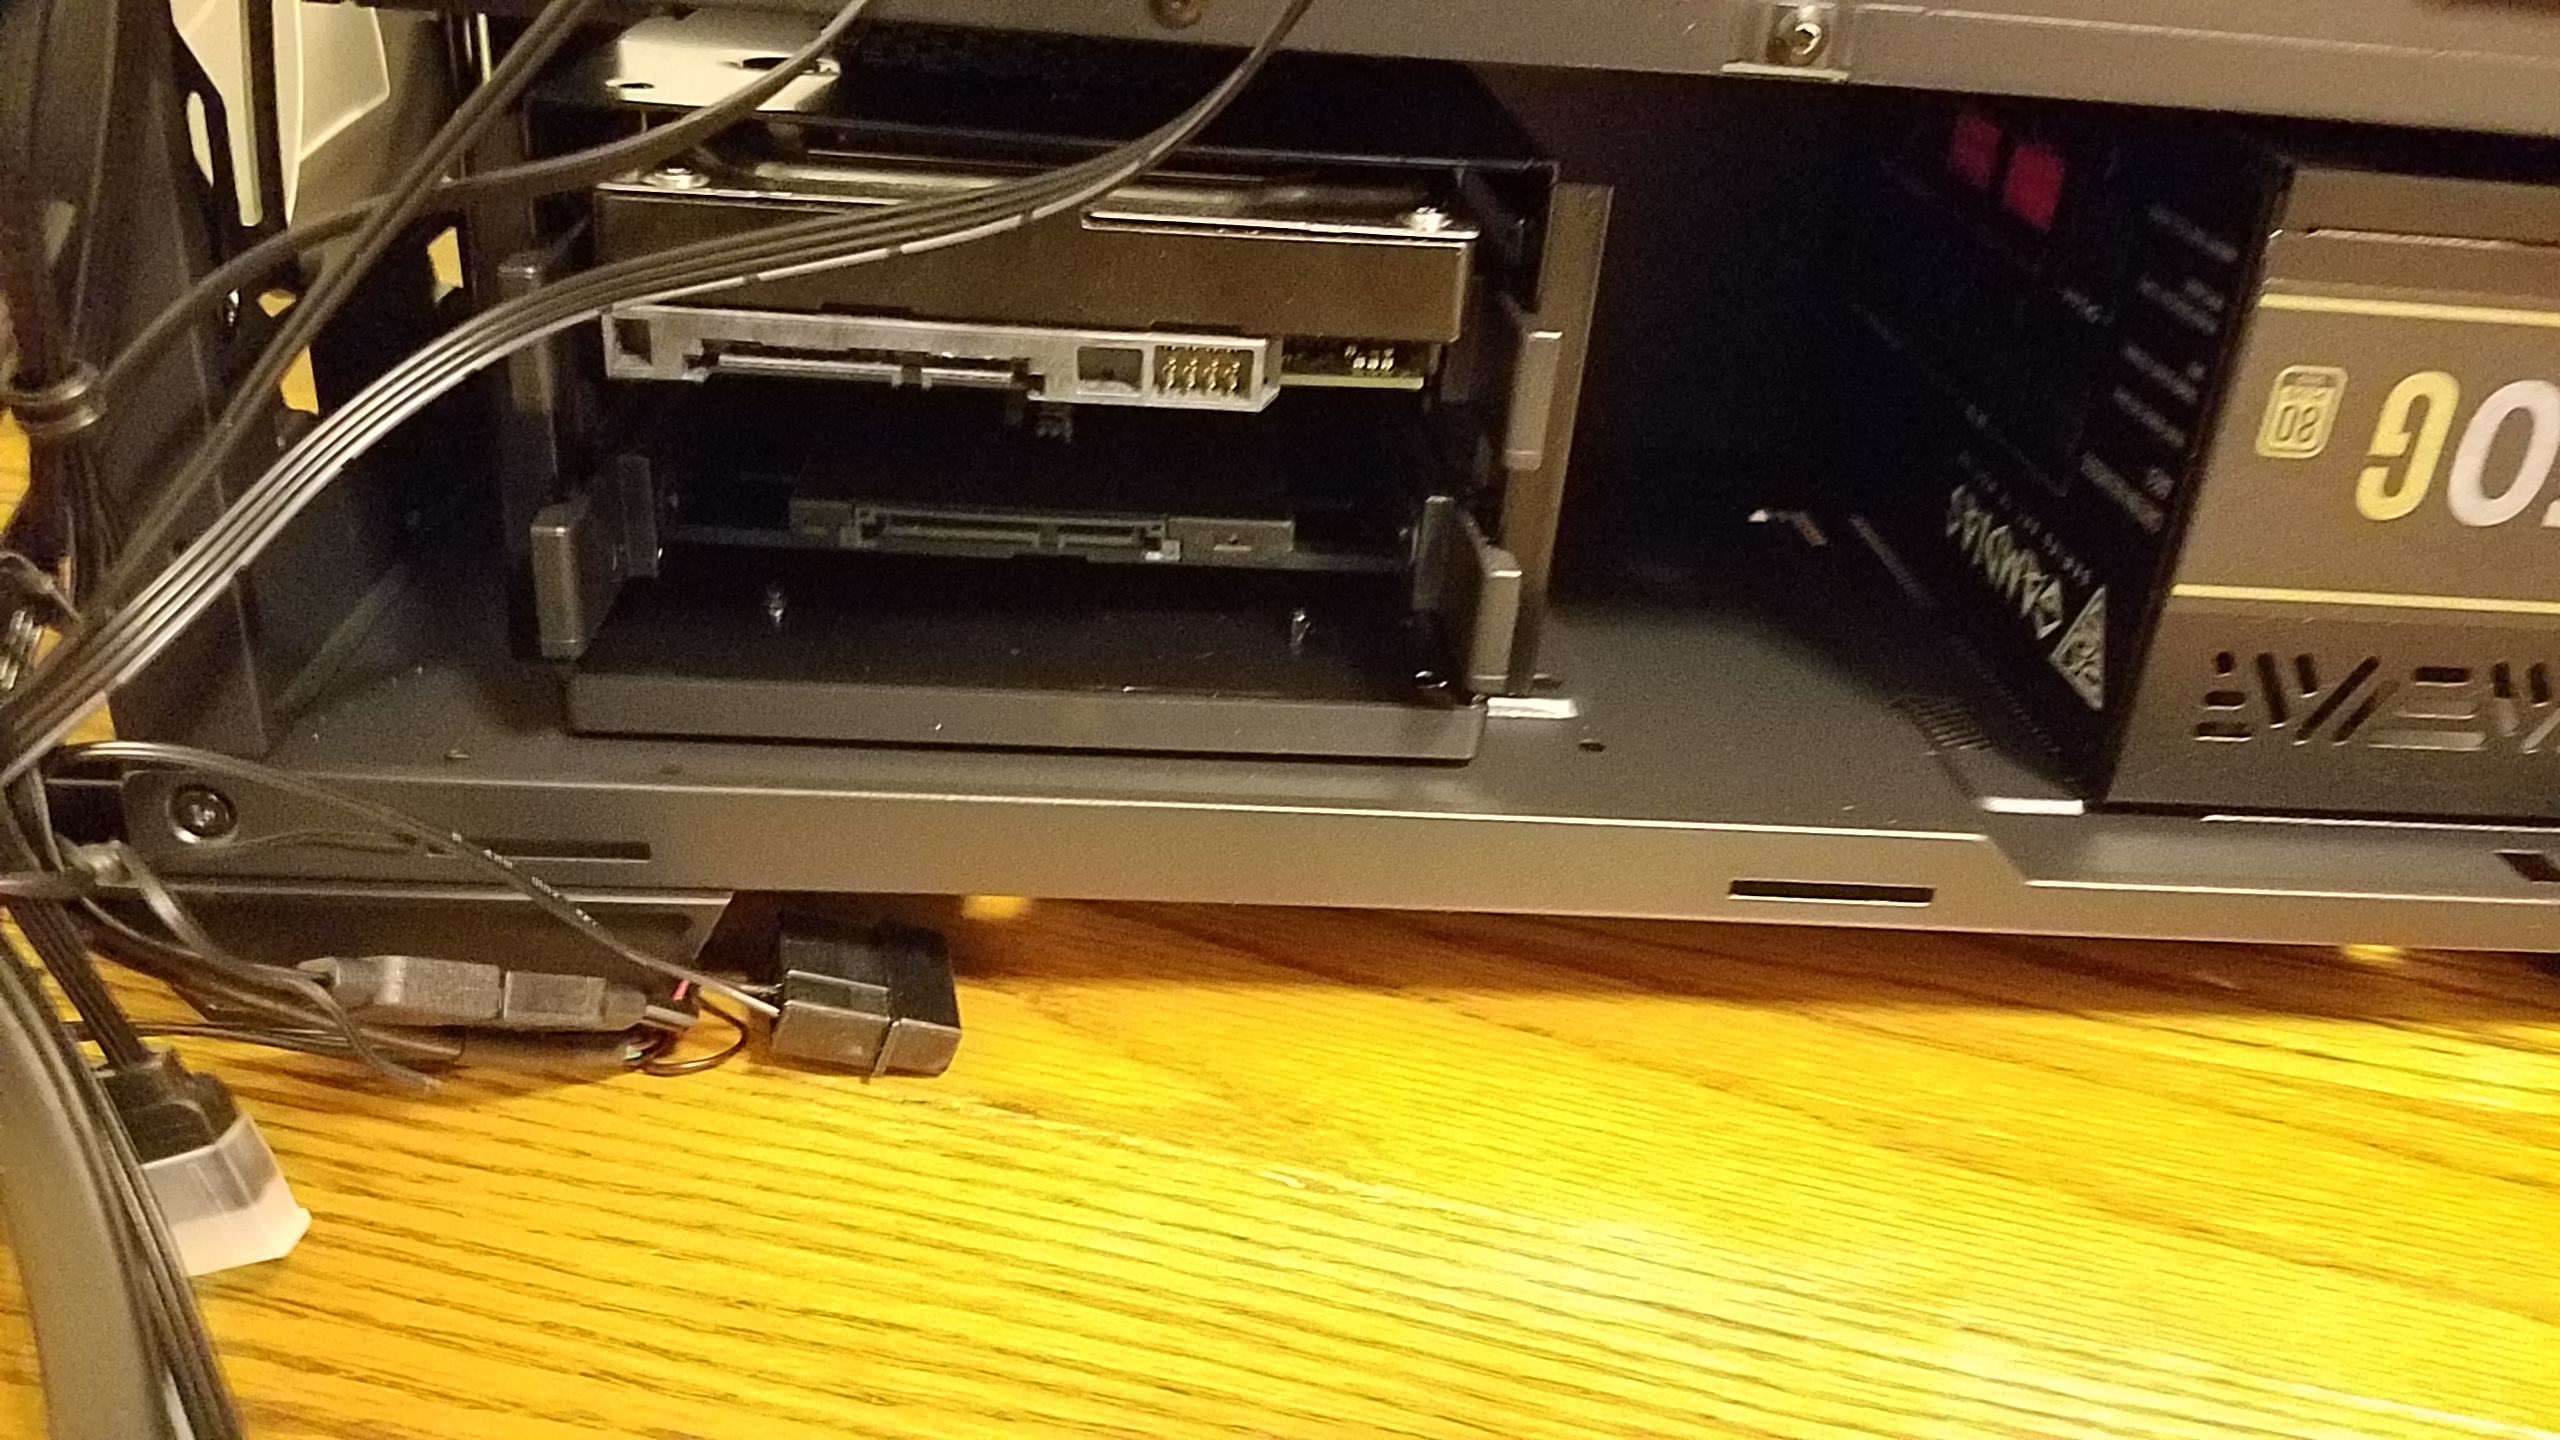
Speaking of drives lets install them now. The 3.5-inch drive bays have a toolless install if you’re using a 3.5-inch drive, all you do is fold the sides of the mounting bracket out and insert them into the screw holes on your hard drive. You can also mount an SSD onto the same bracket using 4 screws shown above, the DF500 comes with specific SSD brackets shown in the 3rd picture which are also easy to install requiring just a few screws. Due to my SATA cable limits, I have to keep both of my drives close together so I’ll be mounting both my HDD and SSD in the same drive bay.

The DF500 comes with 3 pre-installed RGB fans but I decided to complete the look by adding 4 of my own RGB fans to the case.

I installed my 240mm AIO using the included stock fans which went the same as any other case. I did run into a slight issue with the screw hole area on the included fans hitting each other but this was easily fixed by clipping off the edge of the fan mounting area and there was enough extra material that I could do this without cutting into the actual screw hole so it really isn’t a huge issue and more than likely you’ll use the fans included with your AIO anyways.
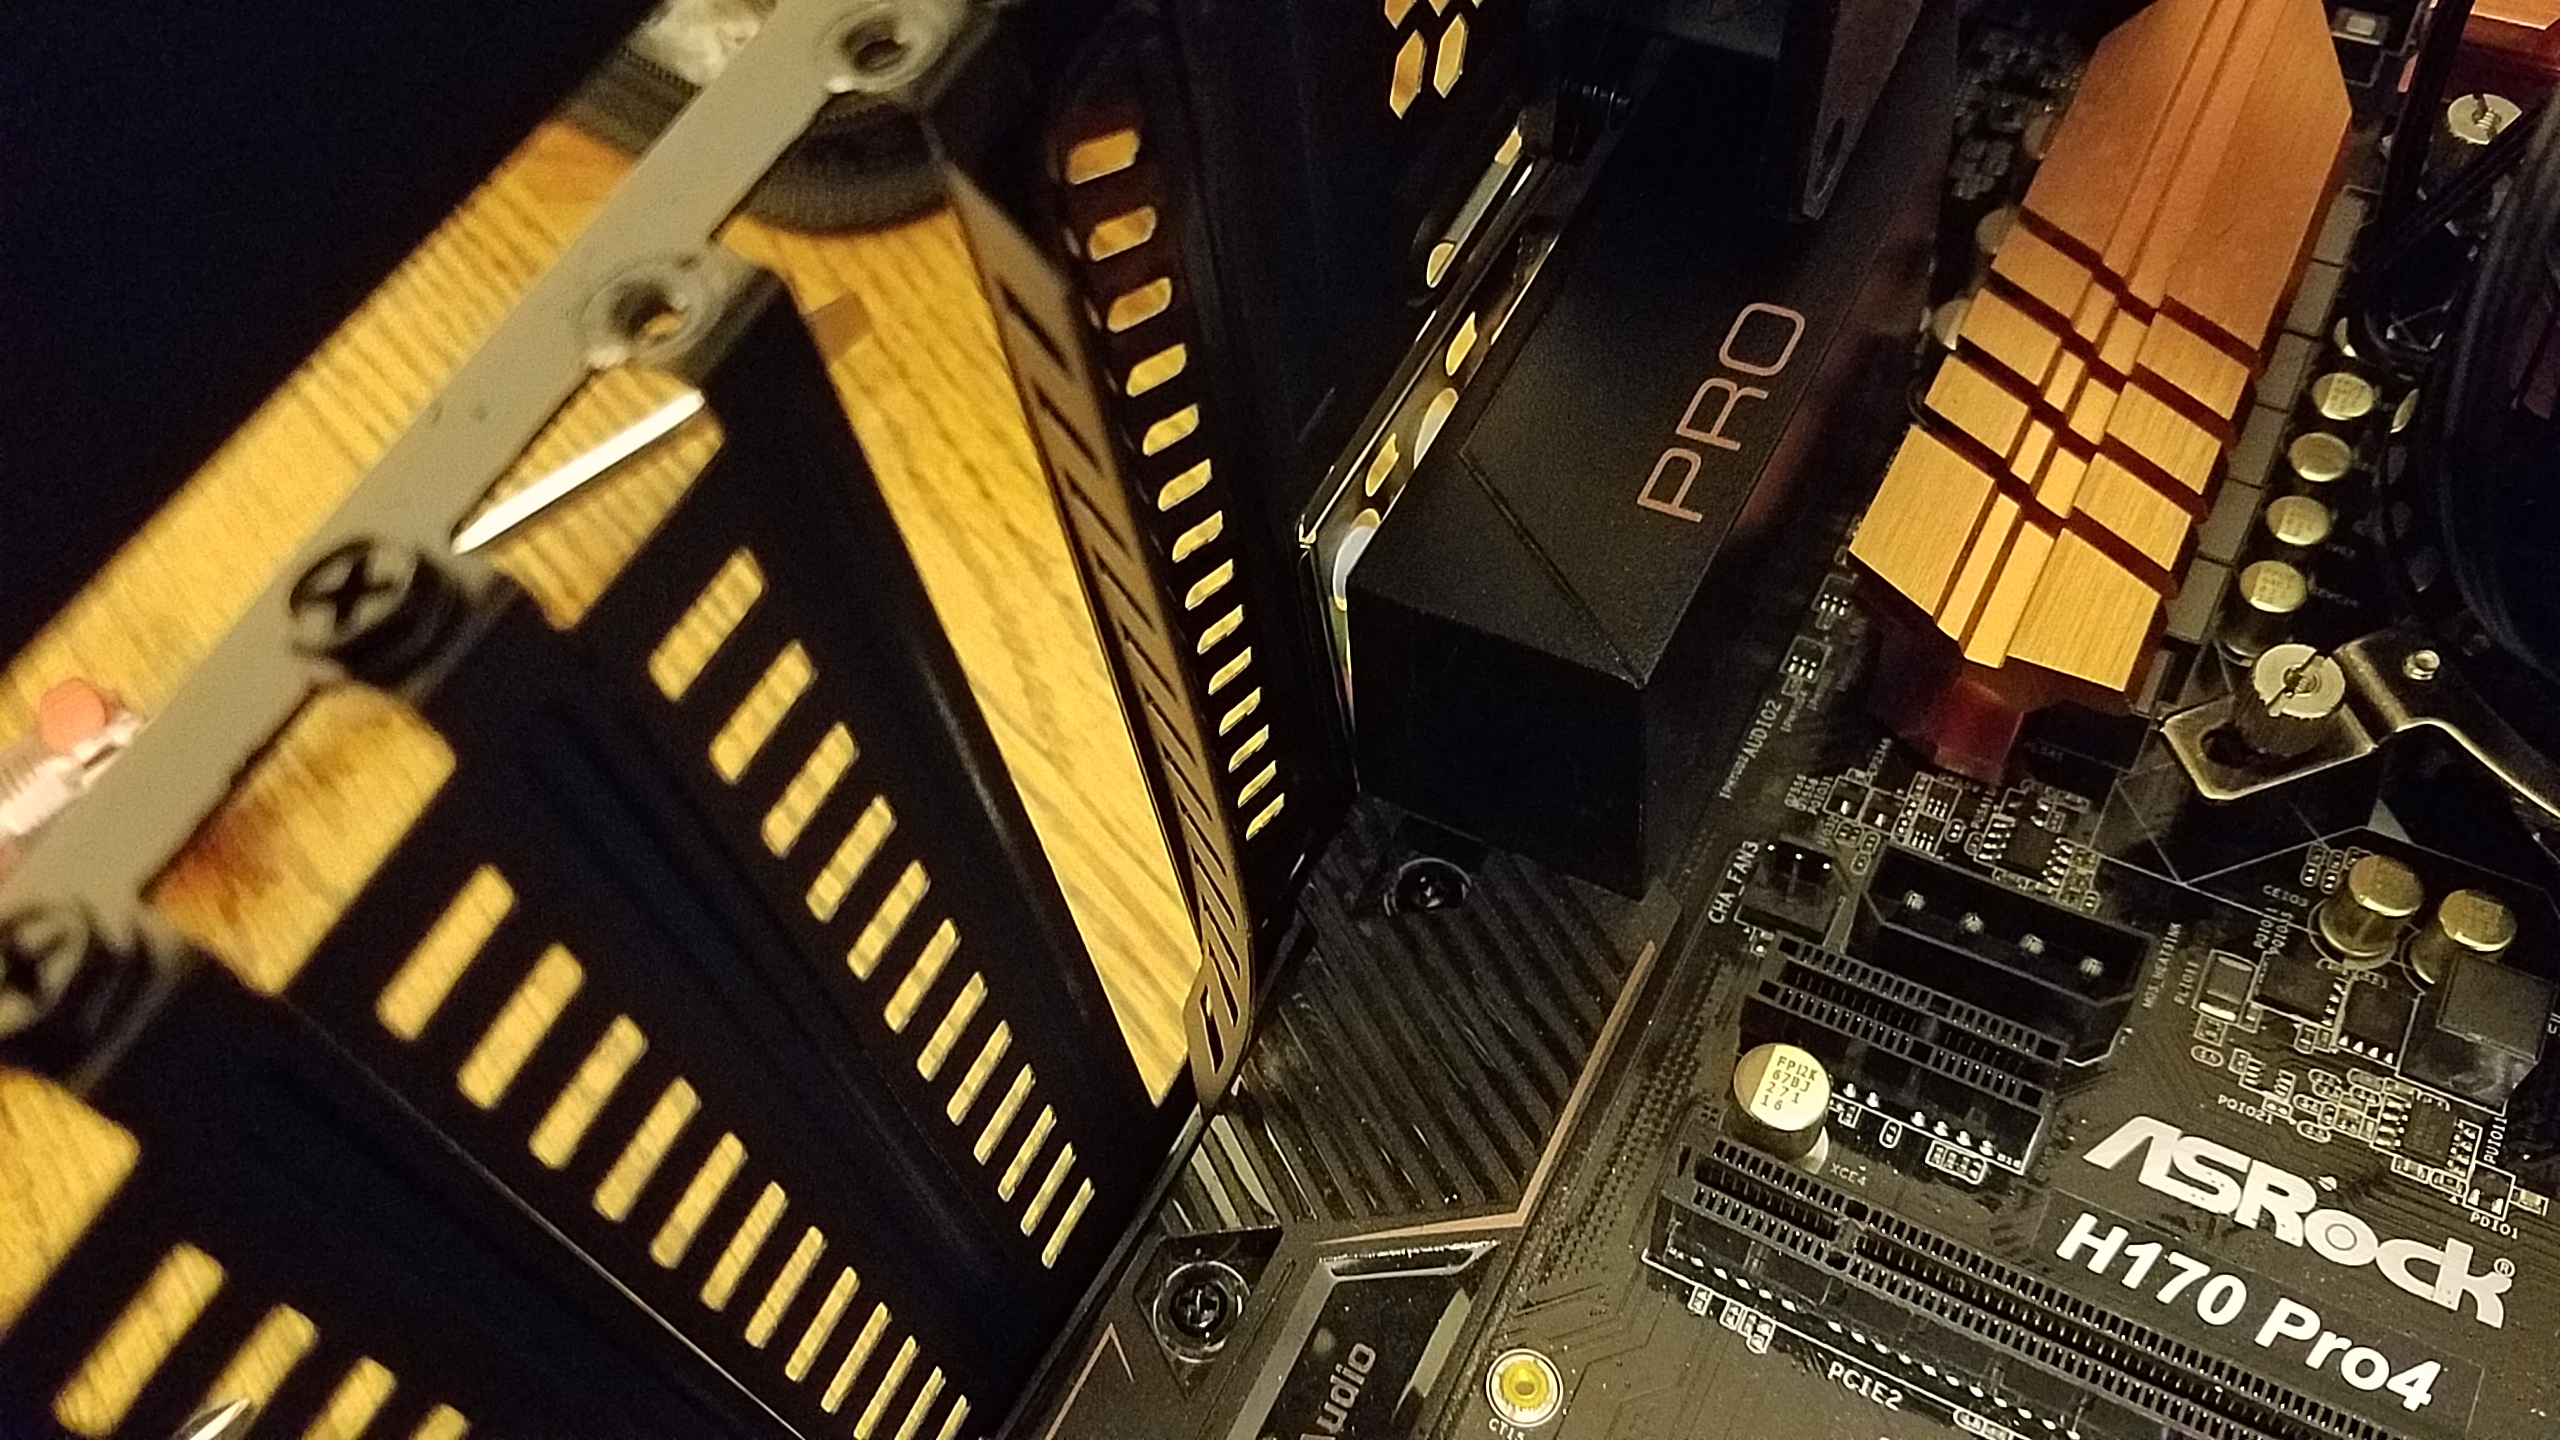

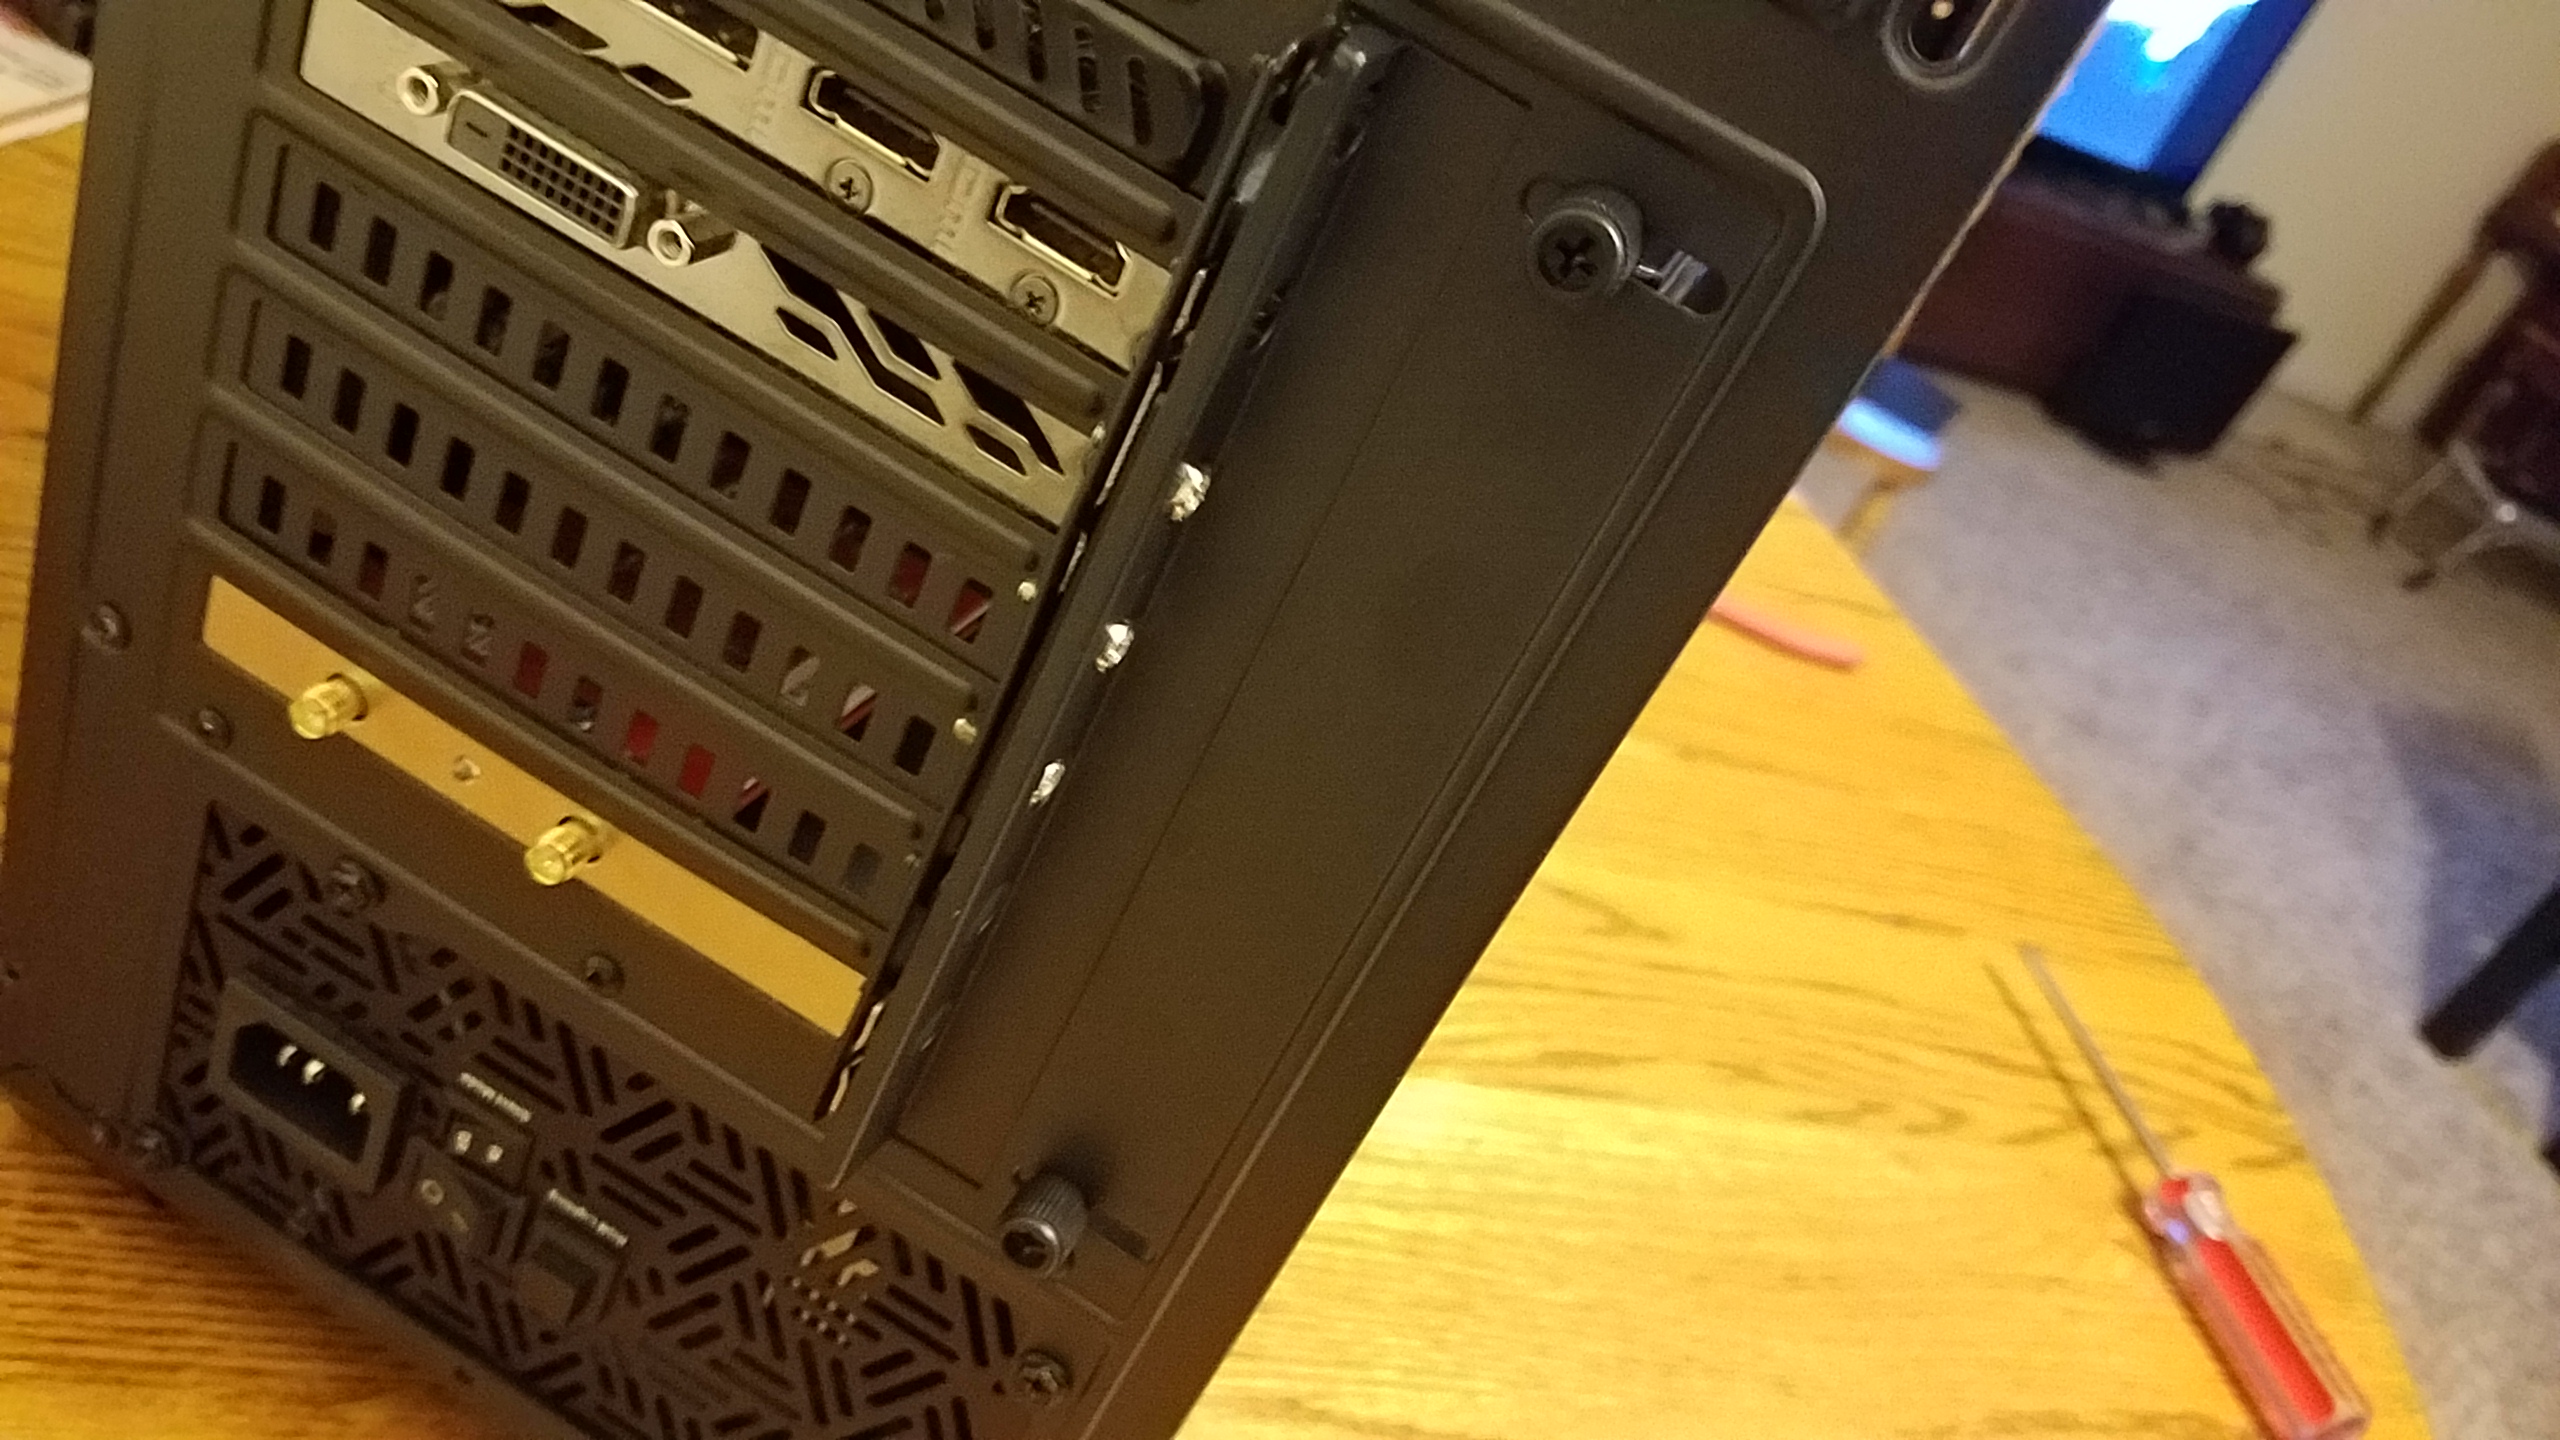
Now let’s install my PICE cards (I didn’t touch on installing the MOBO because it’s exactly the same in every case). The pre-installed PCI-E slot covers are the nonreusable ones but Antec does include 3 reusable ones in the box that you can replace some of these with. With the disposable PCI-E covers removed you slide the cover up a little and slide your graphics card and other PCI-E devices into place and screw them in, then just slide the bracket down and screw it in place with the included thumb screws.
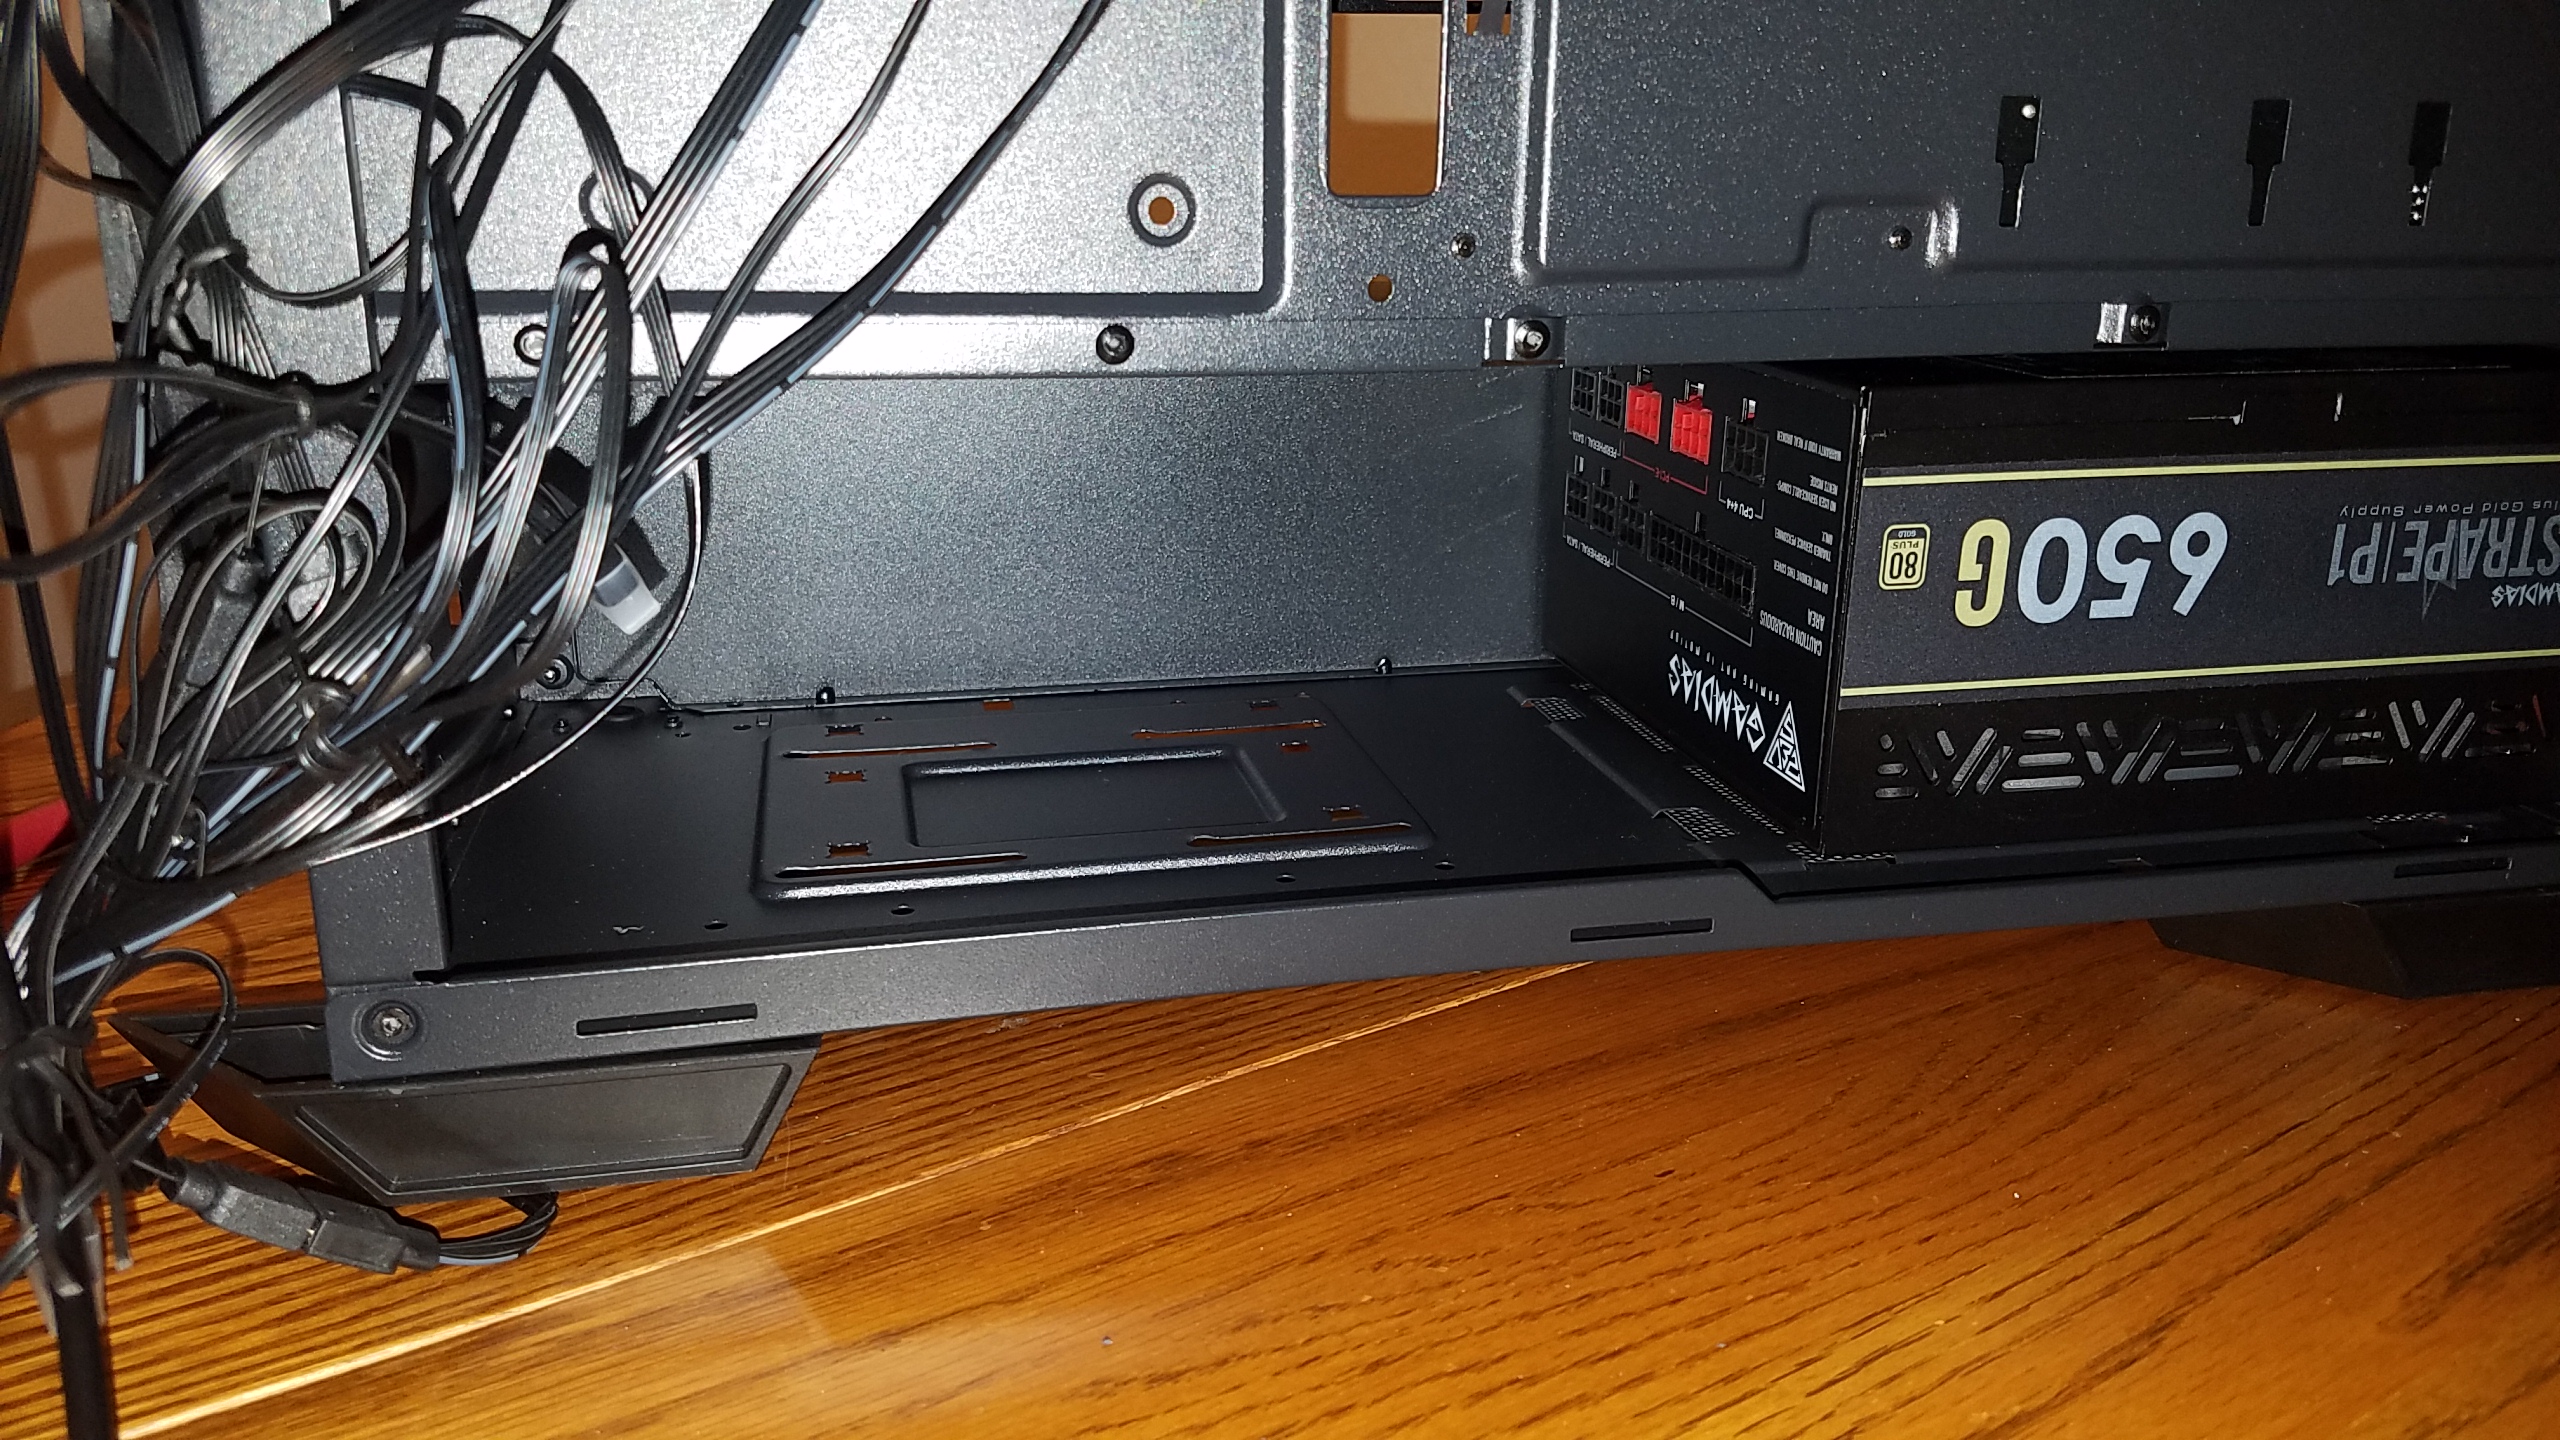

Installing the PSU is pretty straightforward, you slide the PSU in through the side of the case and screw it in through the back of the case. In some cases, this can cause issues because the 3.5in drive bay can get in the way but here you can just remove the drive bays, install the PSU and any cables you need and then reinstall the drive bays so major props to Antec for giving the user options.

Now that all of the parts are installed it’s time to work on installing the cables.
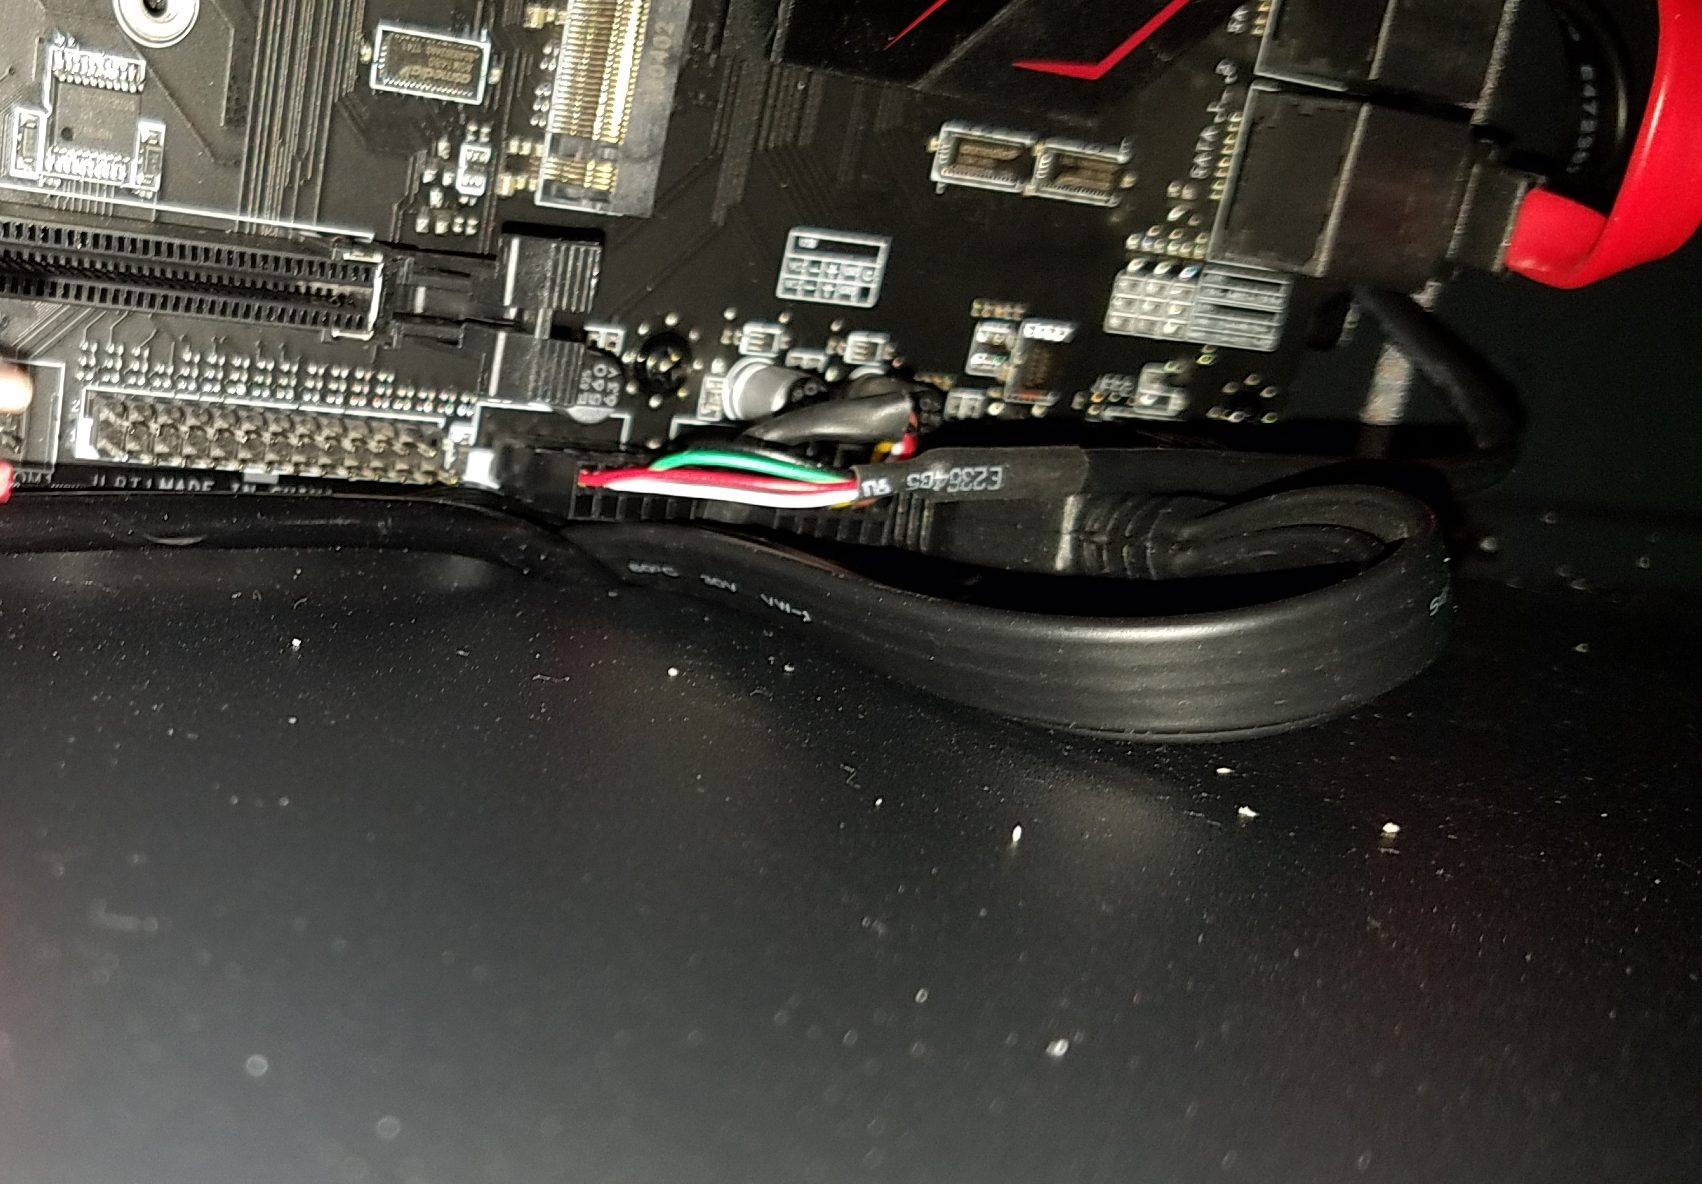
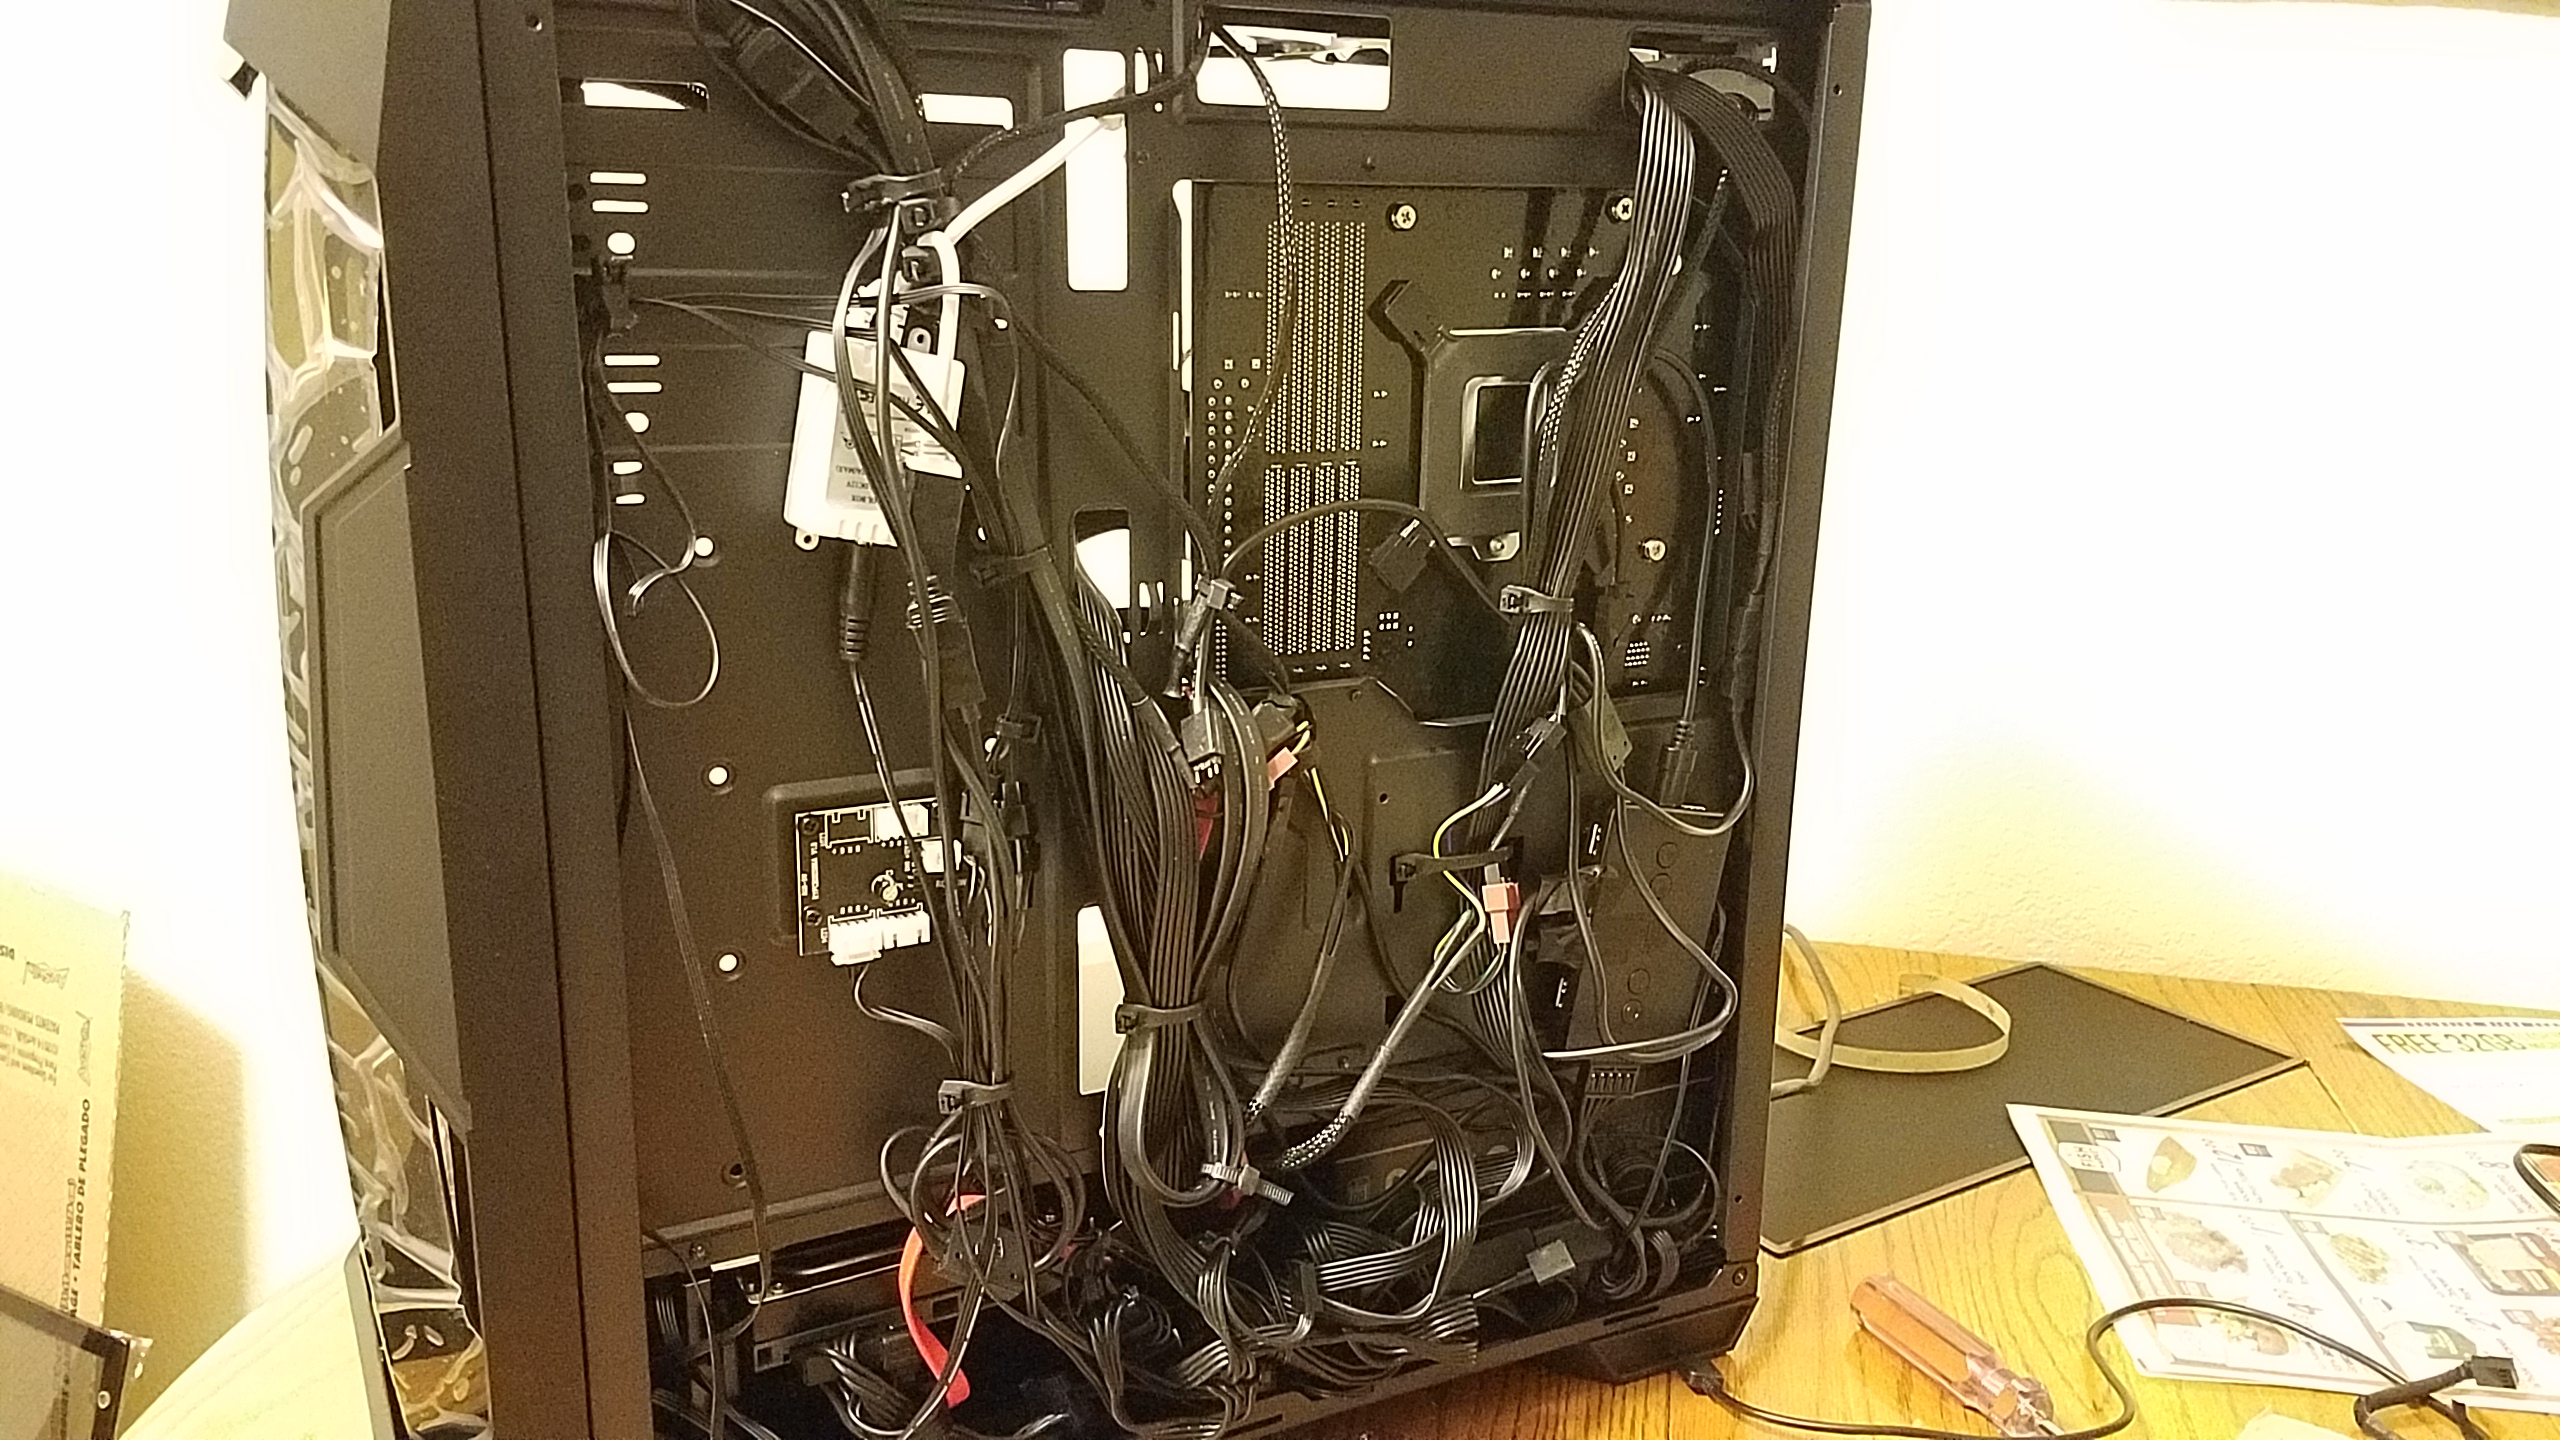

After around an hour of plugging things in and moving things around, I managed to get the cables to a semi-decent point. I do admit I have way more cables than most people but even with just the core required cables installed it was difficult to find decent cable routes on the rear of the DF500 case, I also ran into some issues trying to get all of the cables needed for font the front panel connectors, USB cables and anything else that connects to the bottom of the motherboard to route behind the case because there’s only one cable cutout included on the PSU shroud. In the end I was just barely able to fit the rear panel on but getting it on required me to spend a few minutes getting the panel on just right before sliding it in place, even with that there’s a noticeable bulge coming from inside the case but that could partially be due to how flexible the back panel is (more on that later.

Building inside this case is a fairly painless and pleasant experience but it gets slightly dragged down by the less than optimal cable management in the rear of the case. I’ve seen some cases that have routing cutouts and channels for the thicker cables but the DF500 just has a few cutouts and cable tie points which does help but it’s still less than preferred in my opinion.
I rate the building portion 4/5 since a majority of the time it was easy and only held back slightly due to poor cable management. Since Antec gives you a lot of modularity you can remove the lower drive bays and make cable management much easier.
Now to build quality and lighting!
 from Amazon – https://amzn.to/2APZFvJ
