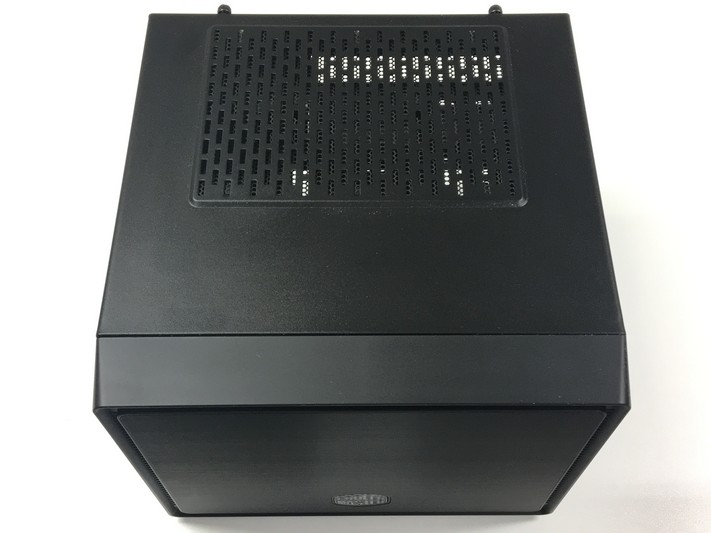
Interior
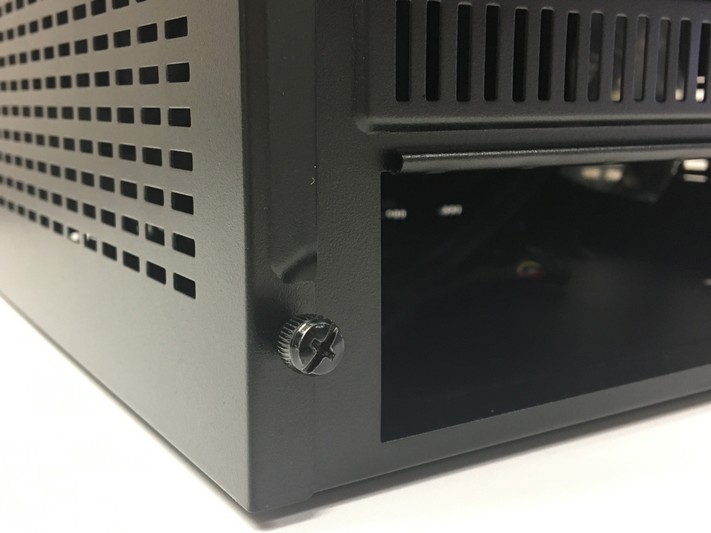
The interior of an mini-ITX chassis is where the fun really begins. The metal covering of the Elite 110 is held on with 4 thumbscrews.

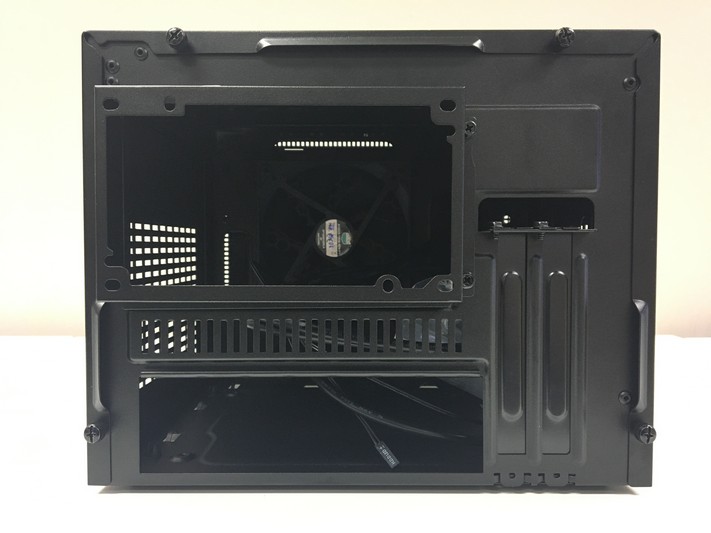
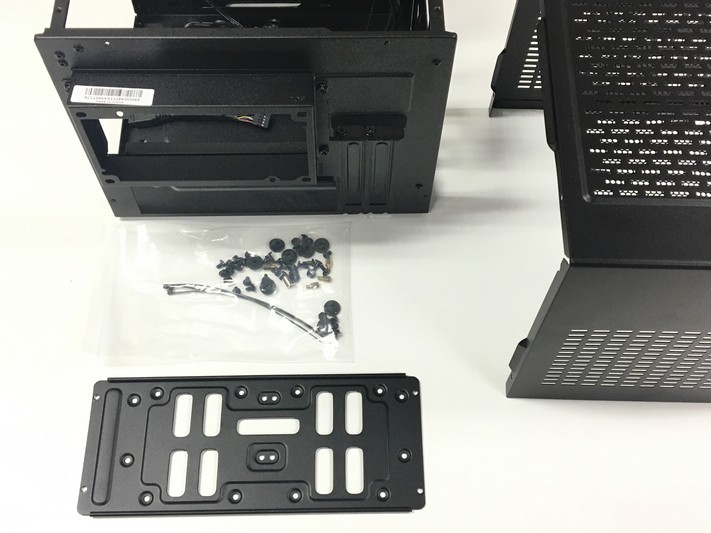
What takes a little getting used to is that, out of the box, you can only access your mounted hardware components from the right hand side of the case, as the left hand side is blocked of by a mounting plate for hard disks. Running across the top of the metal frame, and to also give it more structural integrity, is another mounting plate for 2 x SSDs.

The power supply bay takes a standard ATX PS2 size, which Cooler Master kindly provided us with a V650. The bay itself can be removed from the rear panel, which makes it slightly easier to mount the PSU as it is a tight squeeze in there. Once the PSU is mounted, you are left with just over 2 inches of space above your CPU socket, so plan carefully.

There’s one placement for a case fan in the Elite 110, and that’s right behind the front panel. a 120mm Cooler Master case fan comes already mounted, but you can replace it with a 140mm case fan if you wish. The is room in the Elite 110 to have a 120mm radiator mounted at this location, giving you about 1.5 inch of space between the radiator/fan and the back of the PSU, so once again due to the space limitations you will need to plan properly.

Towards the right hand side of the Elite 110 you will find 2 PCI ports, which eliminates the headache of selection a graphics card with many requiring the spacing of 2 PCI slots.