


Installation
We first attach the 3 fans together using the iCUE LINK connectors and then made sure that all the power cables and the iCUE LINK hub were fully connected.


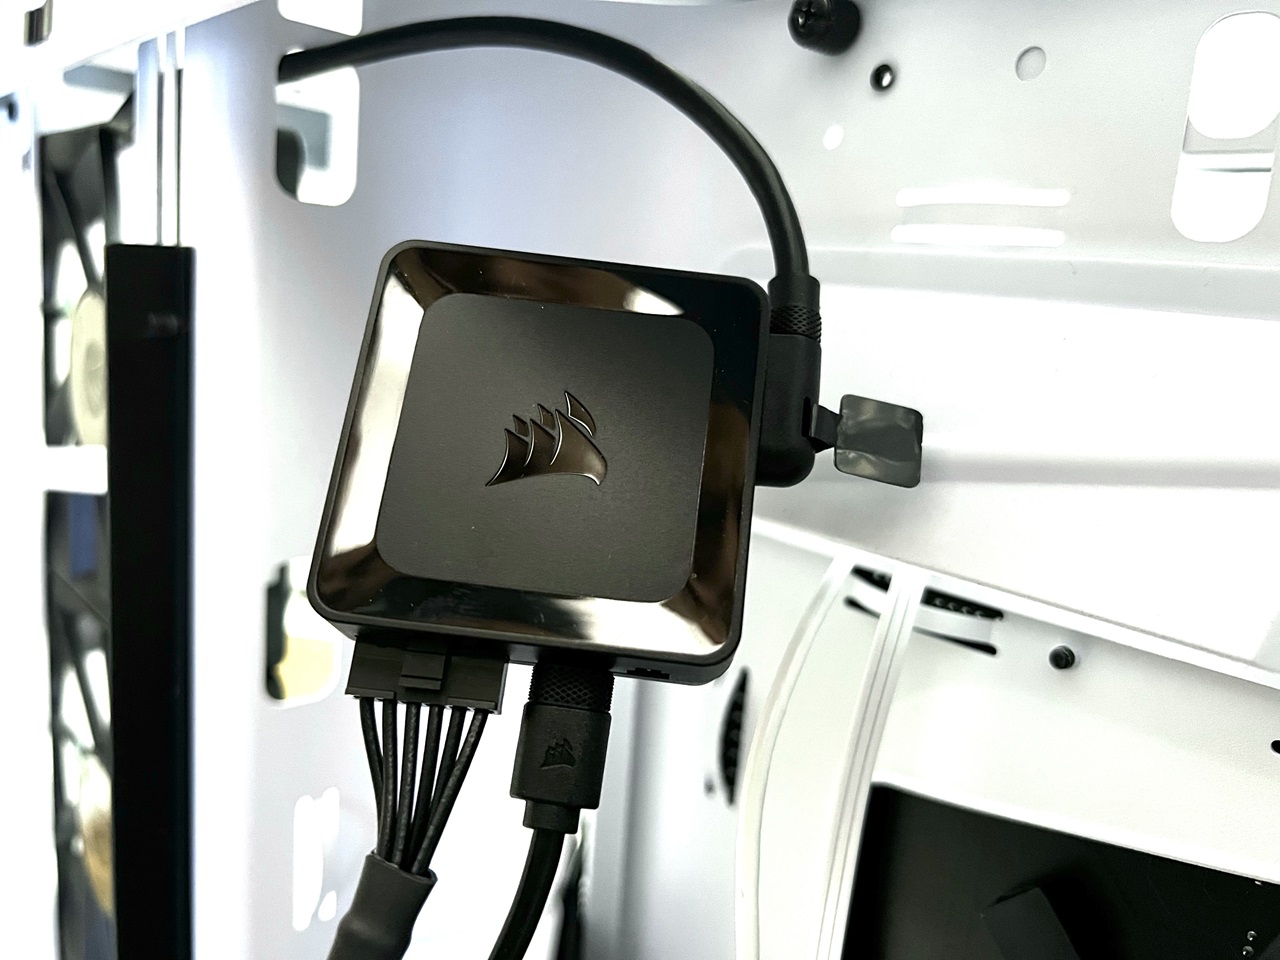

Using the included QuikTurn screws, we mounted and installed the fans to the side of the Hyte Y70 chassis. No issues with installation as the Quickturn screws were easy to use with a single spin of the screw driver!

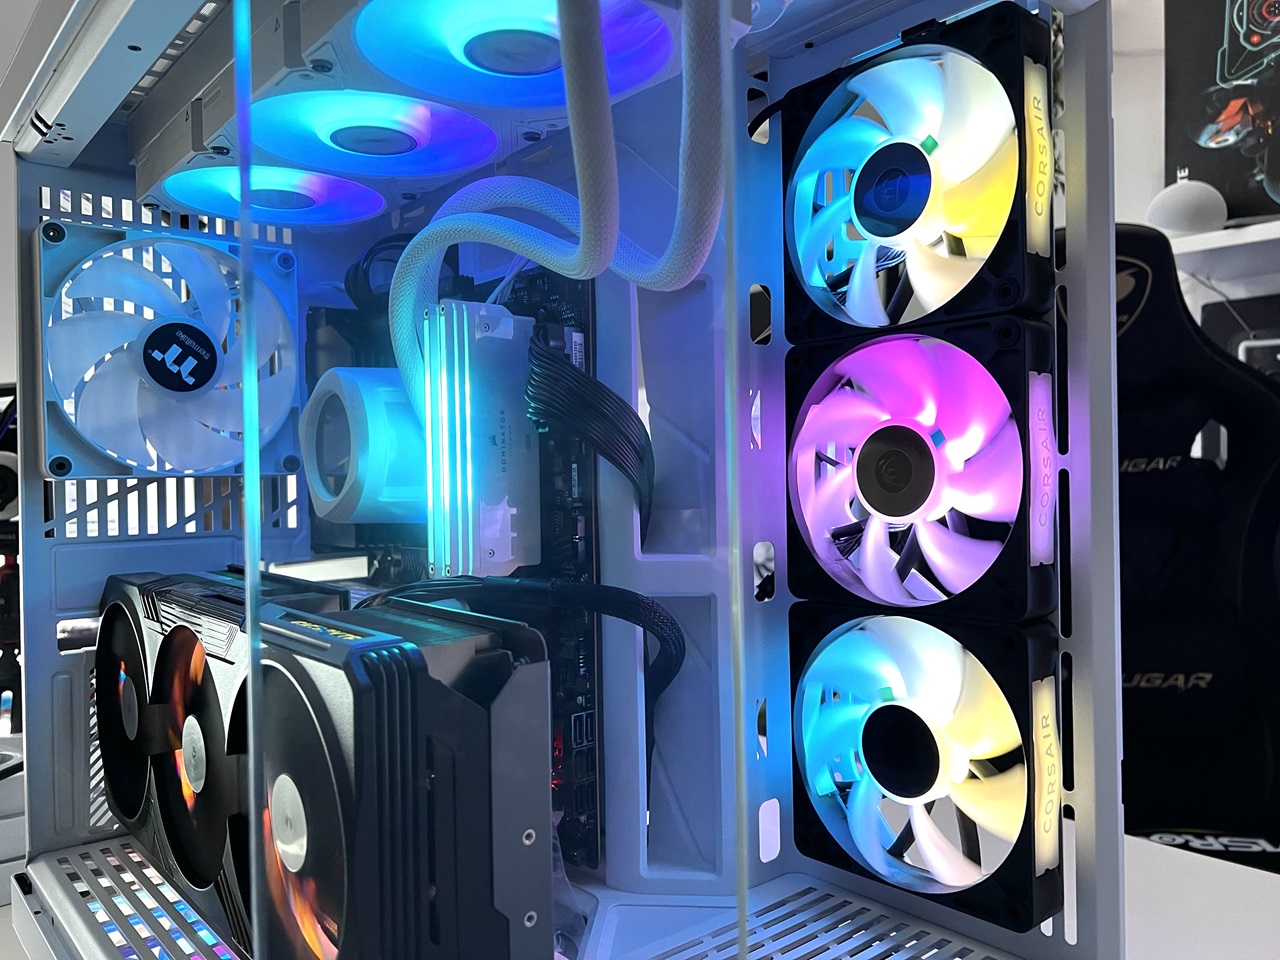


Once ready, we powered the system to see how it all looked. The RGB lighting was bright and vivid, while the noise level was surprisingly low. Next, to take full advantage of these fans, we installed Corsair’s iCUE LINK software.
iCUE LINK Software
Not everyone is a fan of the iCUE LINK software from Corsair. For me, I think it’s fine. I never had any real issues with it.
Once the software is fully loaded, you’ll be able to monitor, customize, and confgure the fans how you want it. You can also fine-tune your fan speeds, or use pre-set fan curves and assign the RGB colours to your liking.


Cooling Performance on 360mm Radiator
We also decided to mount the cooling fans on a 360mm radiator from an AIO CPU cooler, to see how well it can help cool the CPU. And here are the results.
Idle Temperature

Load Temperature


