


Installation
At the beginning I will show you how our graphics card looks like. It’s an EVGA GTX1080 Ti Founders Edition so reference Nvidia design. The main reason why EVGA is a top pick if we wish to use water cooling is warranty. If you remove the sticker which is on the back of the graphics card then you won’t lose warranty like most other brands would do. Simply if there will be any issue and you will be required to make a RMA then support will perform additional check for any scratches or missing components.
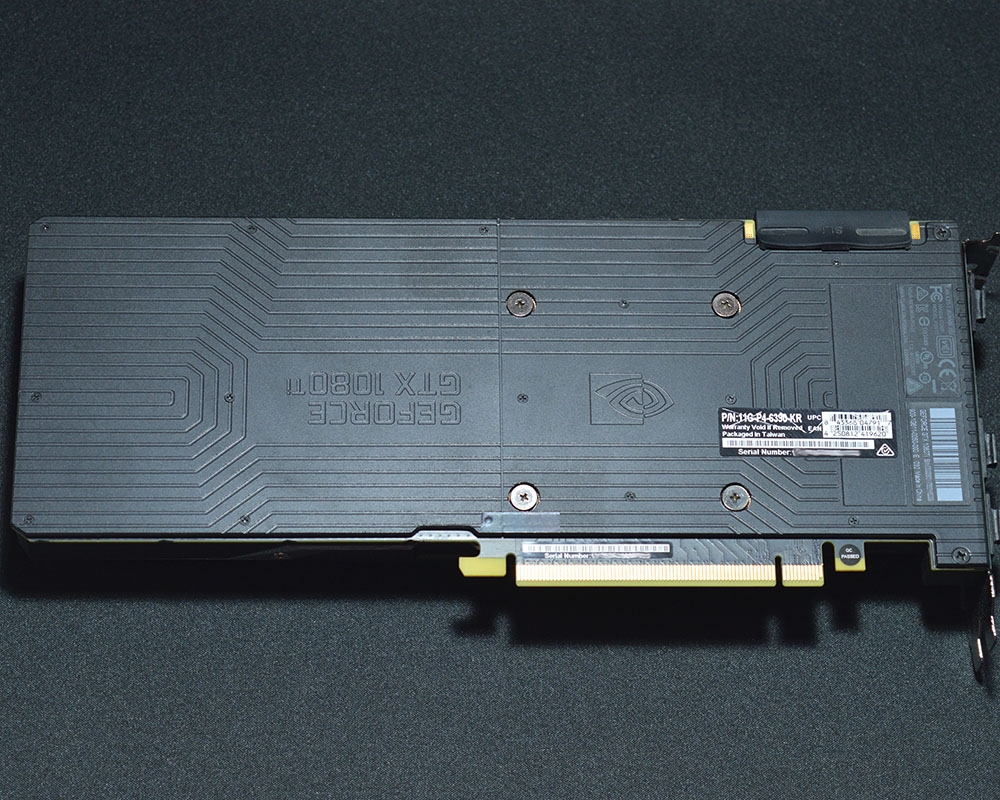
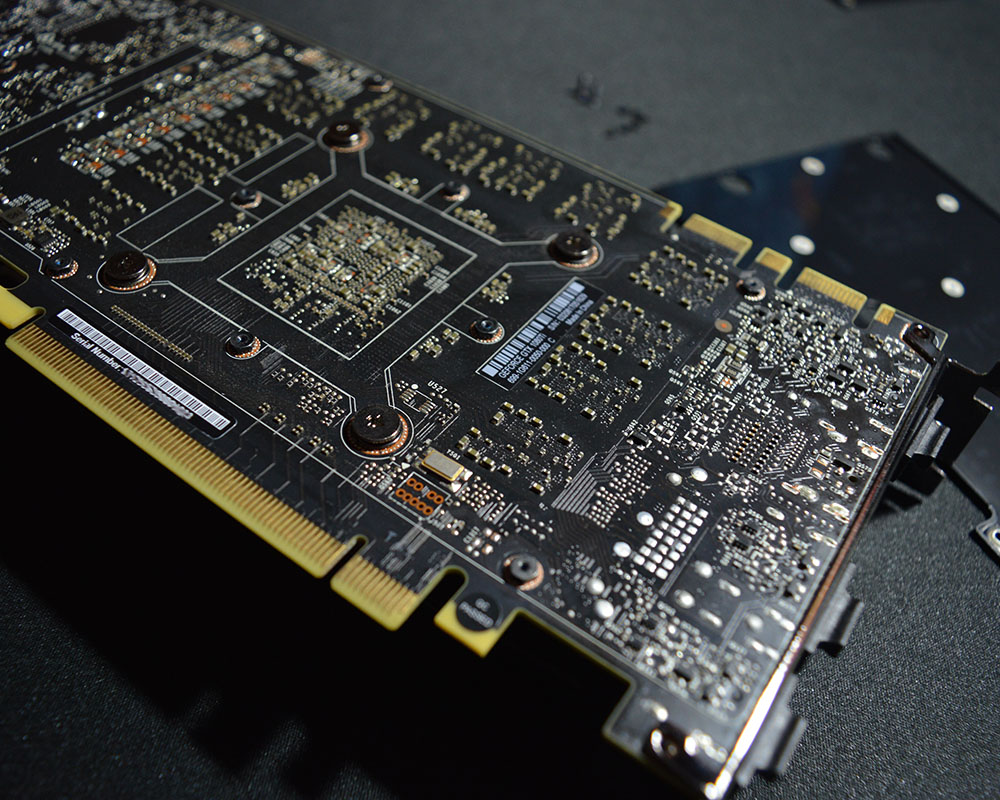
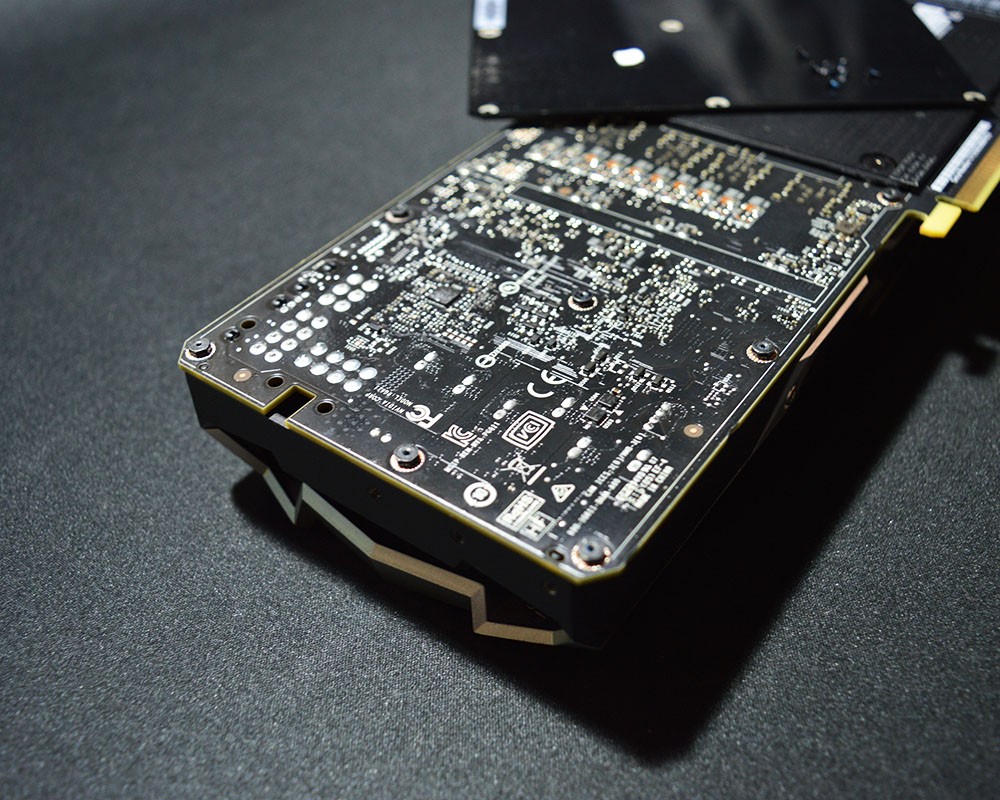
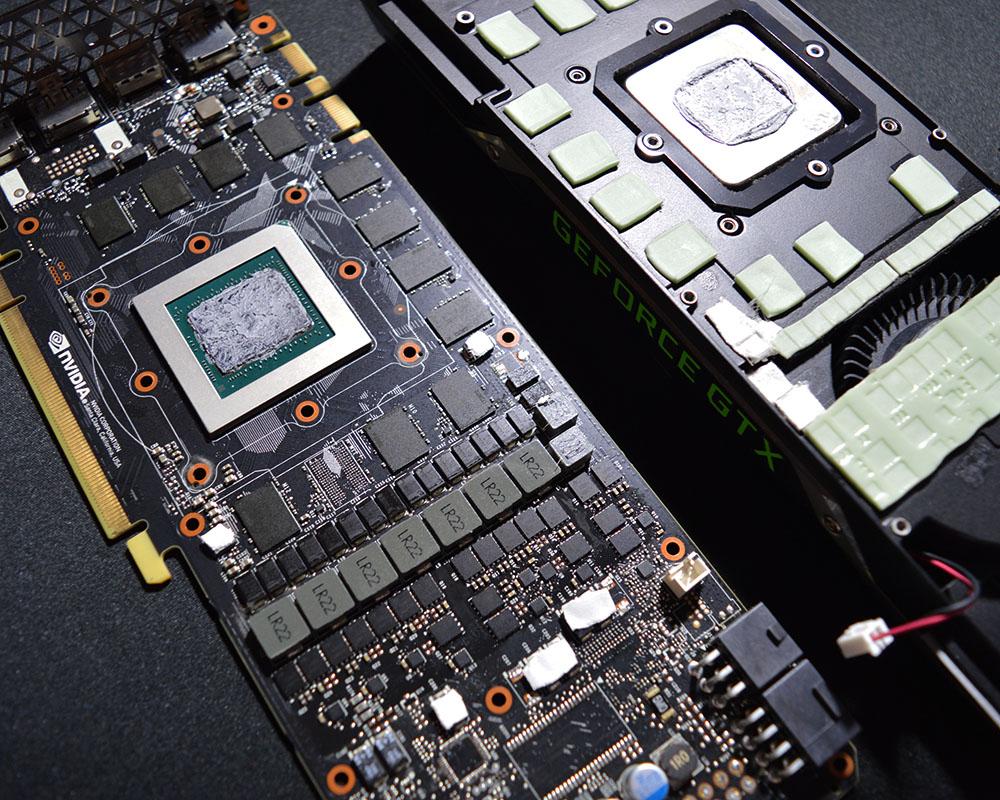
Here is our video card. Front and back before removing the cooler.
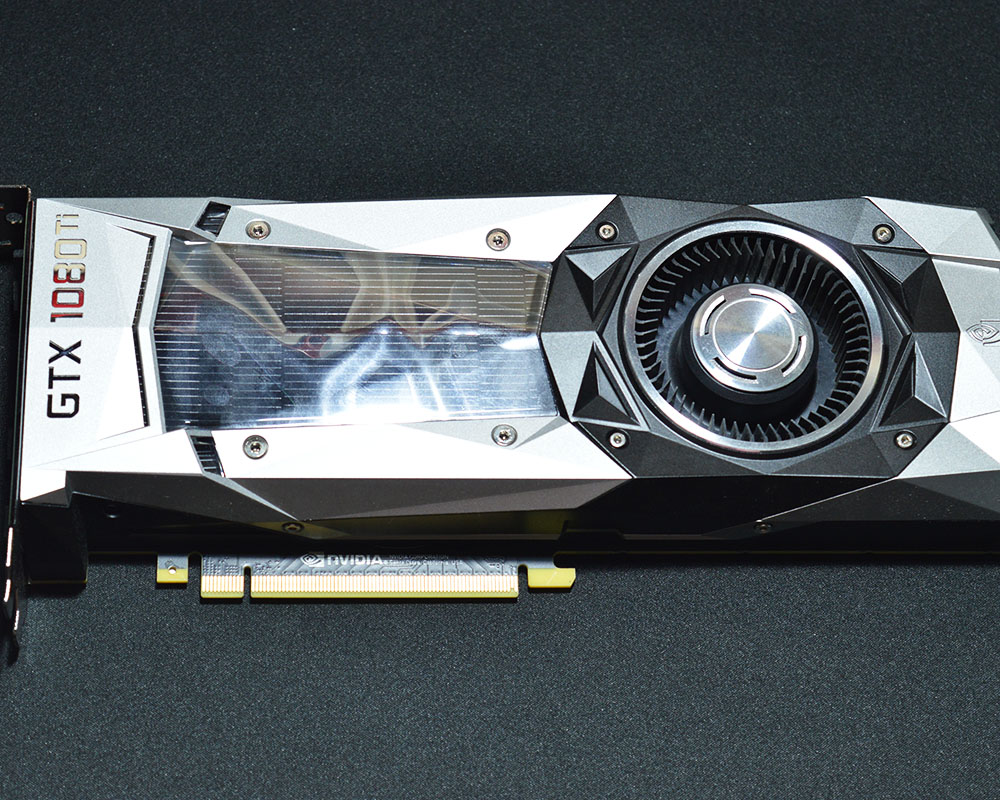
Personally, I like the design but performance of reference cooler isn’t the best. Generated noise is also far from our expectations. Water cooling is the best option if we wish quiet and well performing graphics card like the GTX1080 Ti.
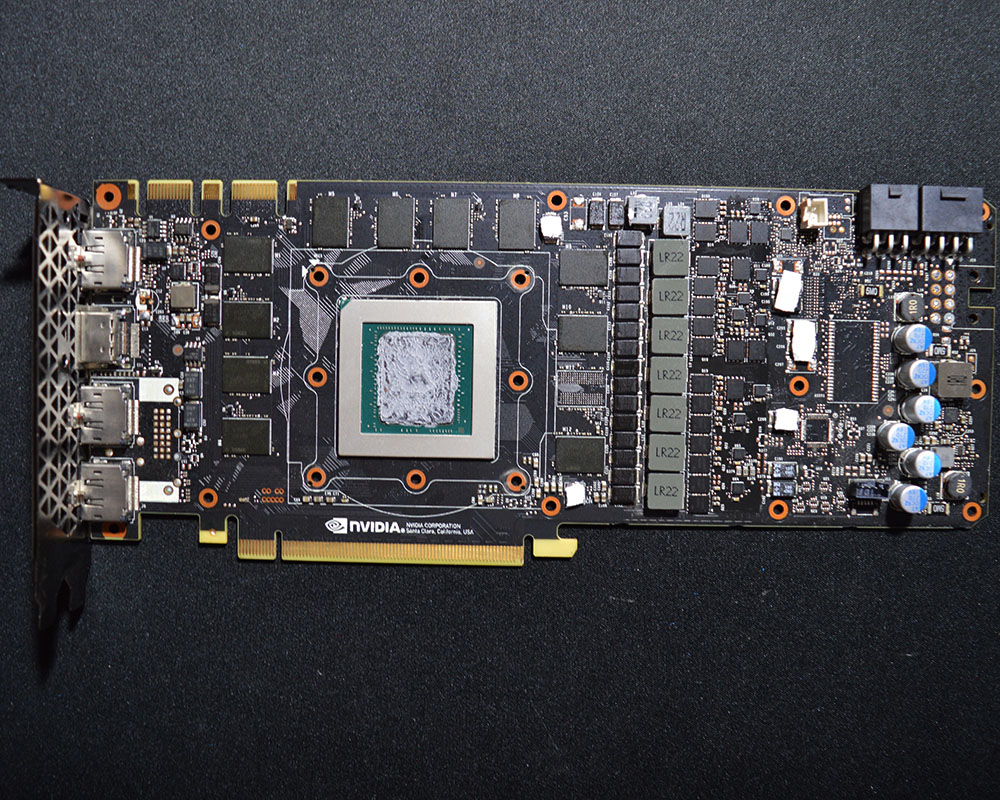
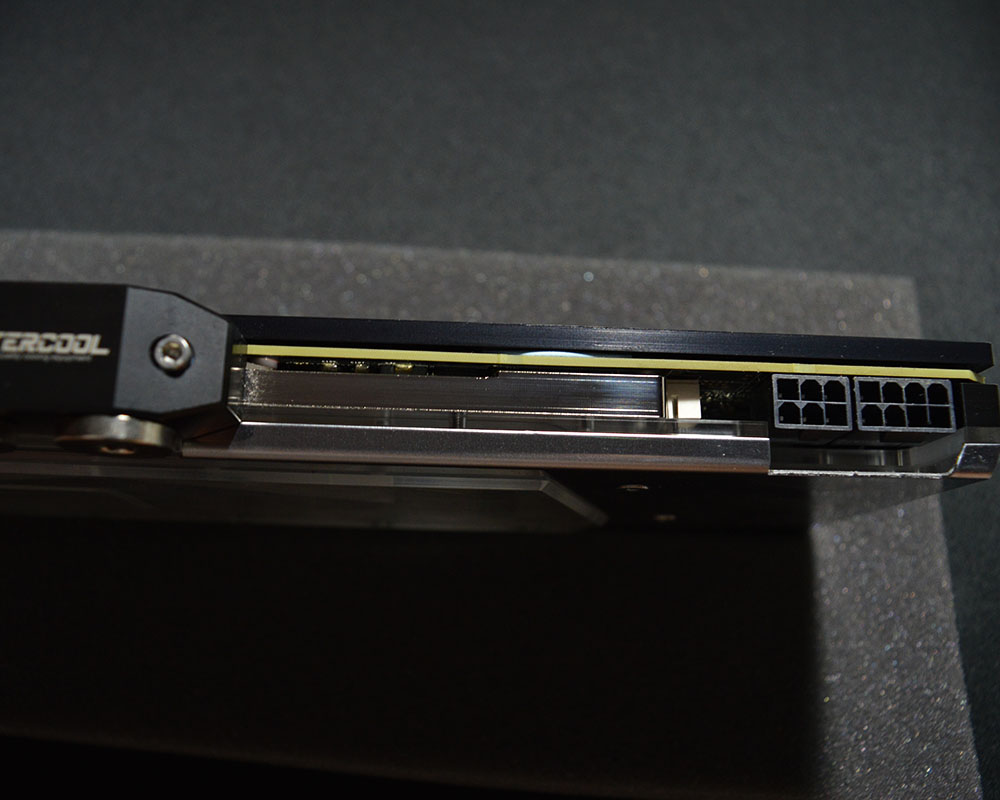
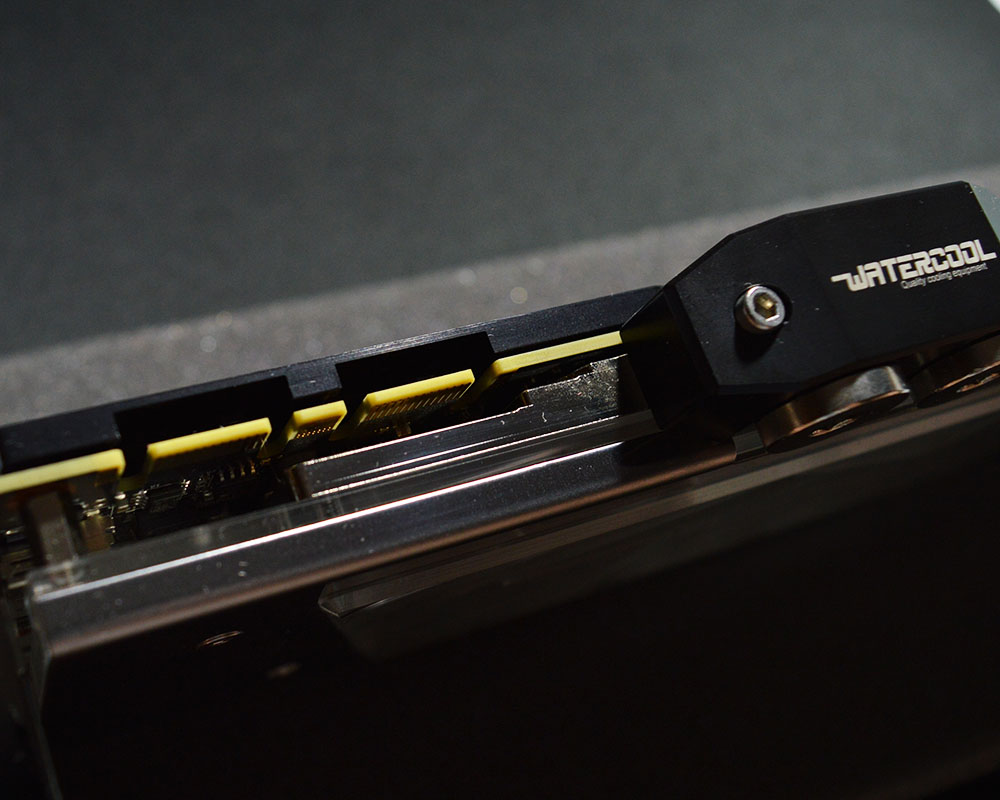
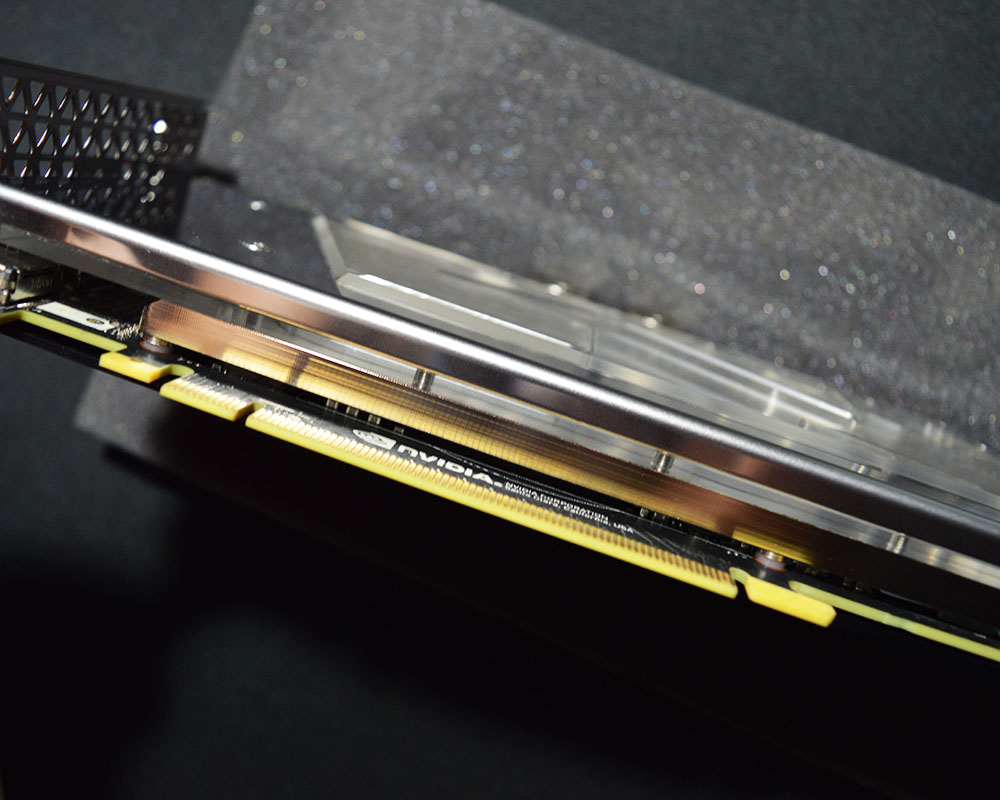
Removing the cooler takes some time but better don’t be hasty as it’s easy to damage components on the PCB. Also be sure to use the right tools. Watercool is providing all tools required for the Heatkiller water block installation but you still need some more tools to remove the old cooler.

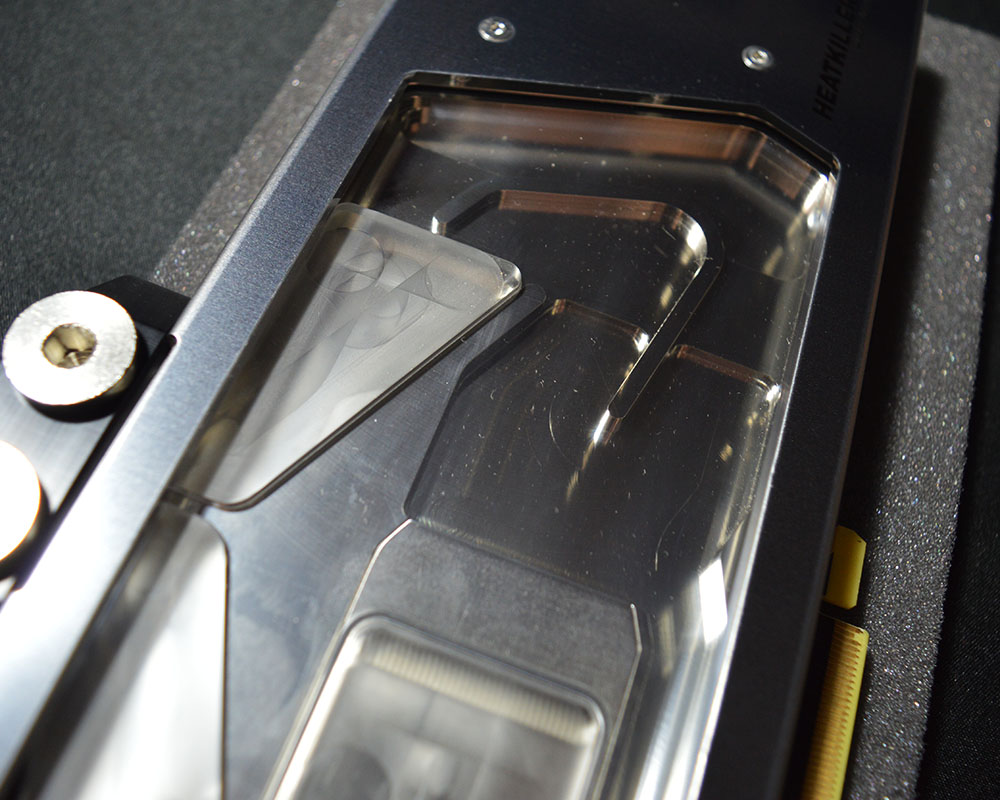
Installation is well described in the manual and it shouldn’t cause any issues if you make it step by step. It can be described as four steps: remove old cooler, install thermal pads and thermal grease, install water block and install backplate ( backplate as an option ).
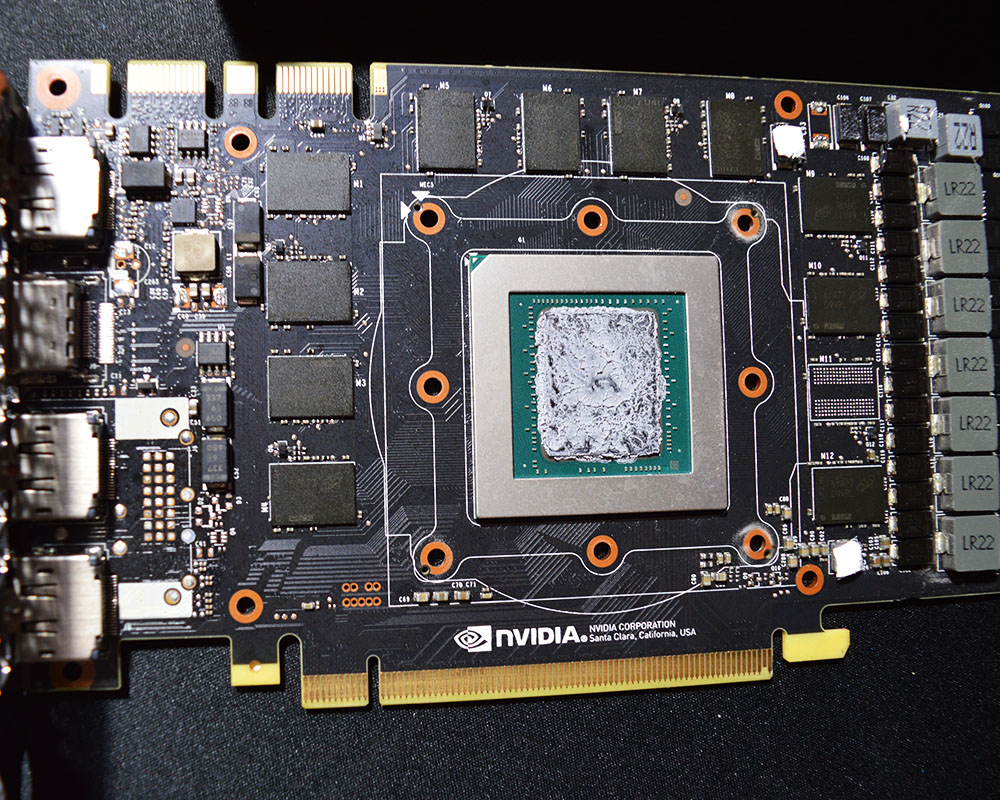
Watercool added all required thermal pads which have different sizes and thickness. Of course they’re required for stable work of the graphics card. One thing which isn’t in the package is thermal grease which we will need for the GPU. For our needs I’ve decided to use Thermal Grizzly Kryonaut which seems one of the best options for water cooling. There are other good TIMs on the market. Other one which I’m often using is Gelid Extreme.
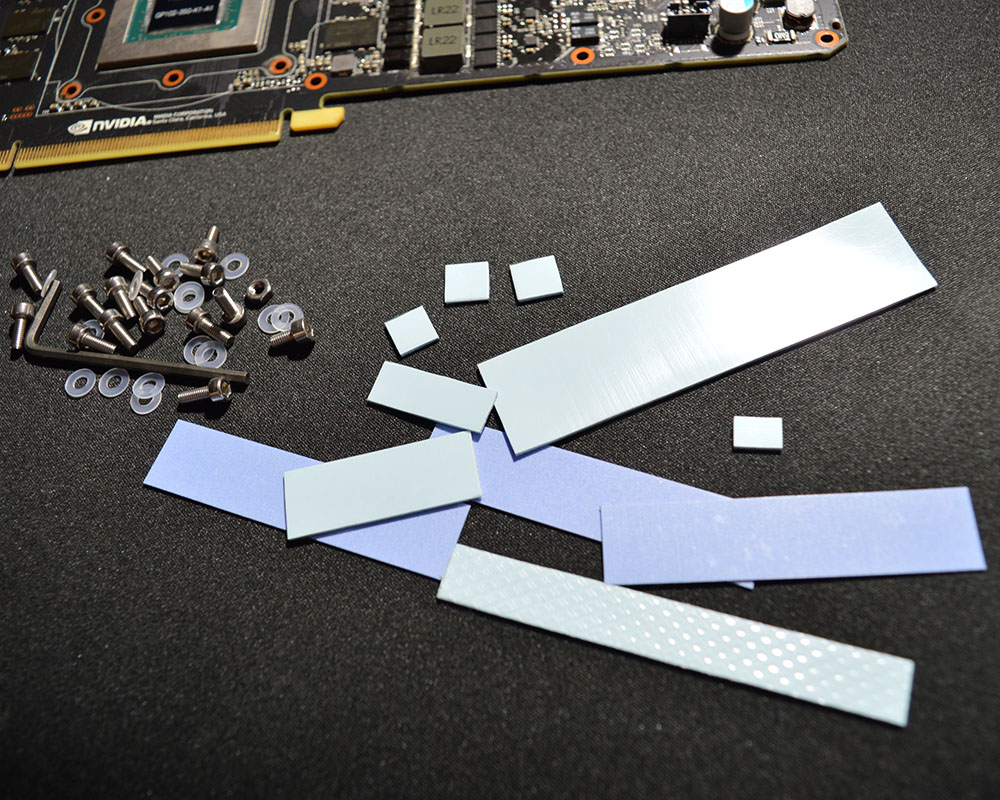
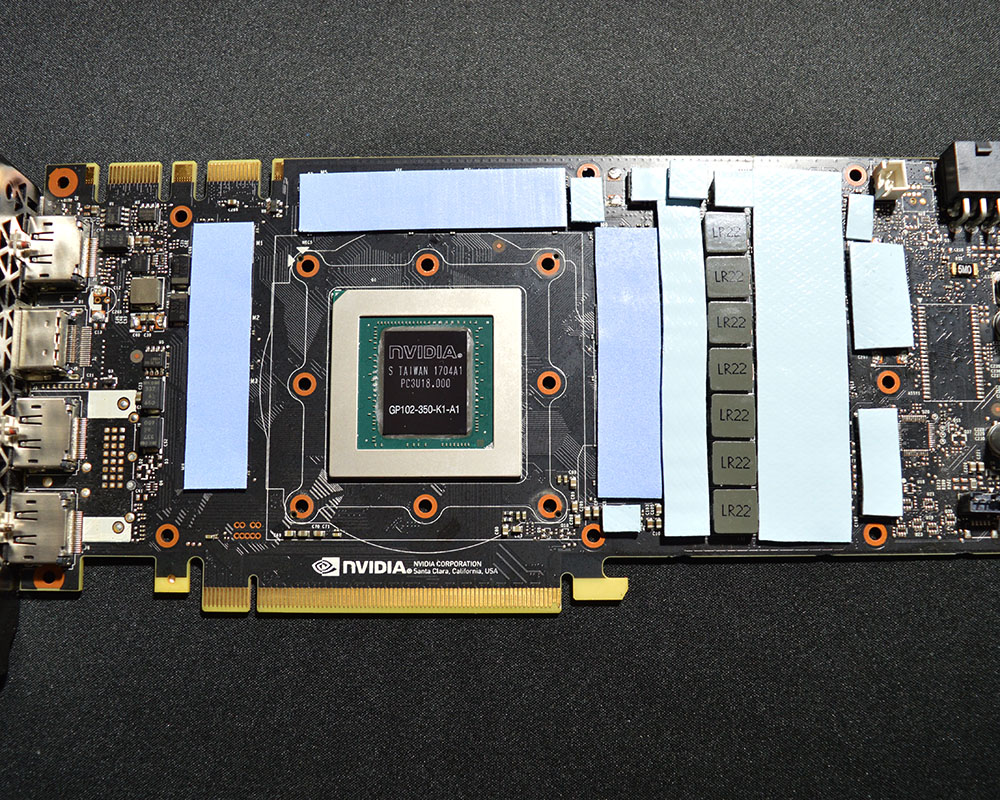
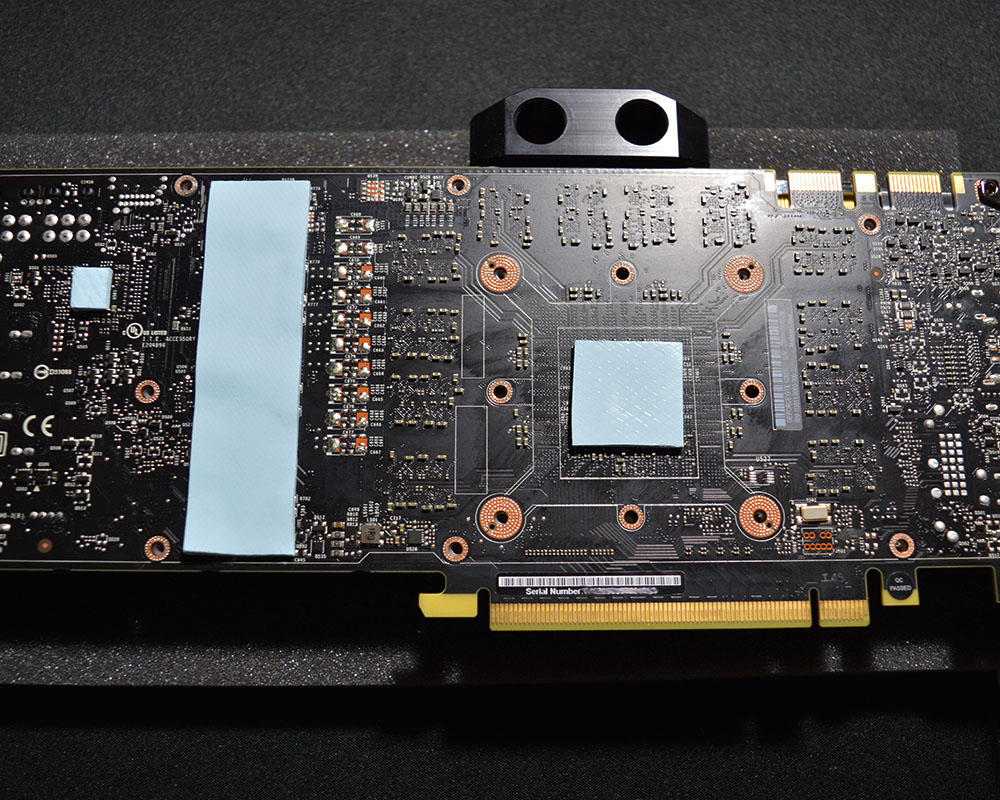
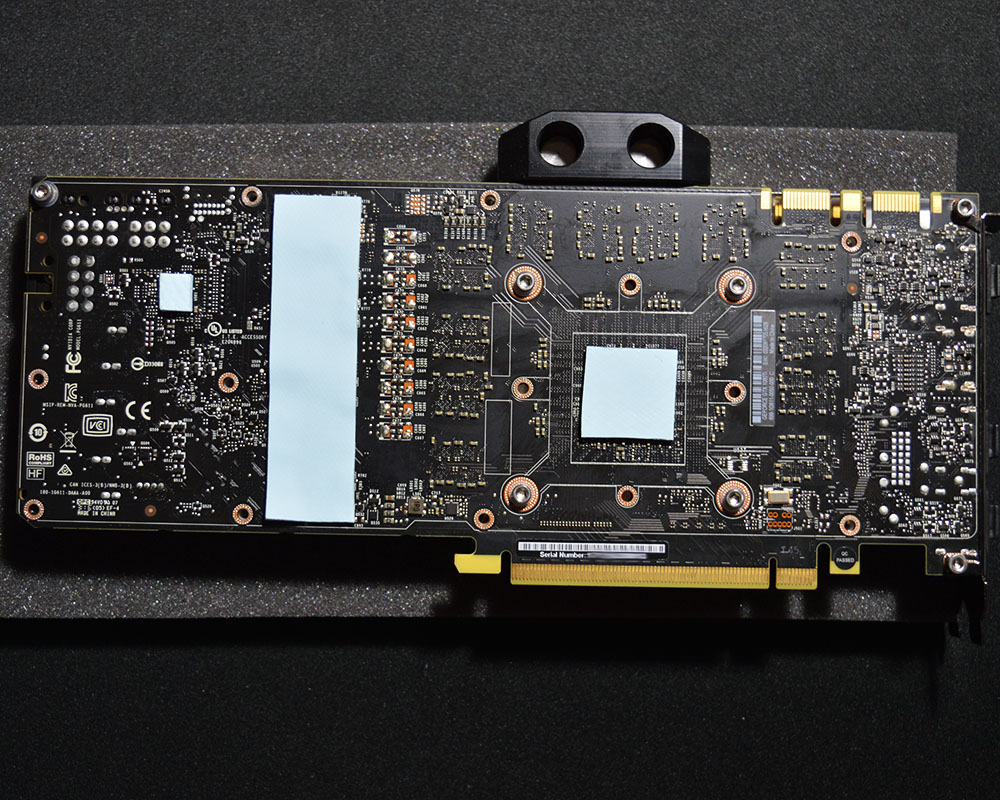
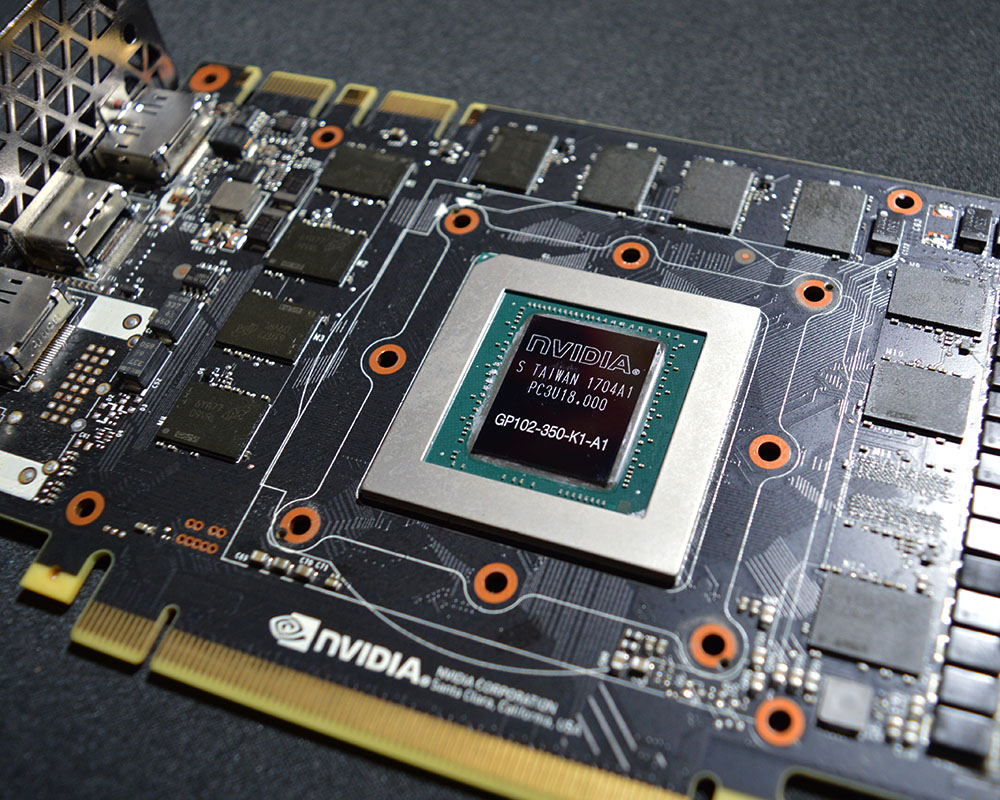
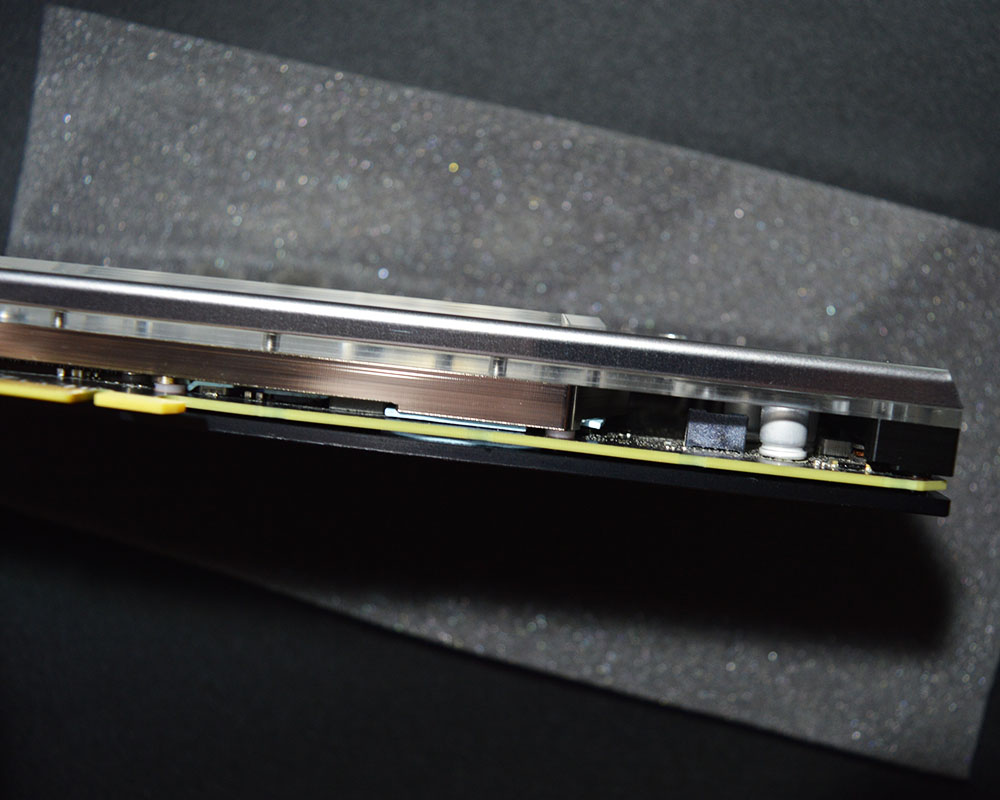
Thermal pads are a bit sticky what helps in installation and moving the card. If we are going to install the backplate then there is different set of screws which we have to use at the end and also additional thermal pads. What is funny, our graphics card has spot marked as thermal pad placement ( the largest one on the back of the PCB ) but under the reference cooler there was no thermal pad. It’s hard to miss the spot when it’s clearly described even on the PCB.
After we install the Heatkiller water block and the backplate then look again at he card and check if everything is where it should be. The Heatkiller is designed to perfectly fit and additional built-in spacers additionally help with installation.
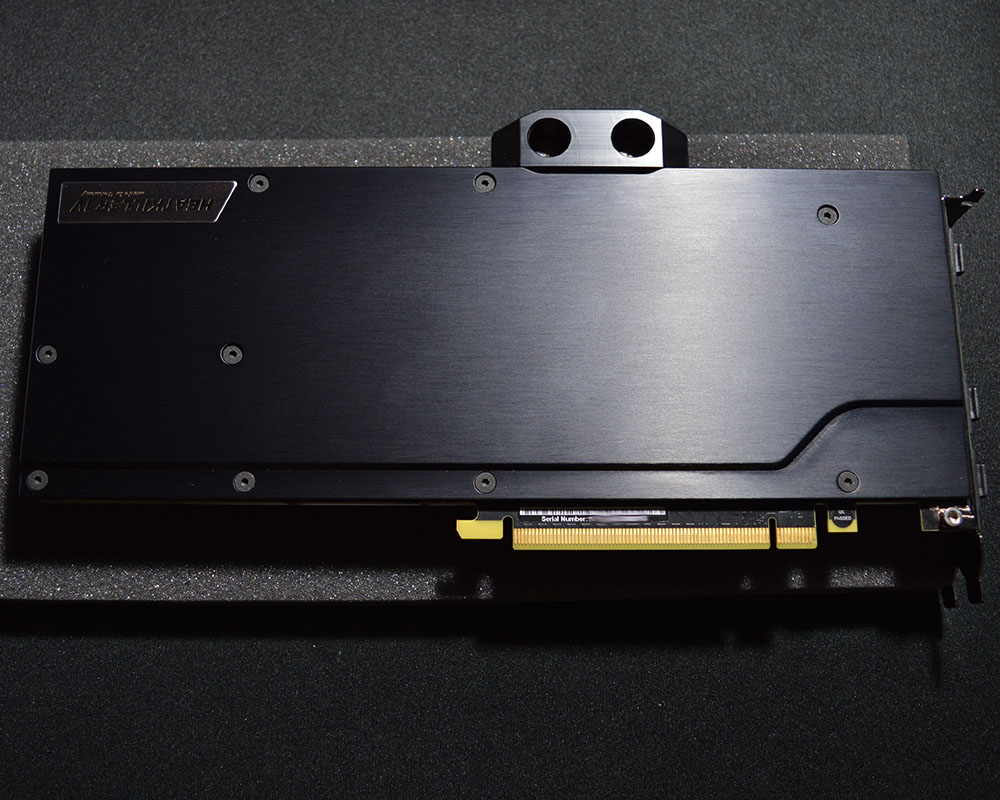
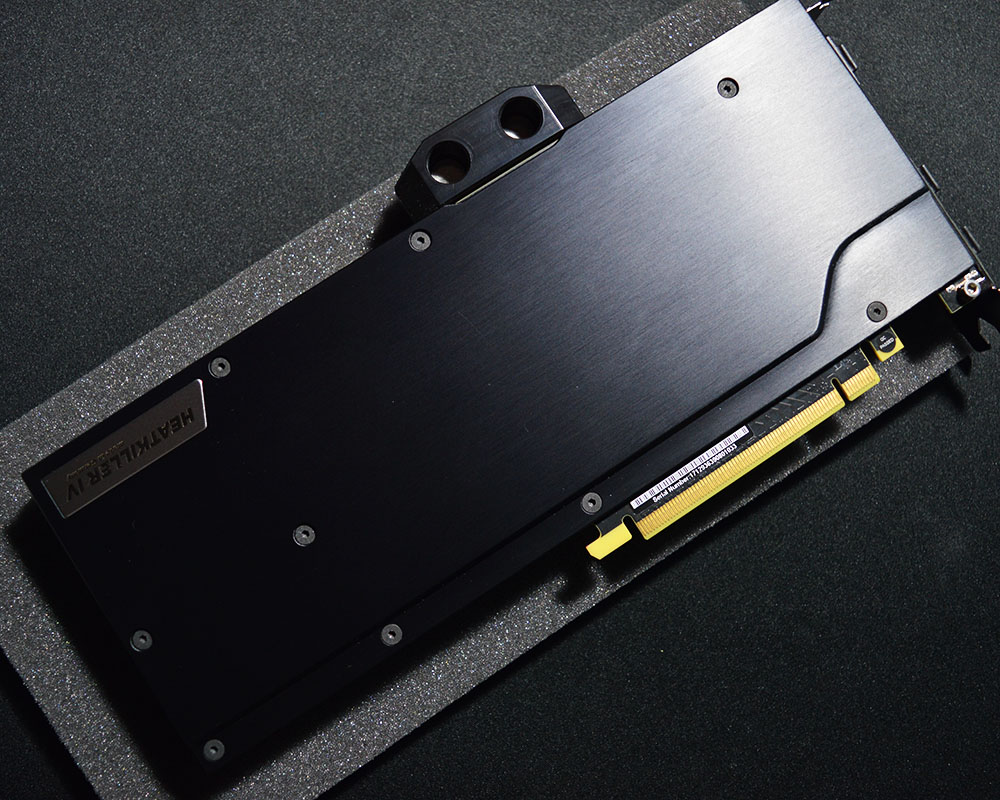
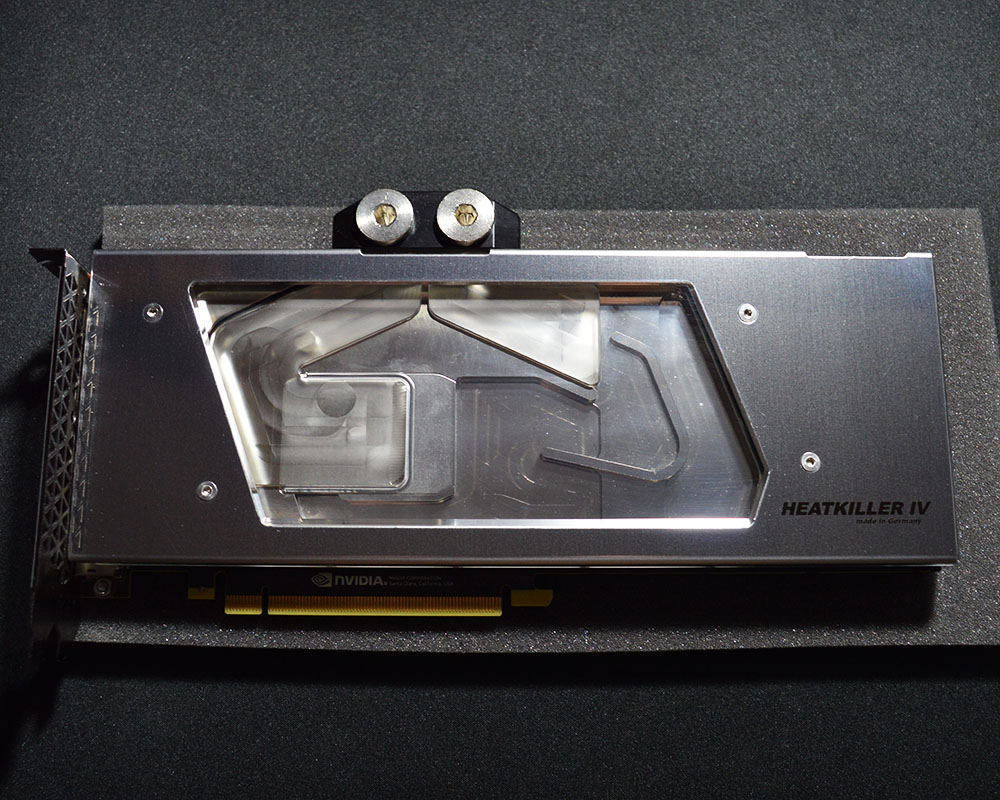
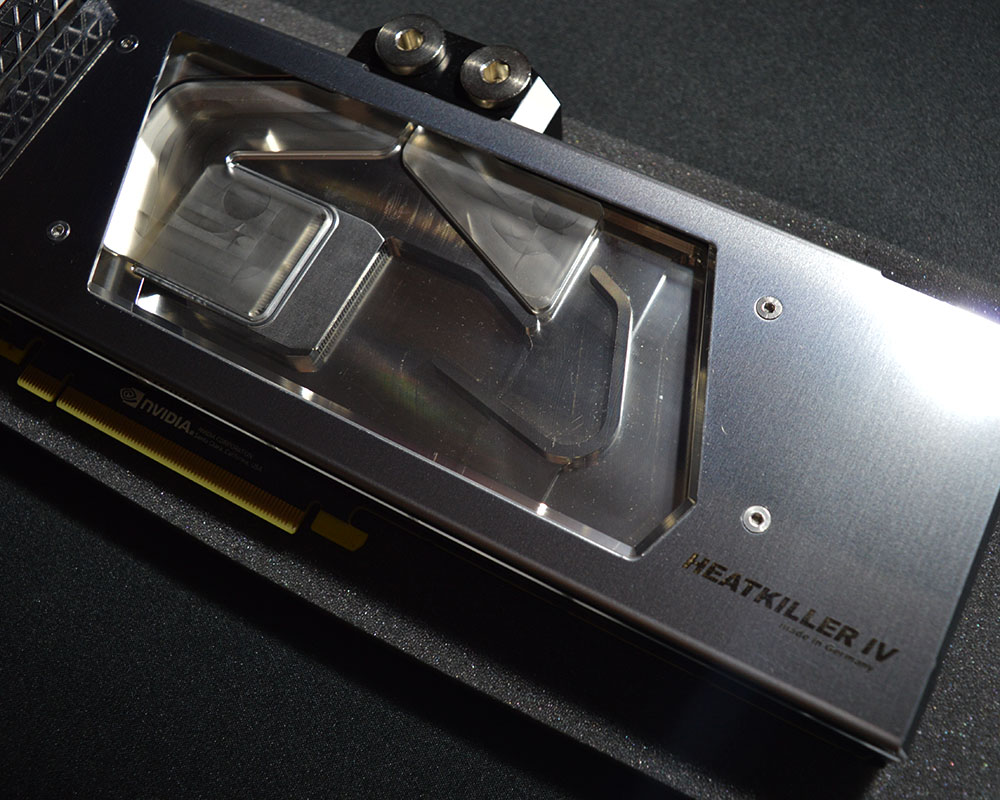
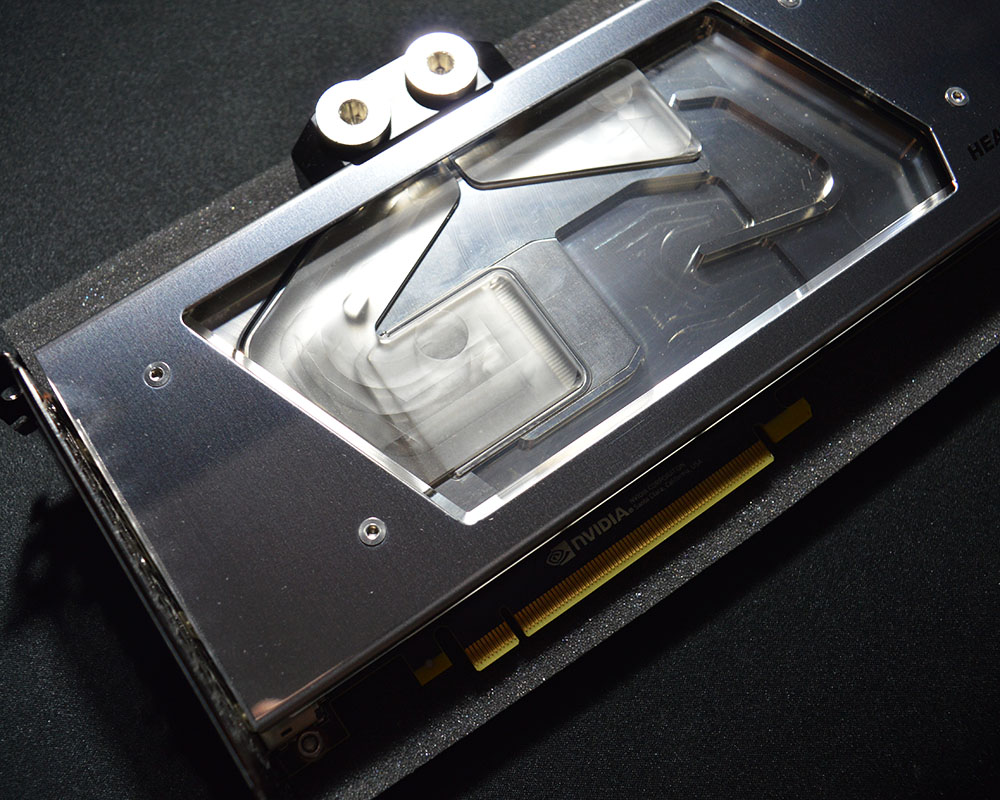
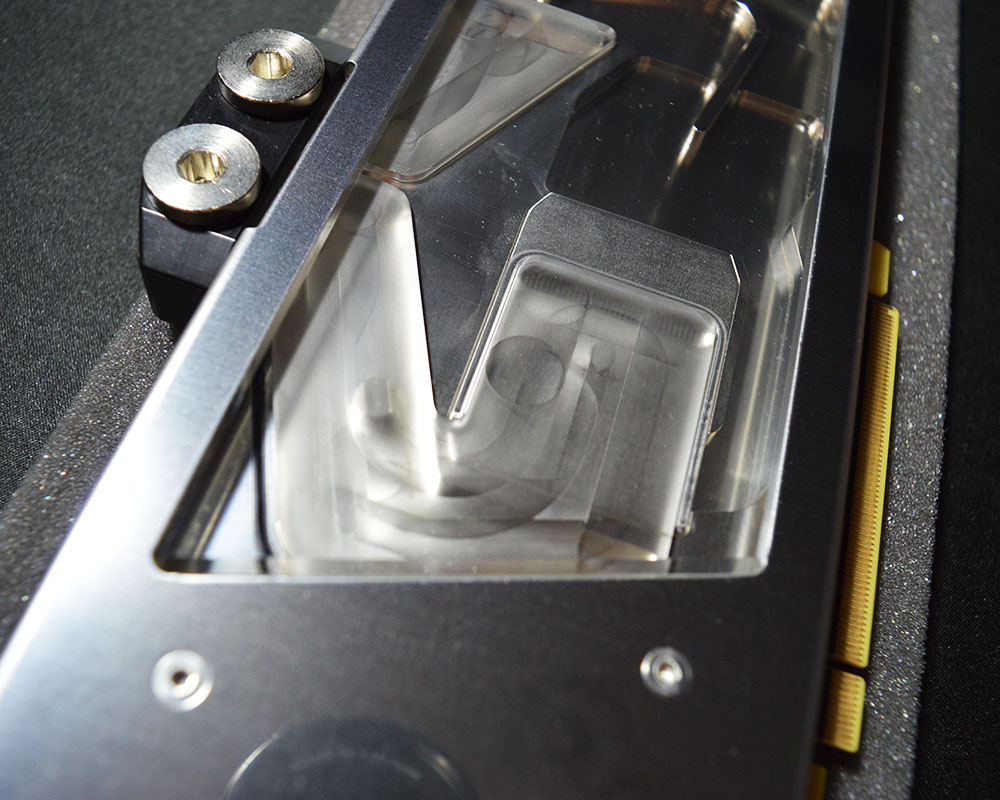
The Heatkiller after installation looks amazing. When we fill it with water then a bit foggy look of the plexiglass will disappear. On the next page you will see additional photos with the Heatkiller IV and the whole test platform during work.

