Performance: Part 2 and ASRock Software
It’s time for a couple of storage tests as the X470 Taichi supports multiple storage devices.
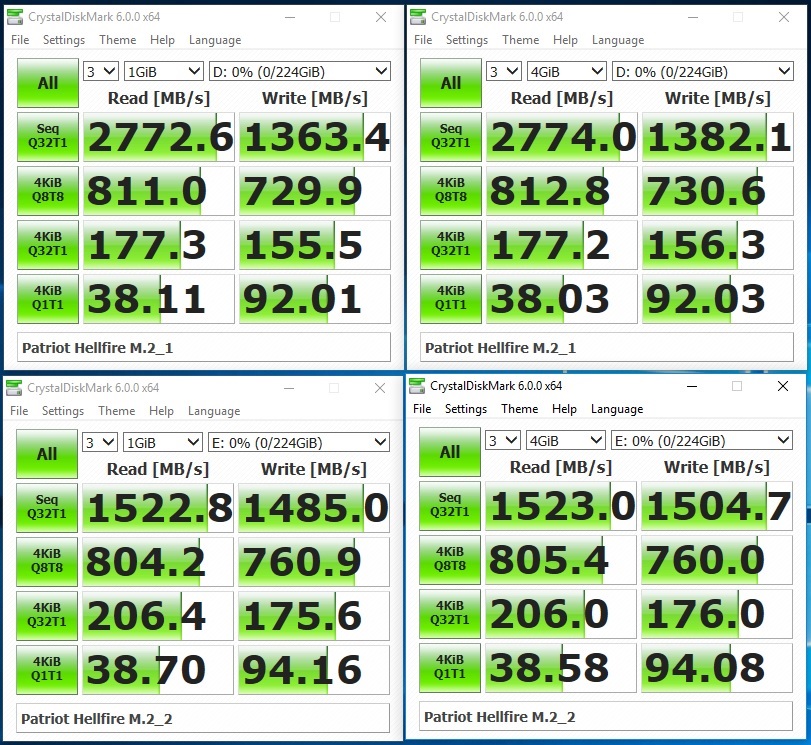
We’ve tested Patriot Hellfire M.2 NVMe SSD in CrystalDiskMark to check the performance using both M.2 sockets. As we know, one is designed for 32 Gbps bandwidth and the other one is linked to fewer PCIe lanes what gives us about half the bandwidth. All that is related to the X470 chipset design so two full speed M.2 sockets wouldn’t be possible and most manufacturers don’t even install two M.2 sockets on AM4 motherboards. ASRock decided to use two M.2 sockets what is a good idea if we wish to have separate drives for operating system and other software like games.
As you can see in the above screenshots, the main difference between sockets makes maximum sequential bandwidth. On the first socket, we could achieve up to 2.8GB/s while on the second, a bit above 1.5GB/s. If we used the highest speed NVMe SSD then we could count on slightly better results.
Below are results on both M.2 sockets and SATA SSD. The first result is Patriot Hellfire in the first M.2 socket. The second result is Patriot Hellfire in the second M.2 socket and the third result is HyperX Savage SATA SSD.
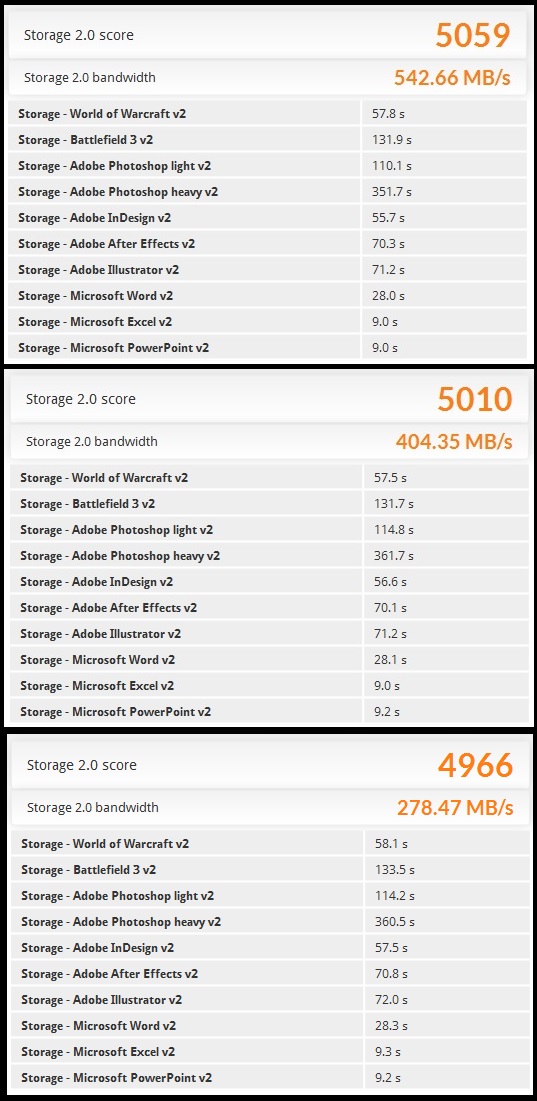
We can see that all results are high for the used interface. What else we can see is that differences in tests are not so high, even though total score says otherwise. What I mean is that no matter what drive we use, it’s good it’s any modern SSD as the difference between the HDD and SSD is huge while the difference between various SSD not so much. At least if we play games then we won’t really see that and then multiple drives may be a better idea than one expensive and top speed drive. This is also a good reason to have two M.2 sockets as I mentioned earlier.
Software
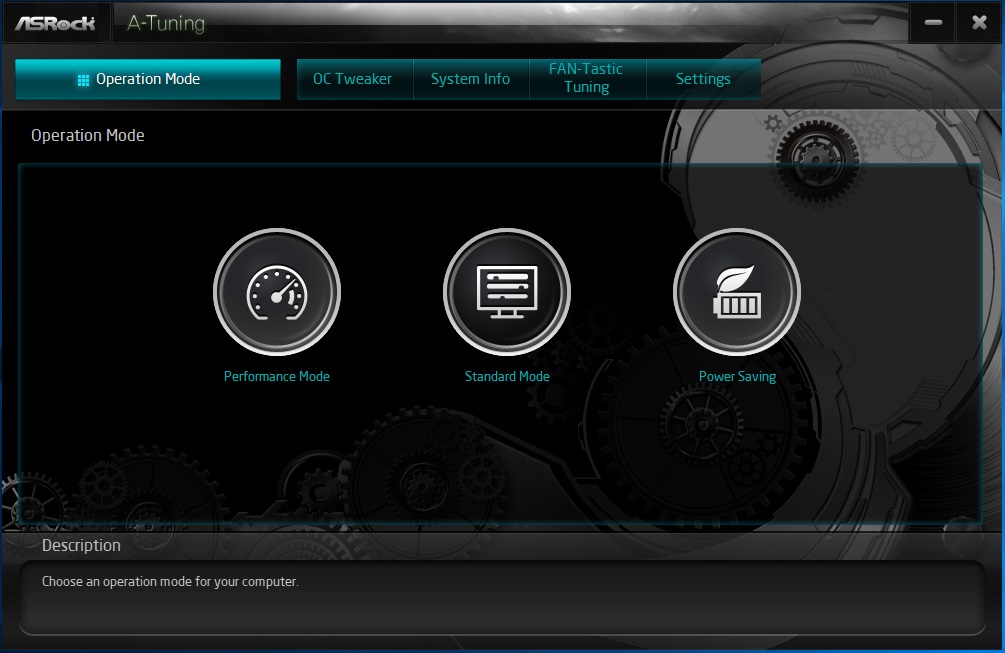
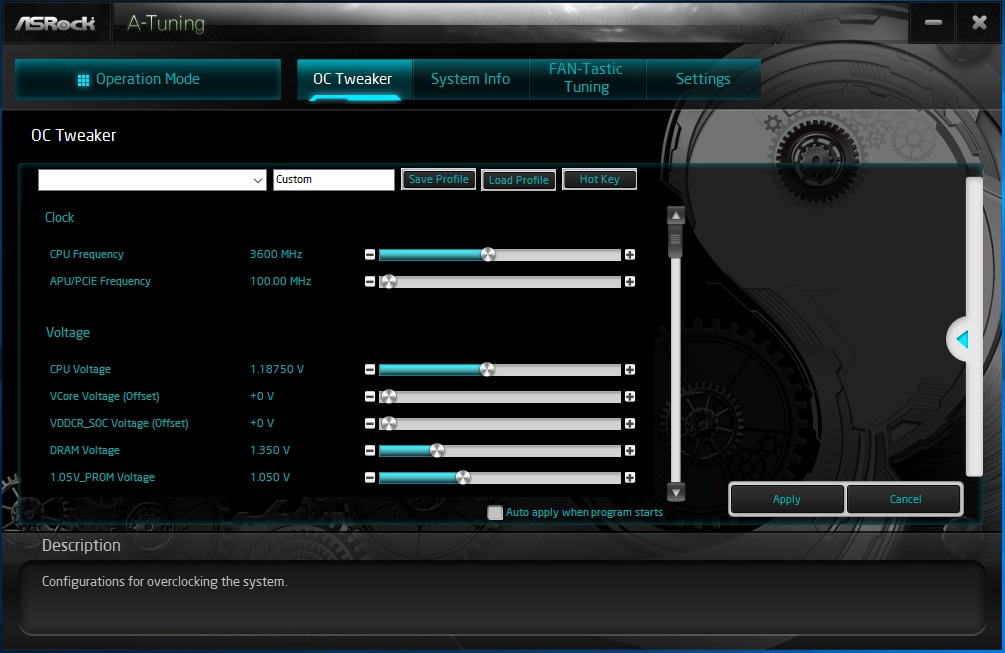
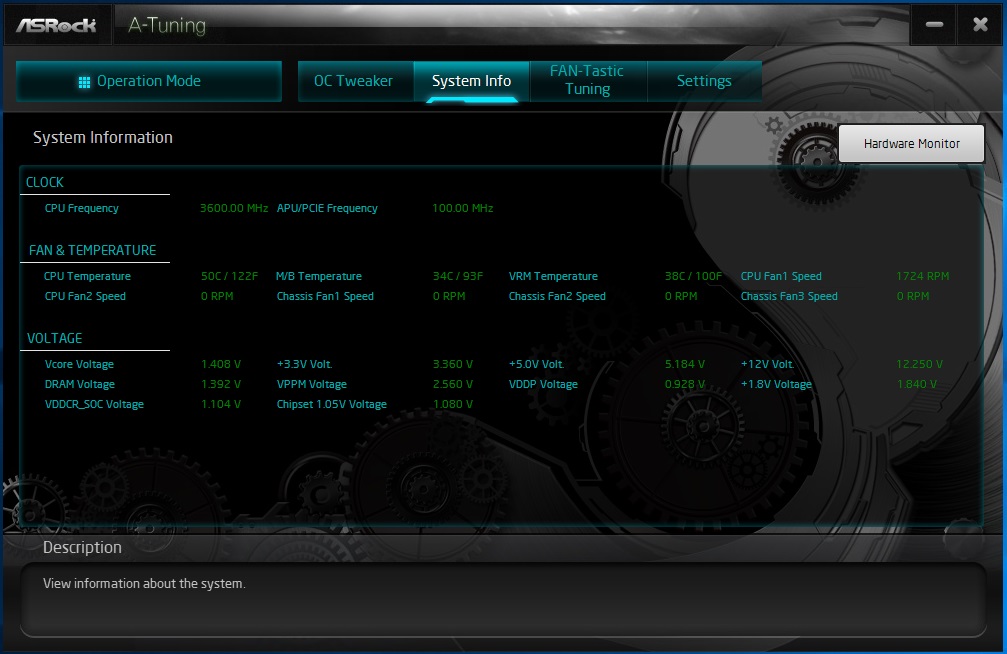
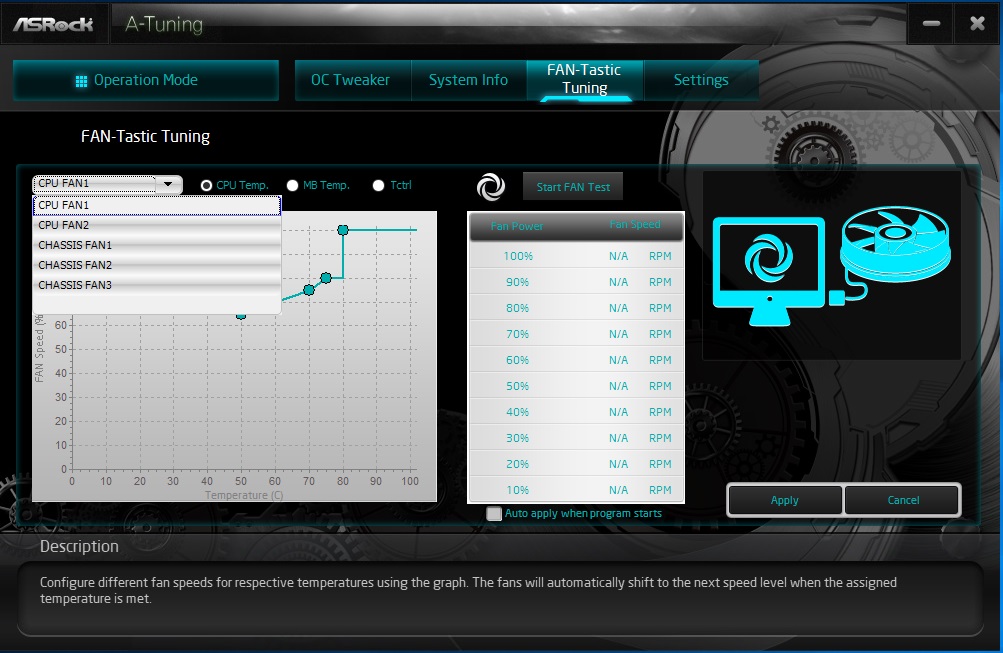
ASRock is adding a couple of applications and some of them are almost the same for various motherboard models. The most interesting is A-tuning and Polychrome RGB.
The first one helps us to monitor PC sensors, fan speed and voltages. We are able to set various fan profiles without the need of entering BIOS and we are able to overclock the CPU and memory. Pretty much everything we may need.
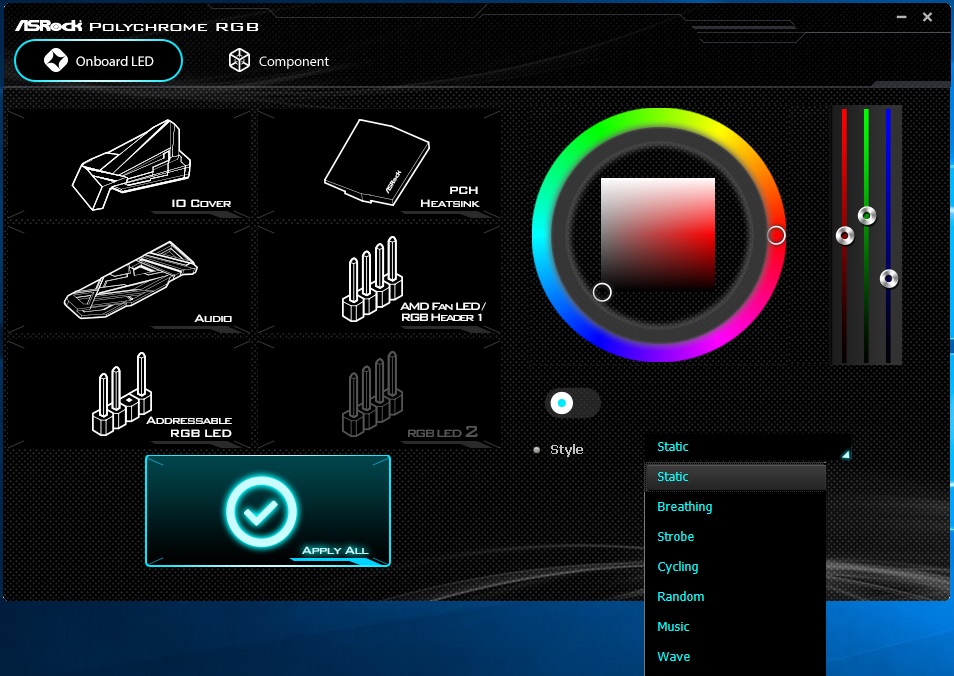
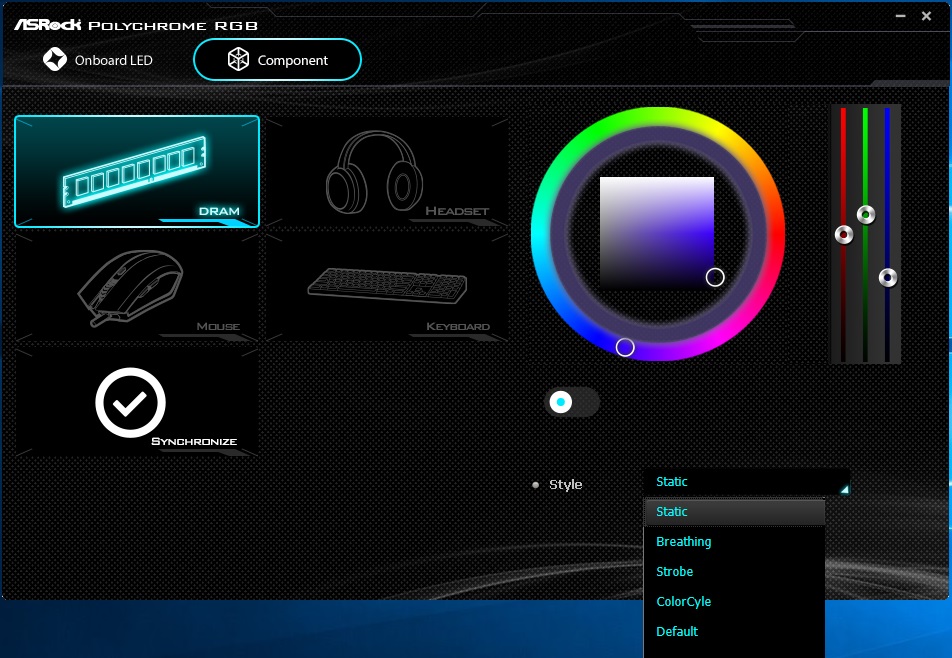
The second one helps us to manage the lighting of the motherboard and additional components. As you can see below we are able to pick one of many modes for motherboard LEDs, additional RGB connectors, IO covers, RAM, mouse, keyboard, and headset.