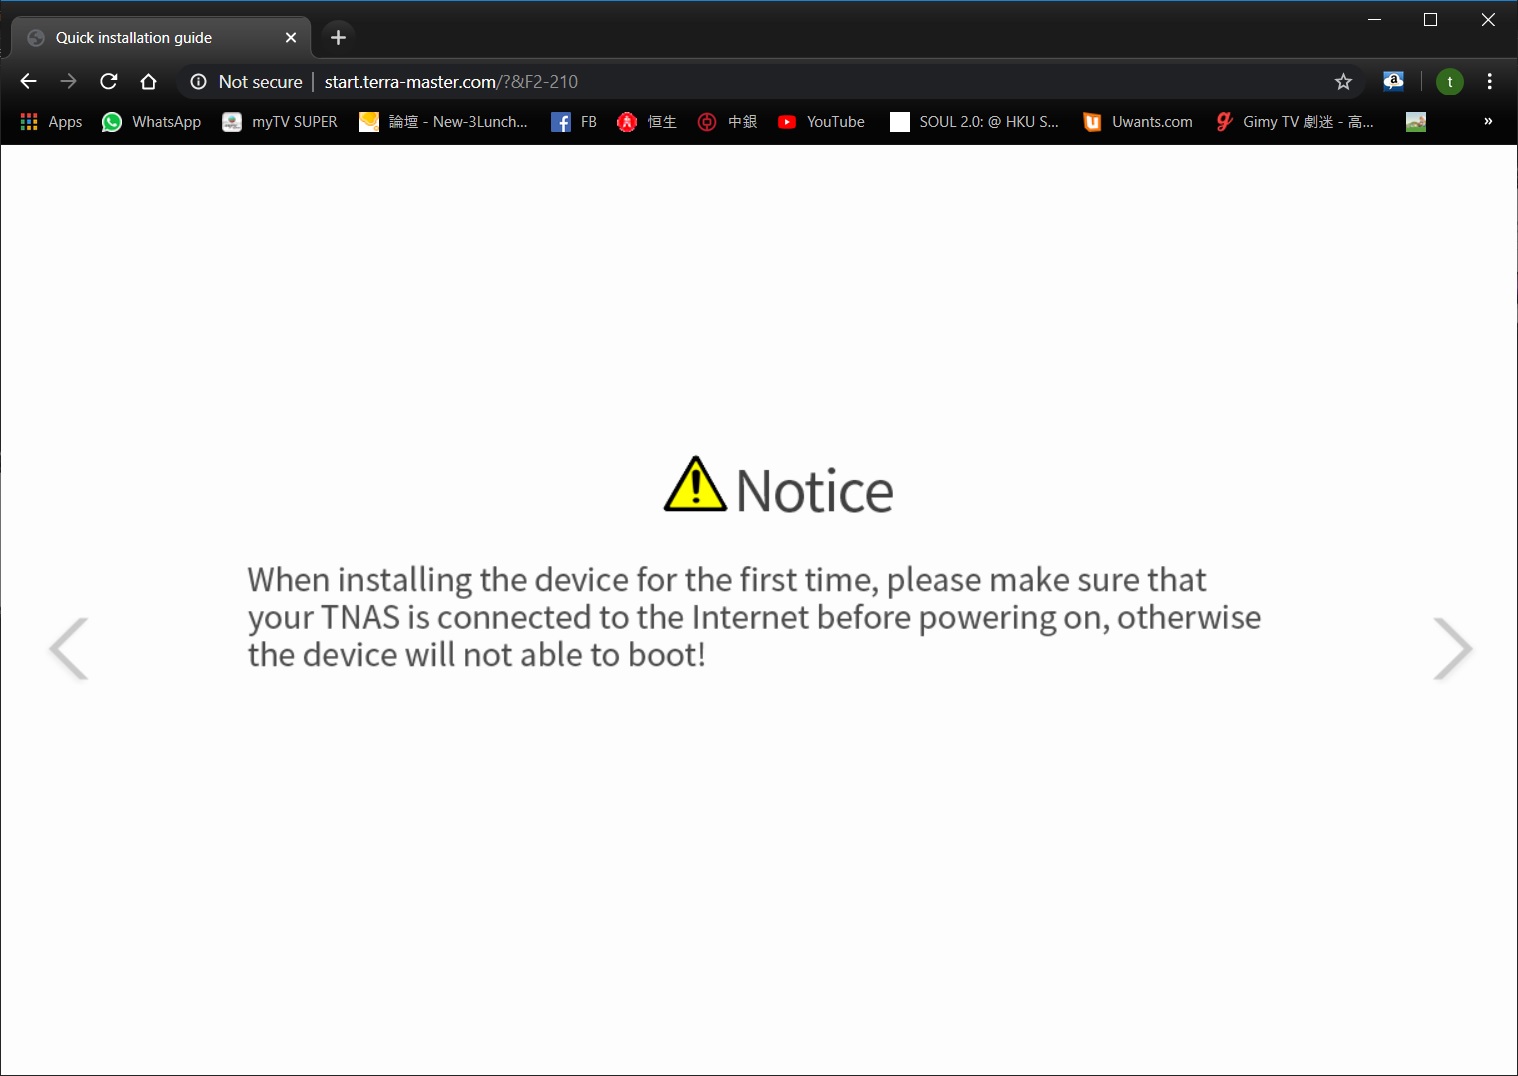
Before software installation
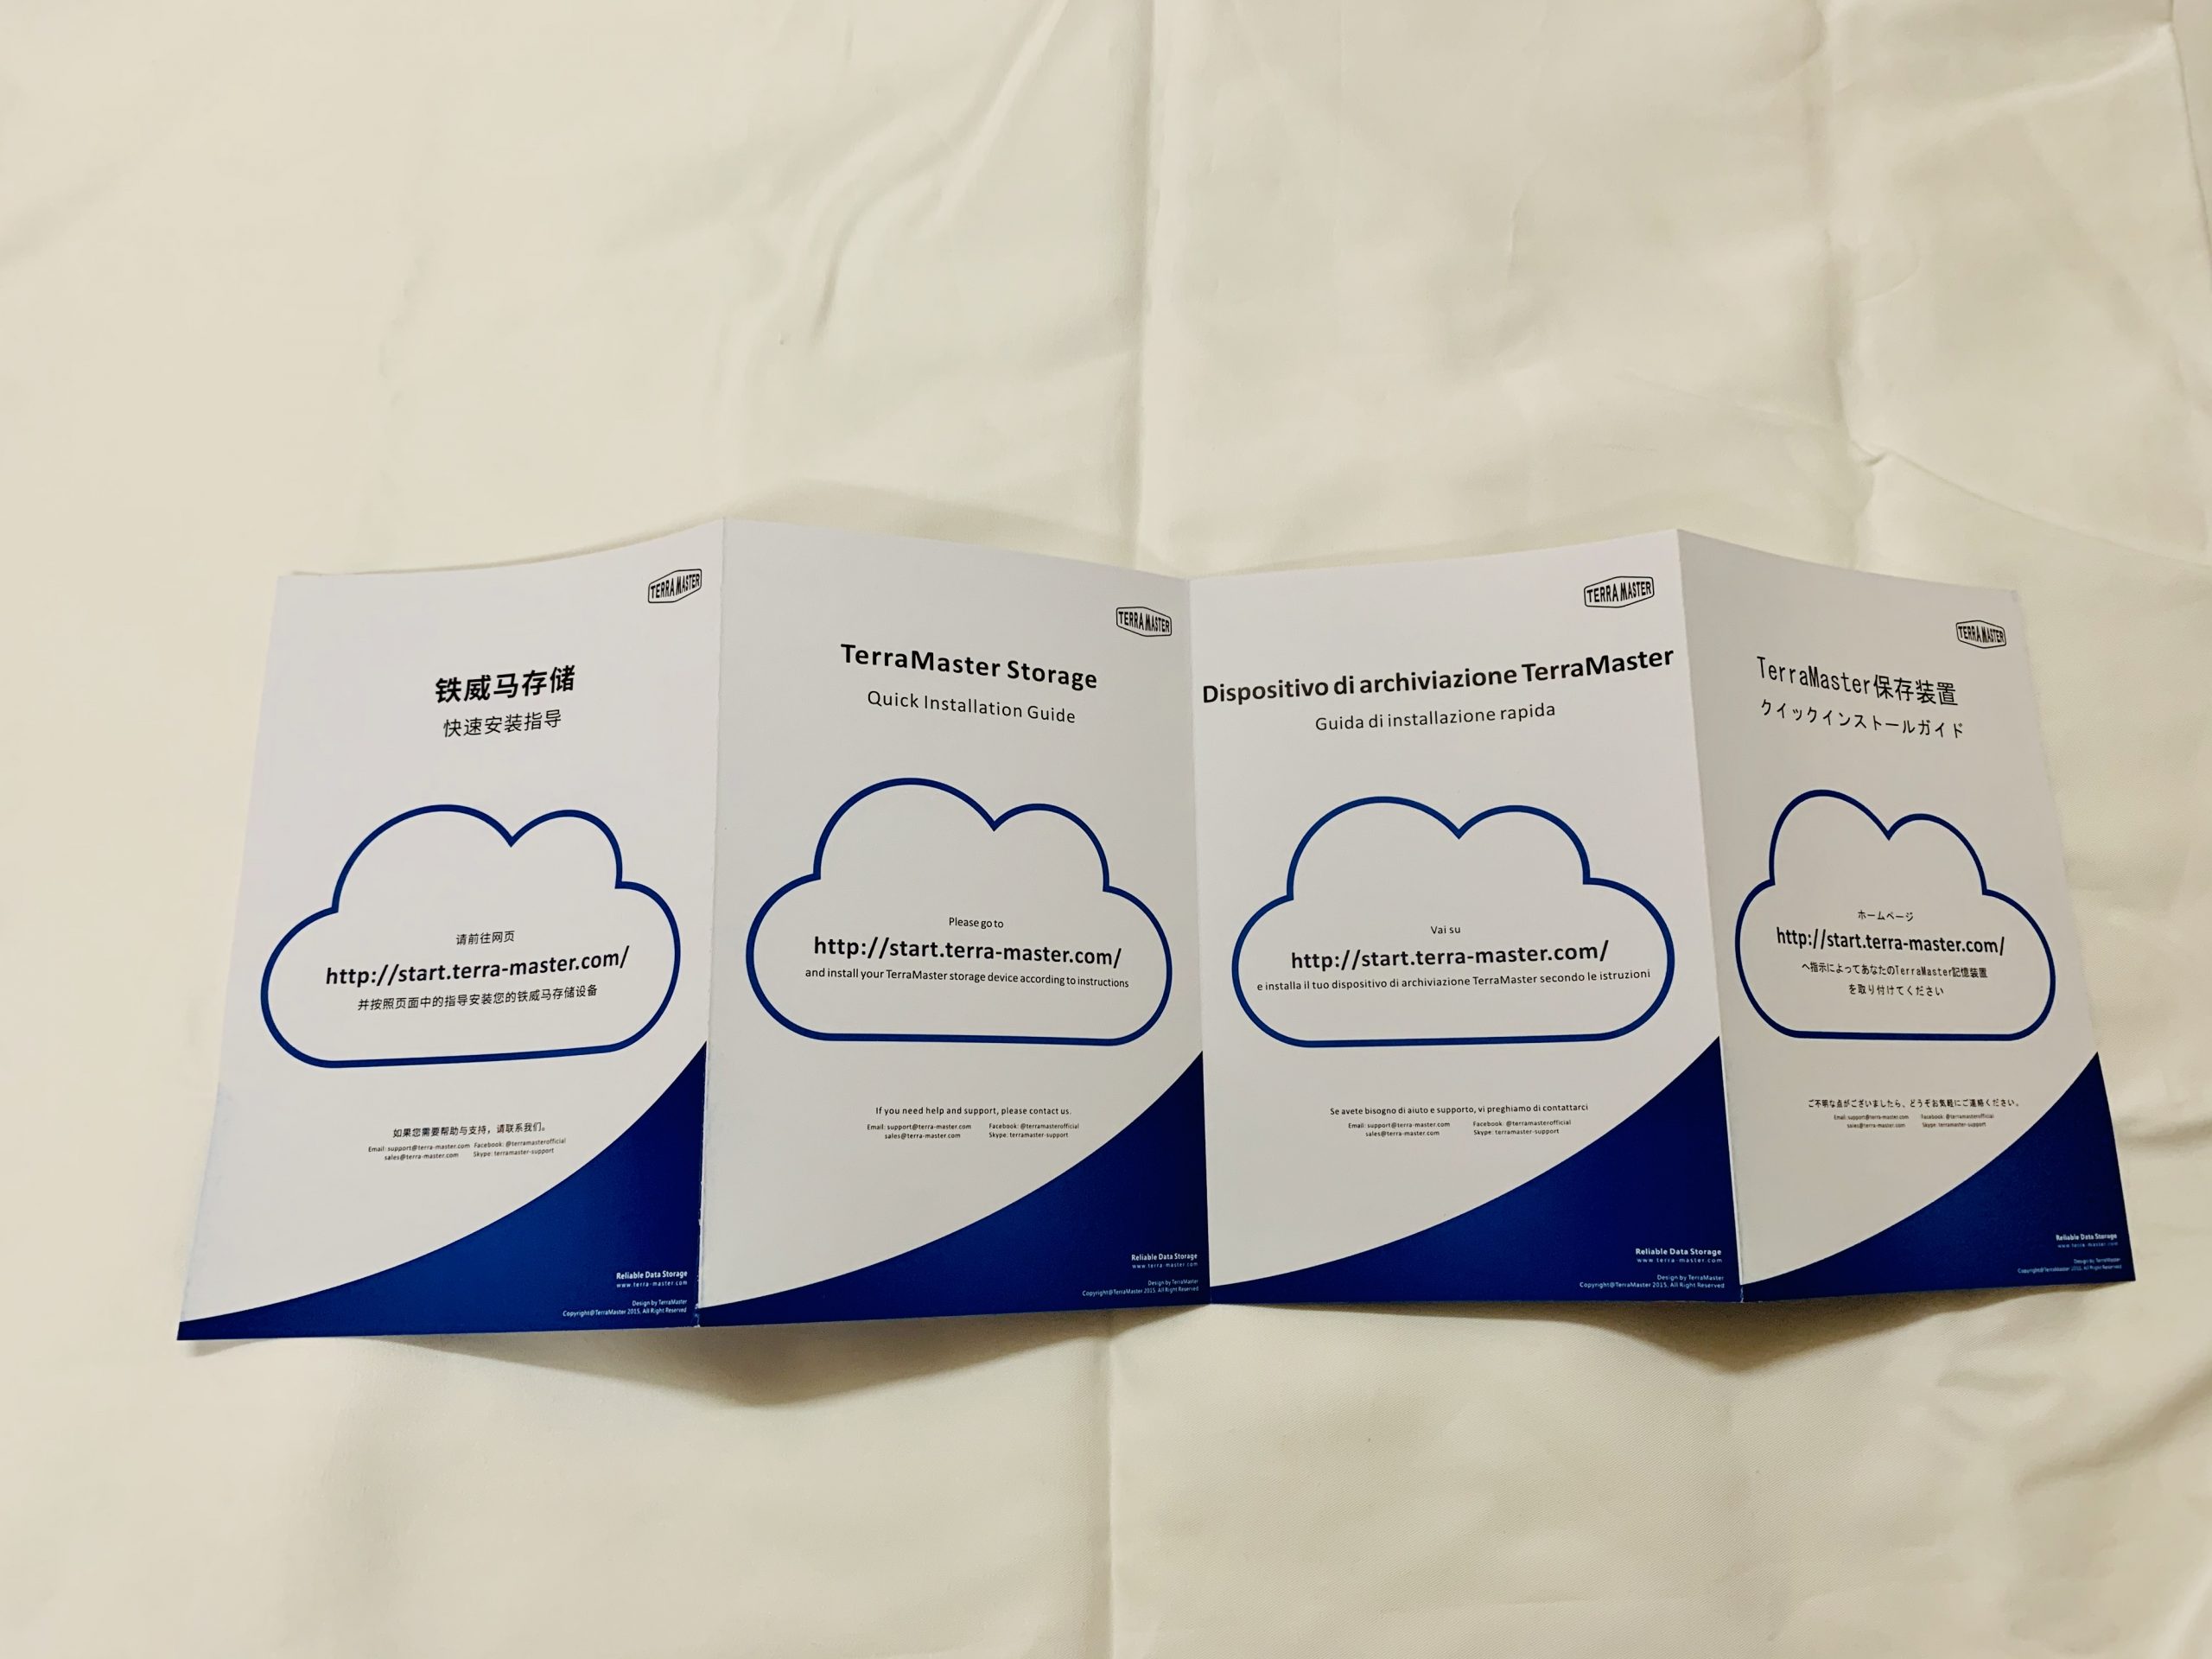
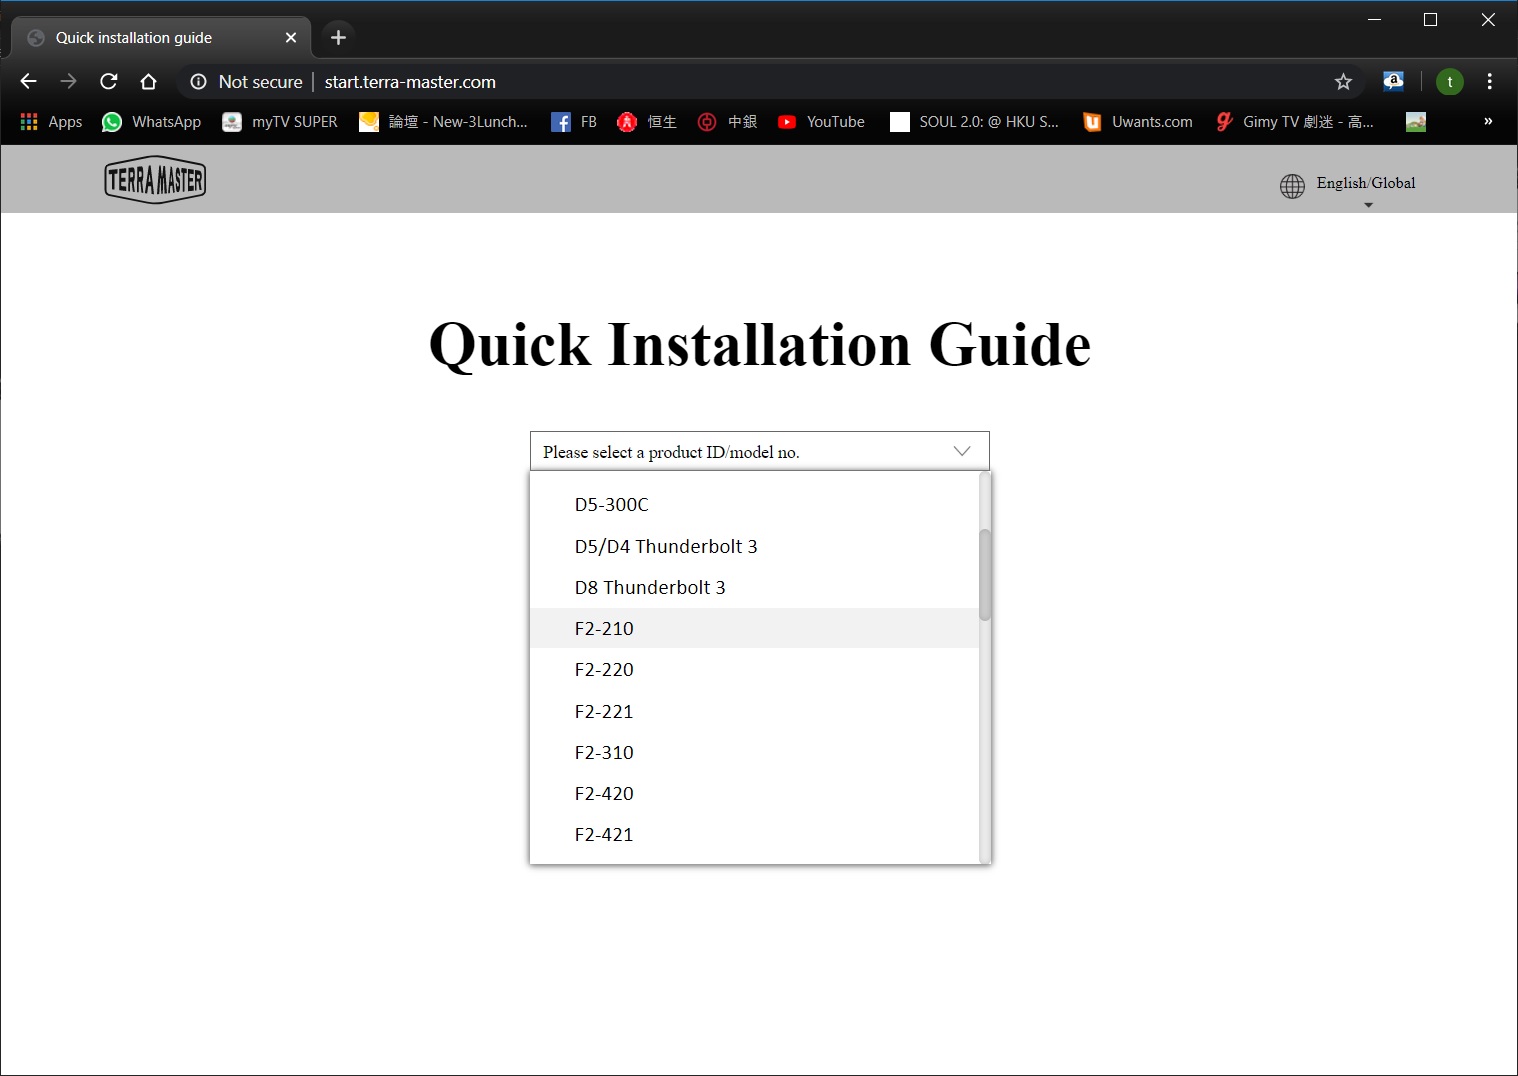
After opening the box, I found this manual. The entire manual does not explain how to install the NAS. Each page shows different languages and requires you to go to this website .. Download instruction …

TNAS PC software installation
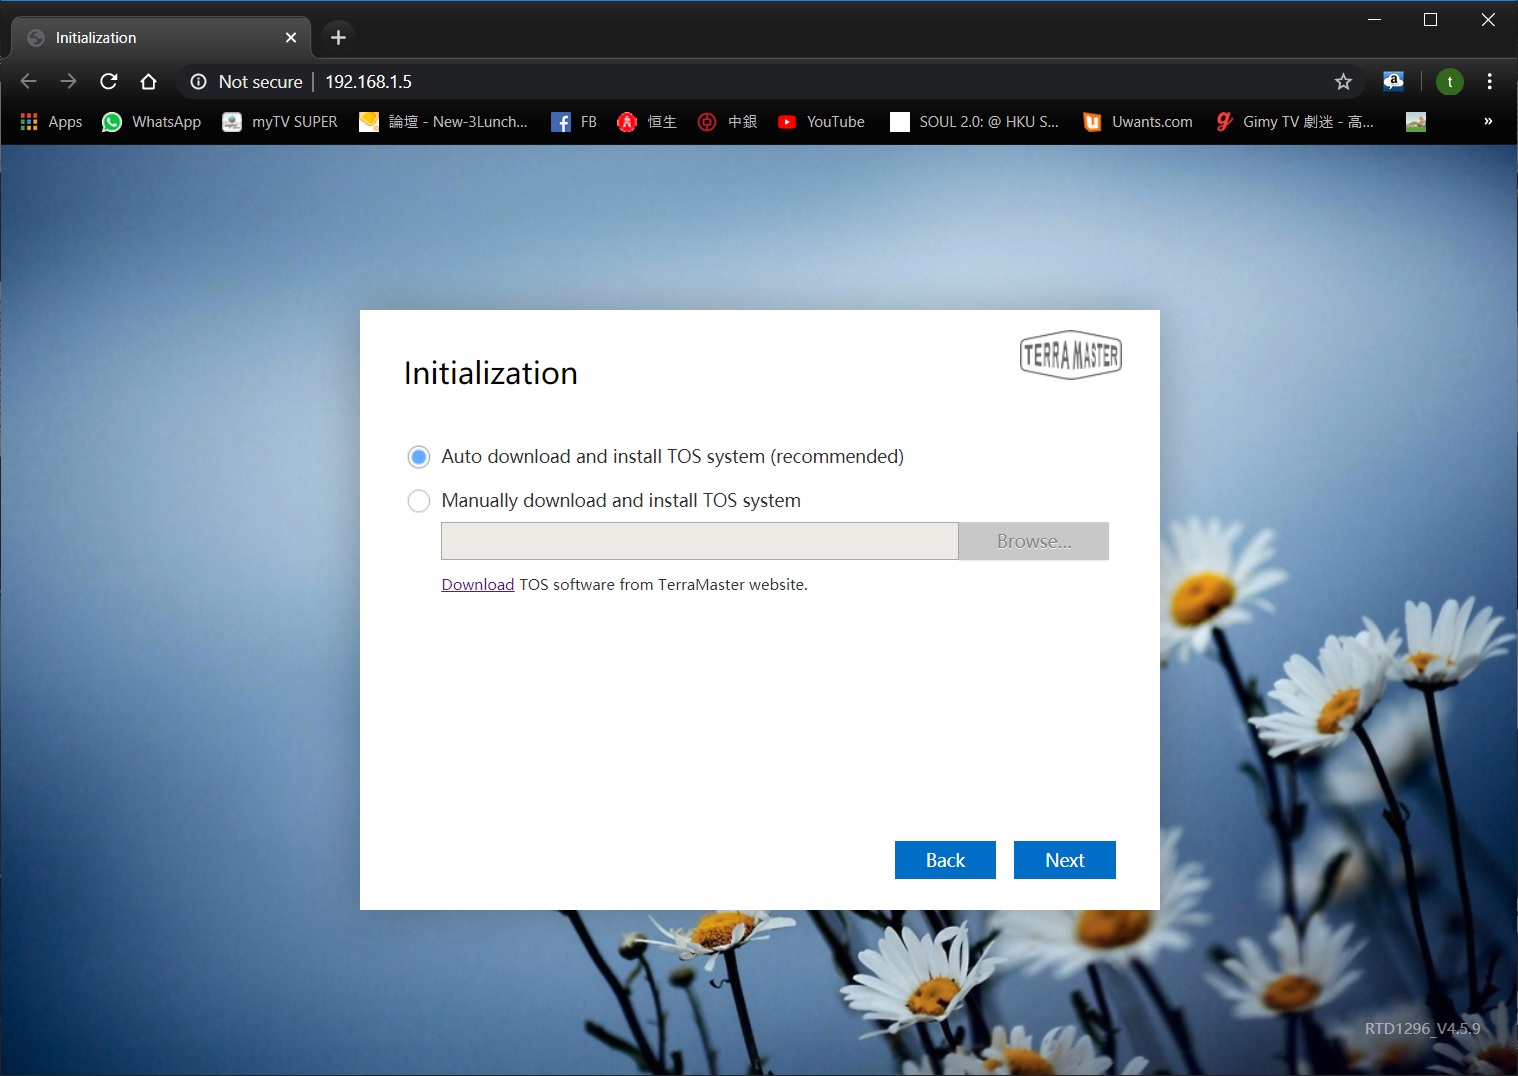
TERRA MASTER F2-210 NAS requires you to download and install the TNAS PC software, then open this software, press login

Then you will go to the following page. Next follow the steps below to install step by step, the process was originally smooth, but …


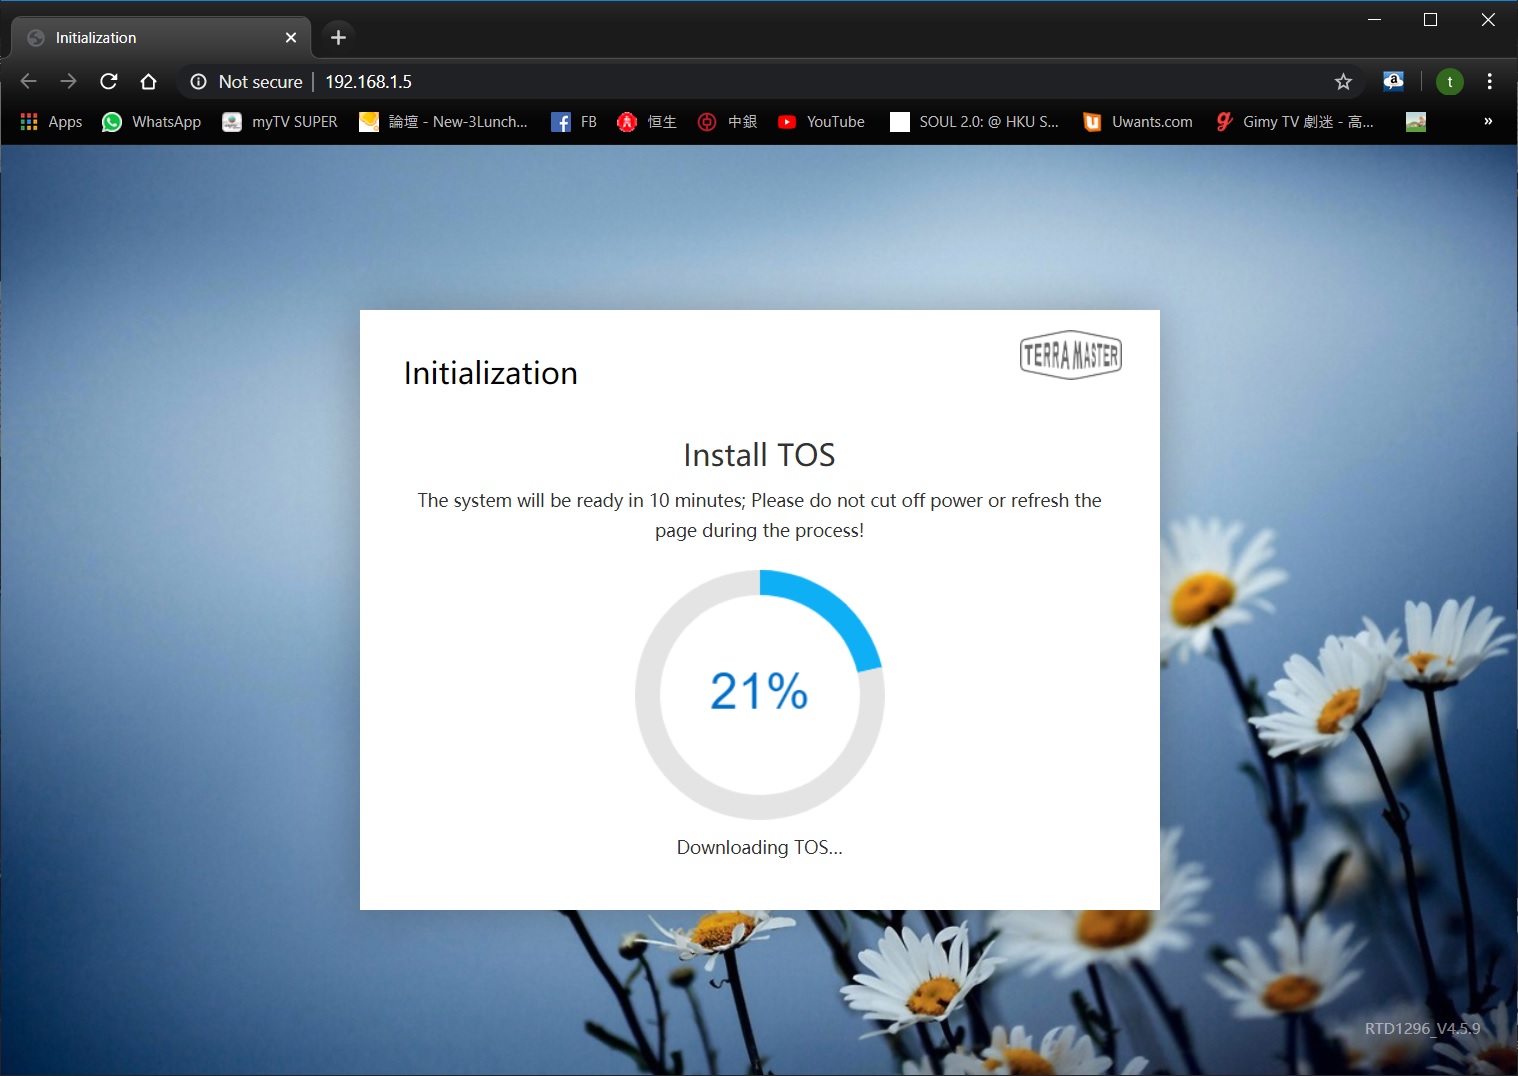
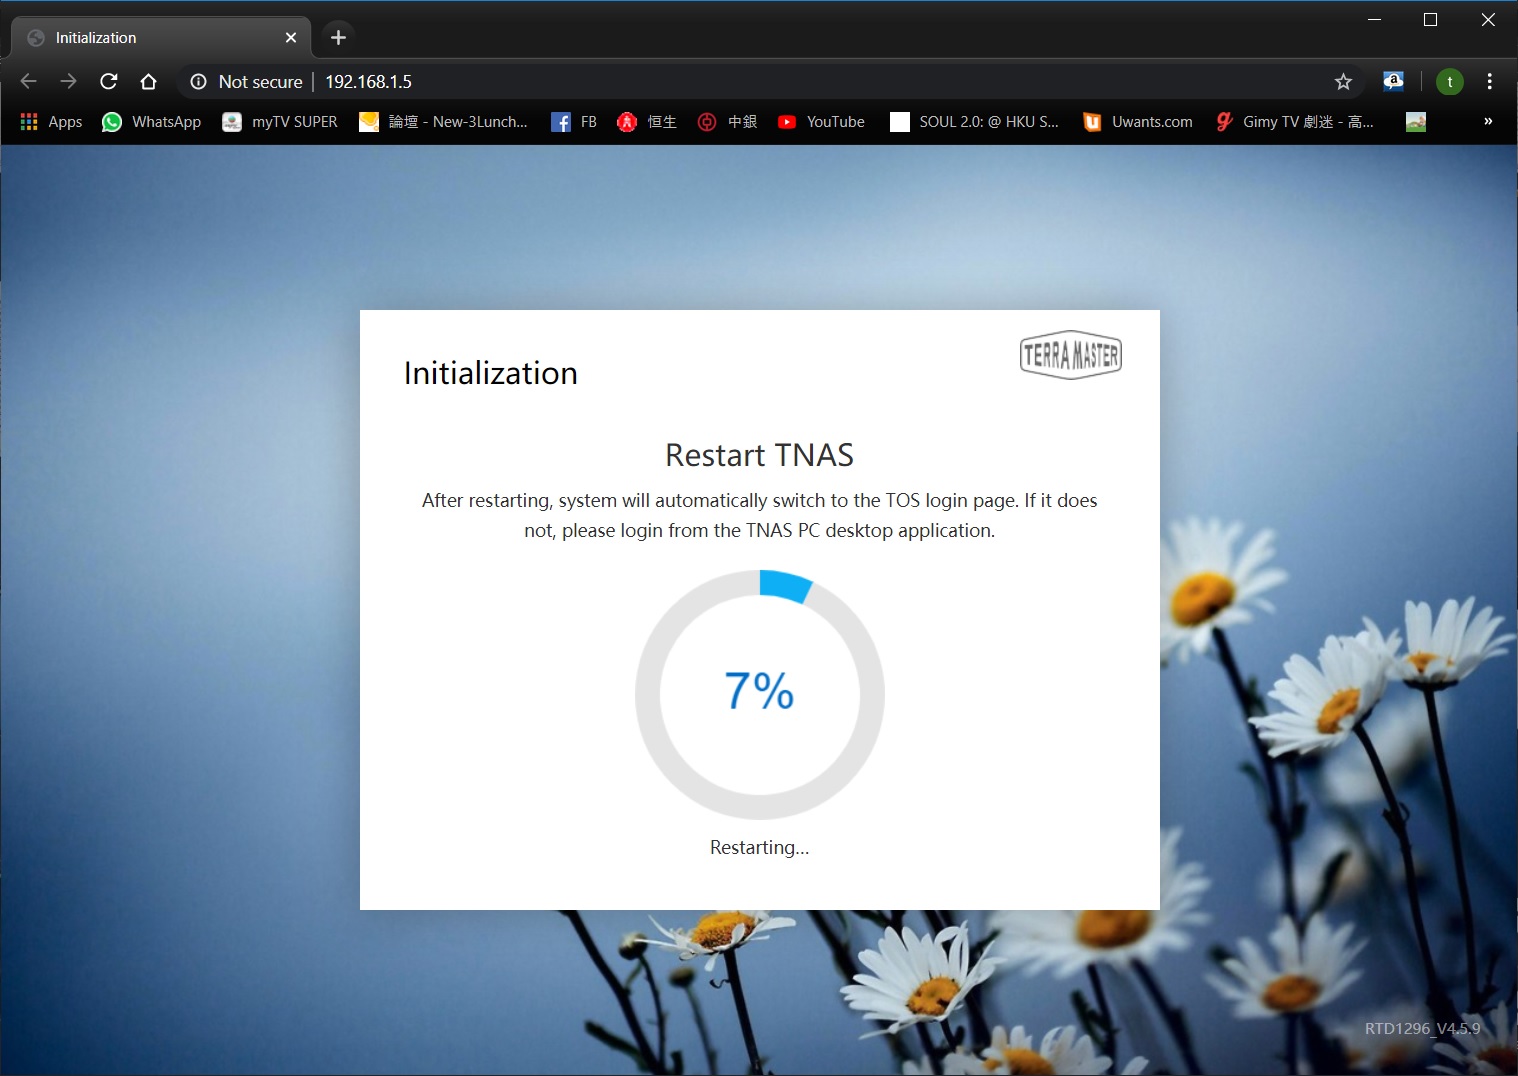
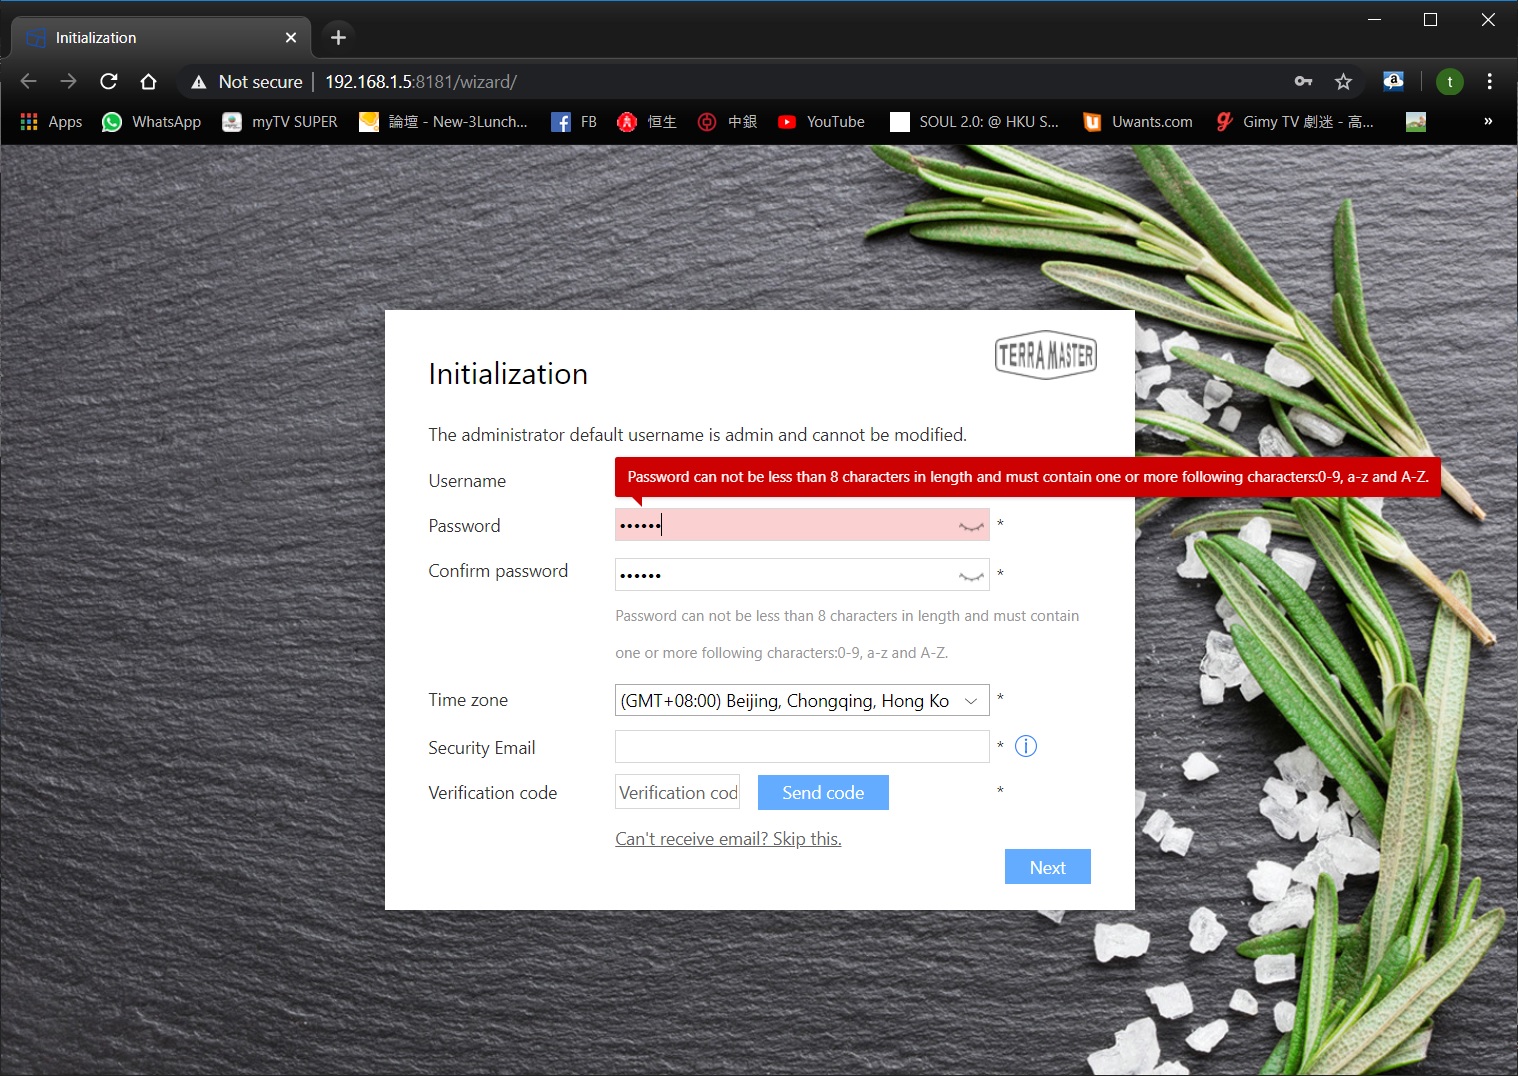

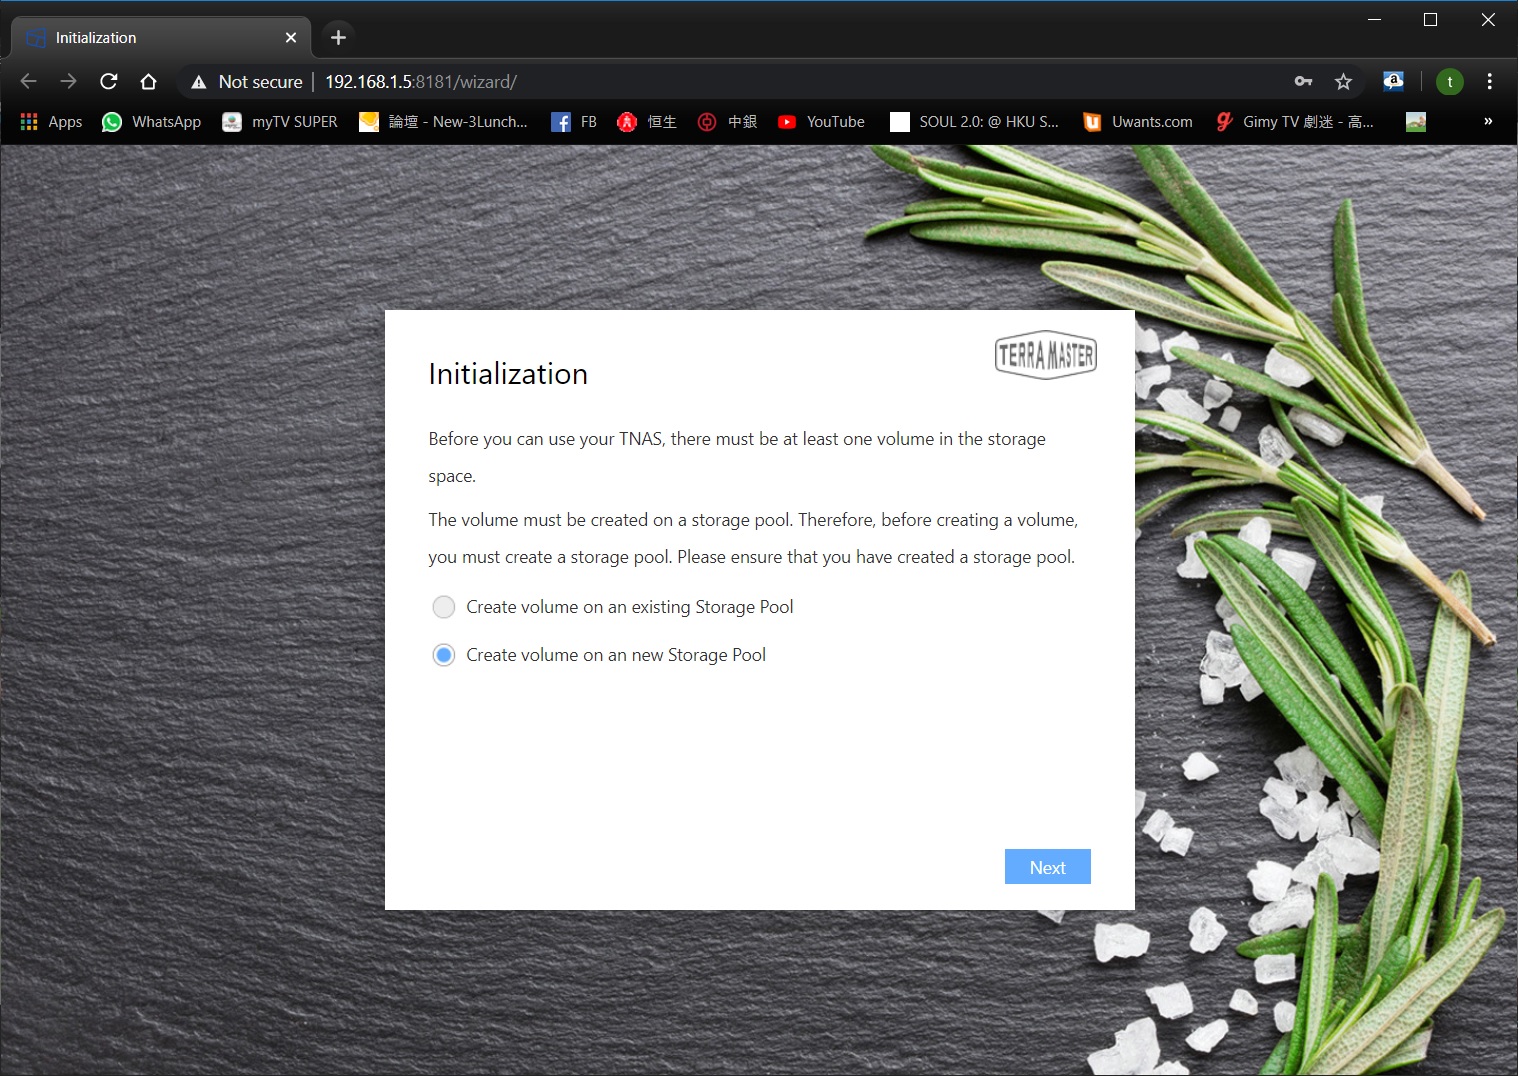
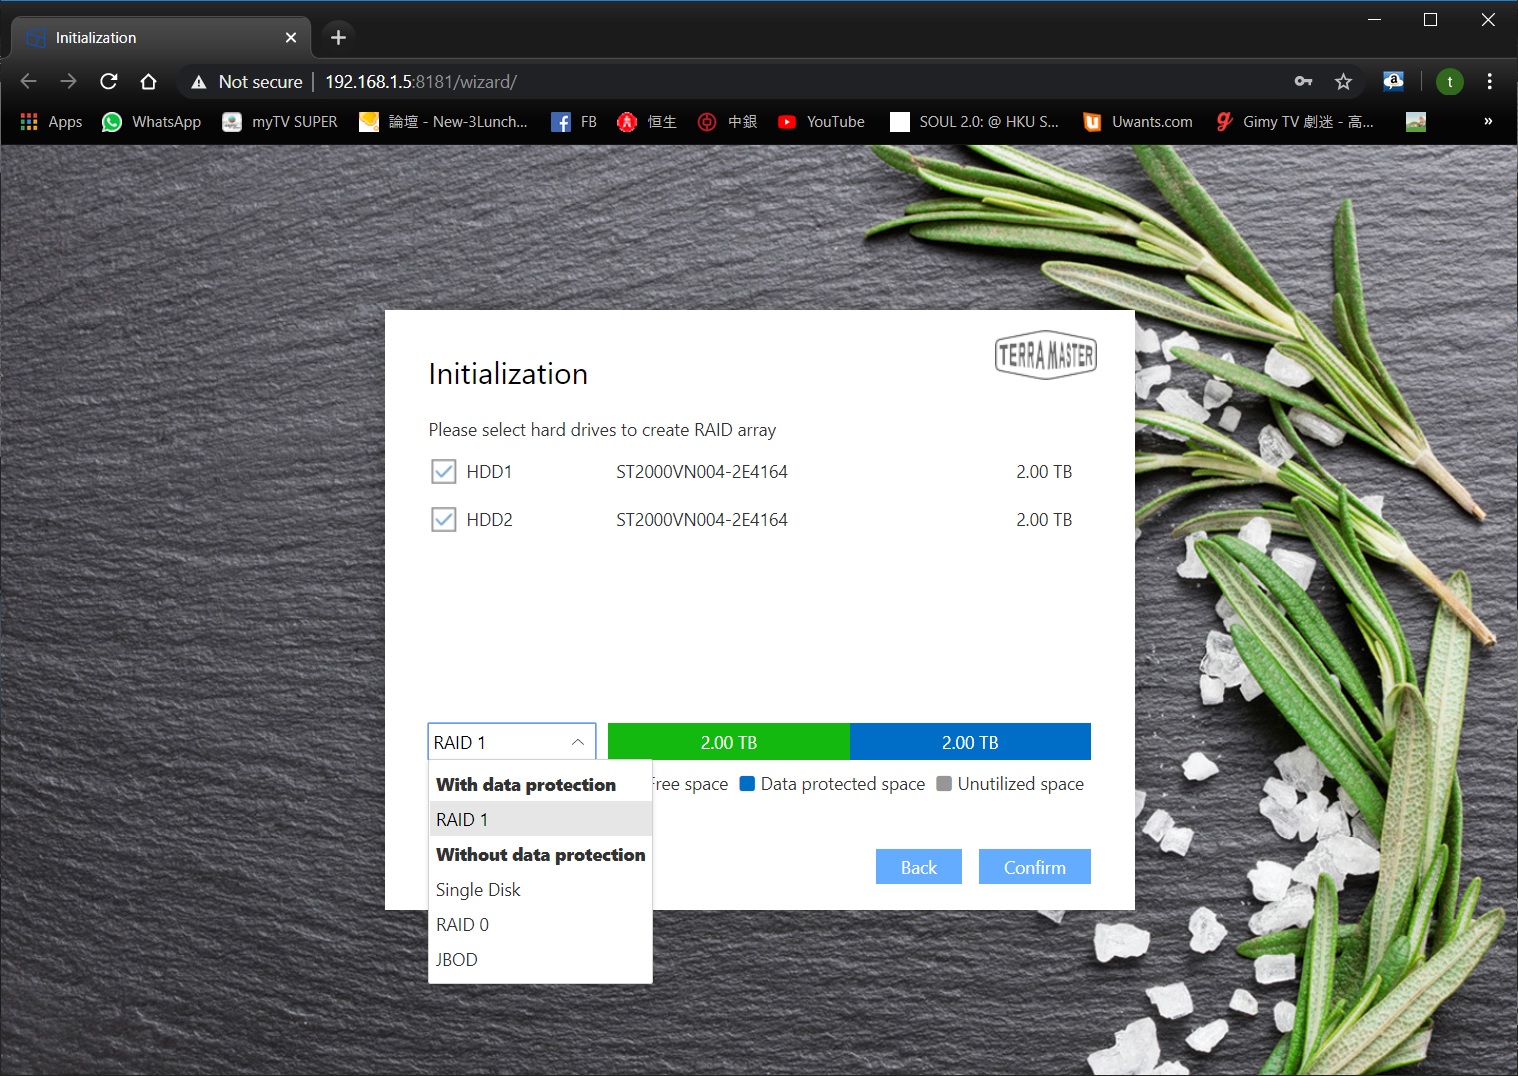

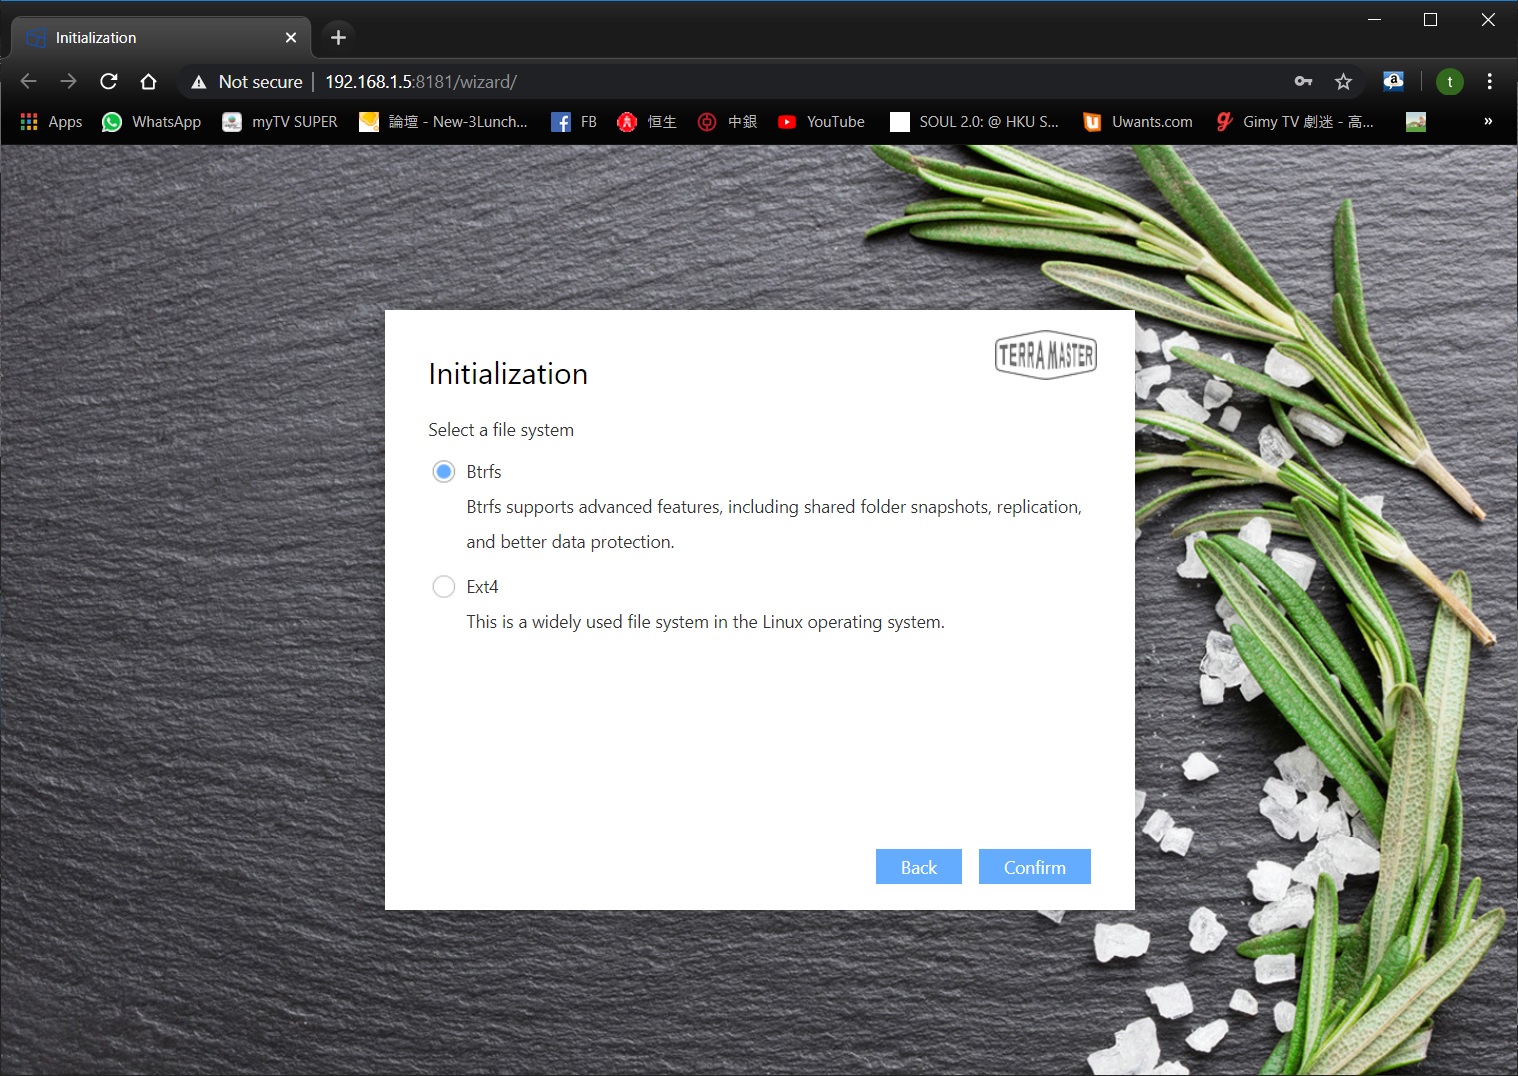
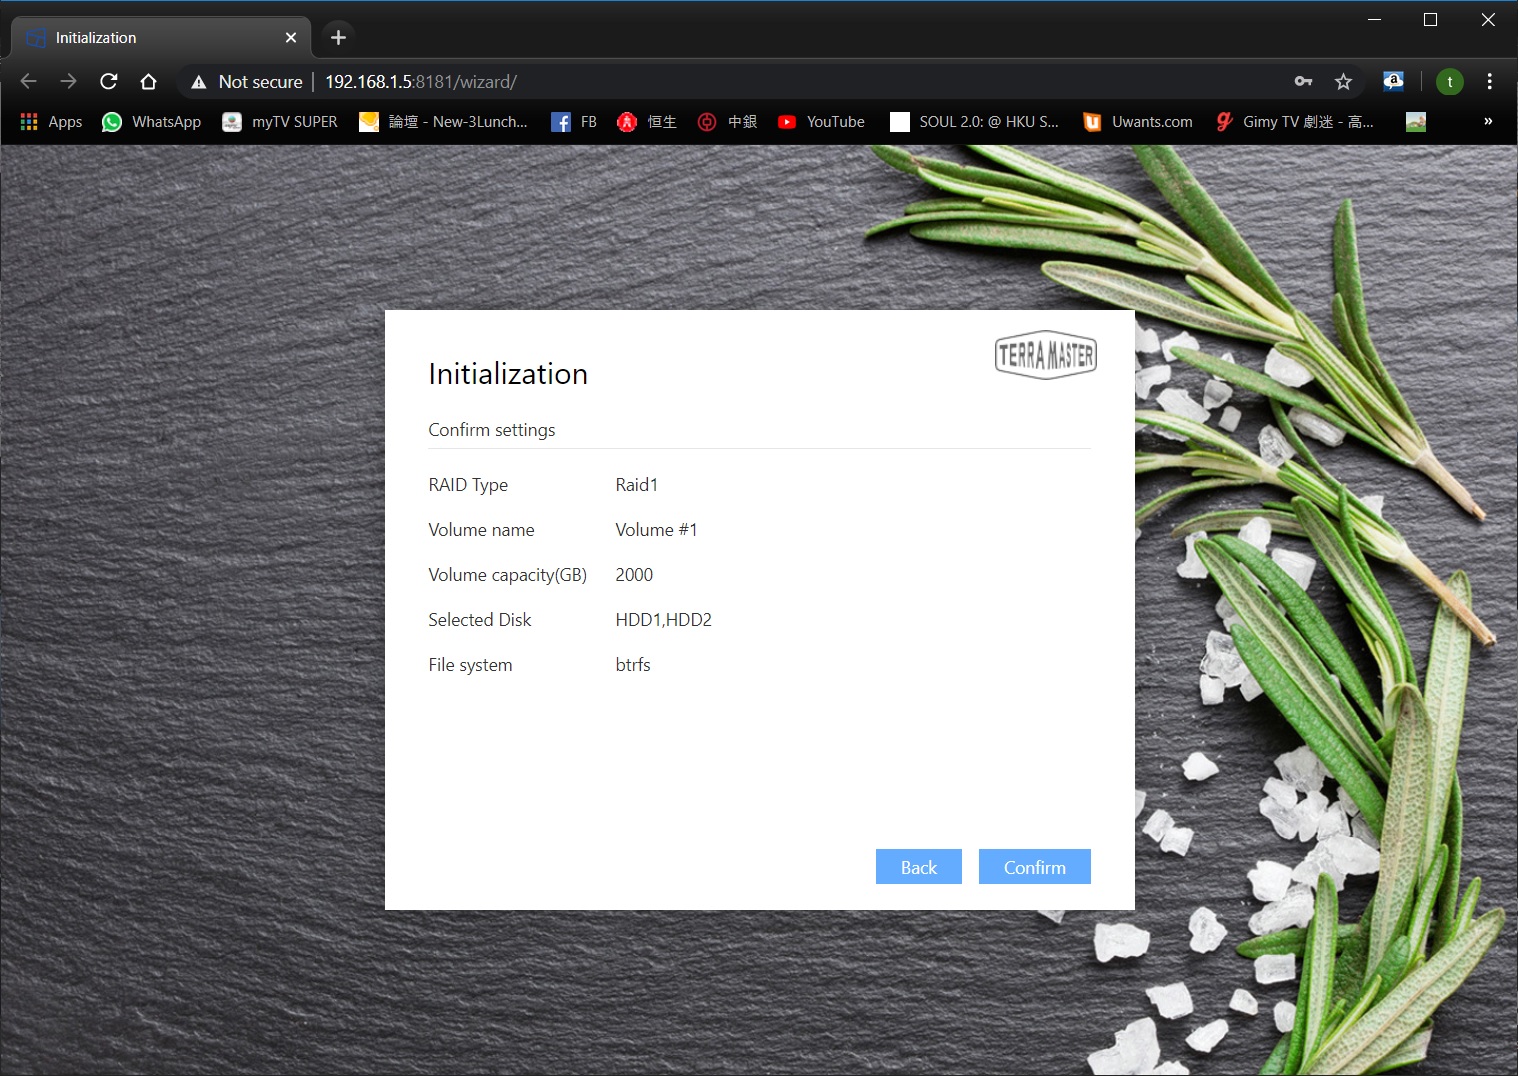
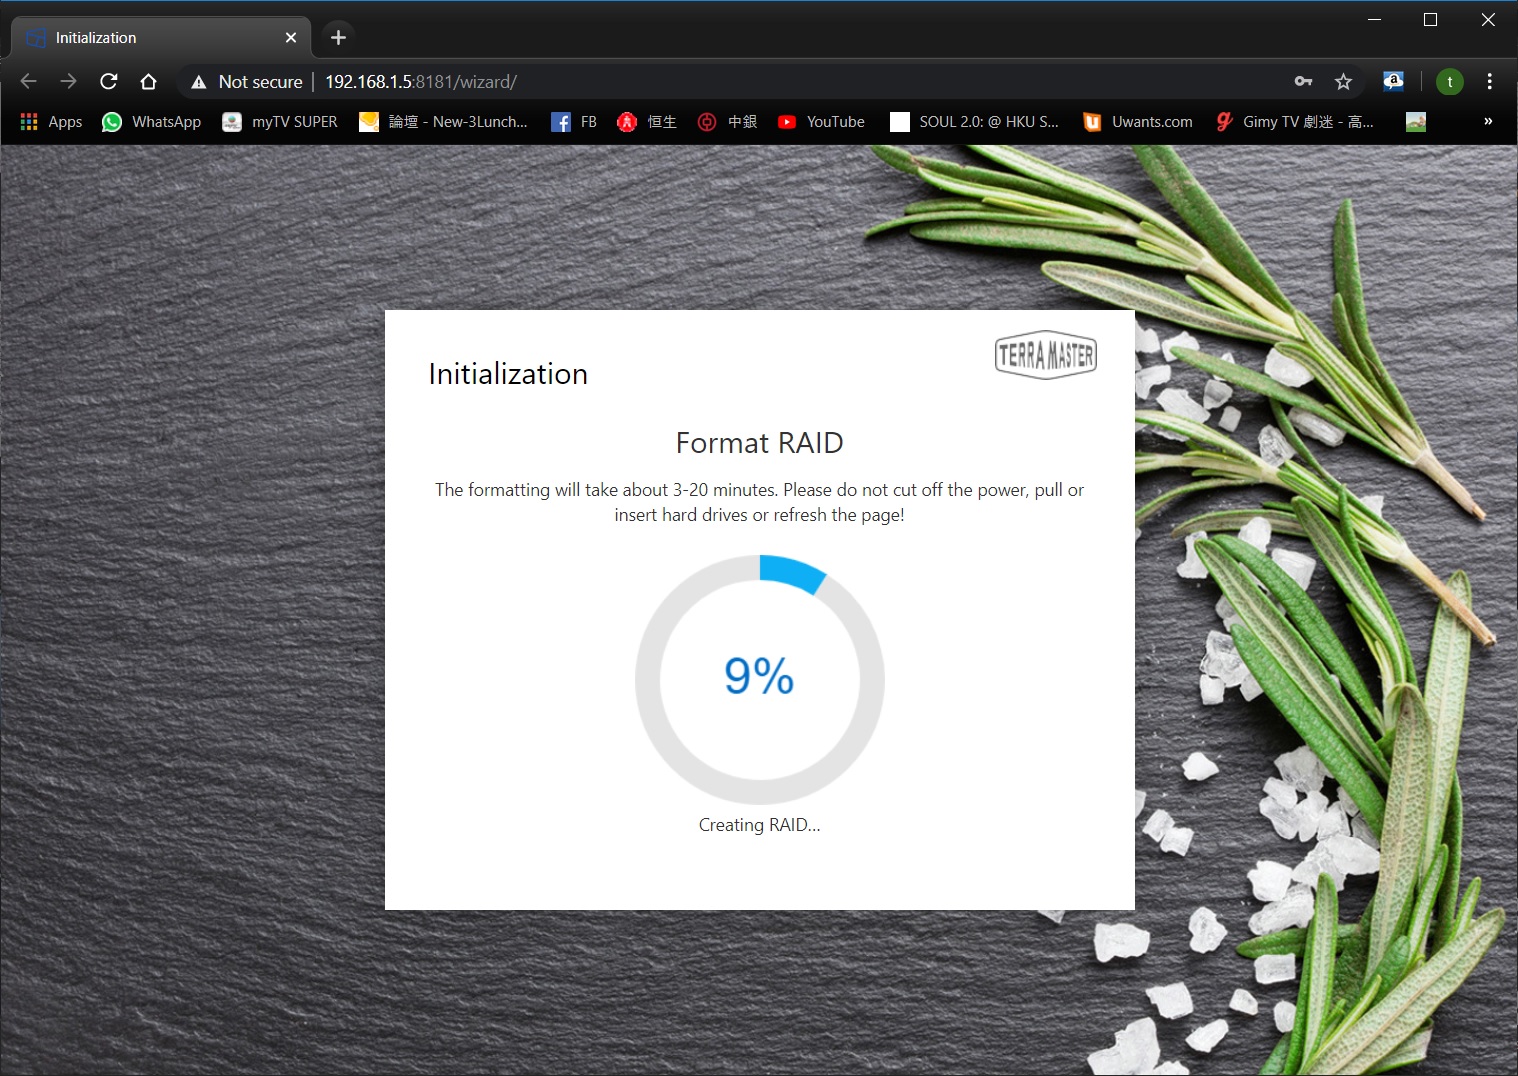
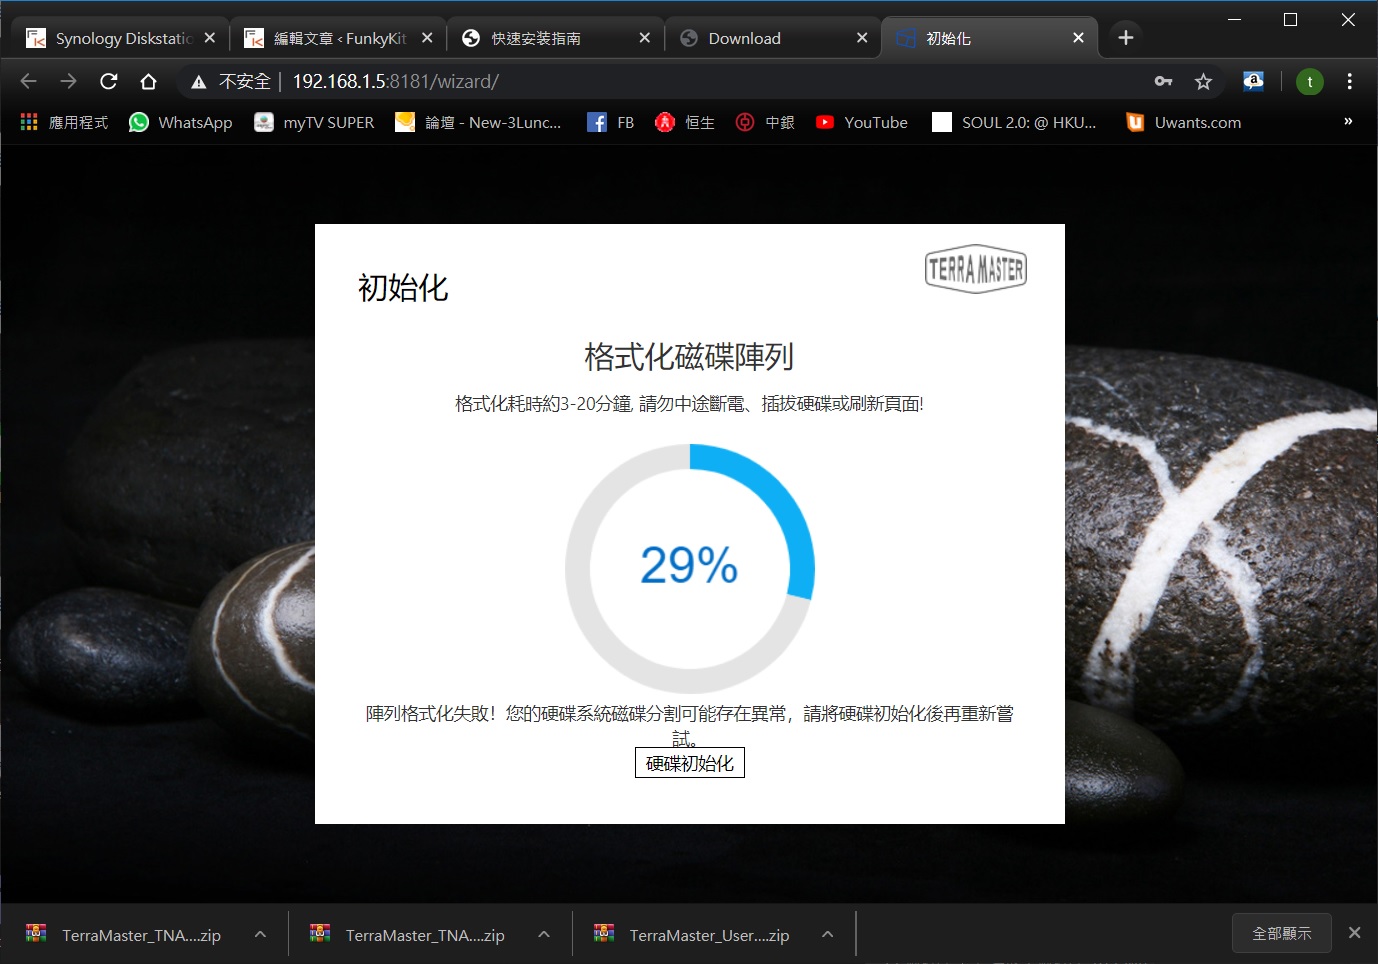
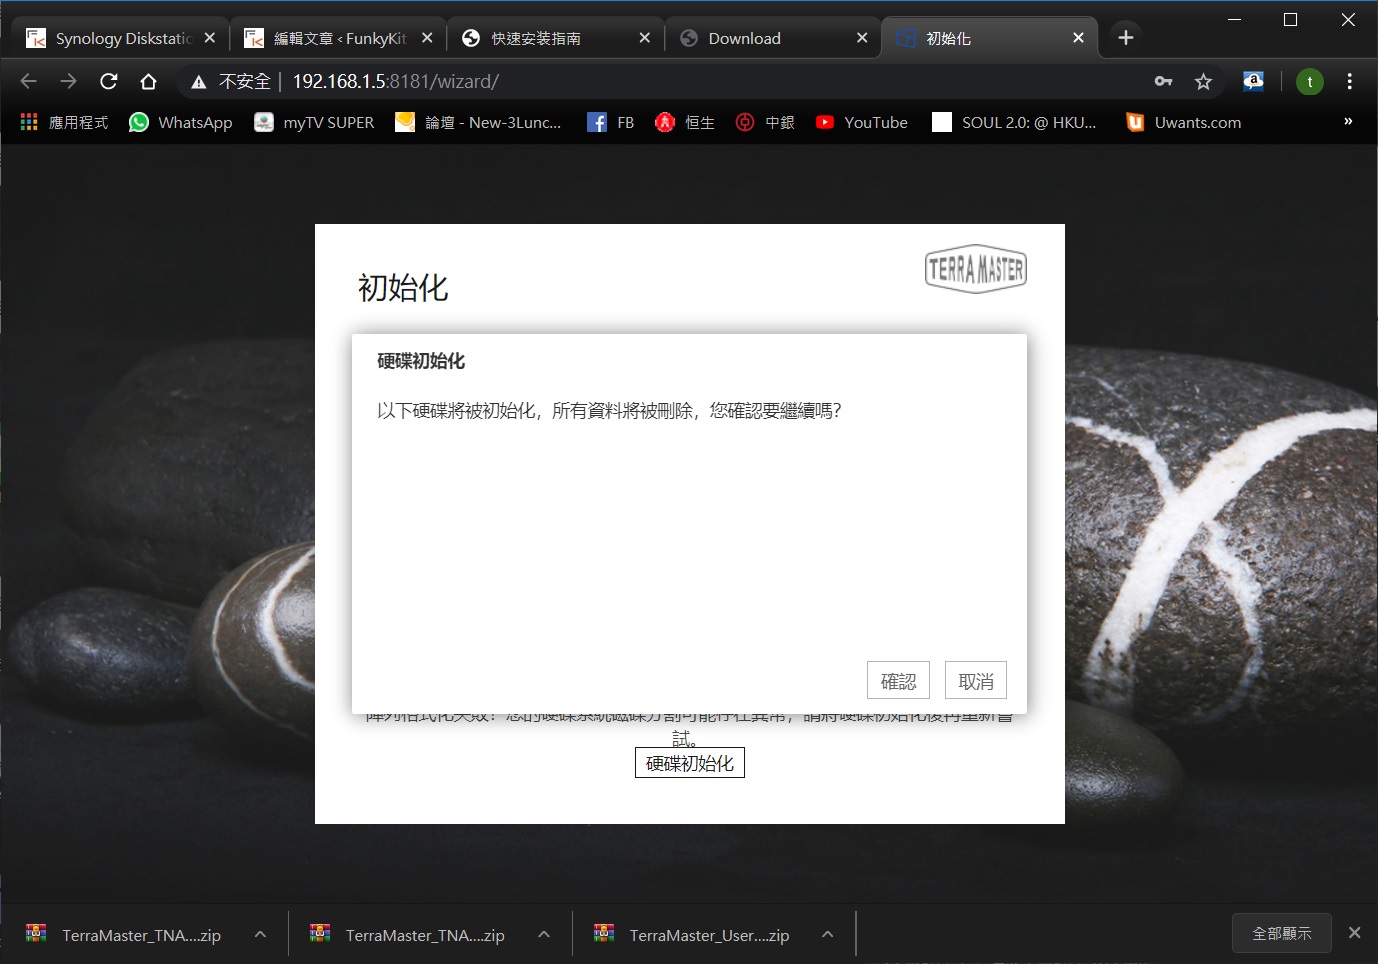
After almost completing the initial setup, the formatting actually failed! After pressing the hard disk initialization, it pops up a window saying that the data will be deleted after the initialization, but I waited for a long time after pressing OK and nothing happened! !! So I pressed F5 to refresh the page and the menu prompted me …
Start Menu
After login, you will come to this interface. This interface is basically very similar to your Windows system! Here you’ll find a TOS help, which is a common function that teaches you how to use the NAS interface. The left-hand side are some commonly used applications, while the right-hand side shows all the status of your NAS, including network IP, network speed, CPU usage, memory usage, and storage capacity.

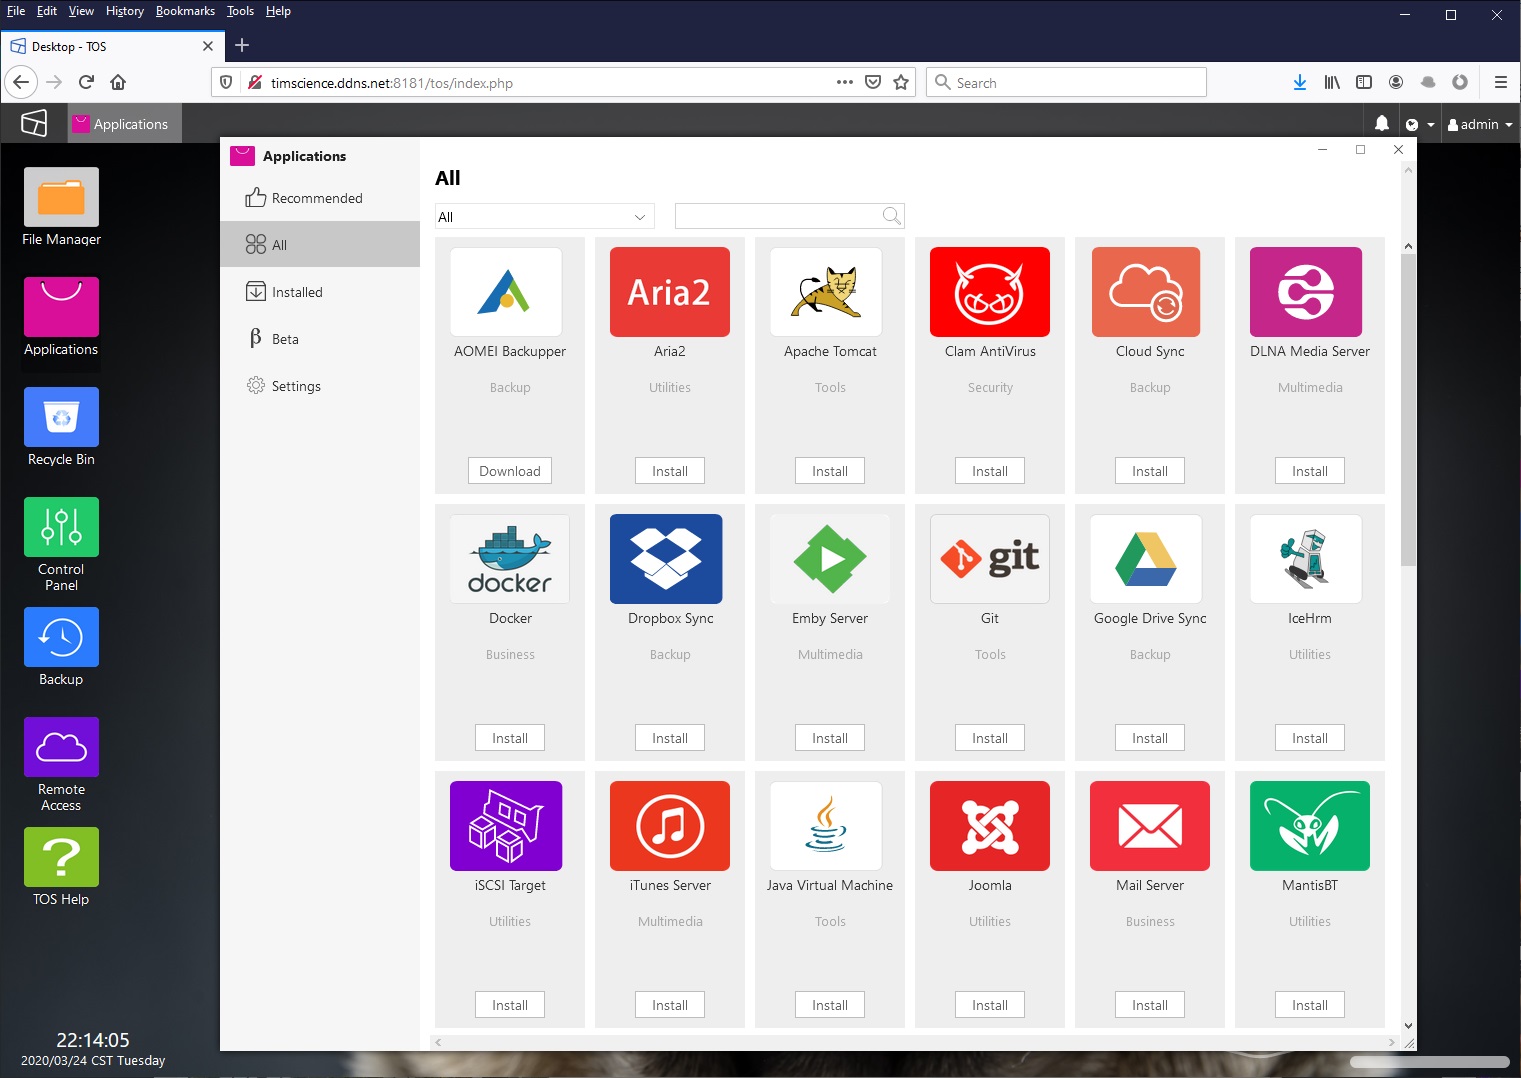
NAS Applications
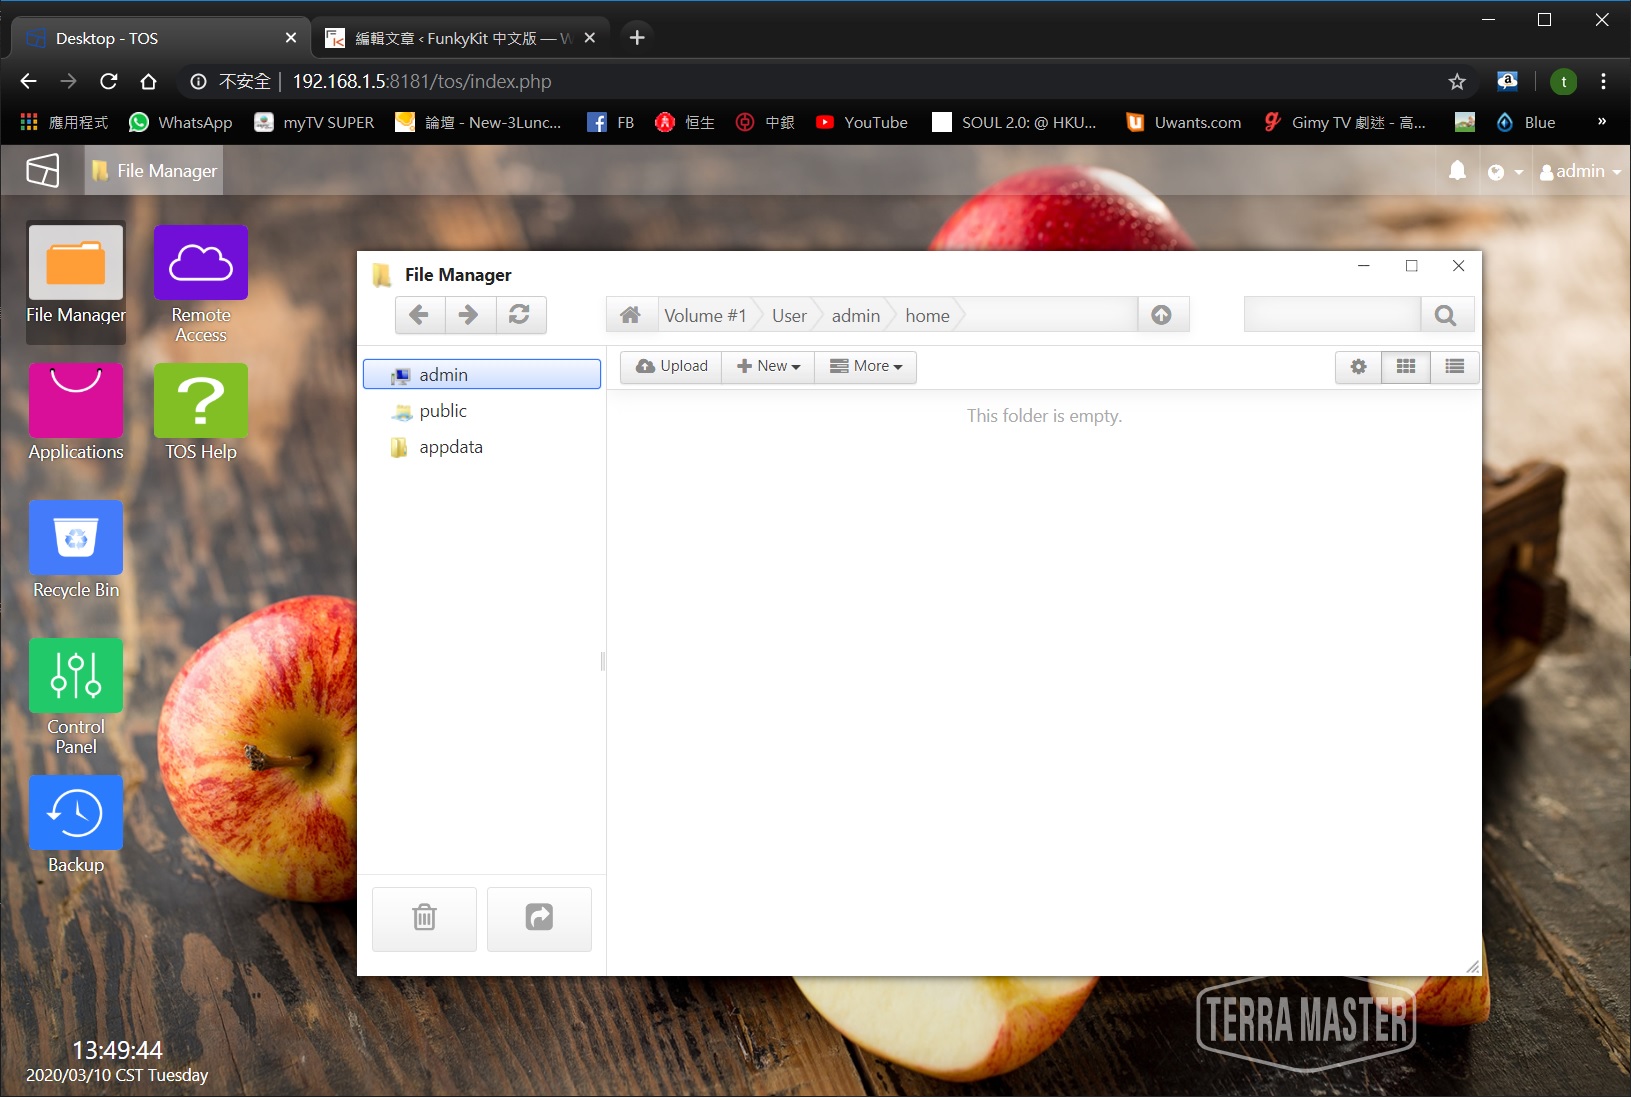
On the TERRA MASTER F2-210 NAS, the desktop is quite simple, with only a few application icons, and these icons are also quite large and clear. After pressing into the application, the interface style is almost the same as WINDOWS, which is quite easy to use!

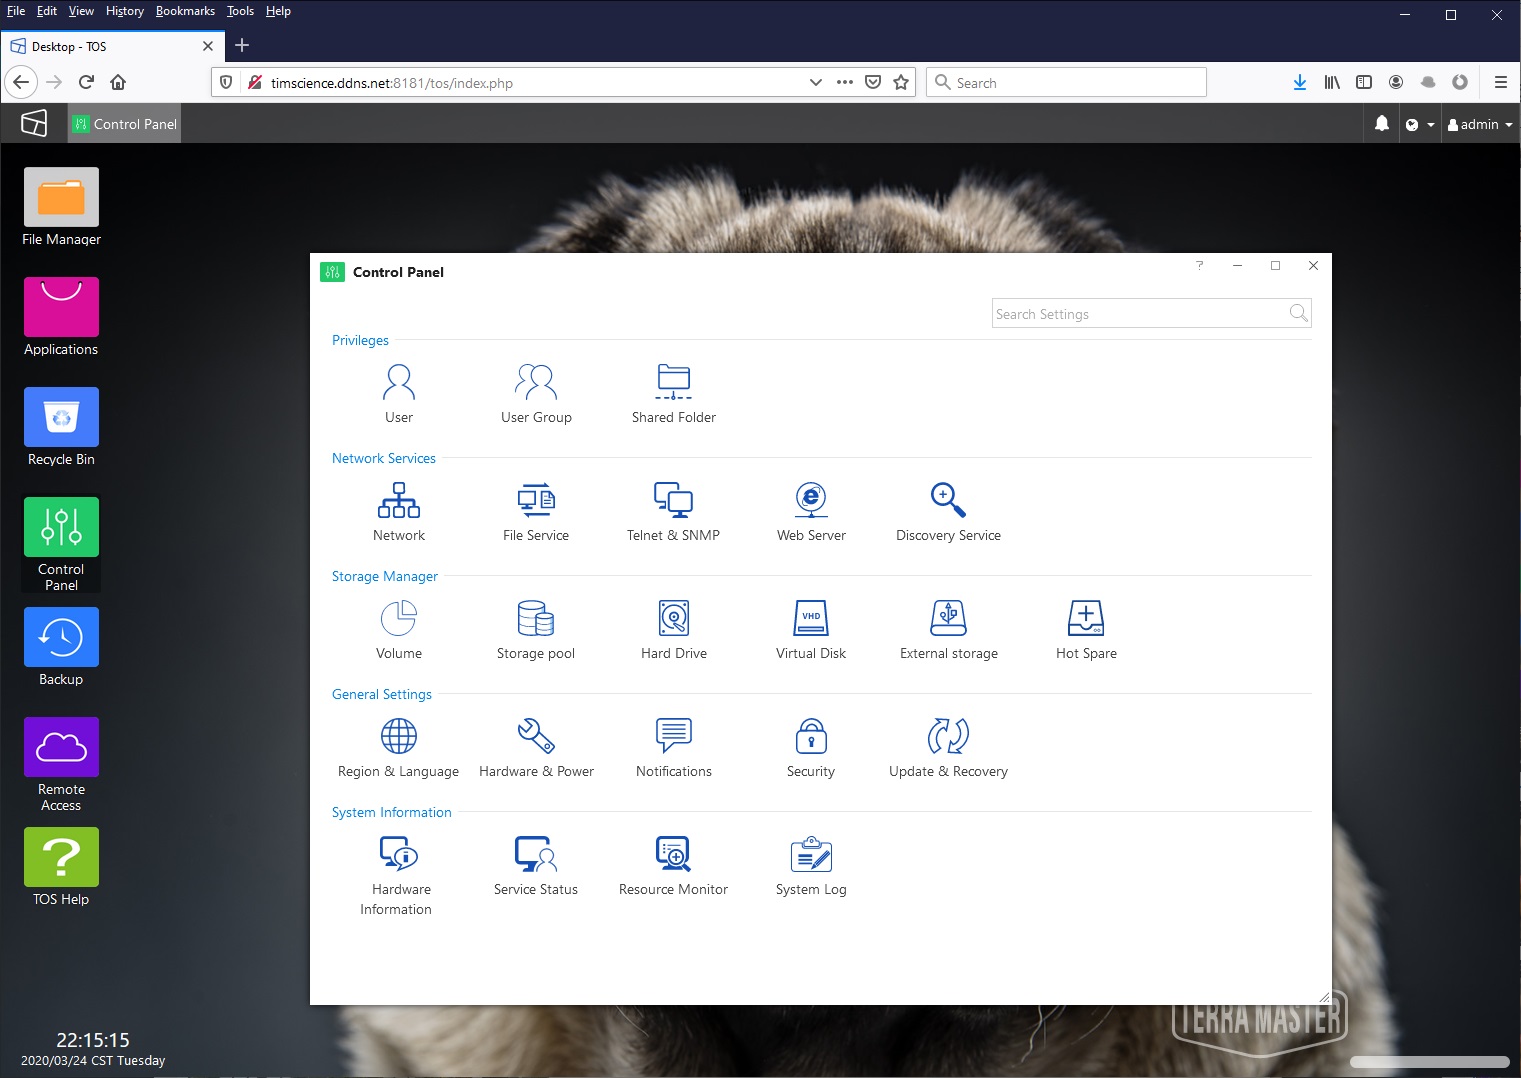
Application Console
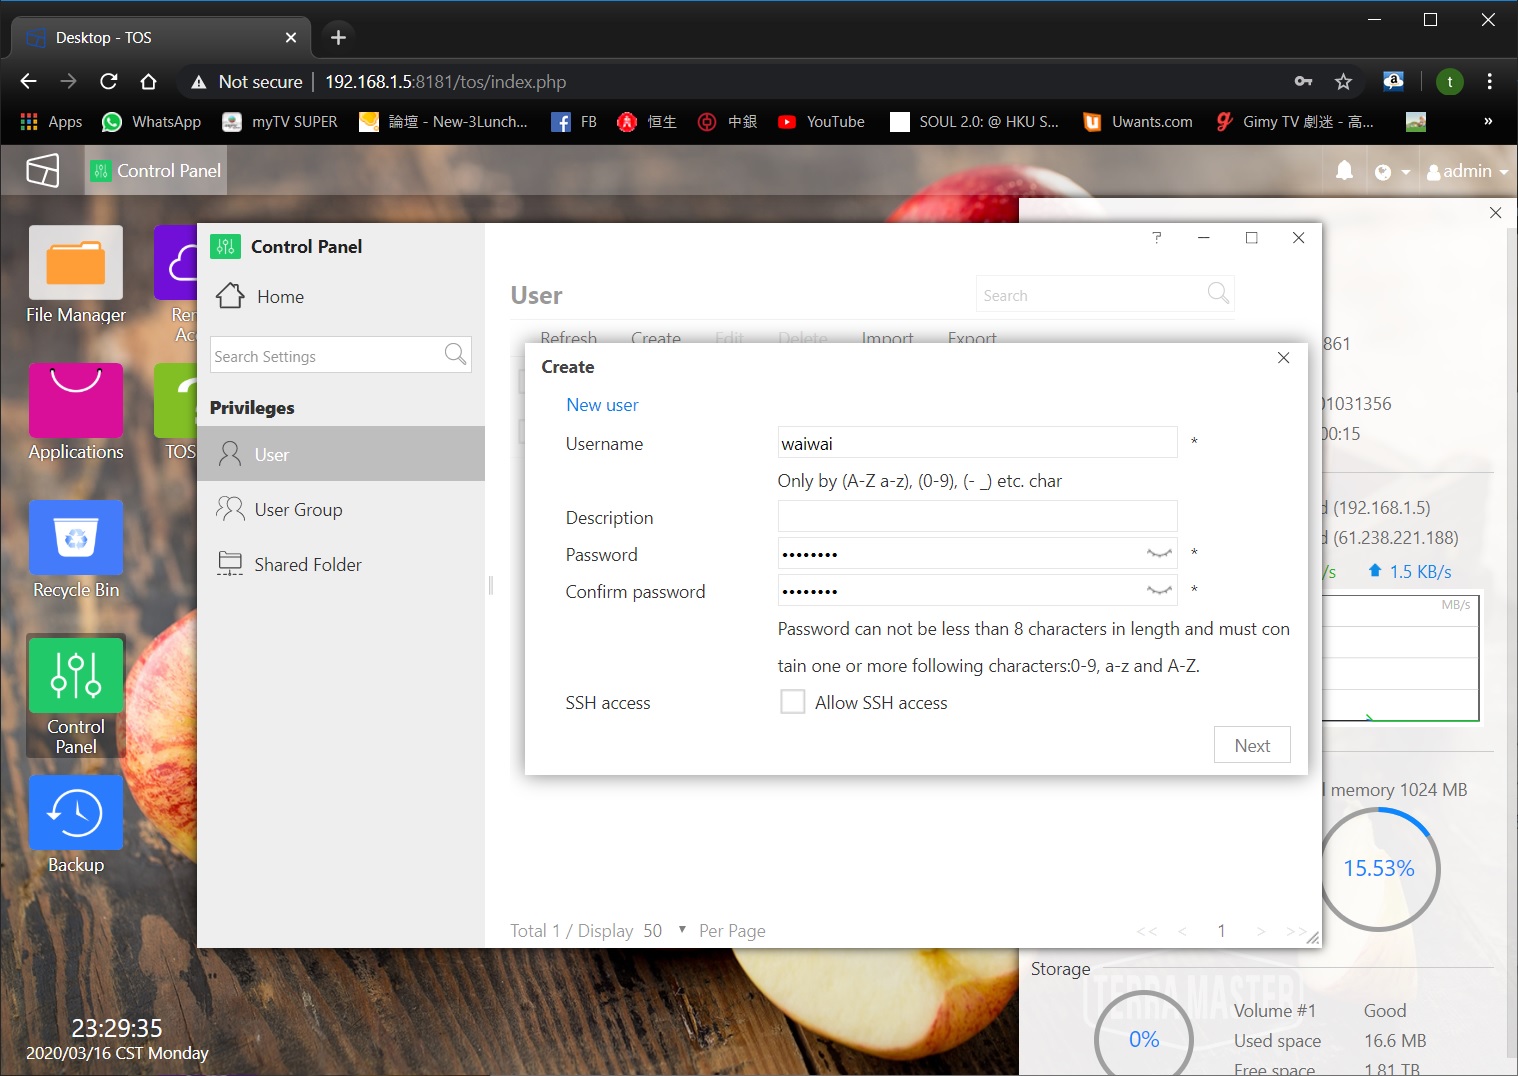
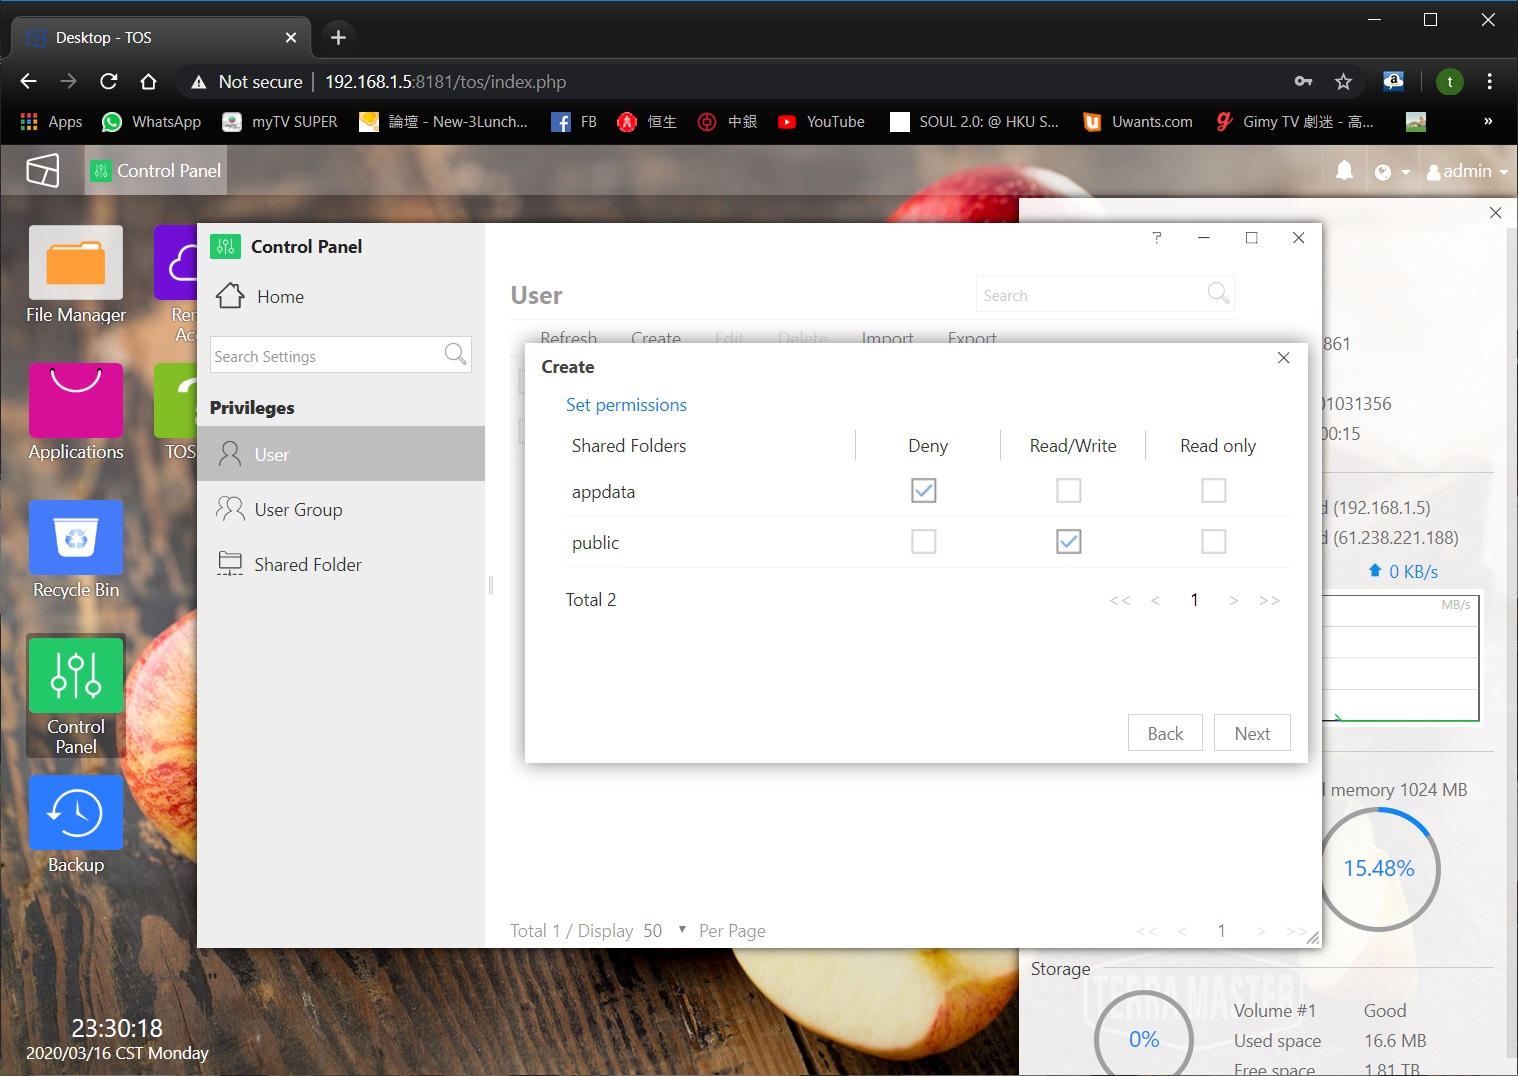
You can set users, user groups, or shared folders on the NAS, etc …. You can also set the access rights of each user, such as ban, read, write, or read-only. If you set a ban, you cannot enter this folder. That is, you can read, write, or delete files in the folder, and set read-only to read only, you cannot write or delete files ..刪除文件..
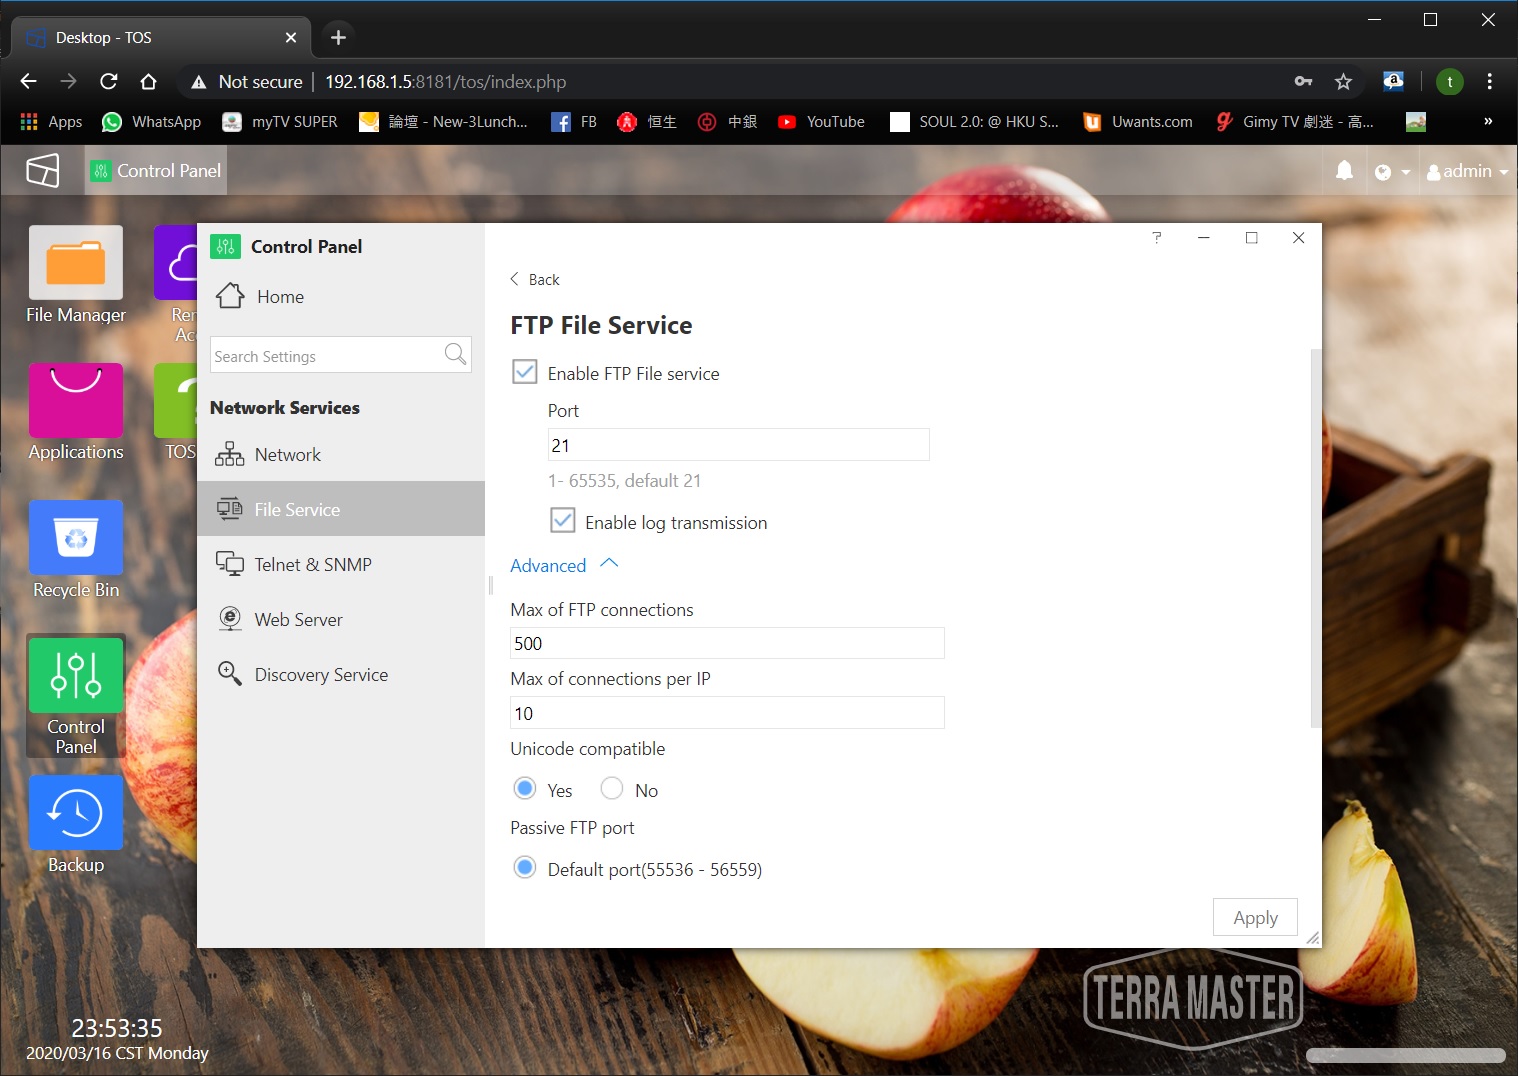
You can also configure FTP, AFP, NFS, SMB / CIFS and other point-to-point transfer functions.

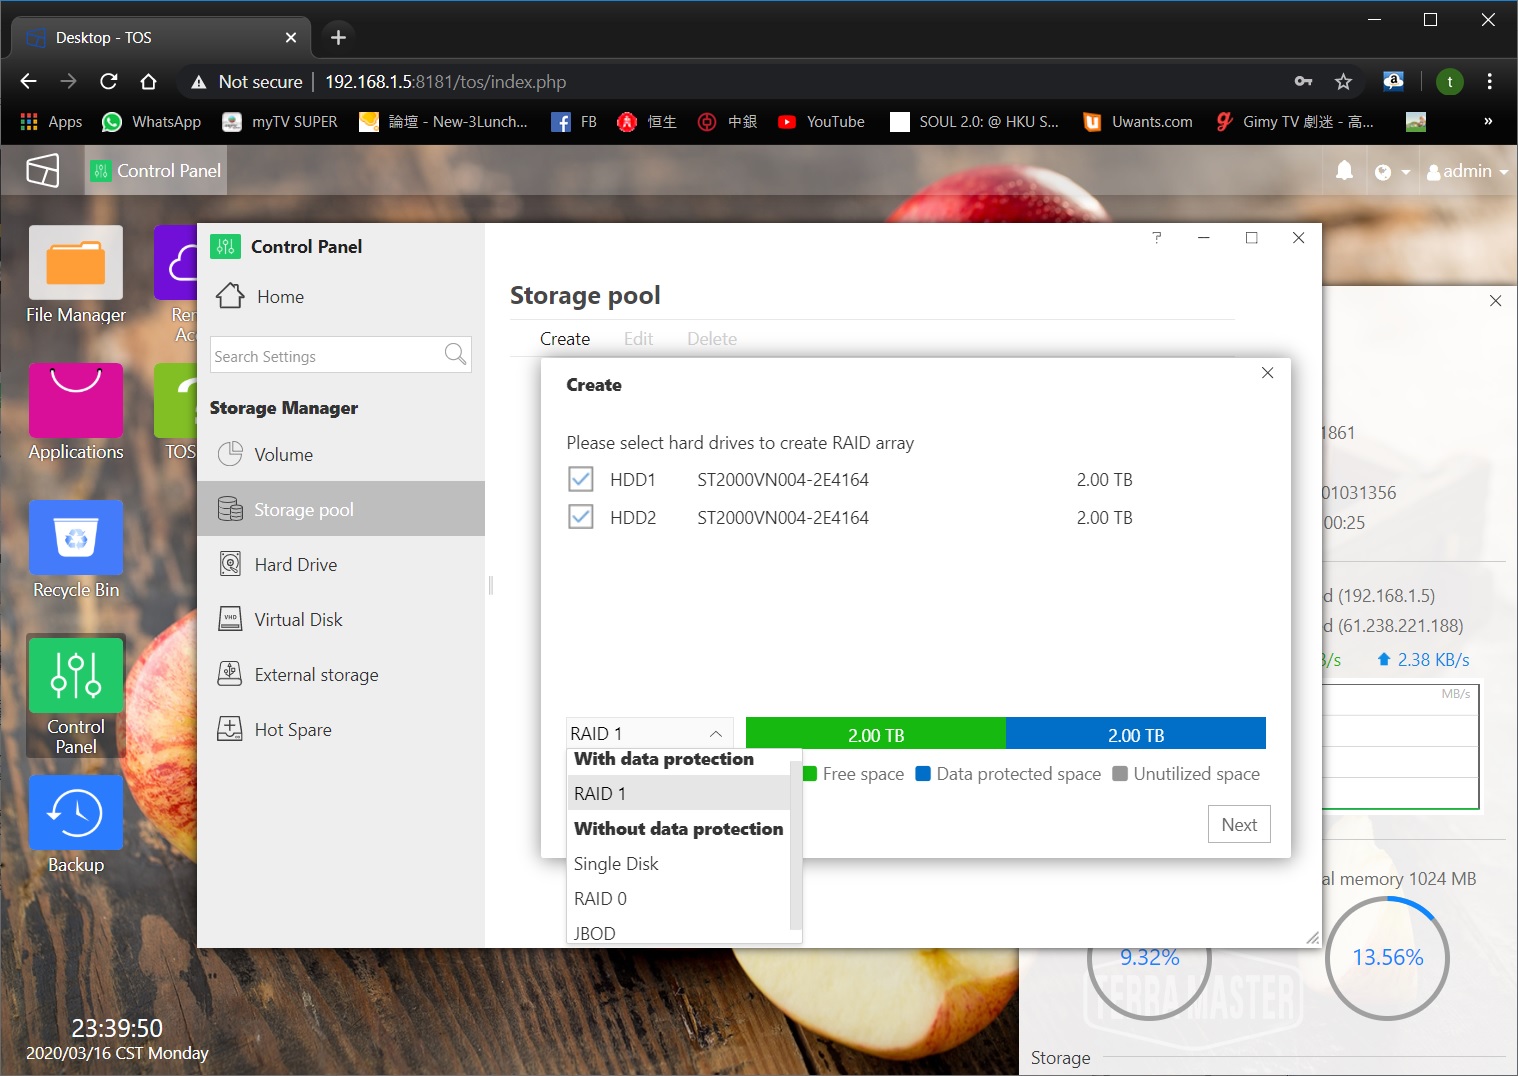
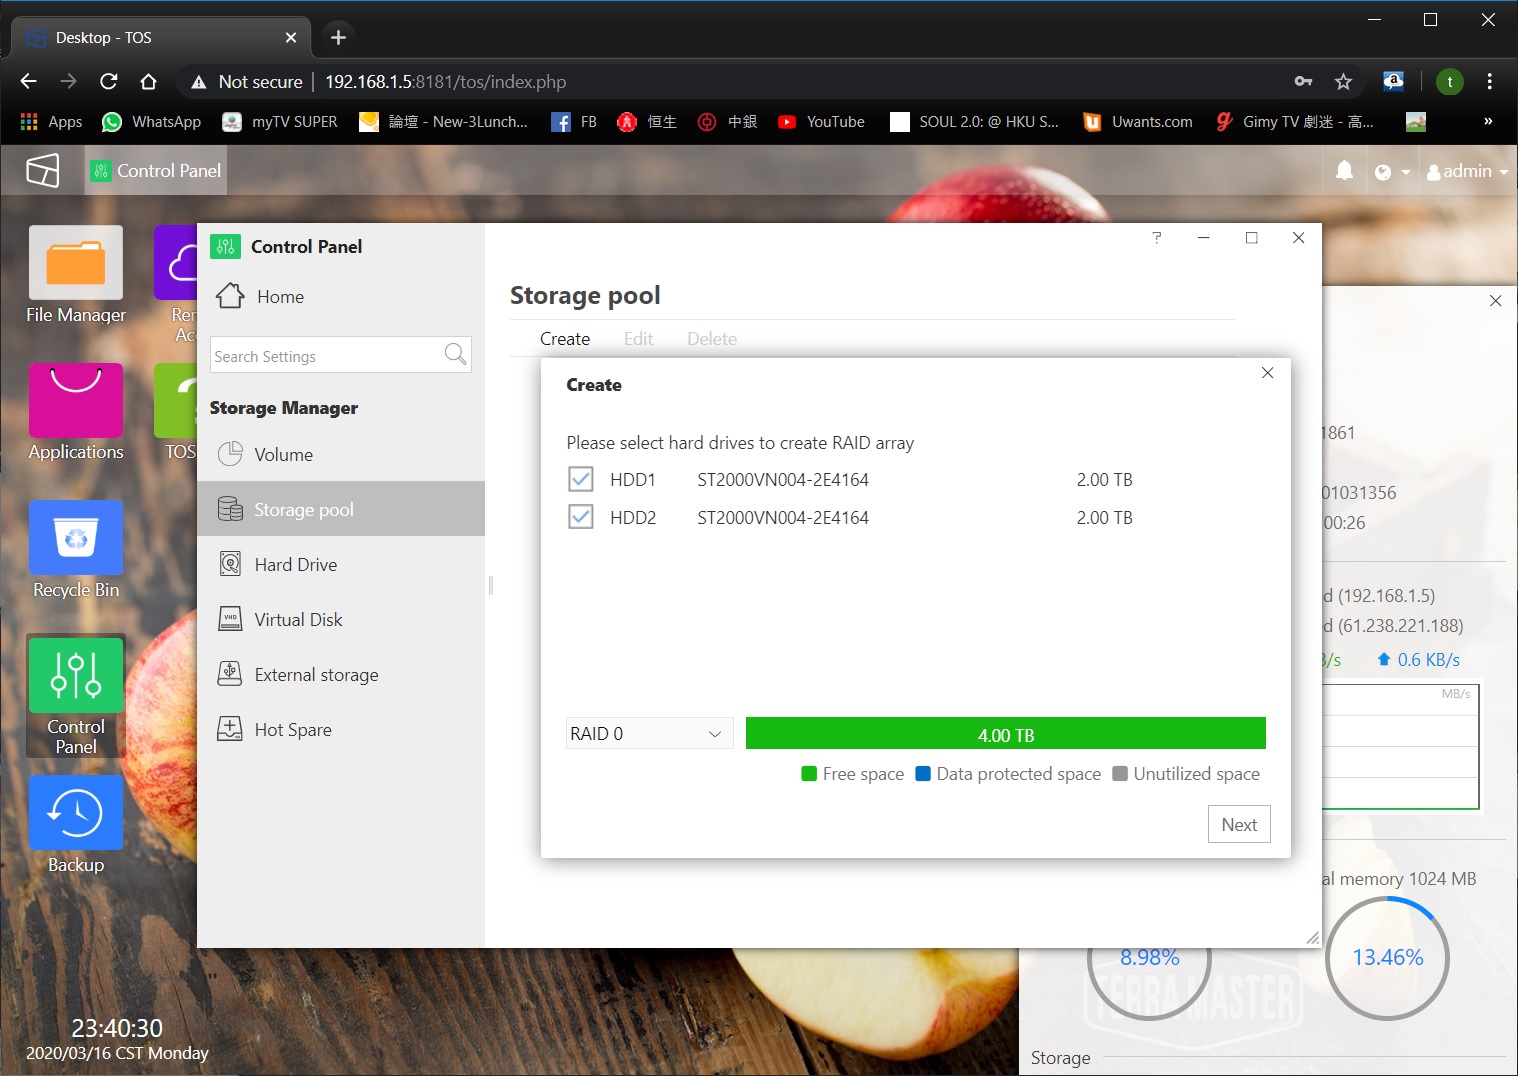
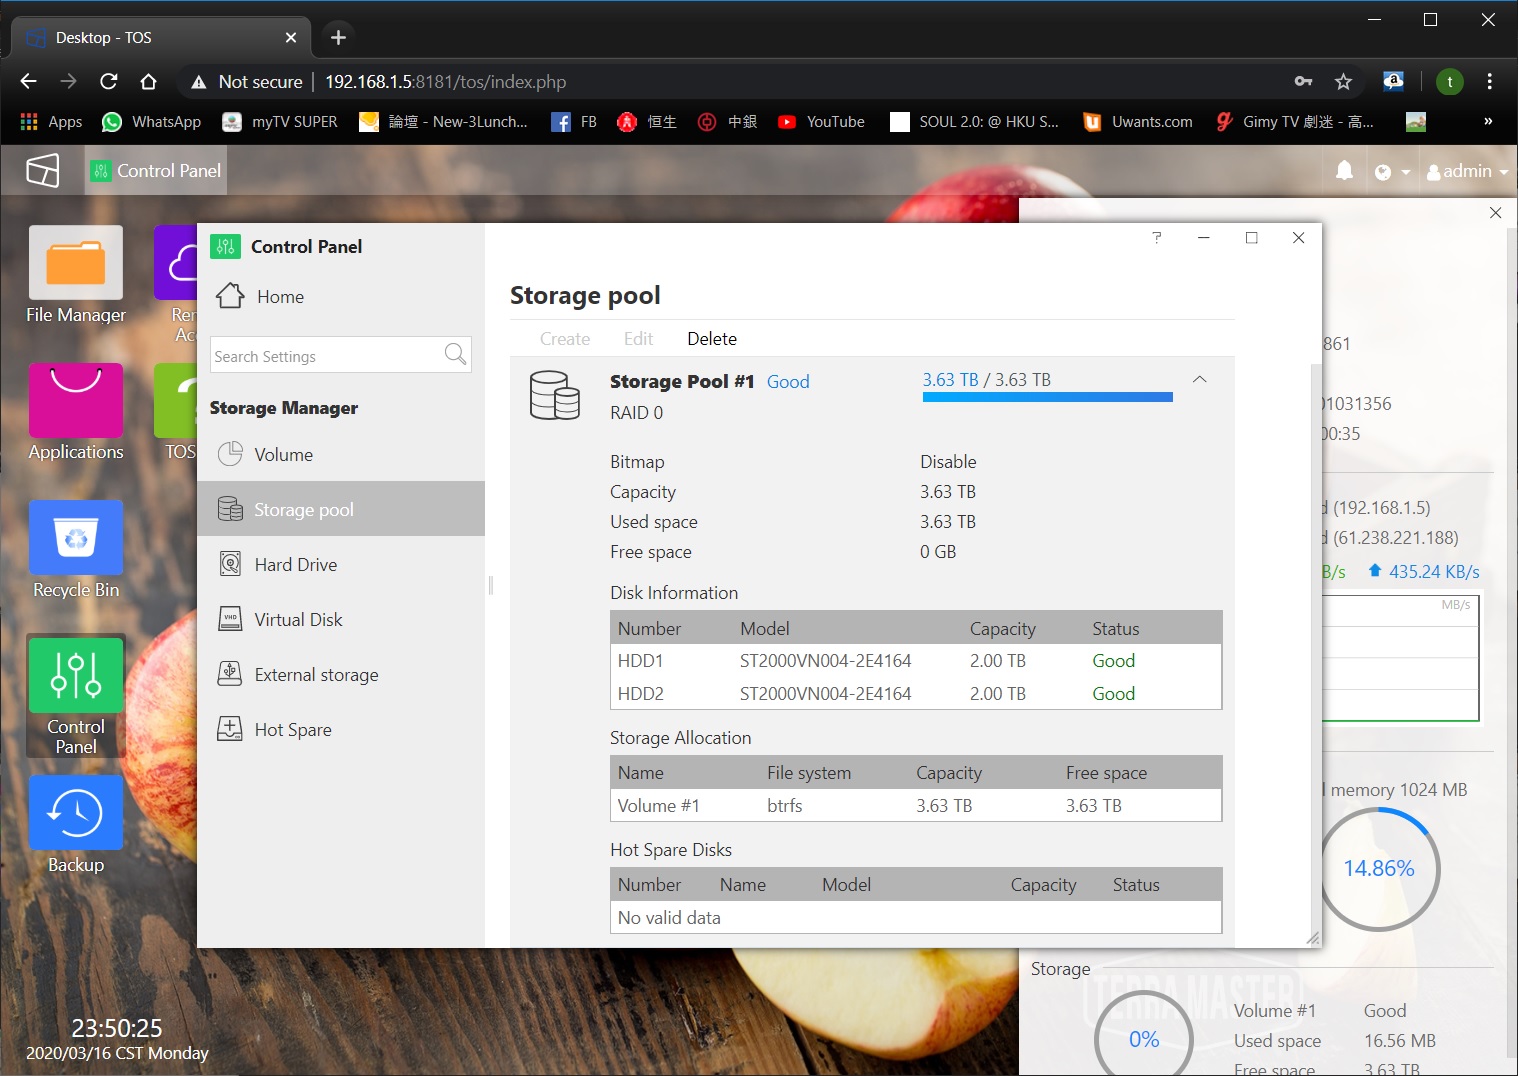
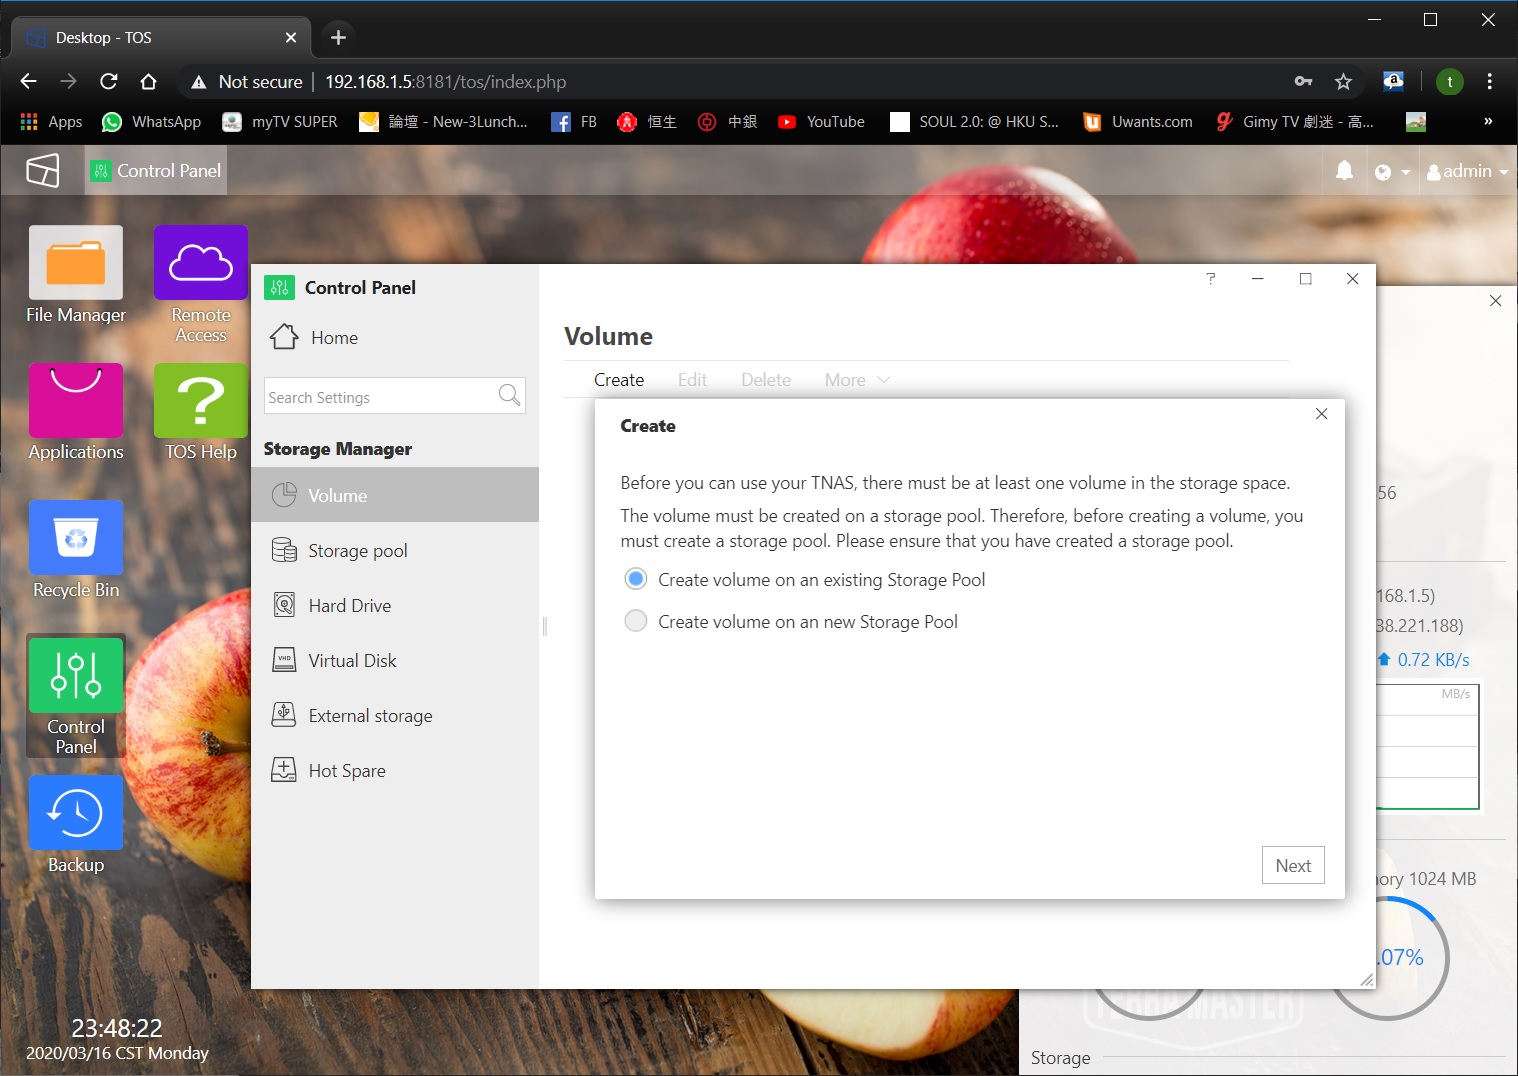
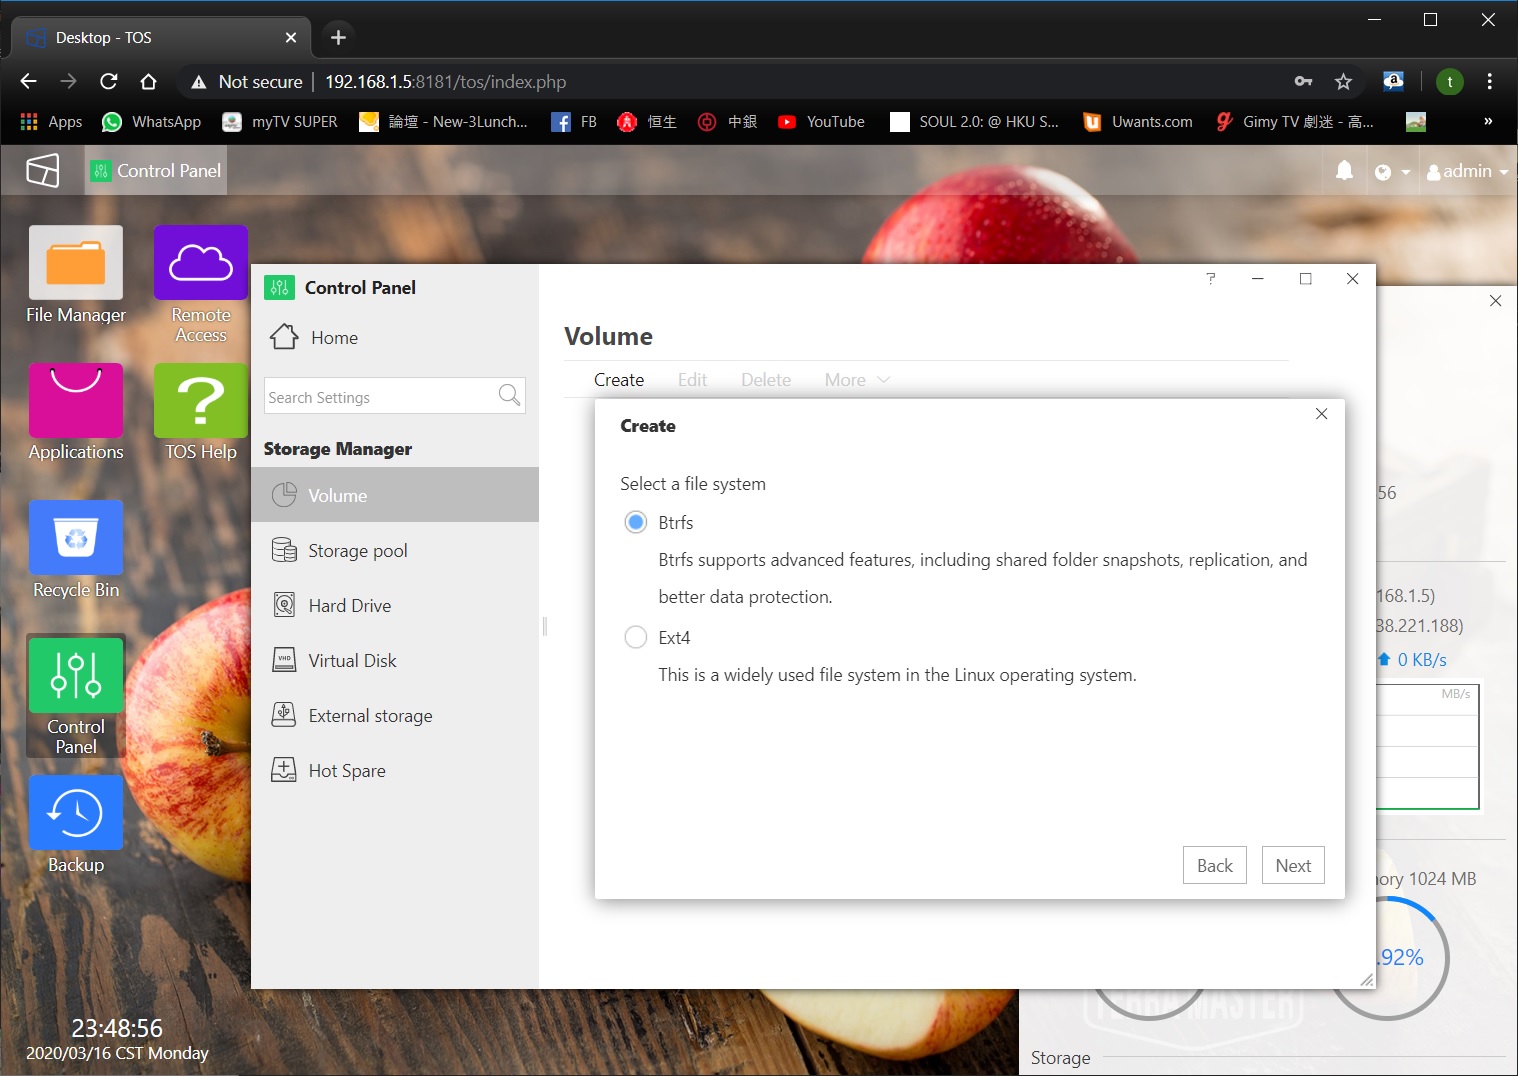
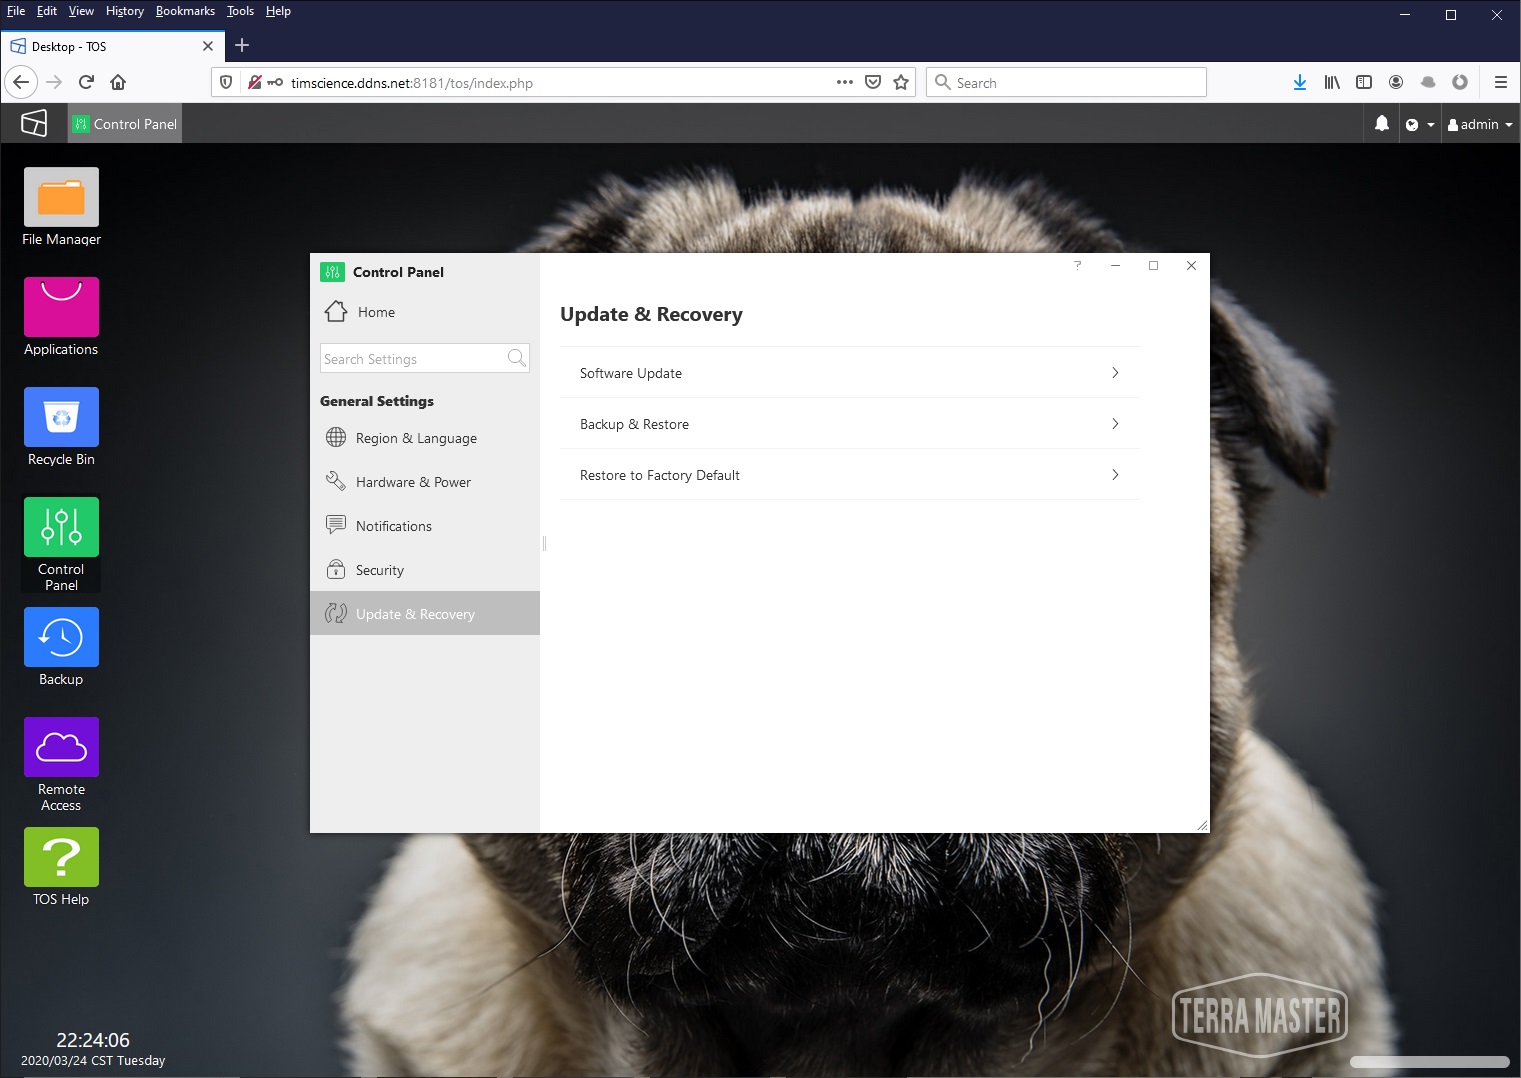
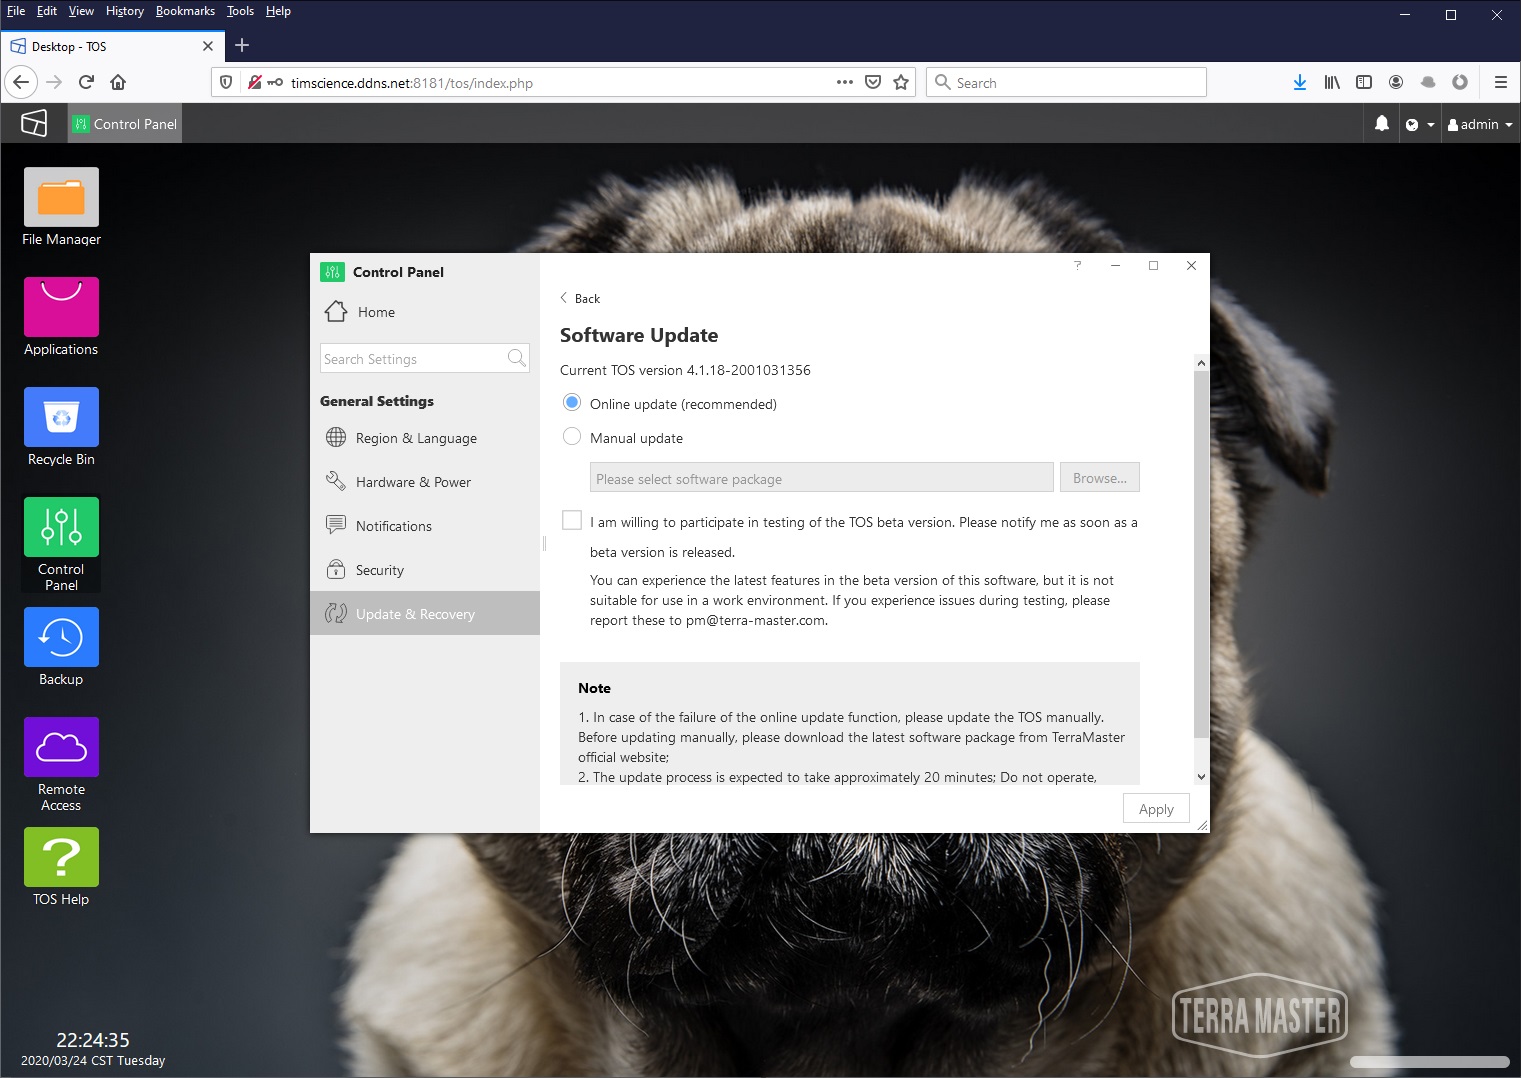
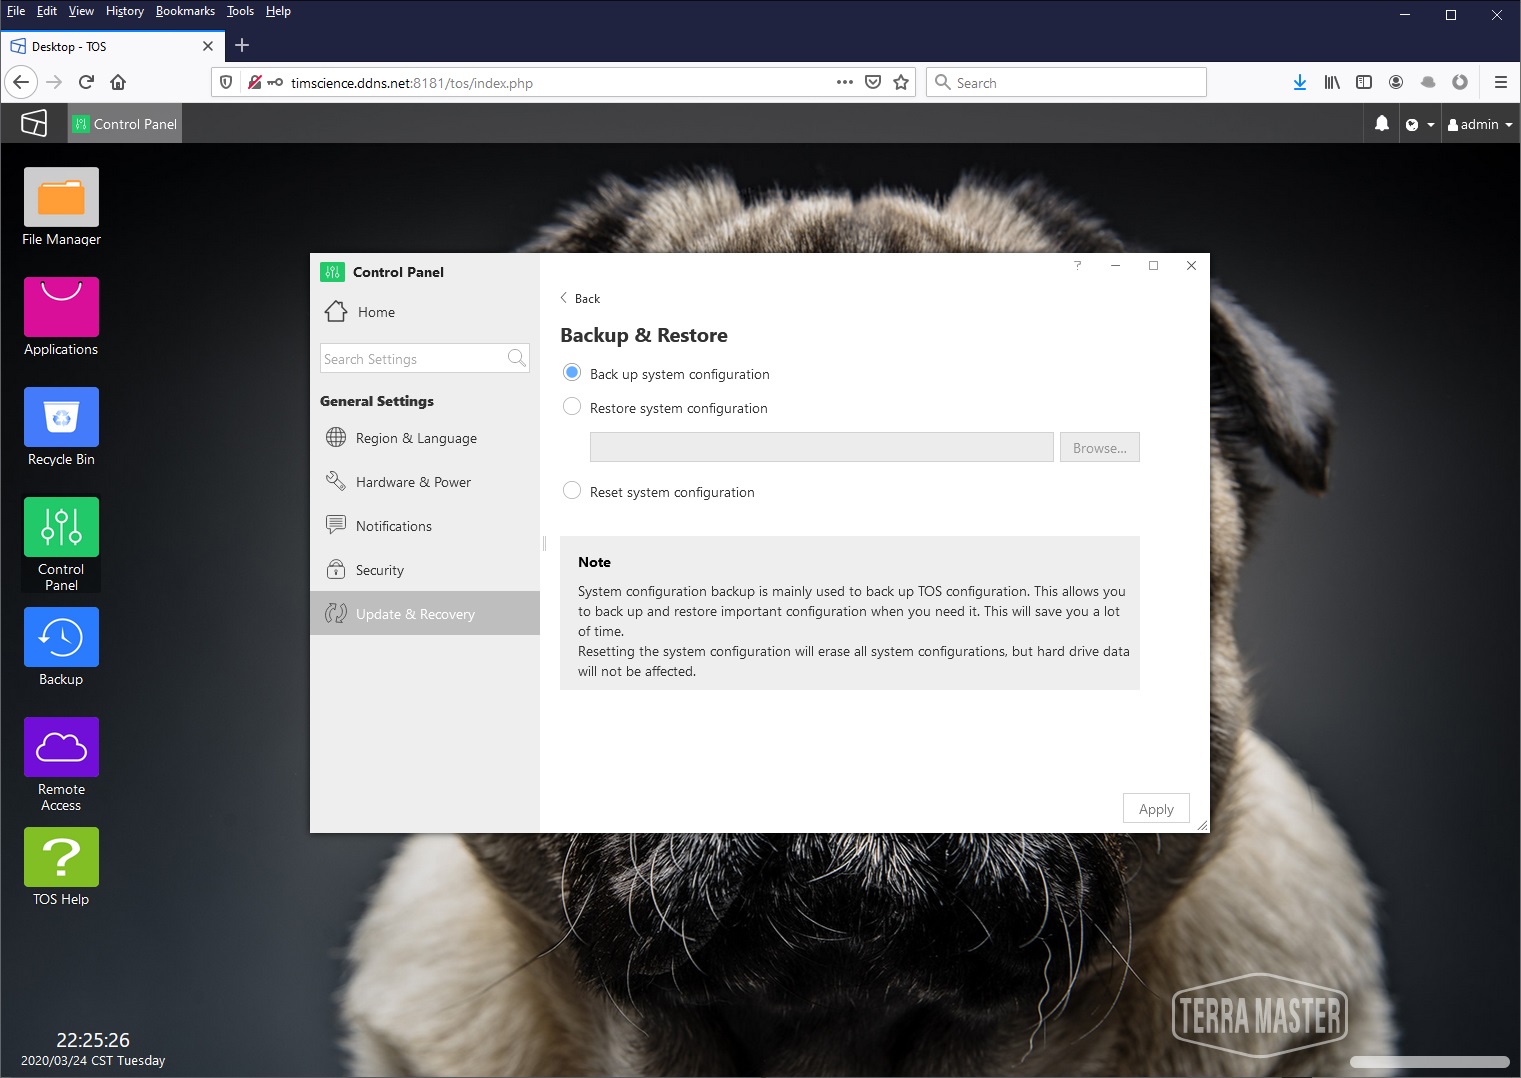
You can also update the NAS system, back up and restore the NAS data, and restore factory settings. This factory reset will only format your NAS system and will not delete the data on your hard drive, but please note that … when you format your NAS system, you will reset the settings on the initialization page Your system, but you can no longer choose the protection type of the hard disk, that is, “RAID 0”, “RAID 1”, “Single Disk” or “JBOD” …

But if you want to switch the type of hard disk protection, you can do it in the console and then delete all hard disks in the volume and storage pool. . .
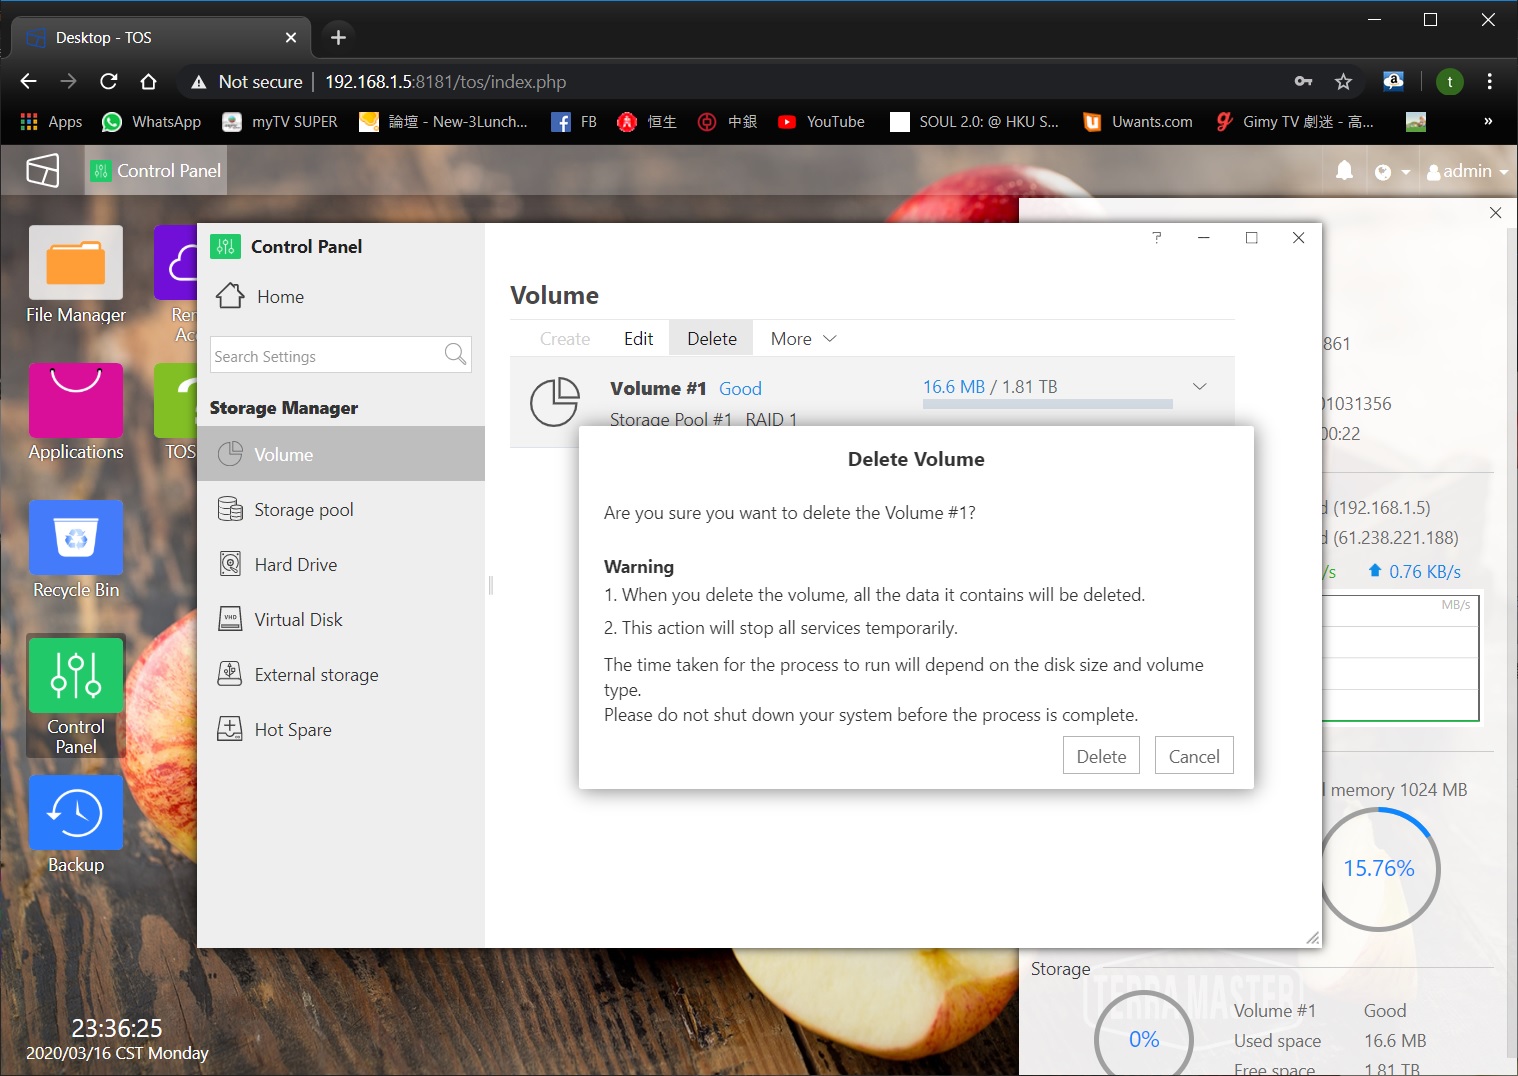

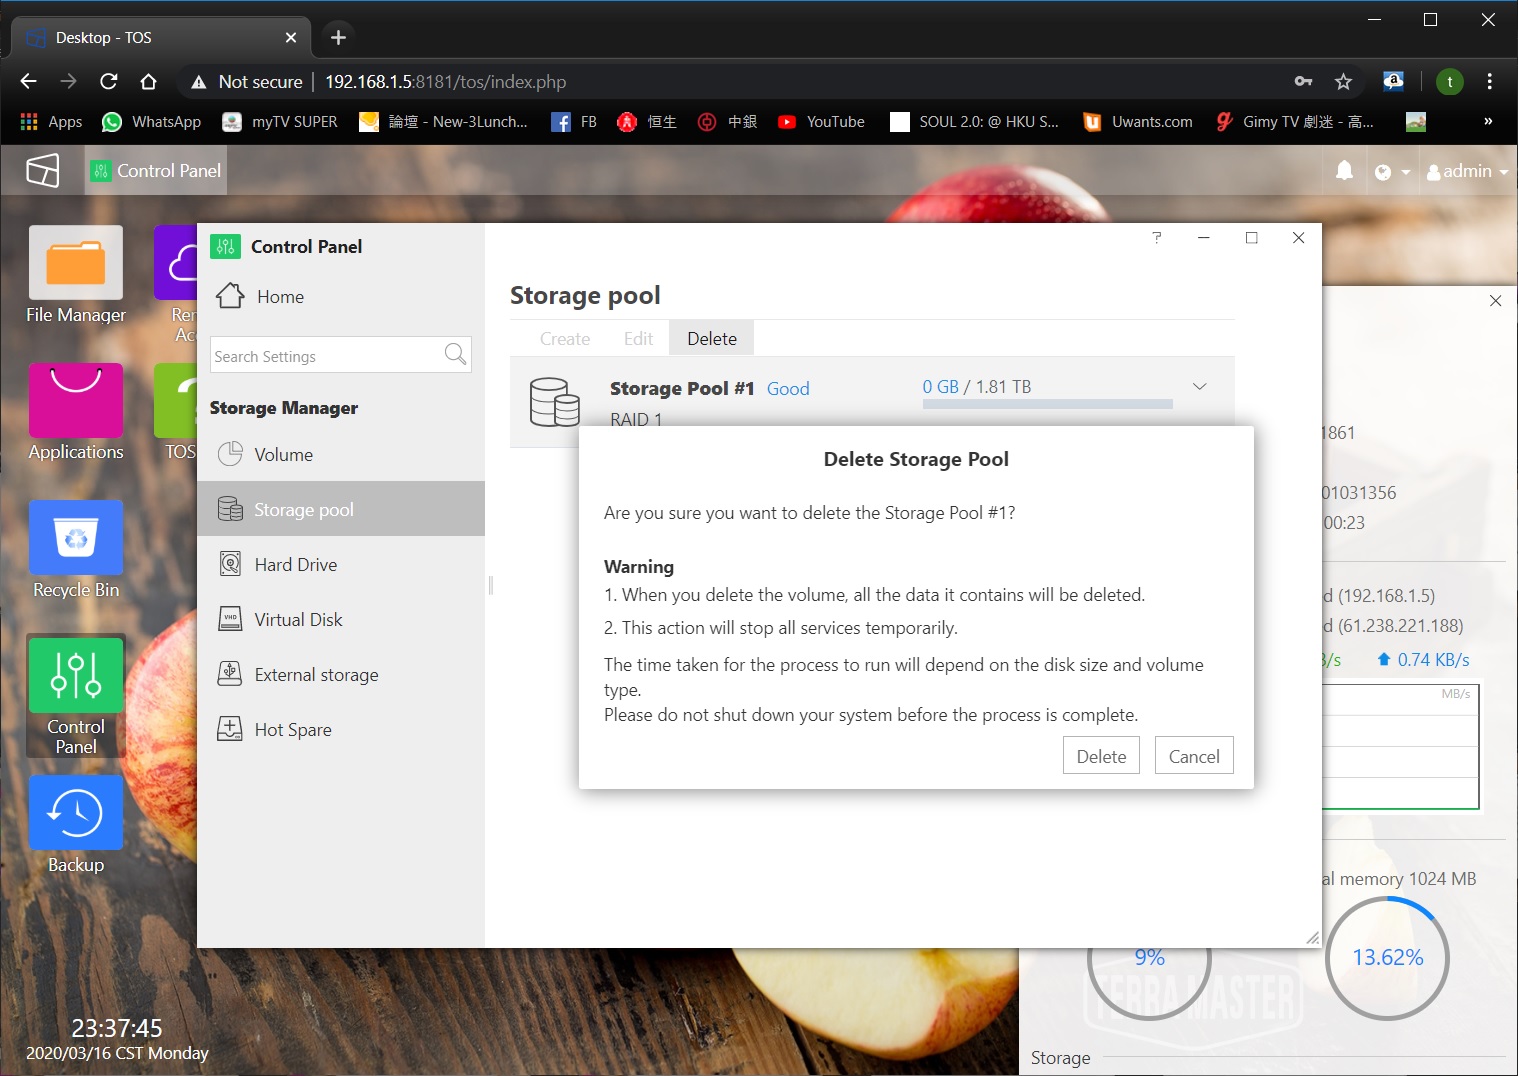

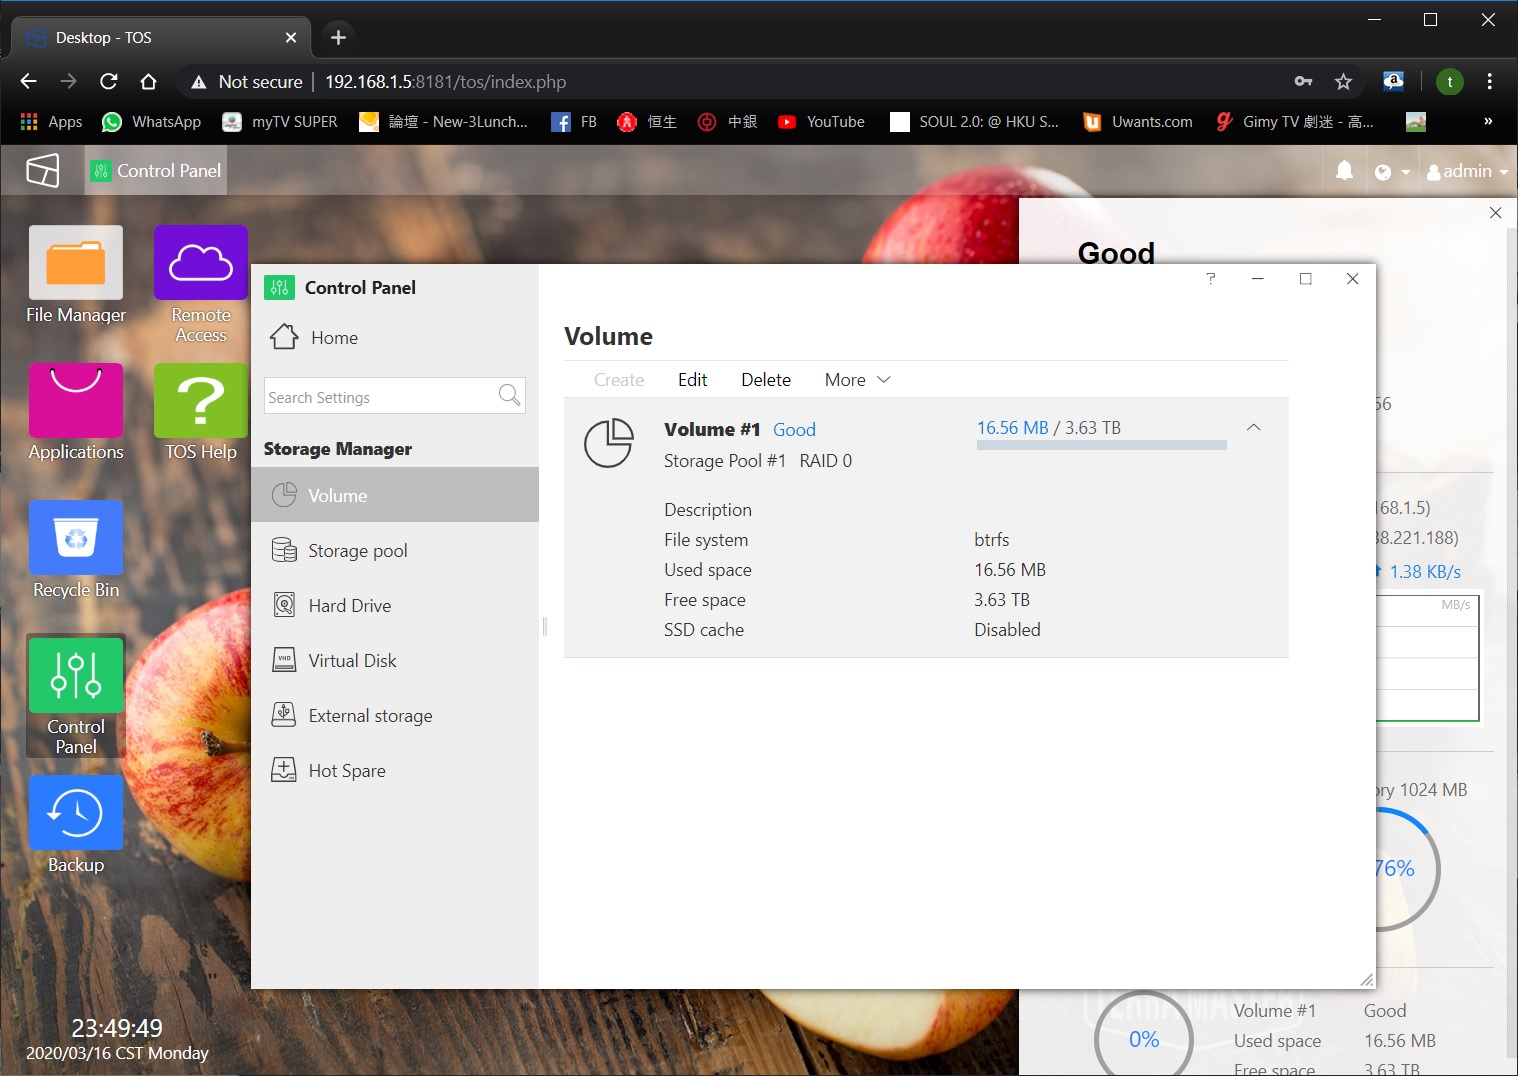
Create new hard disks in volumes and storage pools, and you can re-select the type of hard disk protection you want, which is quite simple.