


Installation
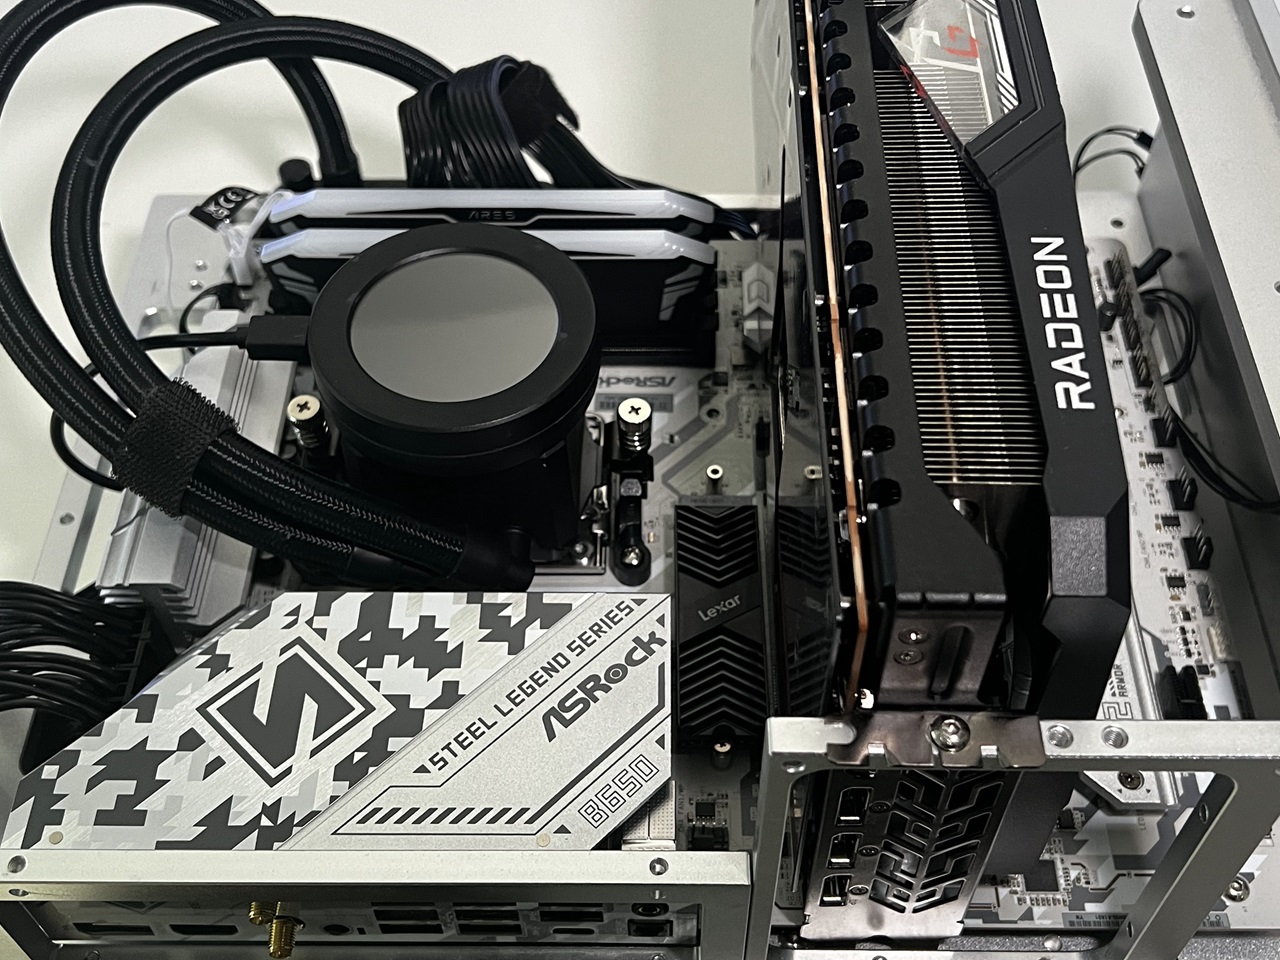
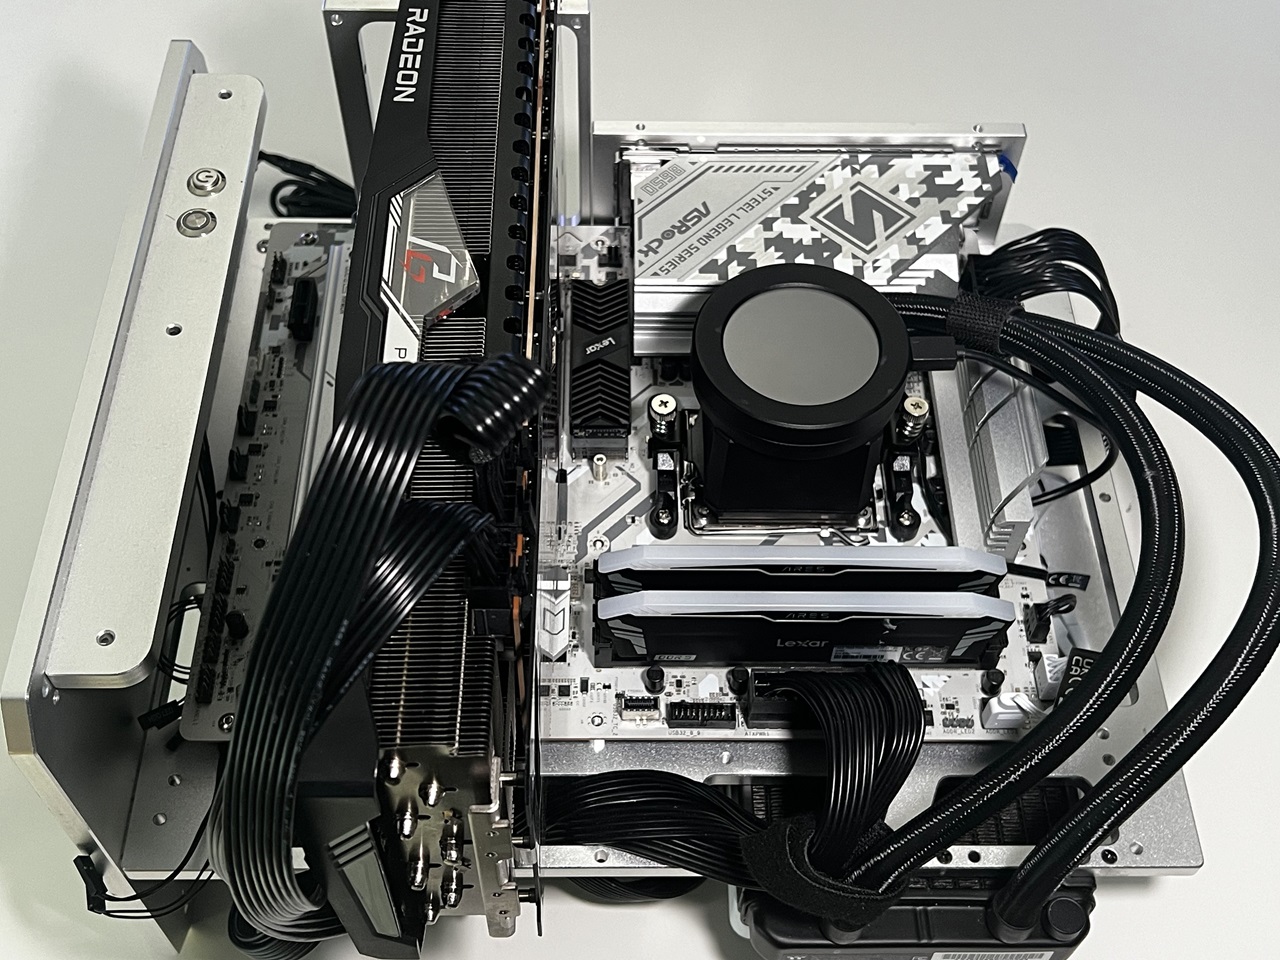
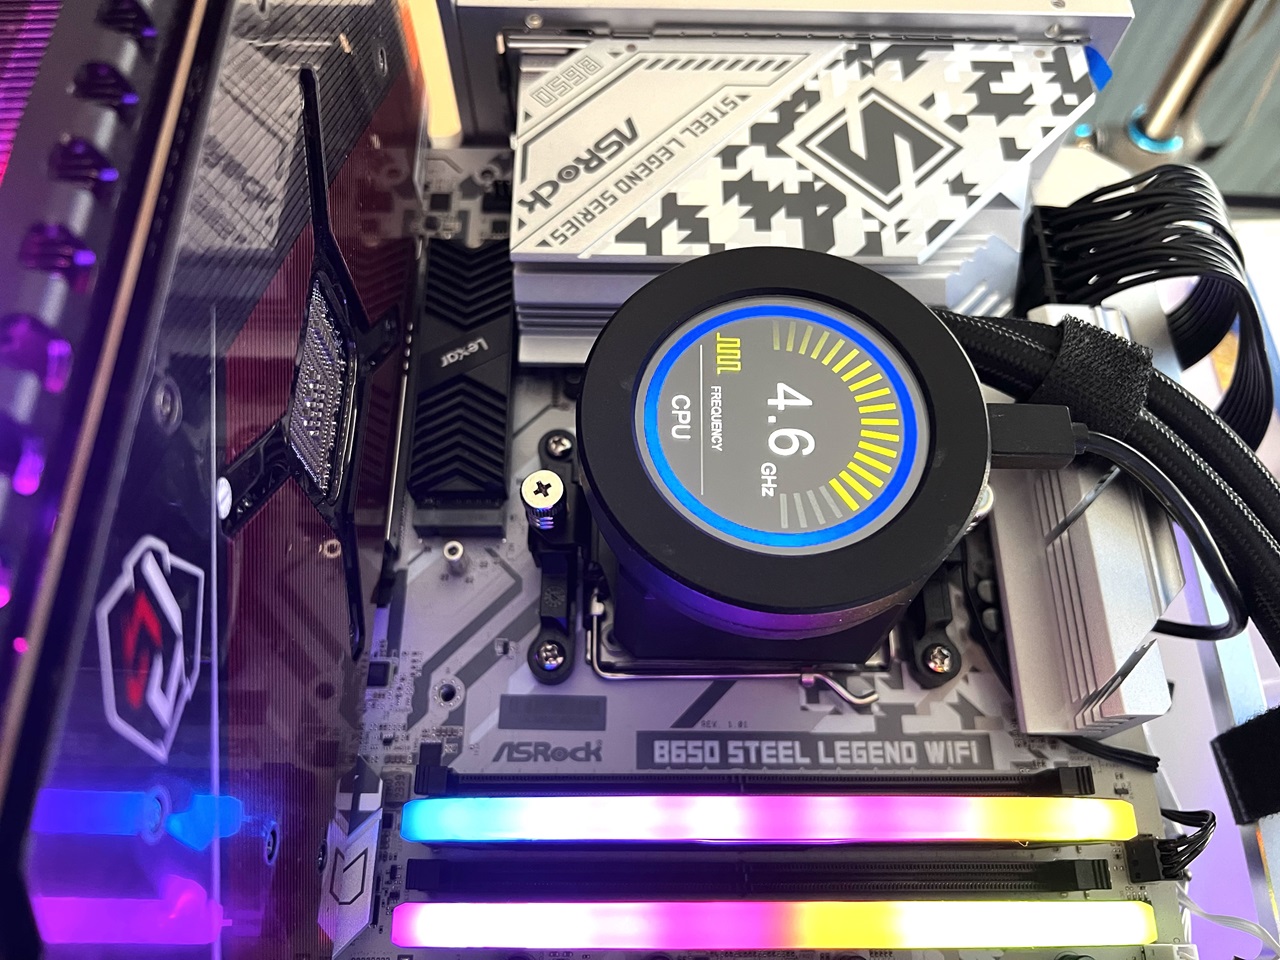
We used the our standard Open Chassis for our test rig, and since the ASRock B650 Steel Legend comes in a standard ATX format, it fitted nicely with no issues at all.

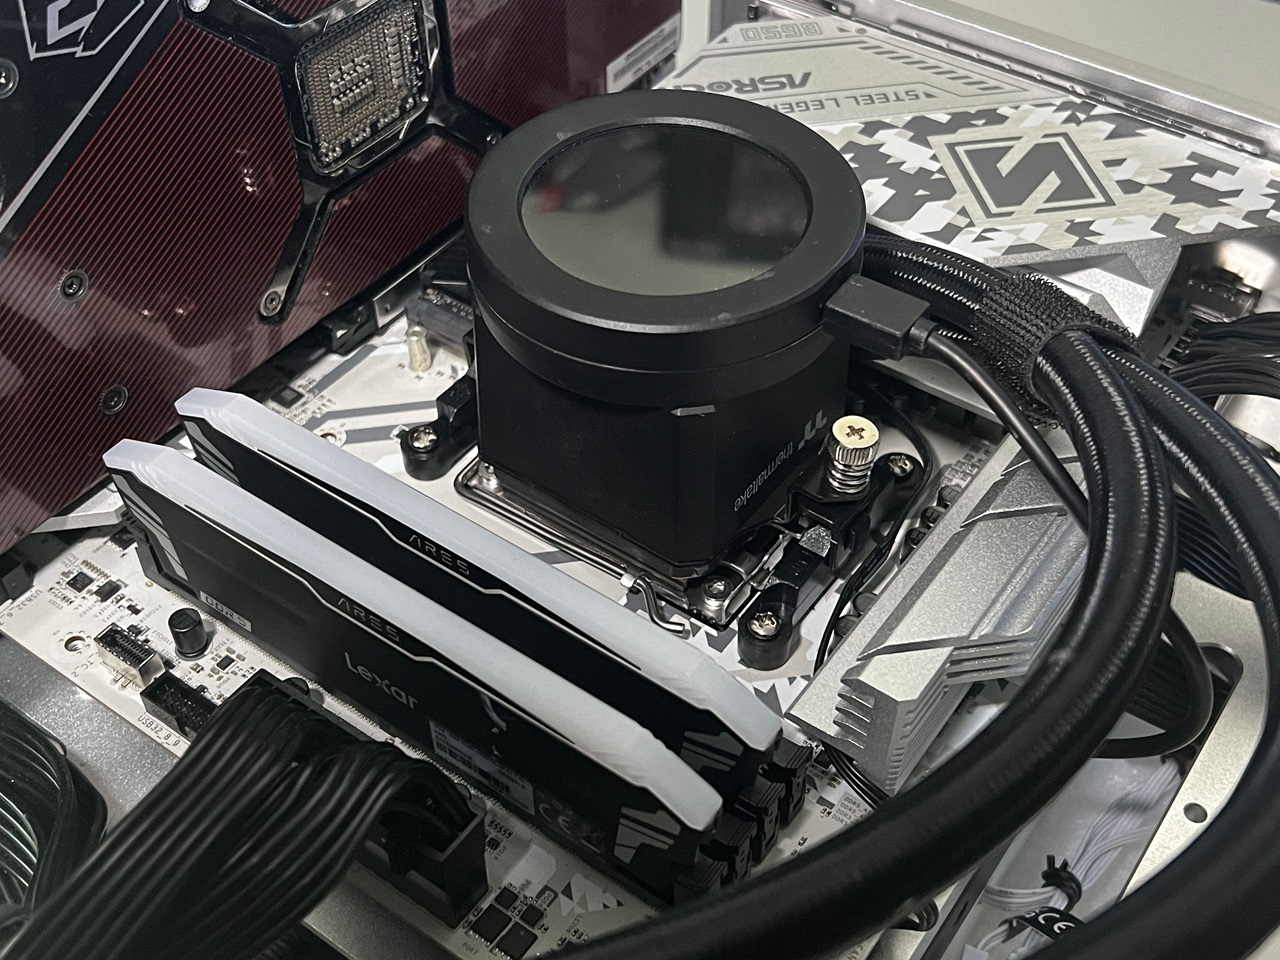
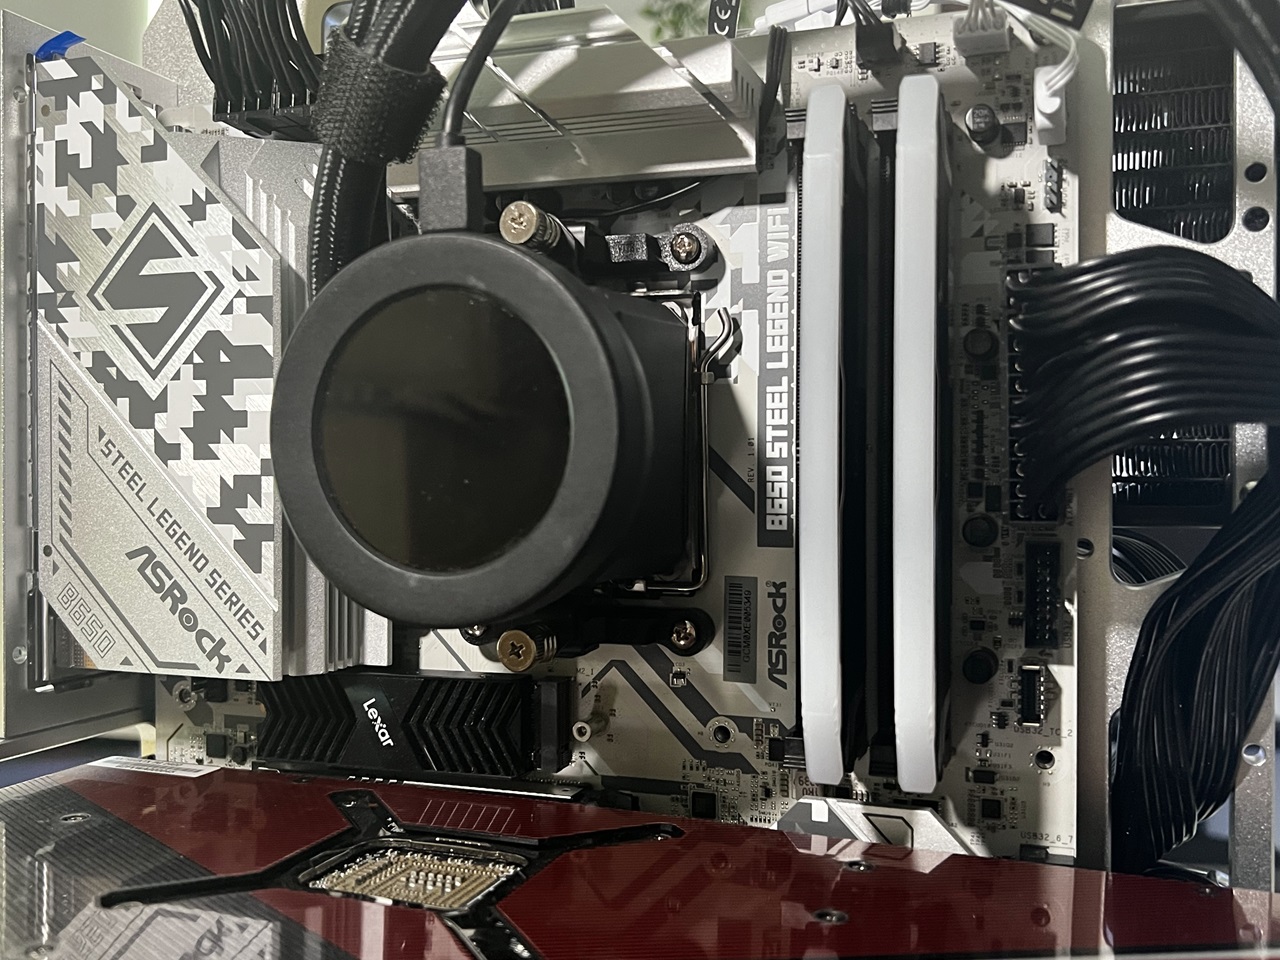
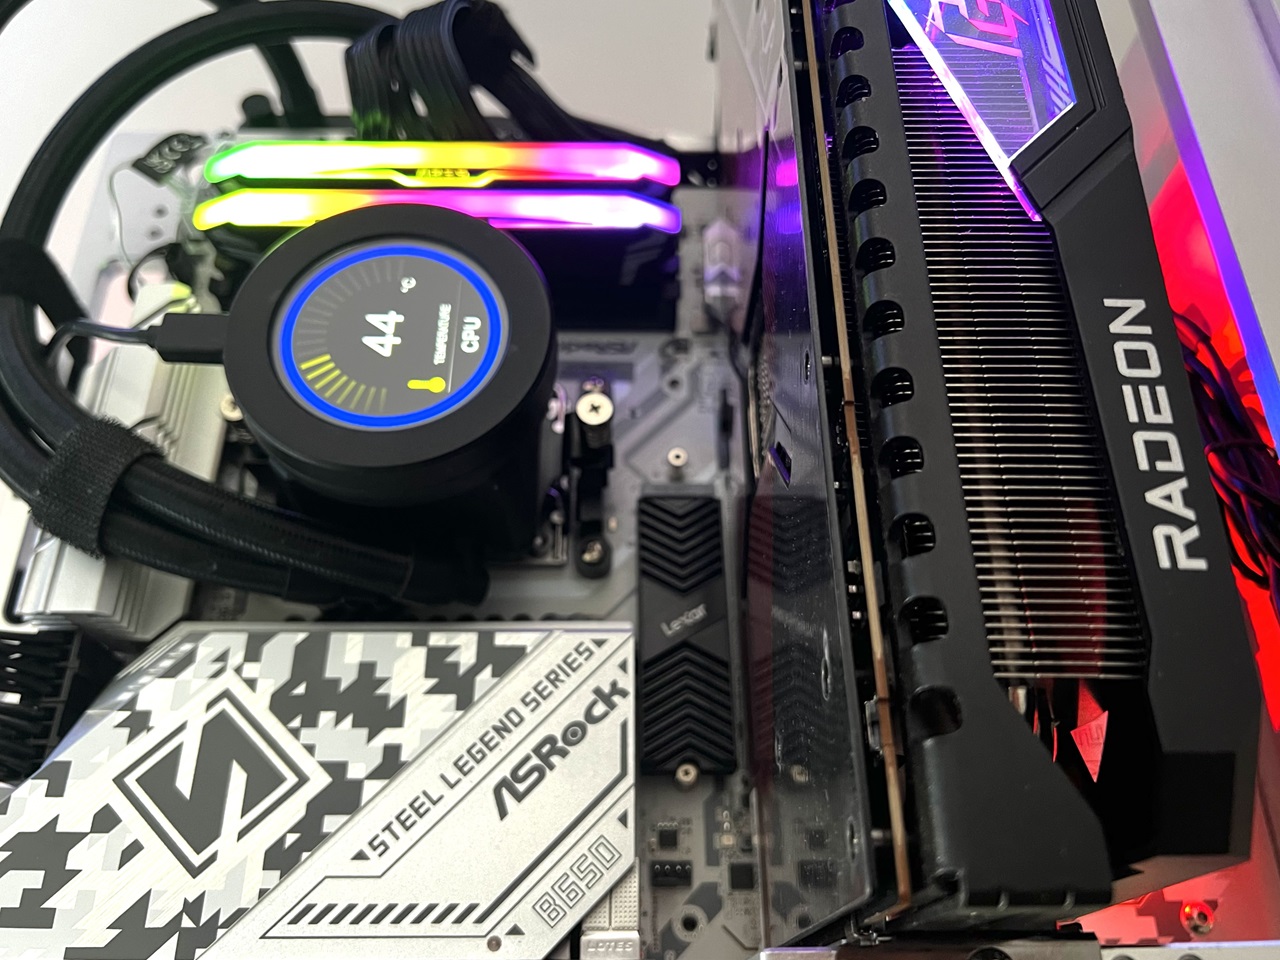
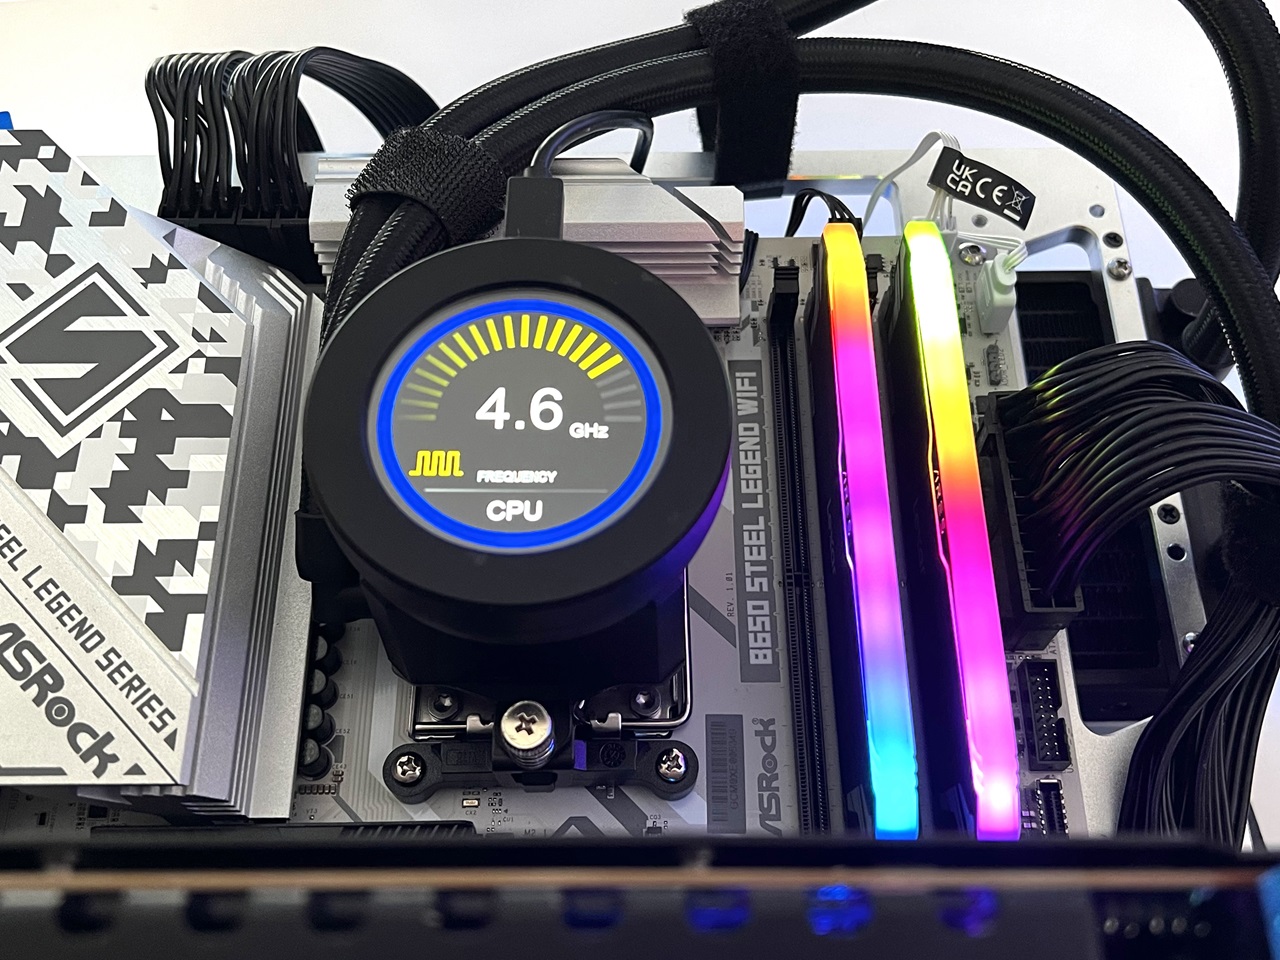
For cooling, we used a Thermaltake ToughLiquid 360 Ultra AIO cooler and there was enough room in and around the AM5 processor socket.
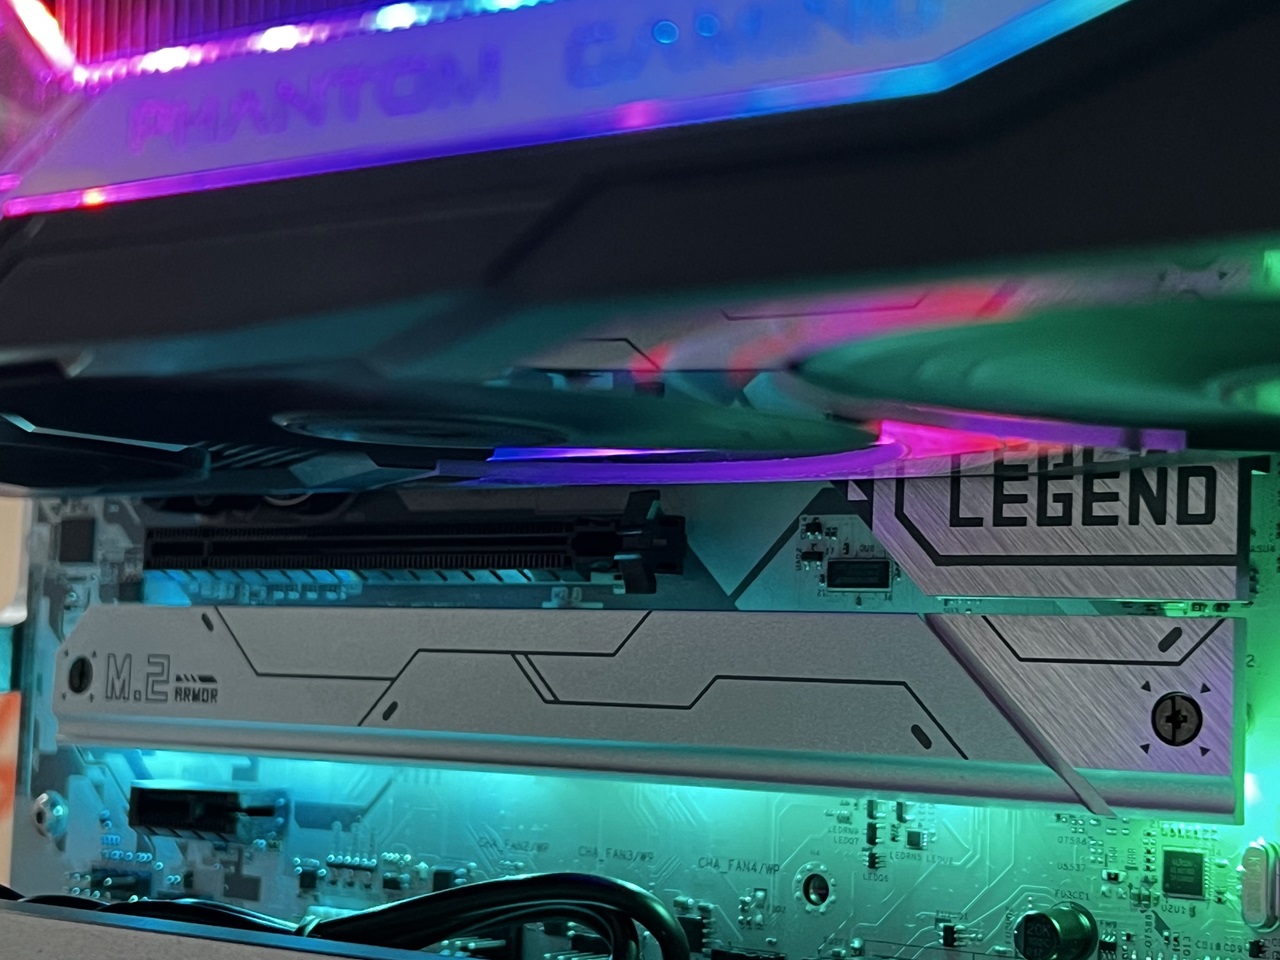
There’s no RGB on the I/O hood, but you do get some RGB lighting along the bottom, near the long heatsink for the Hyper M.2 slots.
BIOS
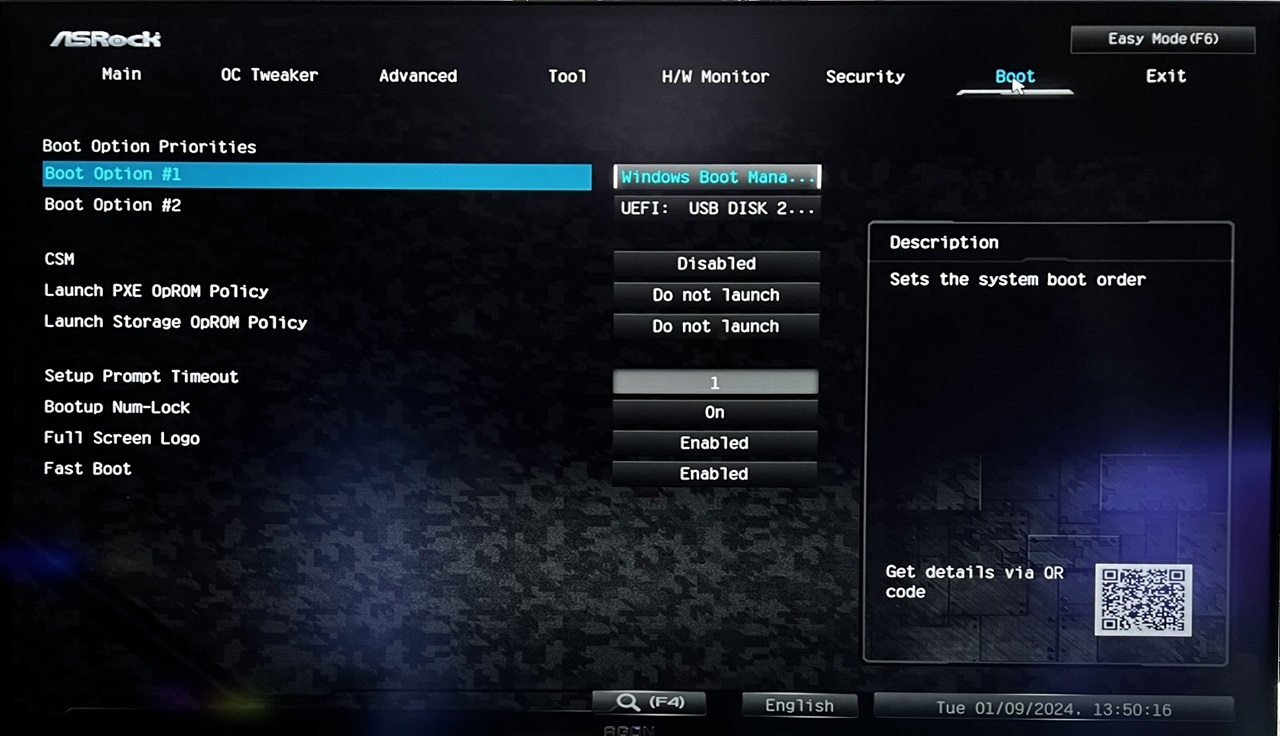
The BIOS on the ASRock B650 Steel Legend WiFi was suprisingly easy to use. Once you get in ot the BIOS, you’ll see the default page where it shows you the BIOS version, the processor type, the speed of the CPU and the total memory, including the default speed of the ram.

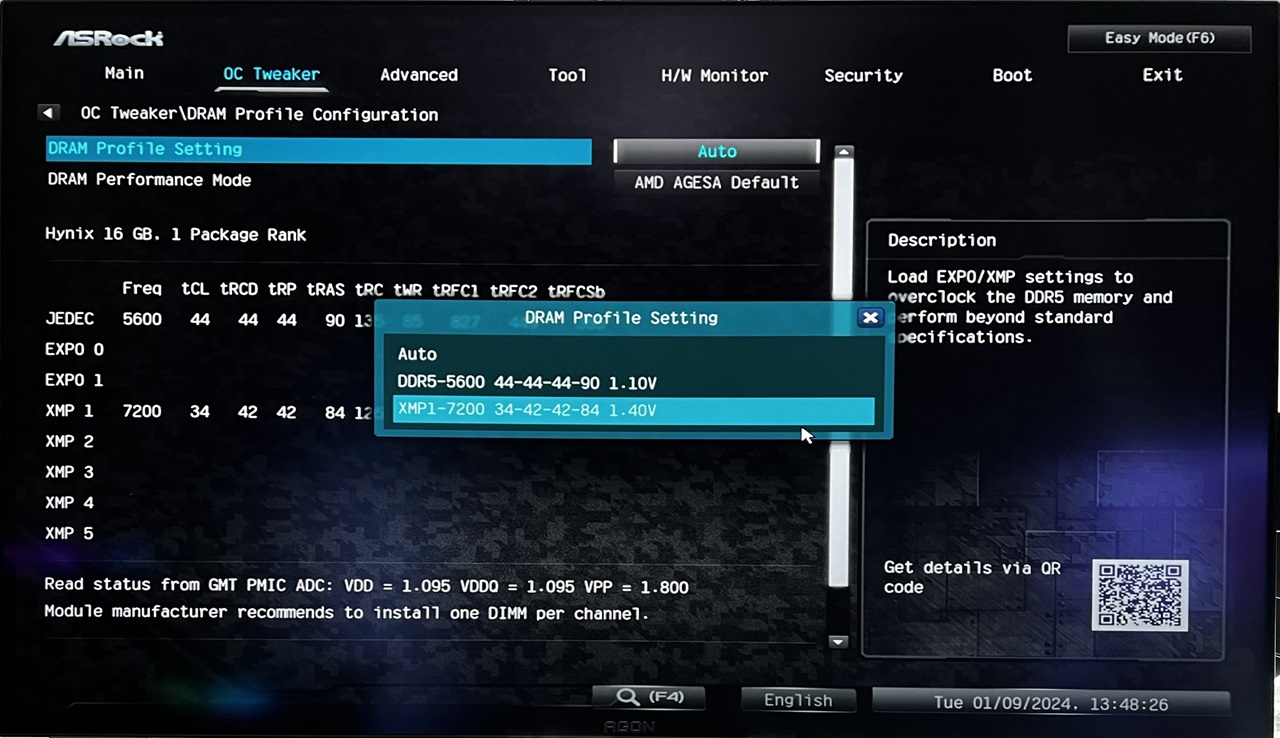
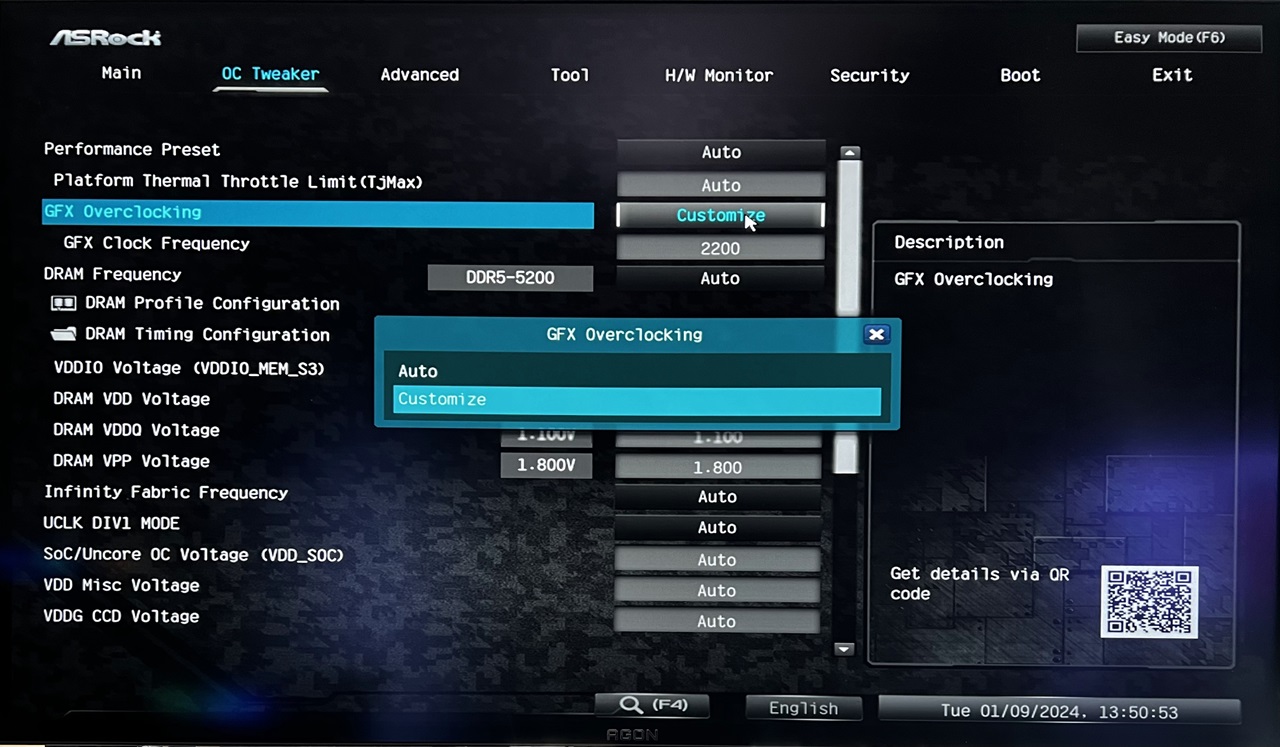
The ASRock B650 Steel Legend WiFi is able to support both AMD’s EXPO and Intel’s XMP. During our test, we used the Lexar ARES RGB DDR5-7200, which is fully XMP 3.0 certified. All we had to do was to enable XMP profile in the BIOS and that’s it!
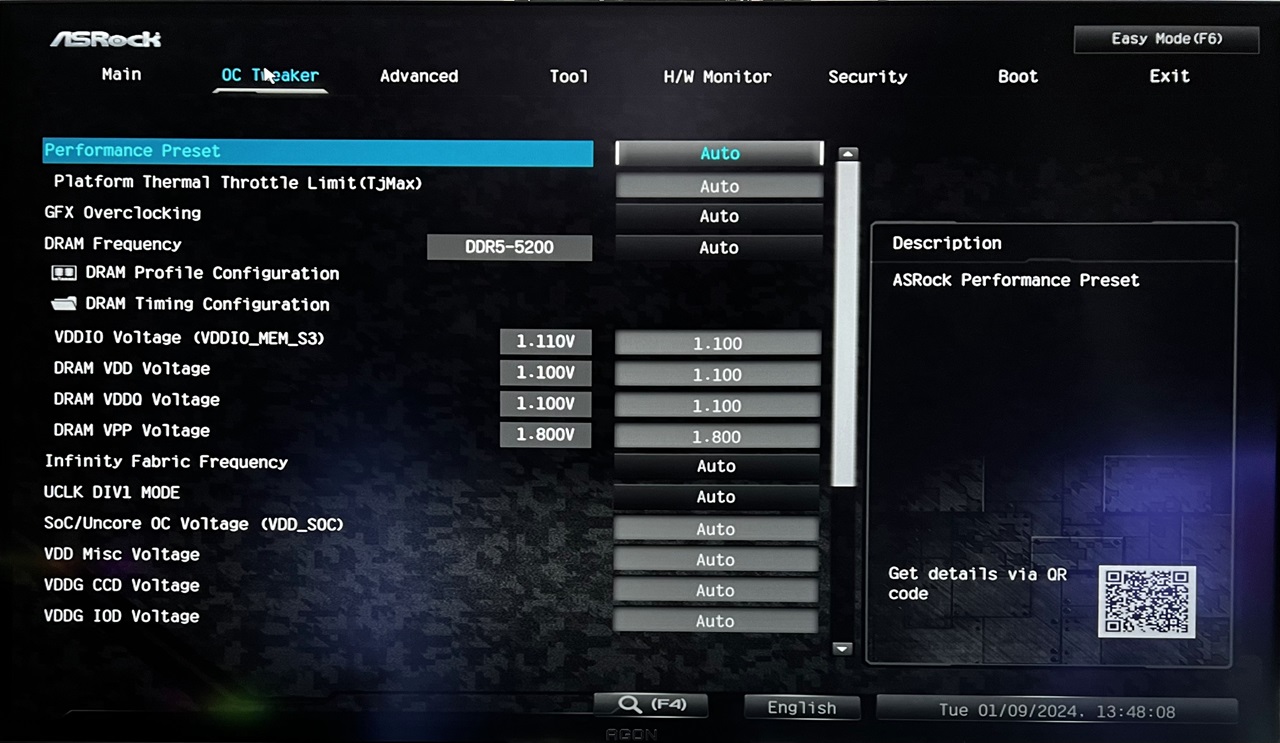
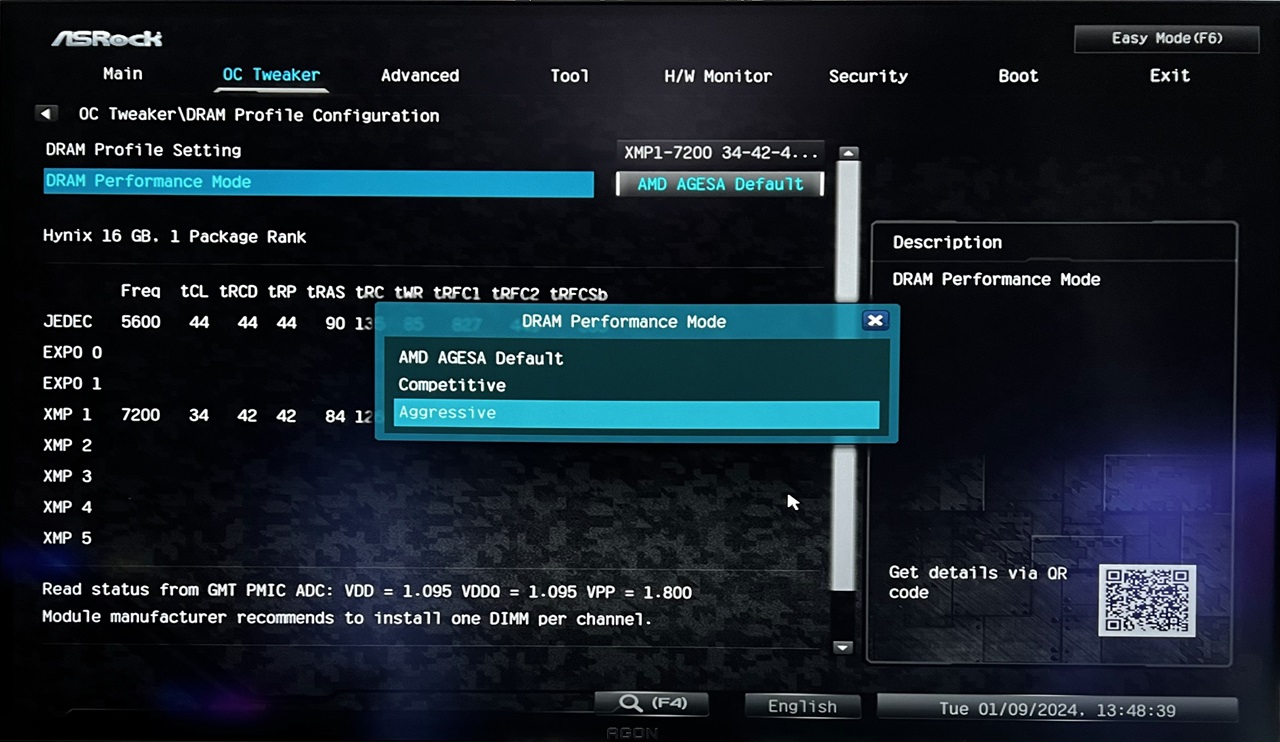
If you select “Advanced Mode”, you’ll then see even more options available for tweaking your processor, memory and more. Voltages for memory and processor can also be adjusted here.
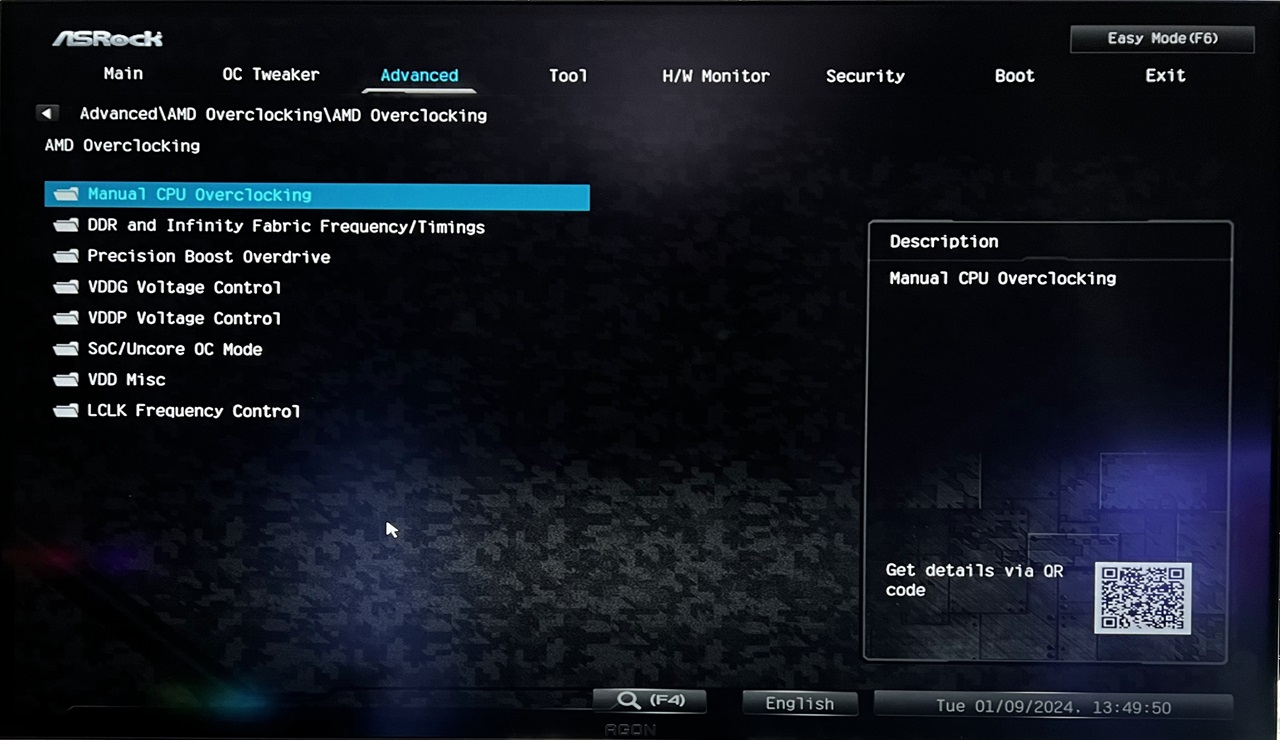
For overclockers, the BIOS allows CPU and memory overclocking, and you can also set the CPU frequency and voltages too.
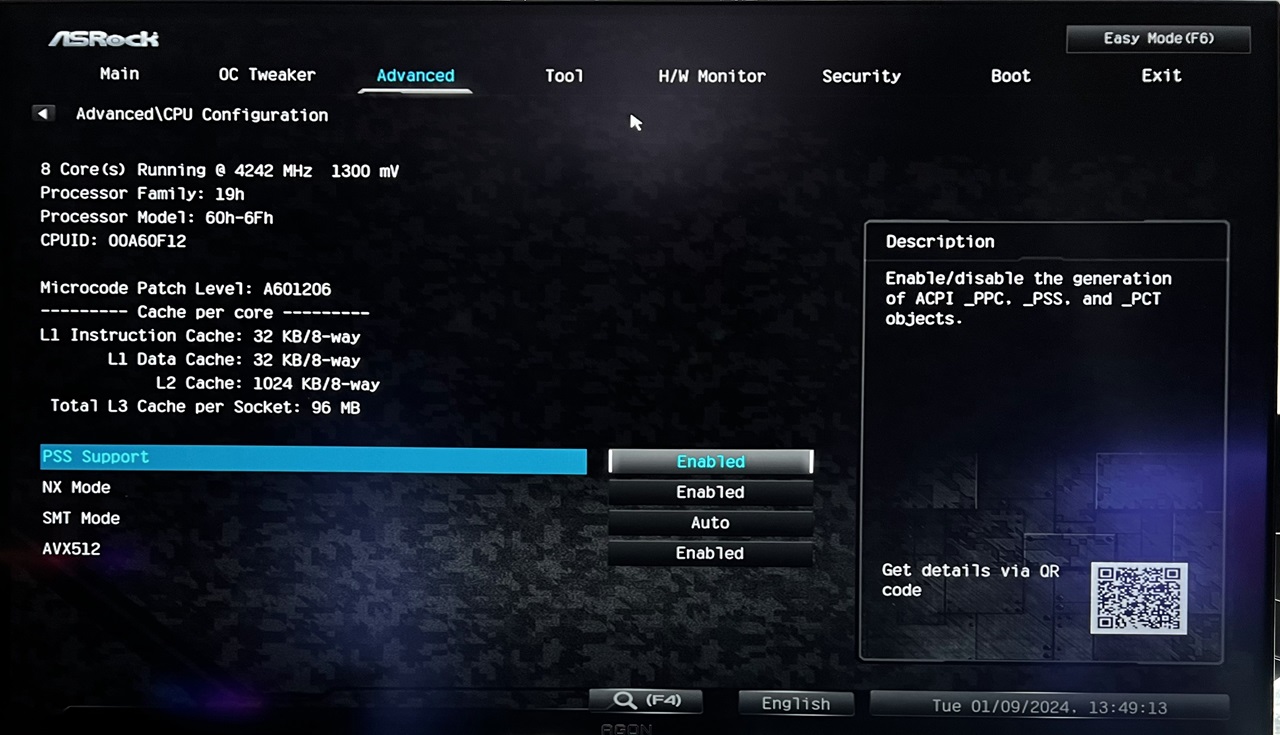
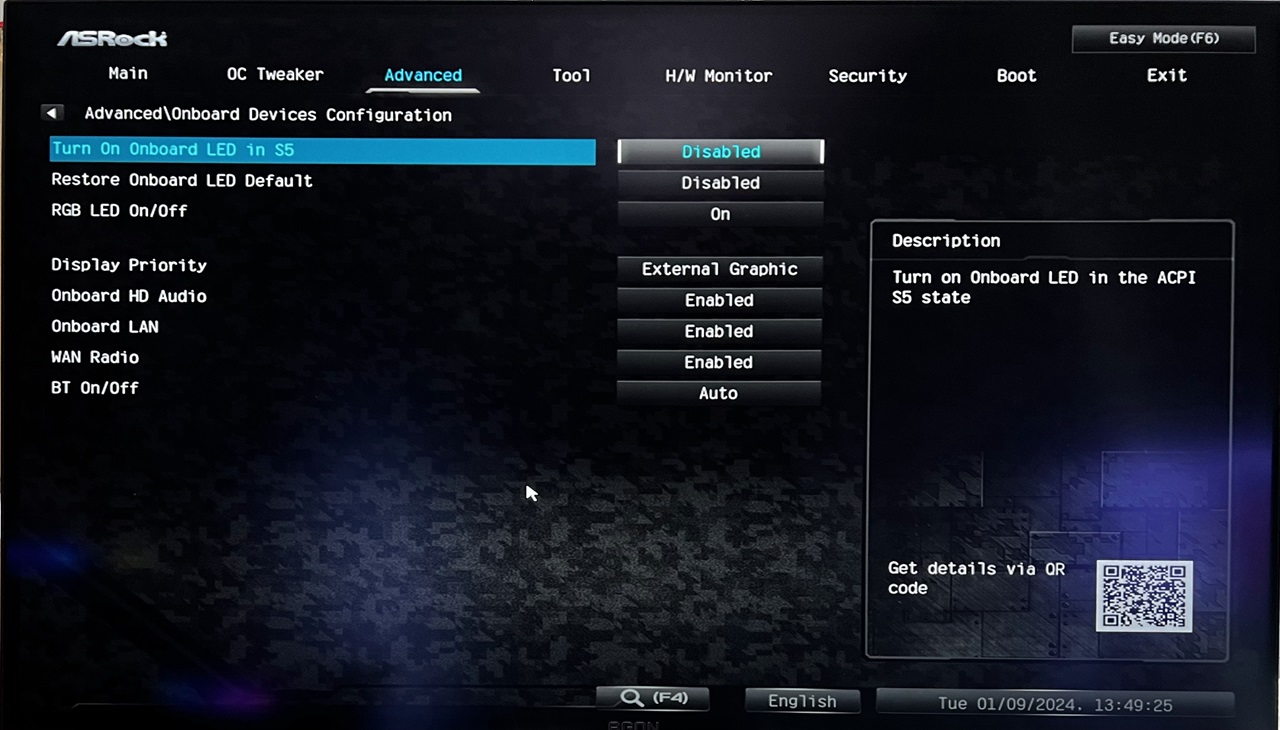
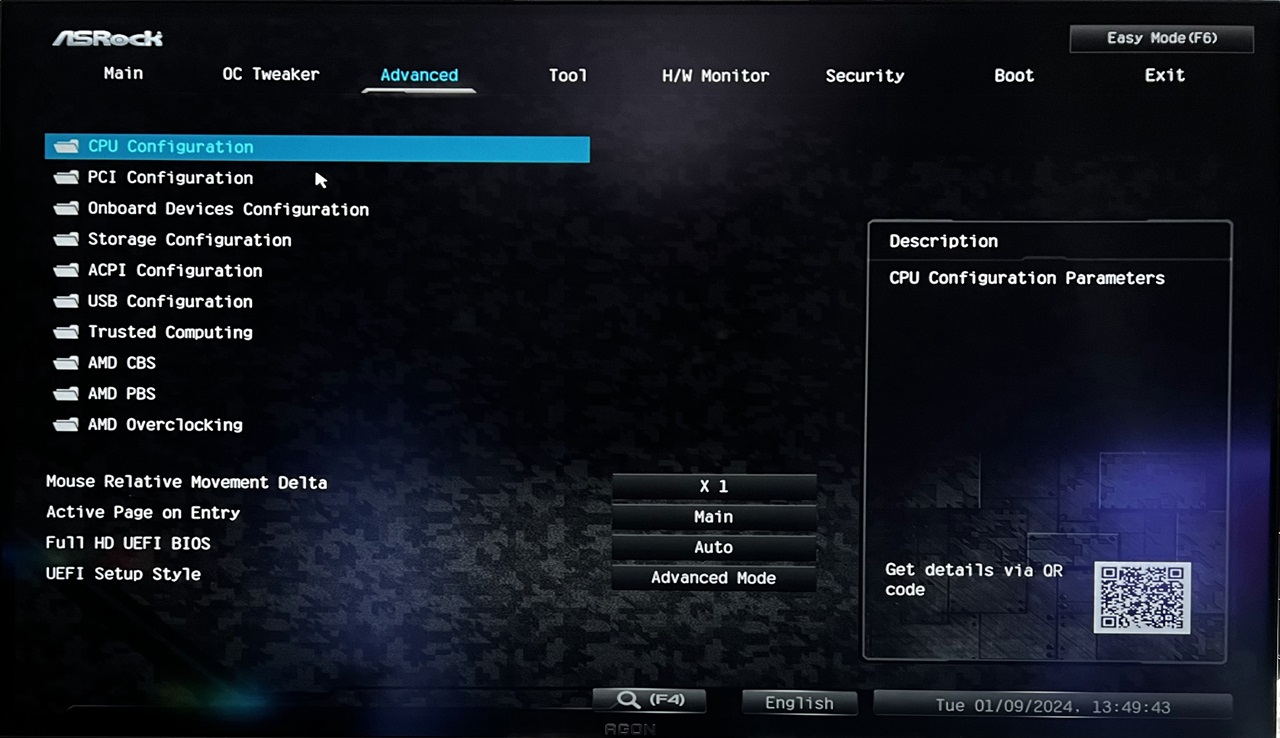
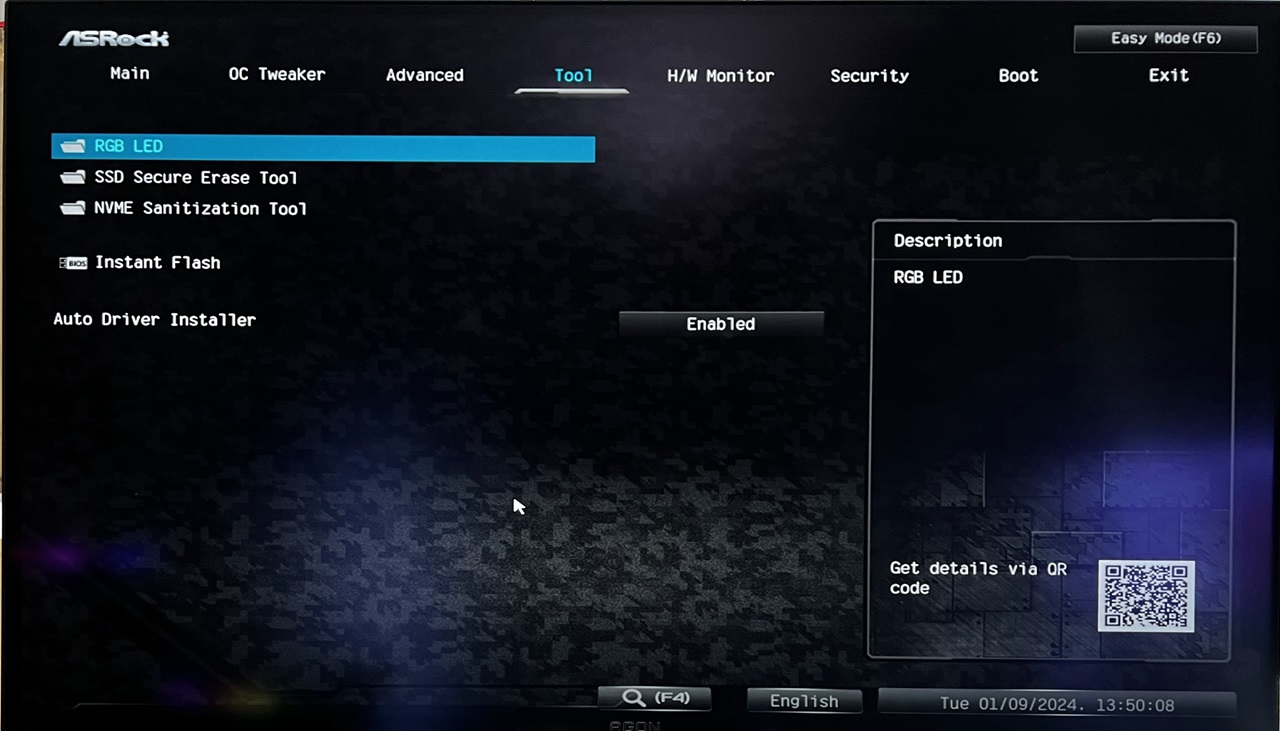

The other options allows users to configure settings for CPU, chipset, storage and NVMe, LEDs, as well as onboard devices such as LAN, audio, and Bluetooth.
For storage/memory compatibility and QVL (qualified vendors list), I recommend you check ASRock’s QVL page here.

