


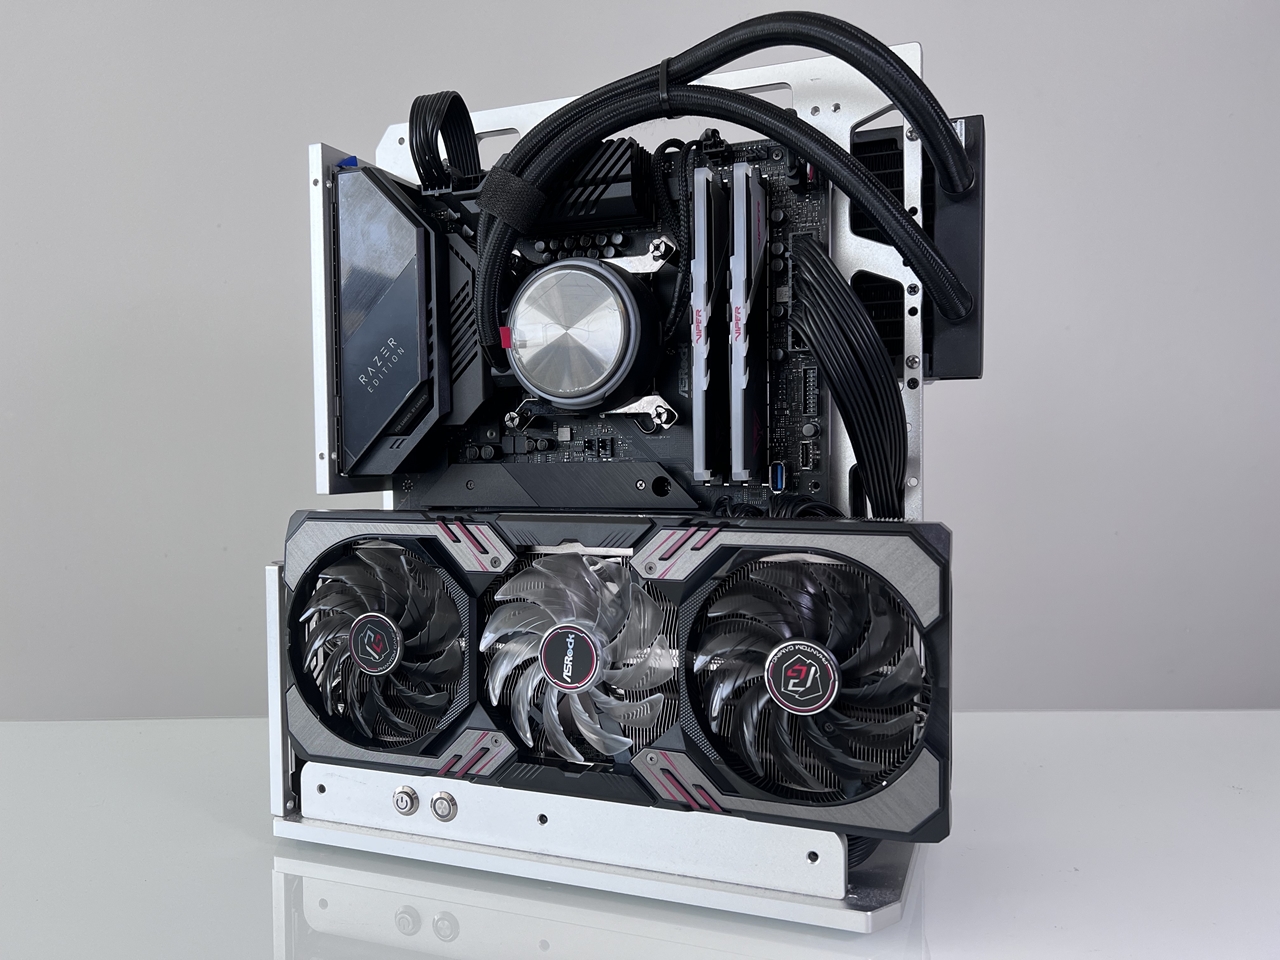
Installation
We used an vertical open chassis during our installation, along with a Cooler Master MasterLiquid PL240 Flux AIO cooler fitted with Thermaltake Riing Quad 12 fans. We also used a high-quality PCIE 4.0 riser cable so that we can mount the graphics card vertically. We didn’t encounter any issues and very thing fitted and slotted in nicely … and this is the reason why I like “Open Chassis”


BIOS
To my surprise, the BIOS on the ASRock Z690 Taichi RAZER EDITION is really colourful and easy to use. The 1st page you’ll see the default “Easy Mode” where you can monitor all the system status on this page. During our tests, we left everything on AUTO/Default, however I did enable XMP 3.0 profiles for the memory supporting DDR5-6200 ram.

If you select “Advanced Mode”, you’ll then see all the other options available for tweaking your processor, memory and more. Voltages for memory and processor can also be adjusted here .
The advanced tab allows users to configure settings for CPU, chipset, storage and NVMe, as well as onboard devices such as Thunderbolt, USB, TPM and more. For overclockers, the BIOS allows CPU and memory overclocking, and you can set the CPU P-Core and E-Core ratios, as well as Vcore voltages too.


For our testing, we left all BIOS settings at default and untouched … except for XMP profiles, which we set to DDR5-6200.

