


Product Photos – Interior
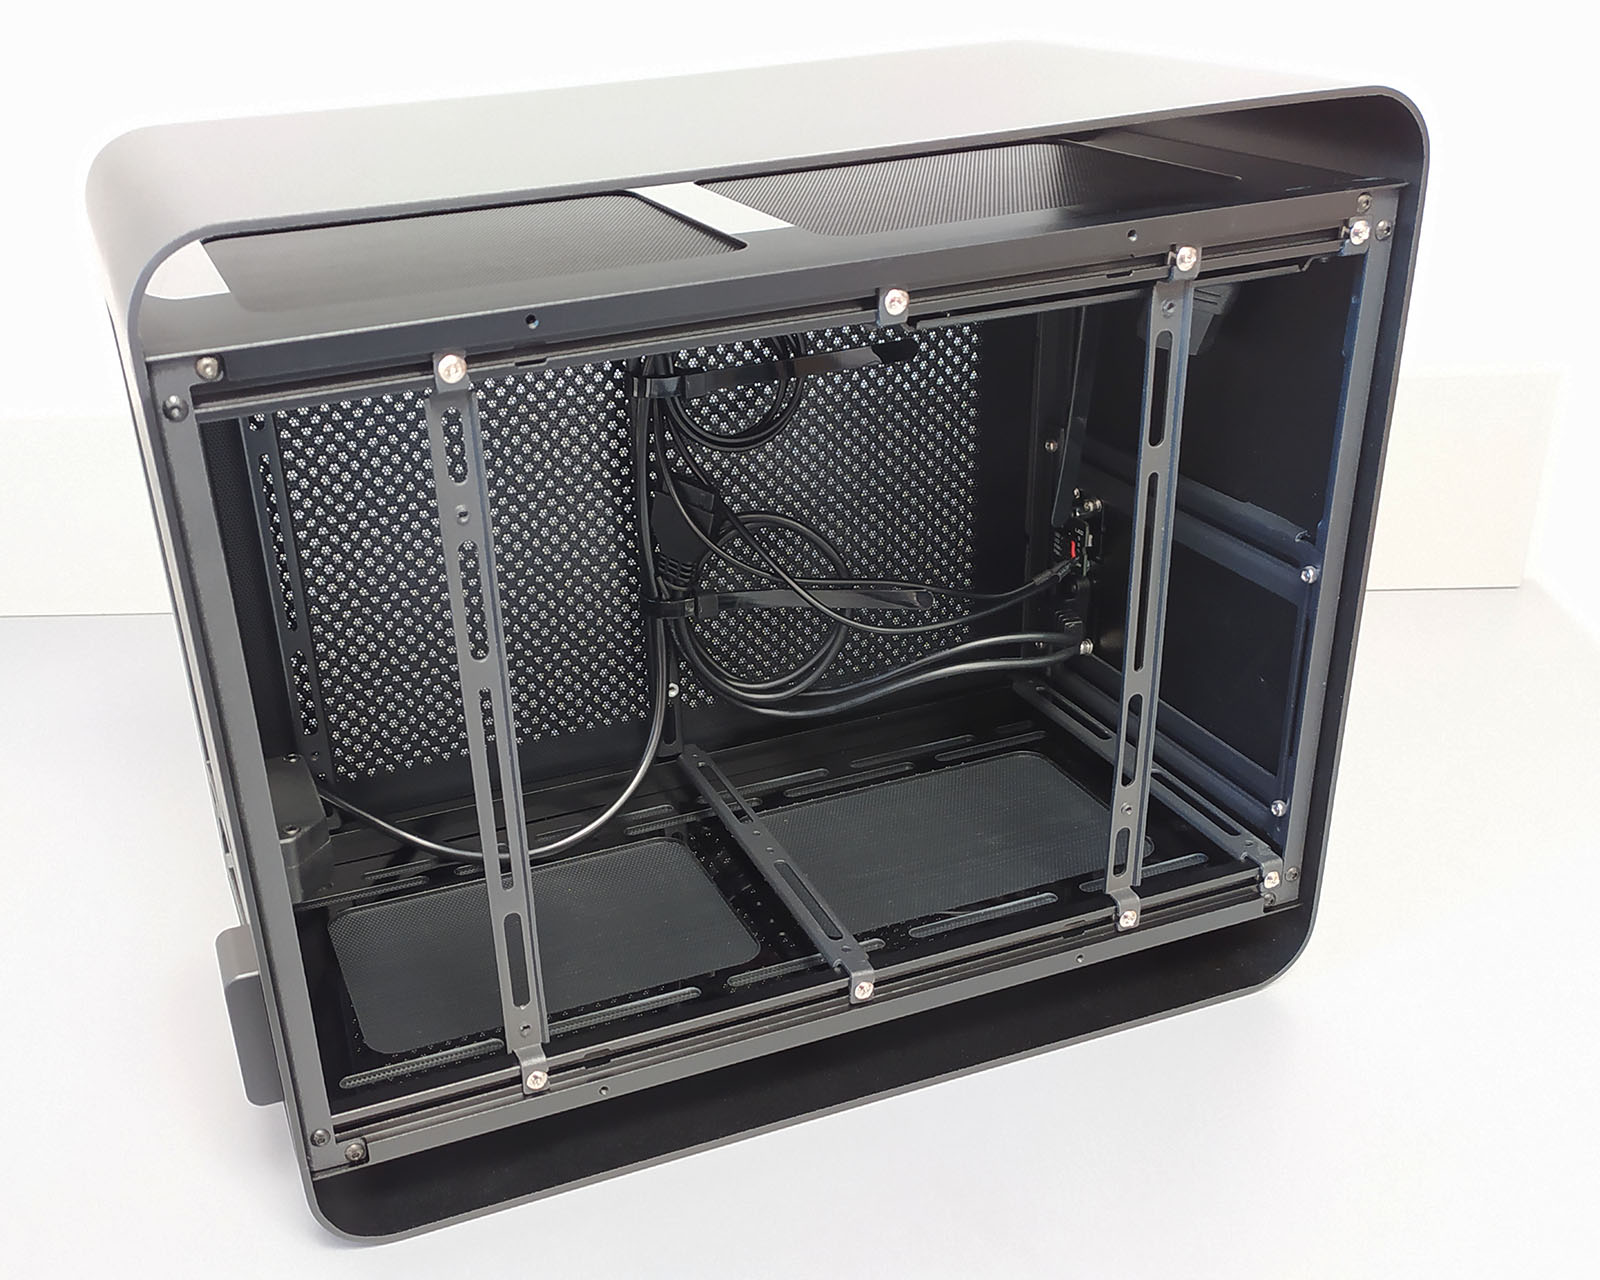
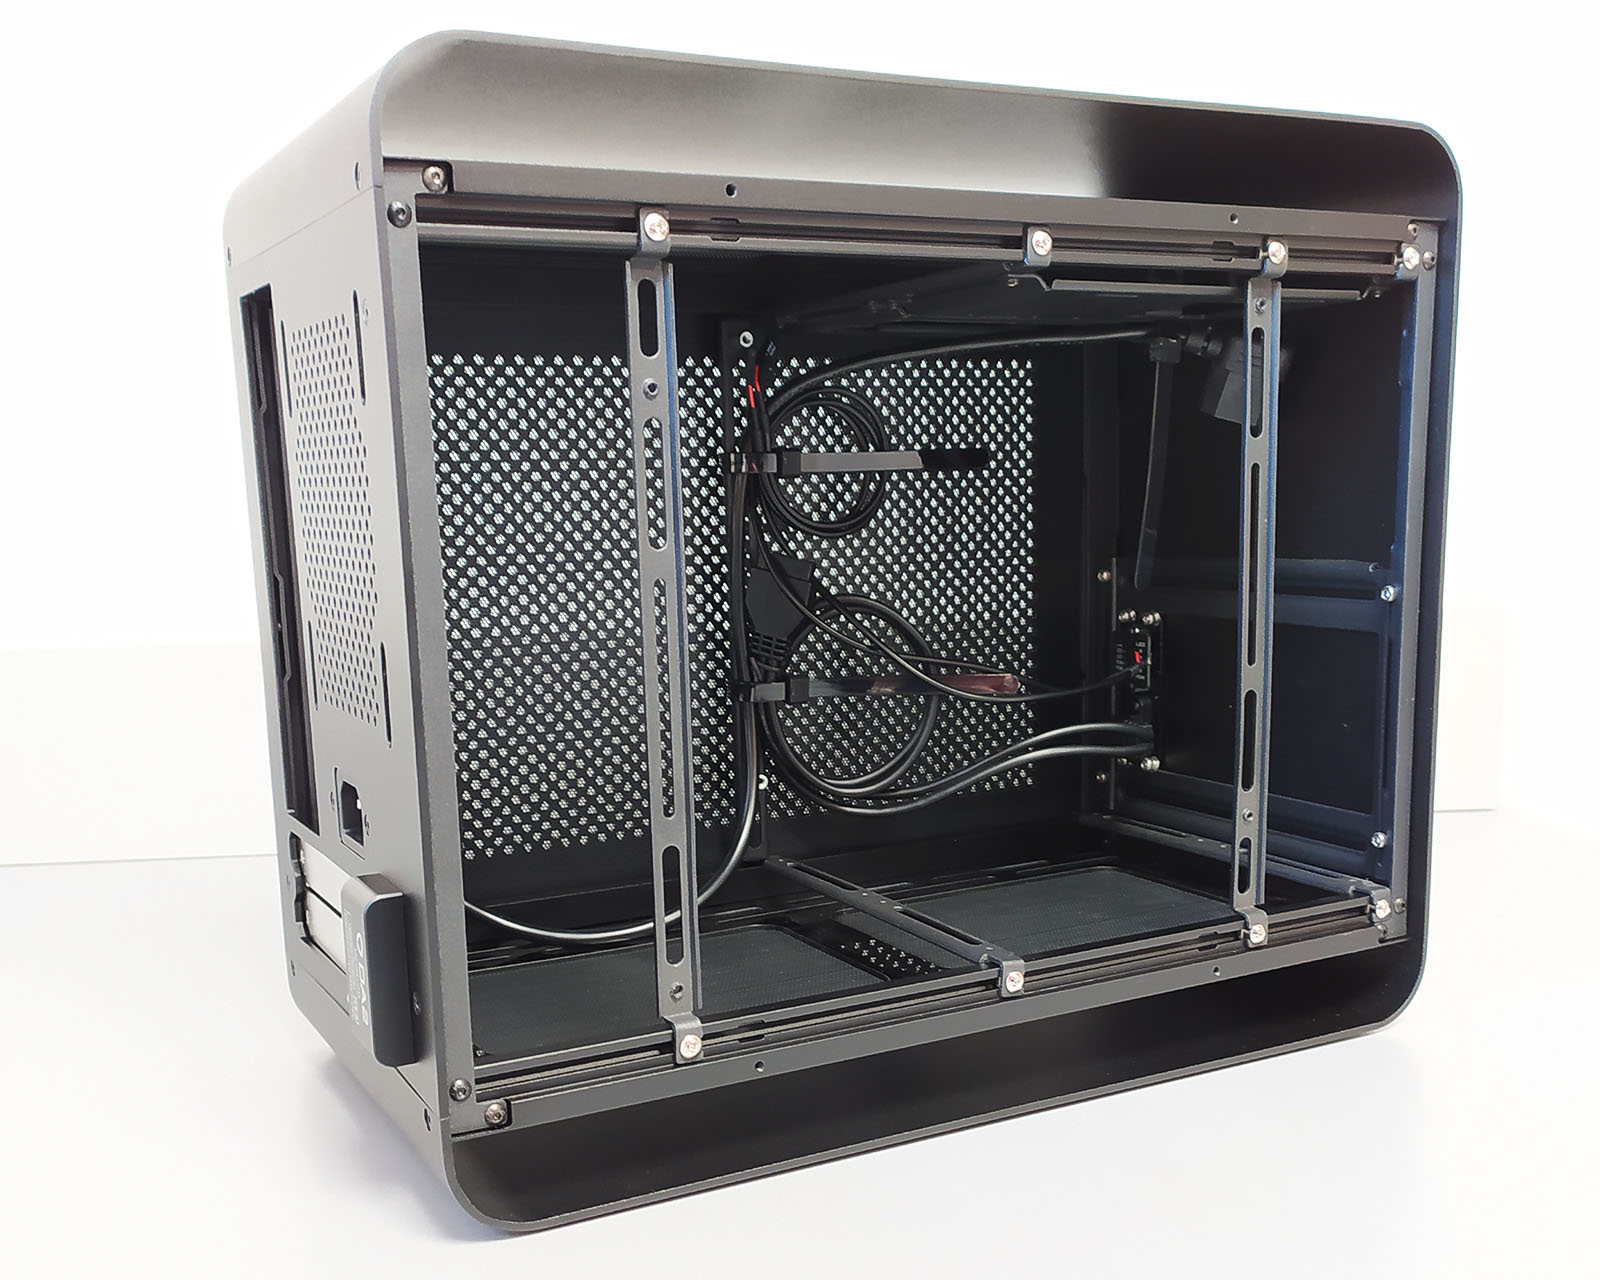
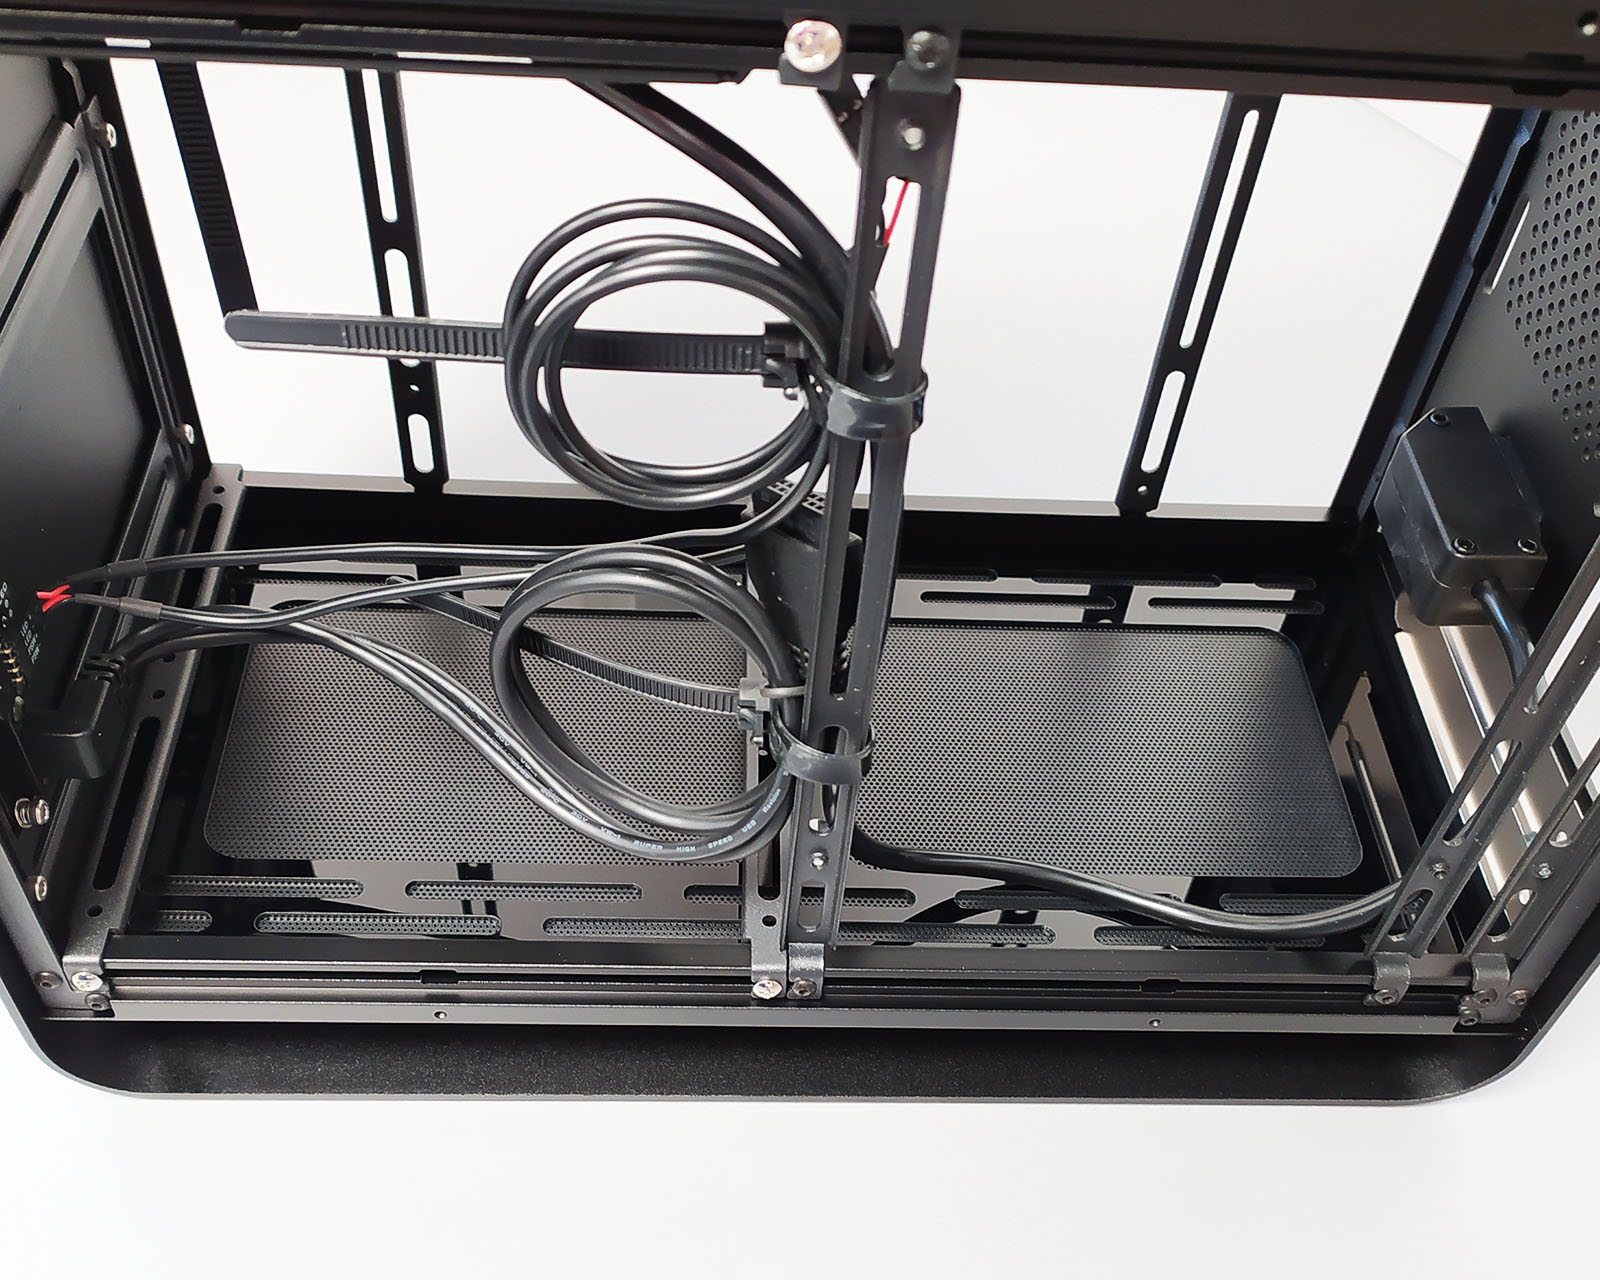
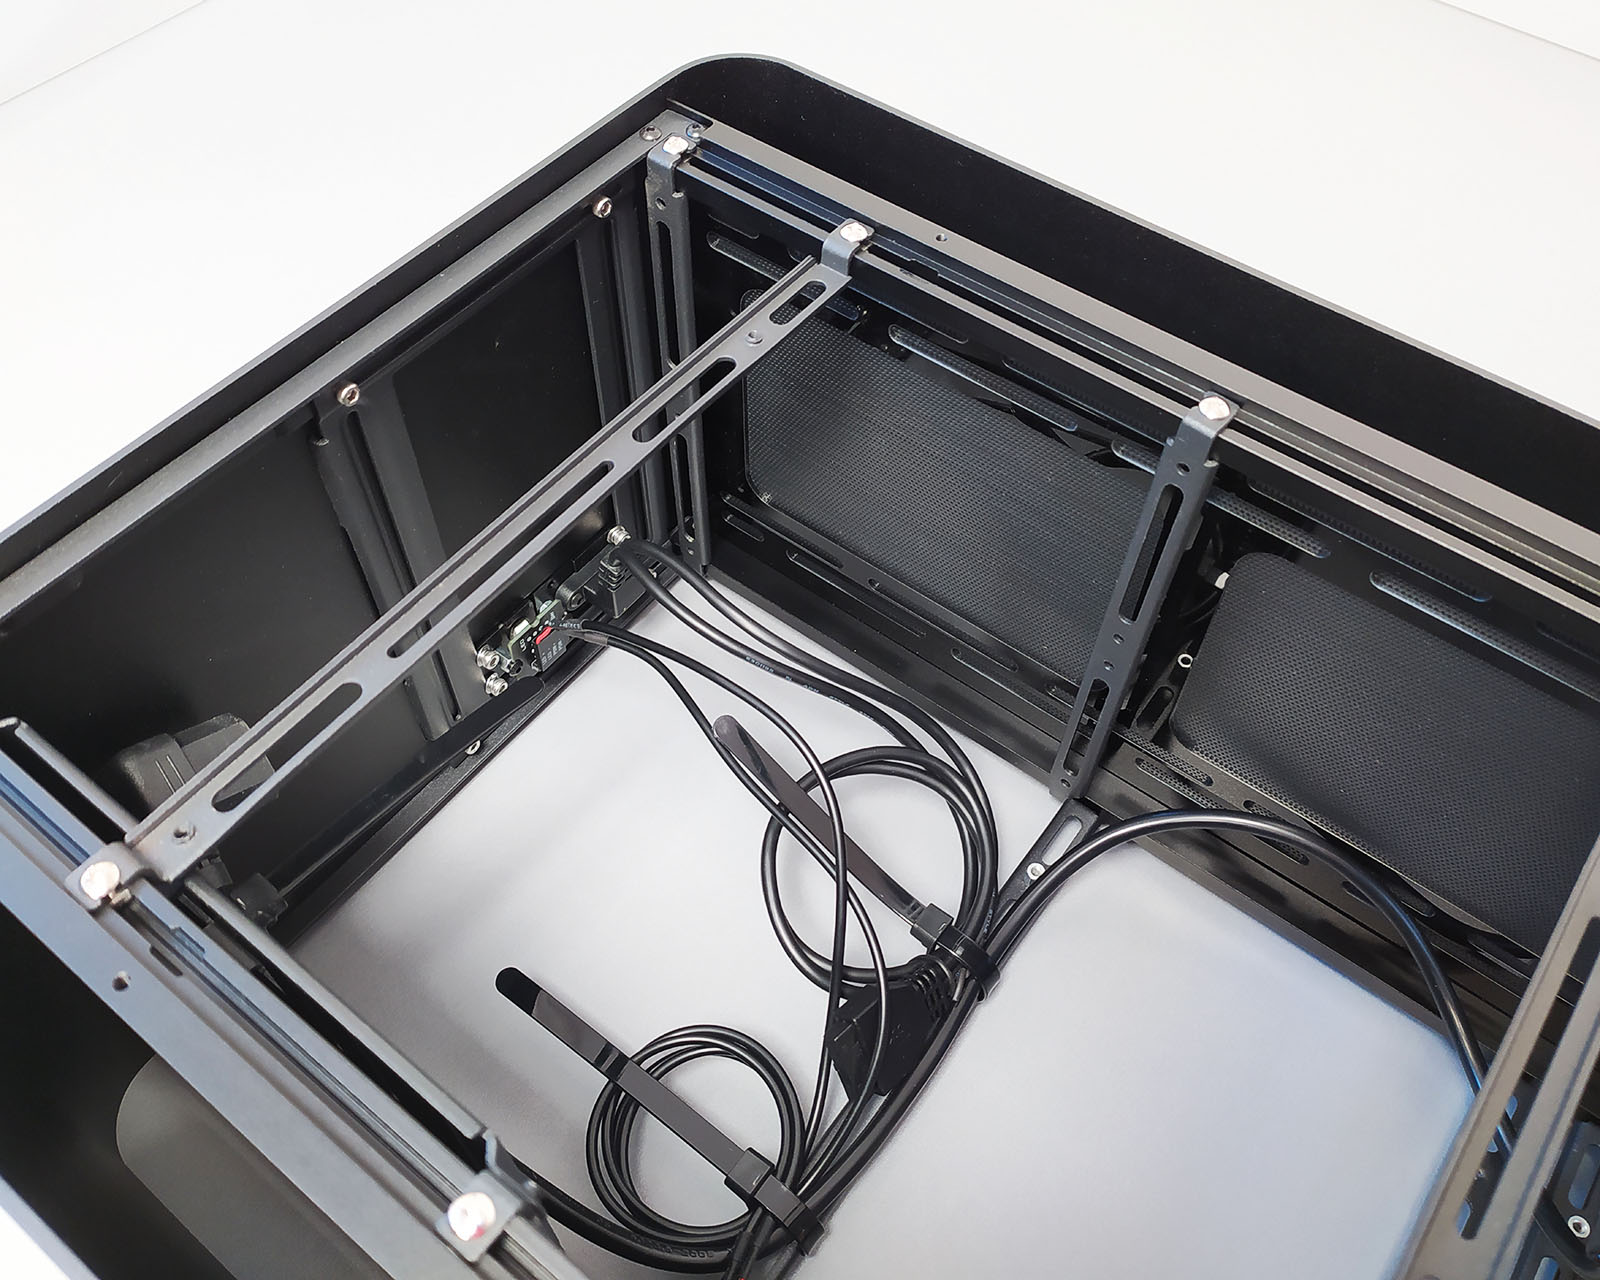
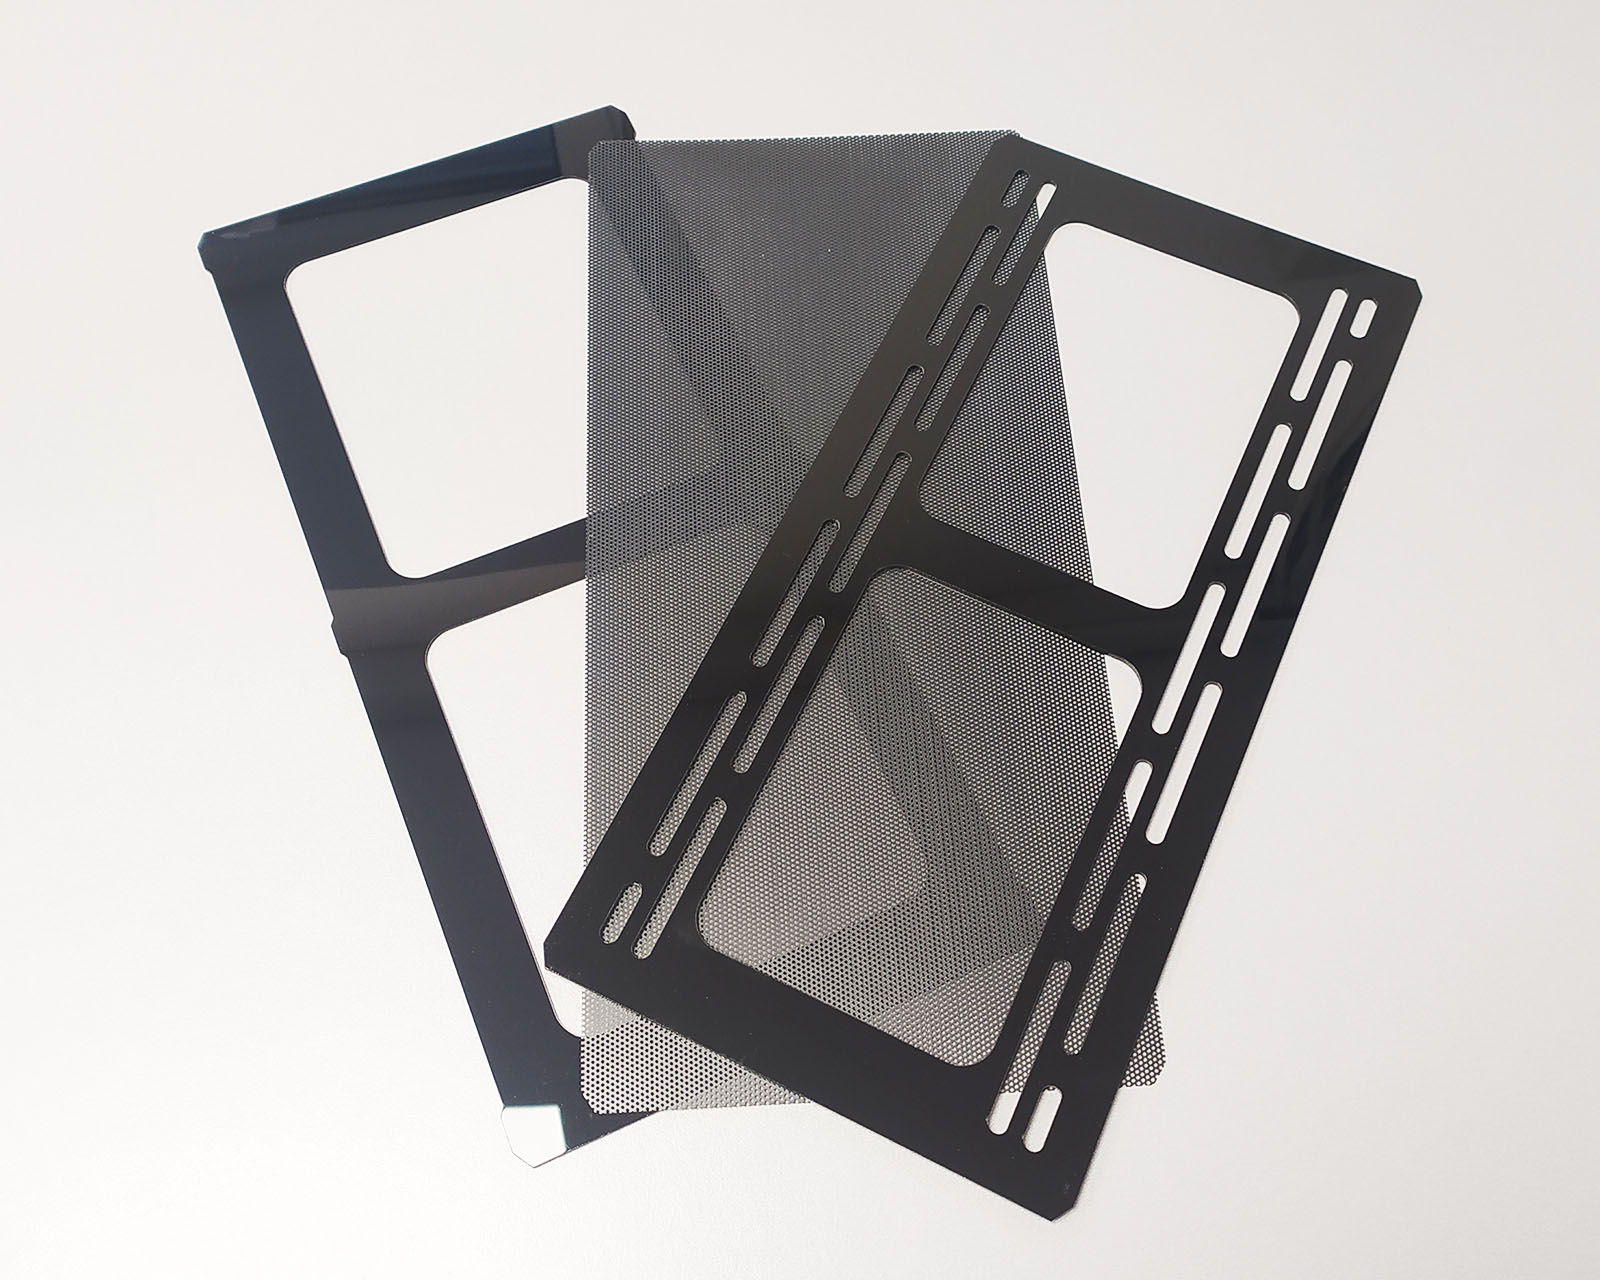
The first thing which you can see after opening the DA2 V2 chassis are universal brackets. This works instead of drive bays or any other mounting plates that limit internal space and airflow. Brackets can be used for most components that we install inside the case.
The motherboard is installed on three brackets, and we can adjust them for standard or vertical graphics card mount. This is very important as the motherboard will slightly change its placement. Simple turning brackets around will give us a correct placement.
We can also use brackets to install 2.5″ or 3.5″ SSD/HDD. However, our build doesn’t include any SATA drives, so that we will skip this part.
Various suggestions about component installation using brackets are presented in the product introduction, available on the Streacom website. Again, the Streacom team did good work with the product description – ~click~
The interior is spacious enough to install a high-end series processor, a medium-sized AIO cooler like one of 240 series, and a full-size graphics card. The most important for gamers are fast graphics cards as the CPU can be even lower series and will still handle the latest titles at higher display details. I highly recommend planning everything before purchase as I won’t hide that our build was changed a couple of times to pick the best components and optimize the airflow.
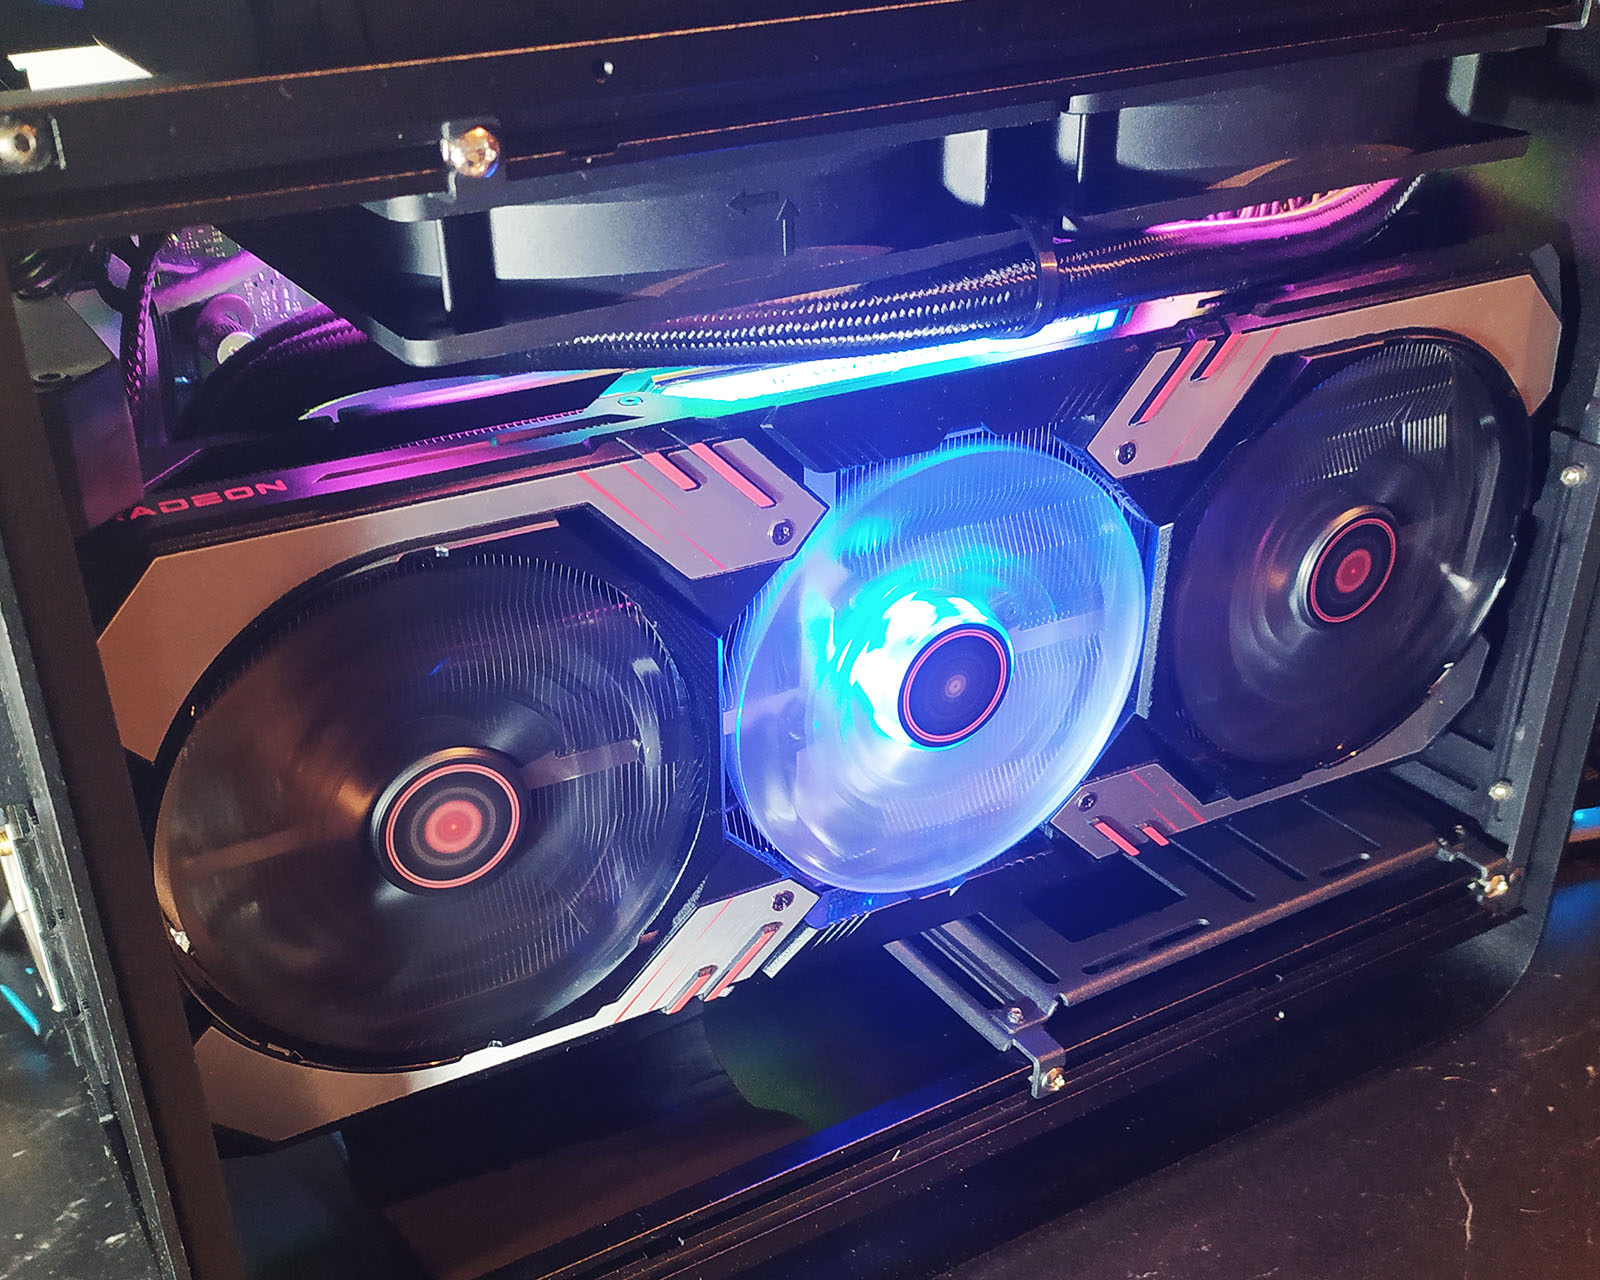
The DA2 V2 is designed to support graphics cards up to 330mm in length. Below you can see how tight is installed ASRock Radeon RX6800XT Phantom Gaming D. Tight to the limit as this card has exactly 330mm and is touching the front panel. This card also has 3x8pin power connectors, and it’s possible to fit all these cables without issues. On the other hand, everything was a bit too tight, and another slightly smaller RX6800XT arrived just on time so that the final build will use a bit shorter and lower graphics card.
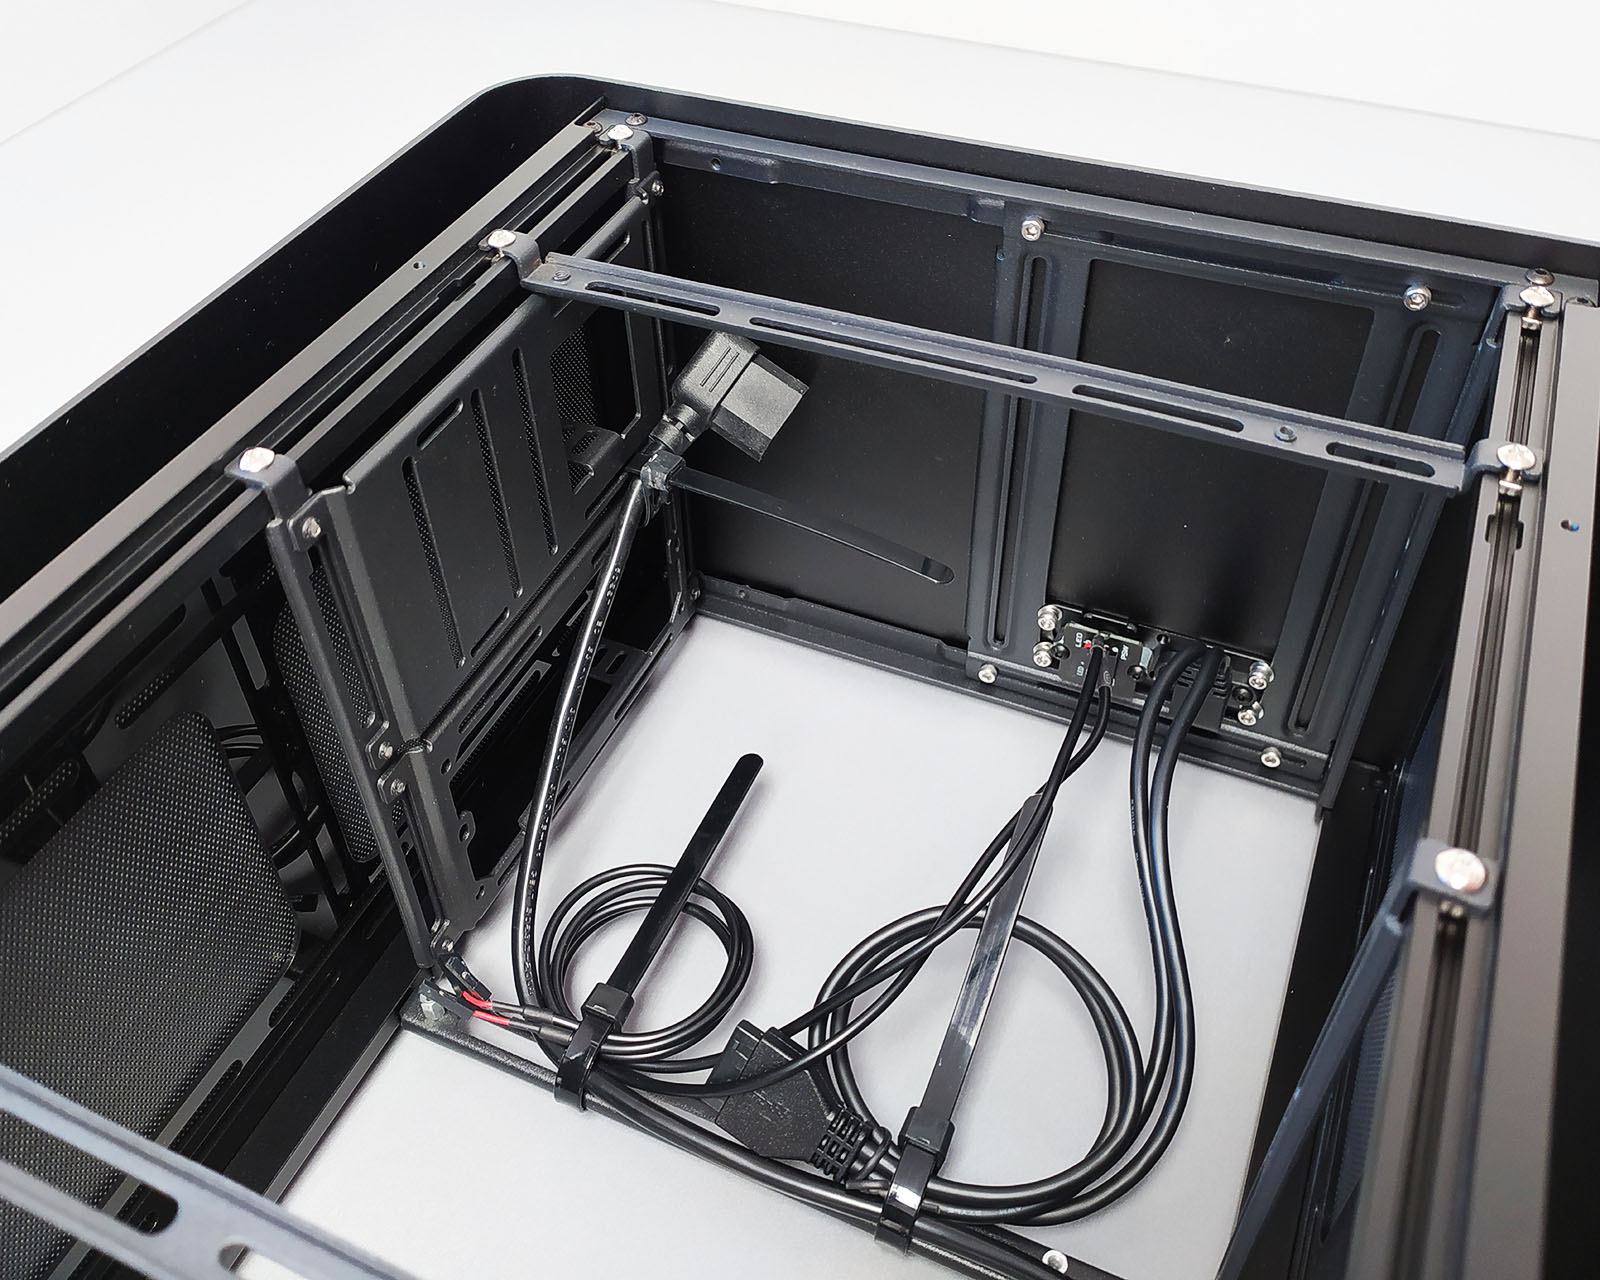
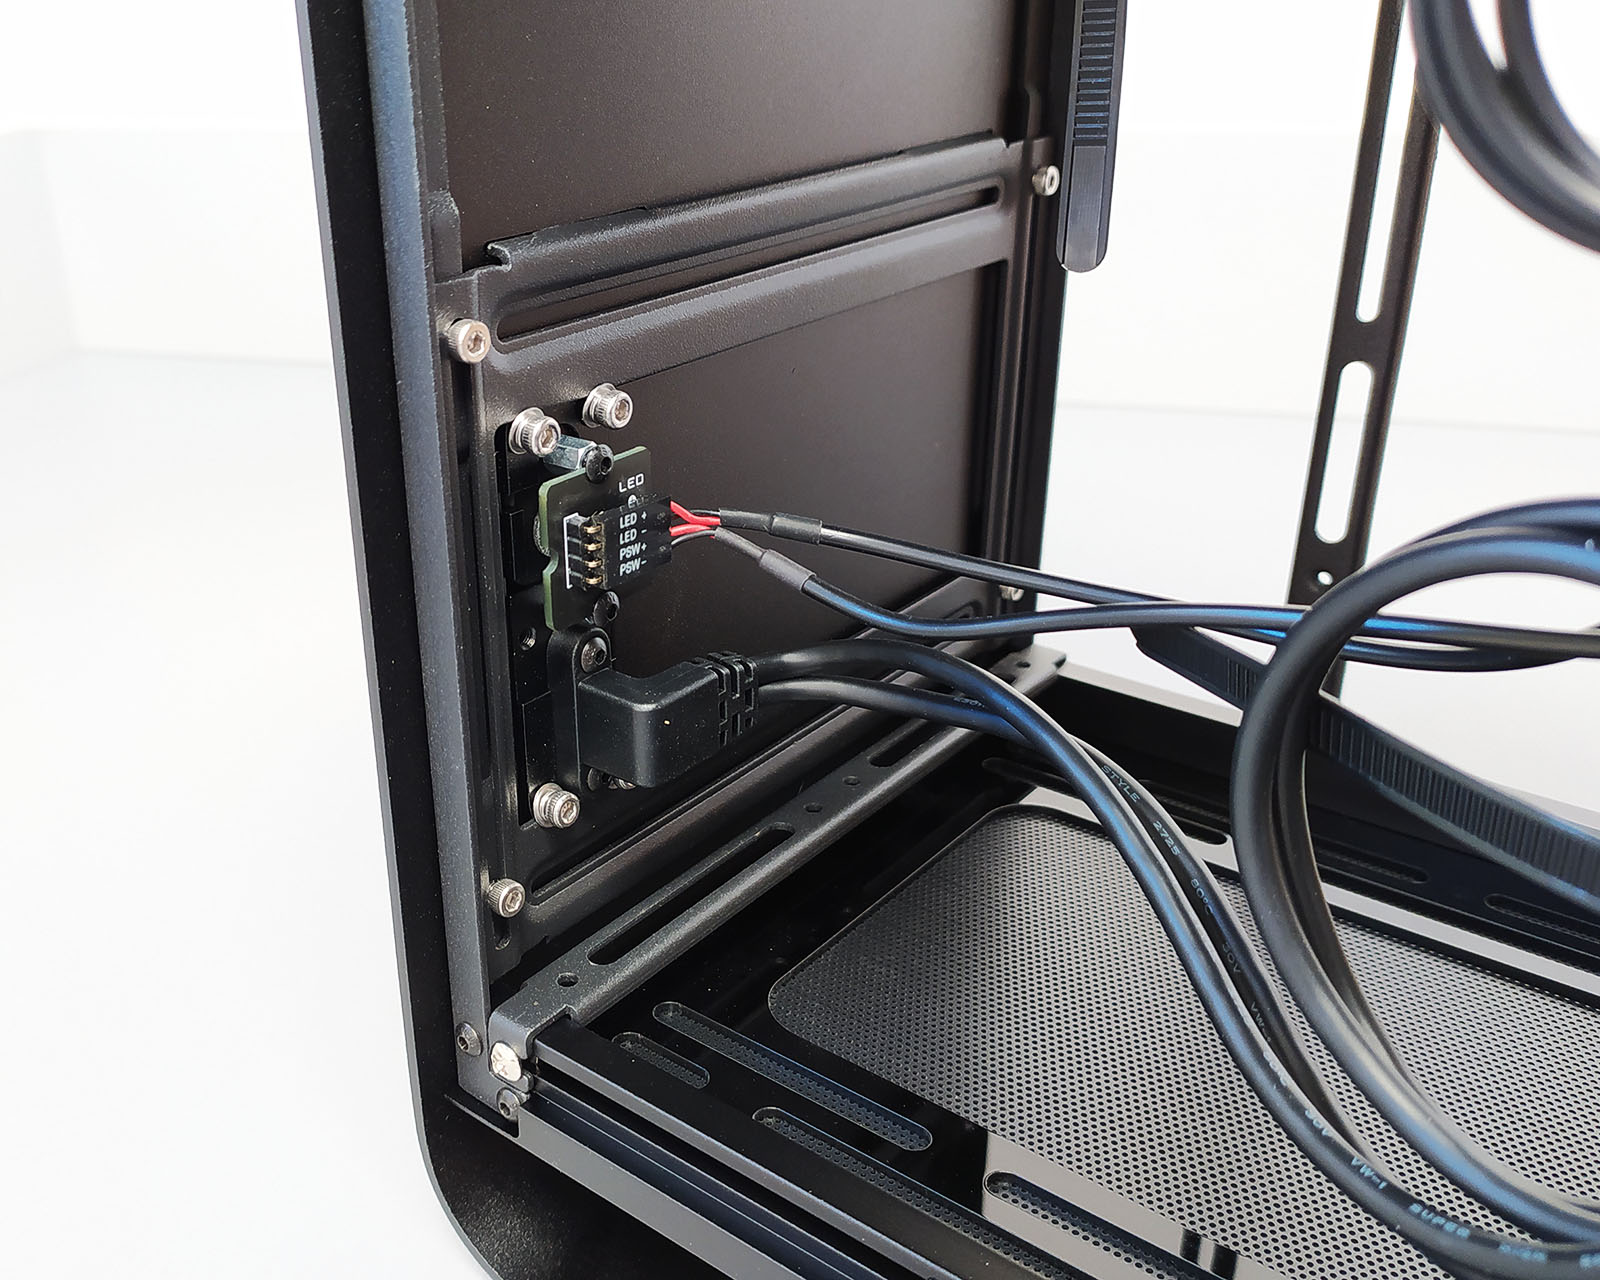
If we are thinking about the PSU for our build, we also have to consider its size. As far as the DA2 V2 supports ATX, SFX-L, and SFX size power supplies, I don’t recommend ATX PSU as it will limit possible space to the minimum. I’ve tested SFX-L PSU, and I also found it a bit too big for my needs, mostly because power cables were too close to the AIO cooler fans. In the end, I used Corsair SF600 600W 80+ Platinum PSU. There are two or even three reasons for that. It’s small, it’s a high-power unit, and it runs semi-passive up to 50%+ load. Even though it’s rated at 600W, then without issues handles Ryzen 5900X and RX6800XT. Recently has been released 750W unit but it wasn’t available during the tests for this review.
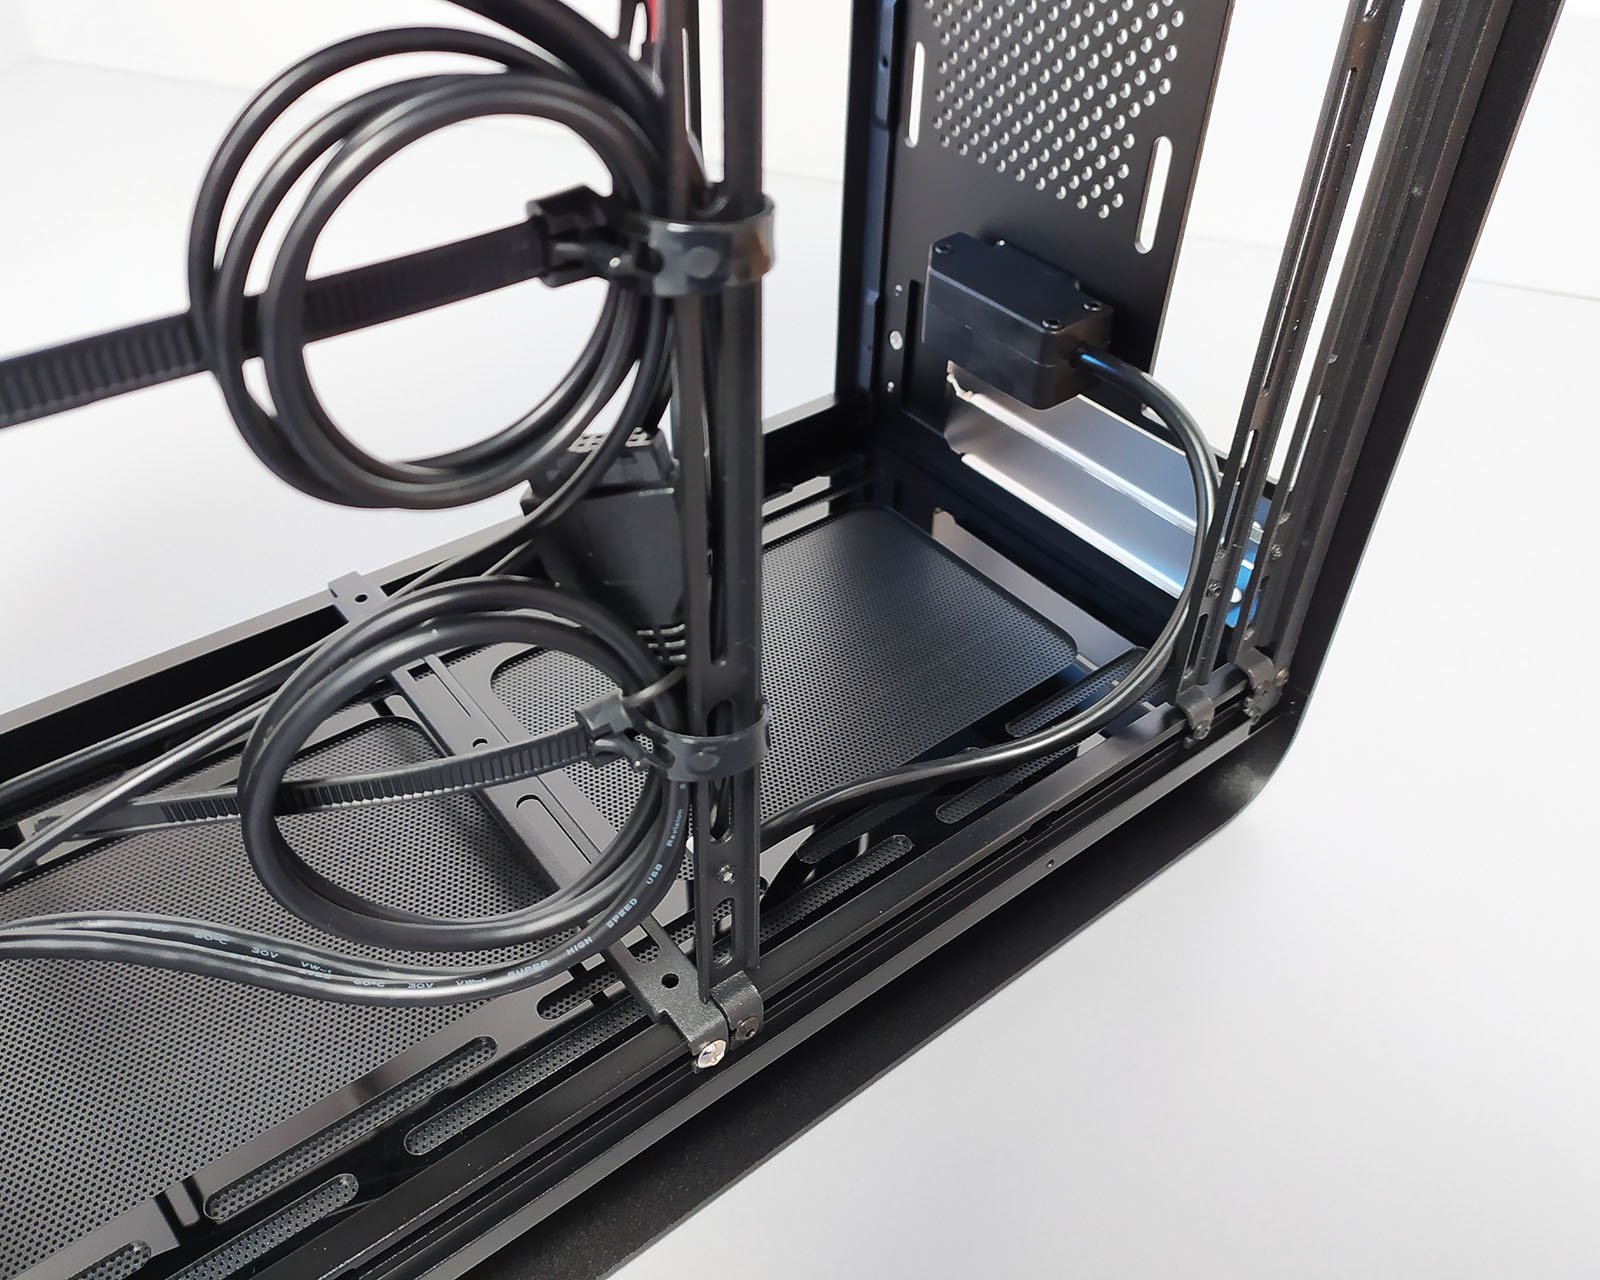
Dedicated bays for drives, fans, radiators, etc are great for making builds fast and easy, but terrible if you want to optimize the usable space and create a truly customizable platform. So when we created our last 2 cases, the F12C and DB4, we pioneered the use of something we called the universal bracket. The DA2 also utilizes this innovative approach with a track that is integrated into the frame, allowing the brackets be fitted anywhere along the sides of the case.
There are 2 sizes of universal bracket, the vertical (on the sides) and the horizontal (top and bottom) that allow virtually anything with a mounting hole to be fitted. Other than the motherboard and expansion card (which can still be flipped if needed), every component can be reposition anywhere along the tracks, giving unprecedented levels of customization.
So with these tracks and brackets, what can I fit ? Well it’s a little tricky to give a definitive answer because so much depends on what combination of components you use, but the general rule is this …If it physically fits inside the case, there is going to be a way to mount it 🙂
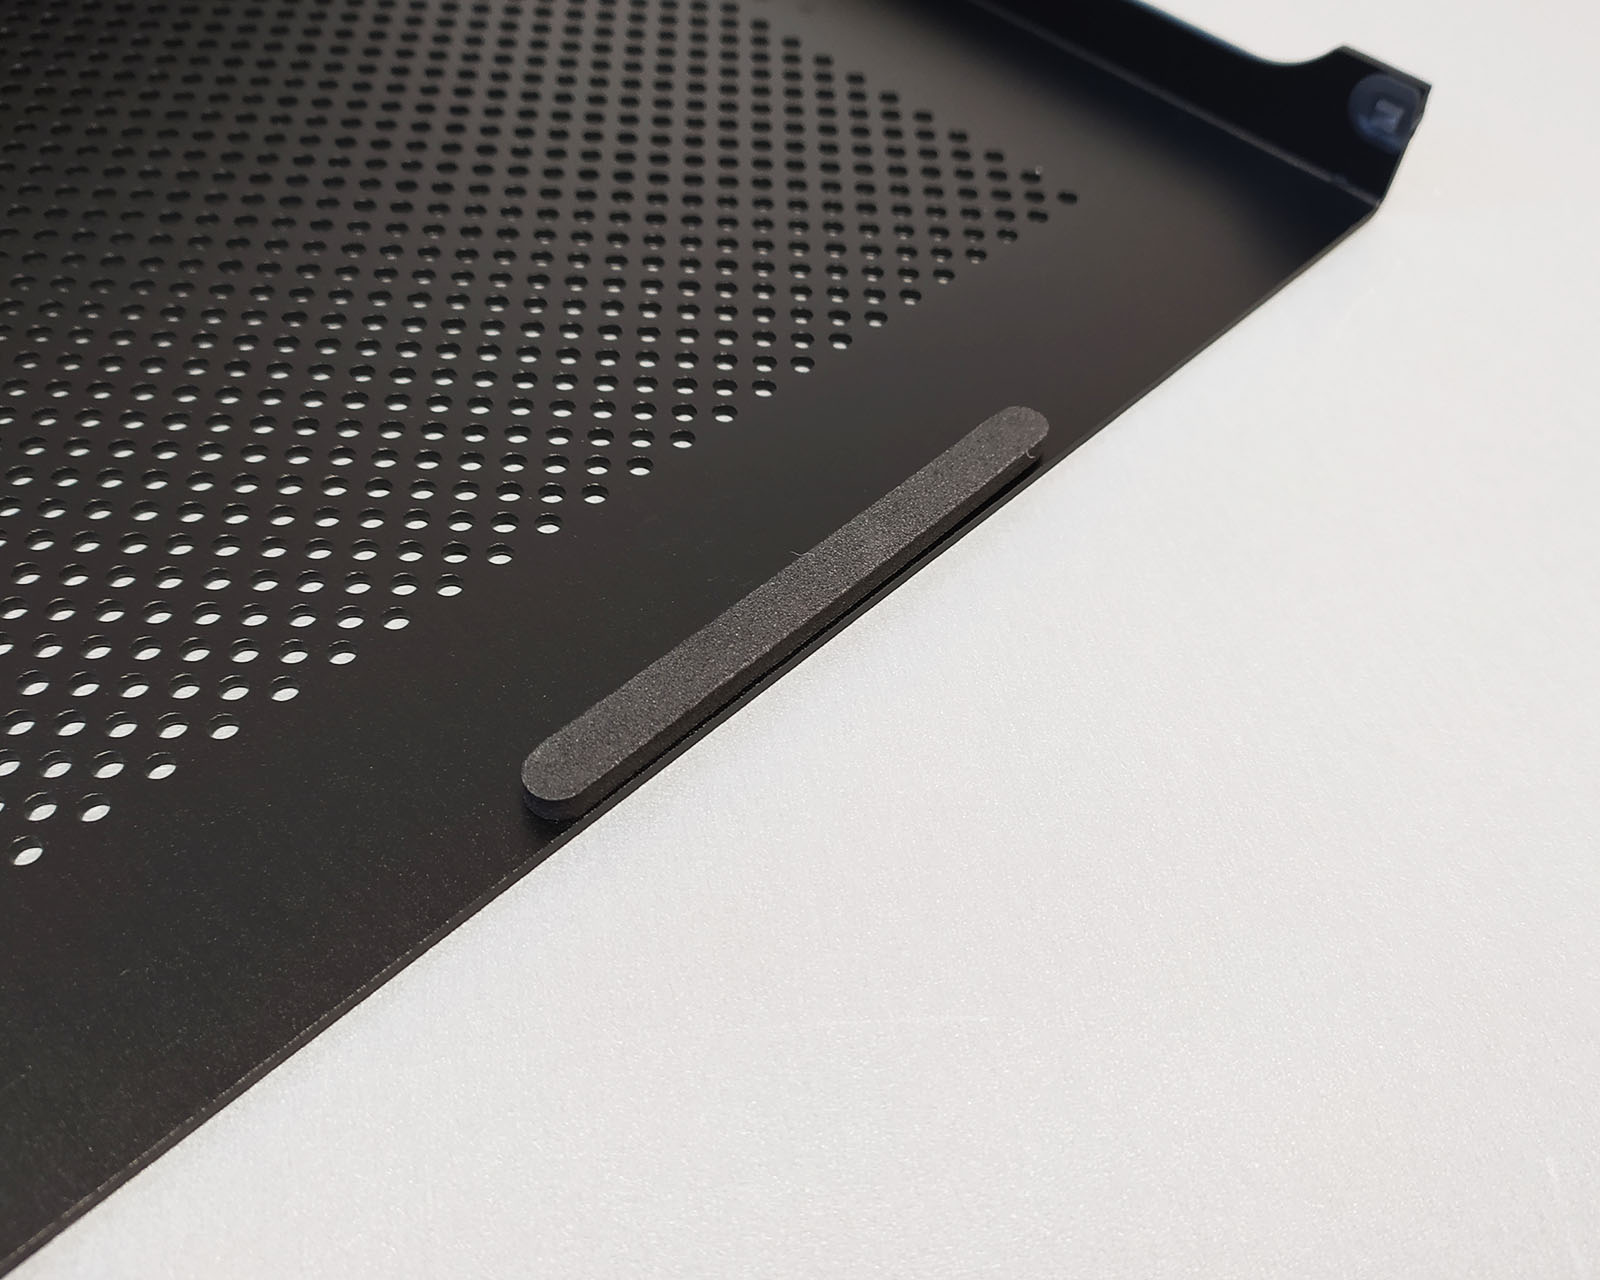
Let’s back to the interior description. As you can see in the first two photos below, side panels have foam pads that keep them in the right place and reduce vibrations. On the corners, there are rubber pads which surprised me at first. I wasn’t reading a more detailed product description before I started this review, so when I unpacked the DA2 V2, I tried to figure out how to open the side panels. A quick look into the manual, and there was the answer. Simply, push the panel down, and it unlocks, and all that thanks to four rubber pads. It’s so easy. If we use tempered glass panels, it’s even easier as they stay in place thanks to magnetic stripes on the panels’ sides: simple but functional solutions and all without the need to use any tools.
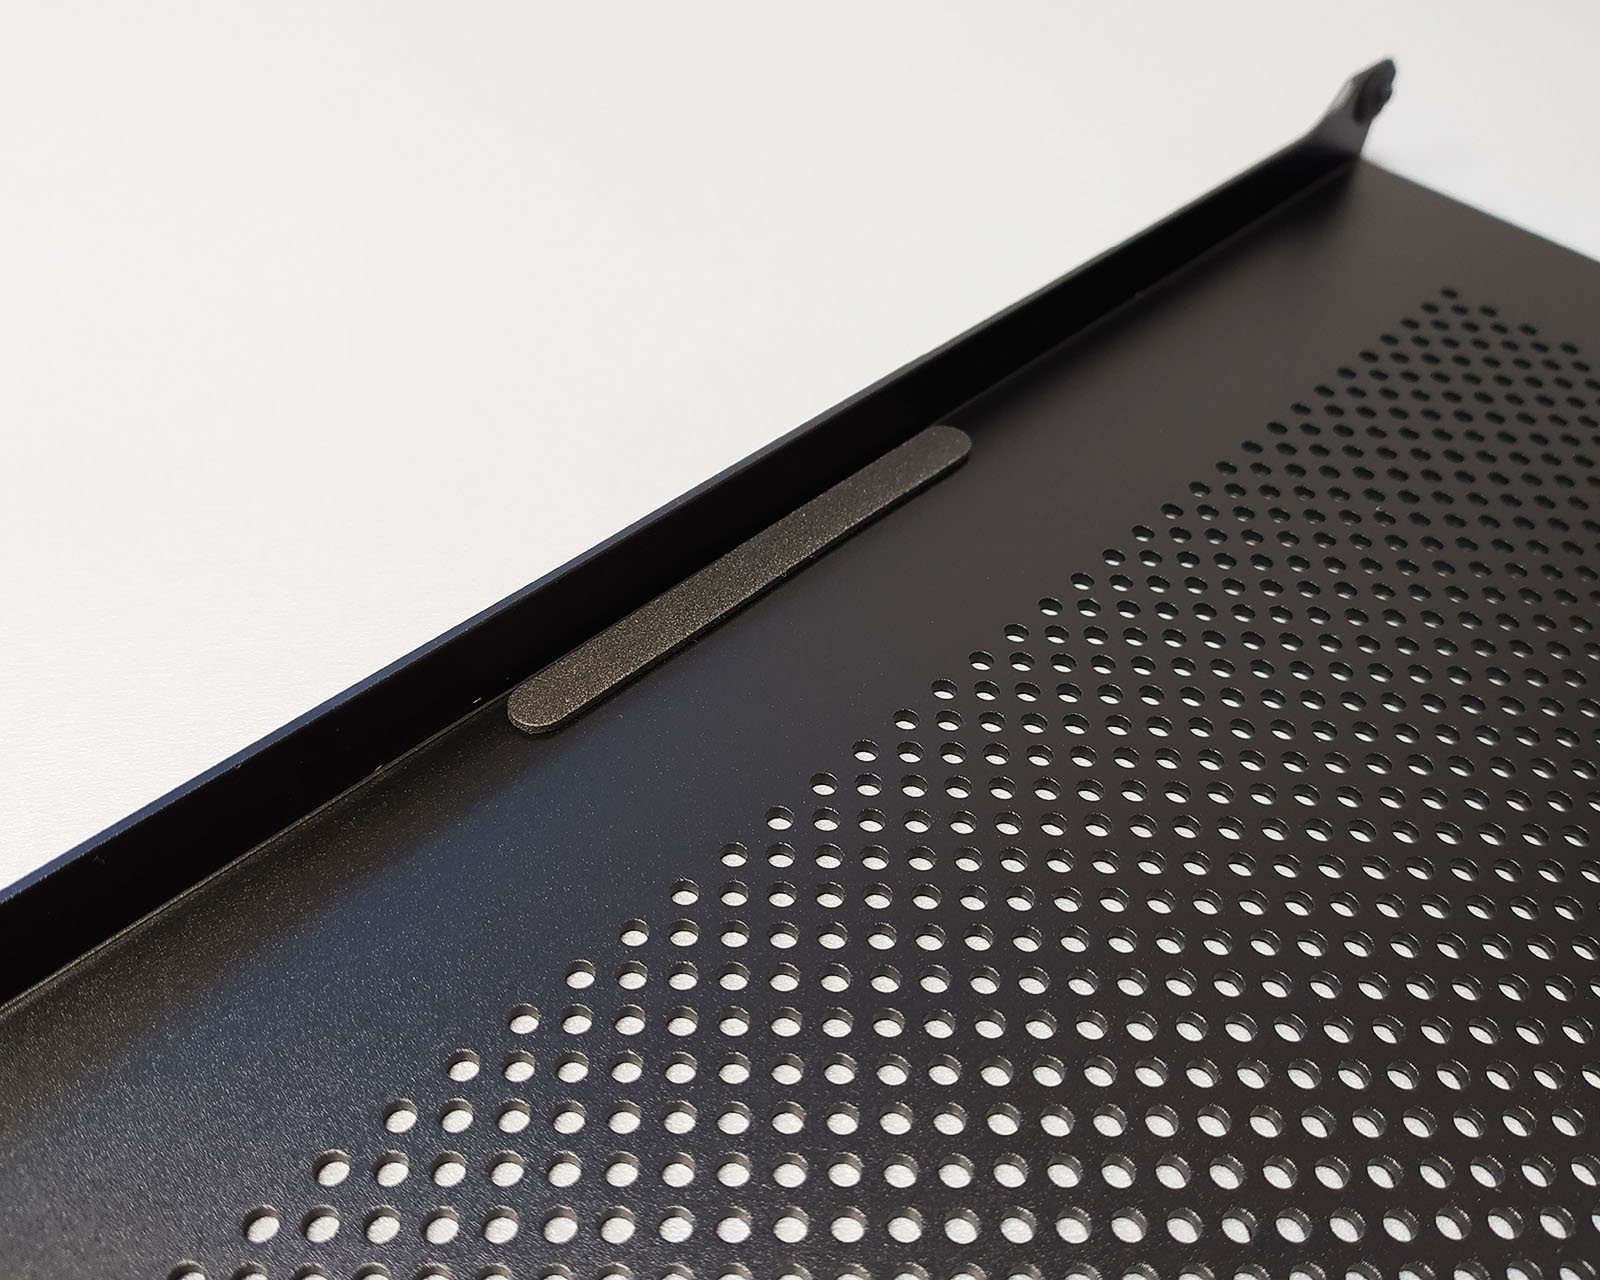
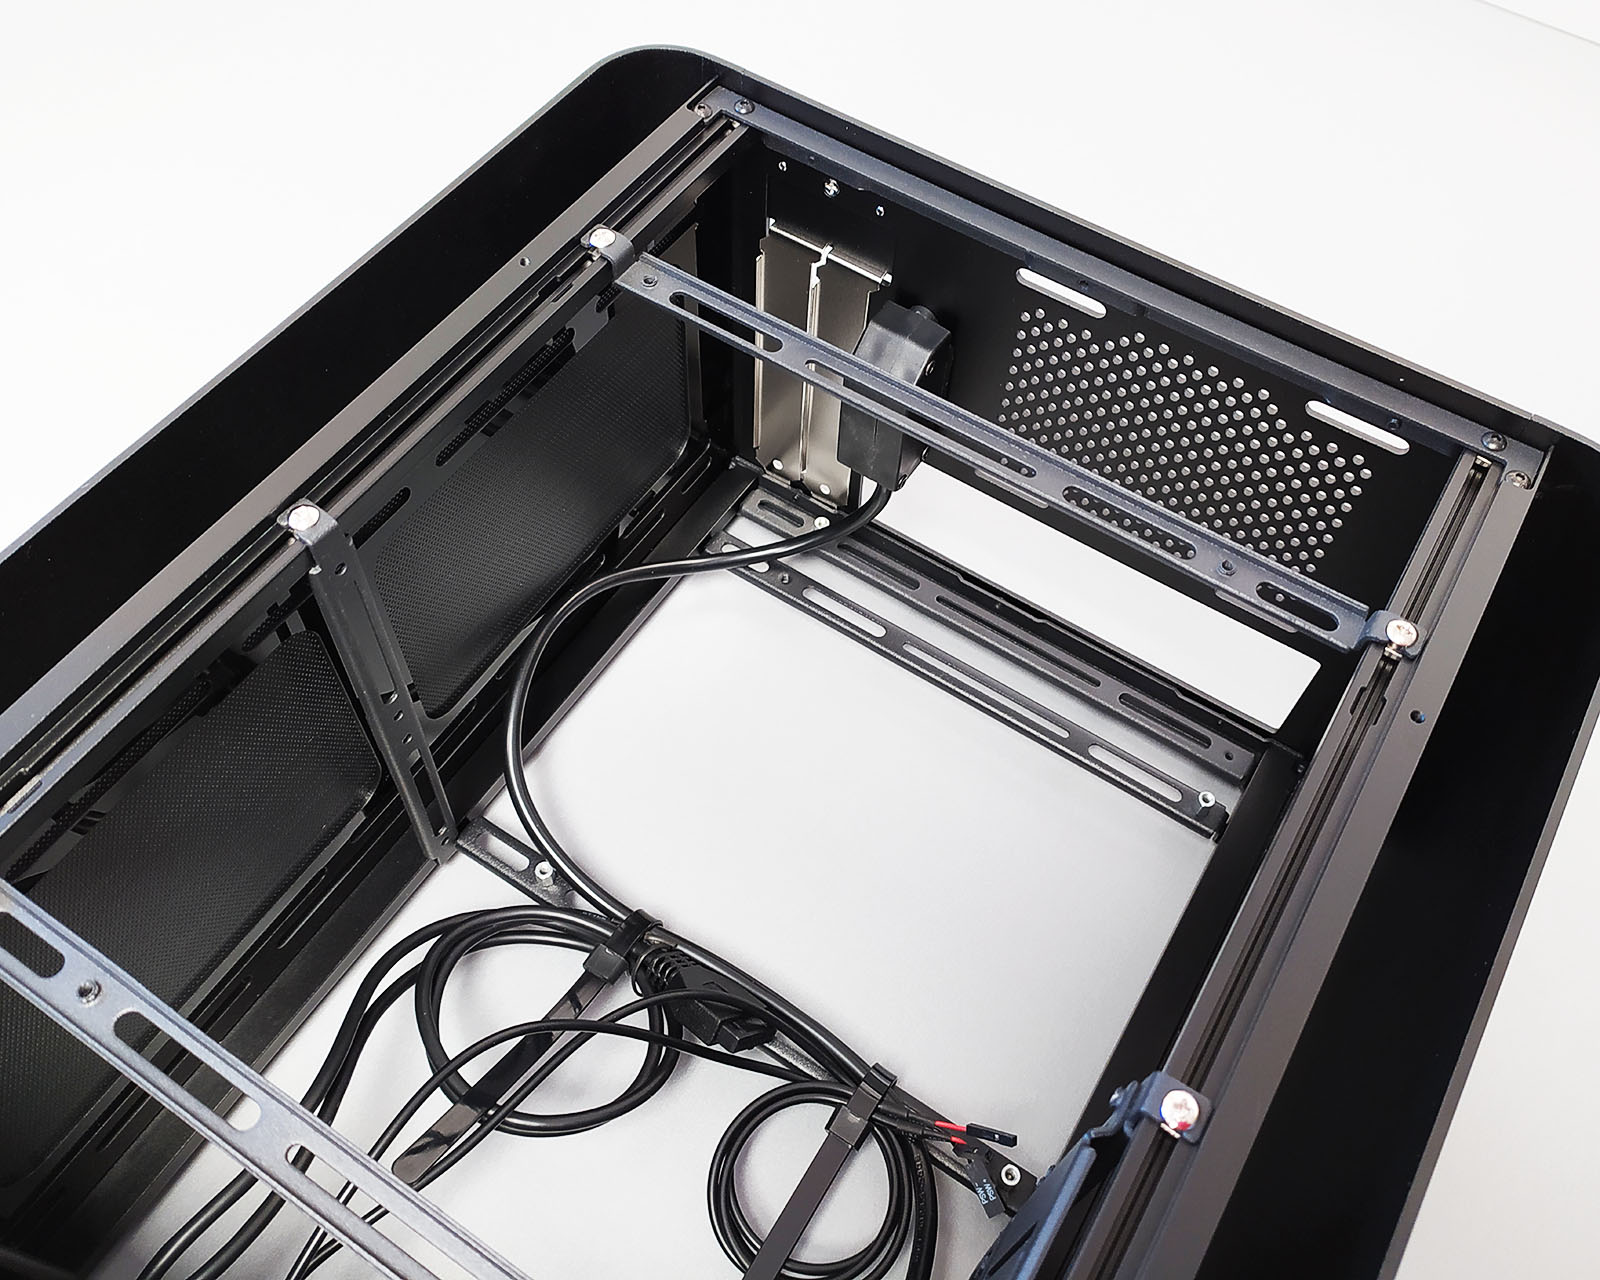
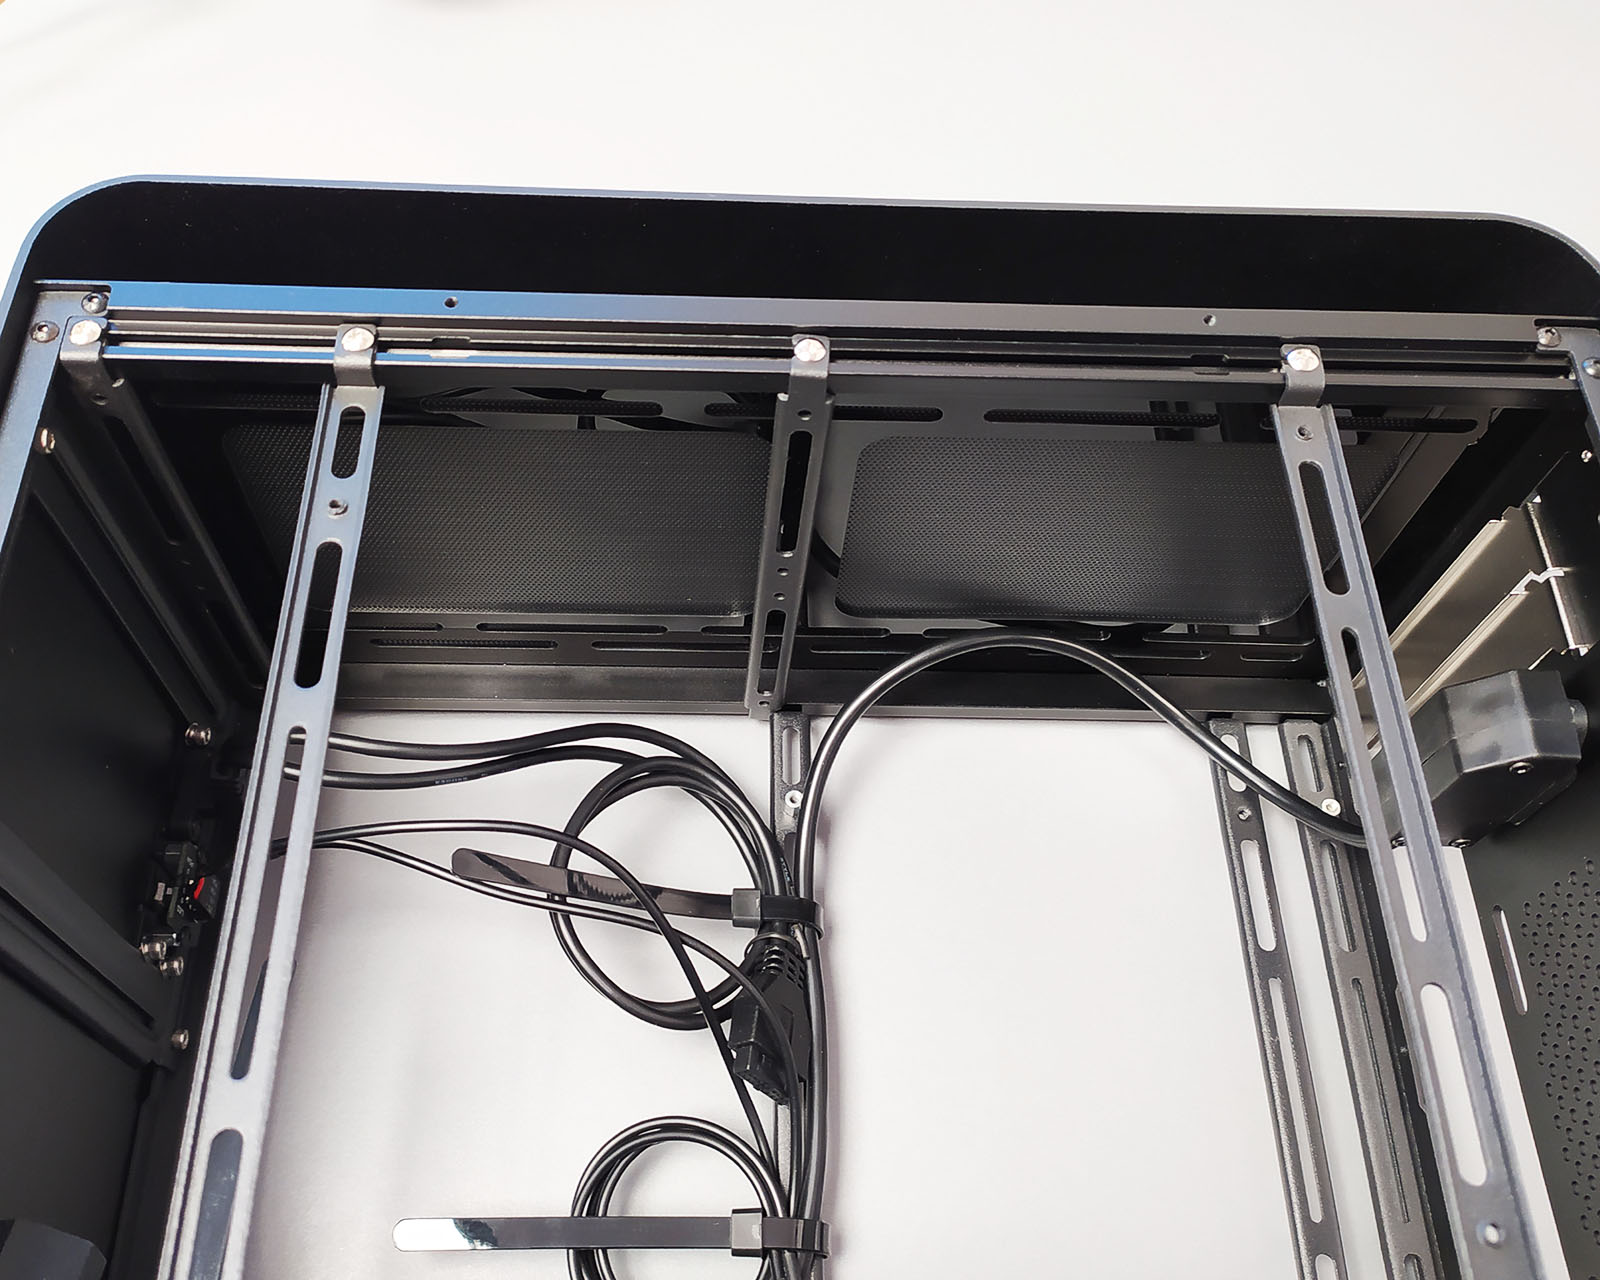
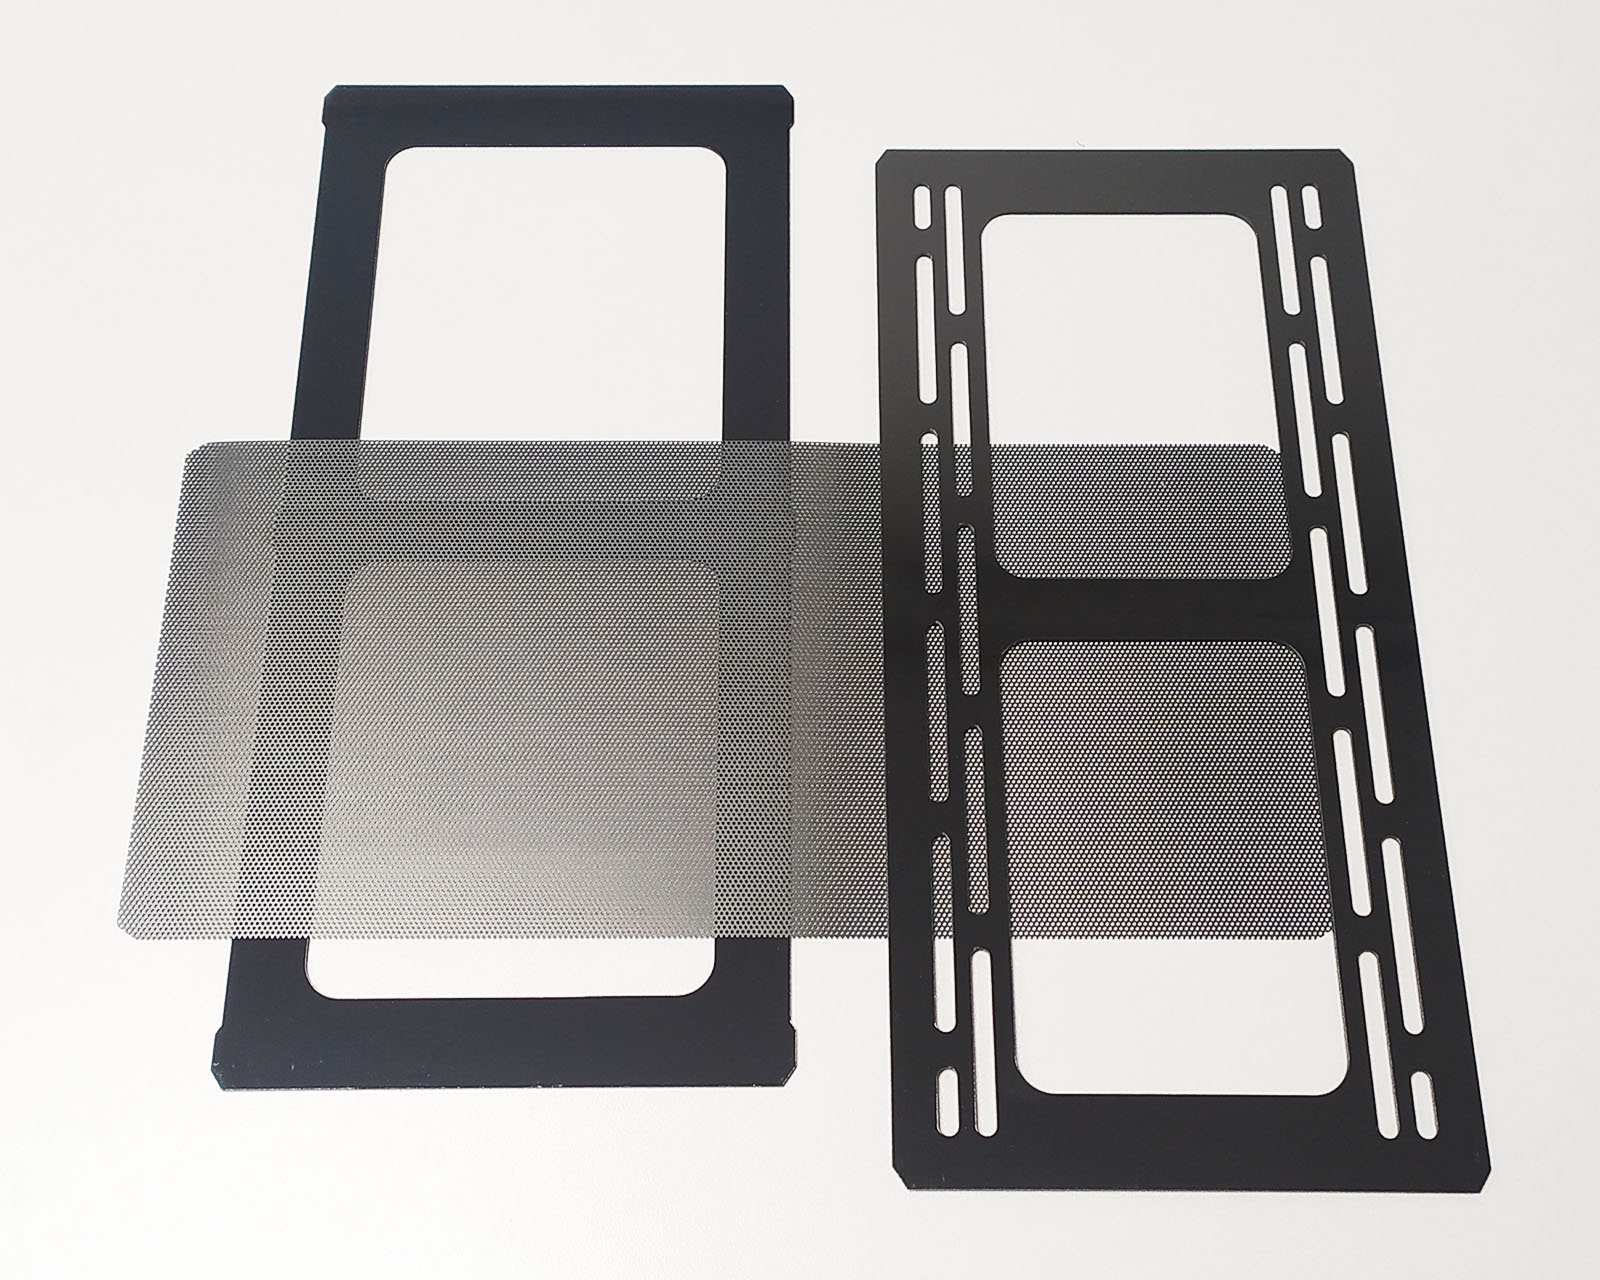
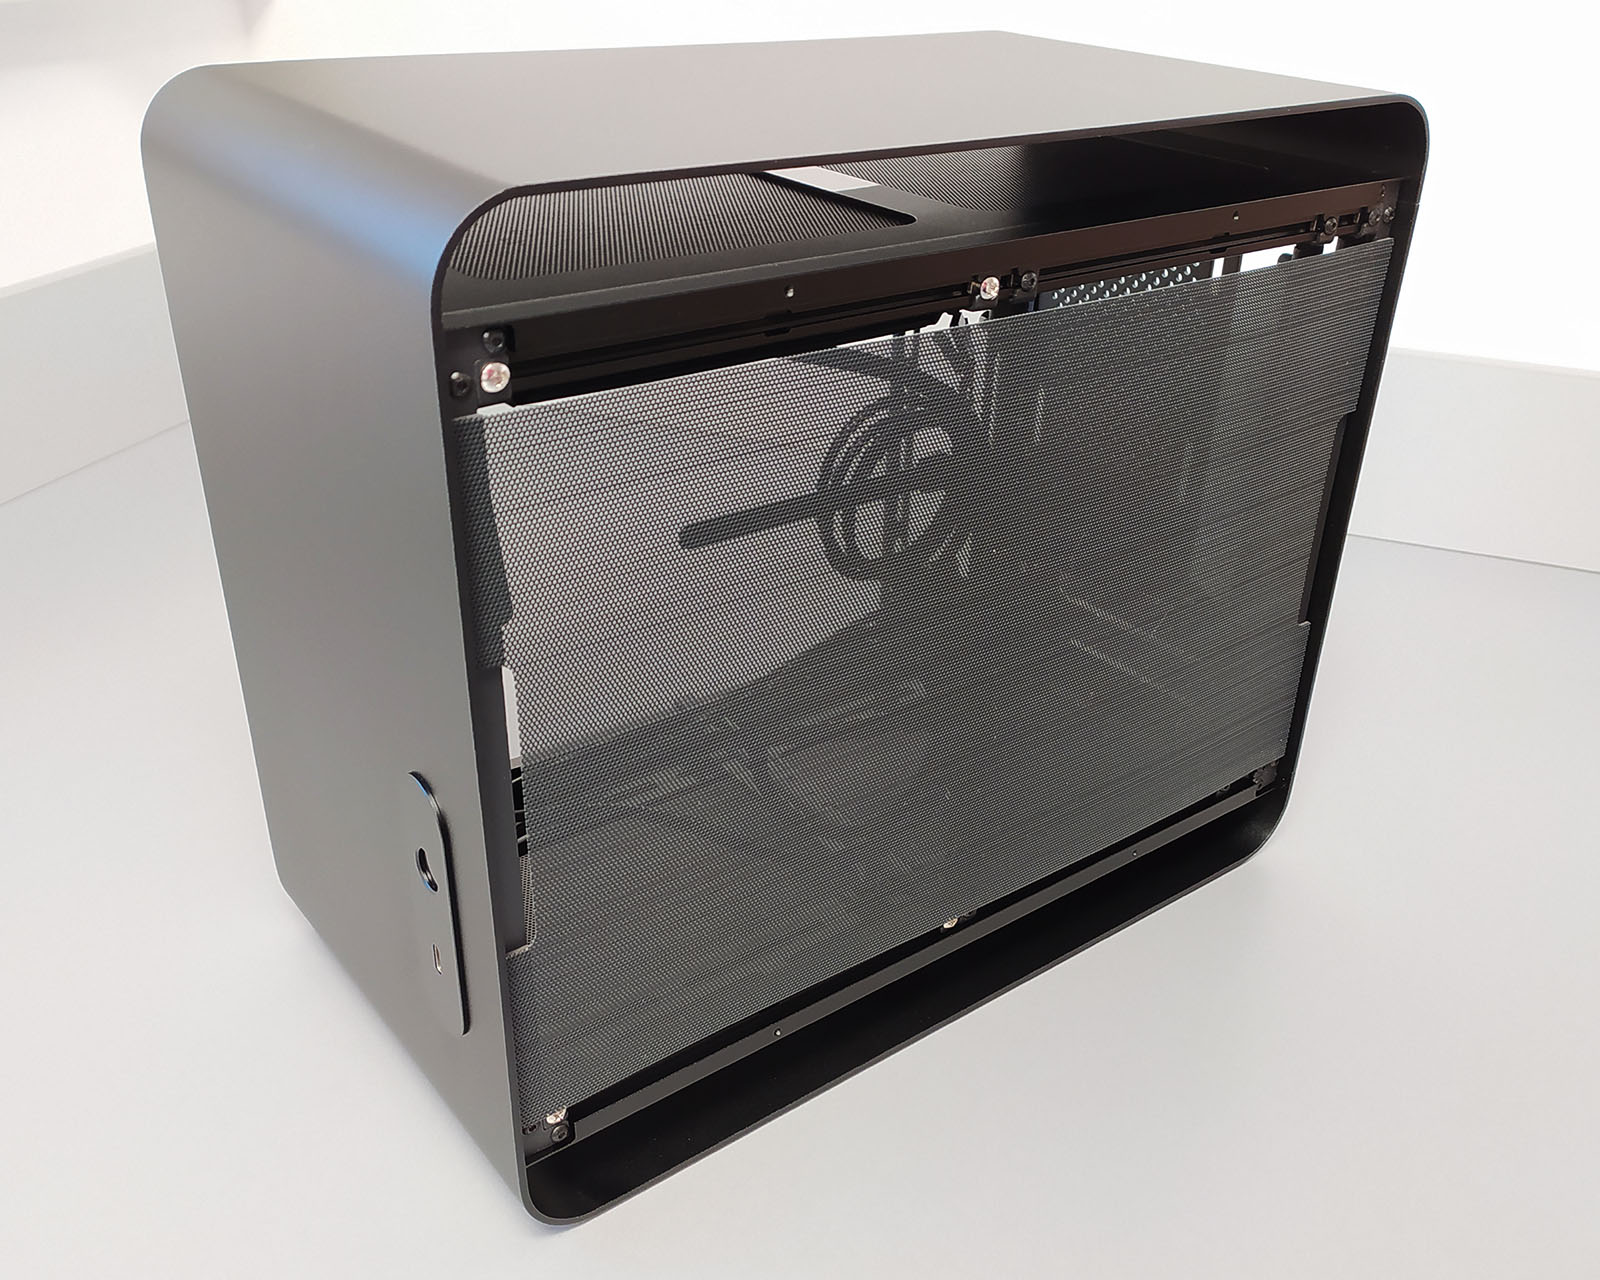
The last two photos above are showing internal panels with dust filters. These panels go on the top and bottom of the case. In our build, I had to remove them so I could install an AIO cooler on top. I could keep it on the bottom but removing the graphics card is much easier when the filter is removed. Considering I will change this build more times in the future, then I decided to remove both filters and use the PC without them. Of course, if you use standard cooling and won’t need additional space, you can keep panels in their original place as dust filters are always good for your PC components and keep them clean longer.
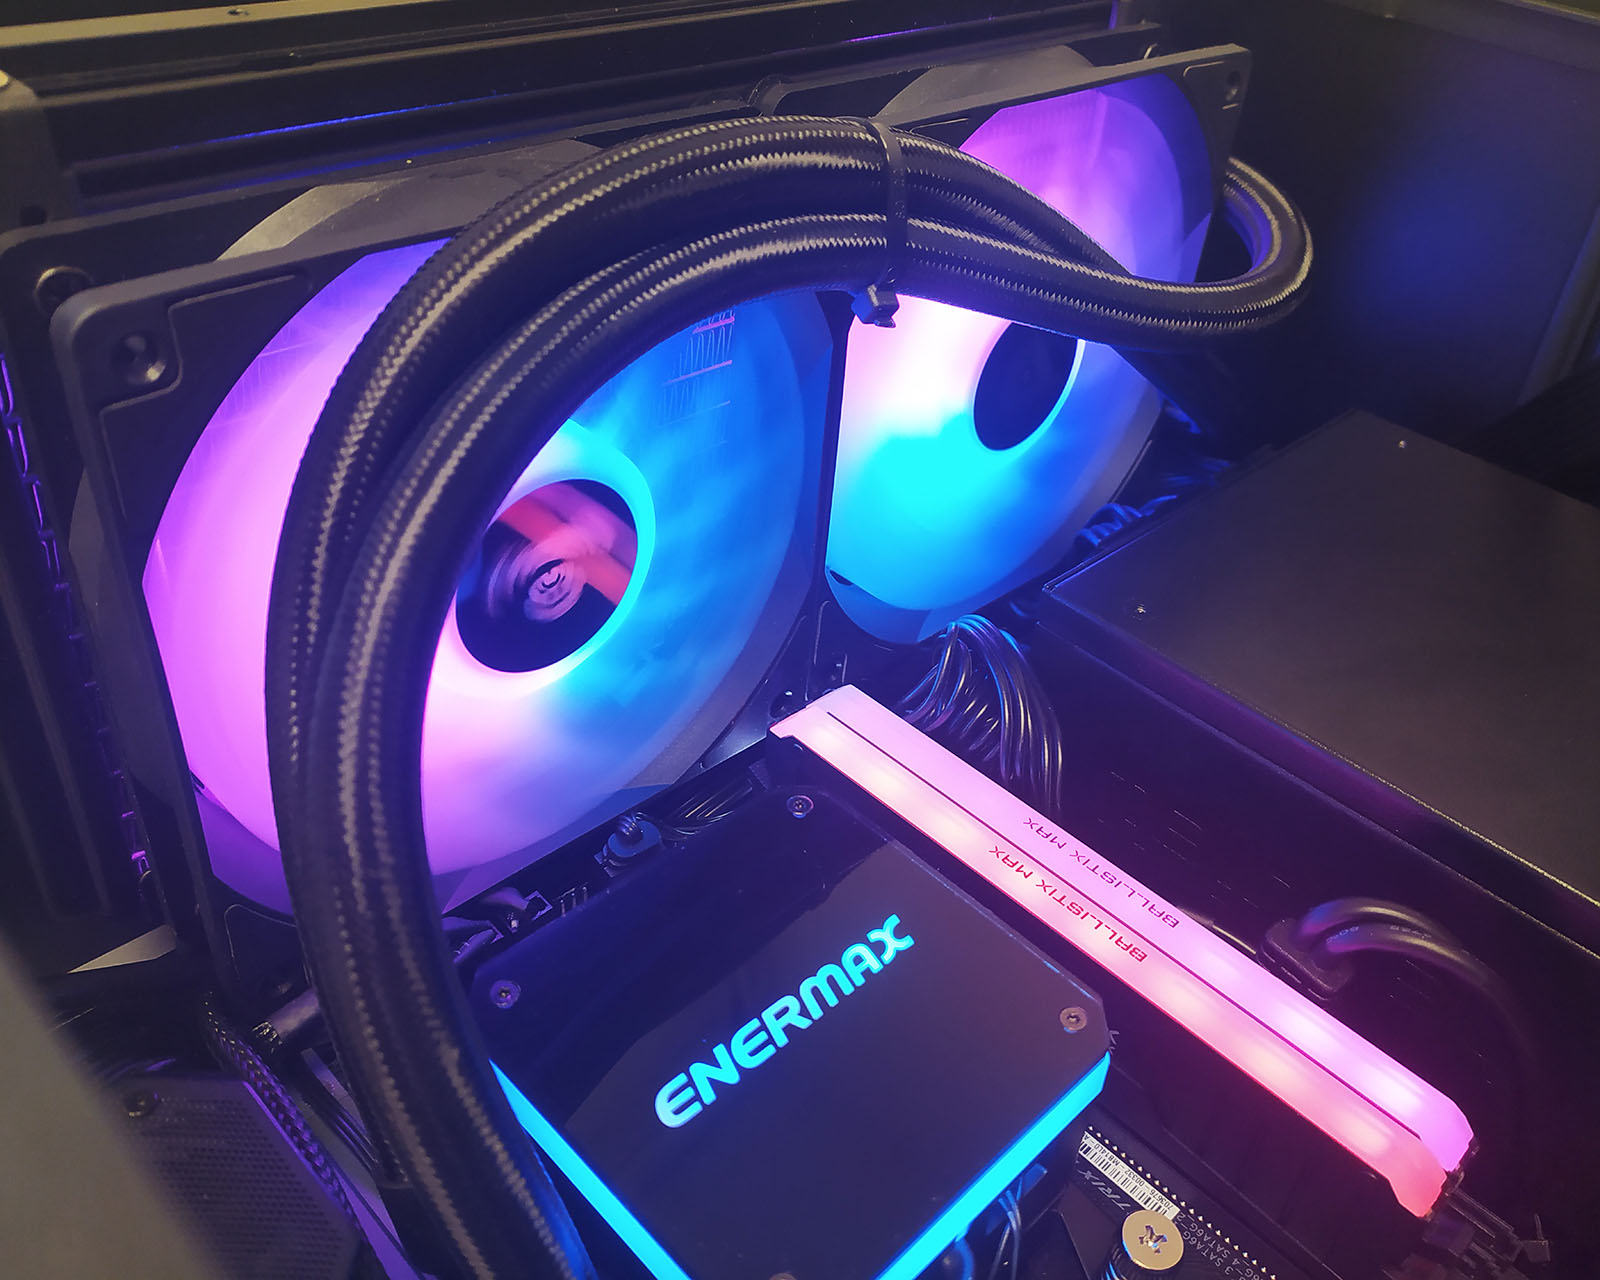
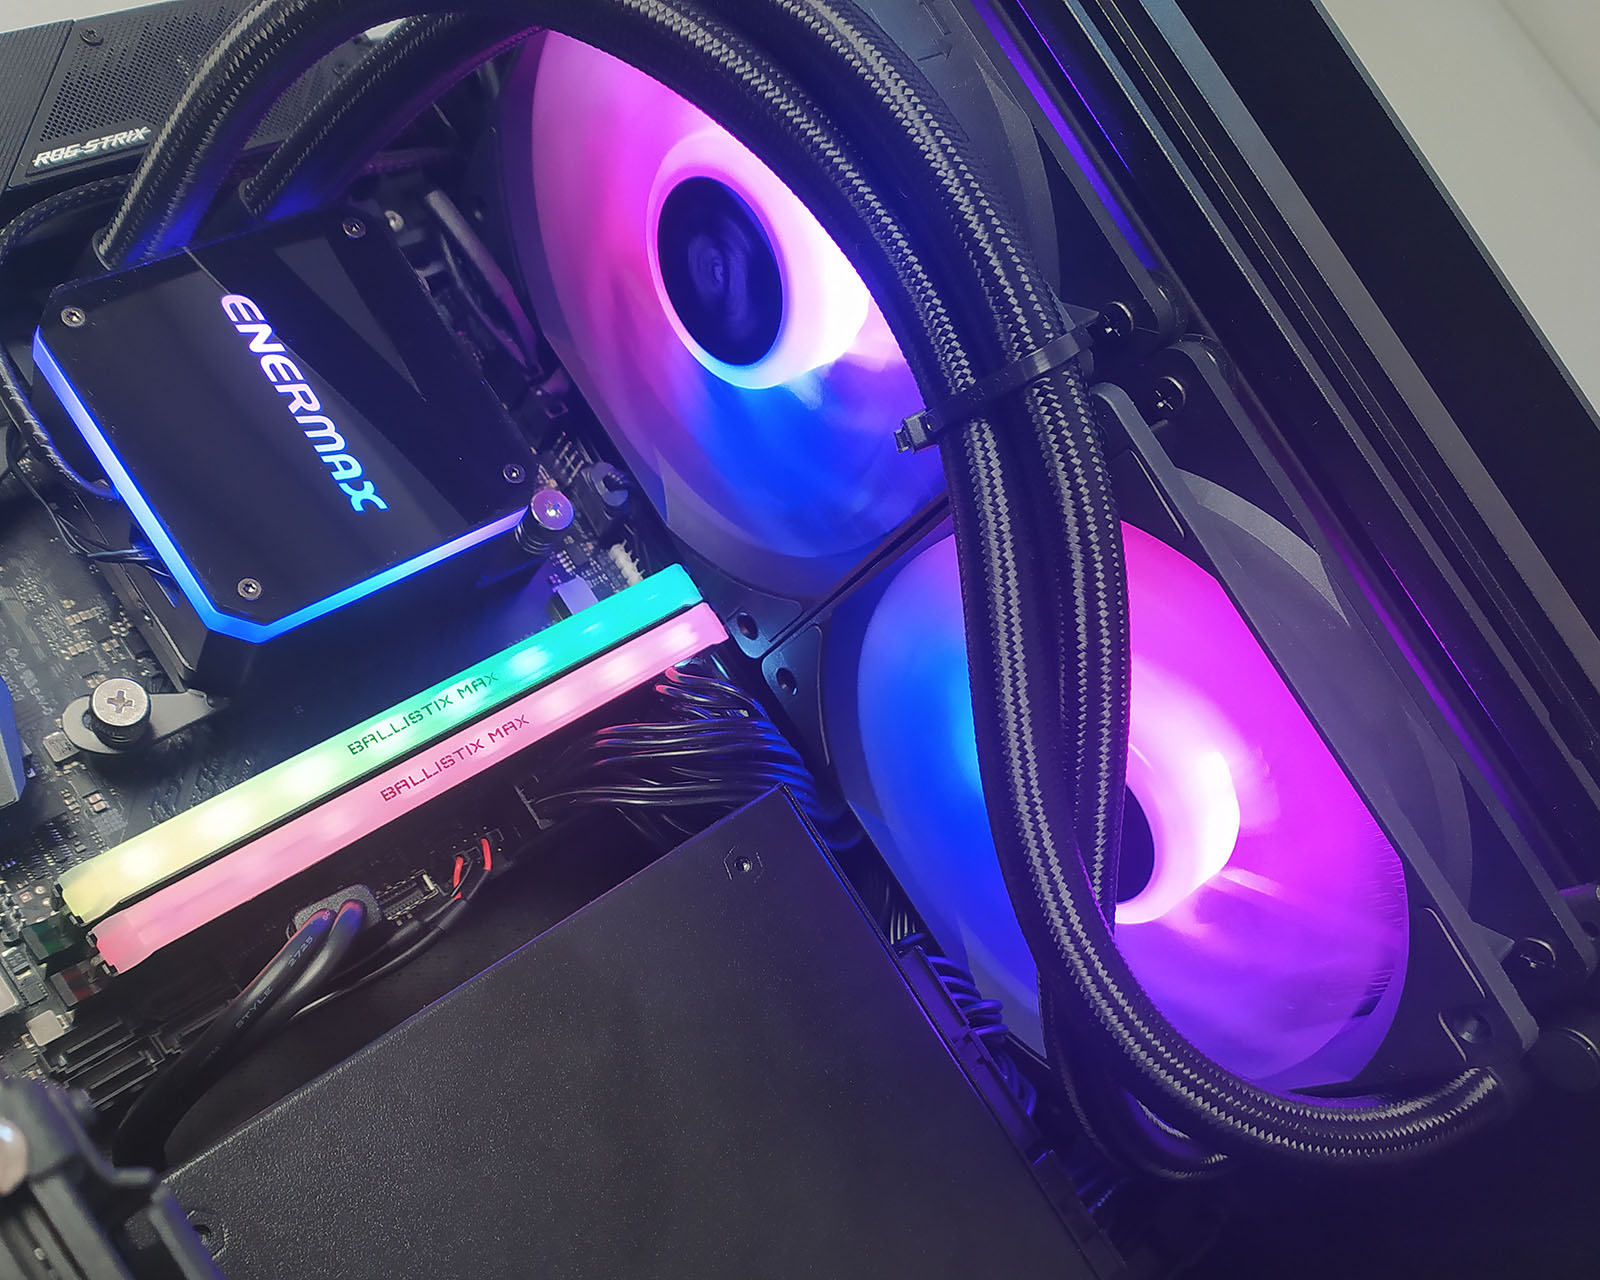

Above are additional photos made for the Enermax LIQMAX III 240 review published a couple of days ago. The same set is in use in this review. In these photos, you can see how much space is for the graphics card as it literally fills the whole free space. Here is also mentioned SFX-L PSU so you can see how close it is to the AIO cooler fan. Graphics card cables have to go the other way, so they are really close to the fan’s blades. This is not the problem in the case of SFX PSU, which is shorter.
On the next page, we will show you the whole build.

